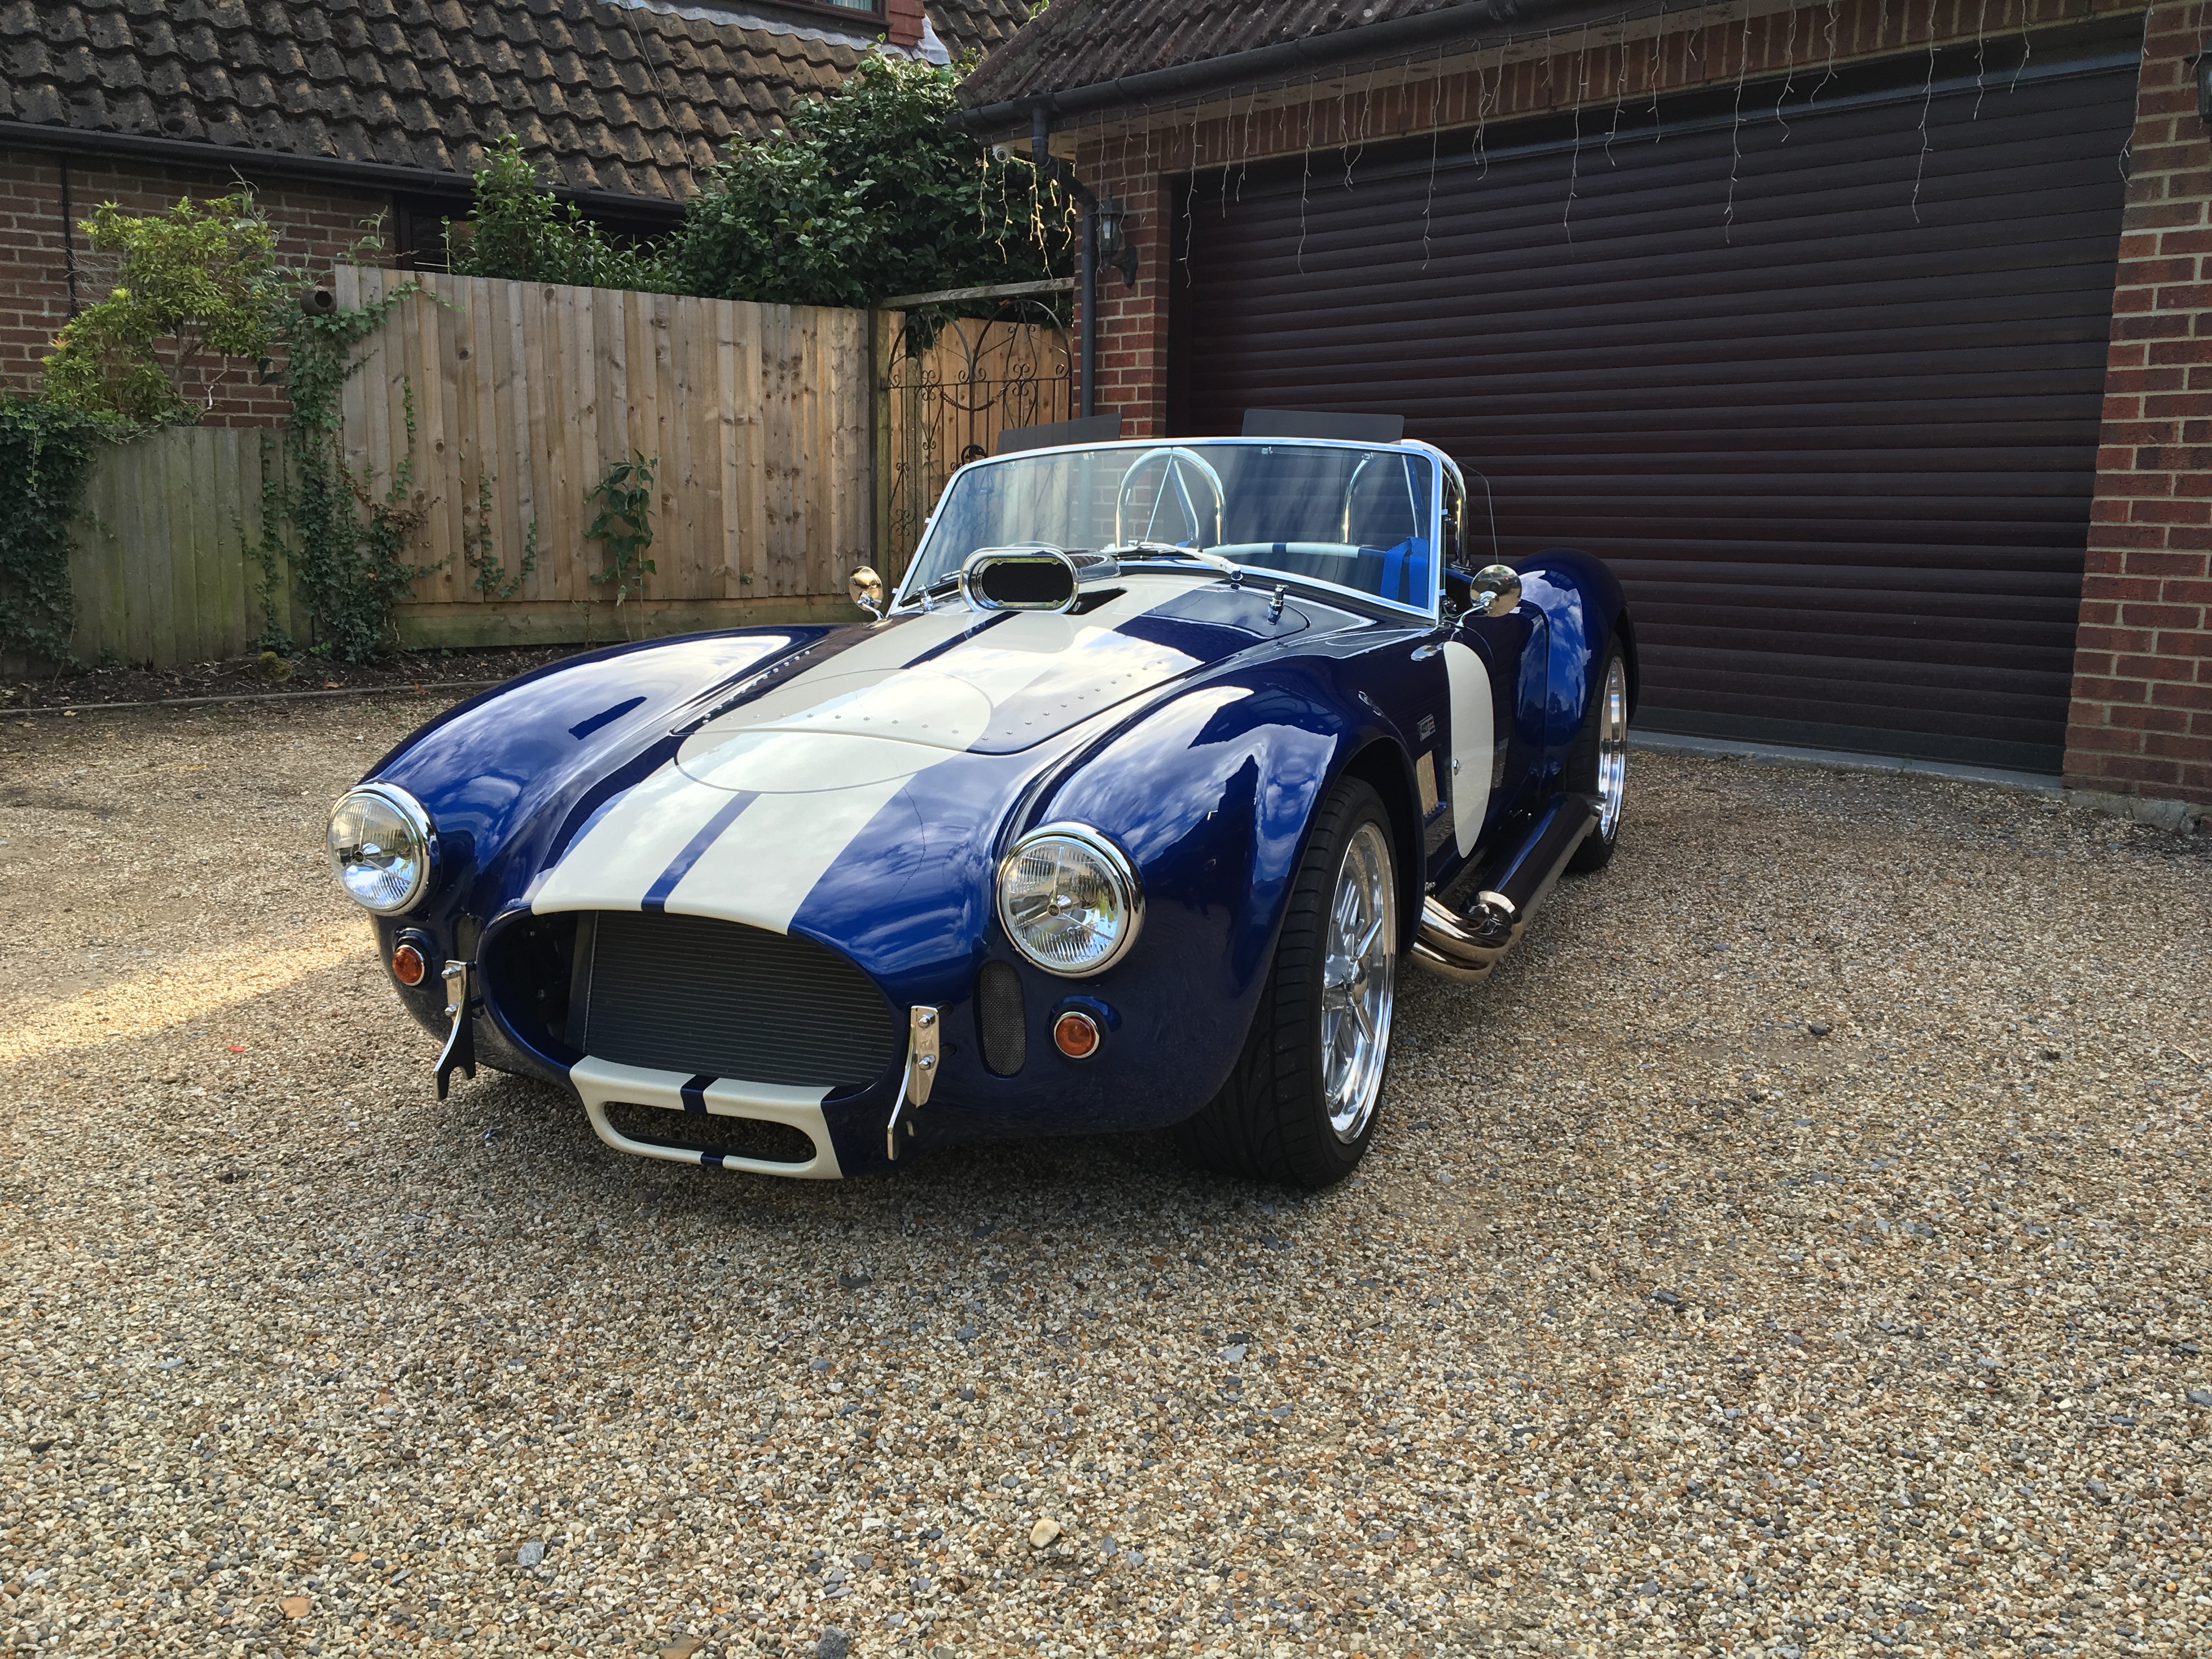
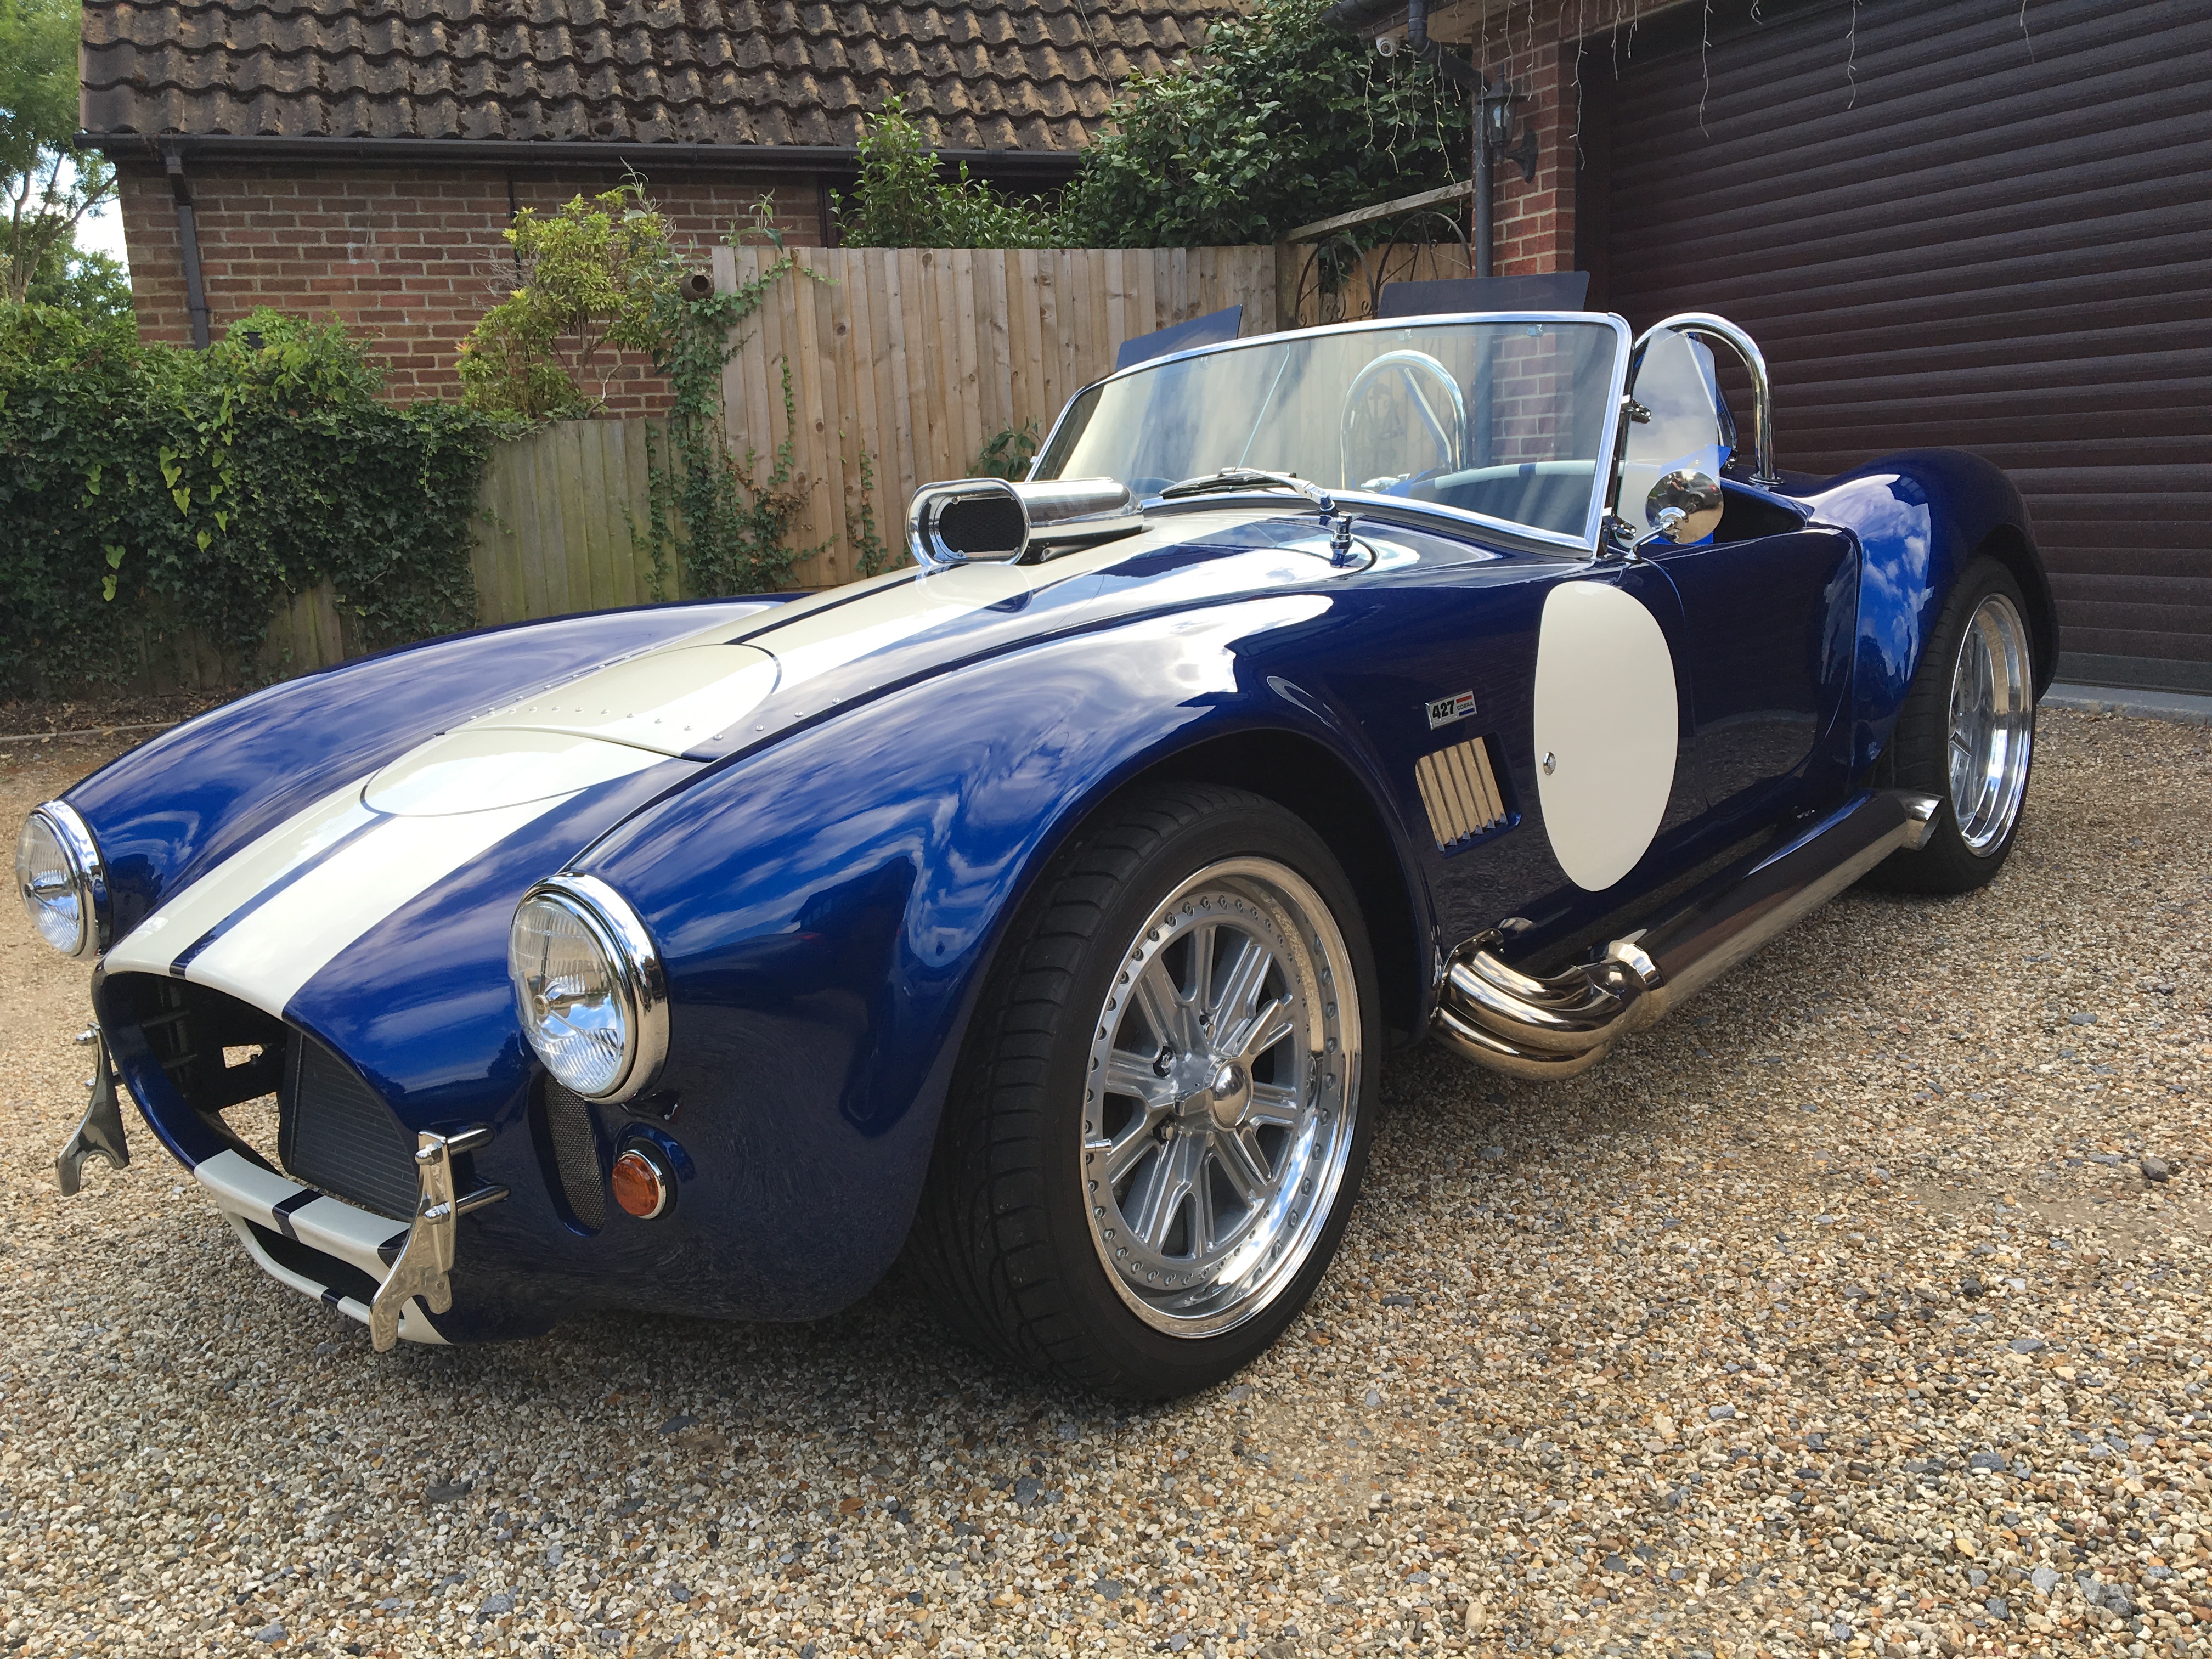
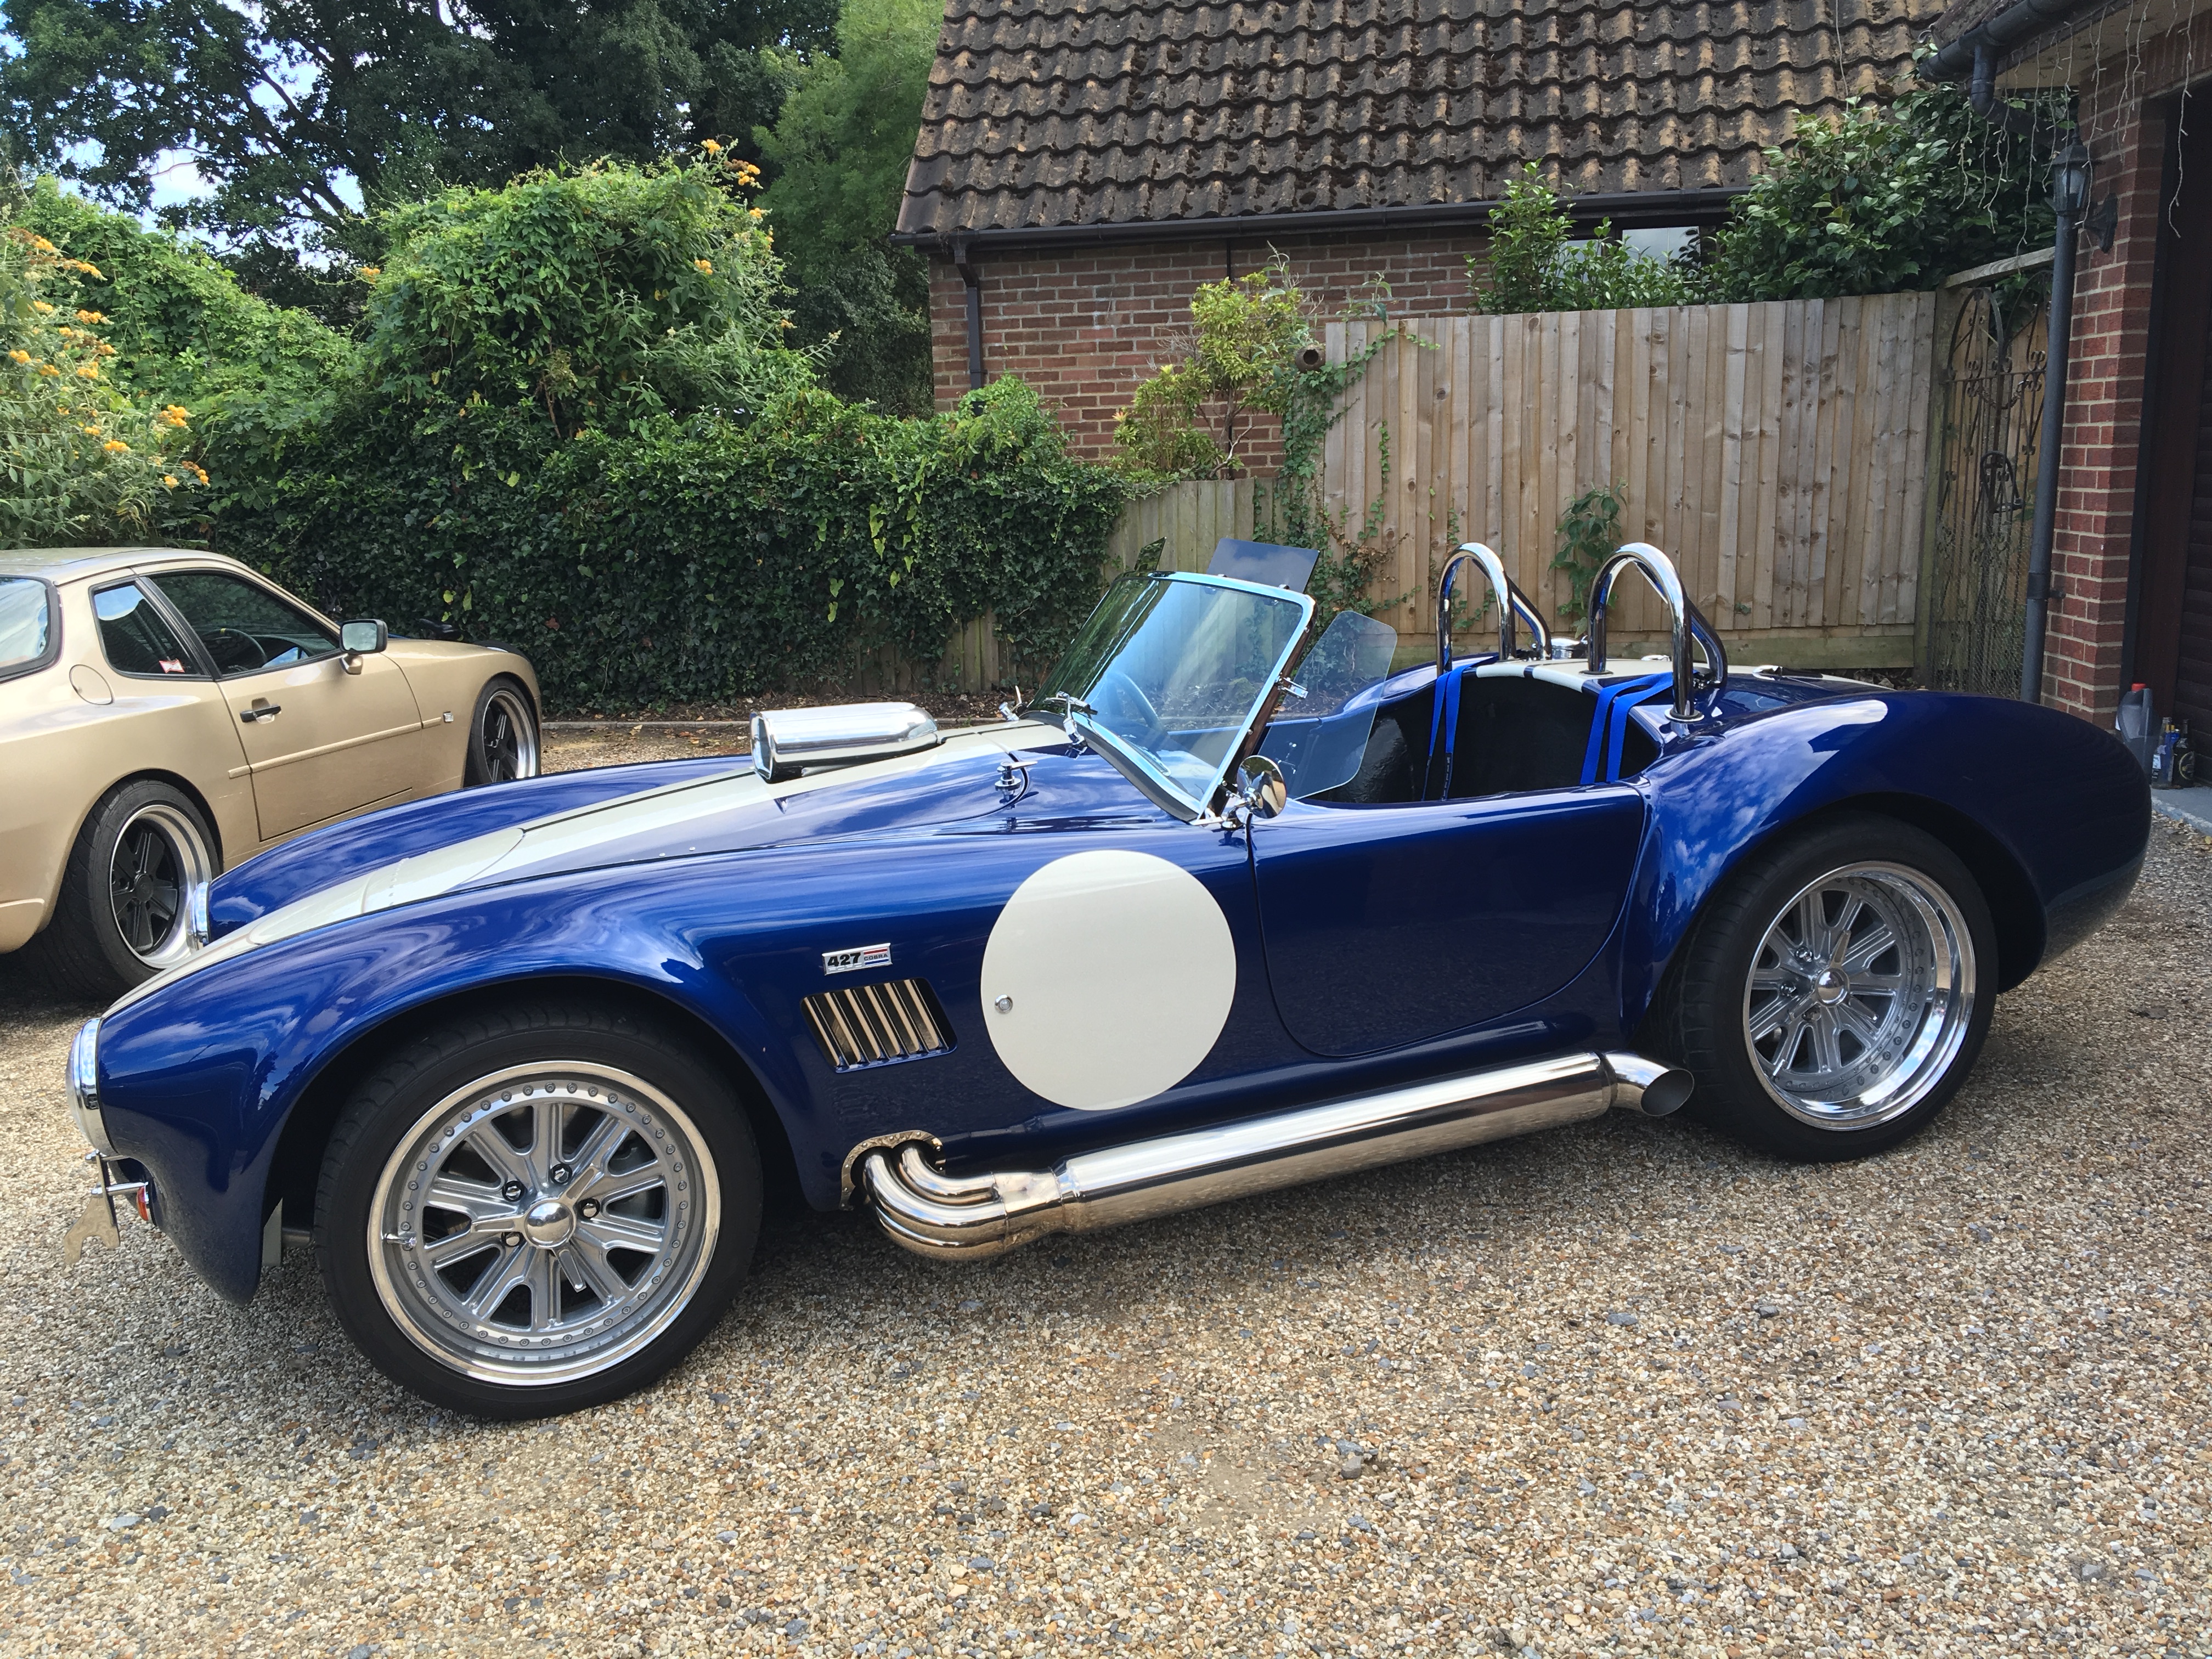
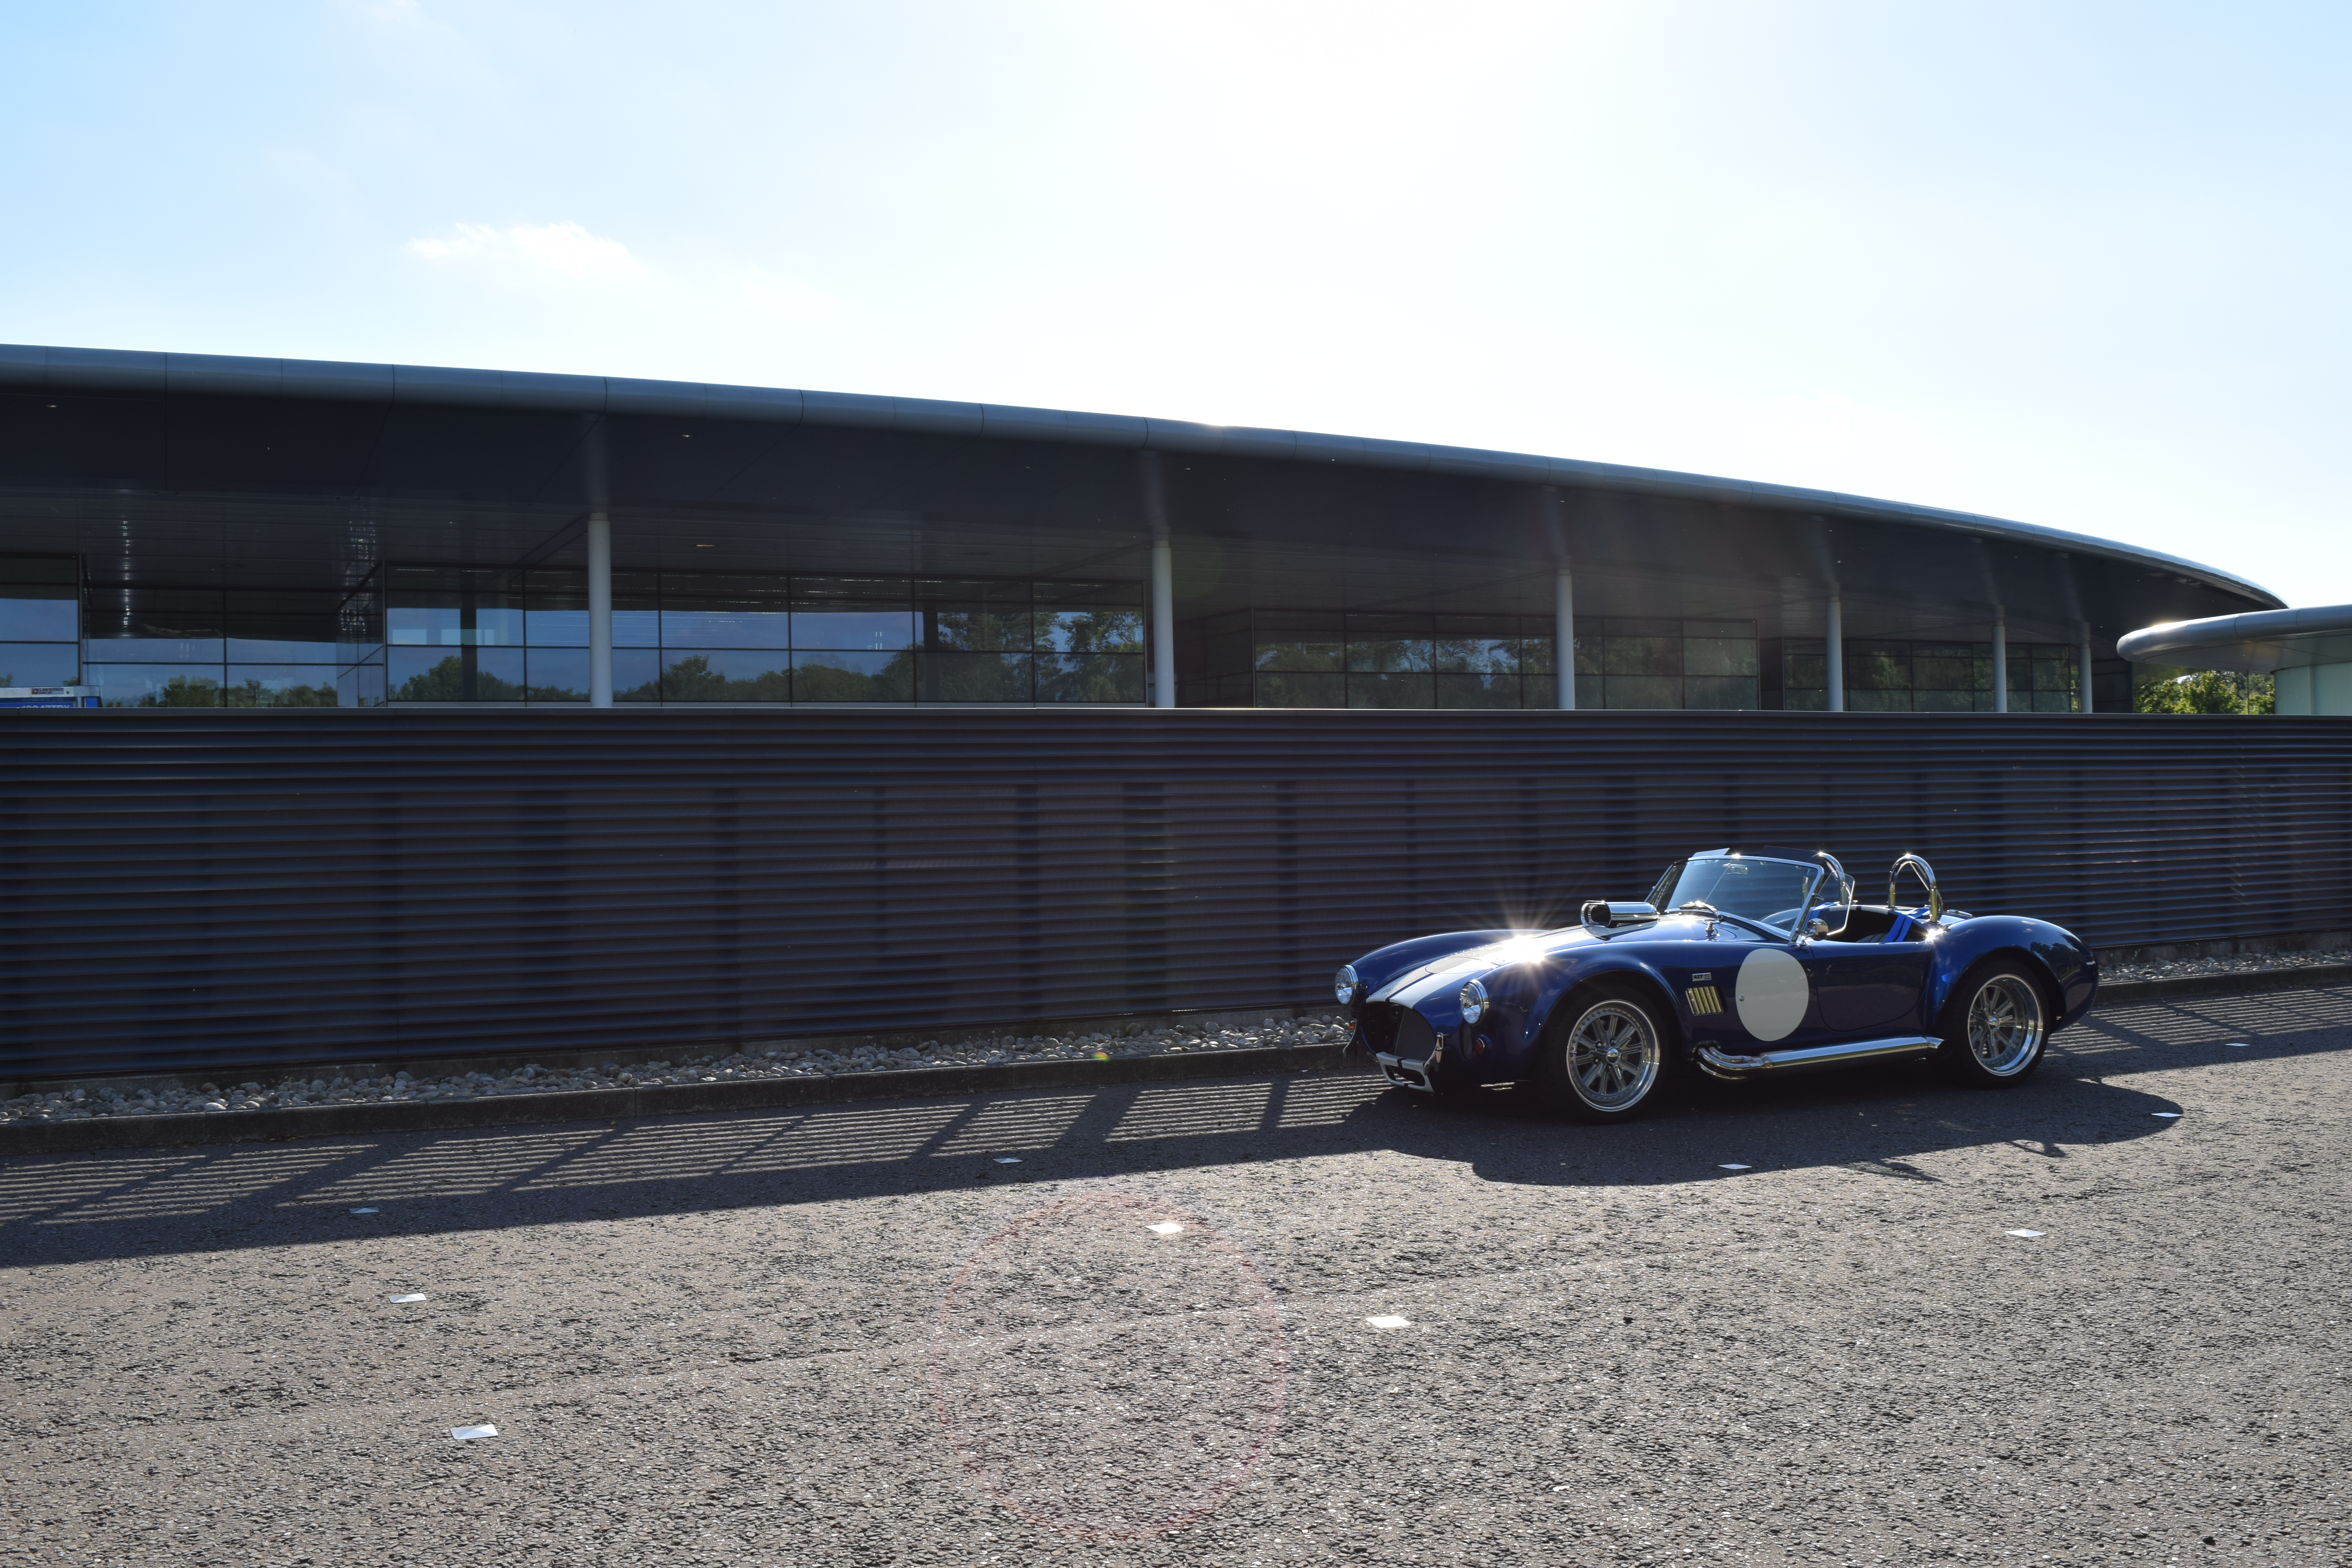
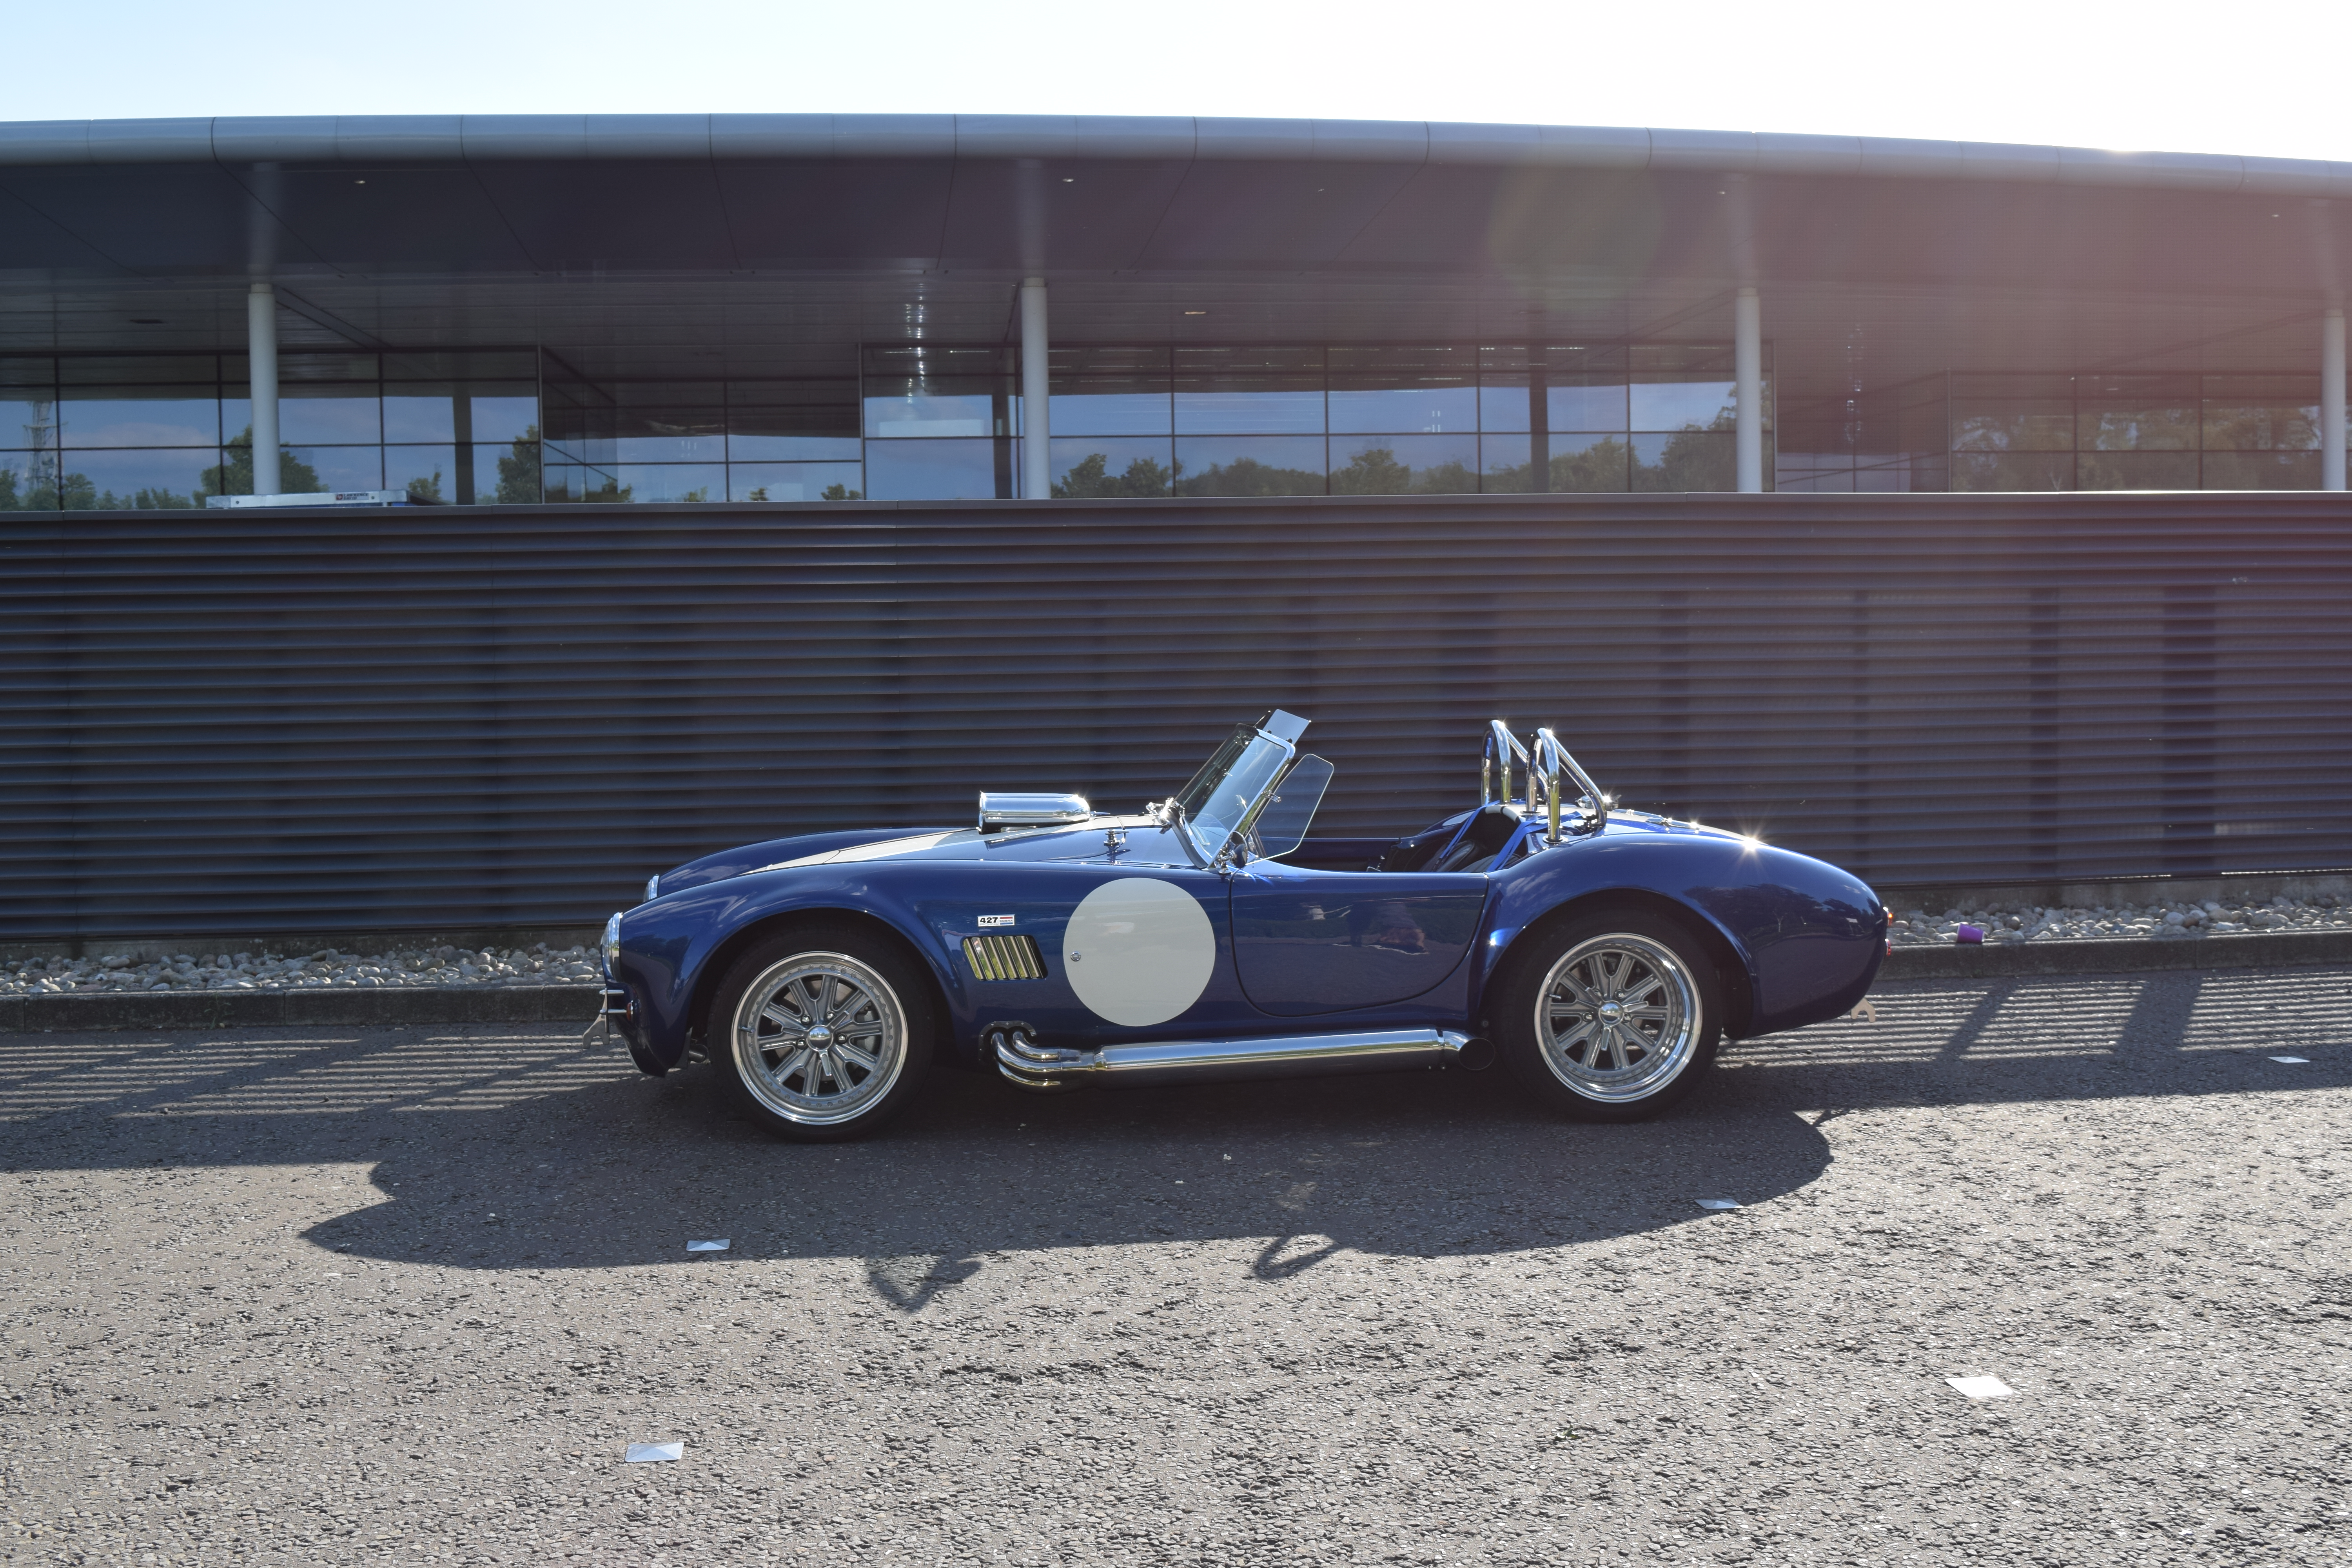
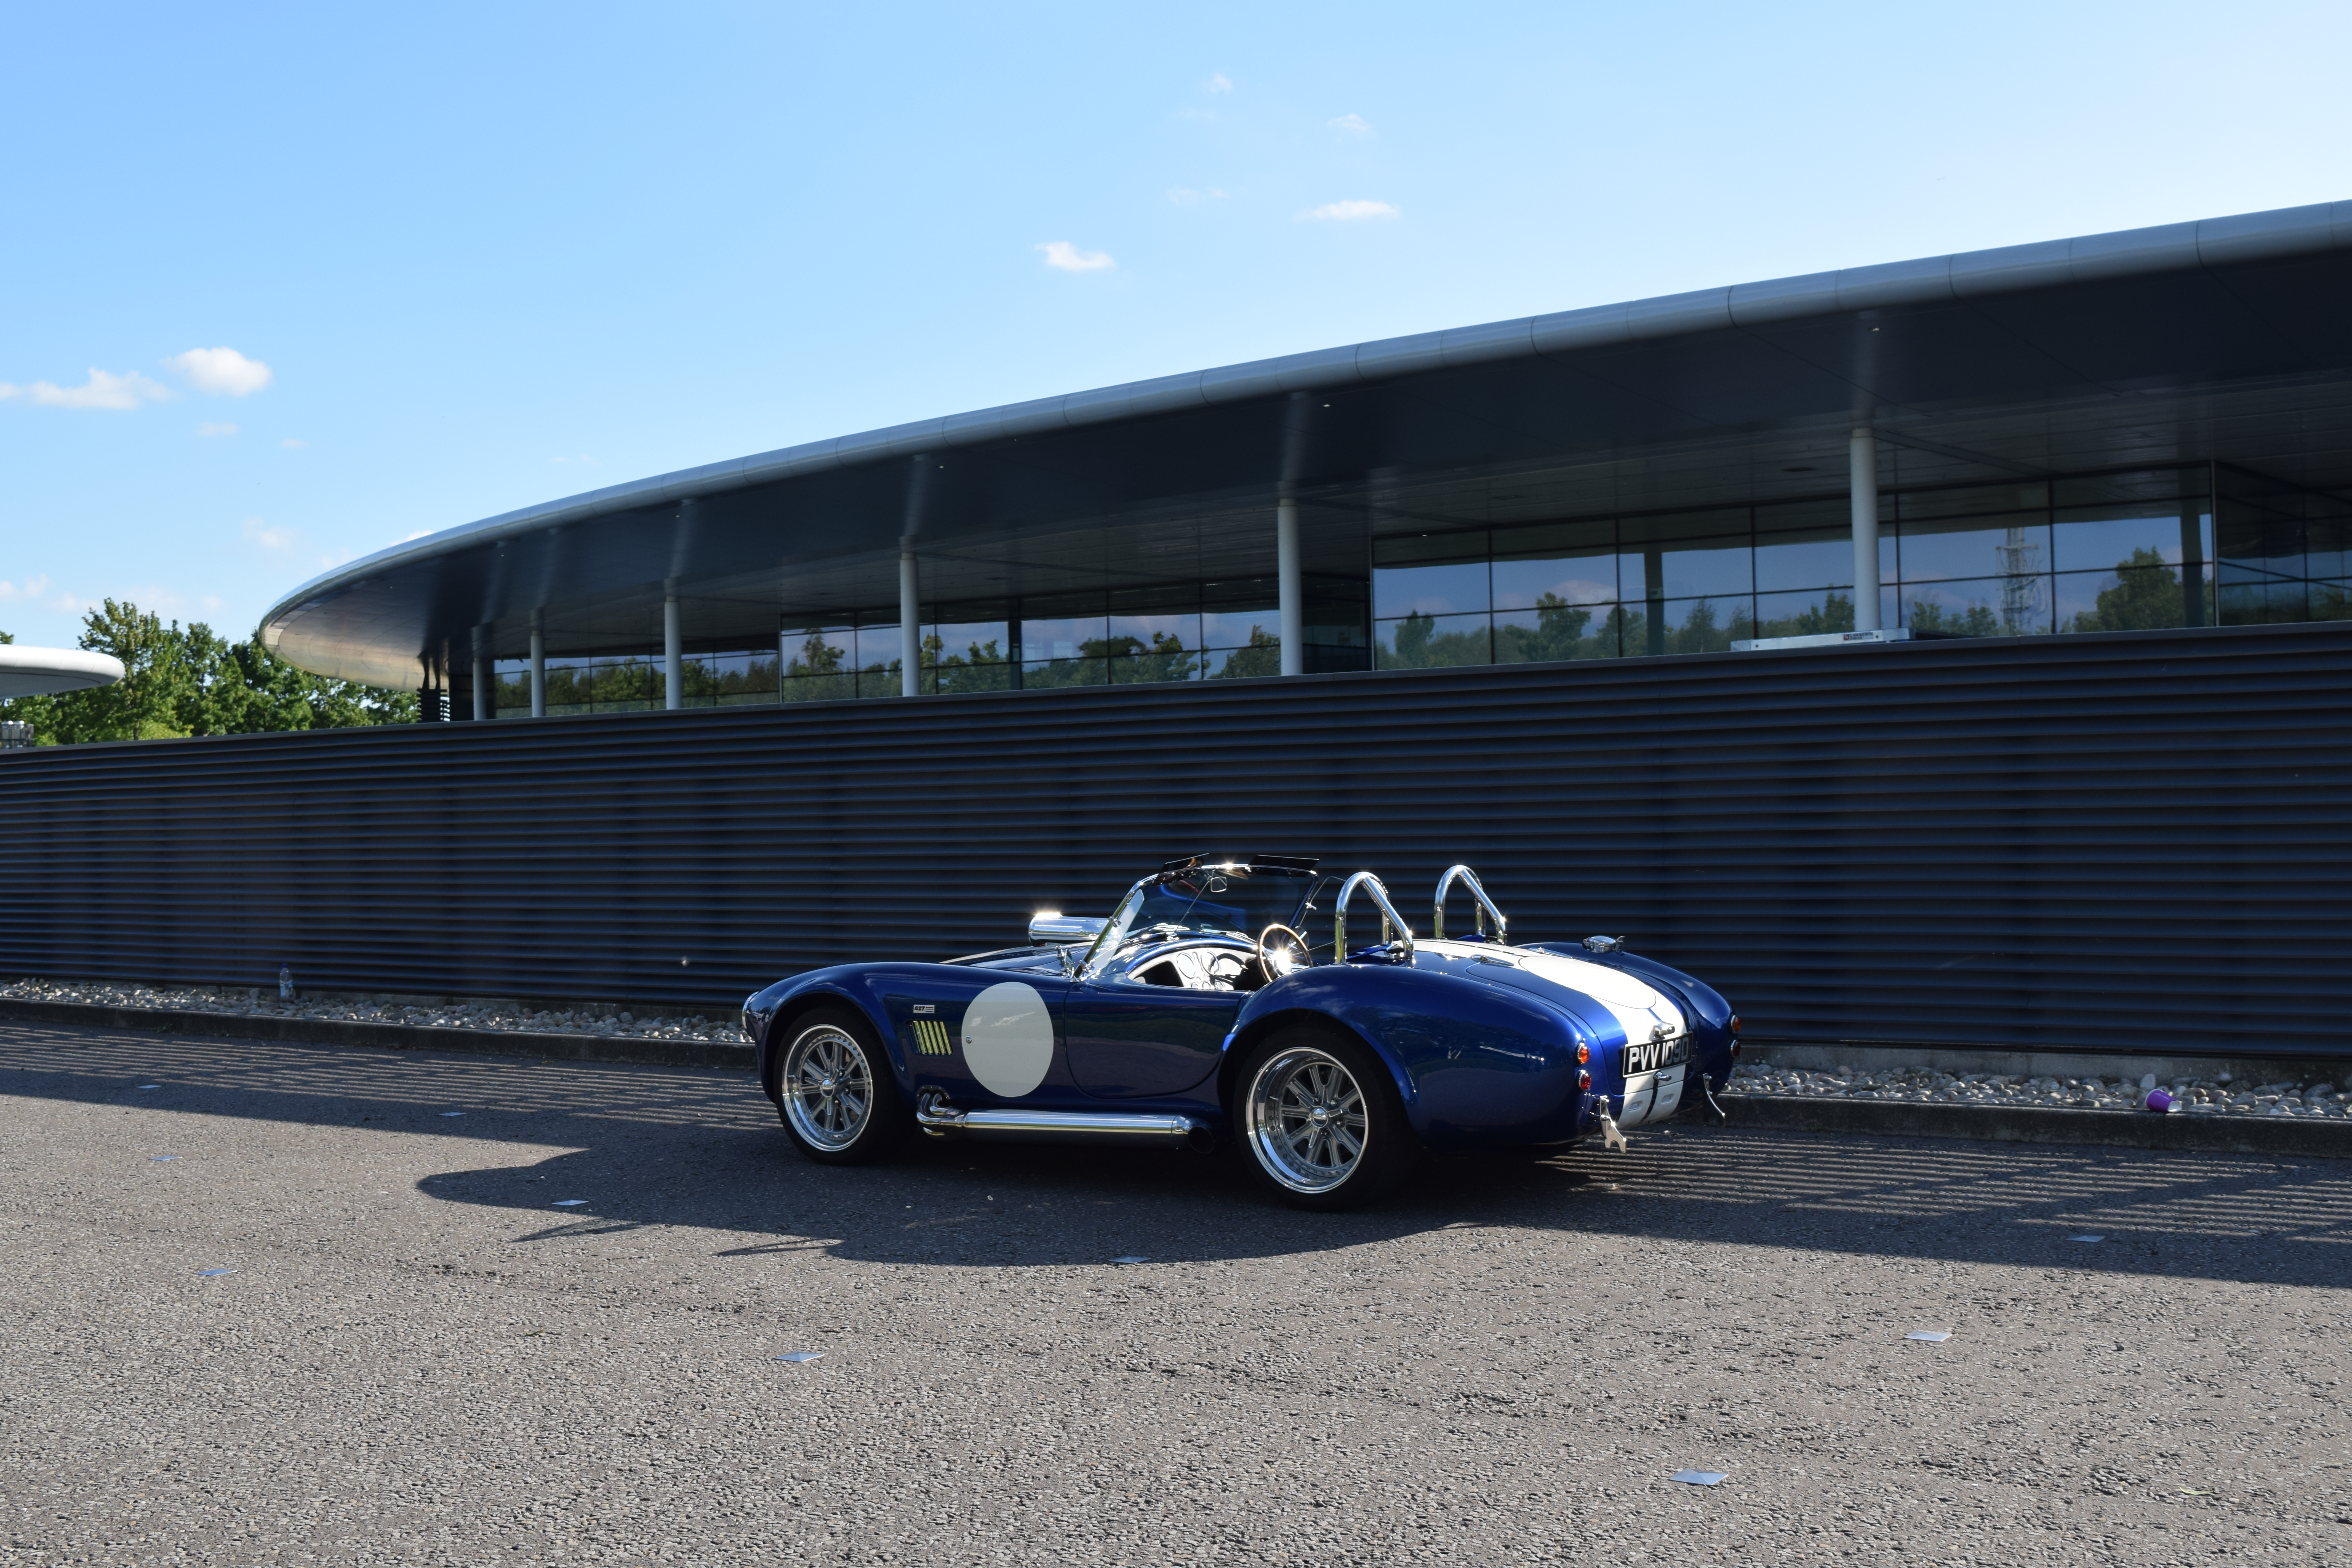
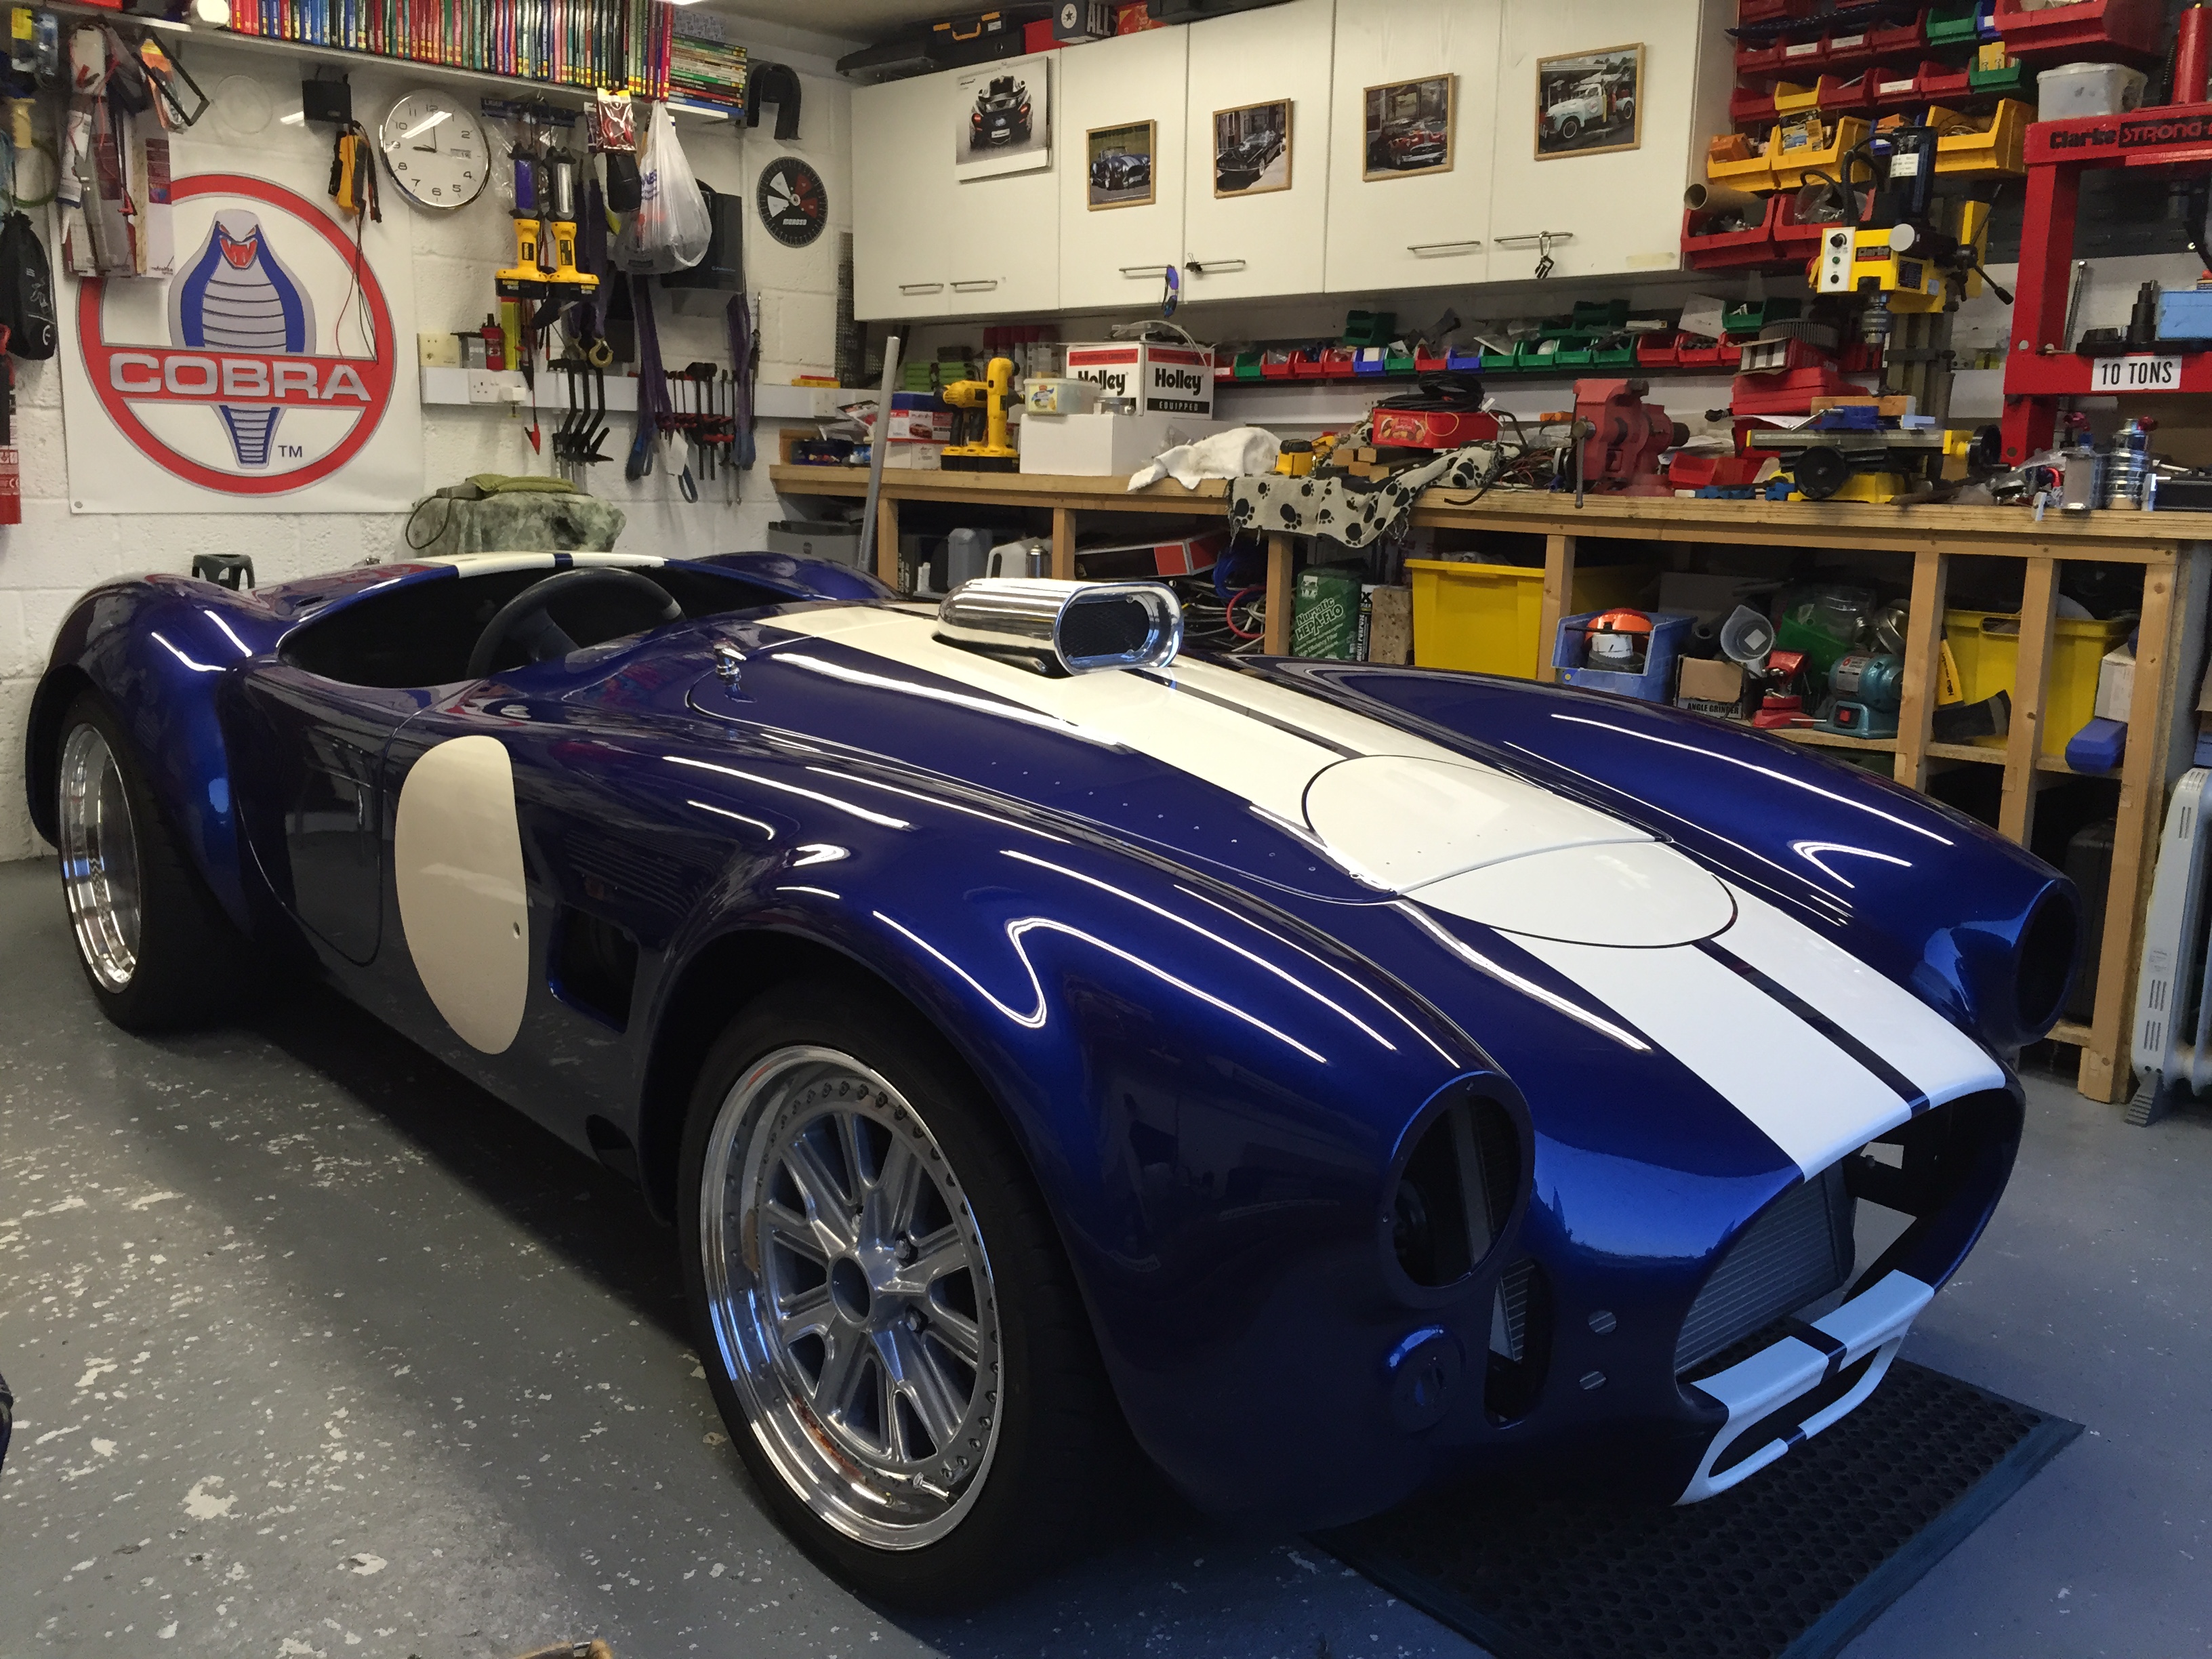
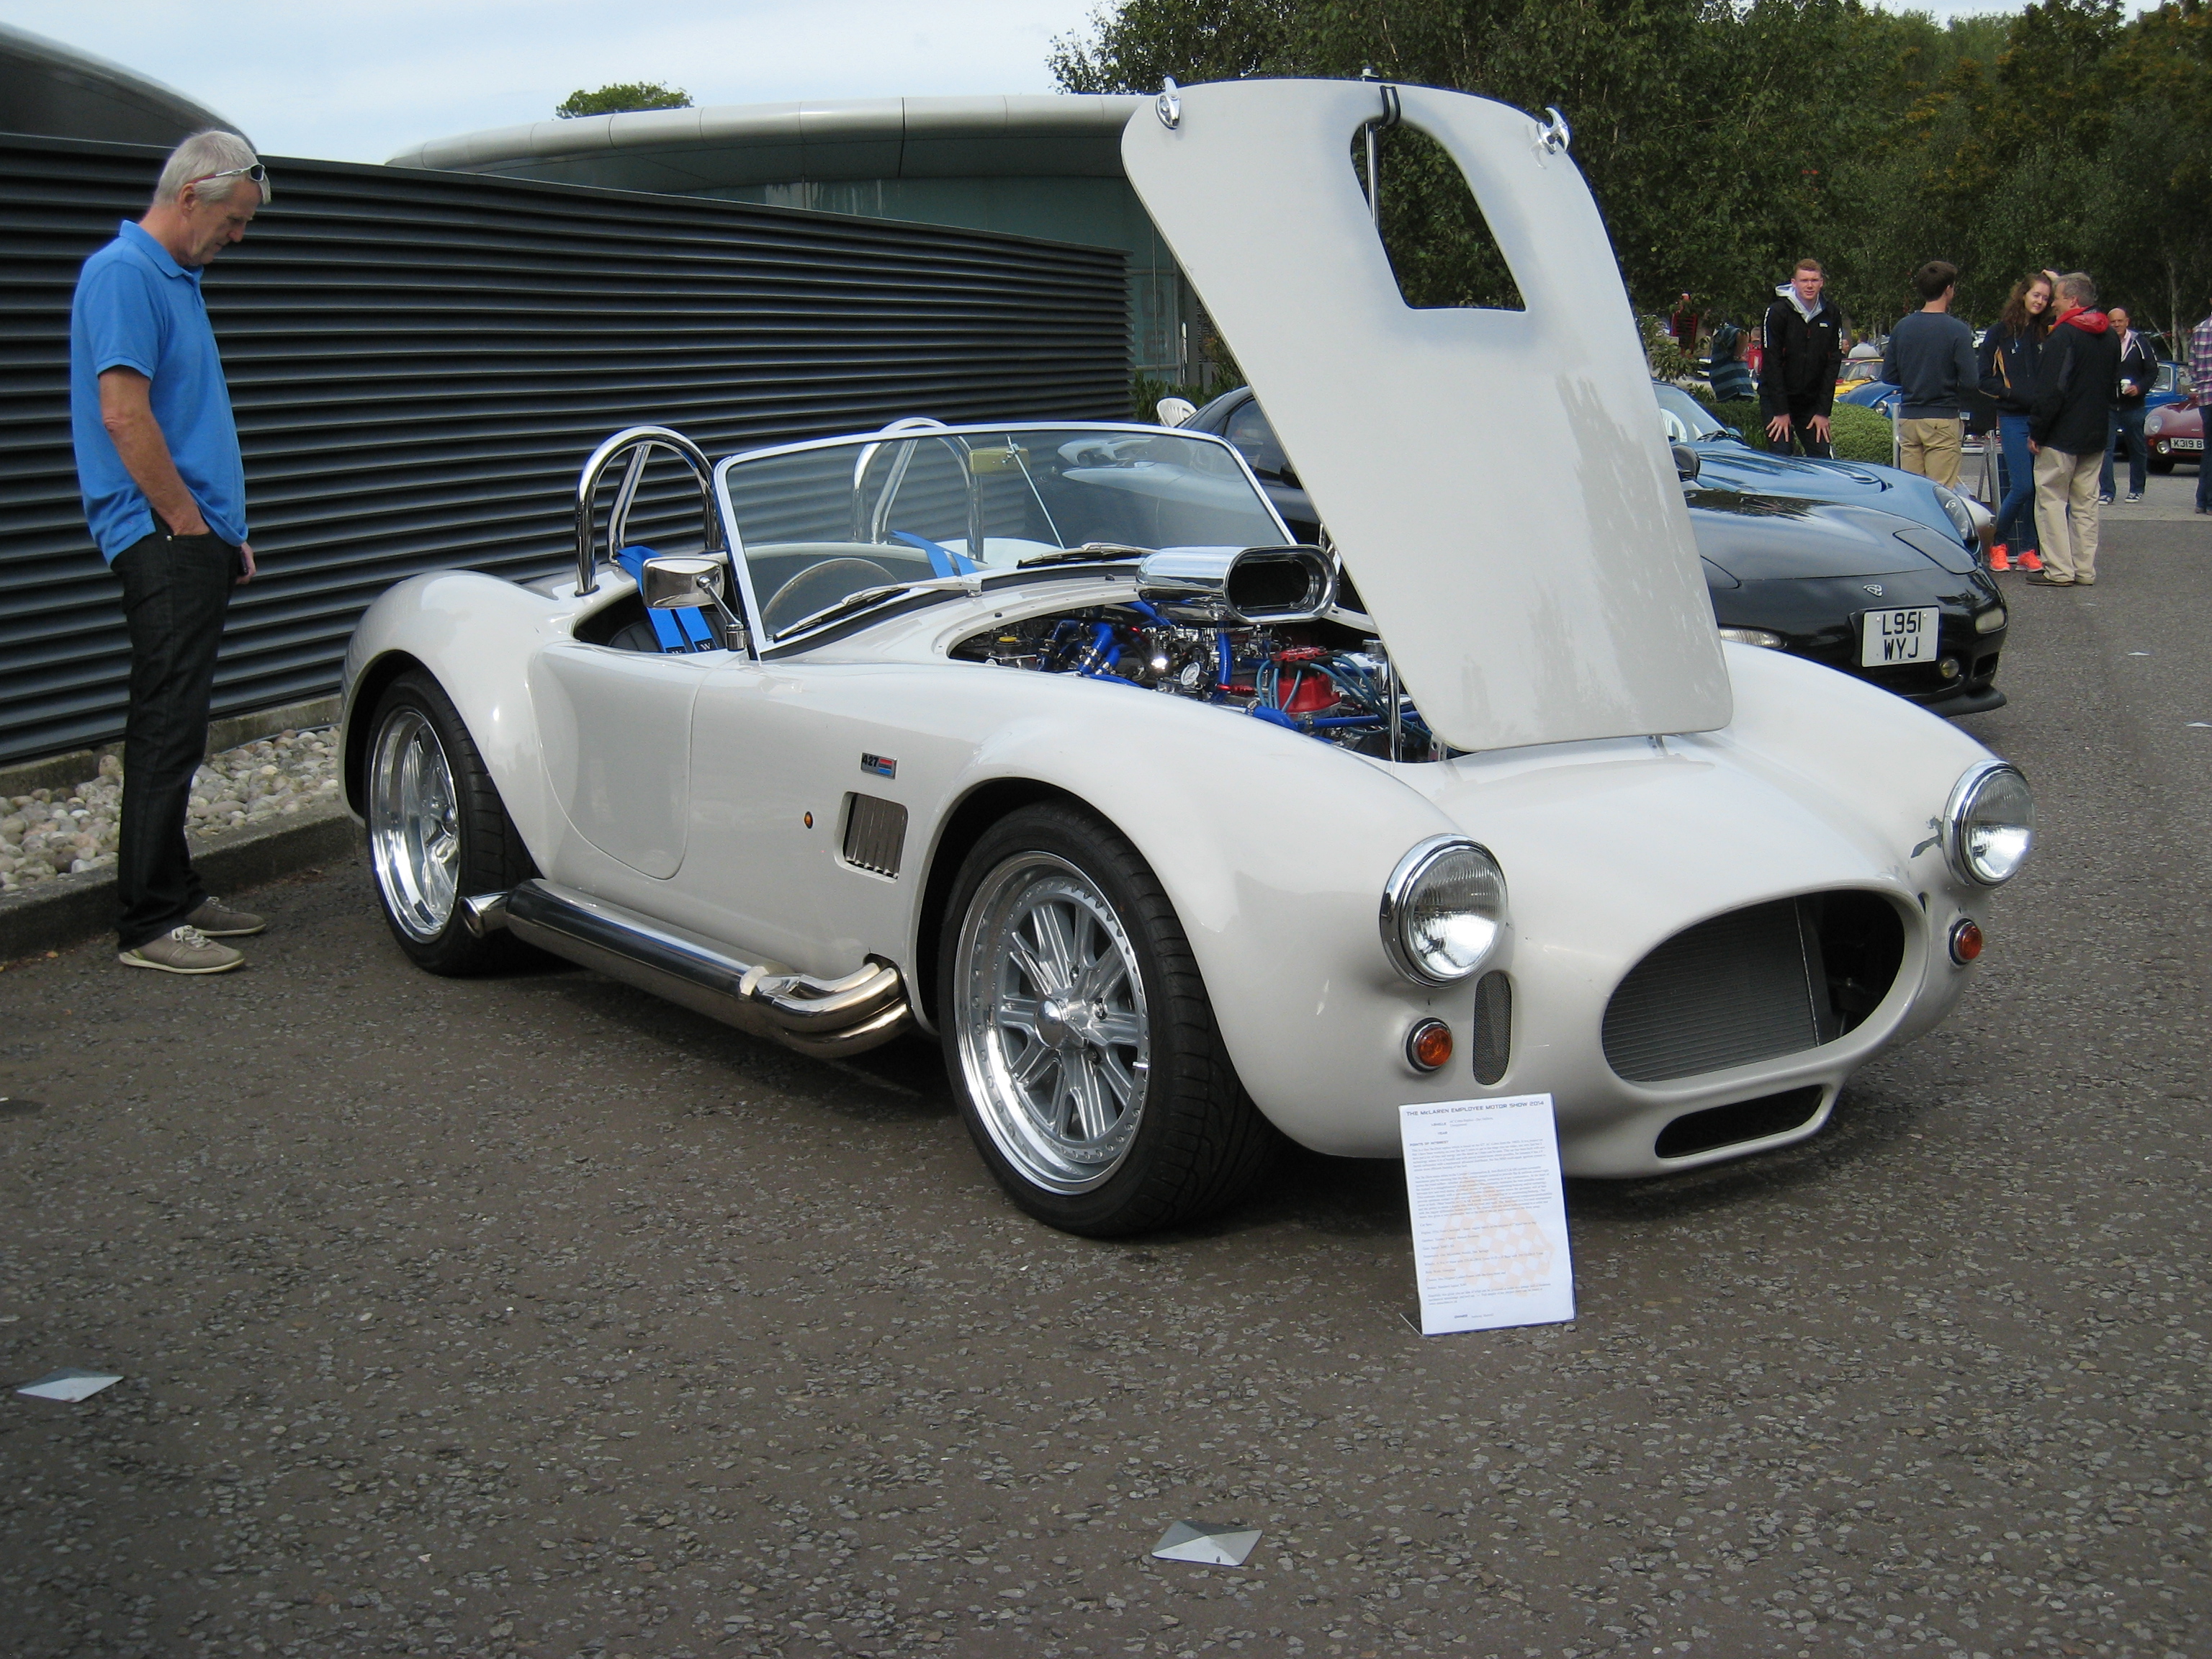
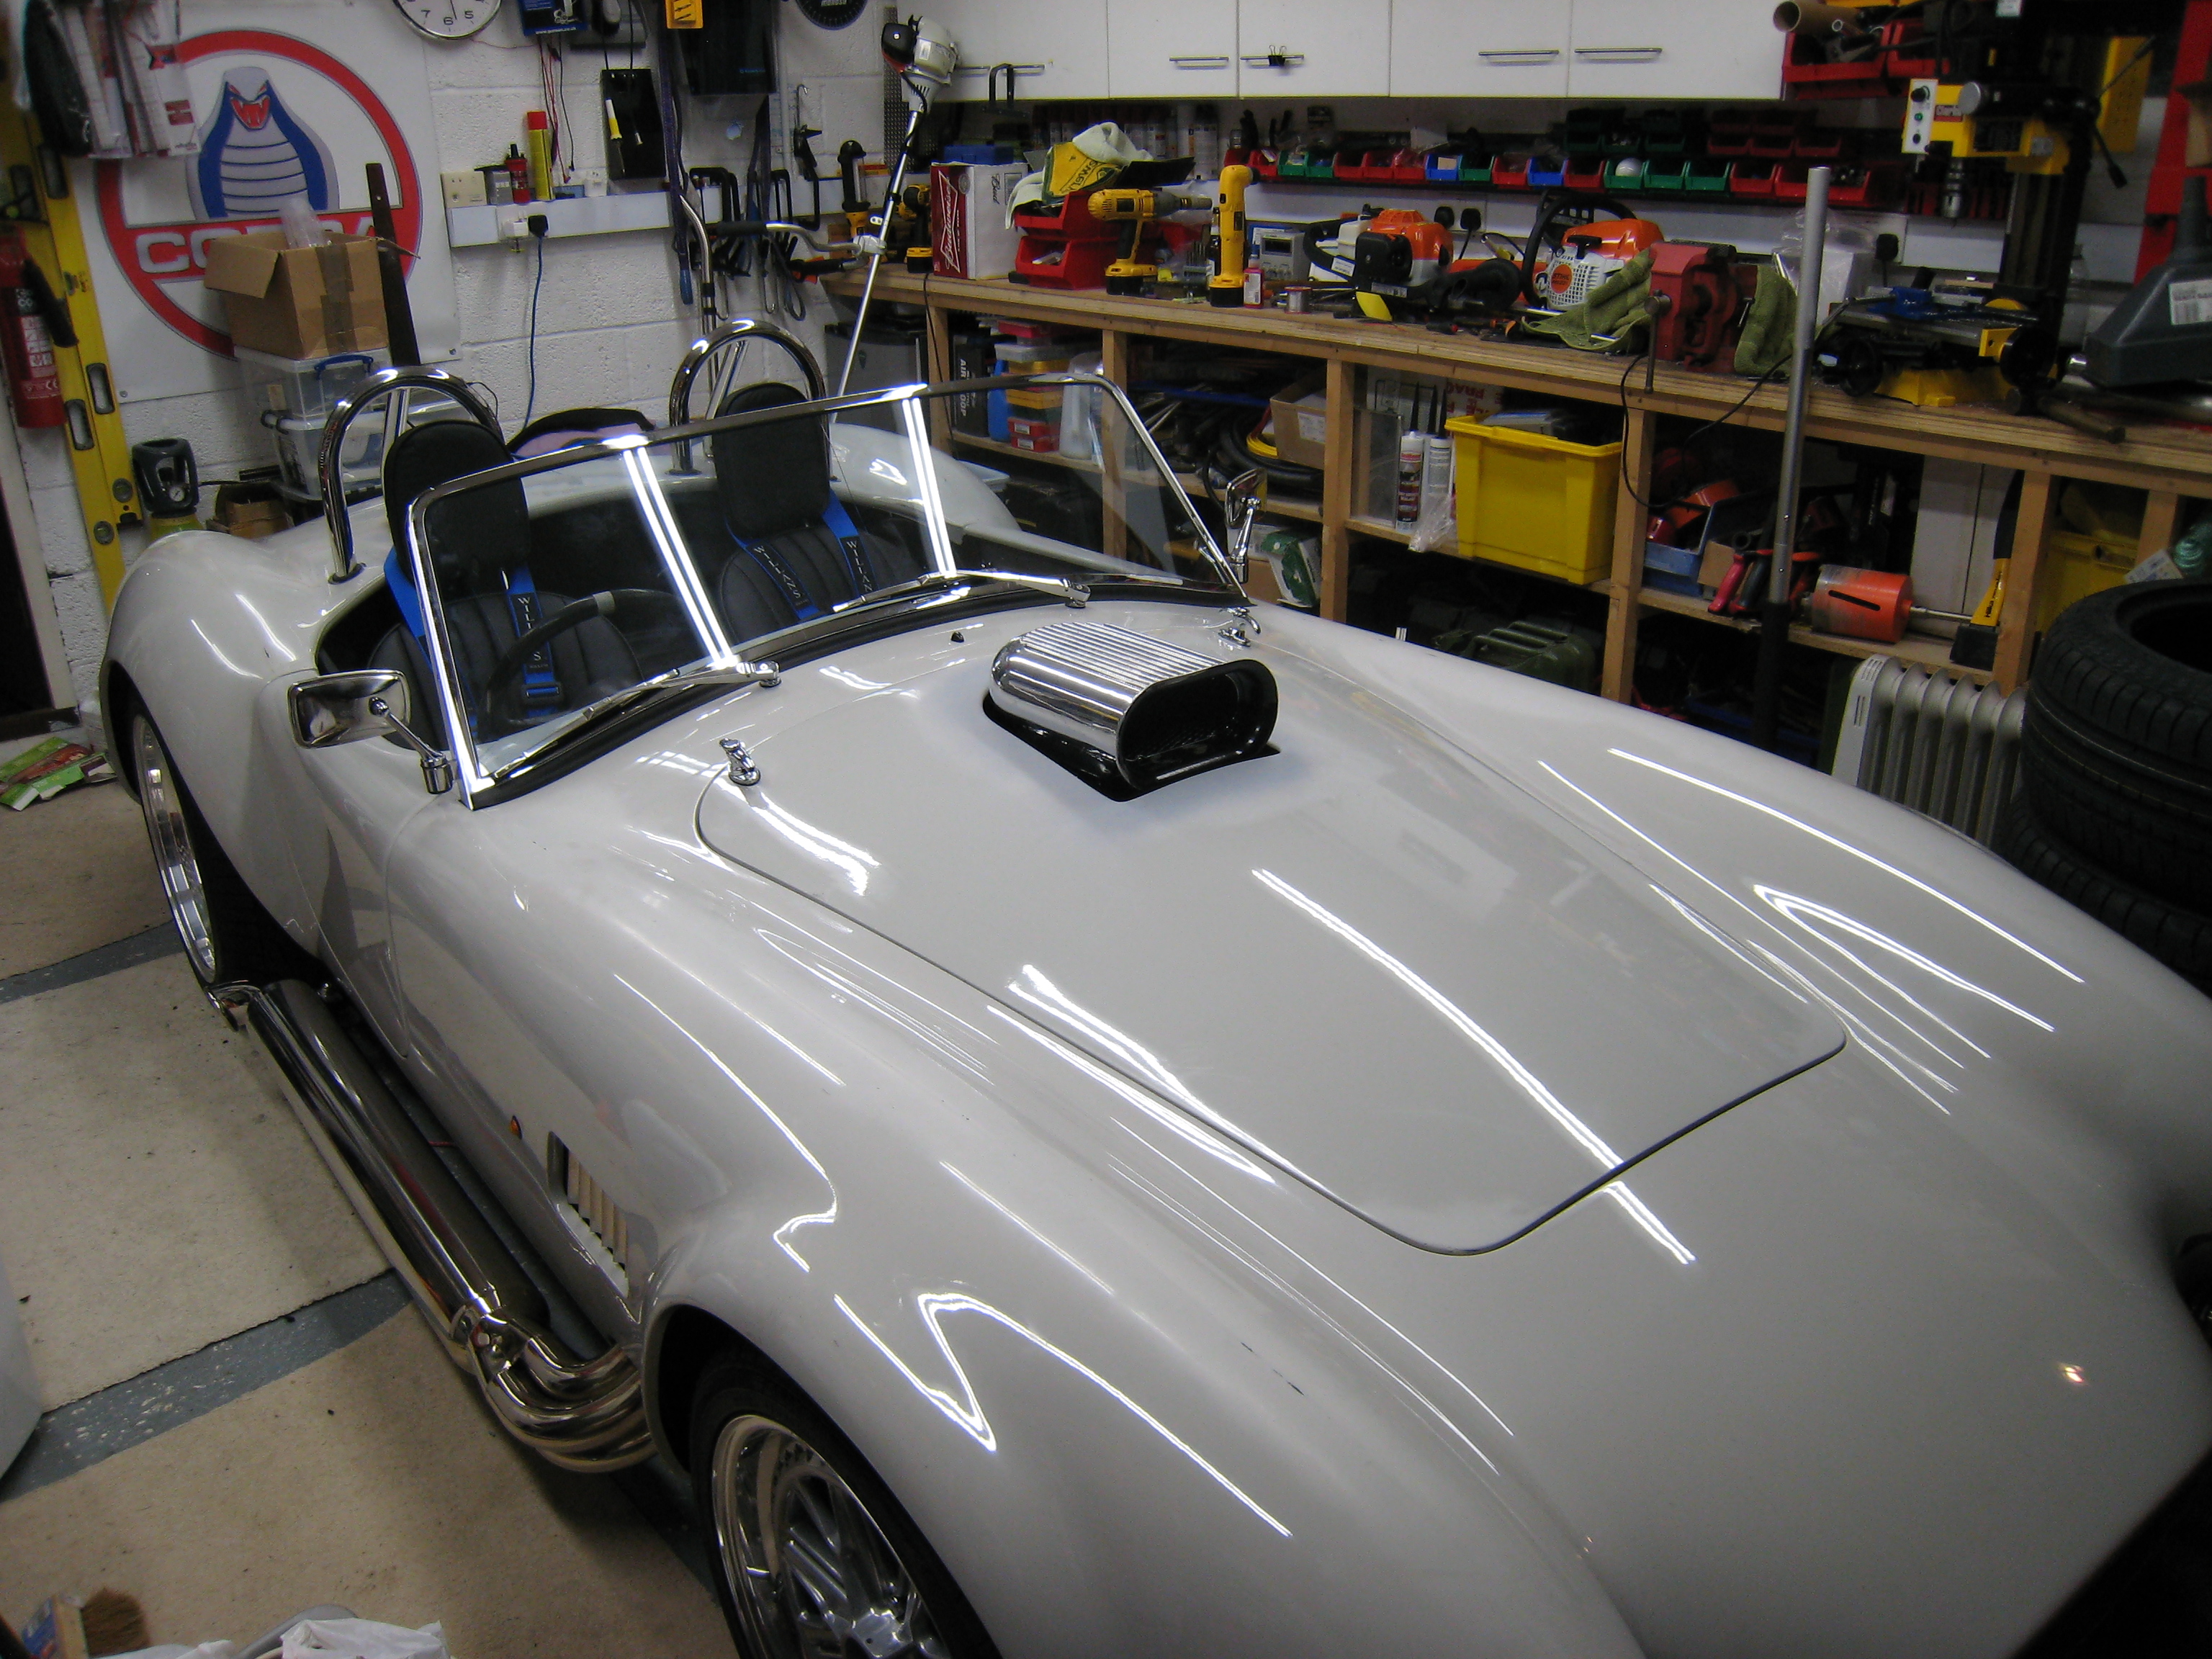
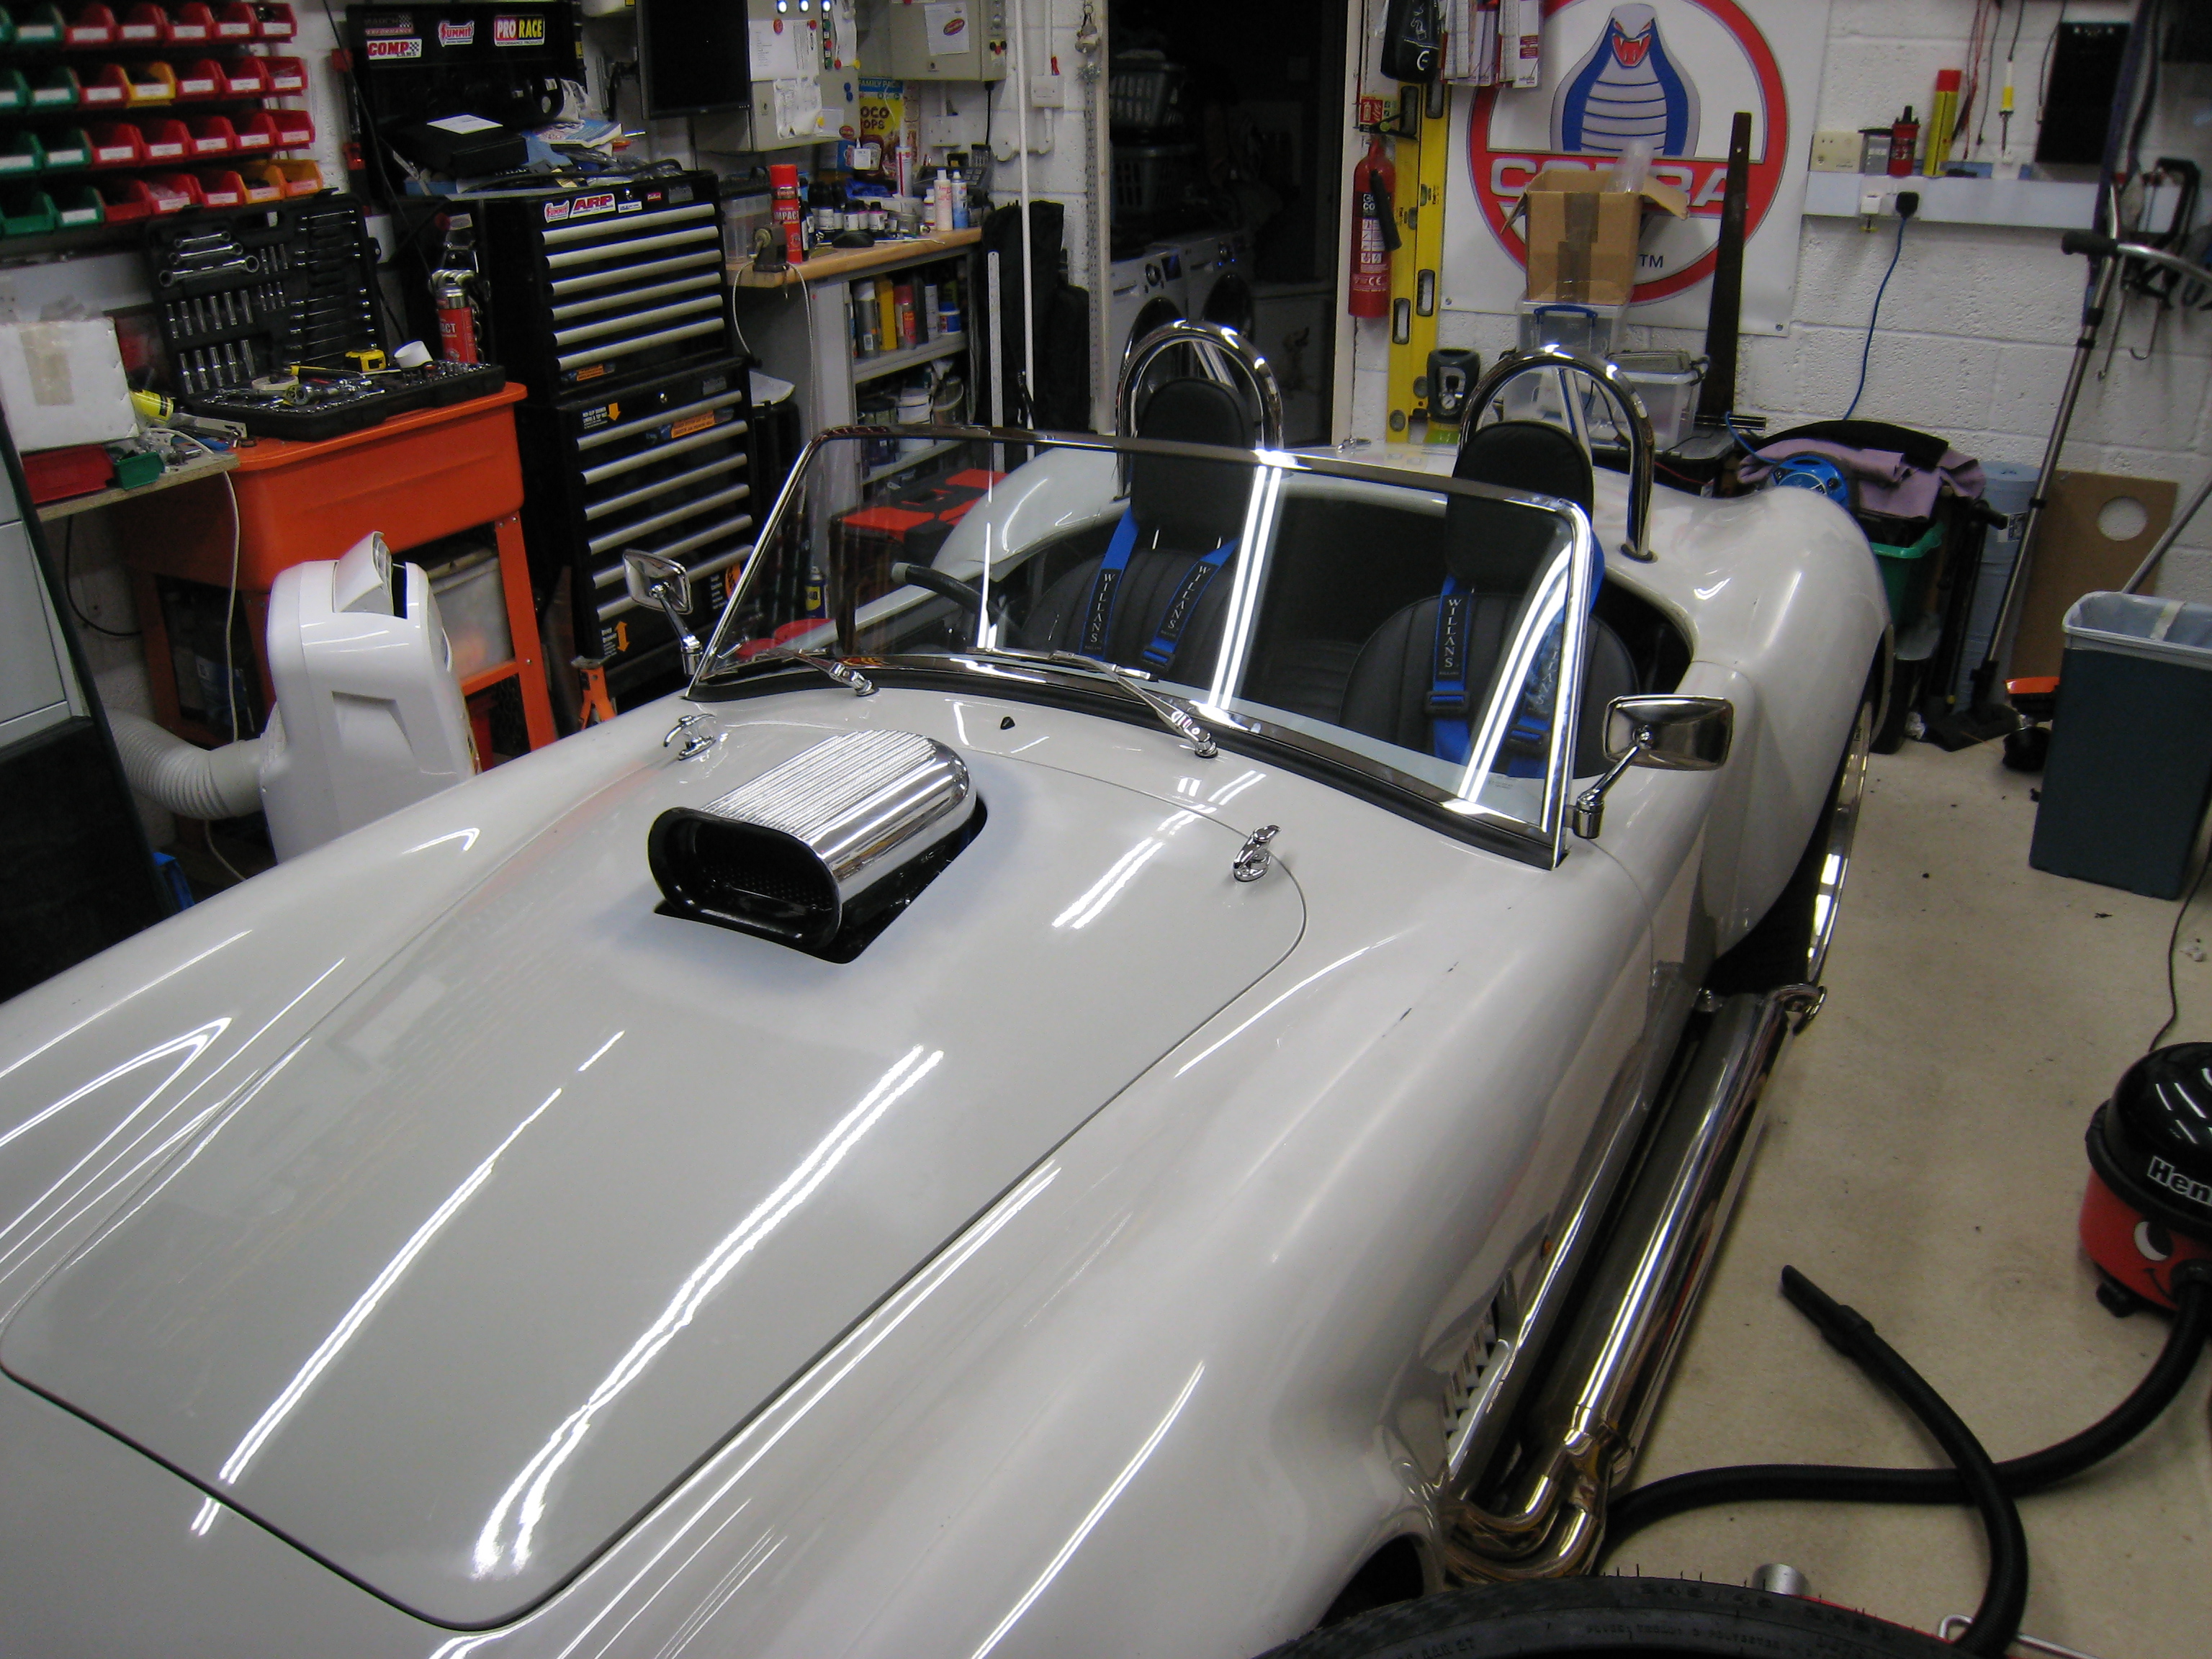
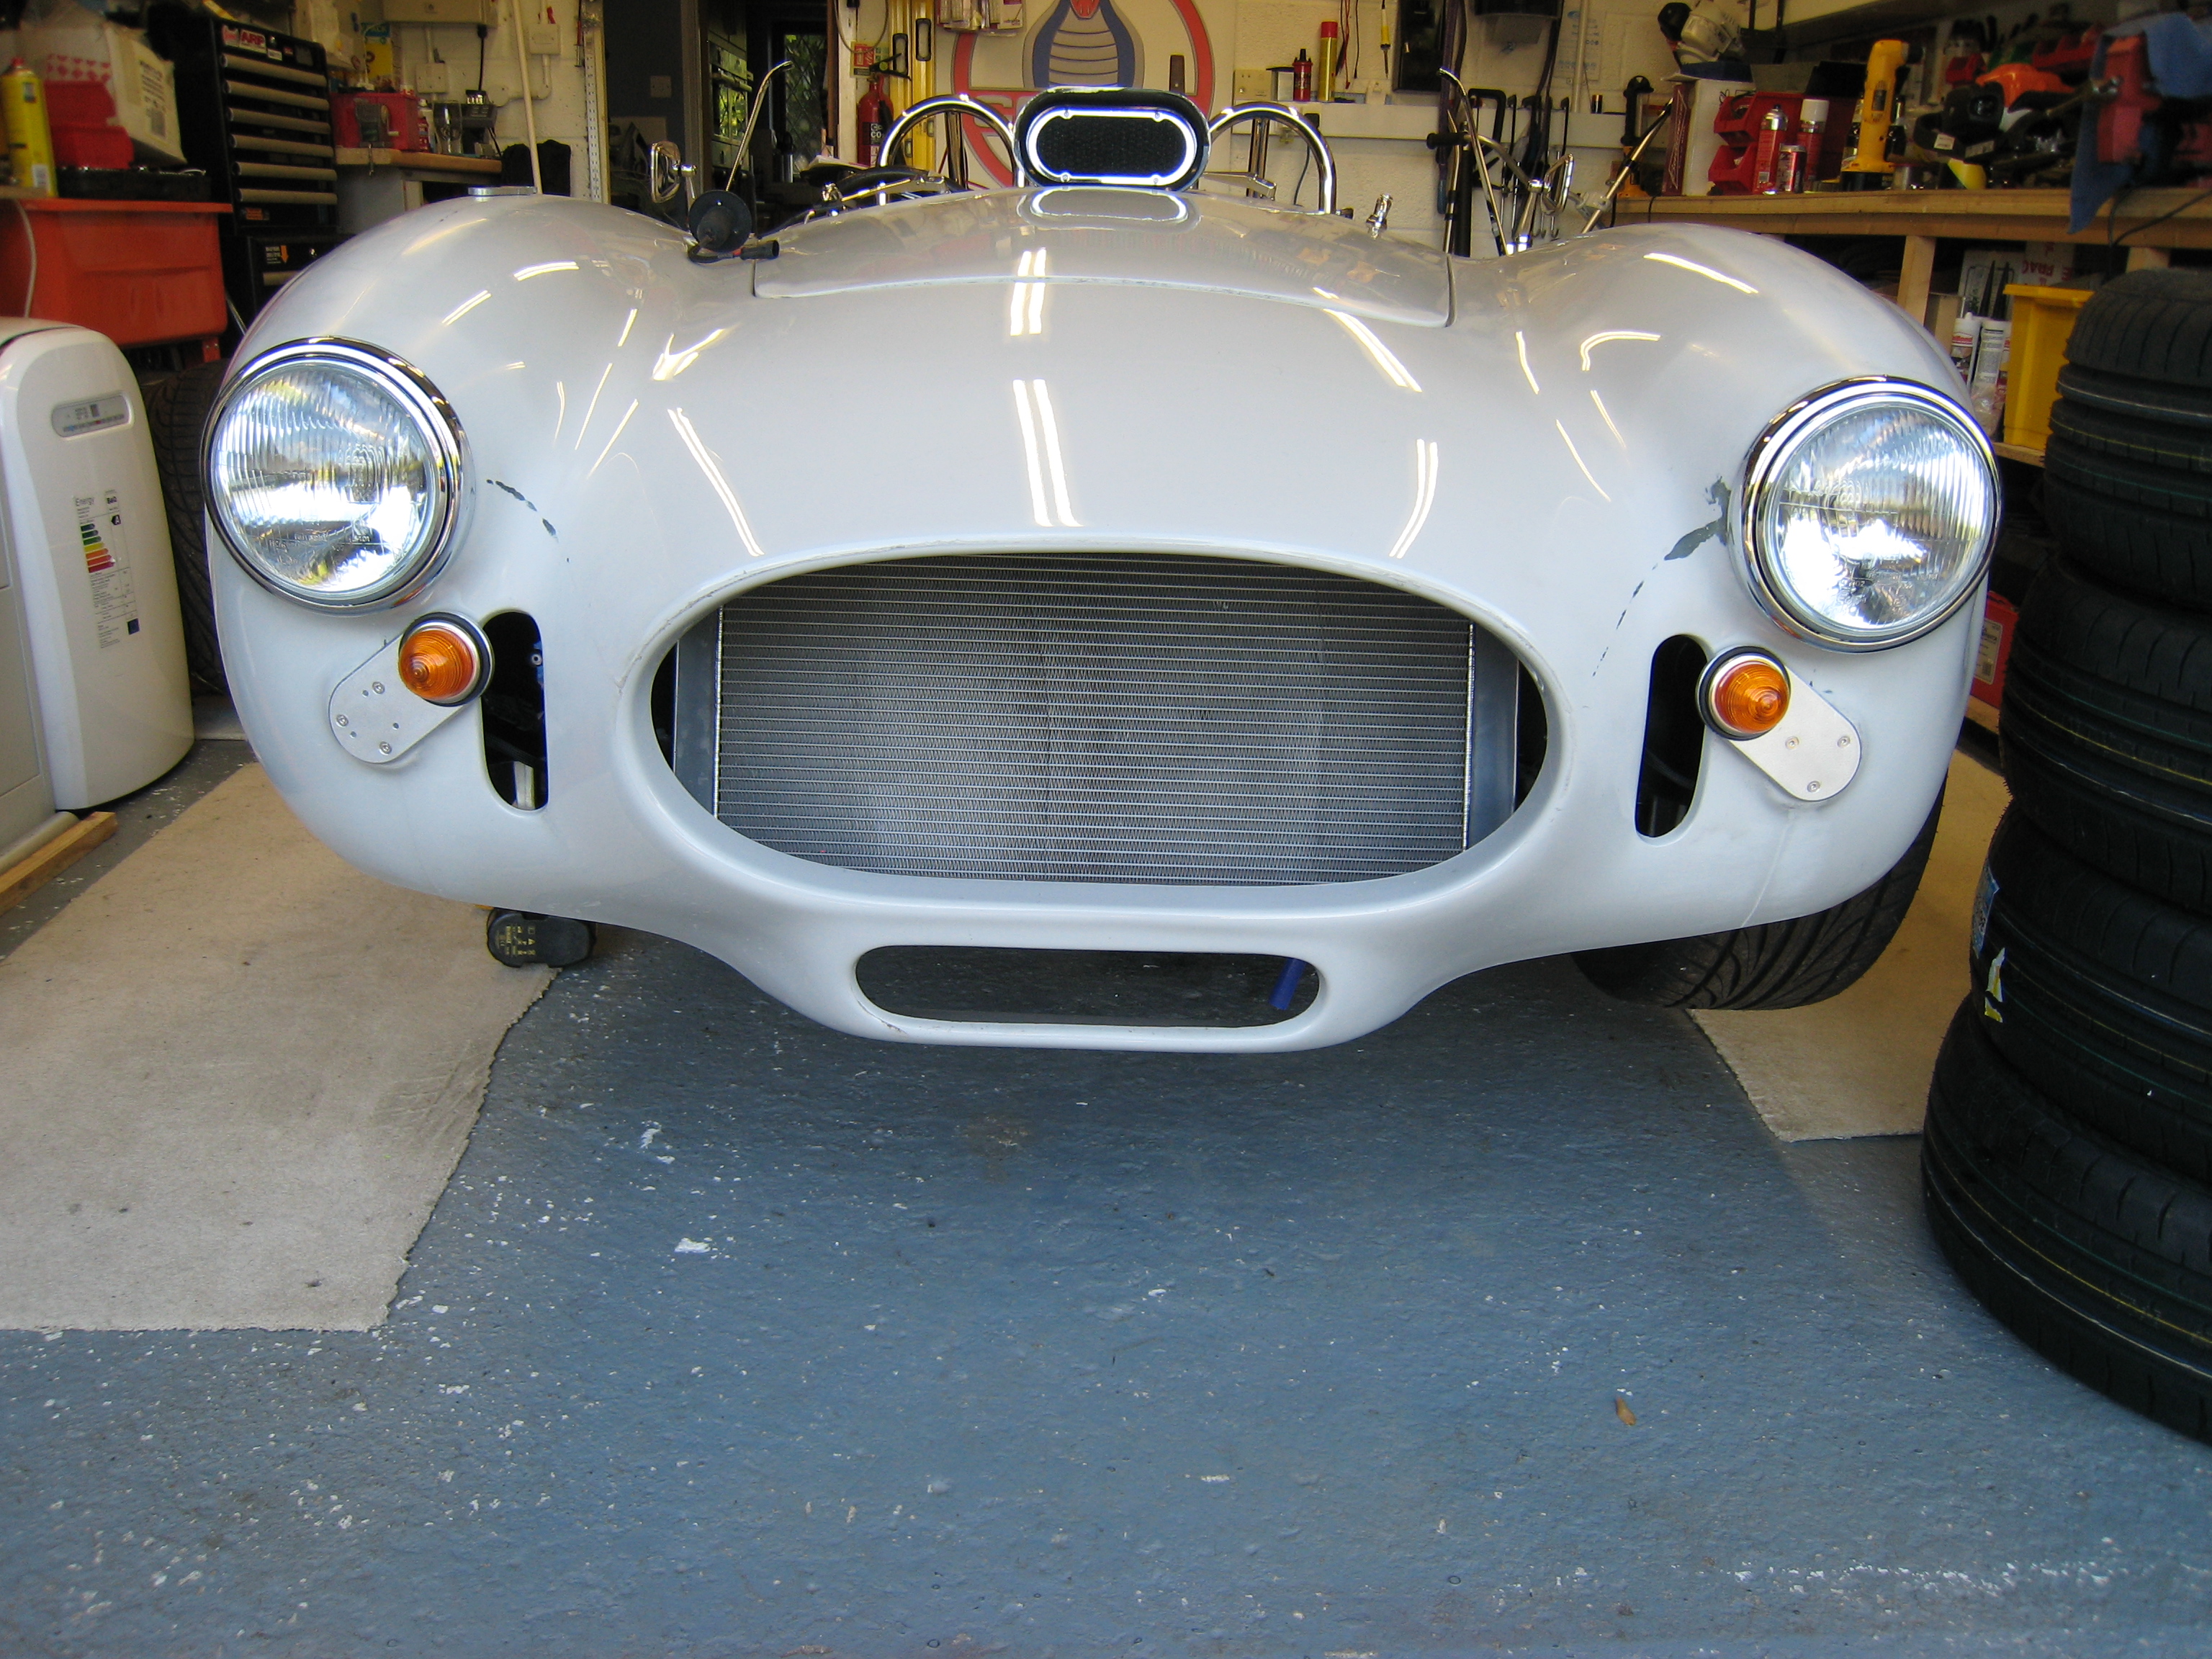
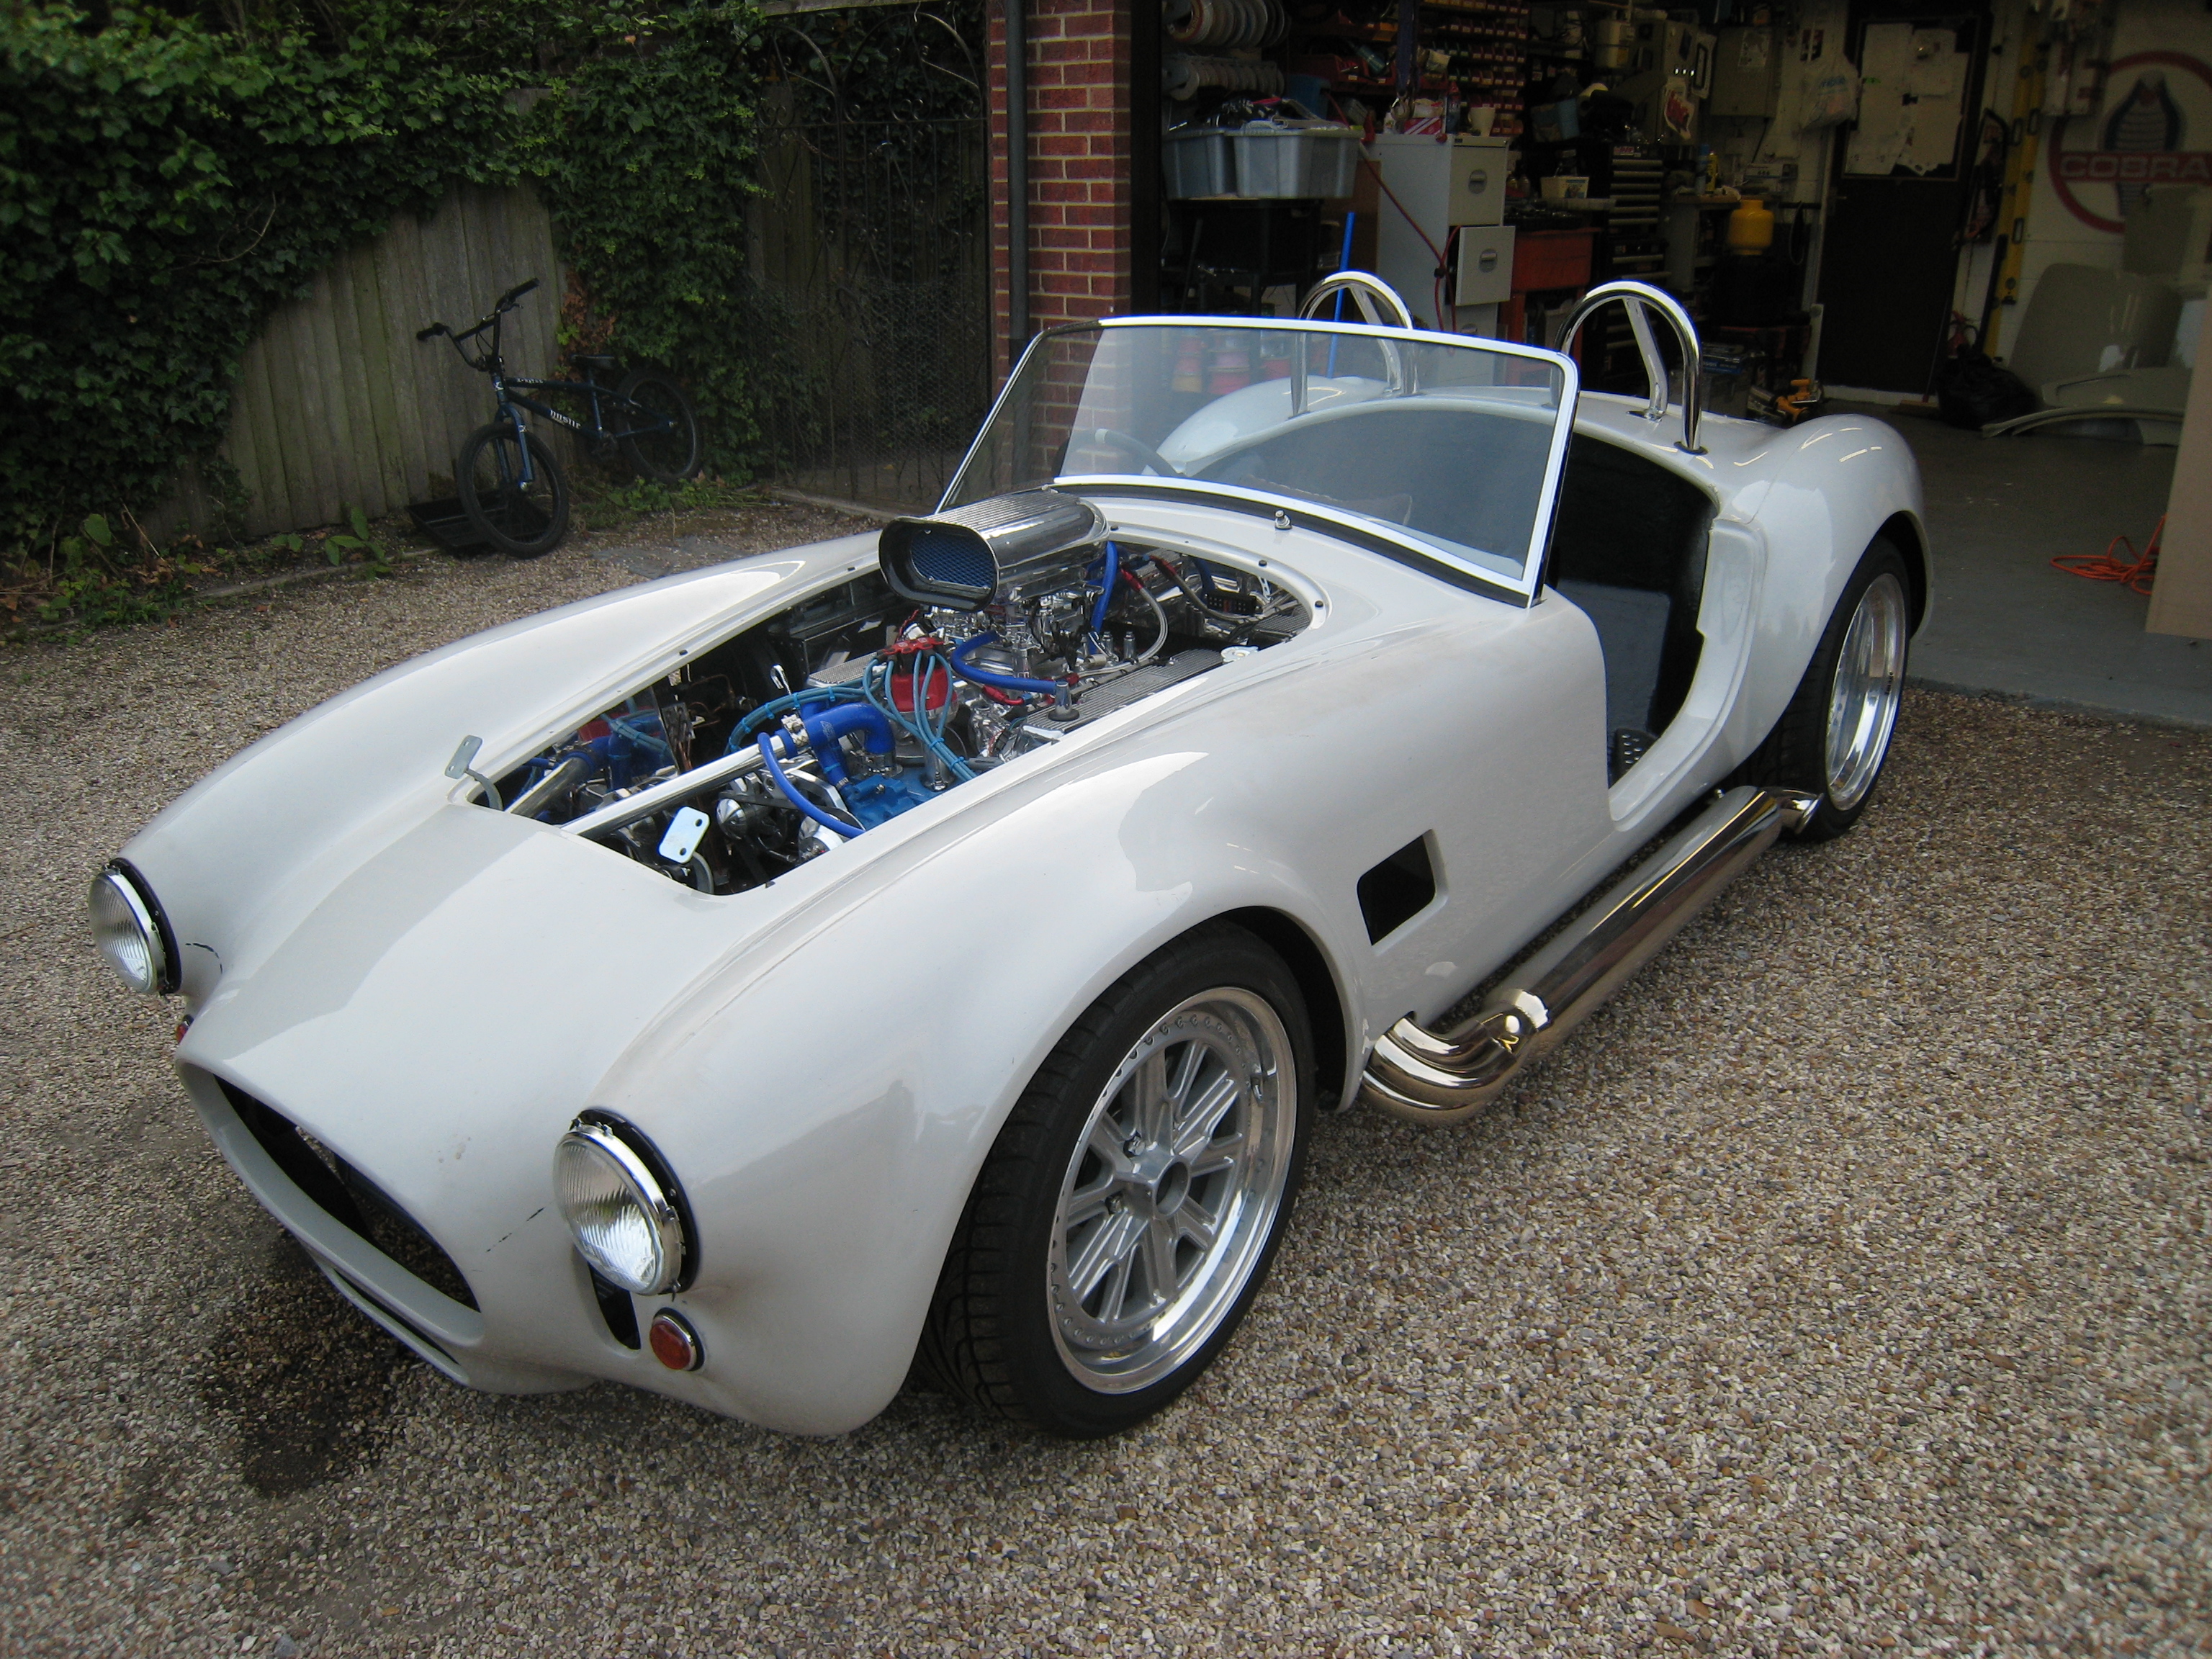
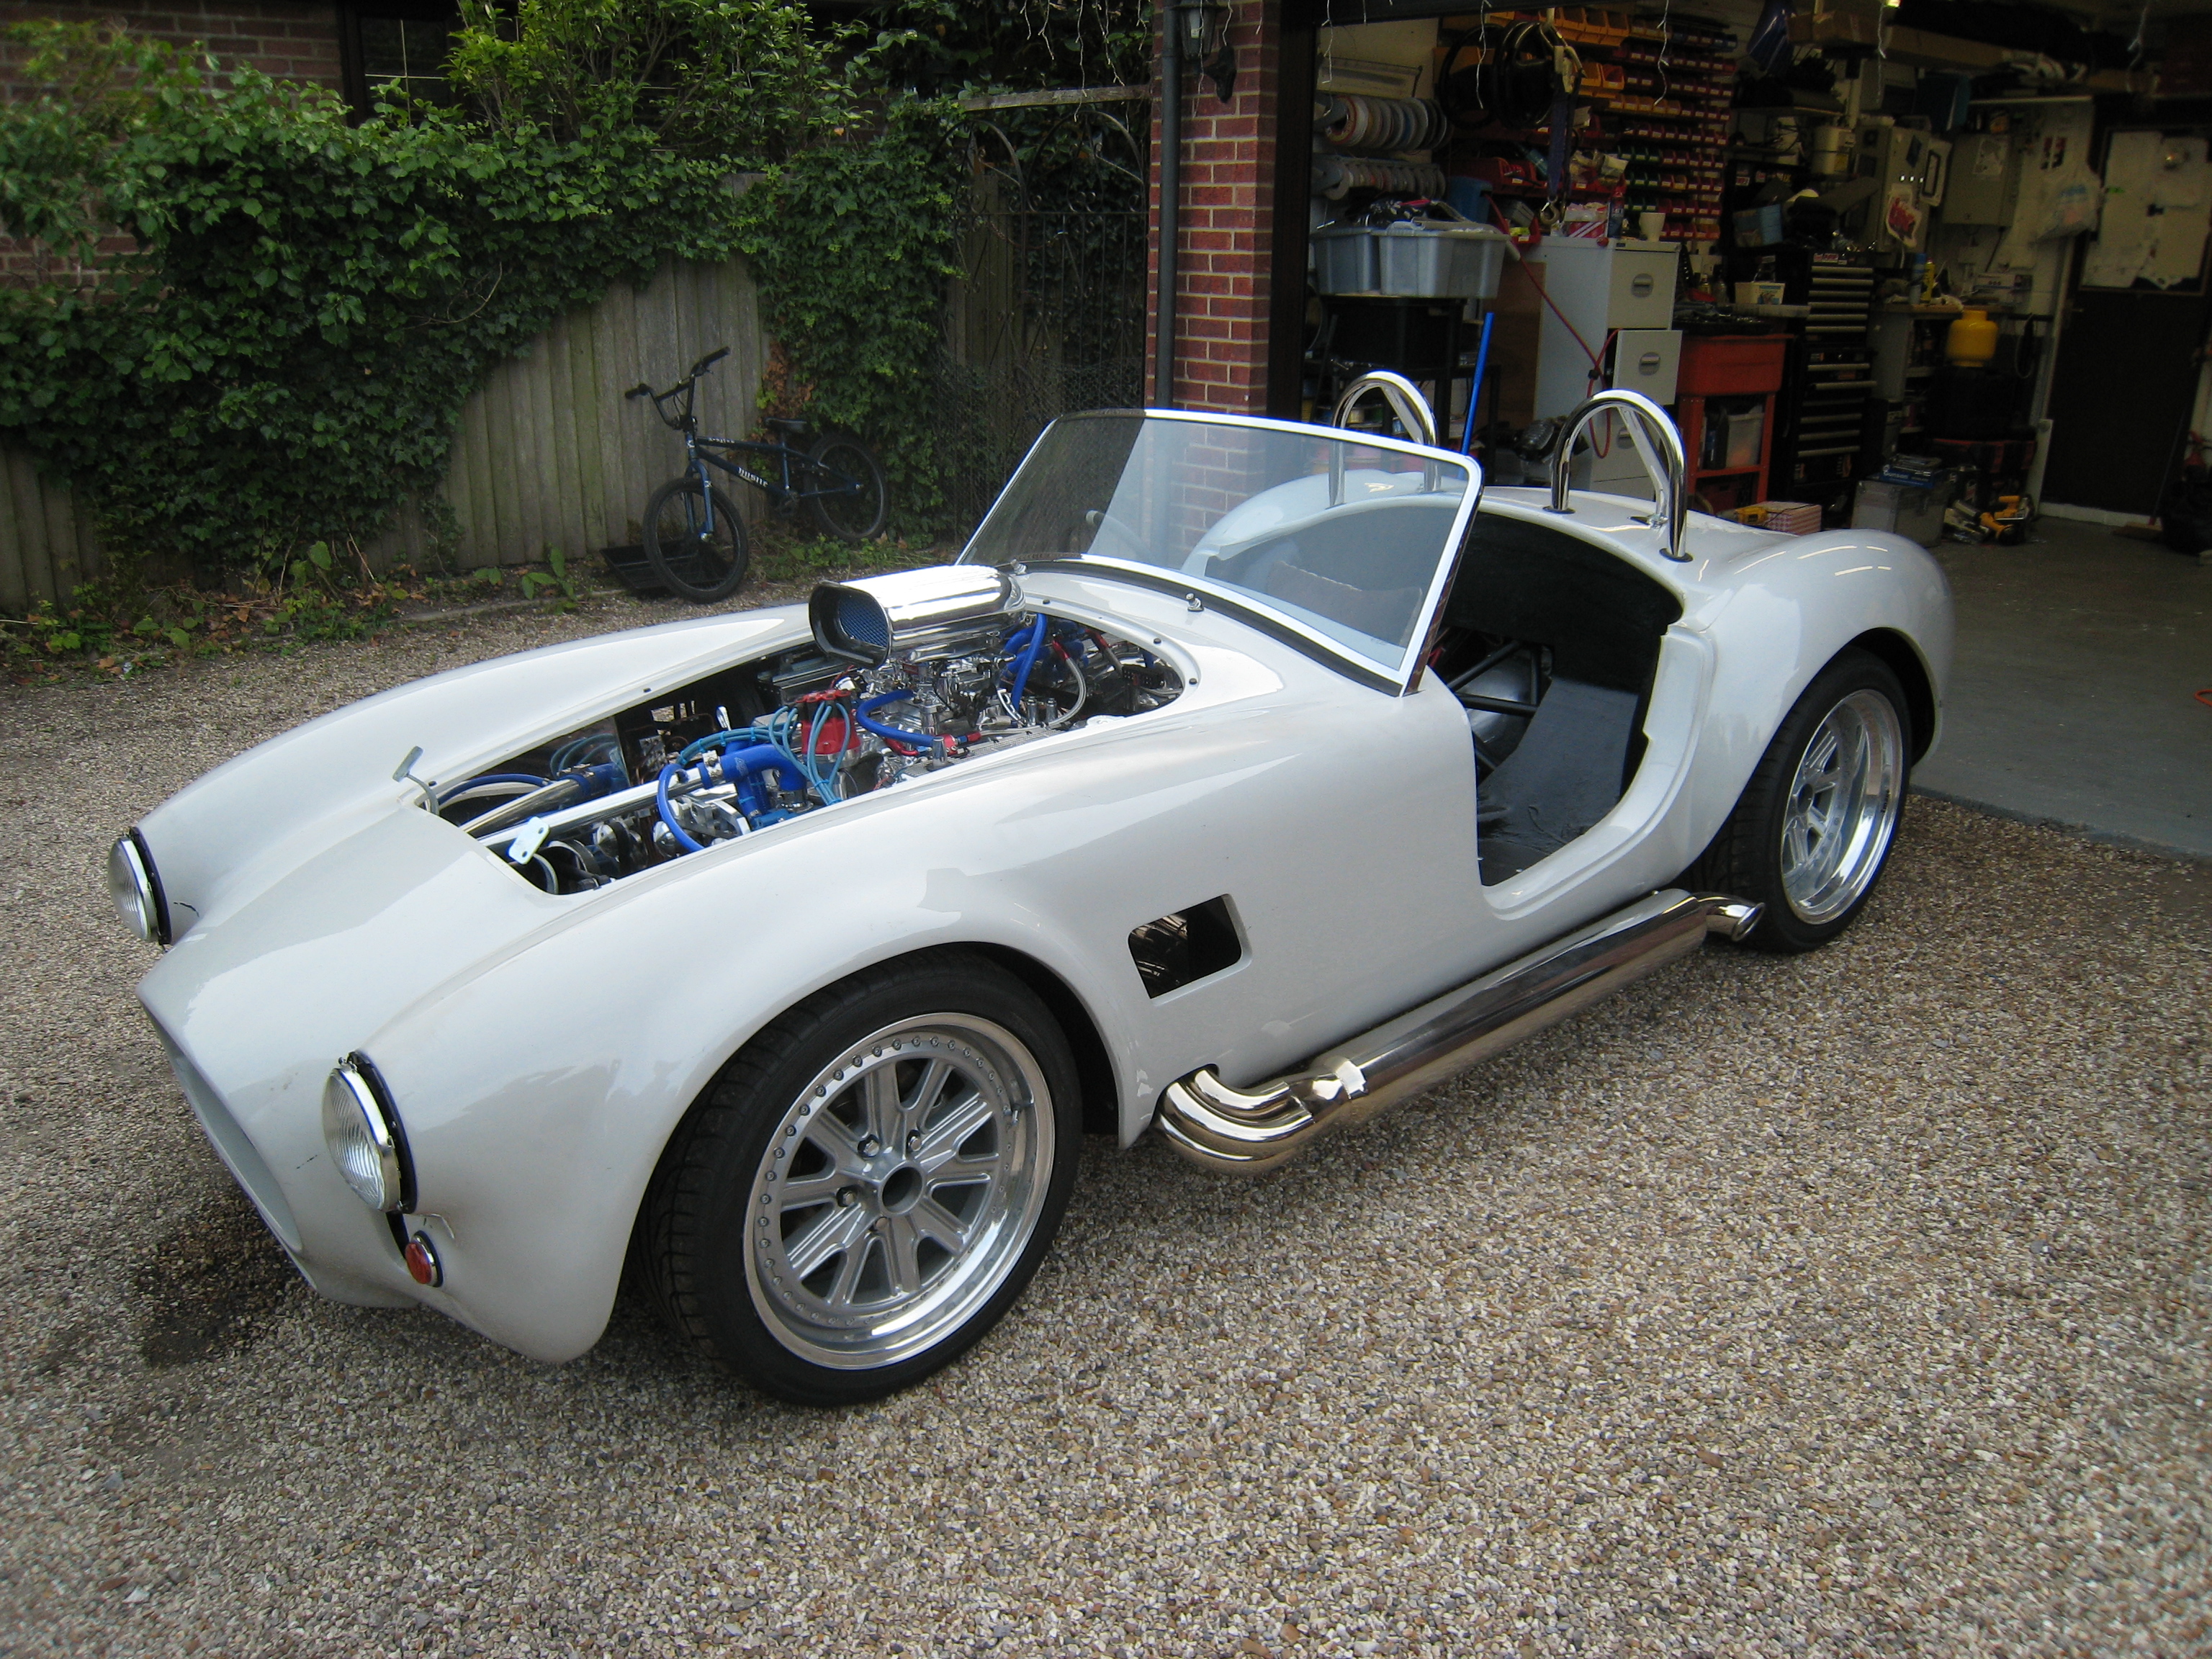
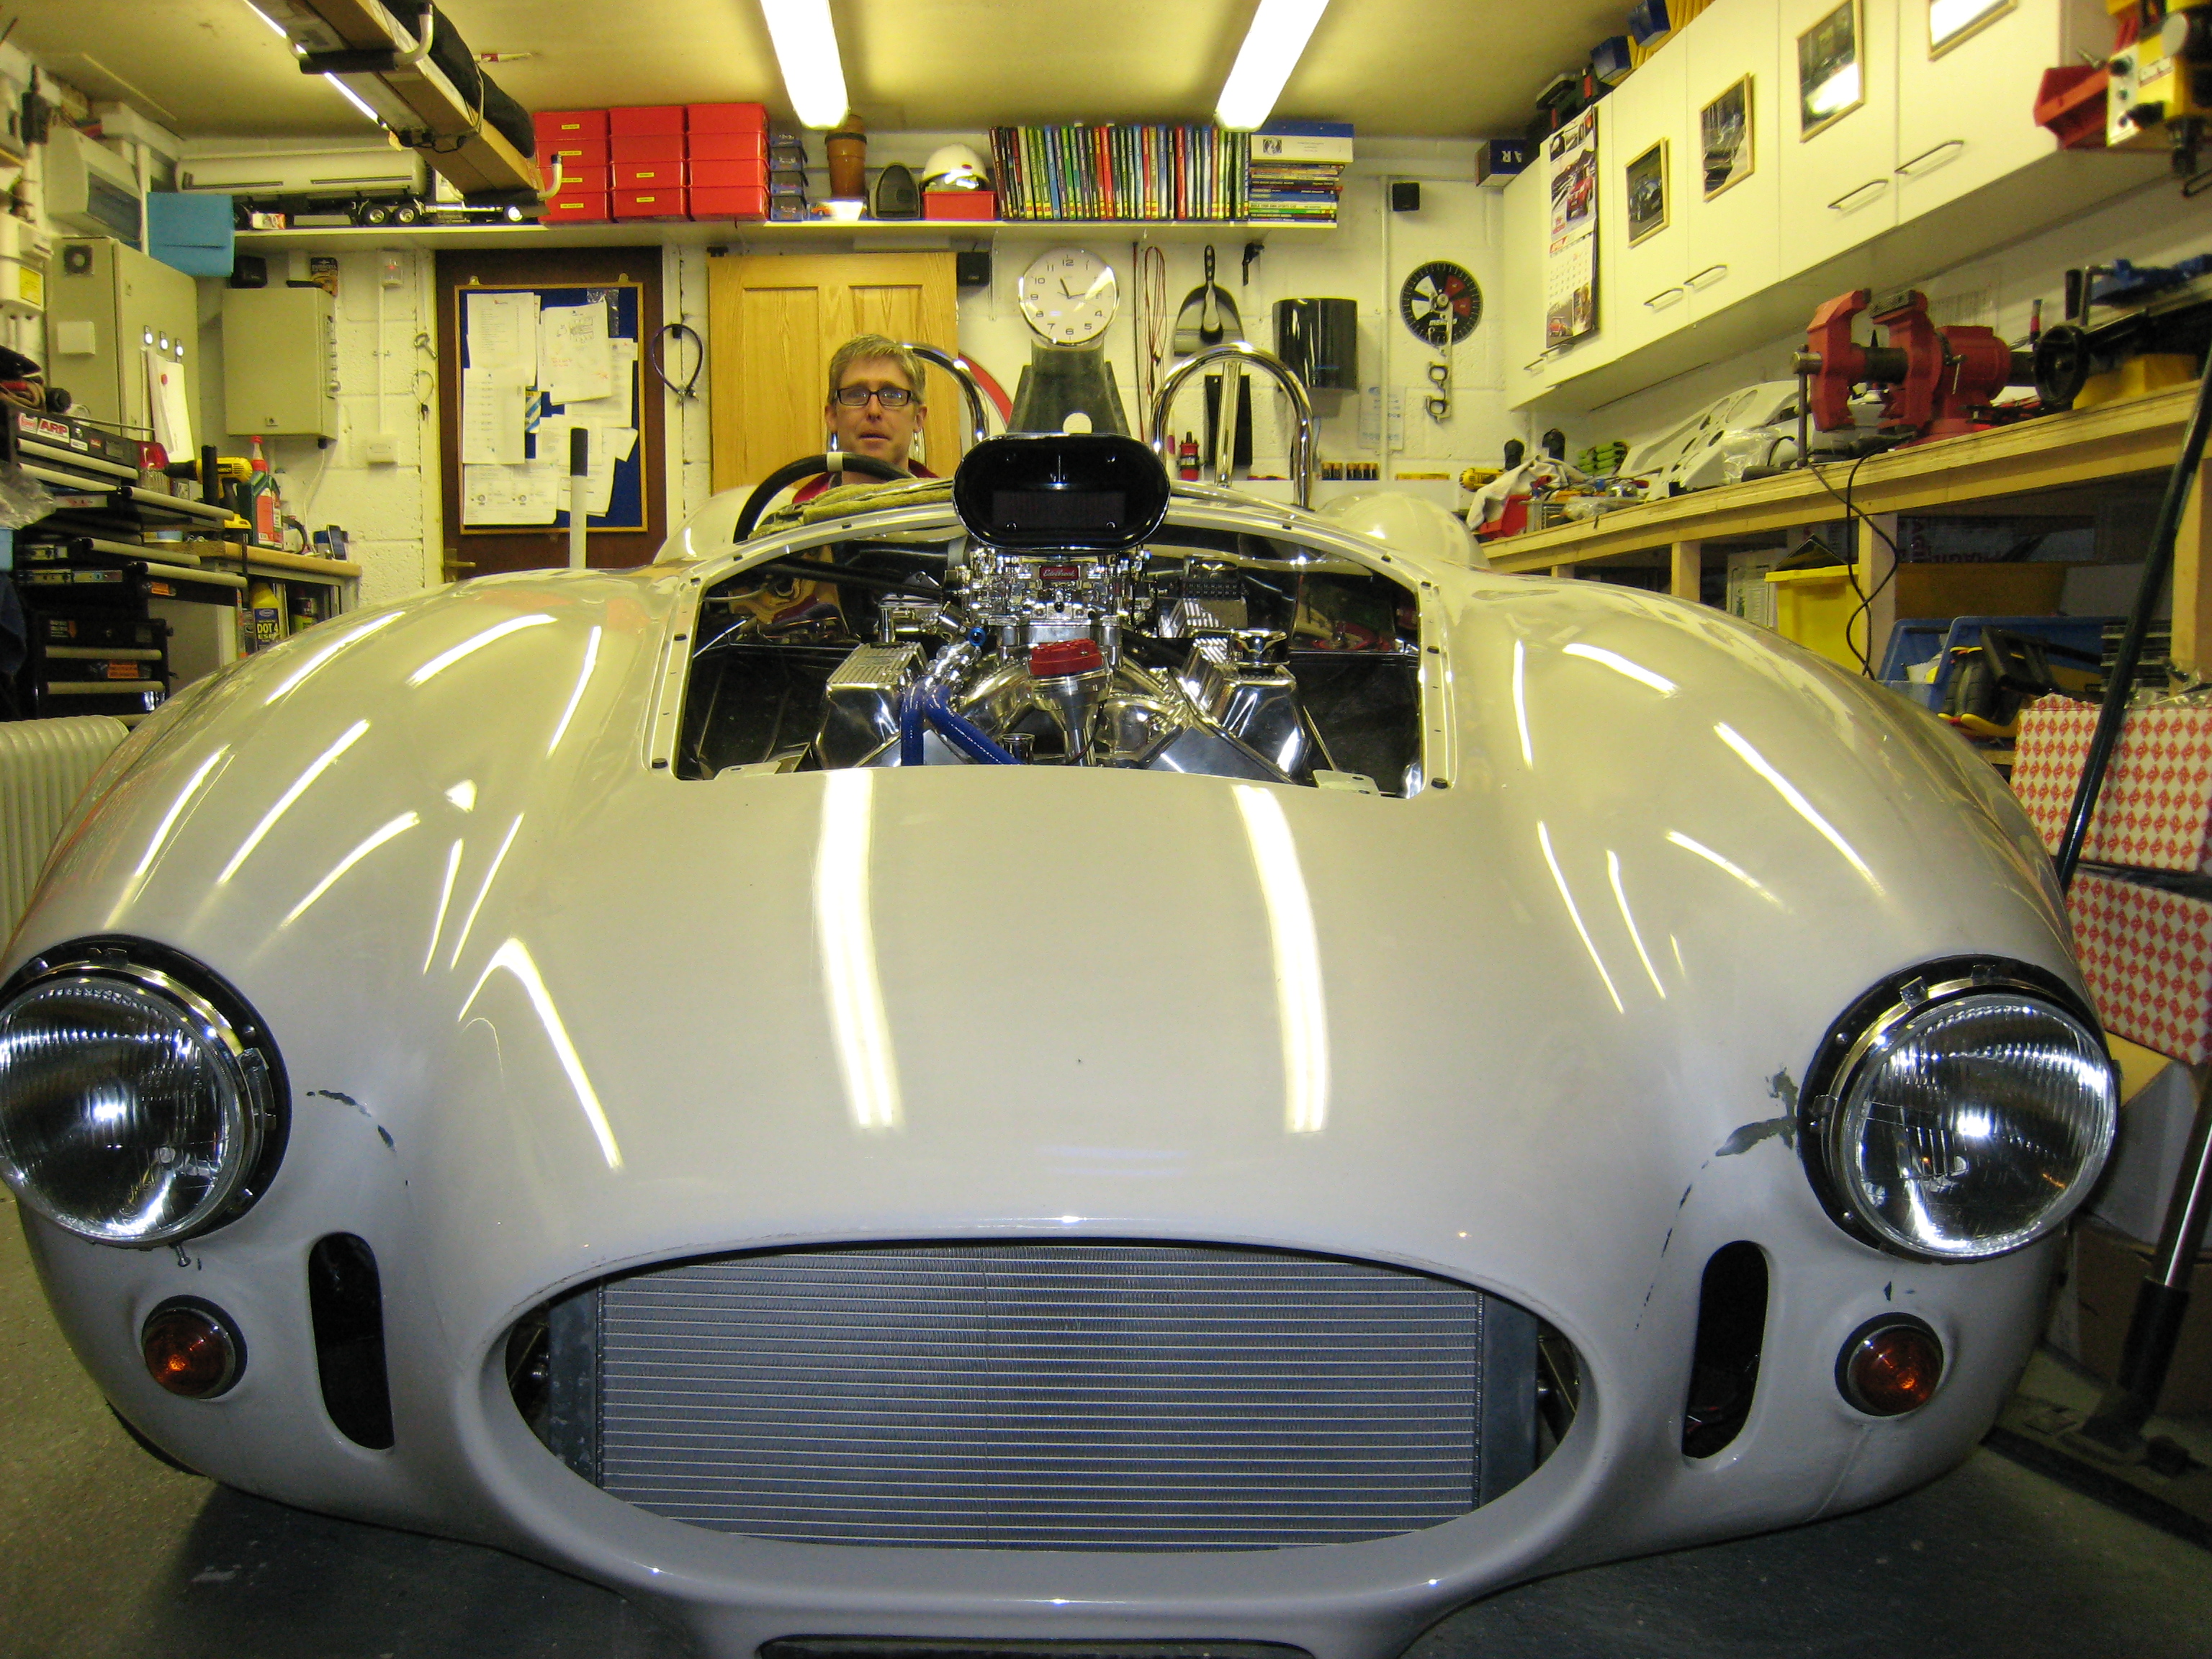
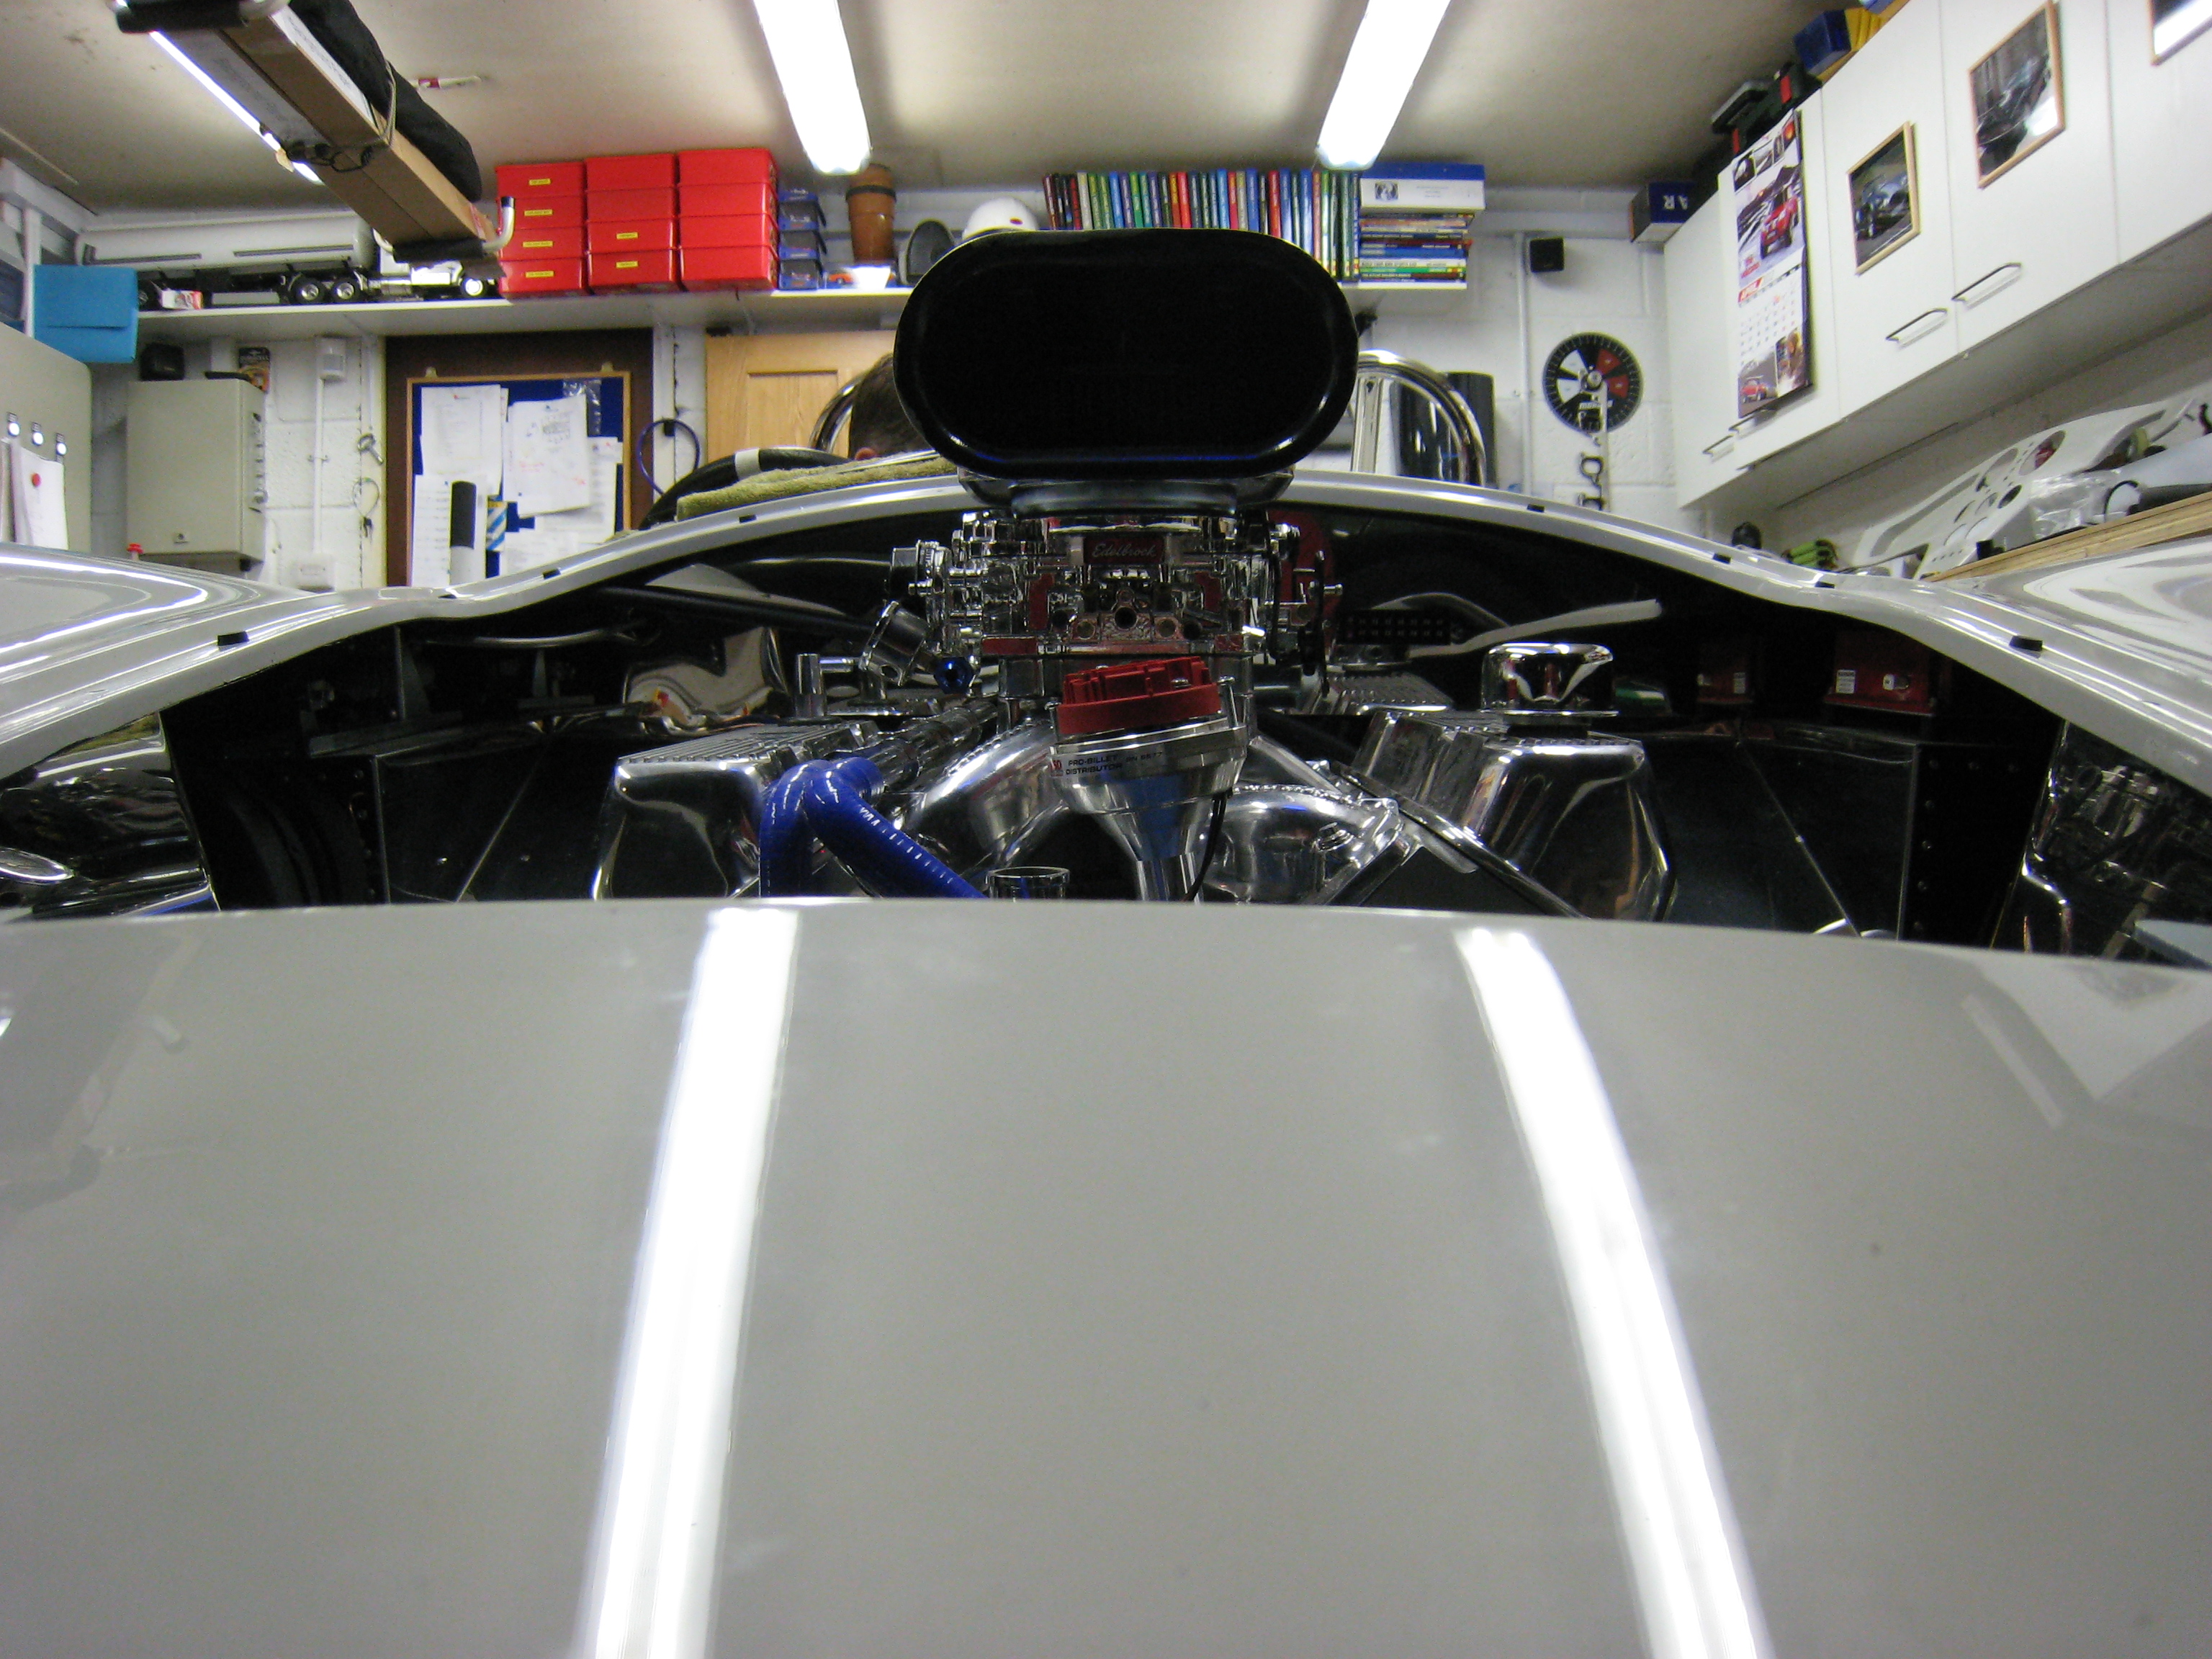
Finished
So Here She Is .....
Finshed and ready for this years (2016) Mclaren motor show, other than a couple of nice to have wiring
changes (puddle lights) she is complete, 6 years of hard work and fun !! Thanks to everyone who
has helped along the way, and now to get out and enjoy whats left of the summer.
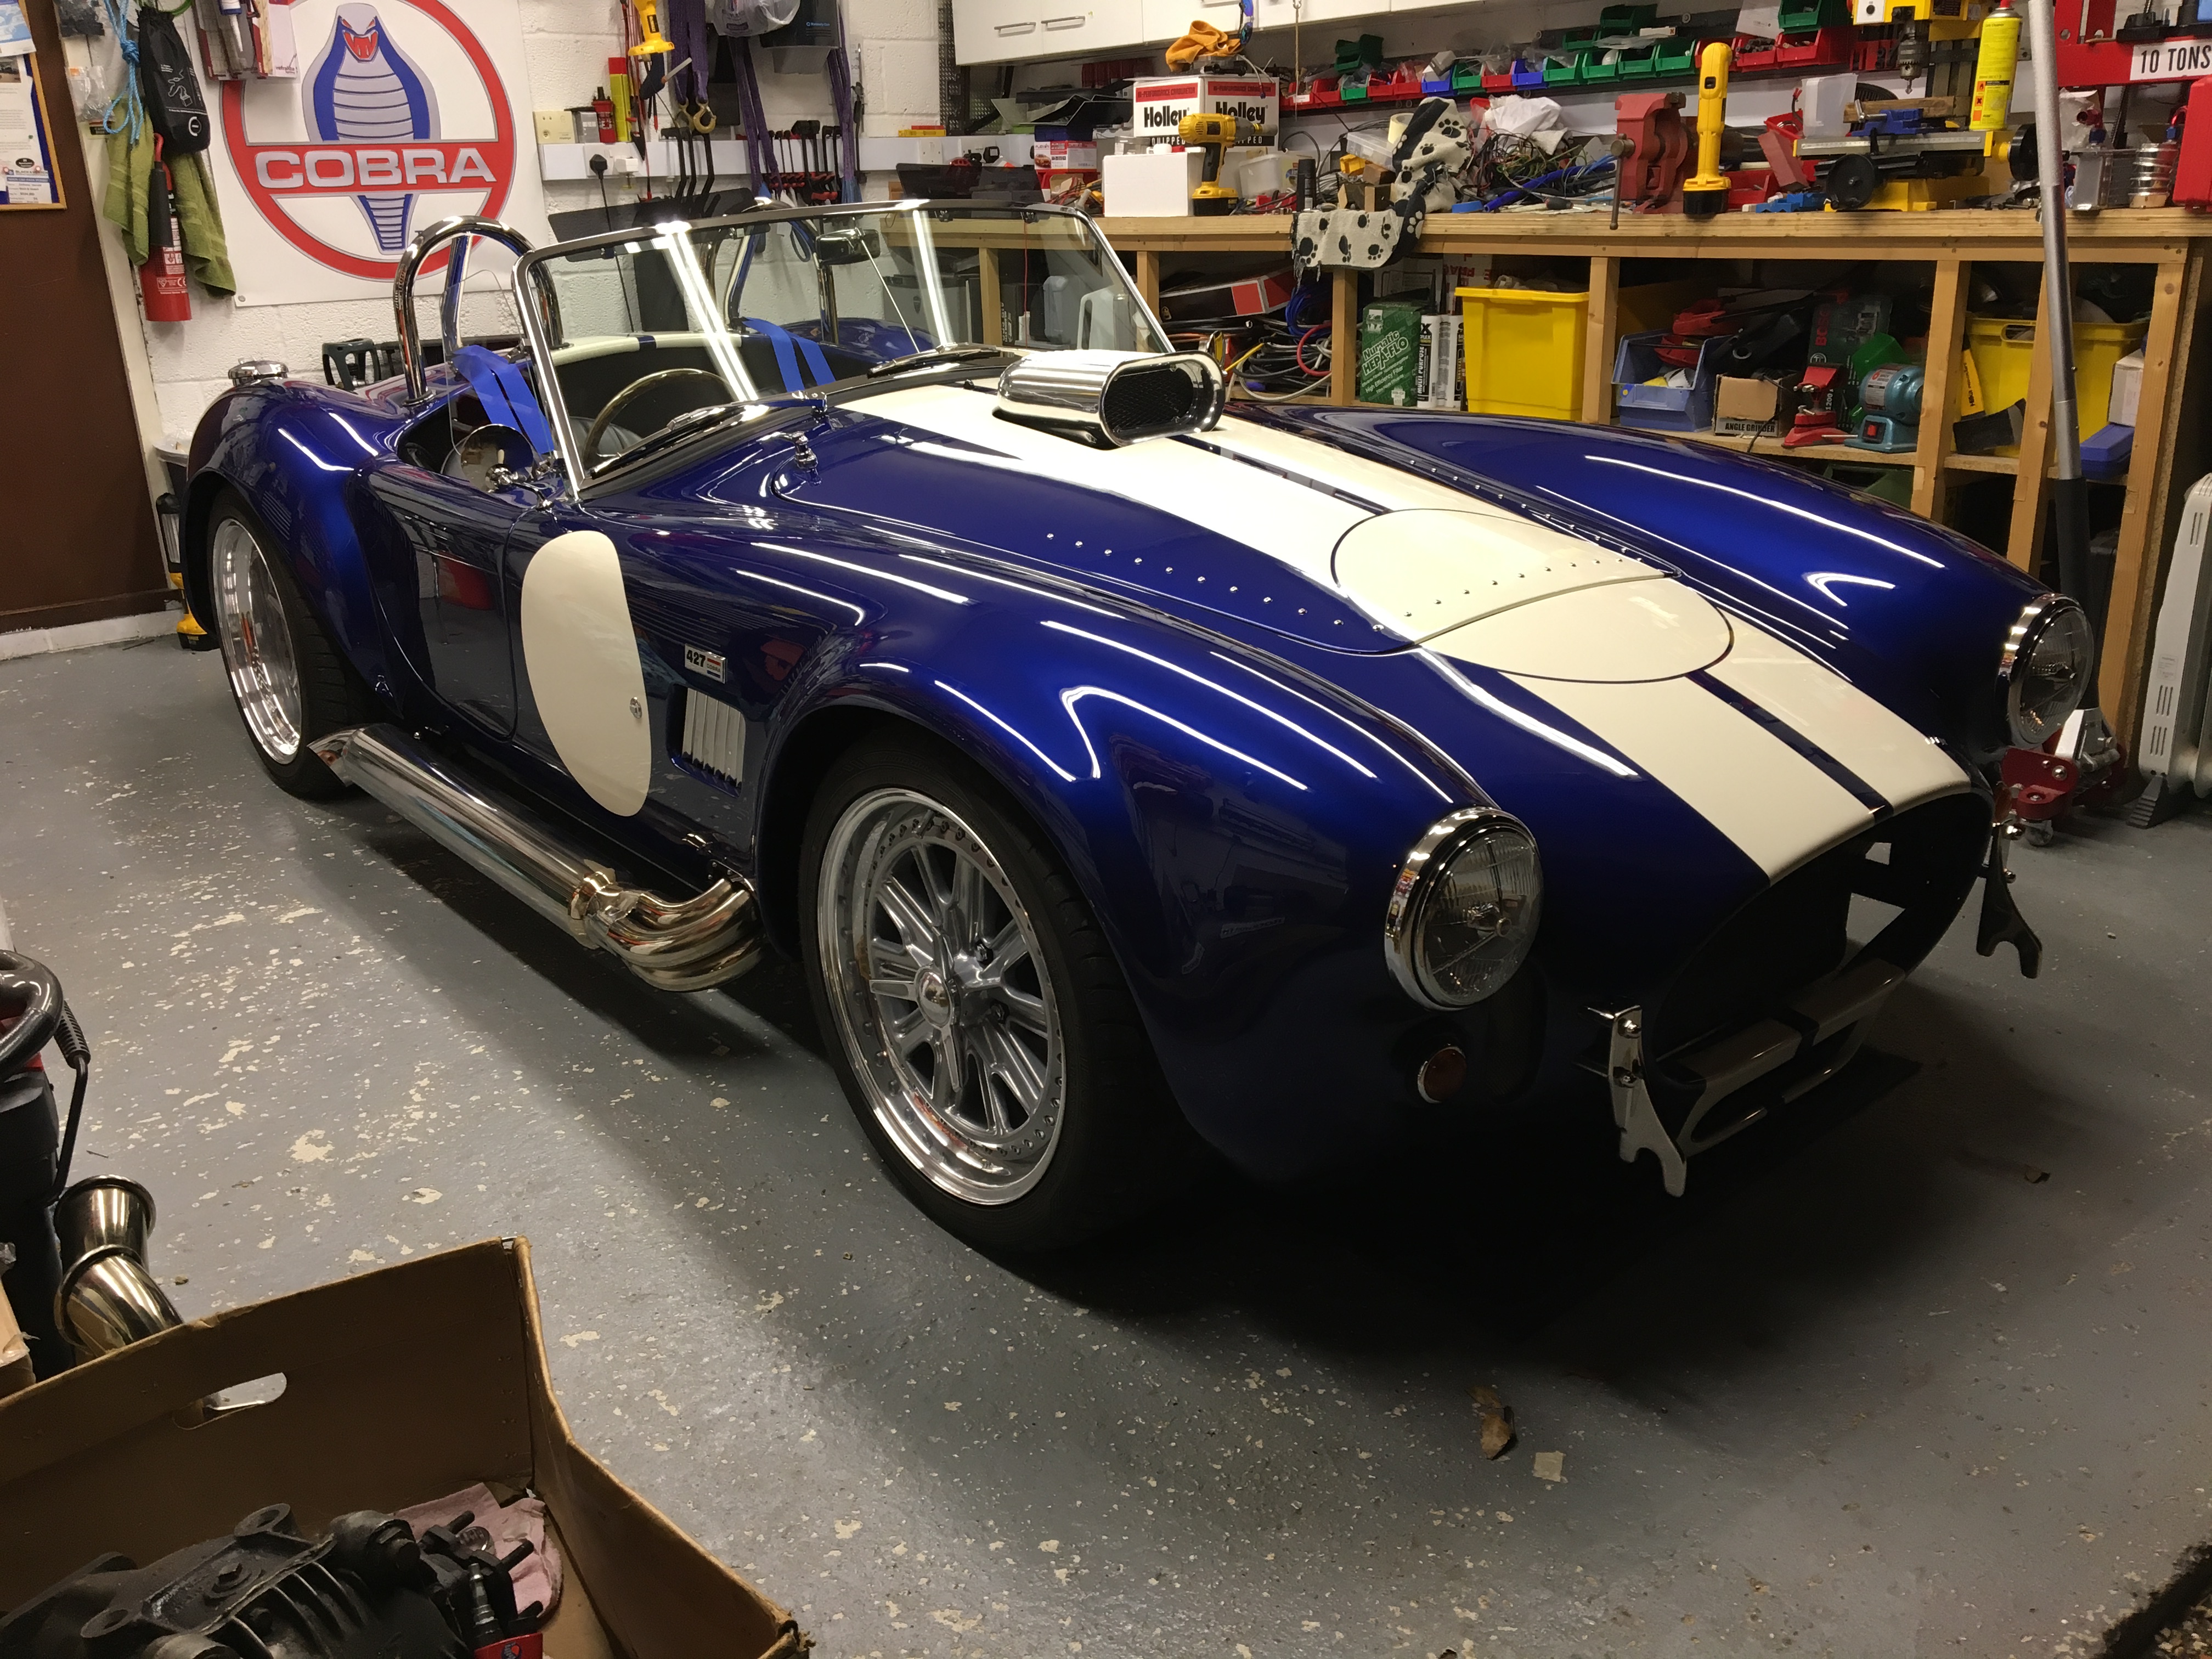


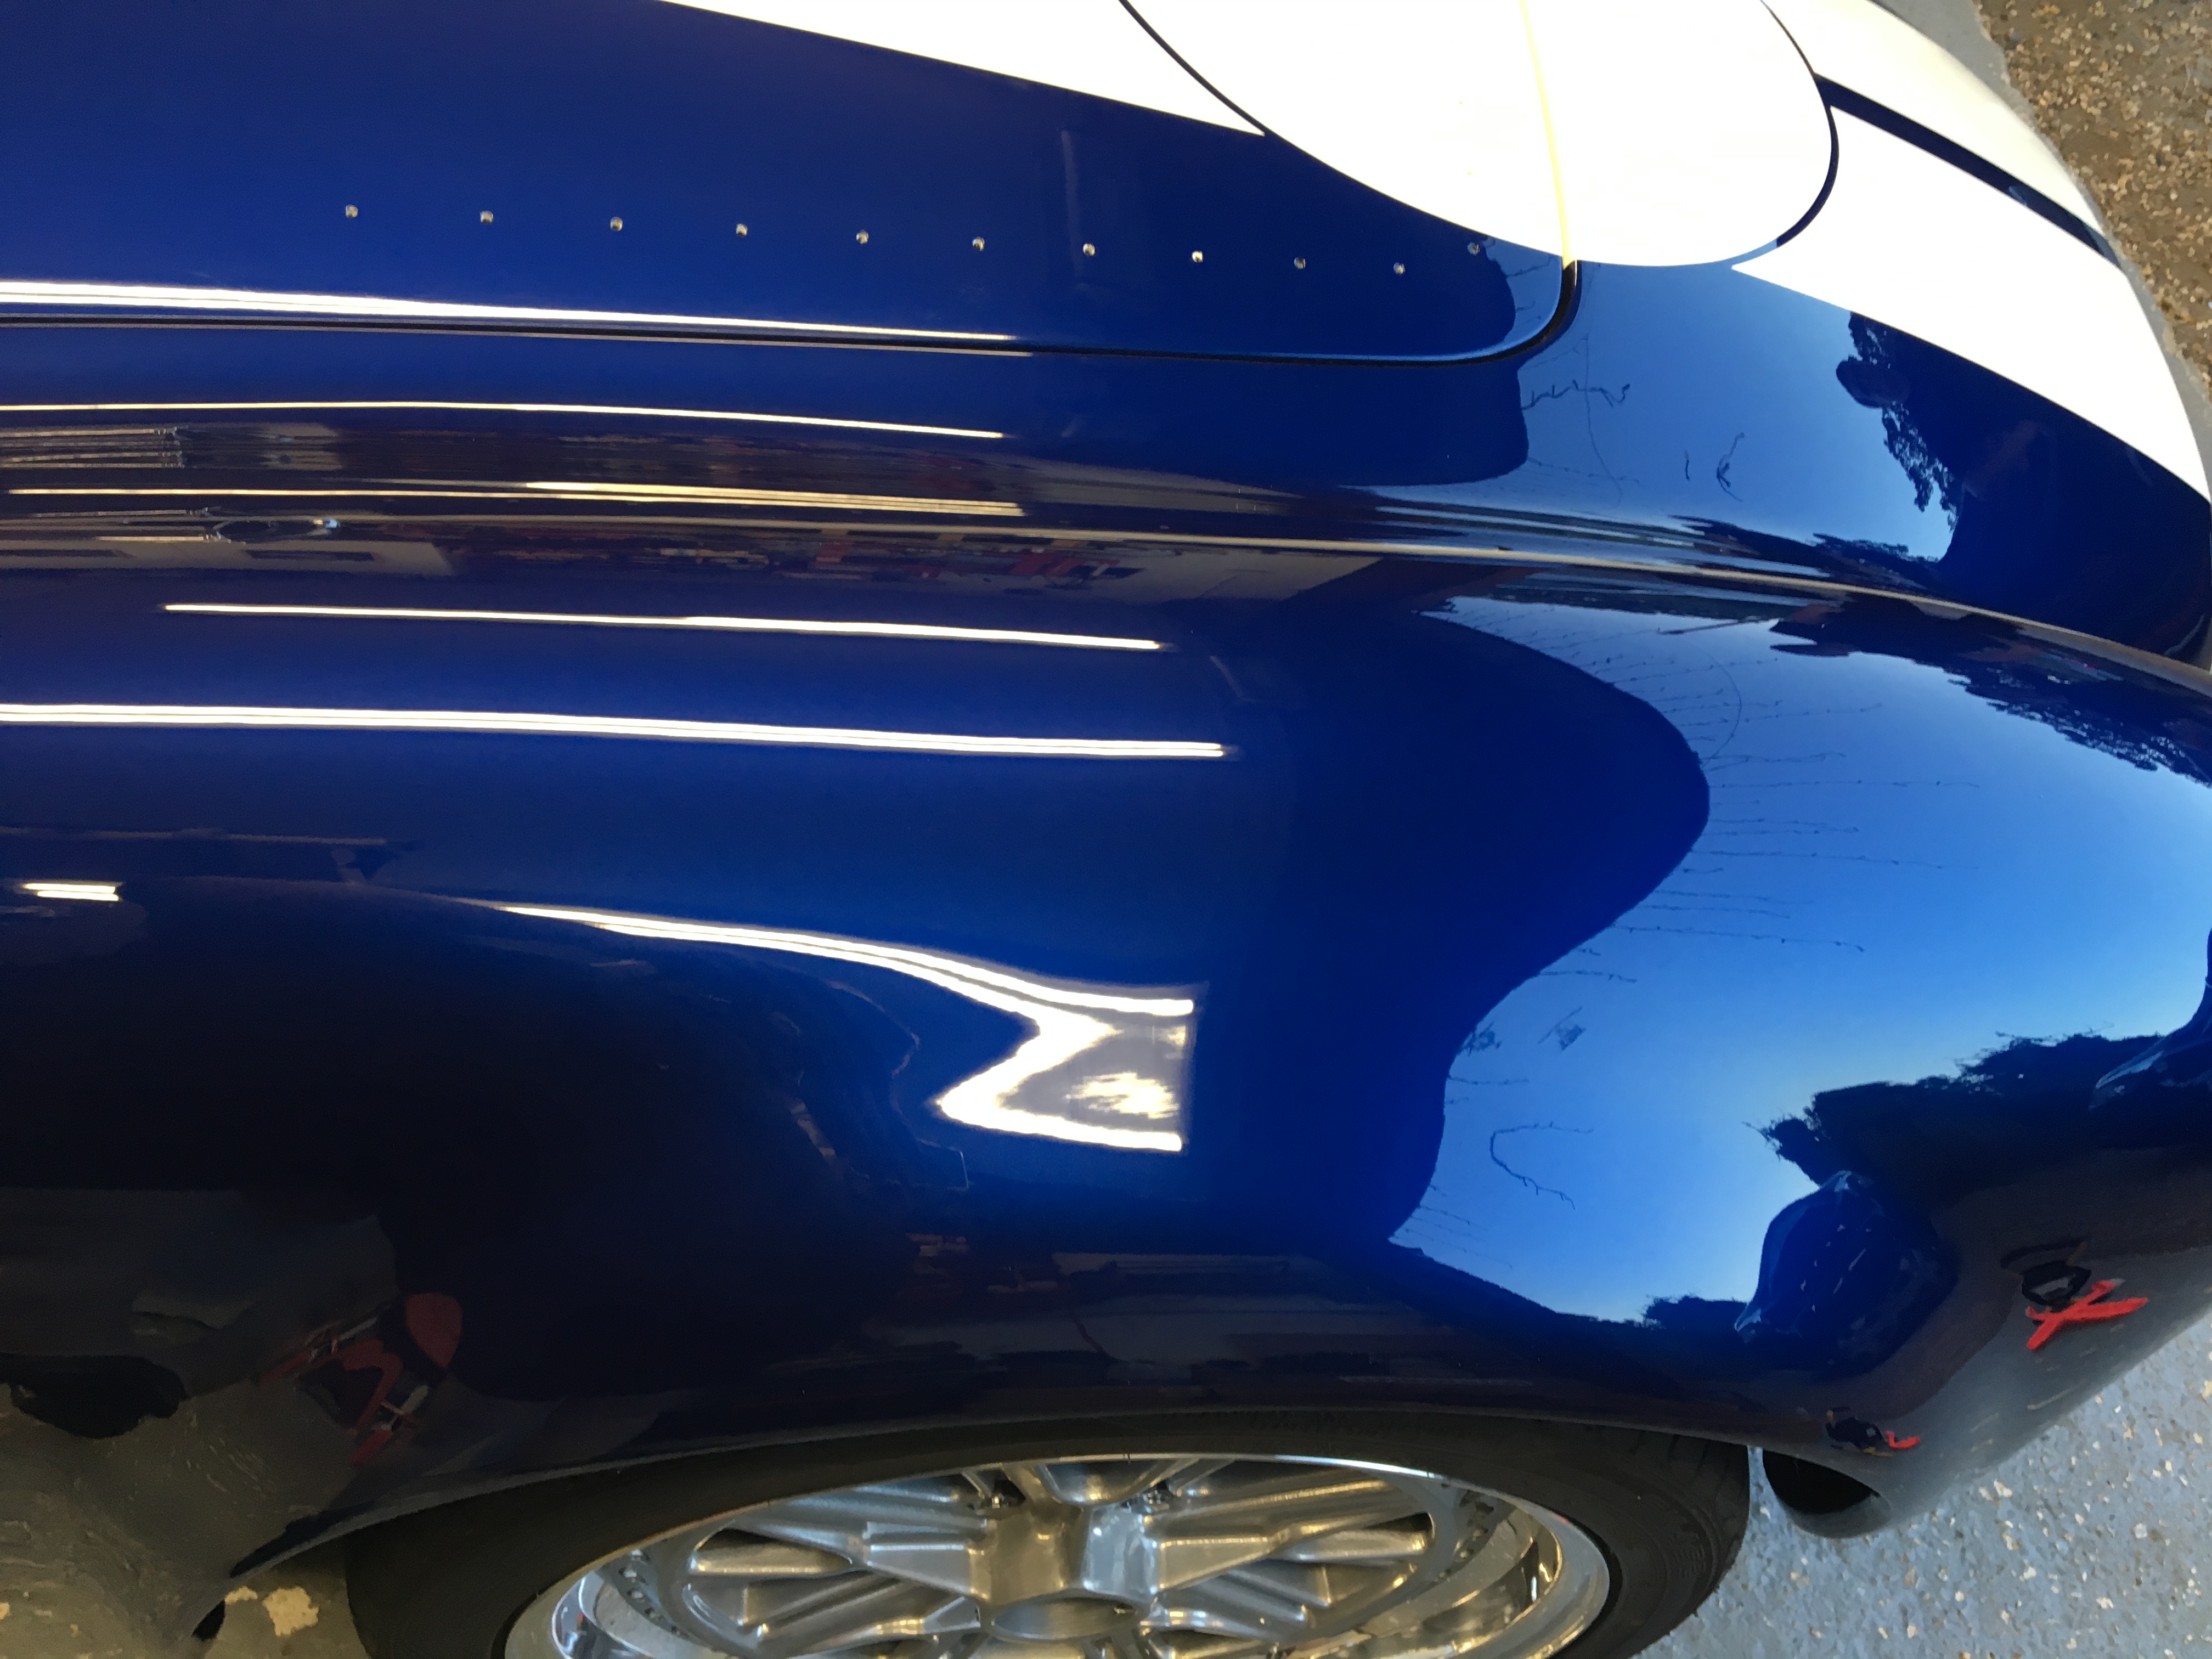

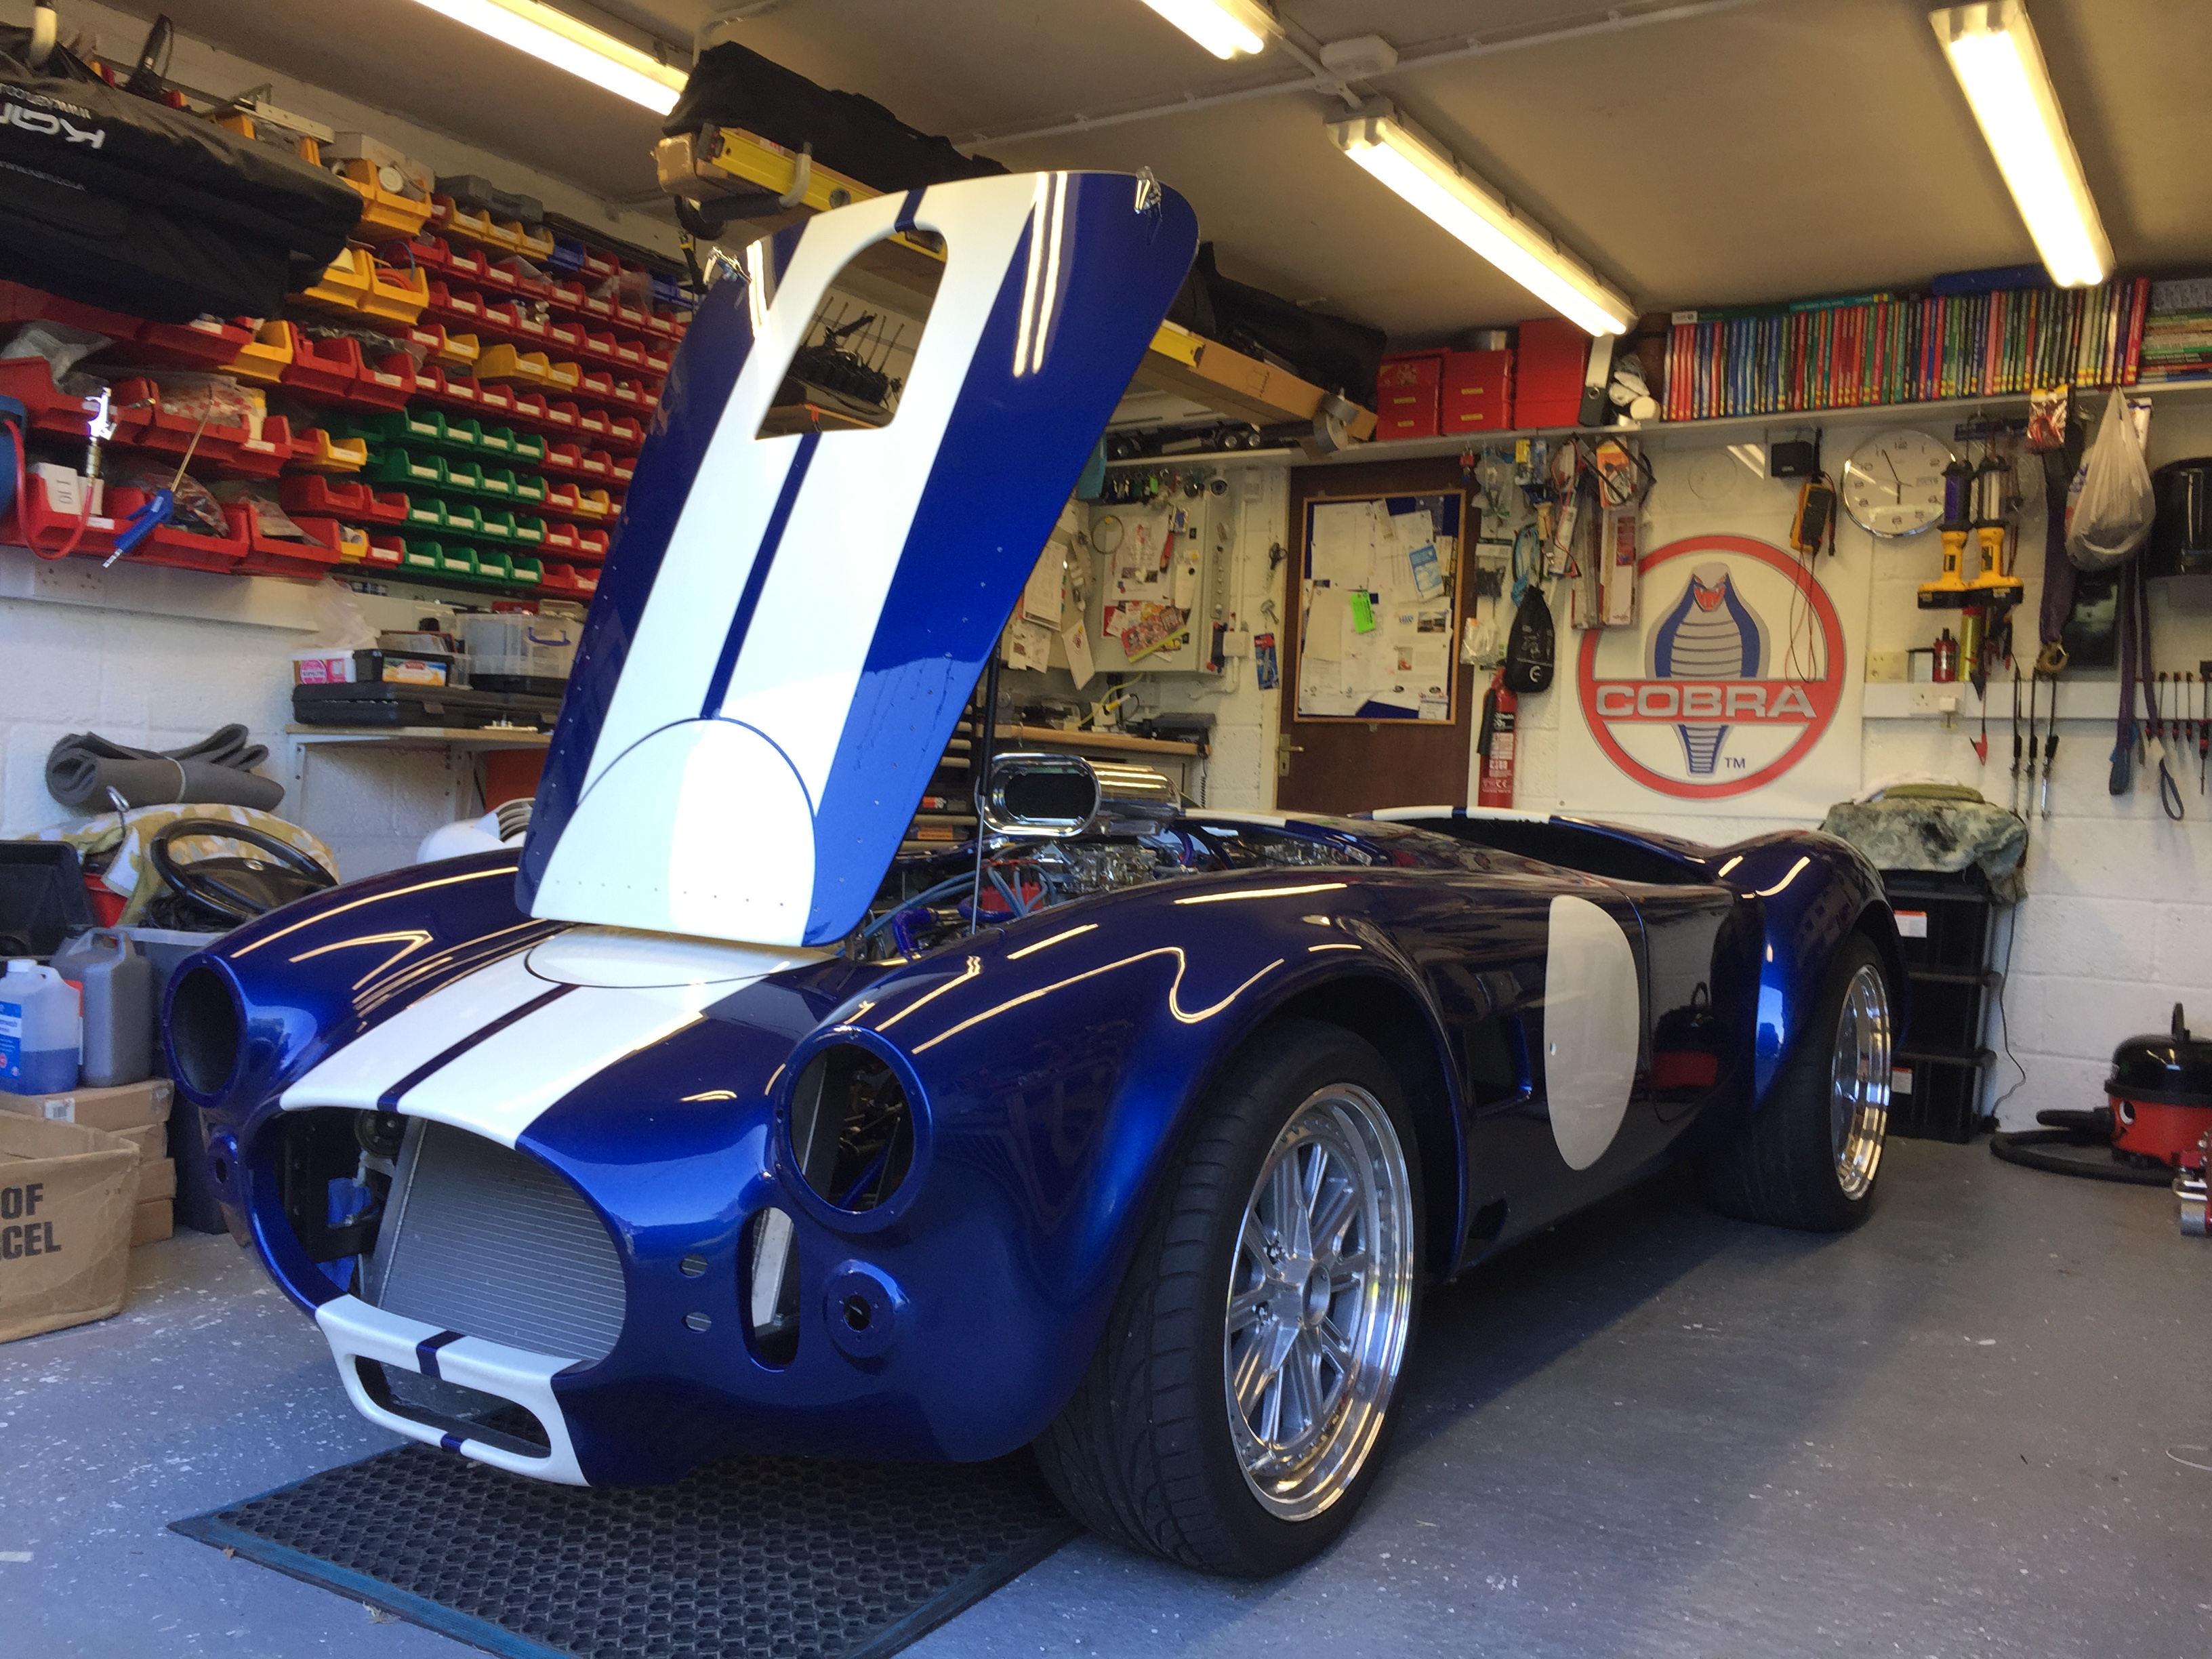
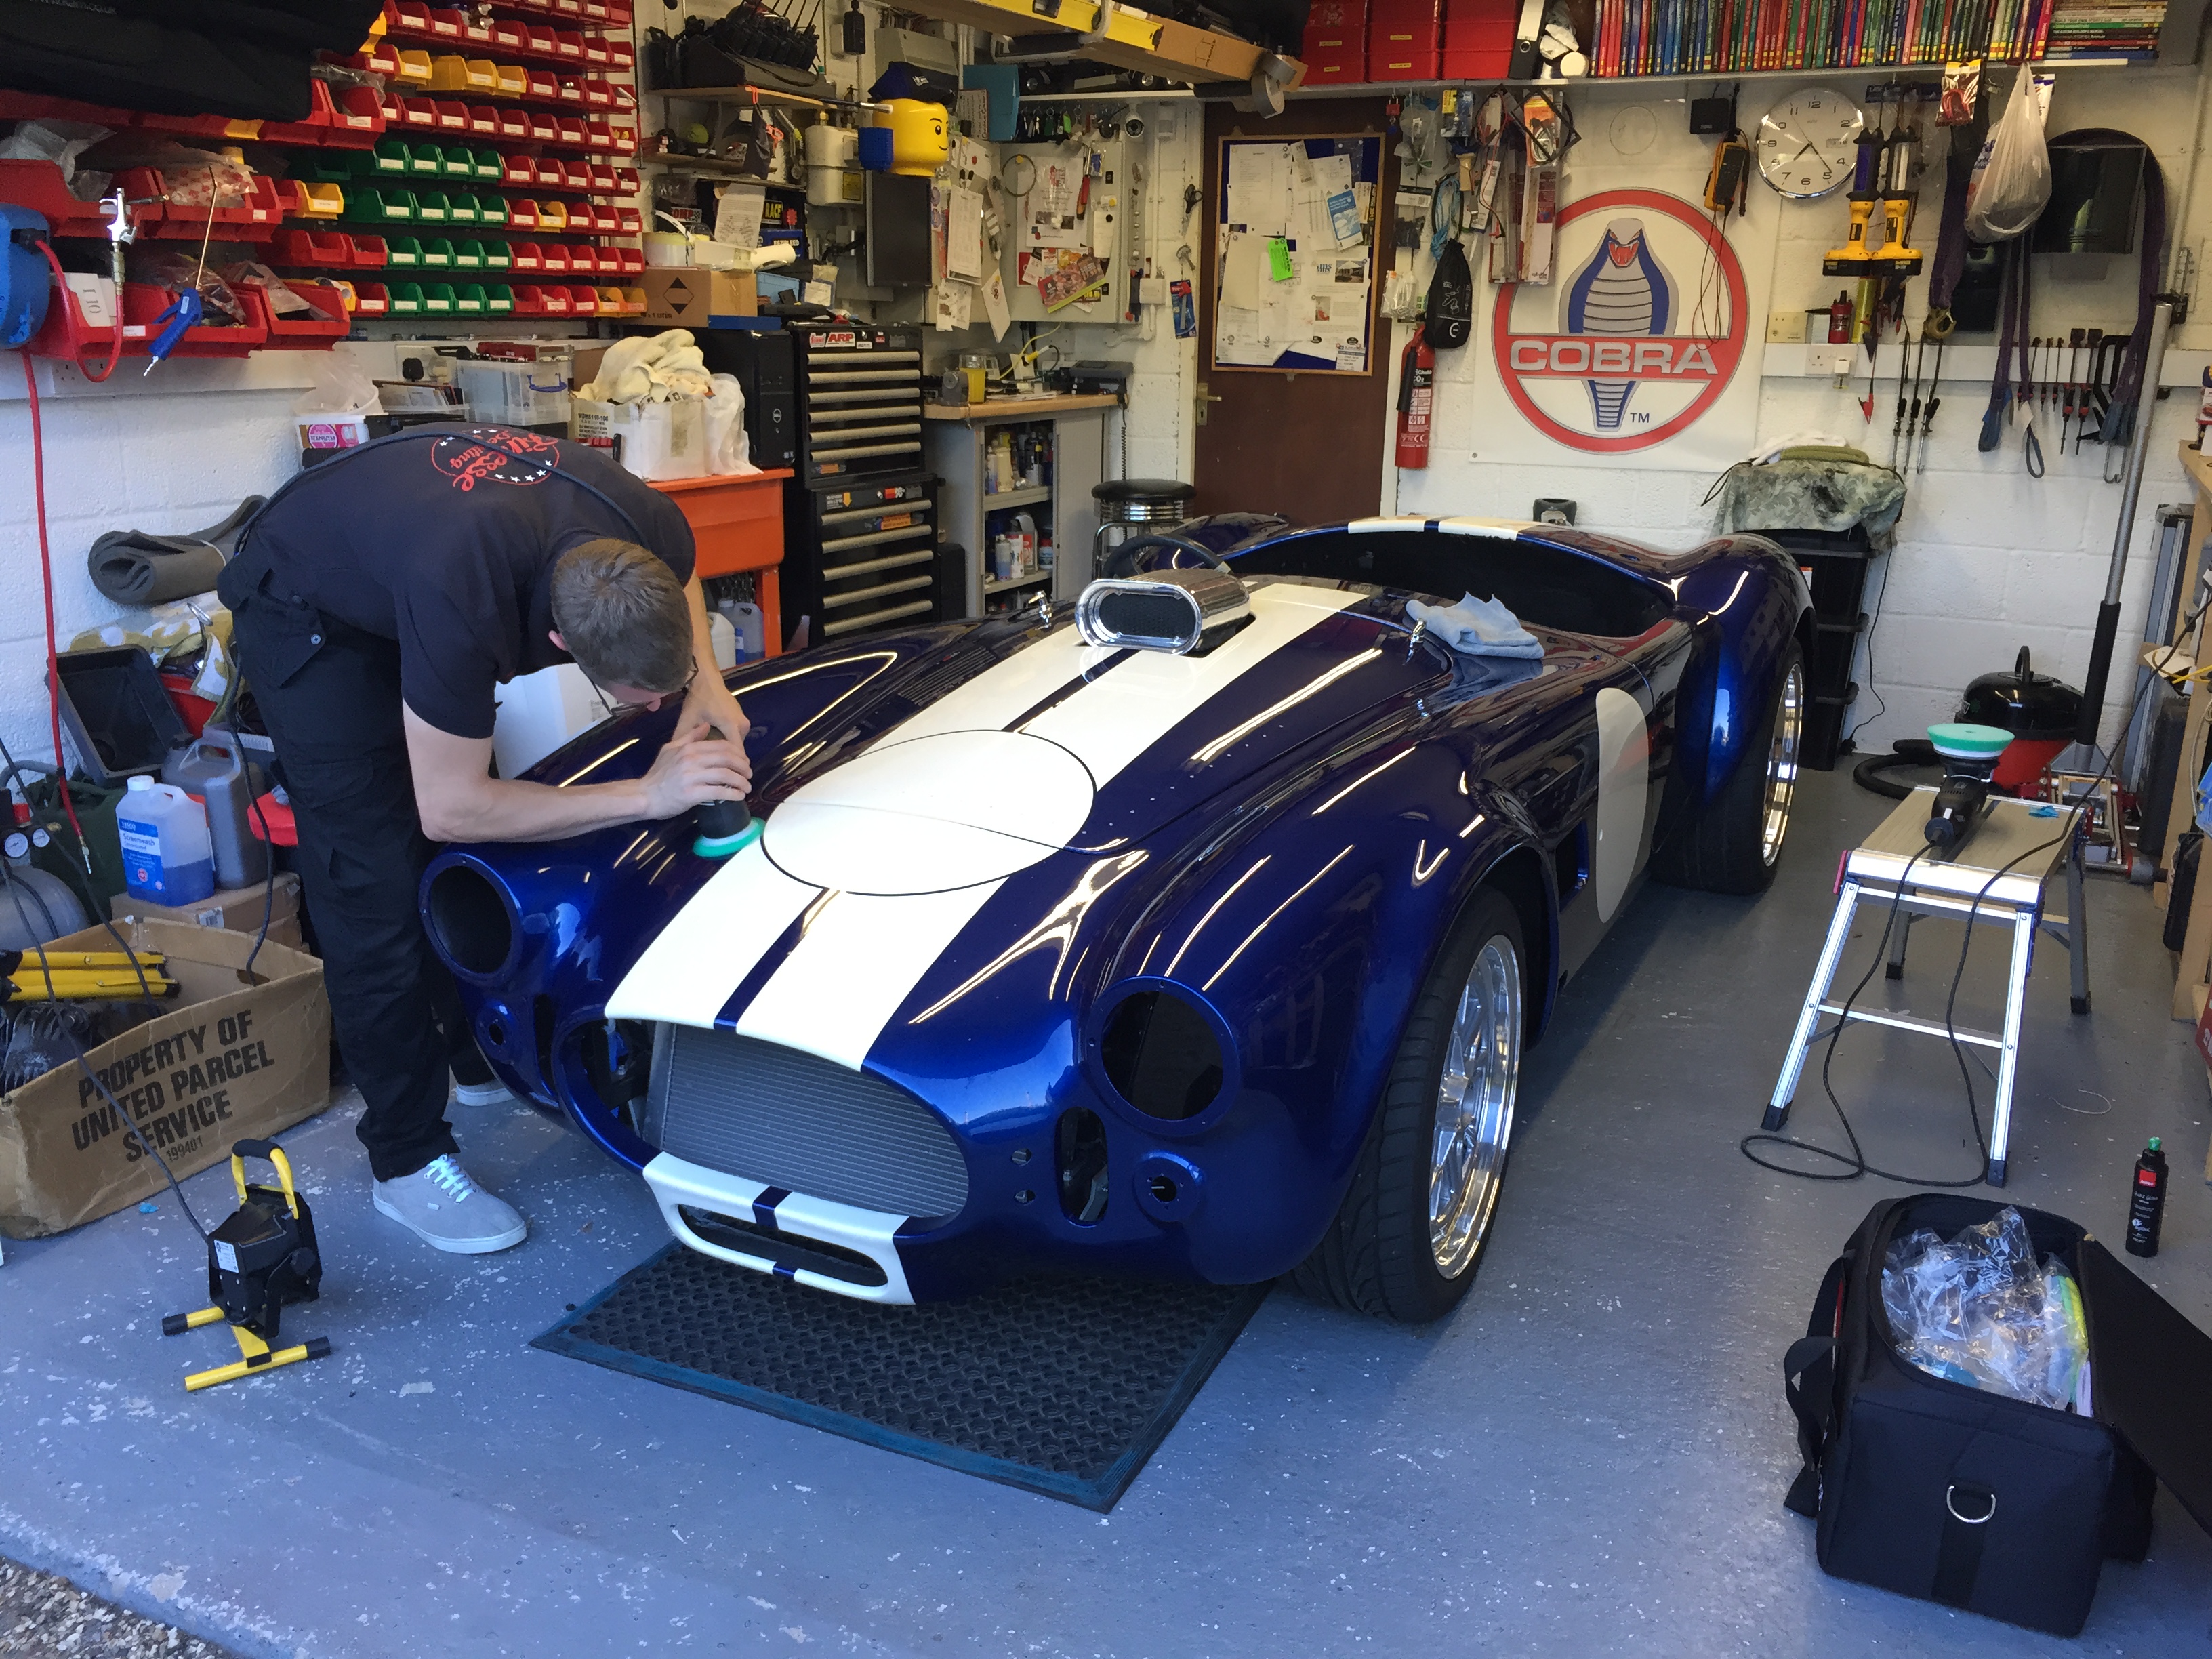
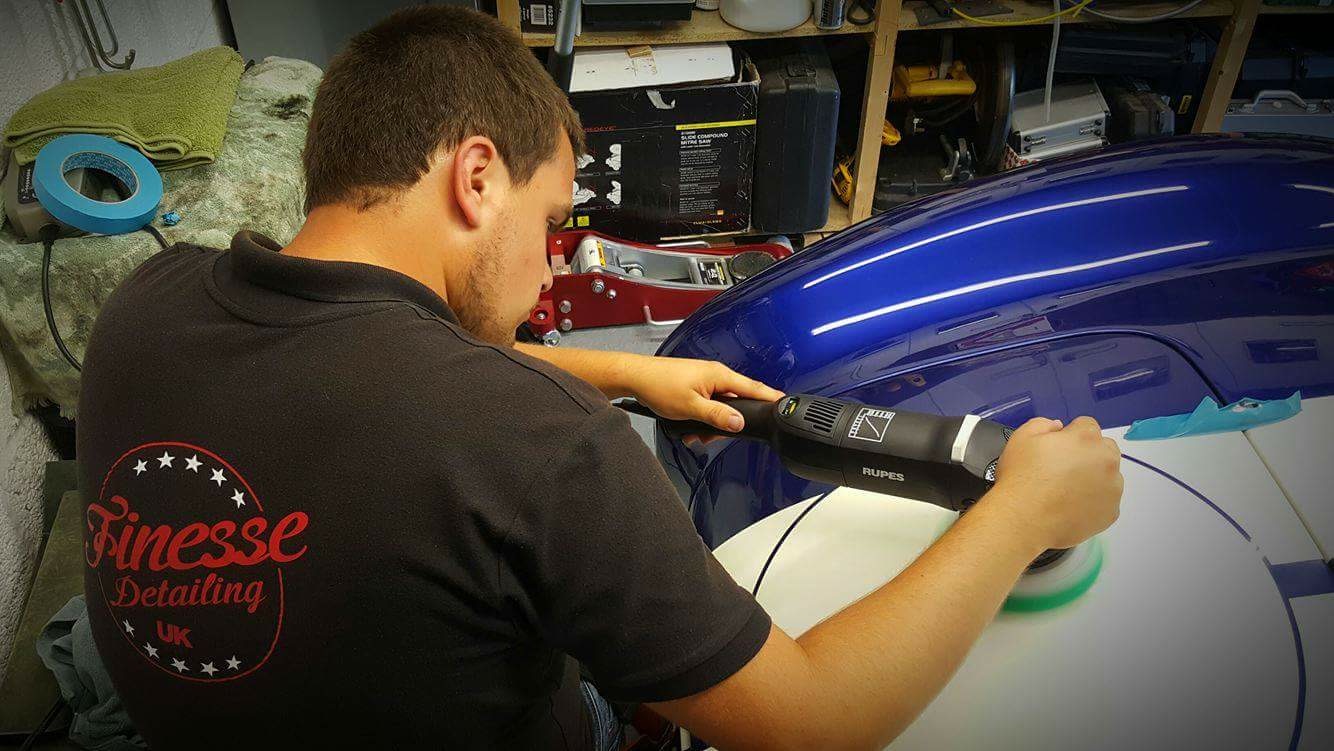
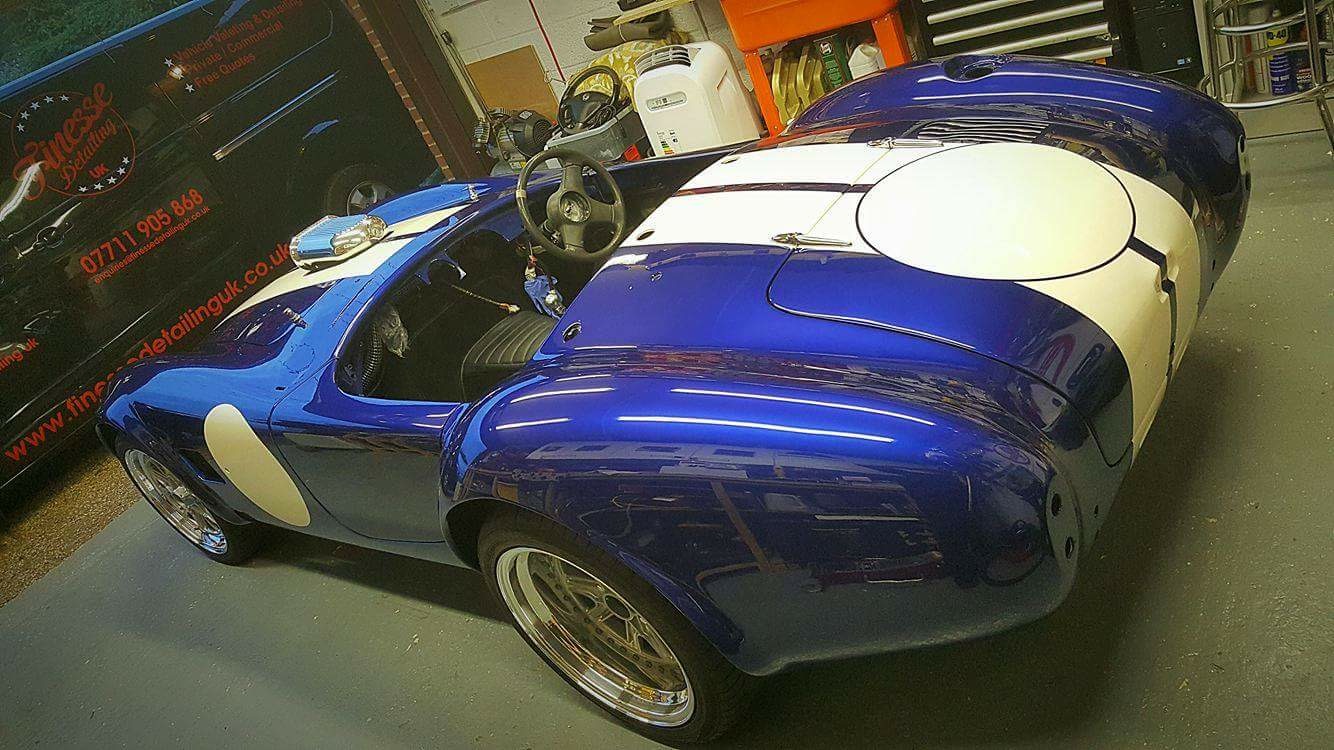
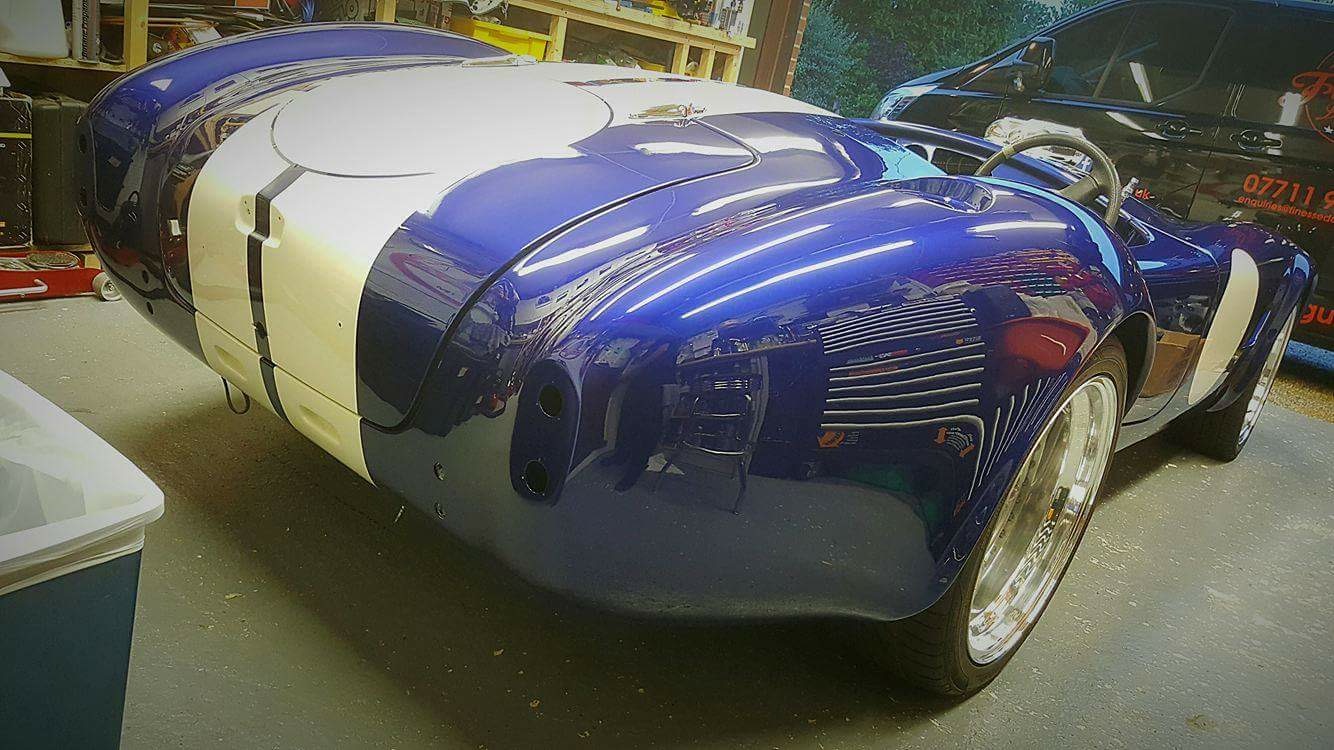
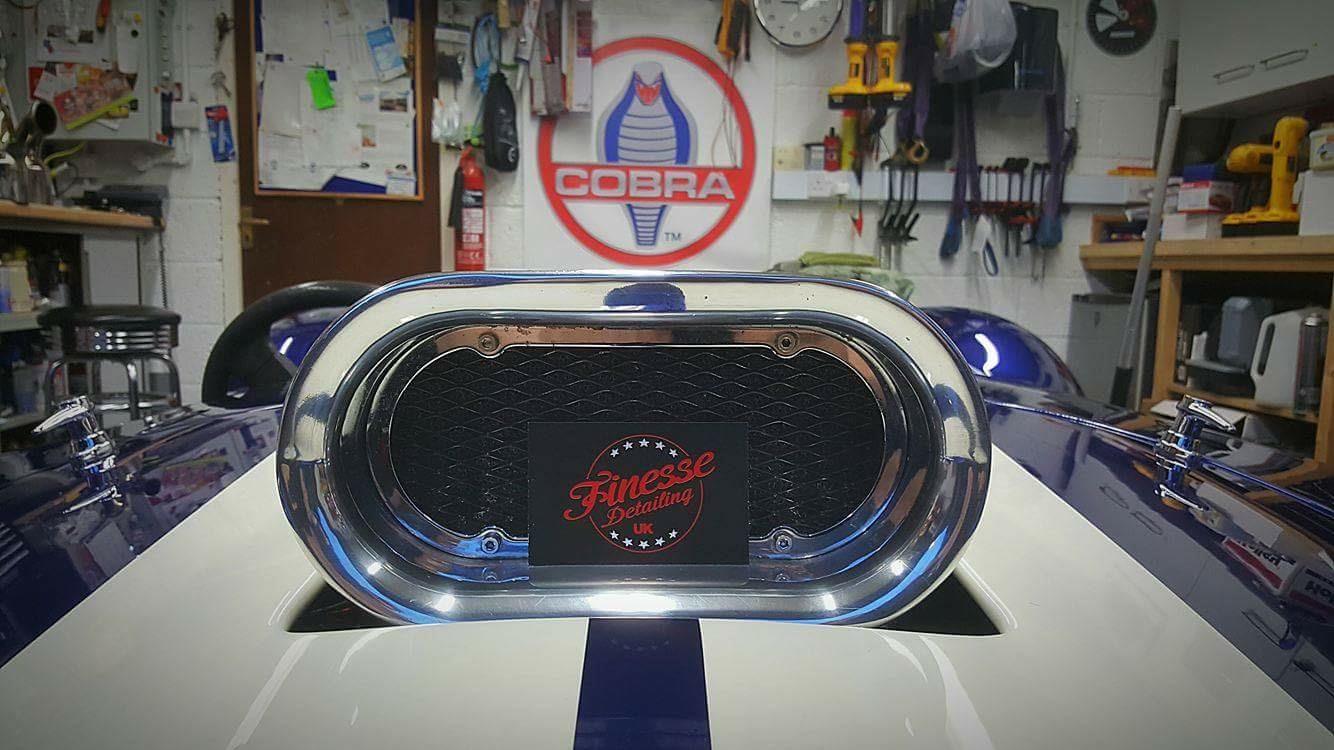
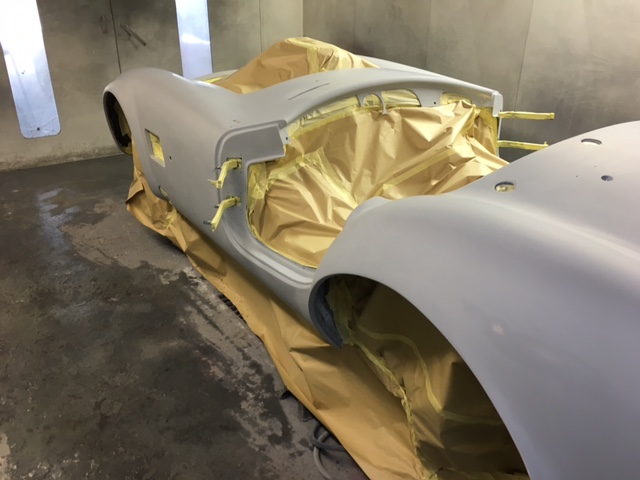
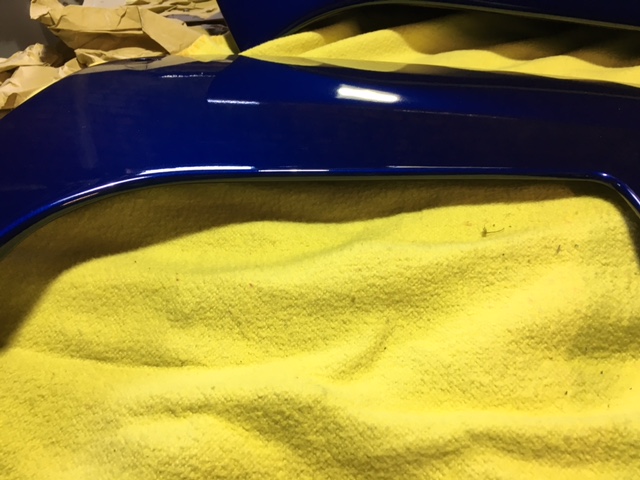
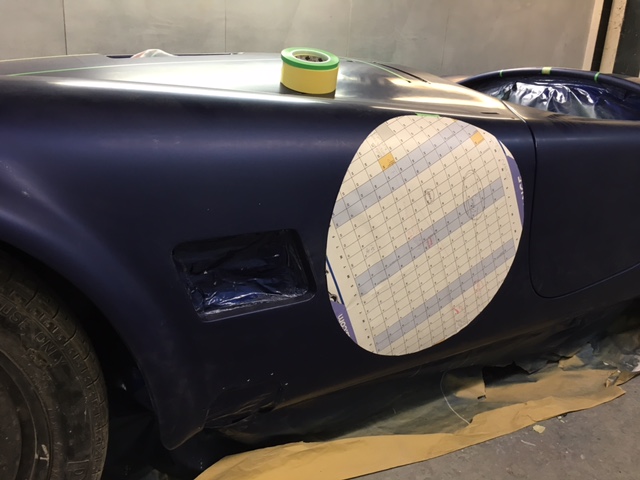
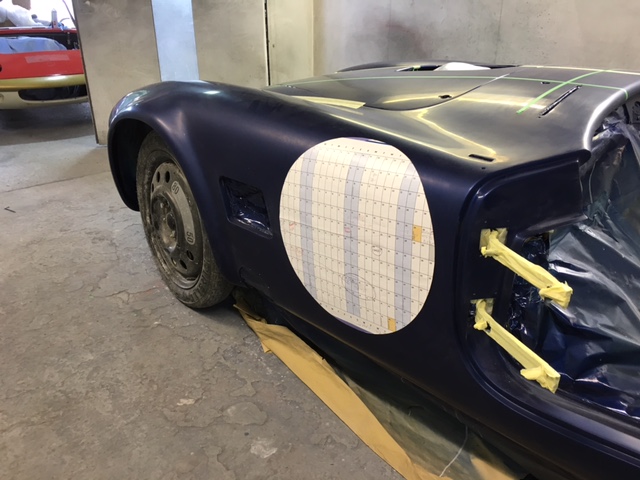
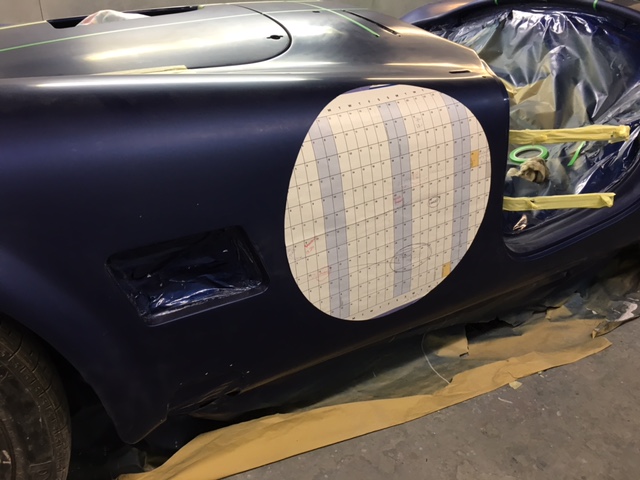
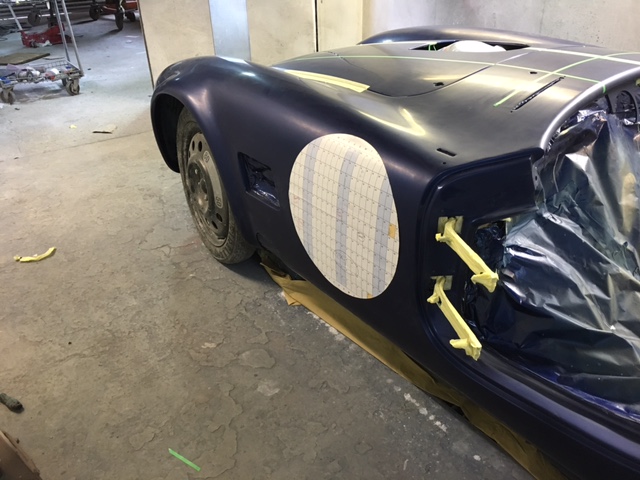
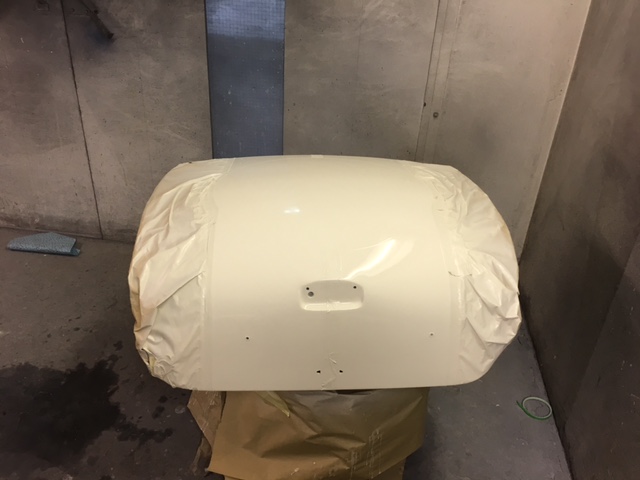
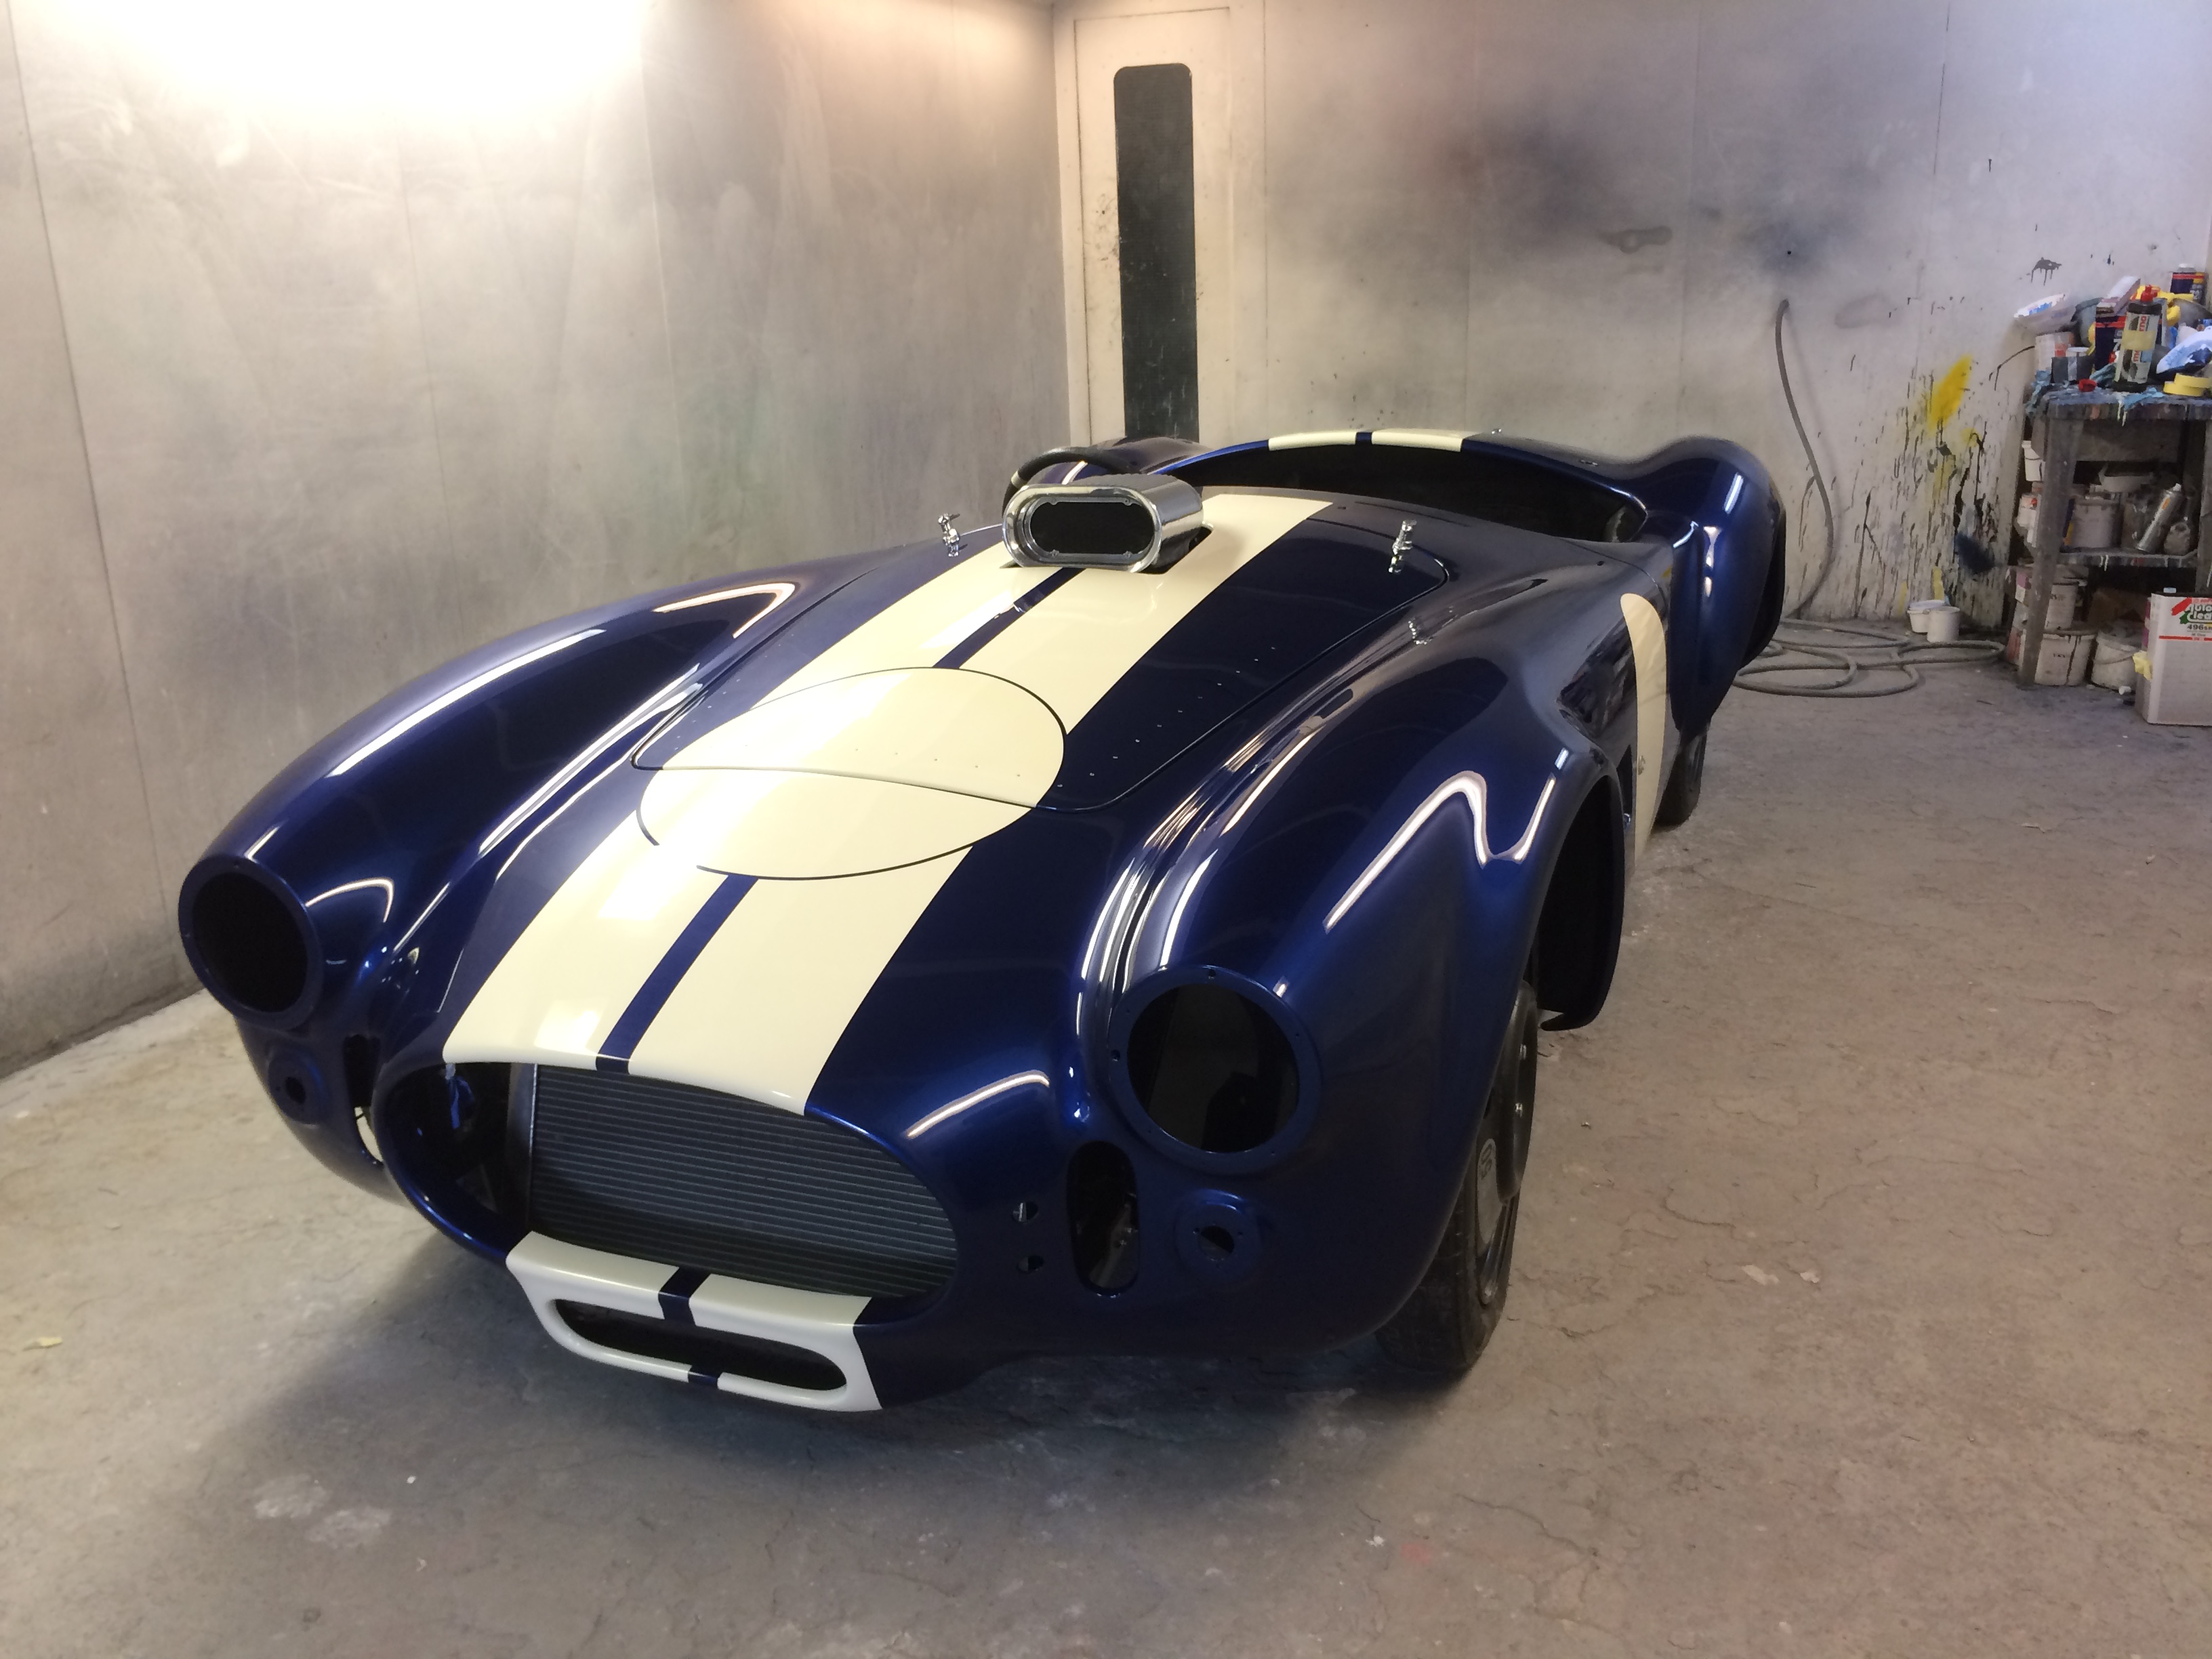
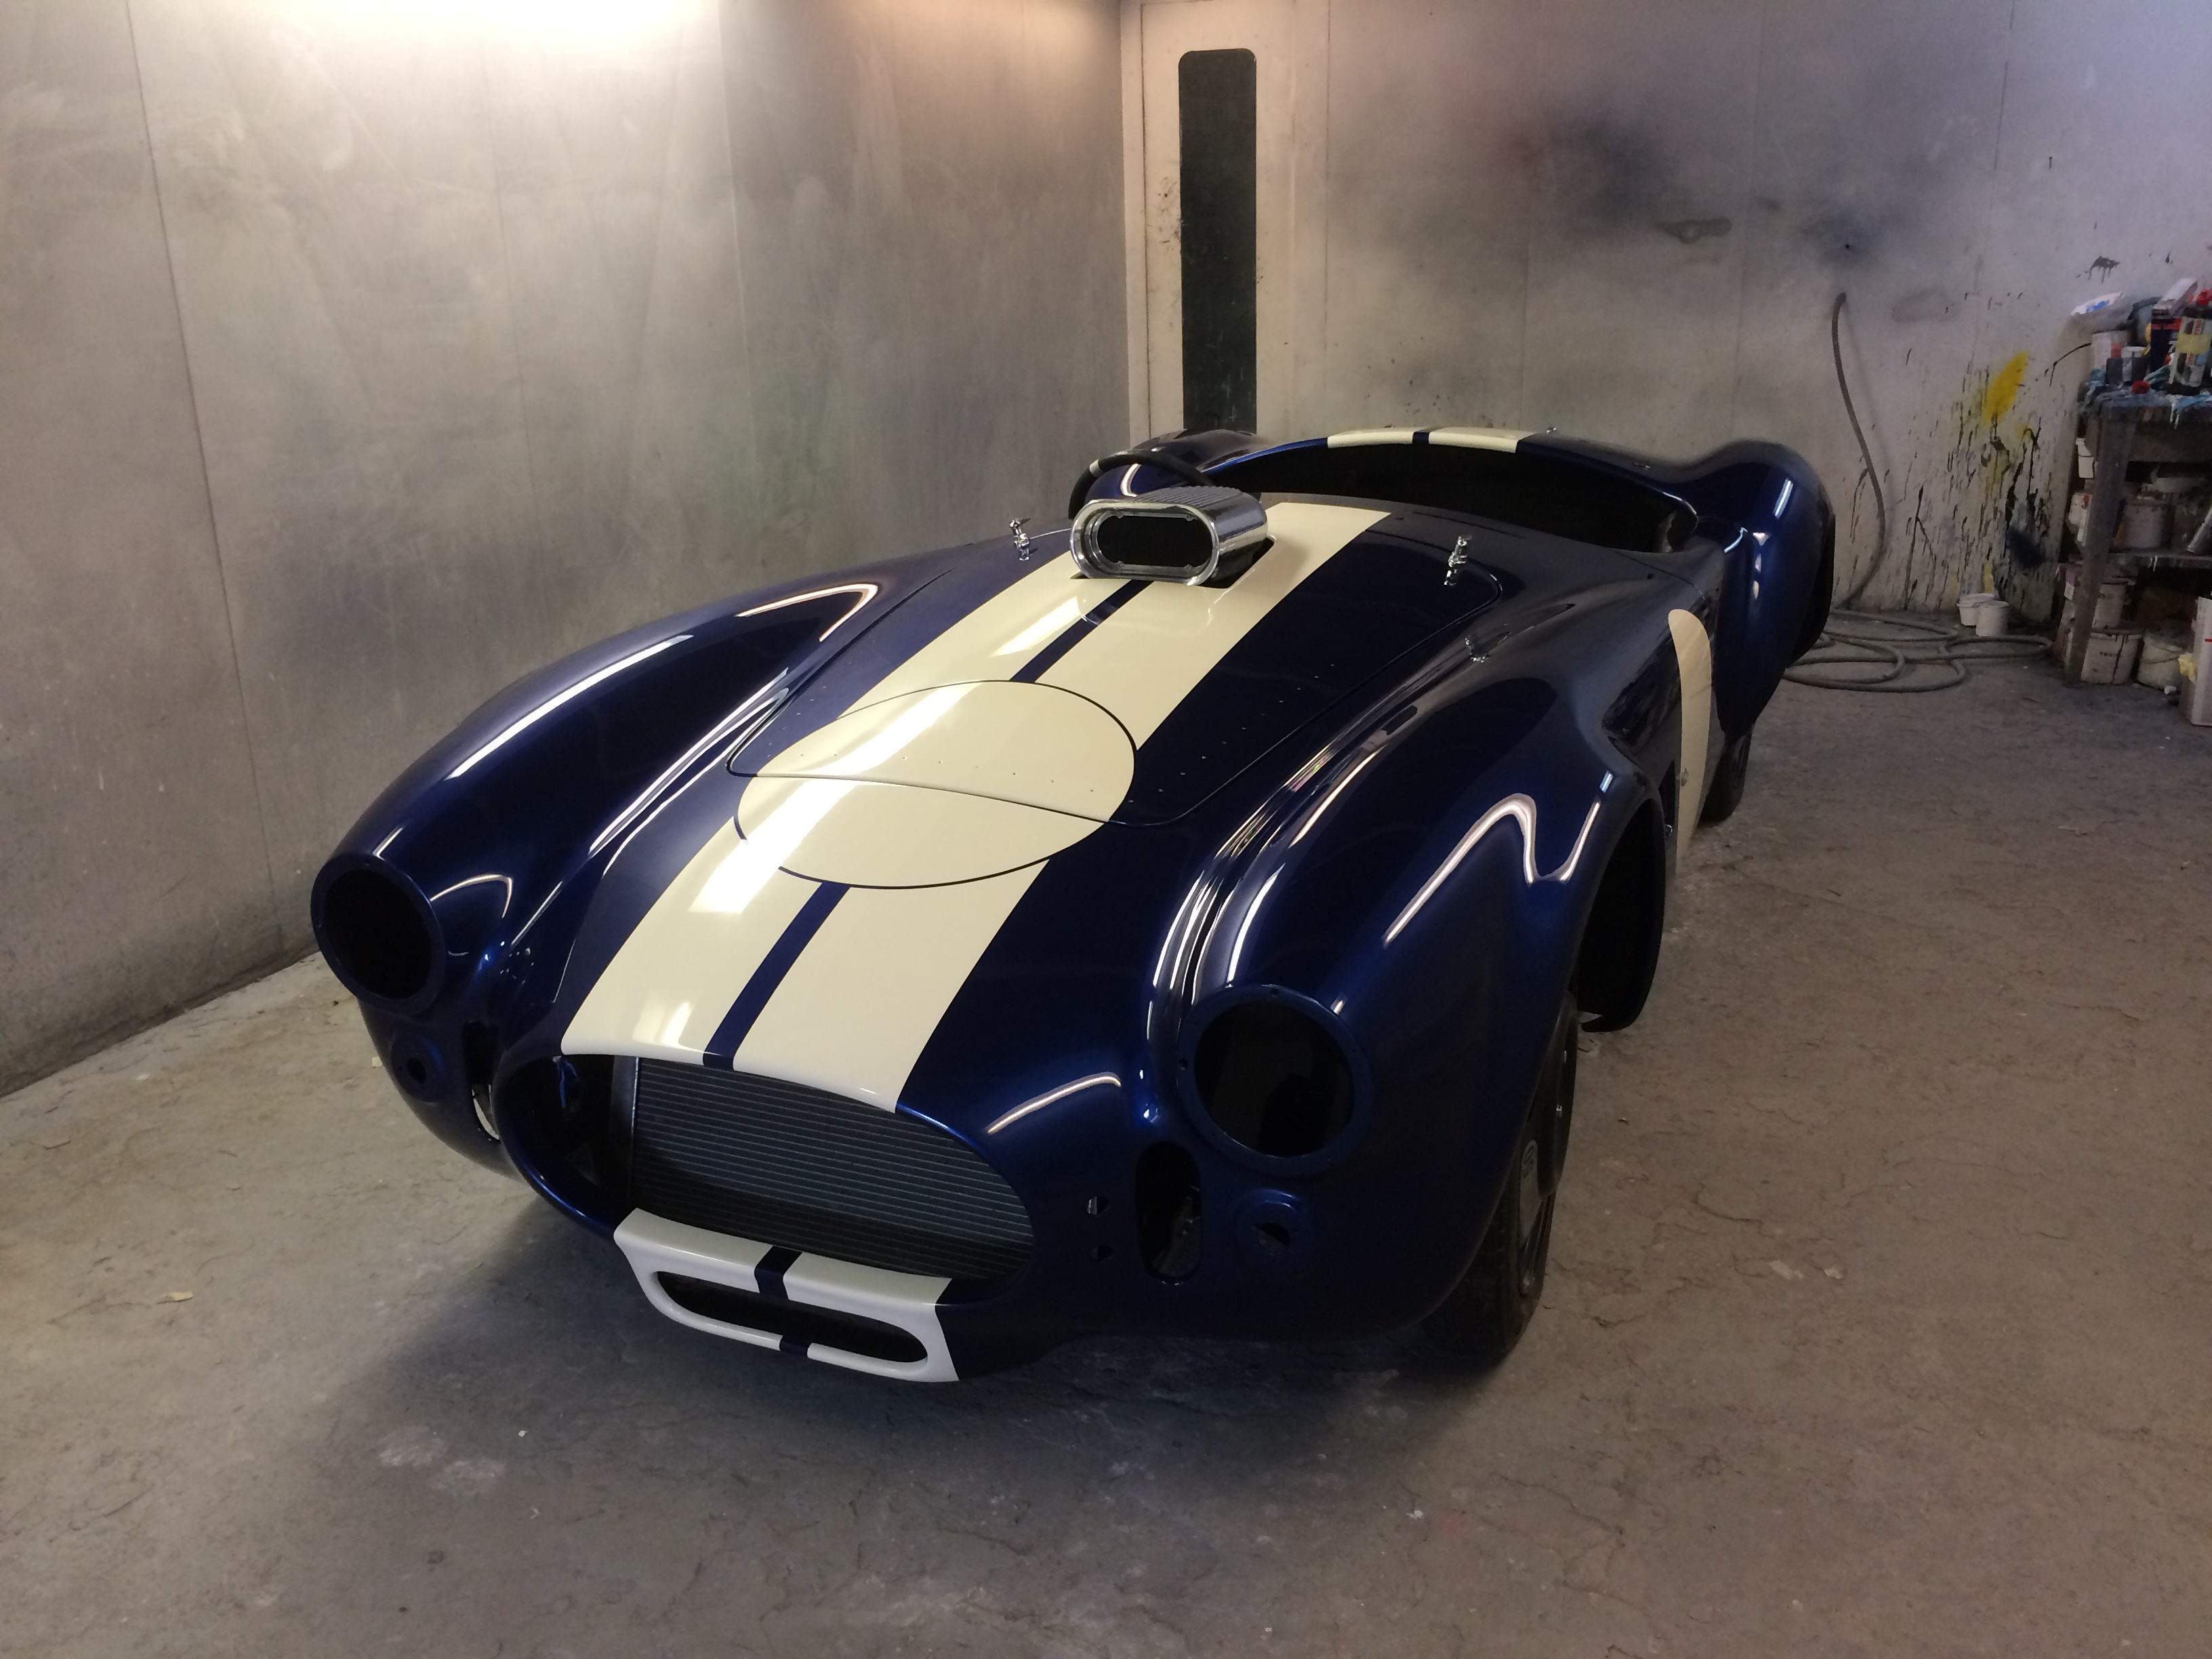
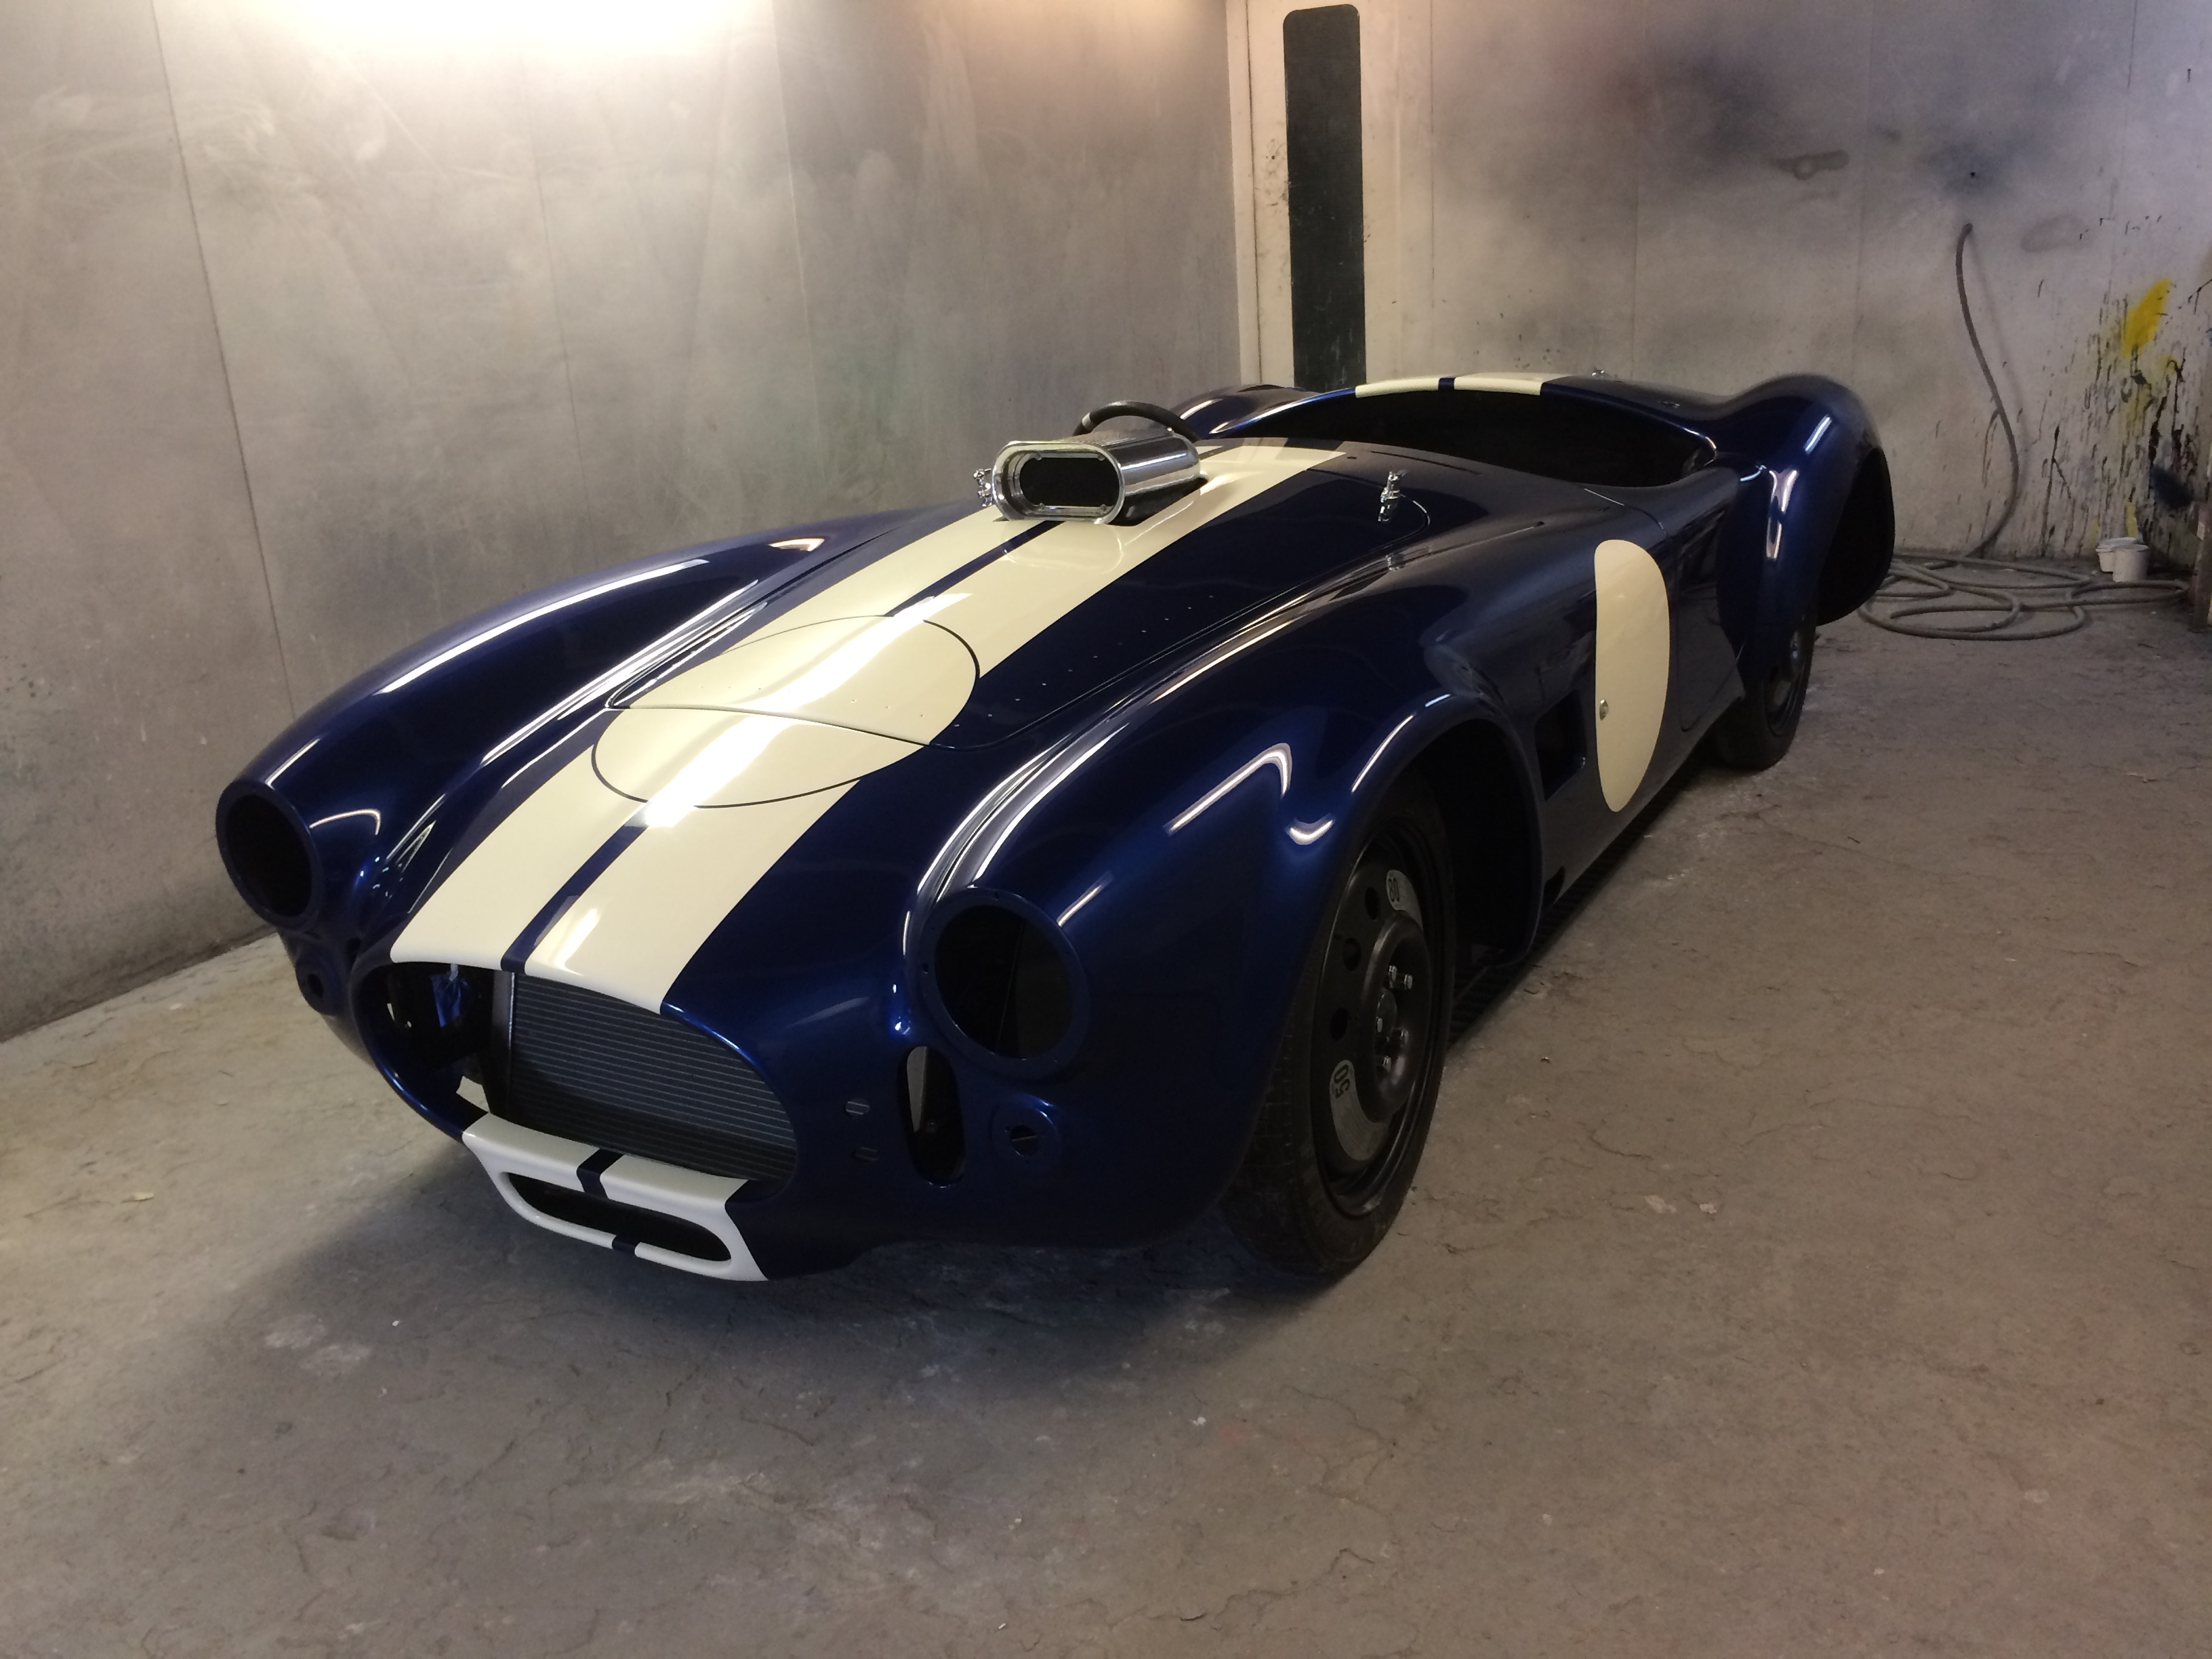
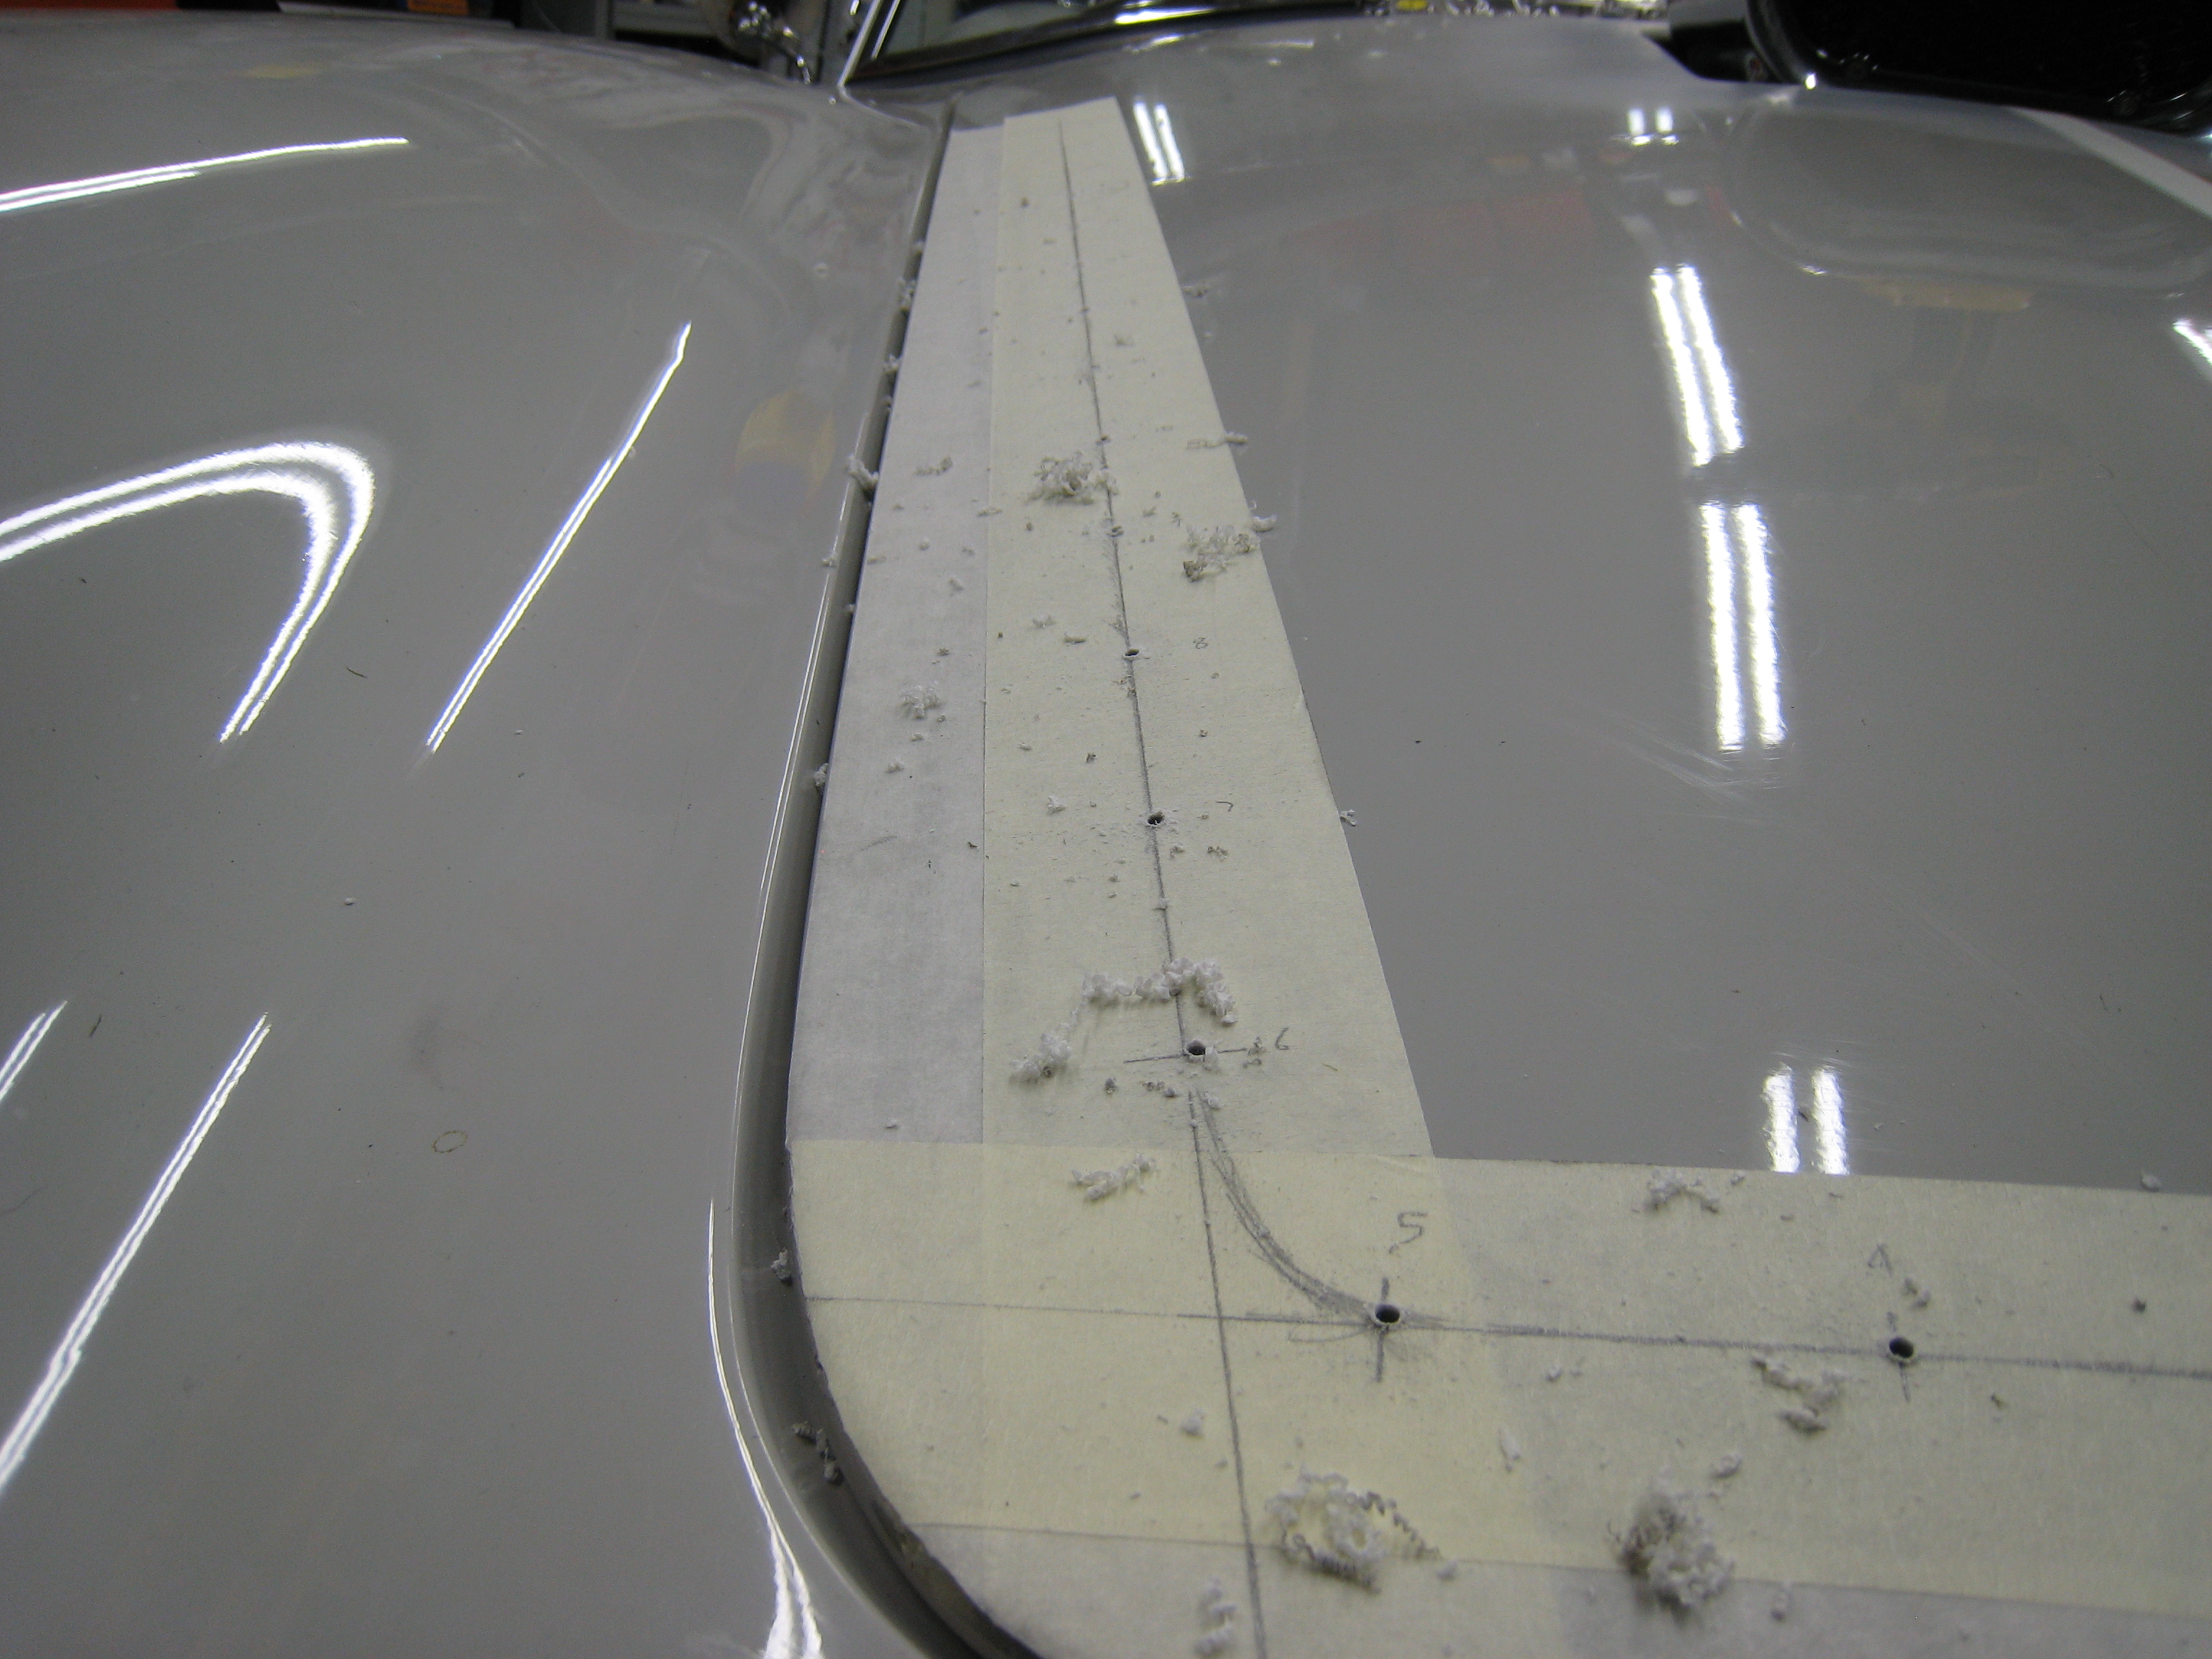
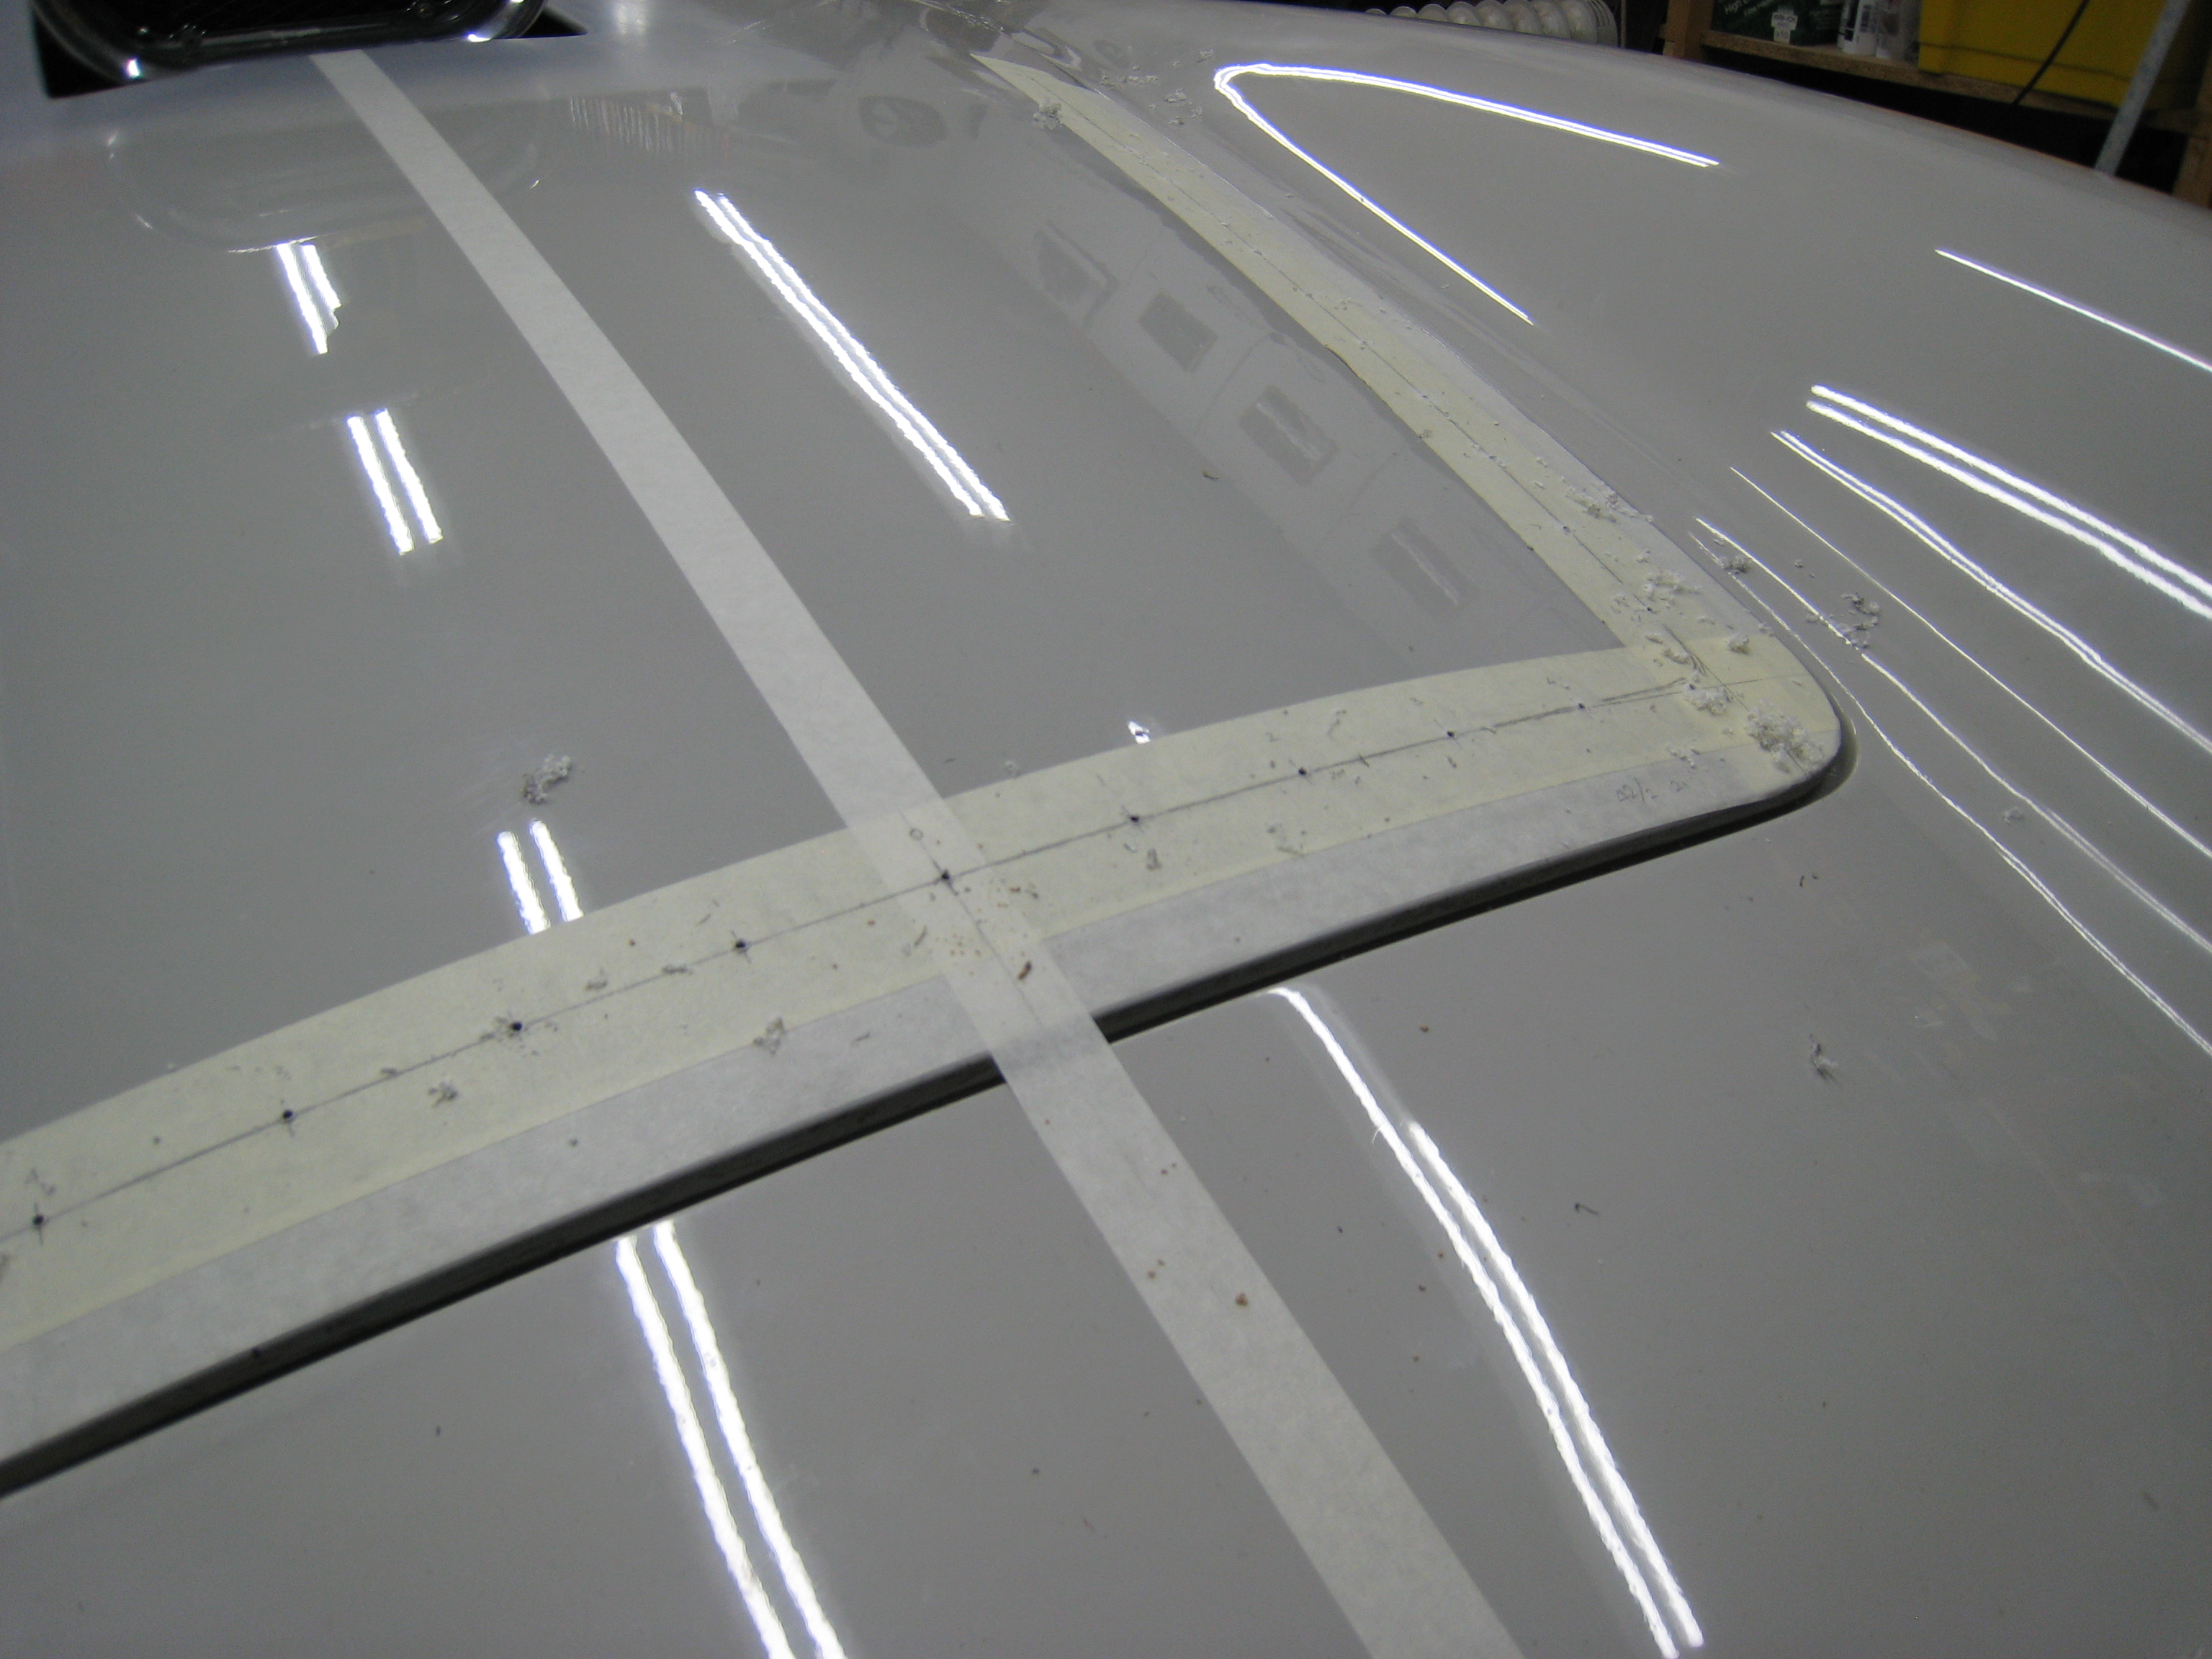
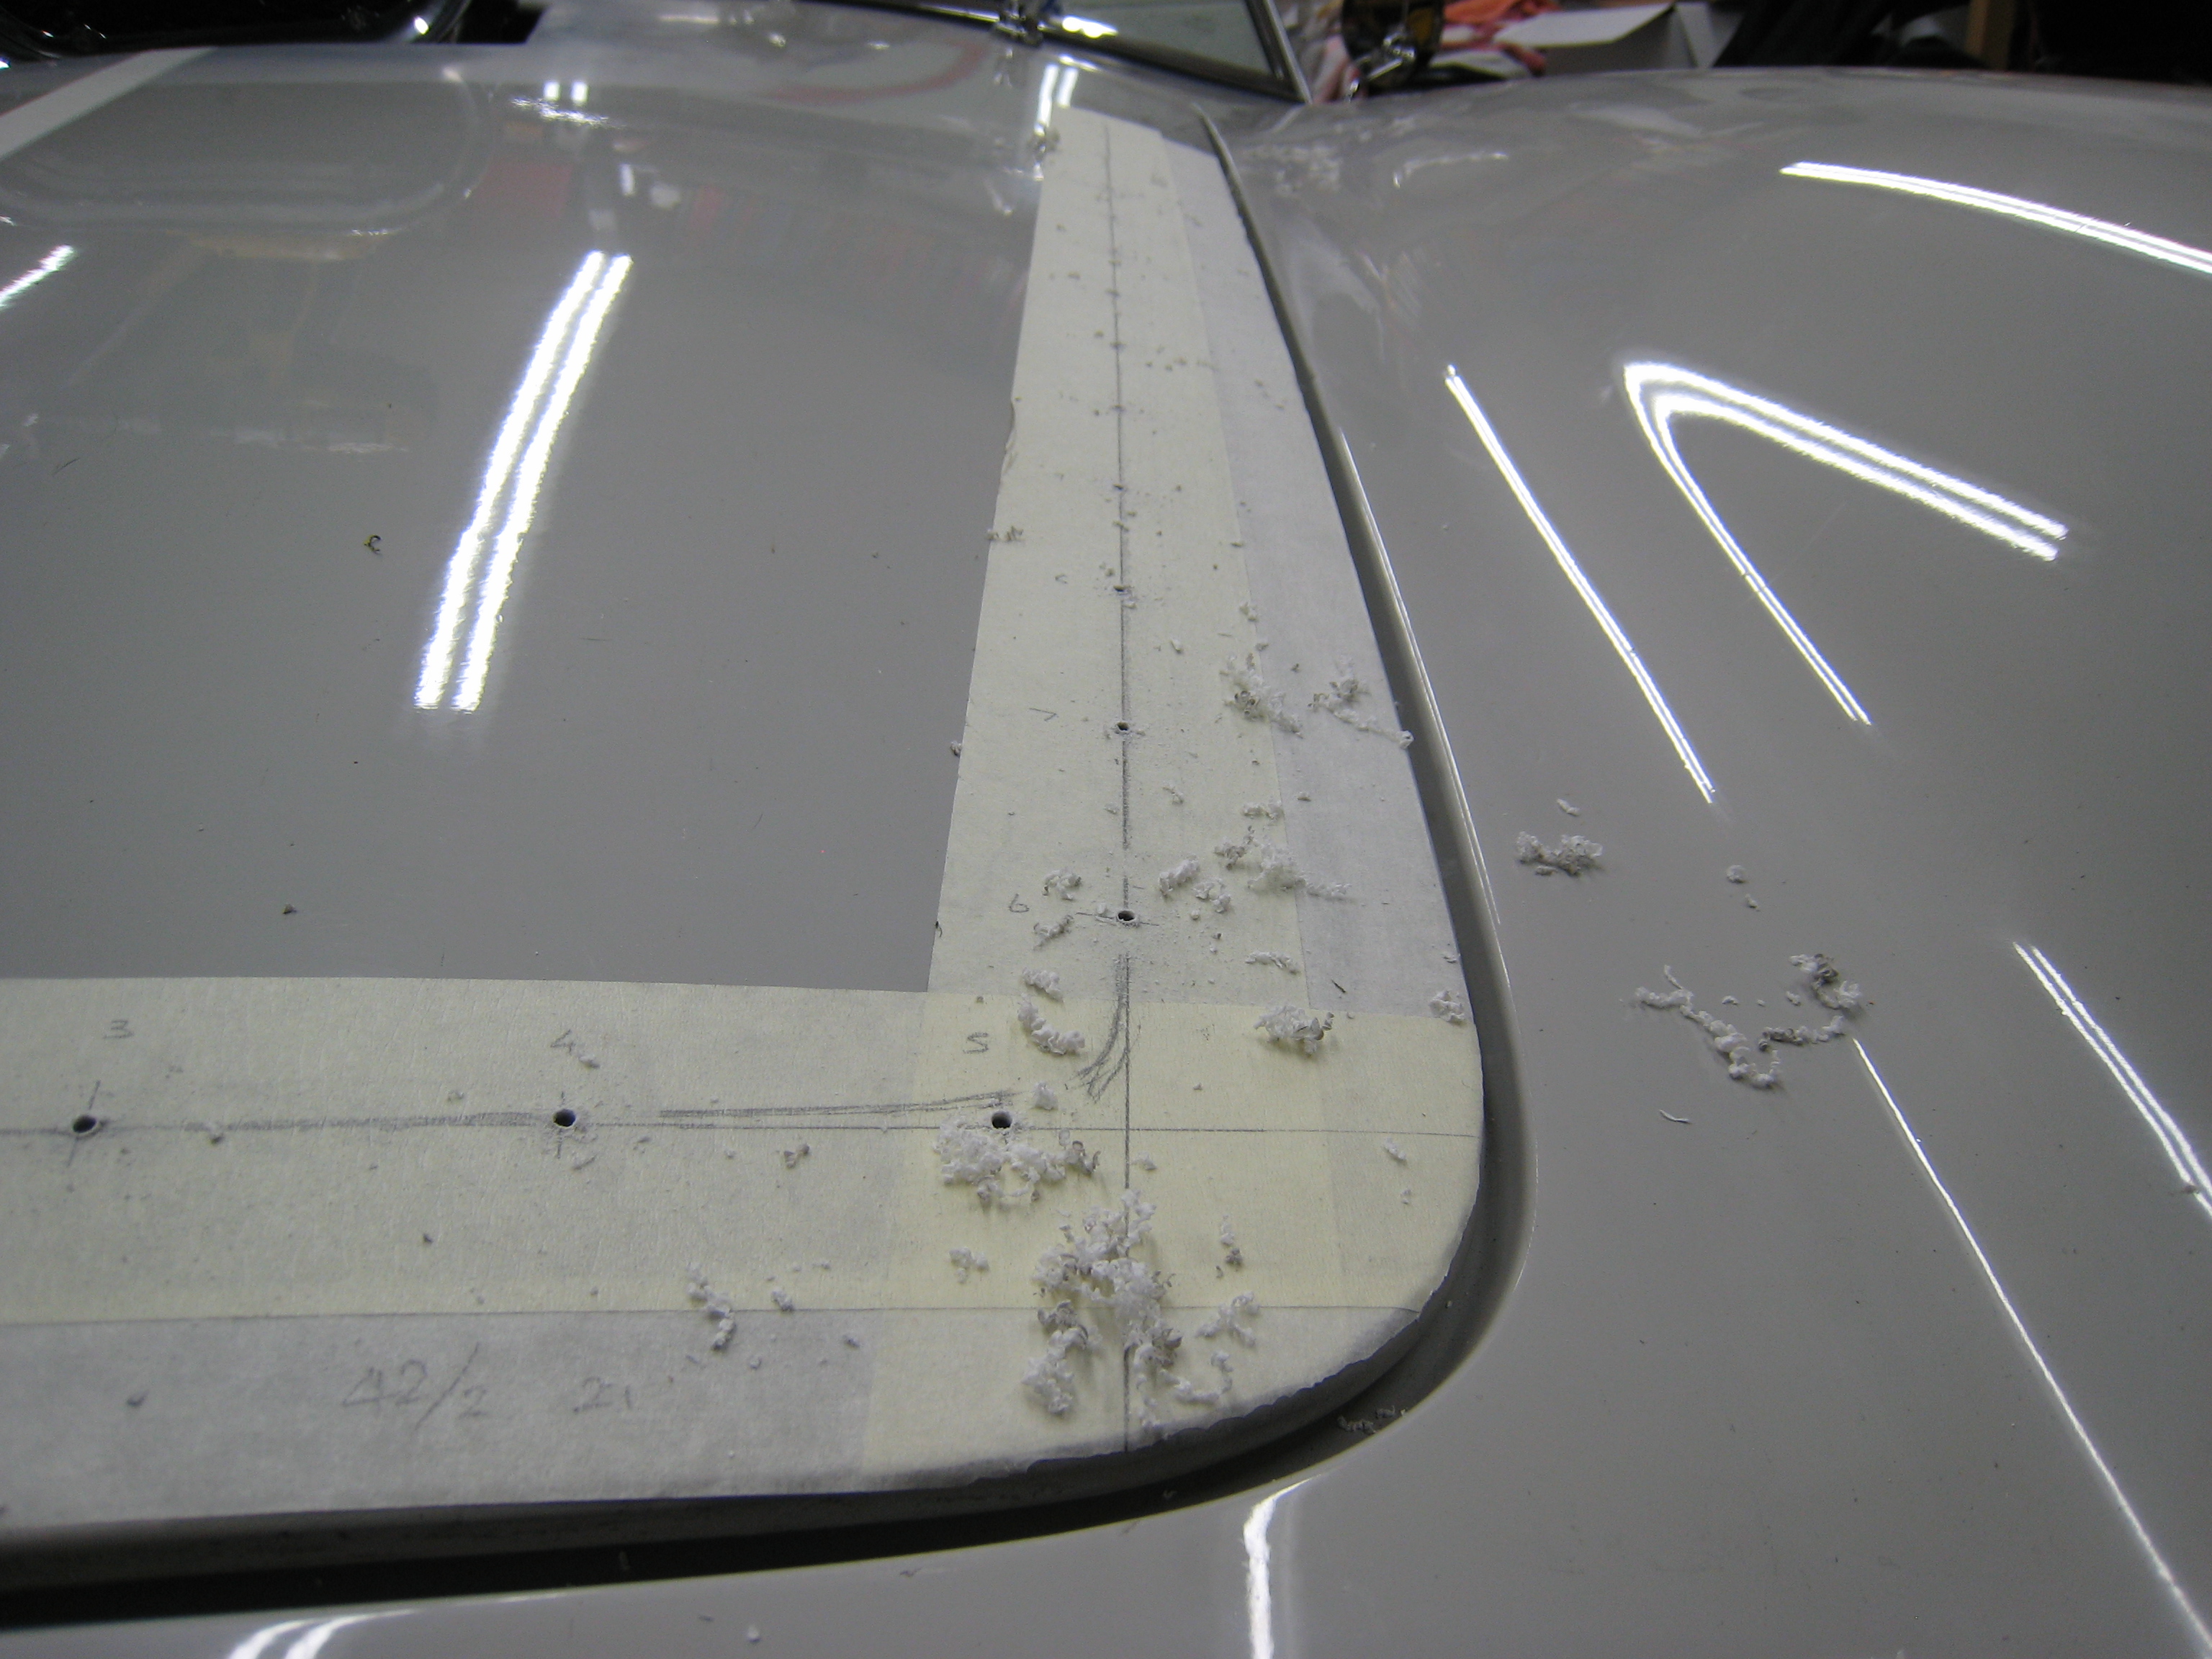
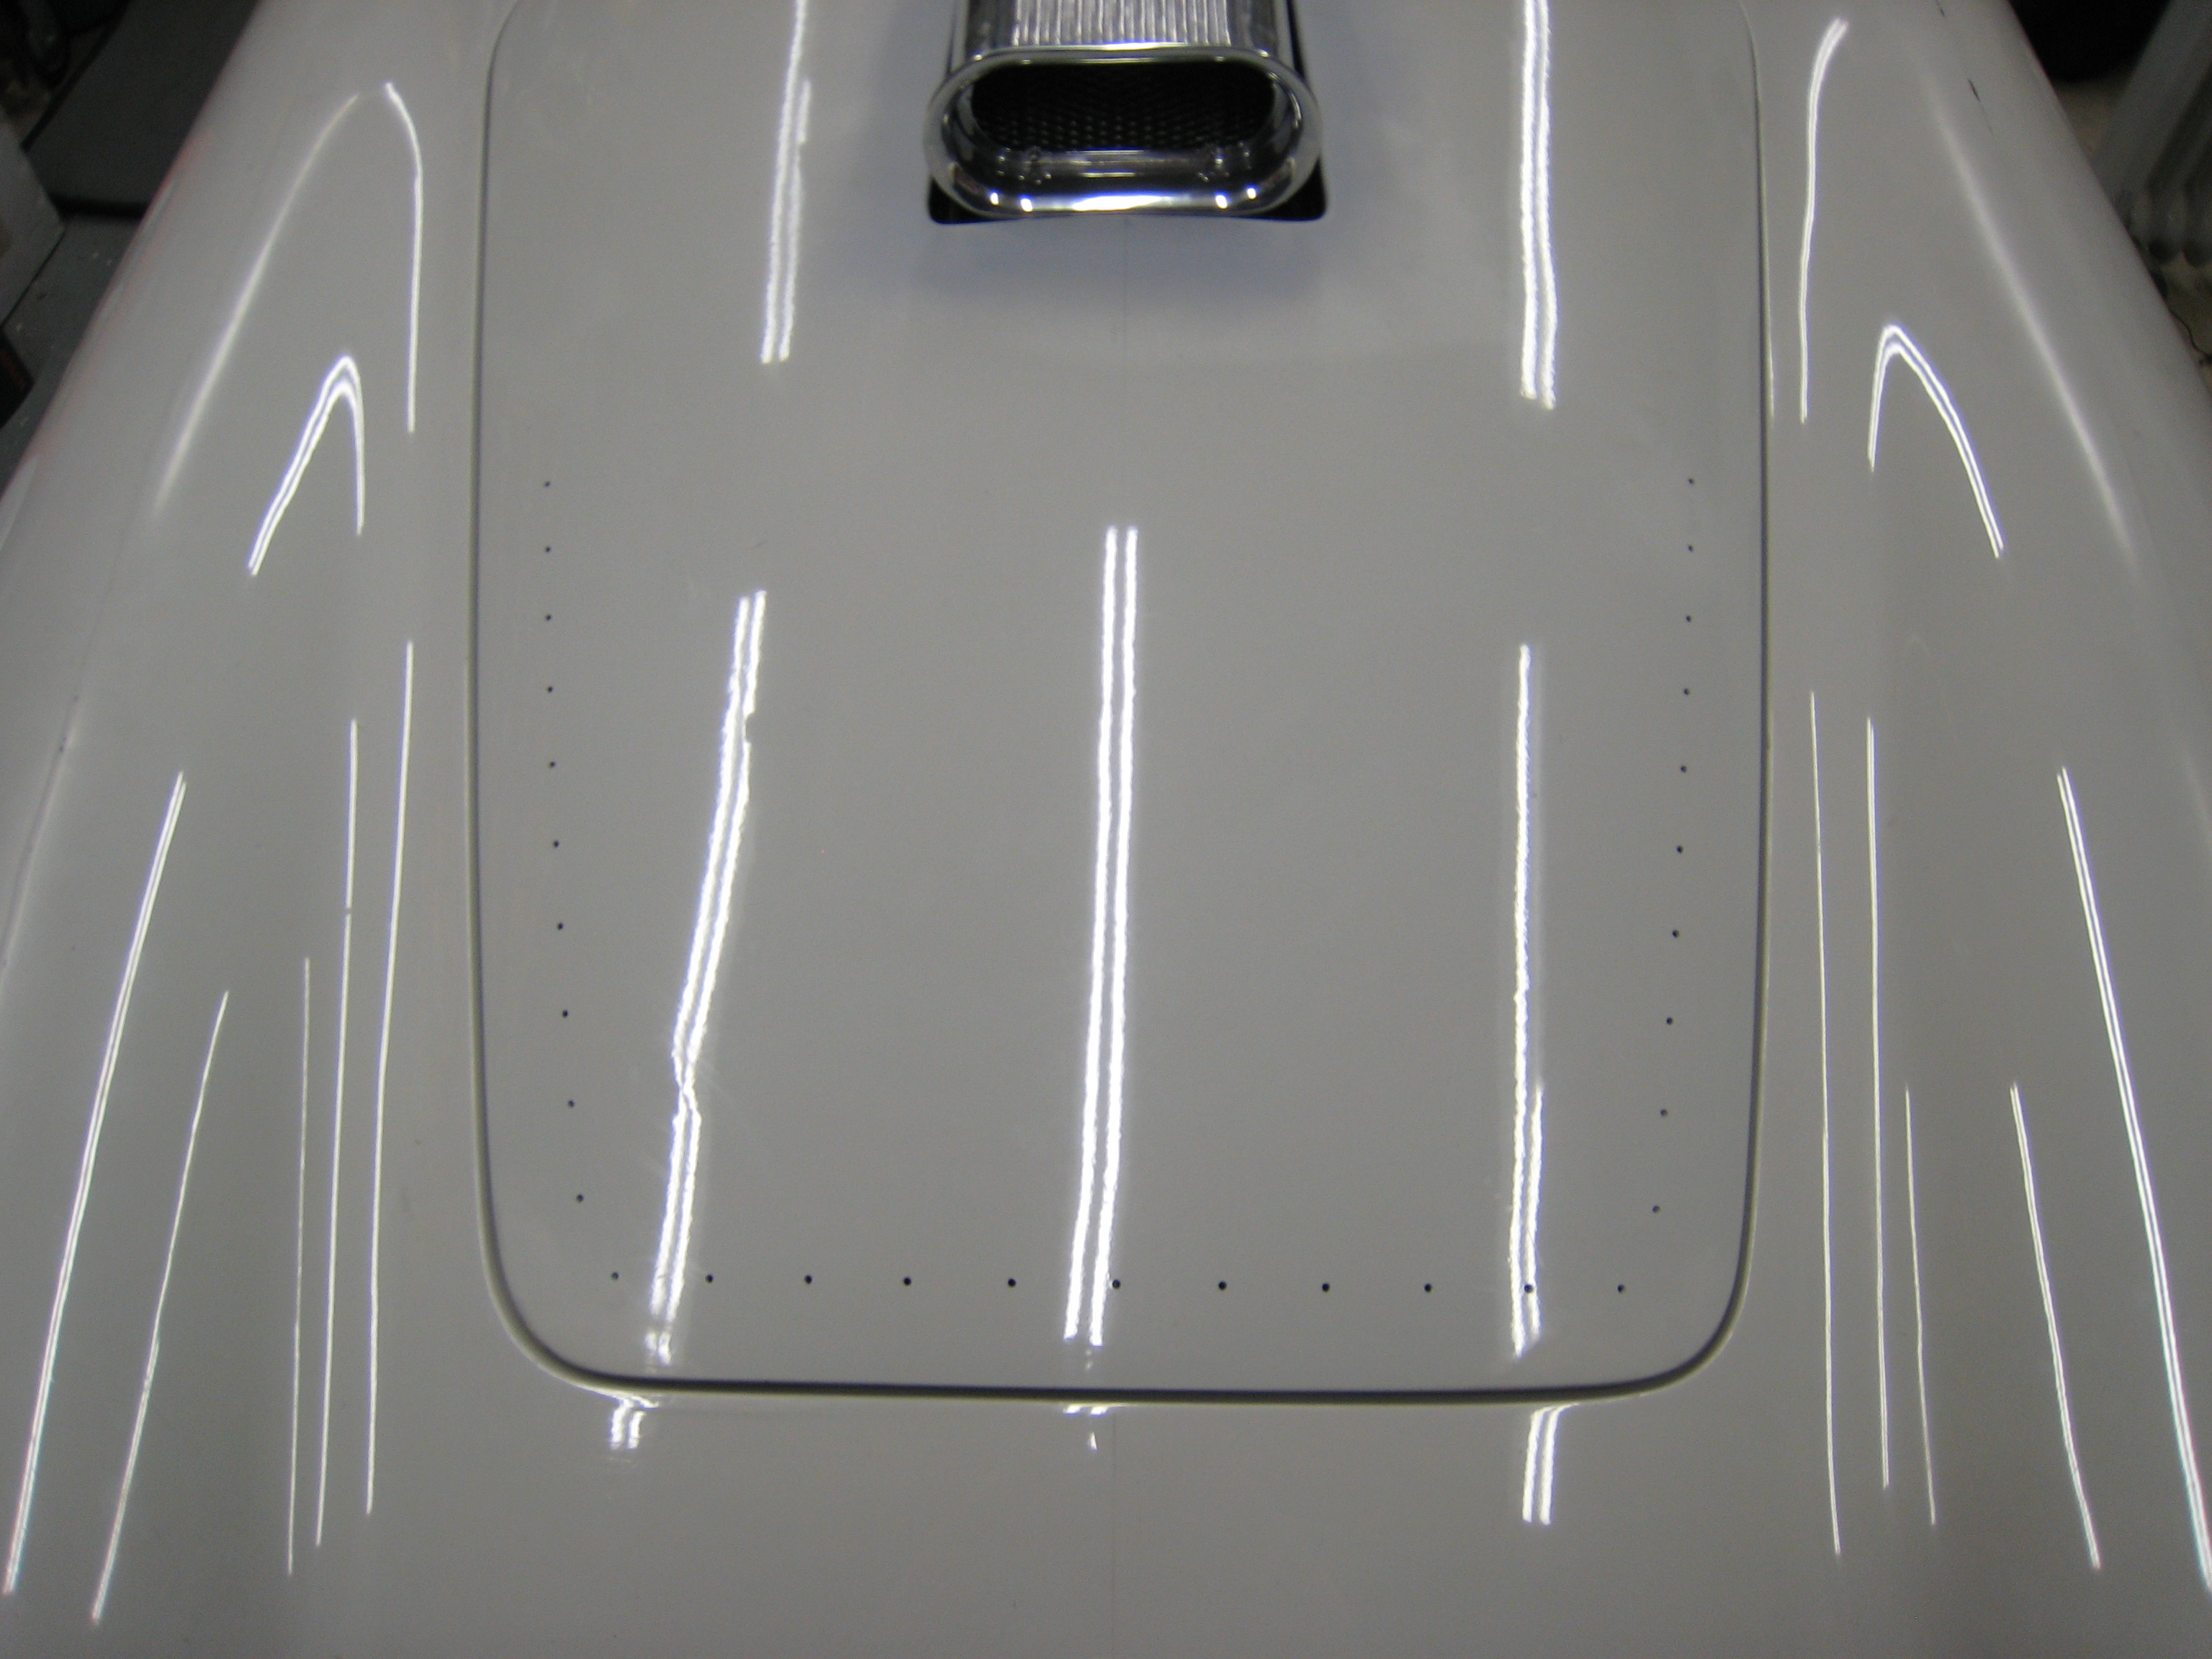
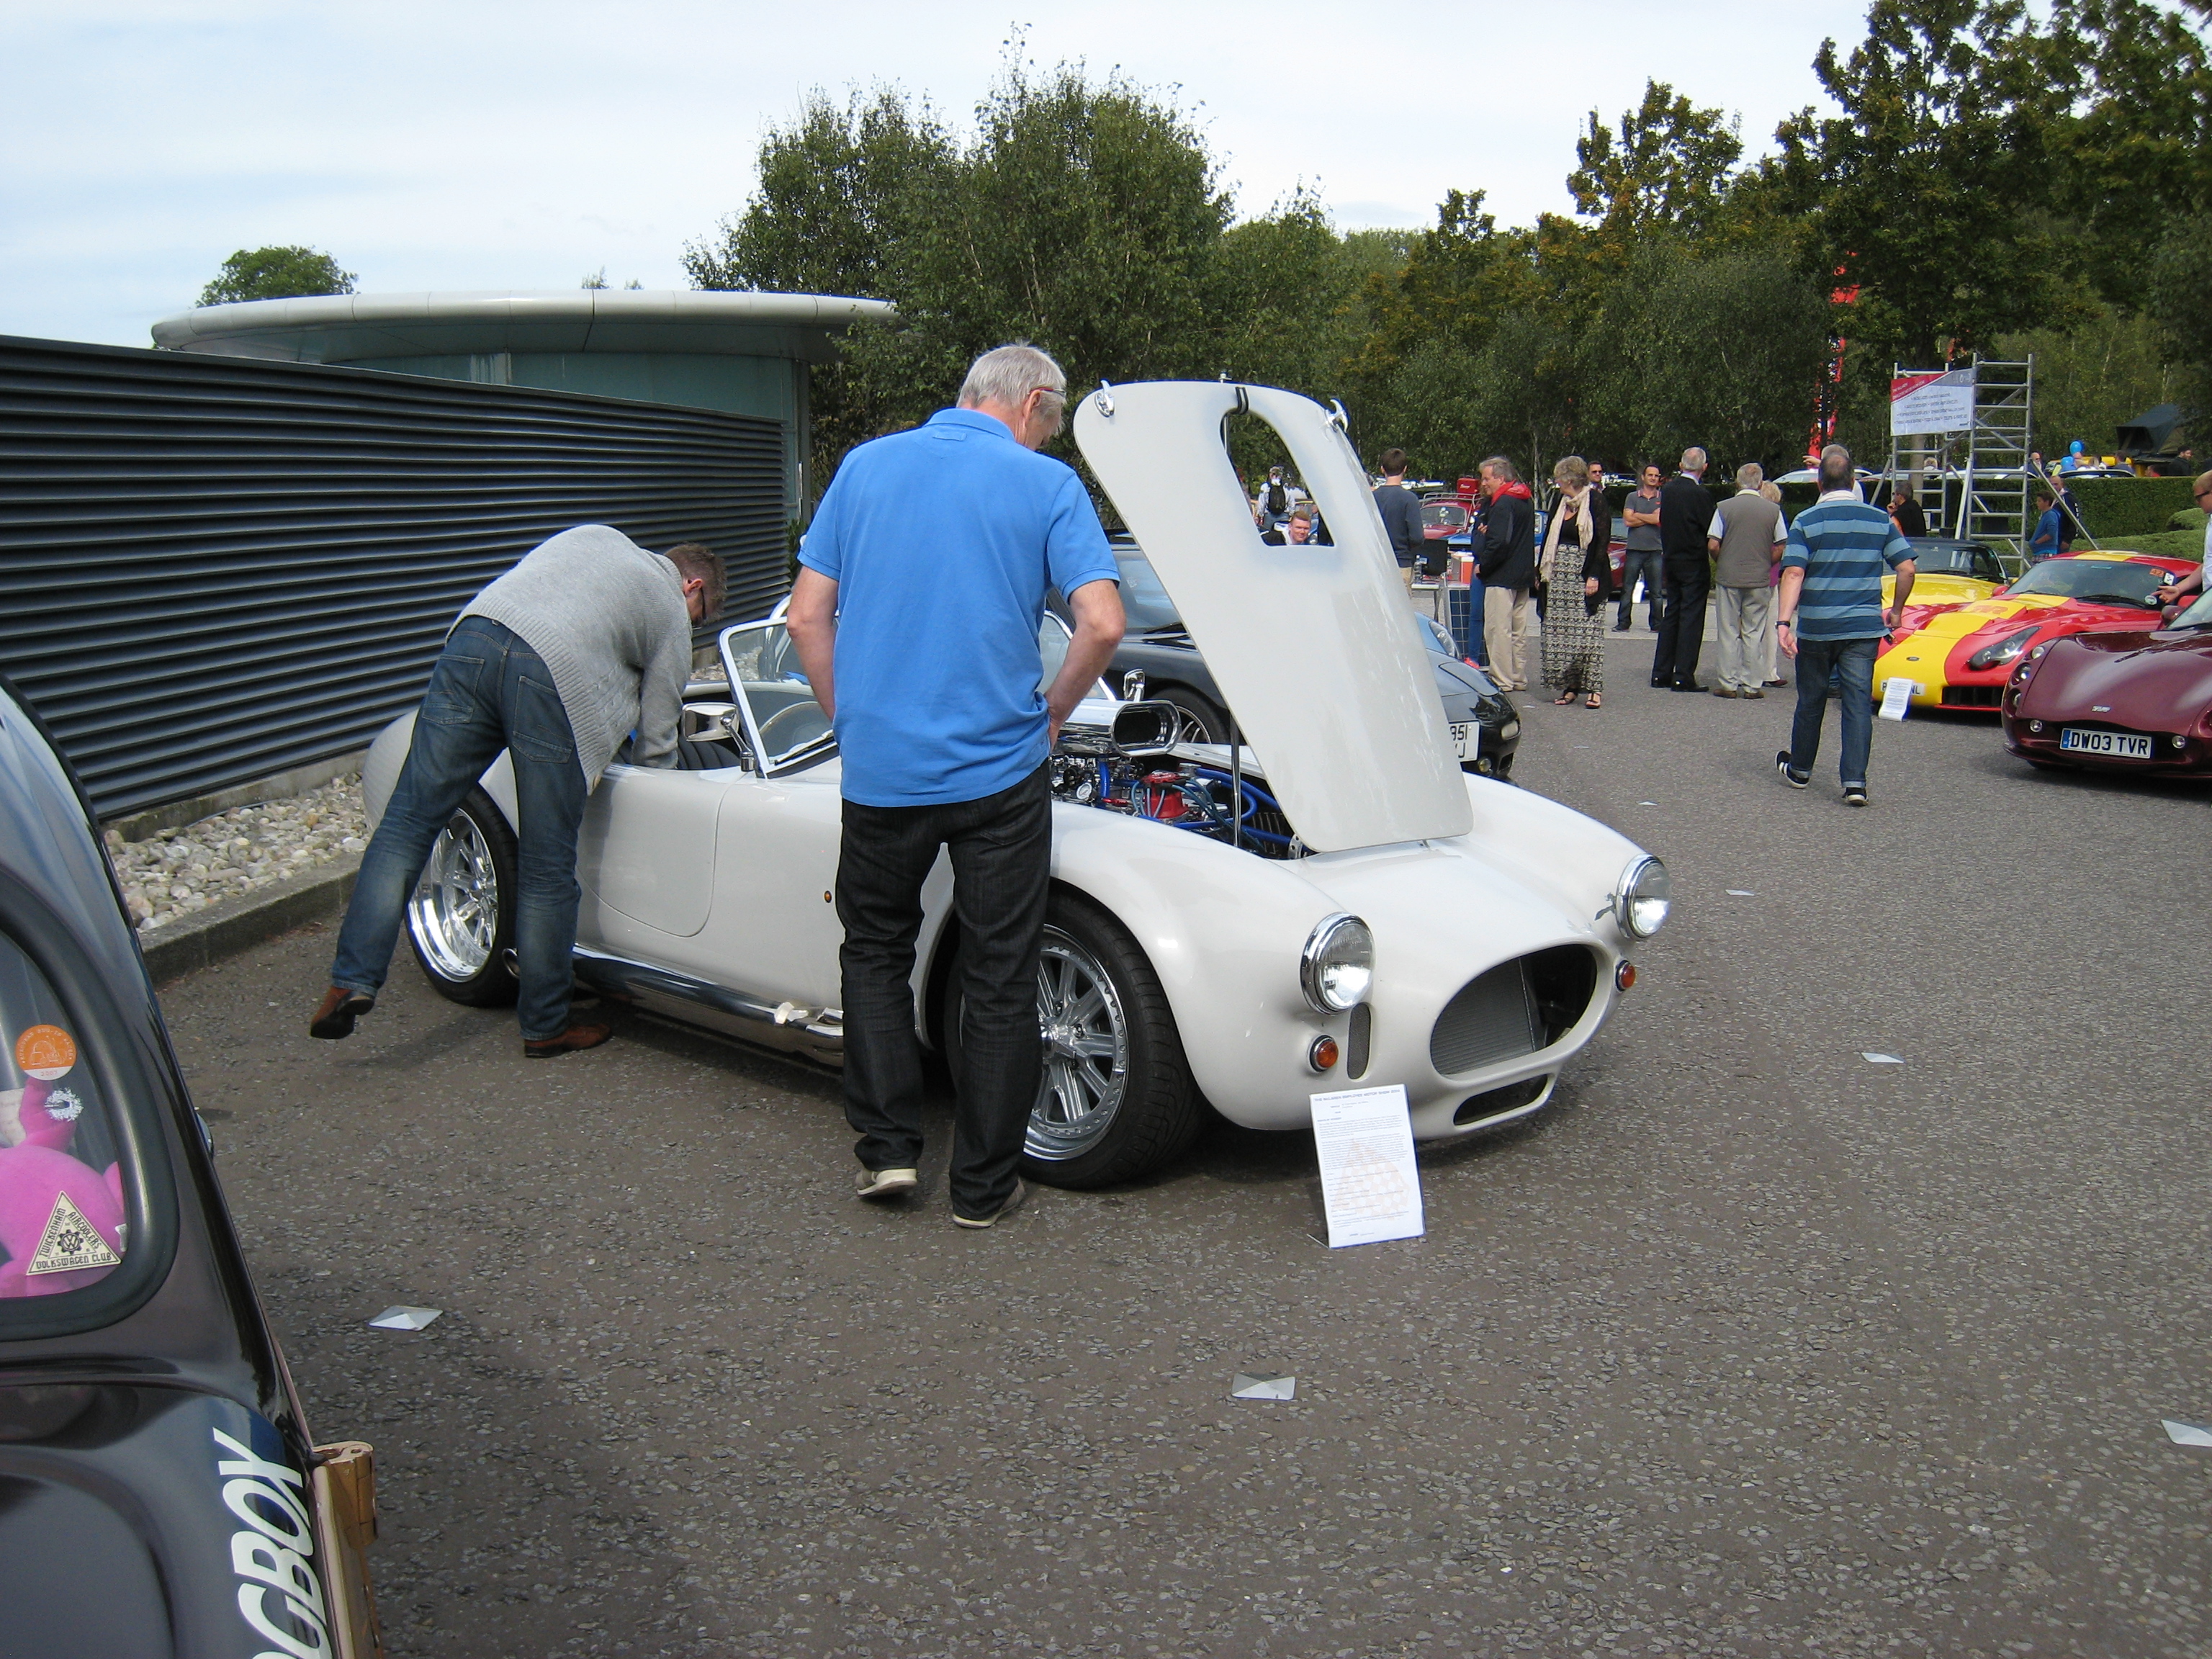
Paint Finishing
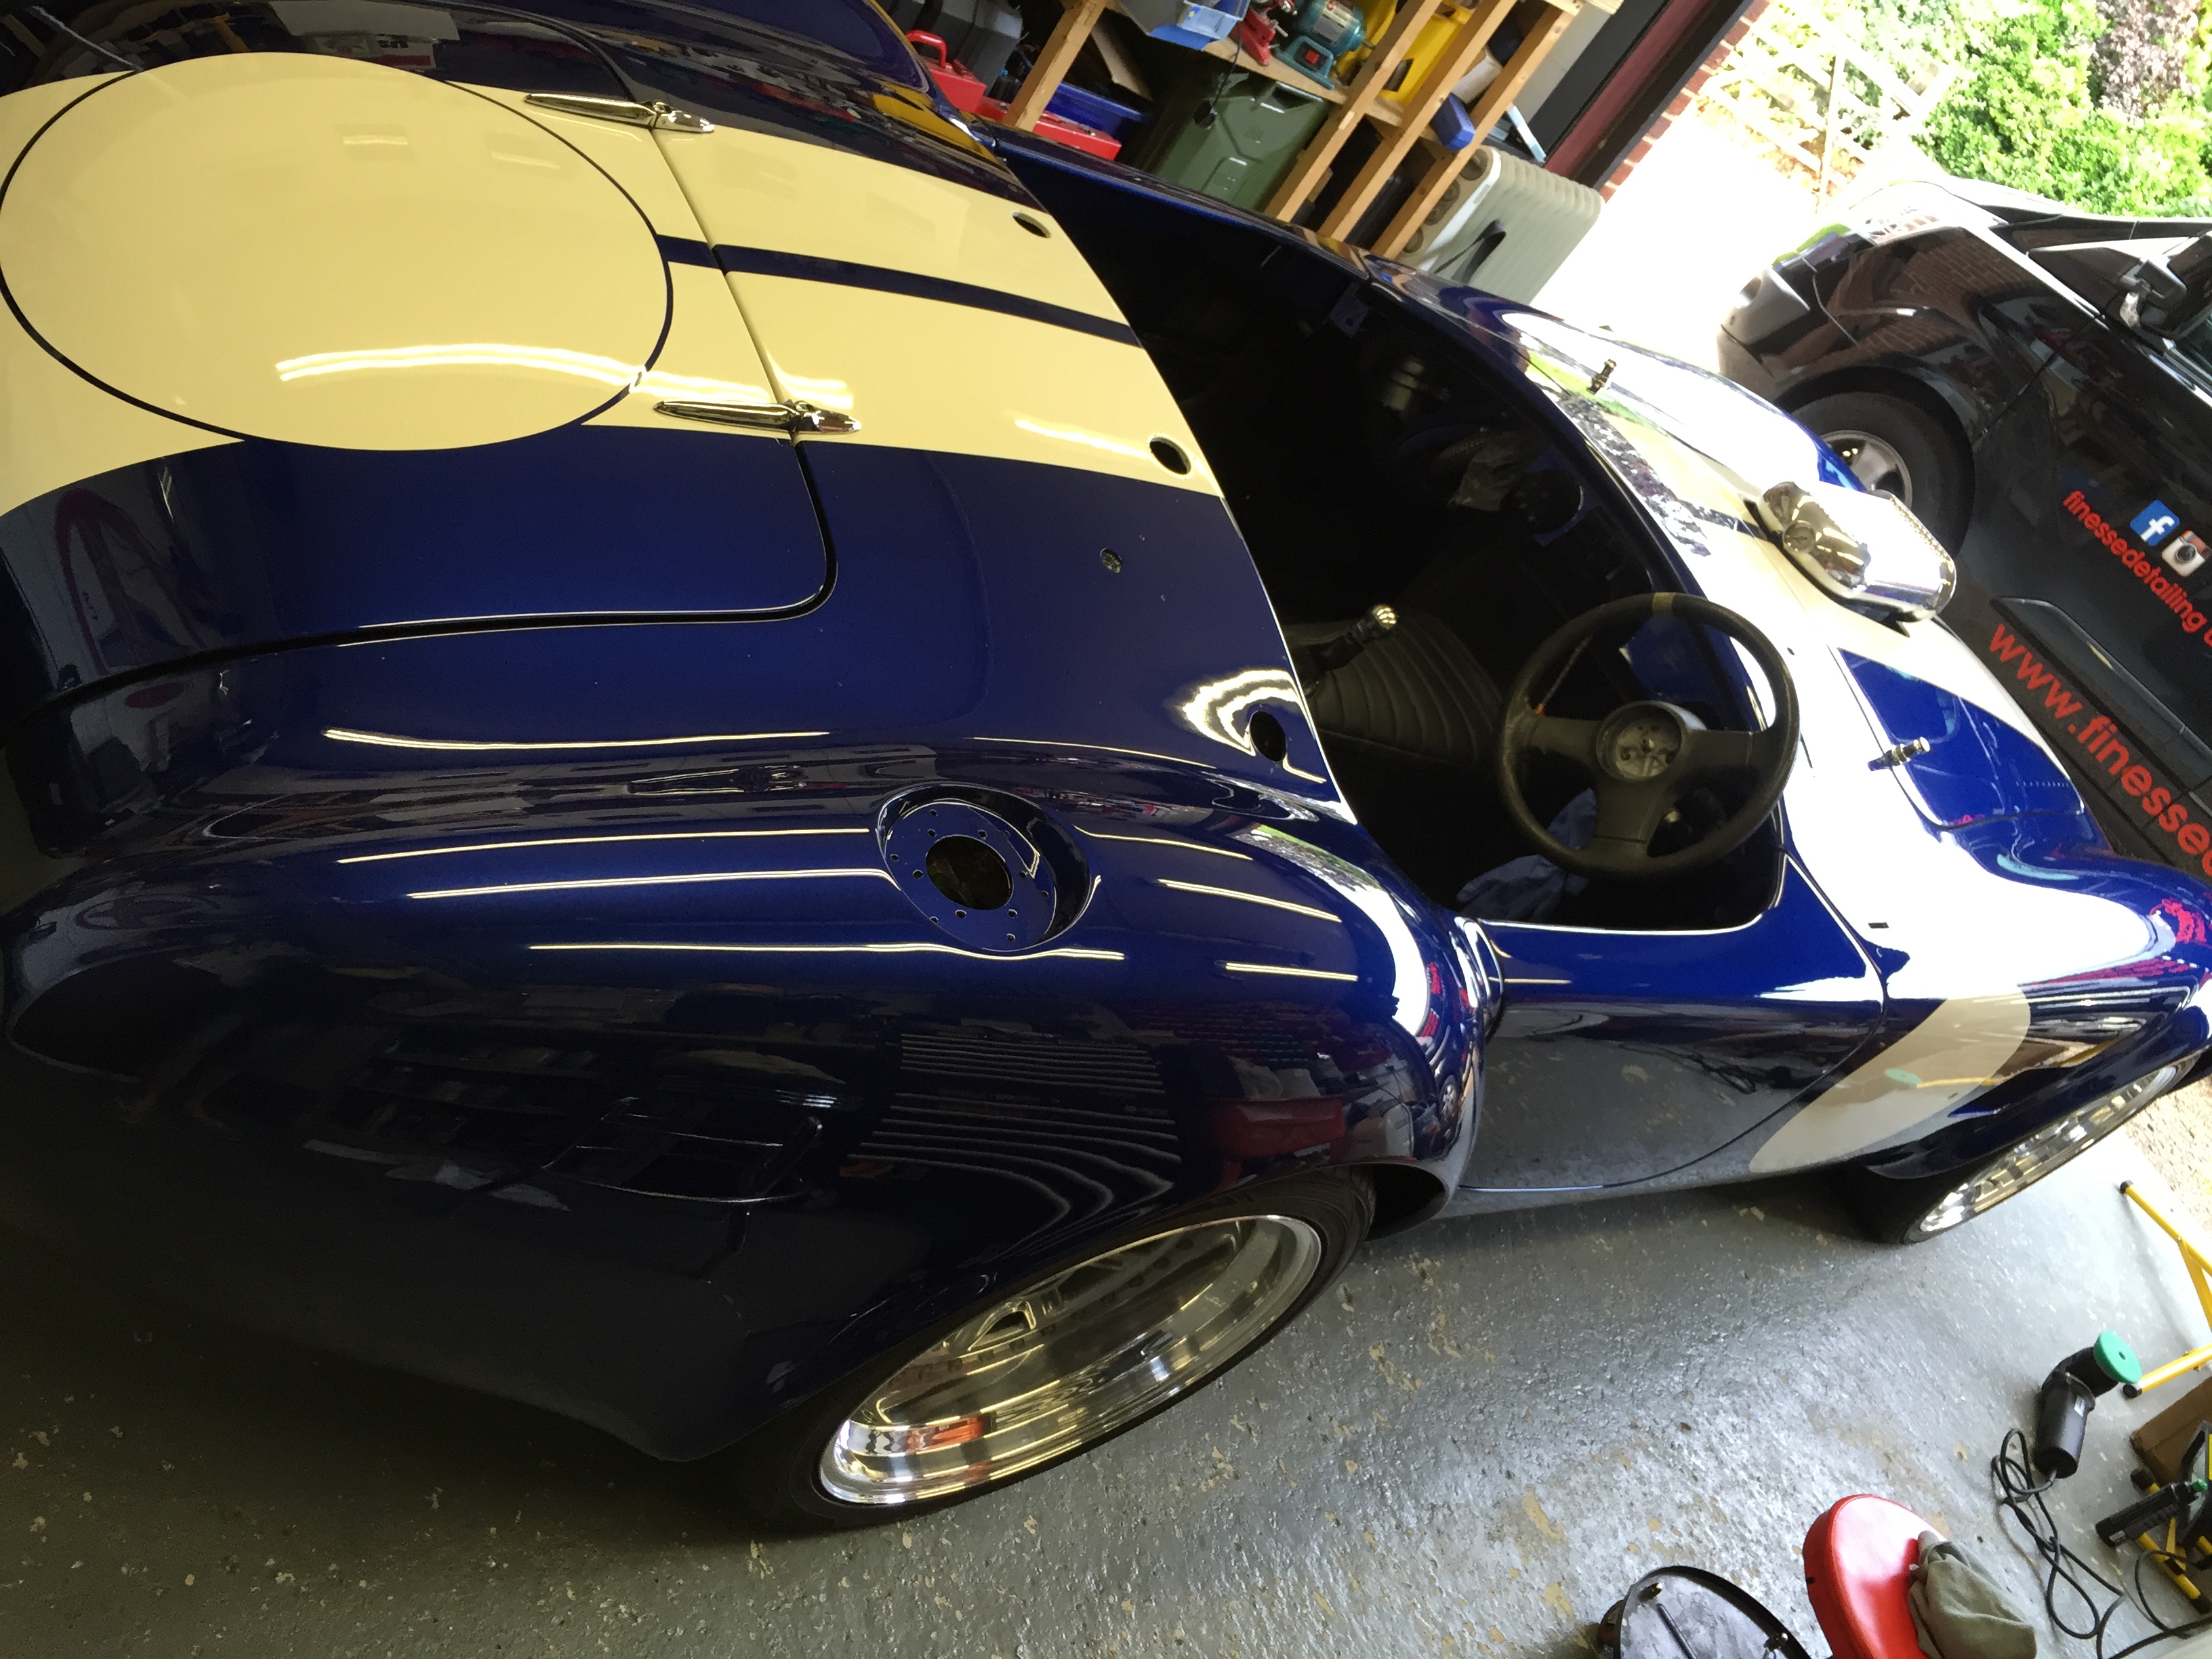
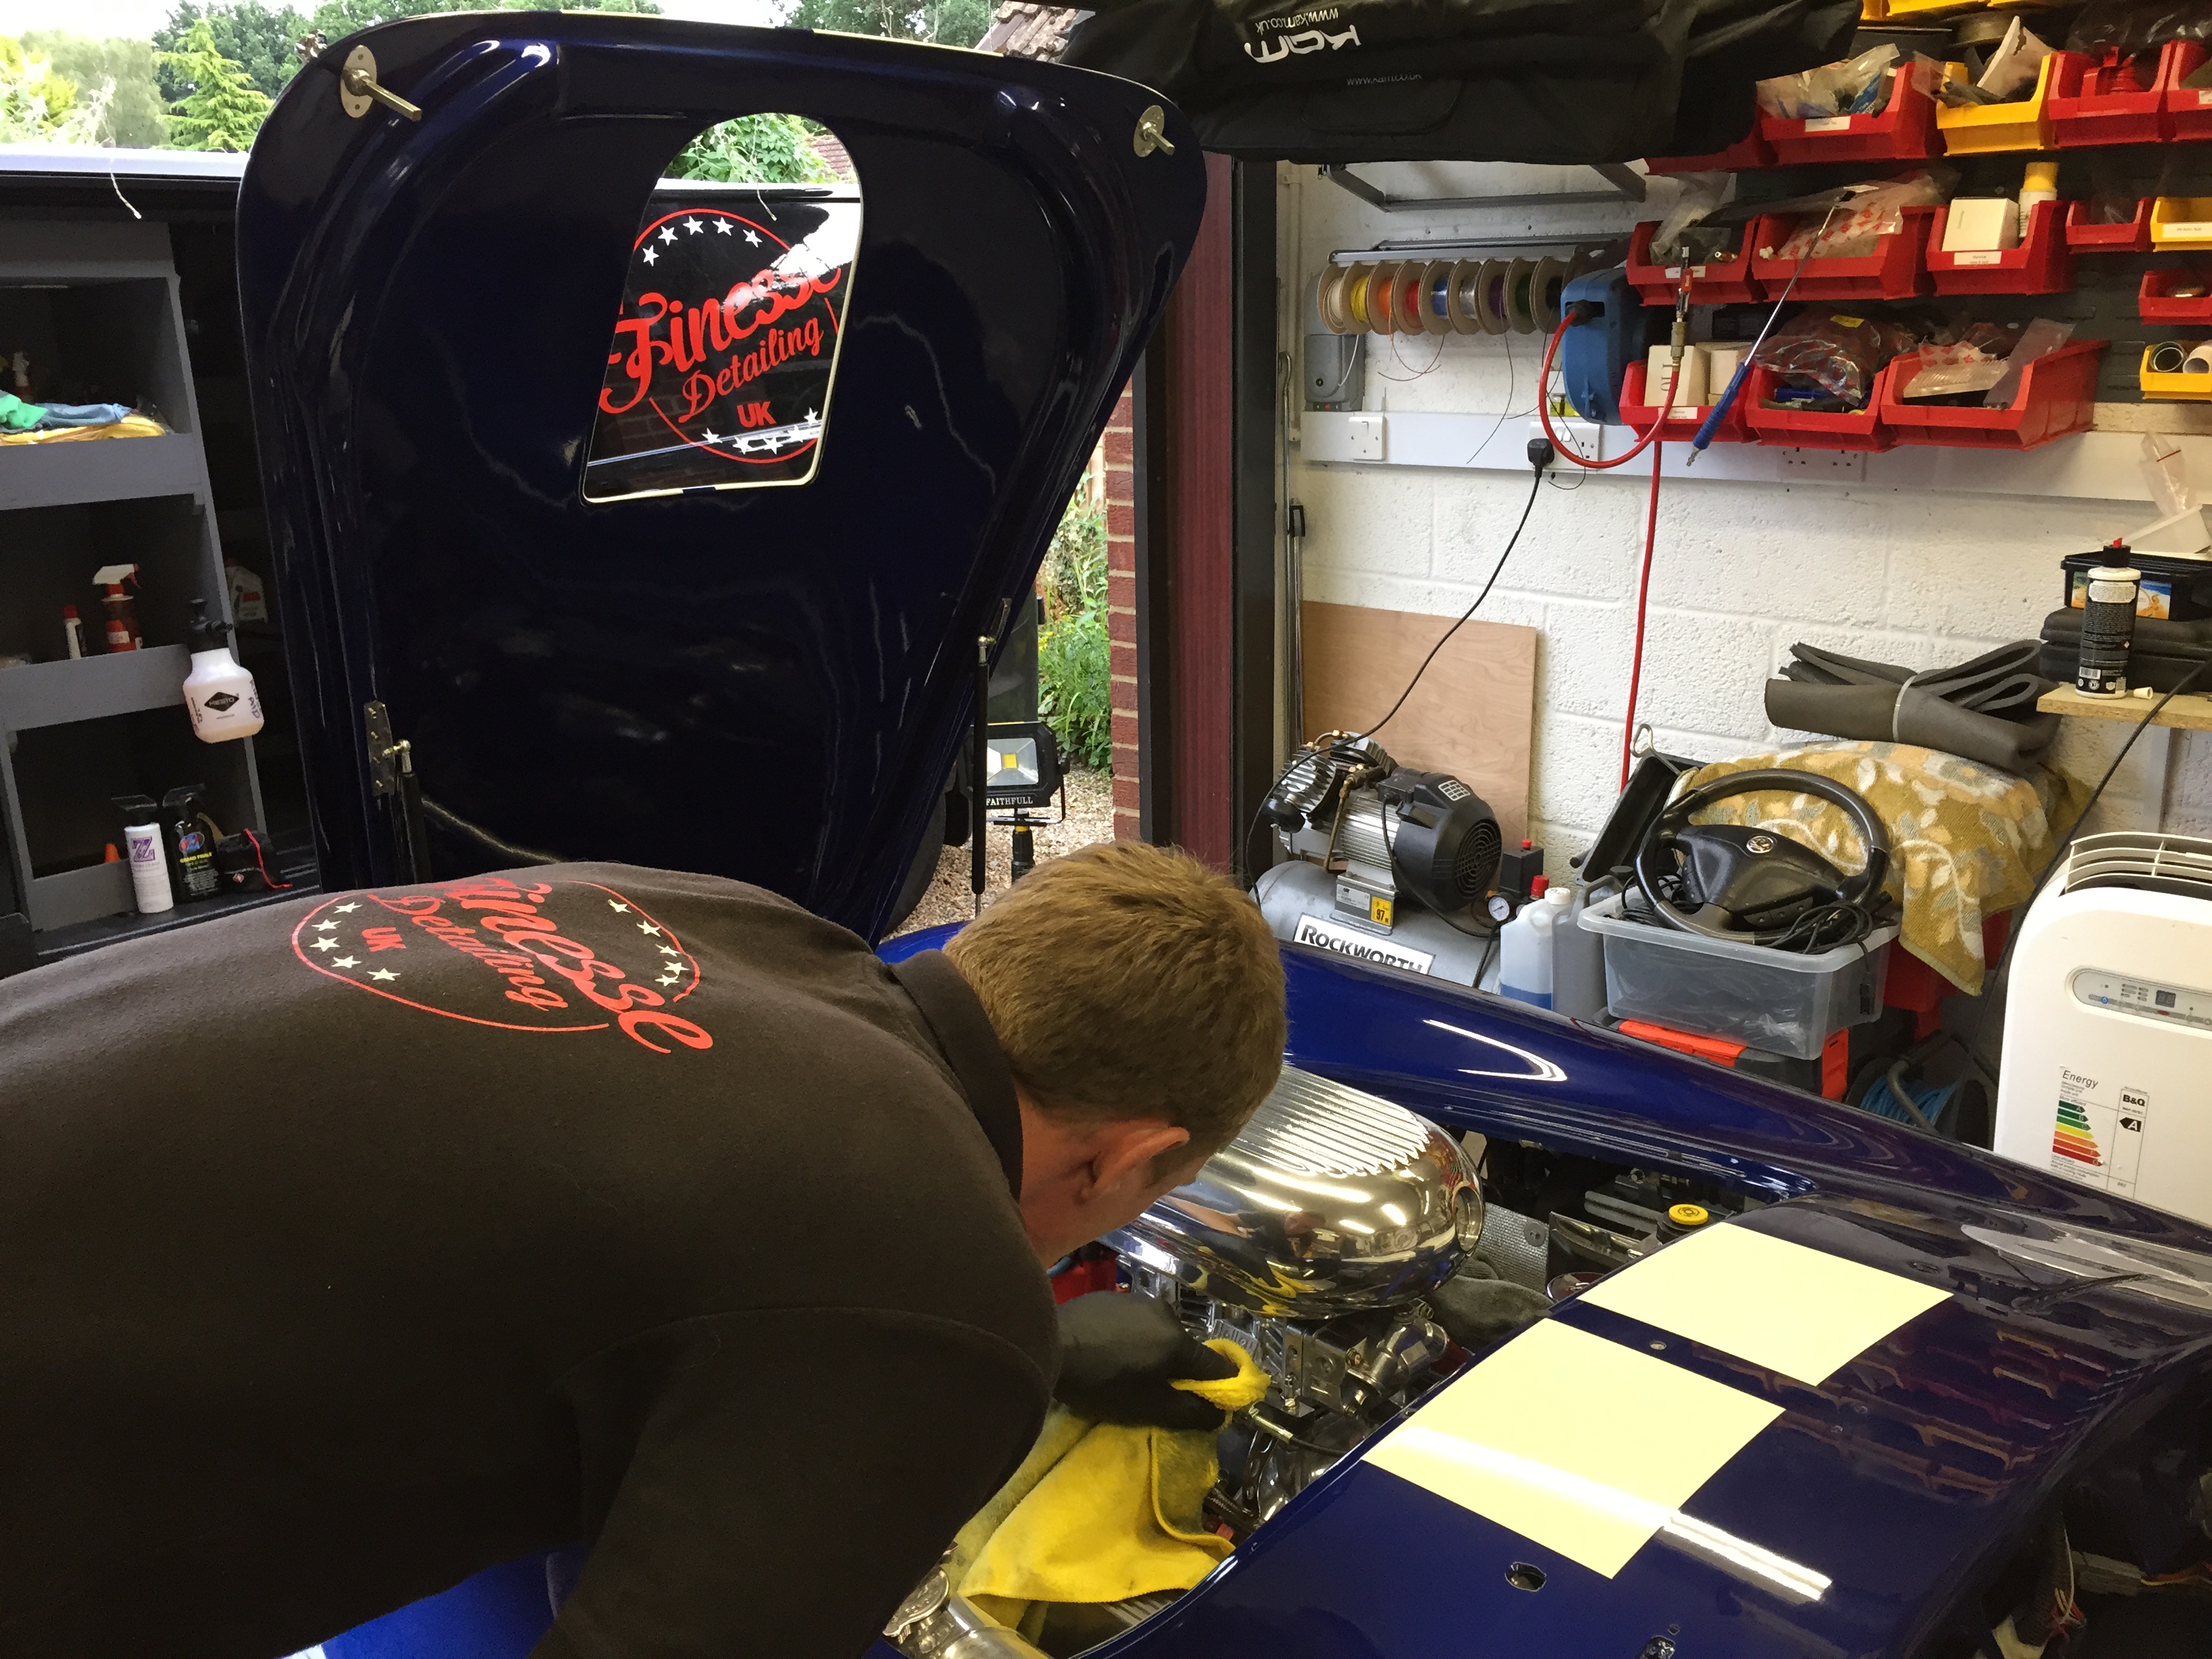
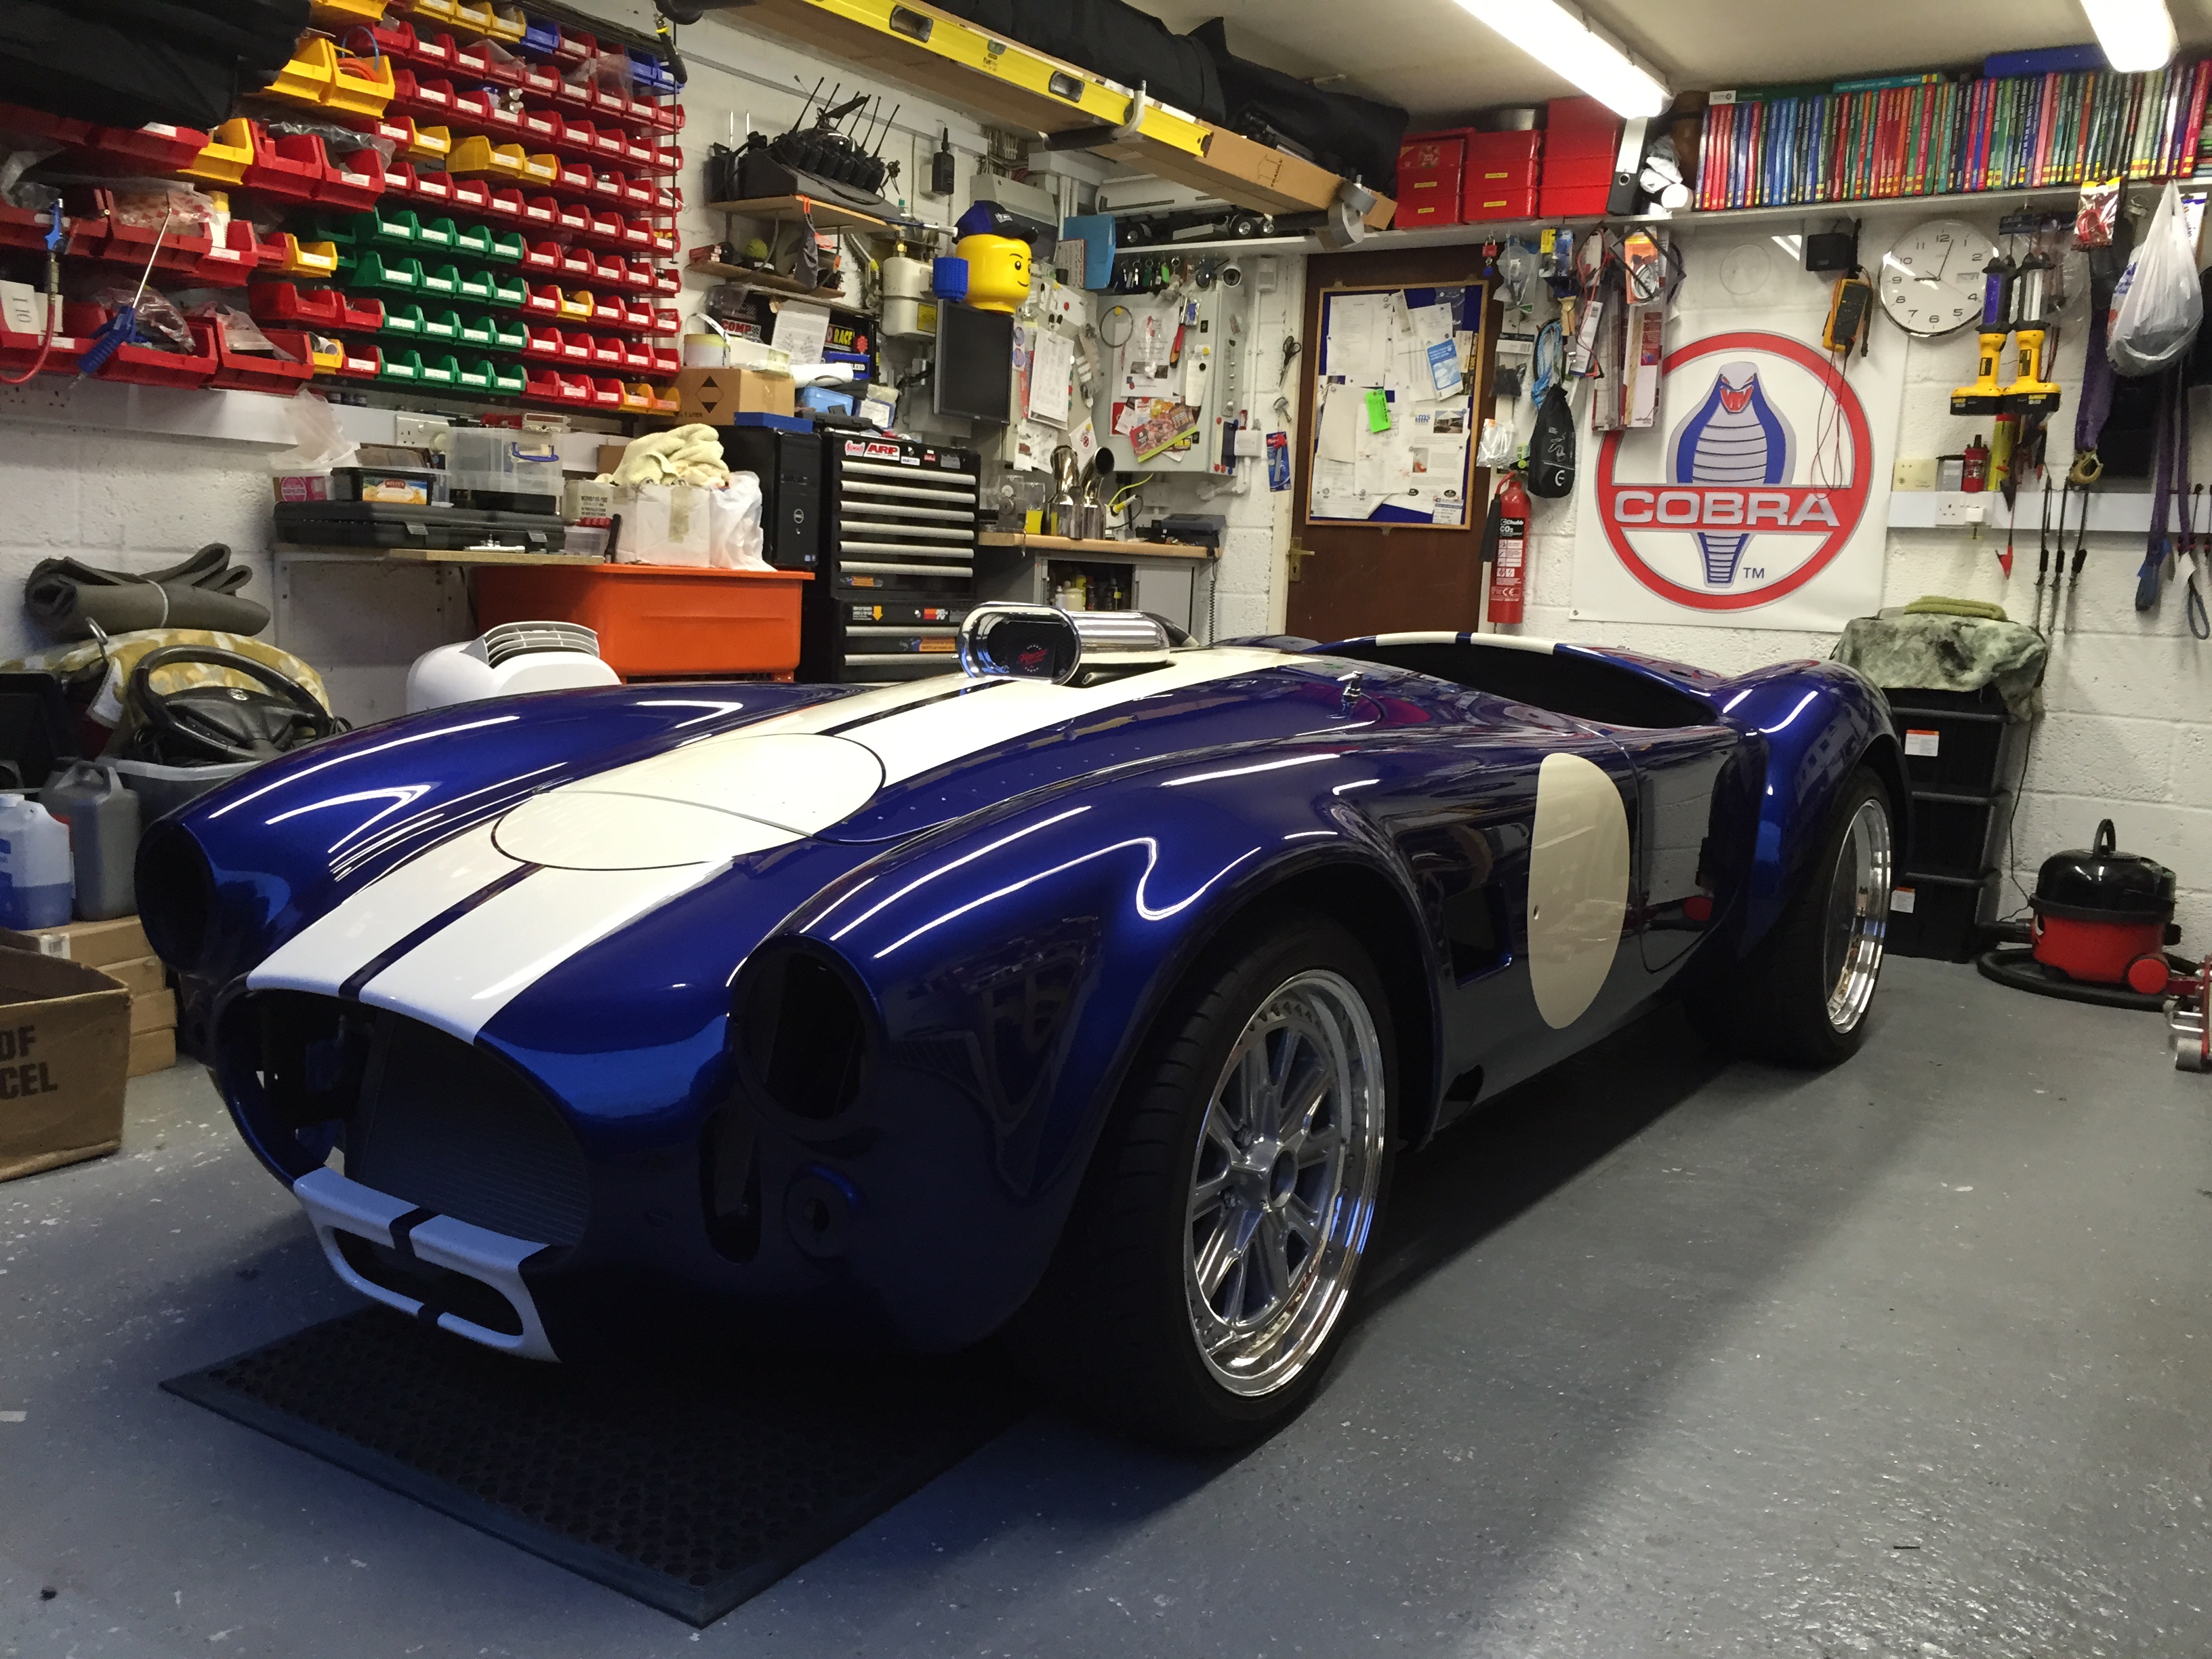
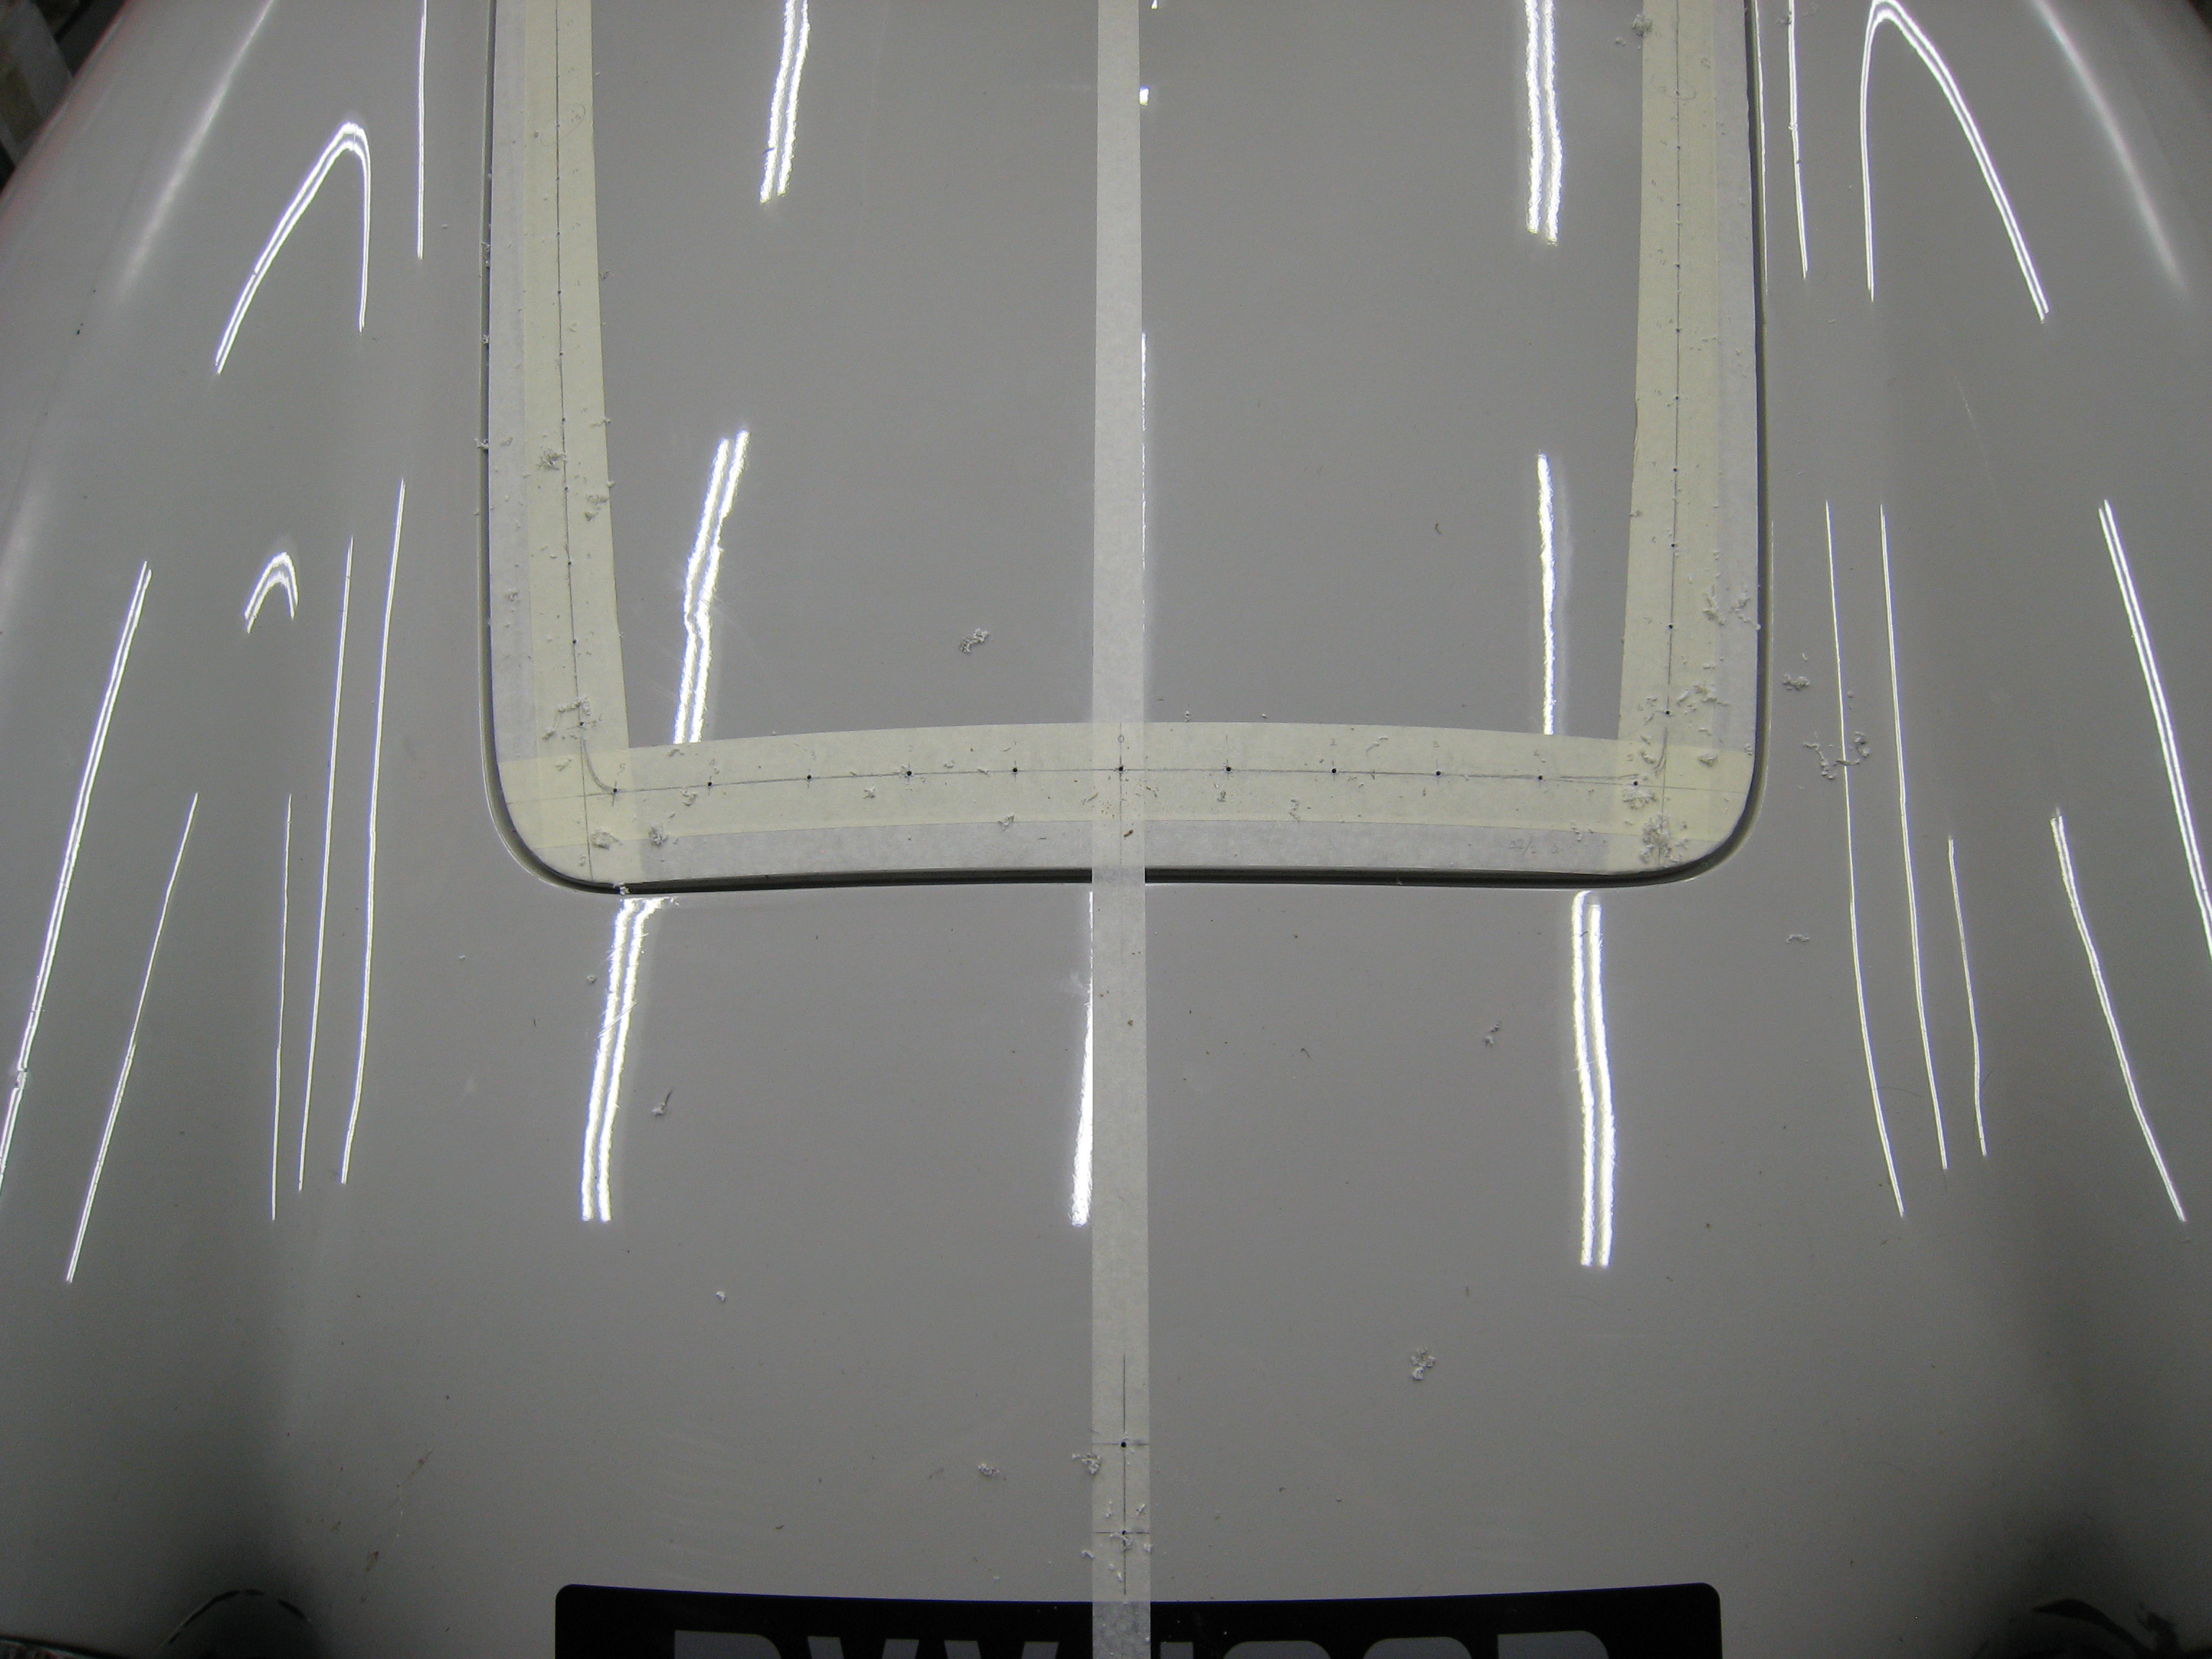
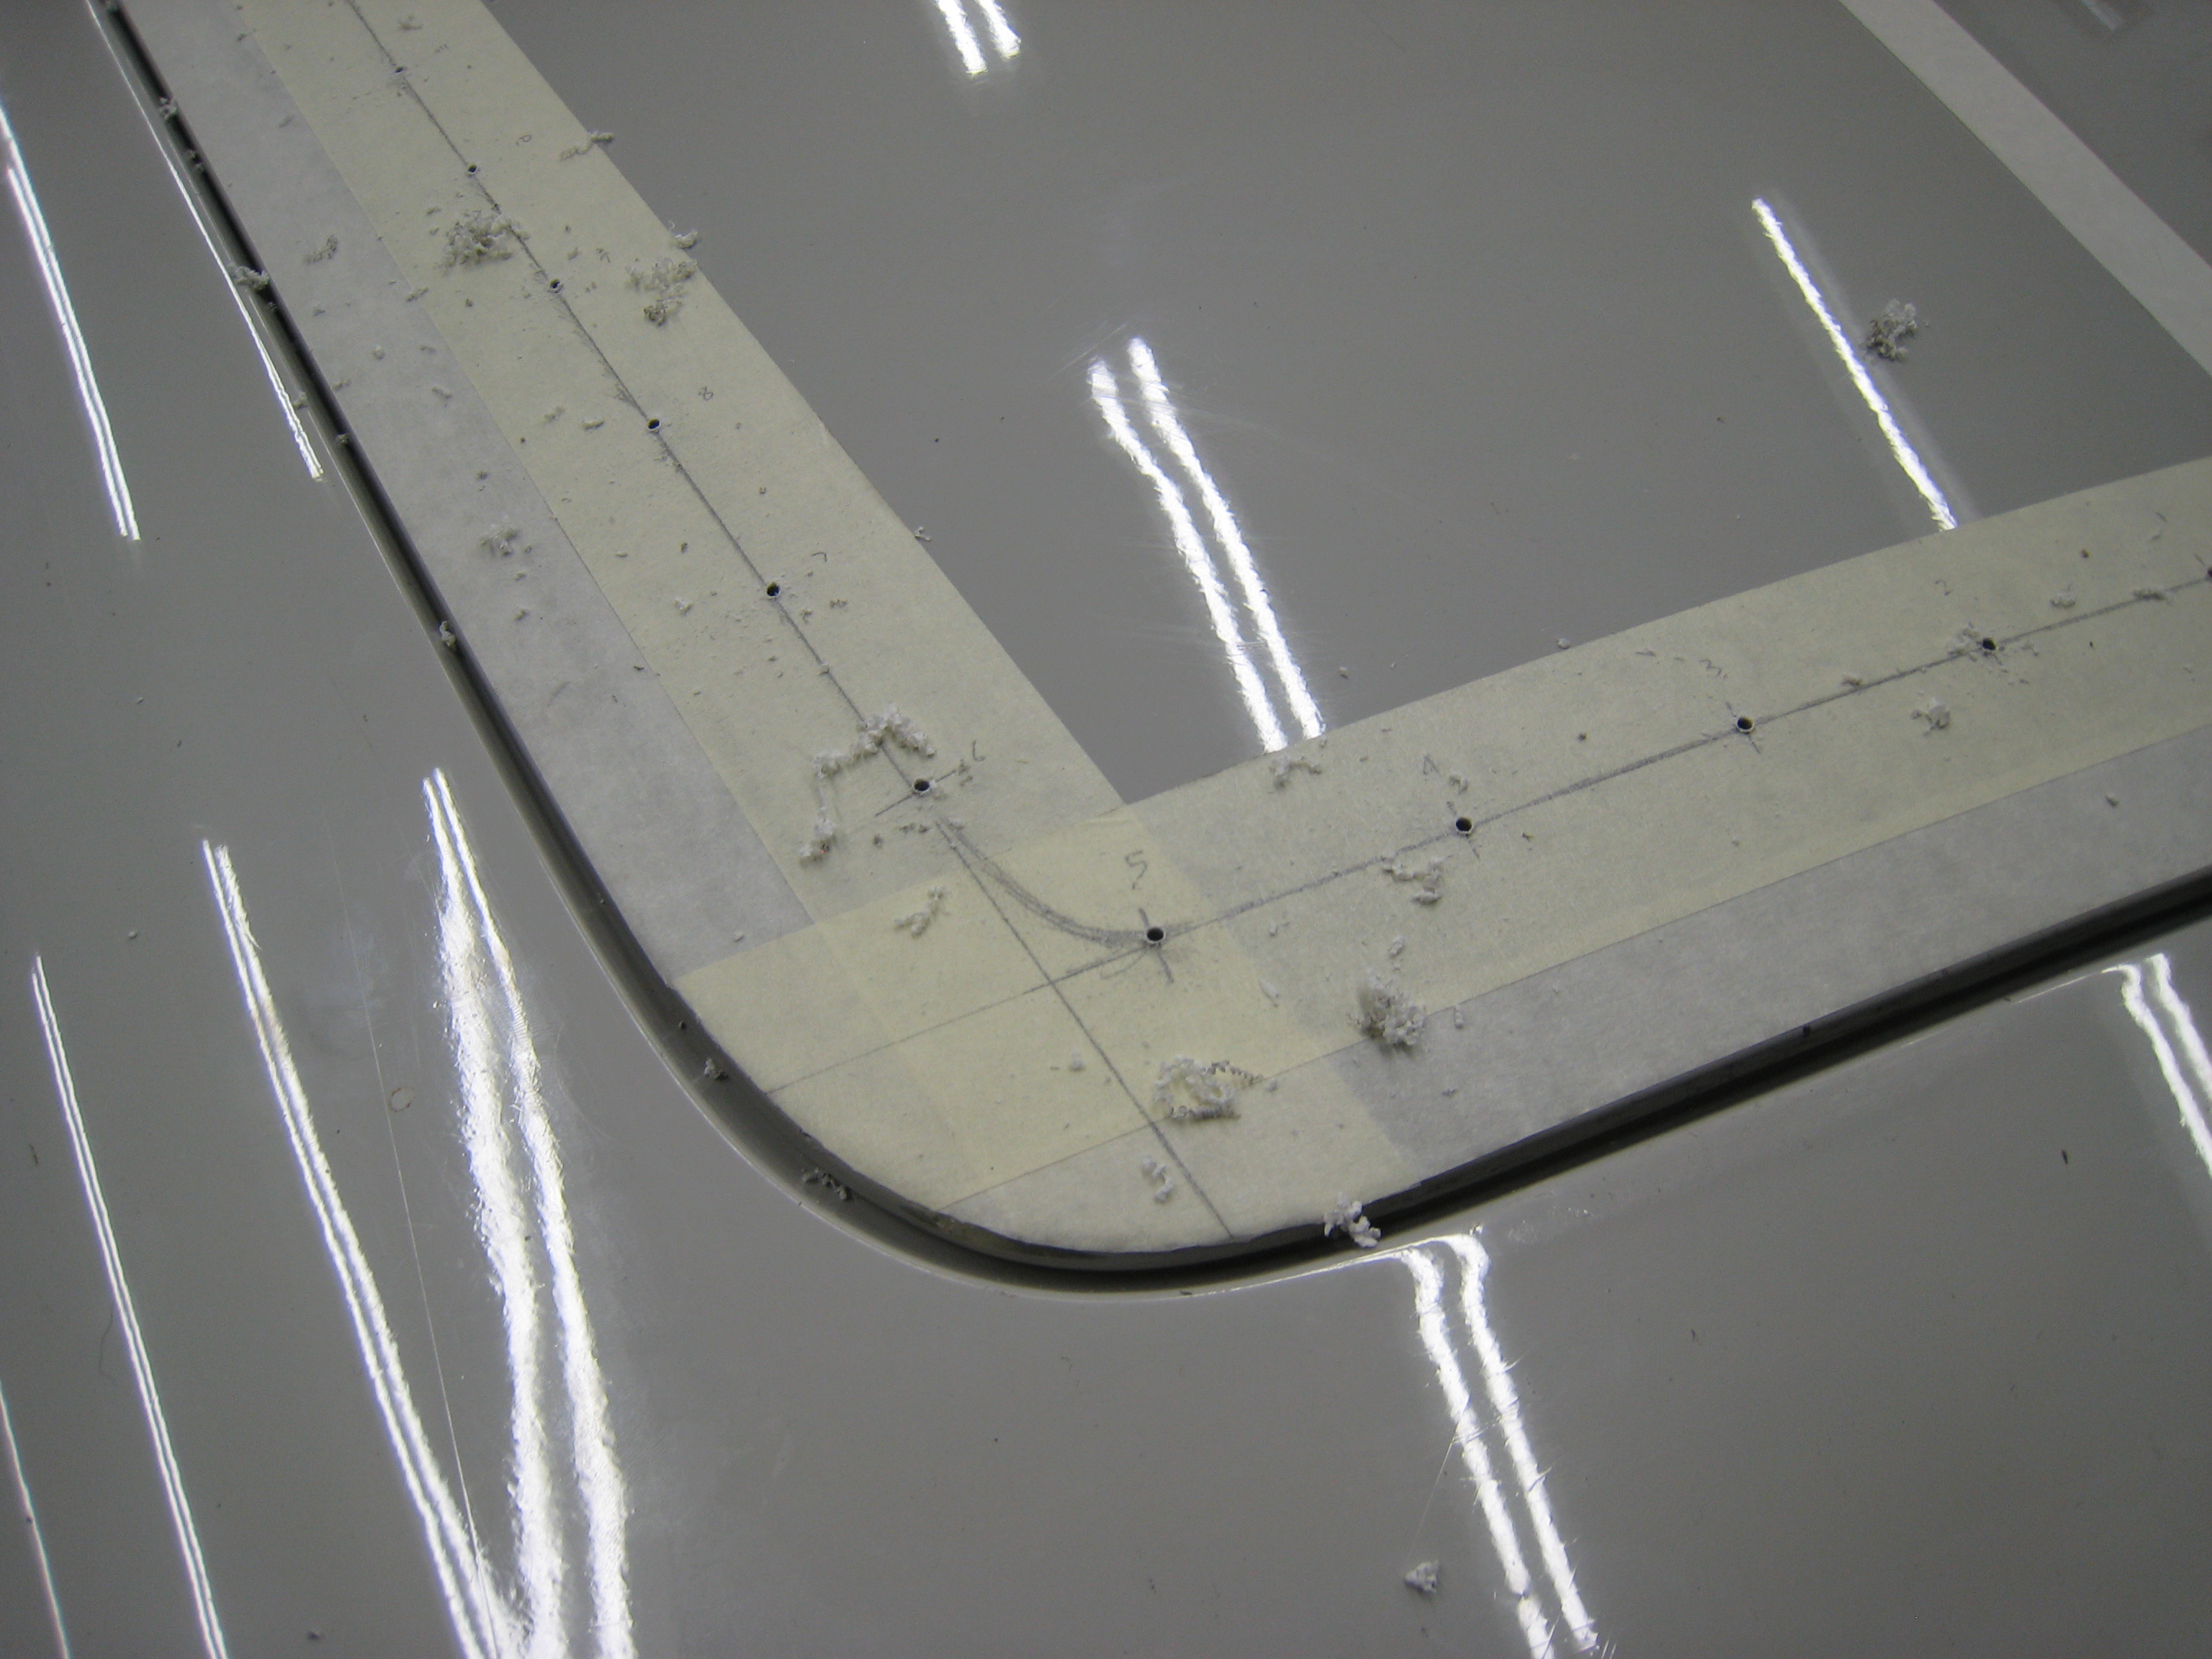
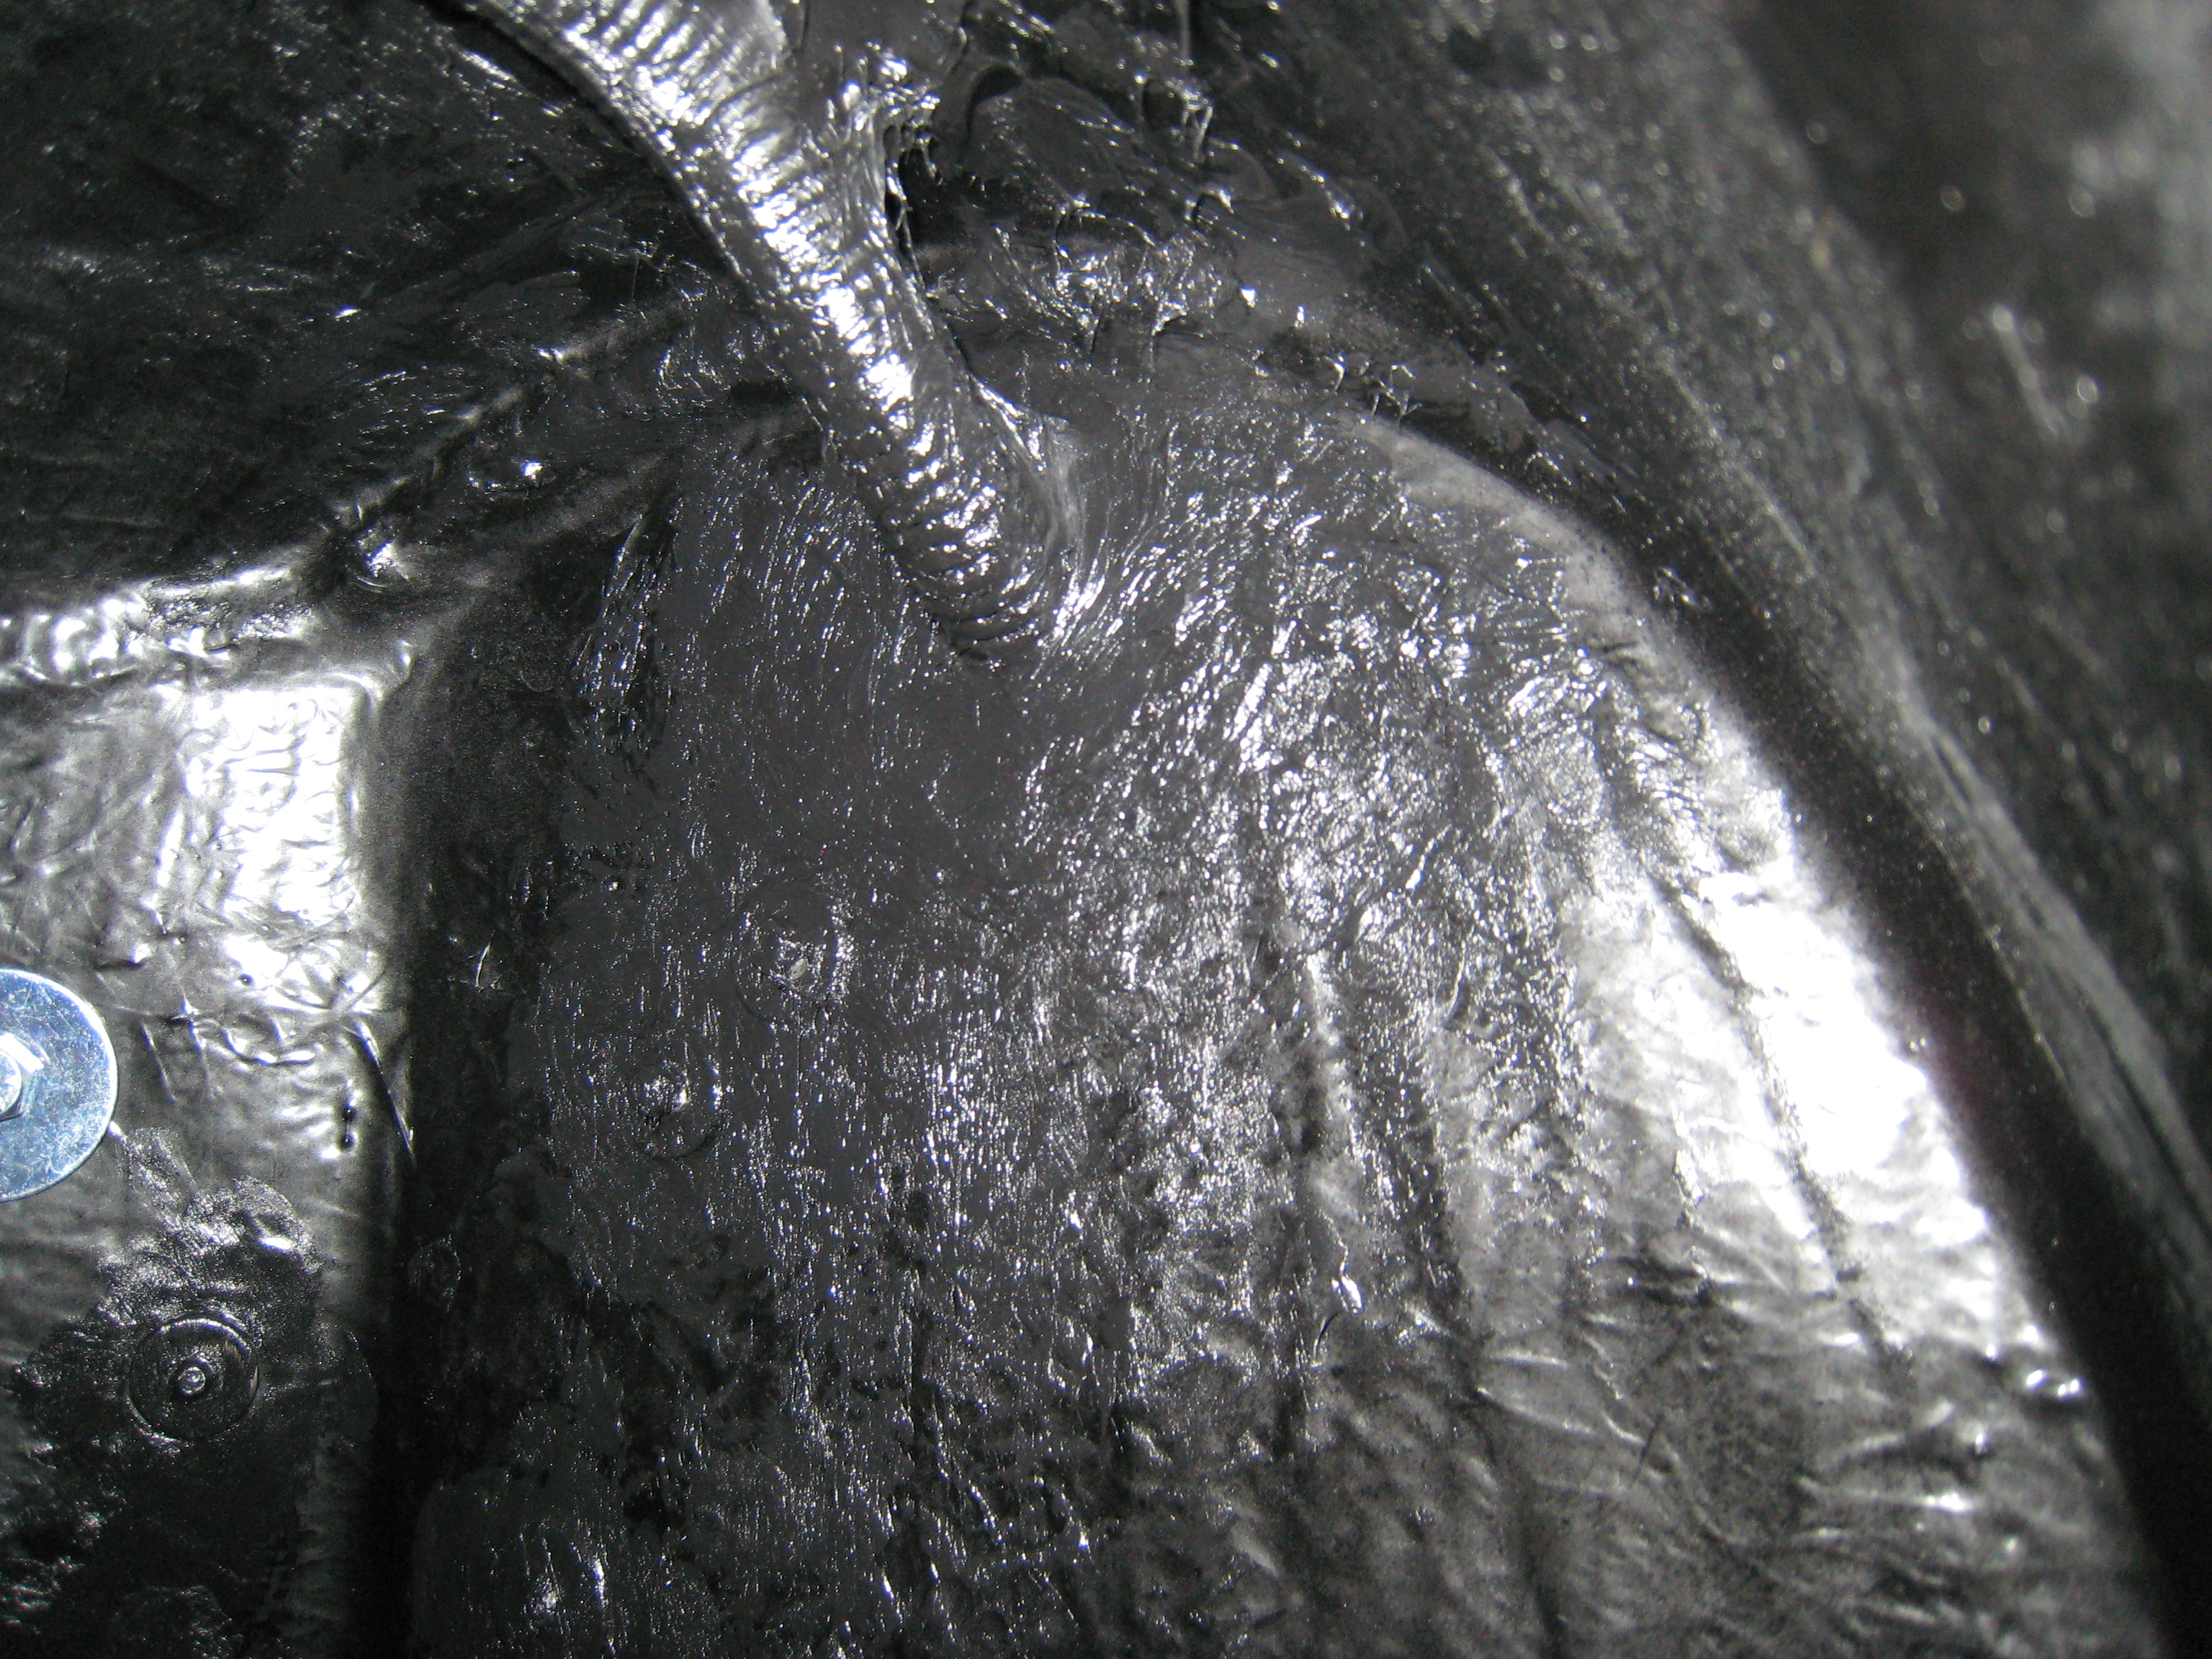
So when I get the car back from SMS, they did say to me that it will require a good final polish to remove marks
left from thier finishing, not sure I was quite ready for how much polishing it needed, but after contacting Ben
and Ben from
Finesse Detailing UK they came round to give me a price for the finishing work.
As you can see from the photos below it needed quite a lot of polishing but the finished product is amazing.
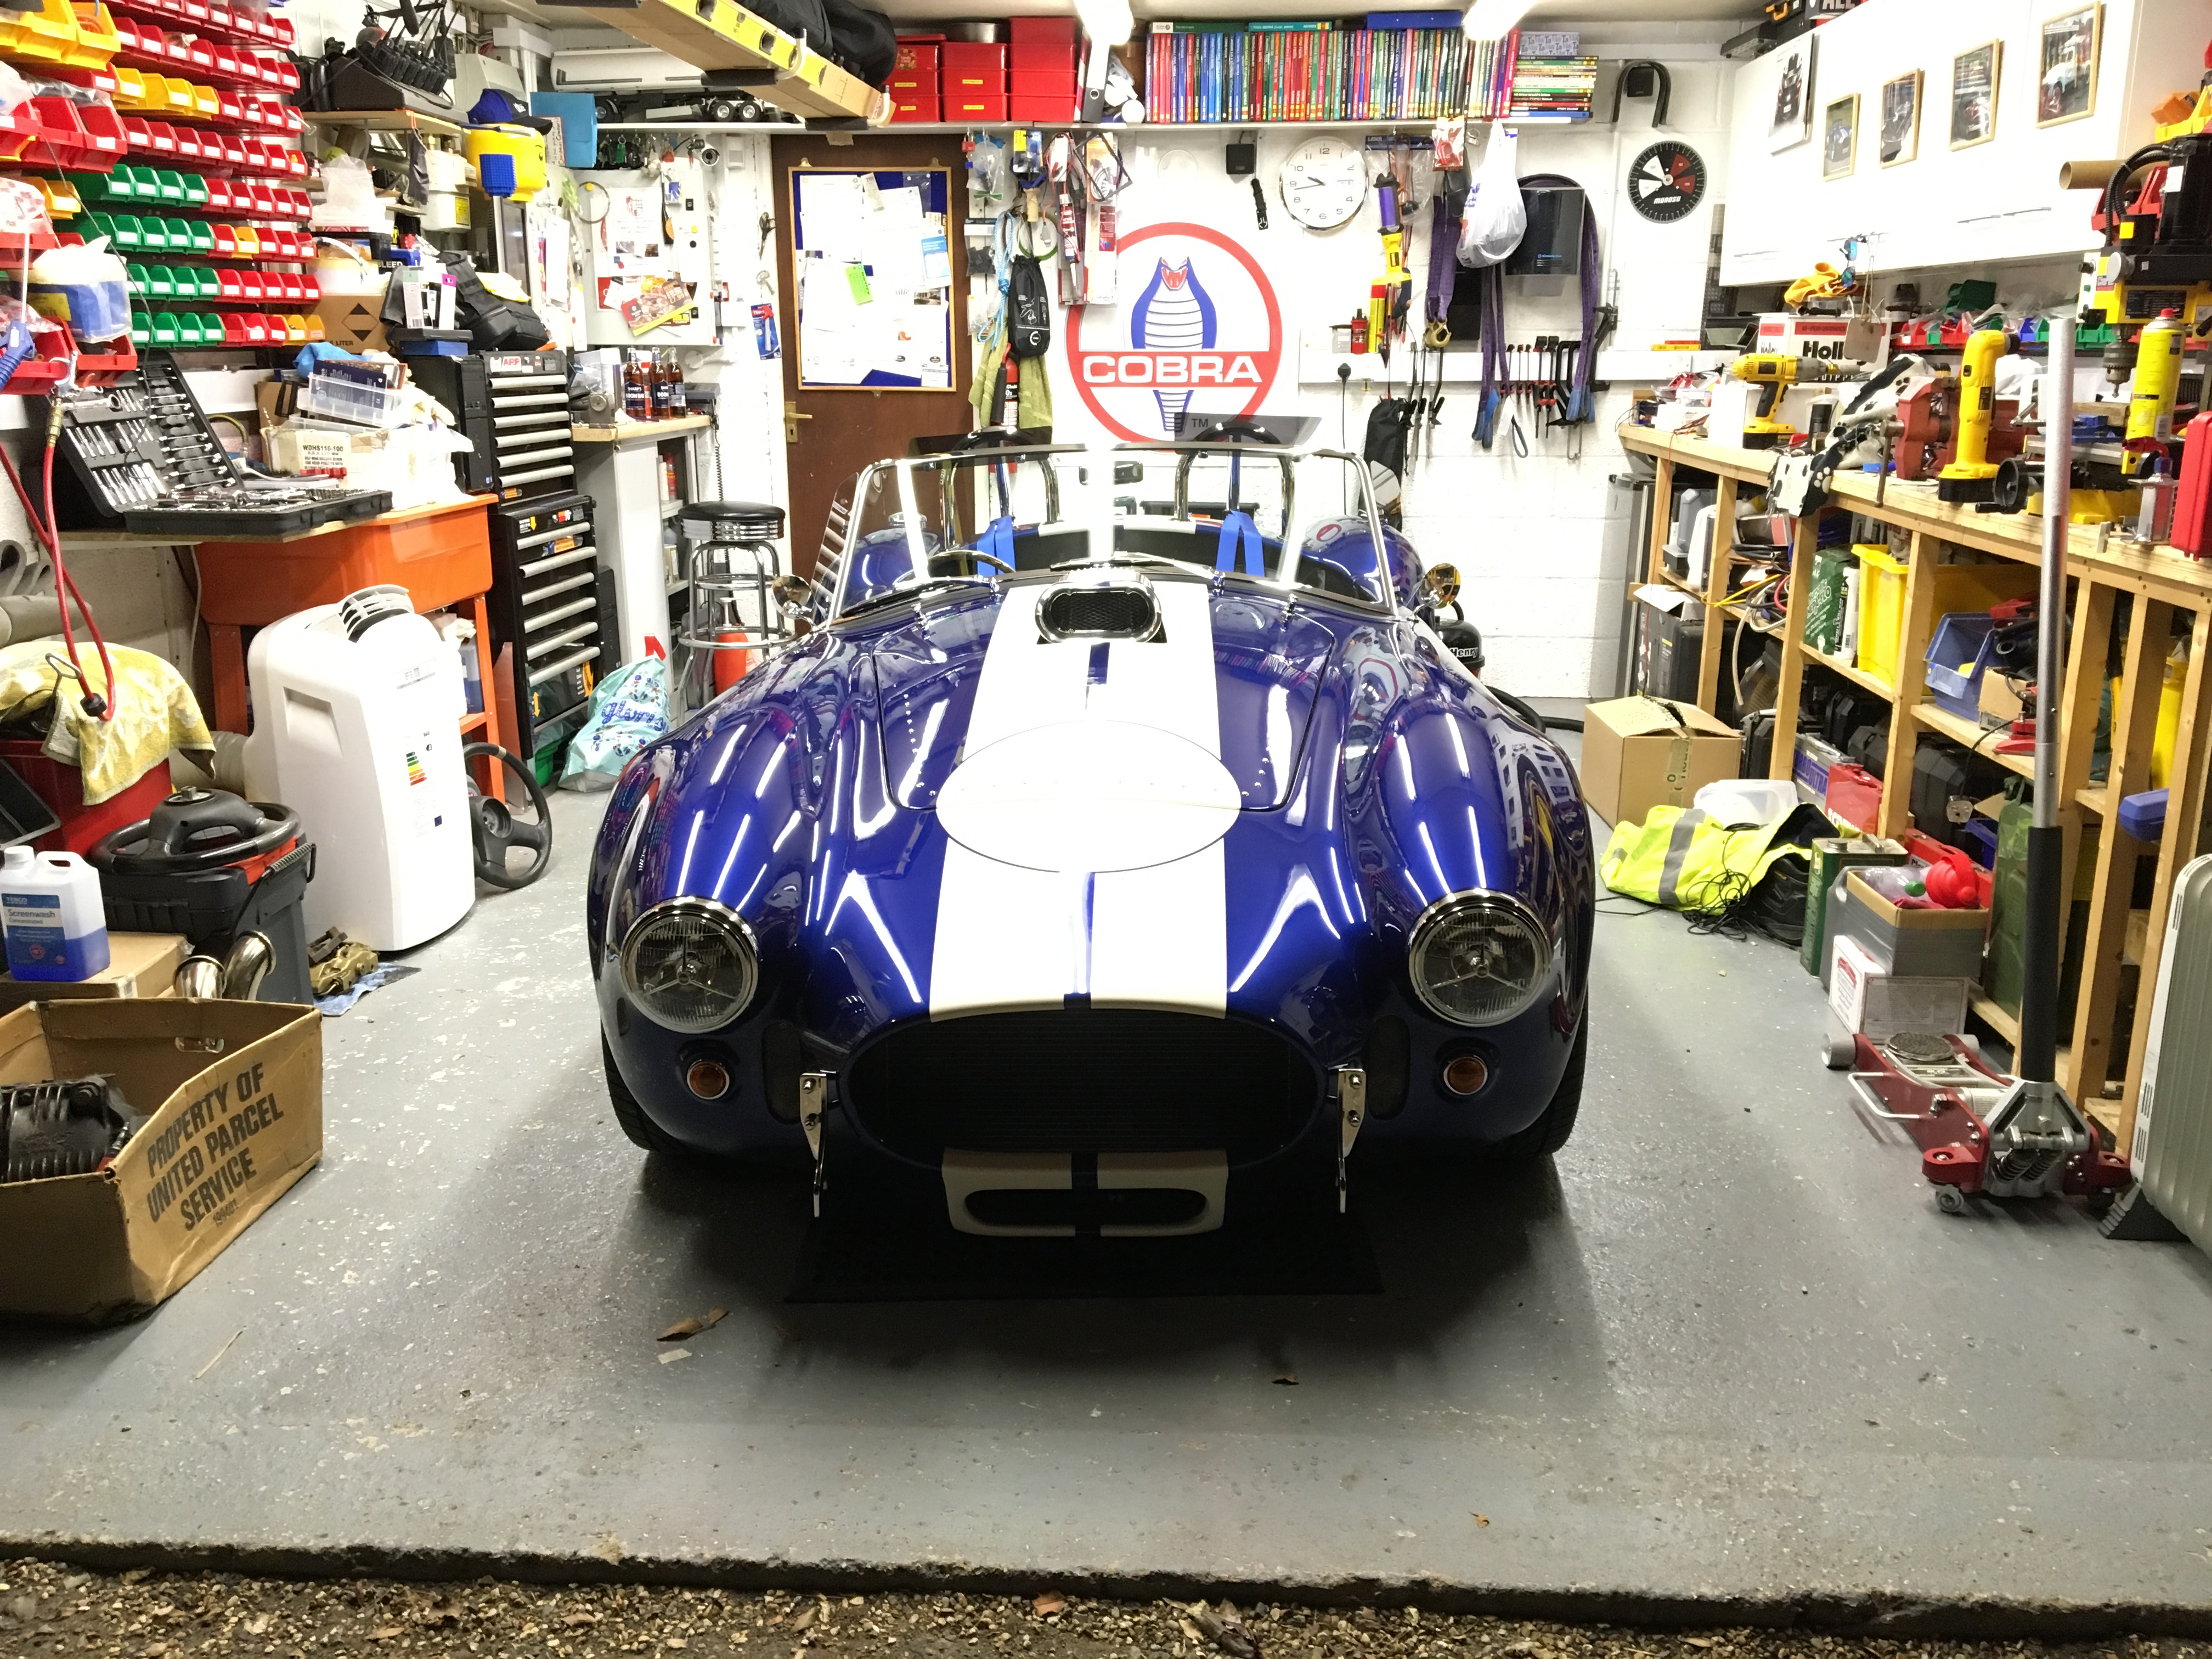
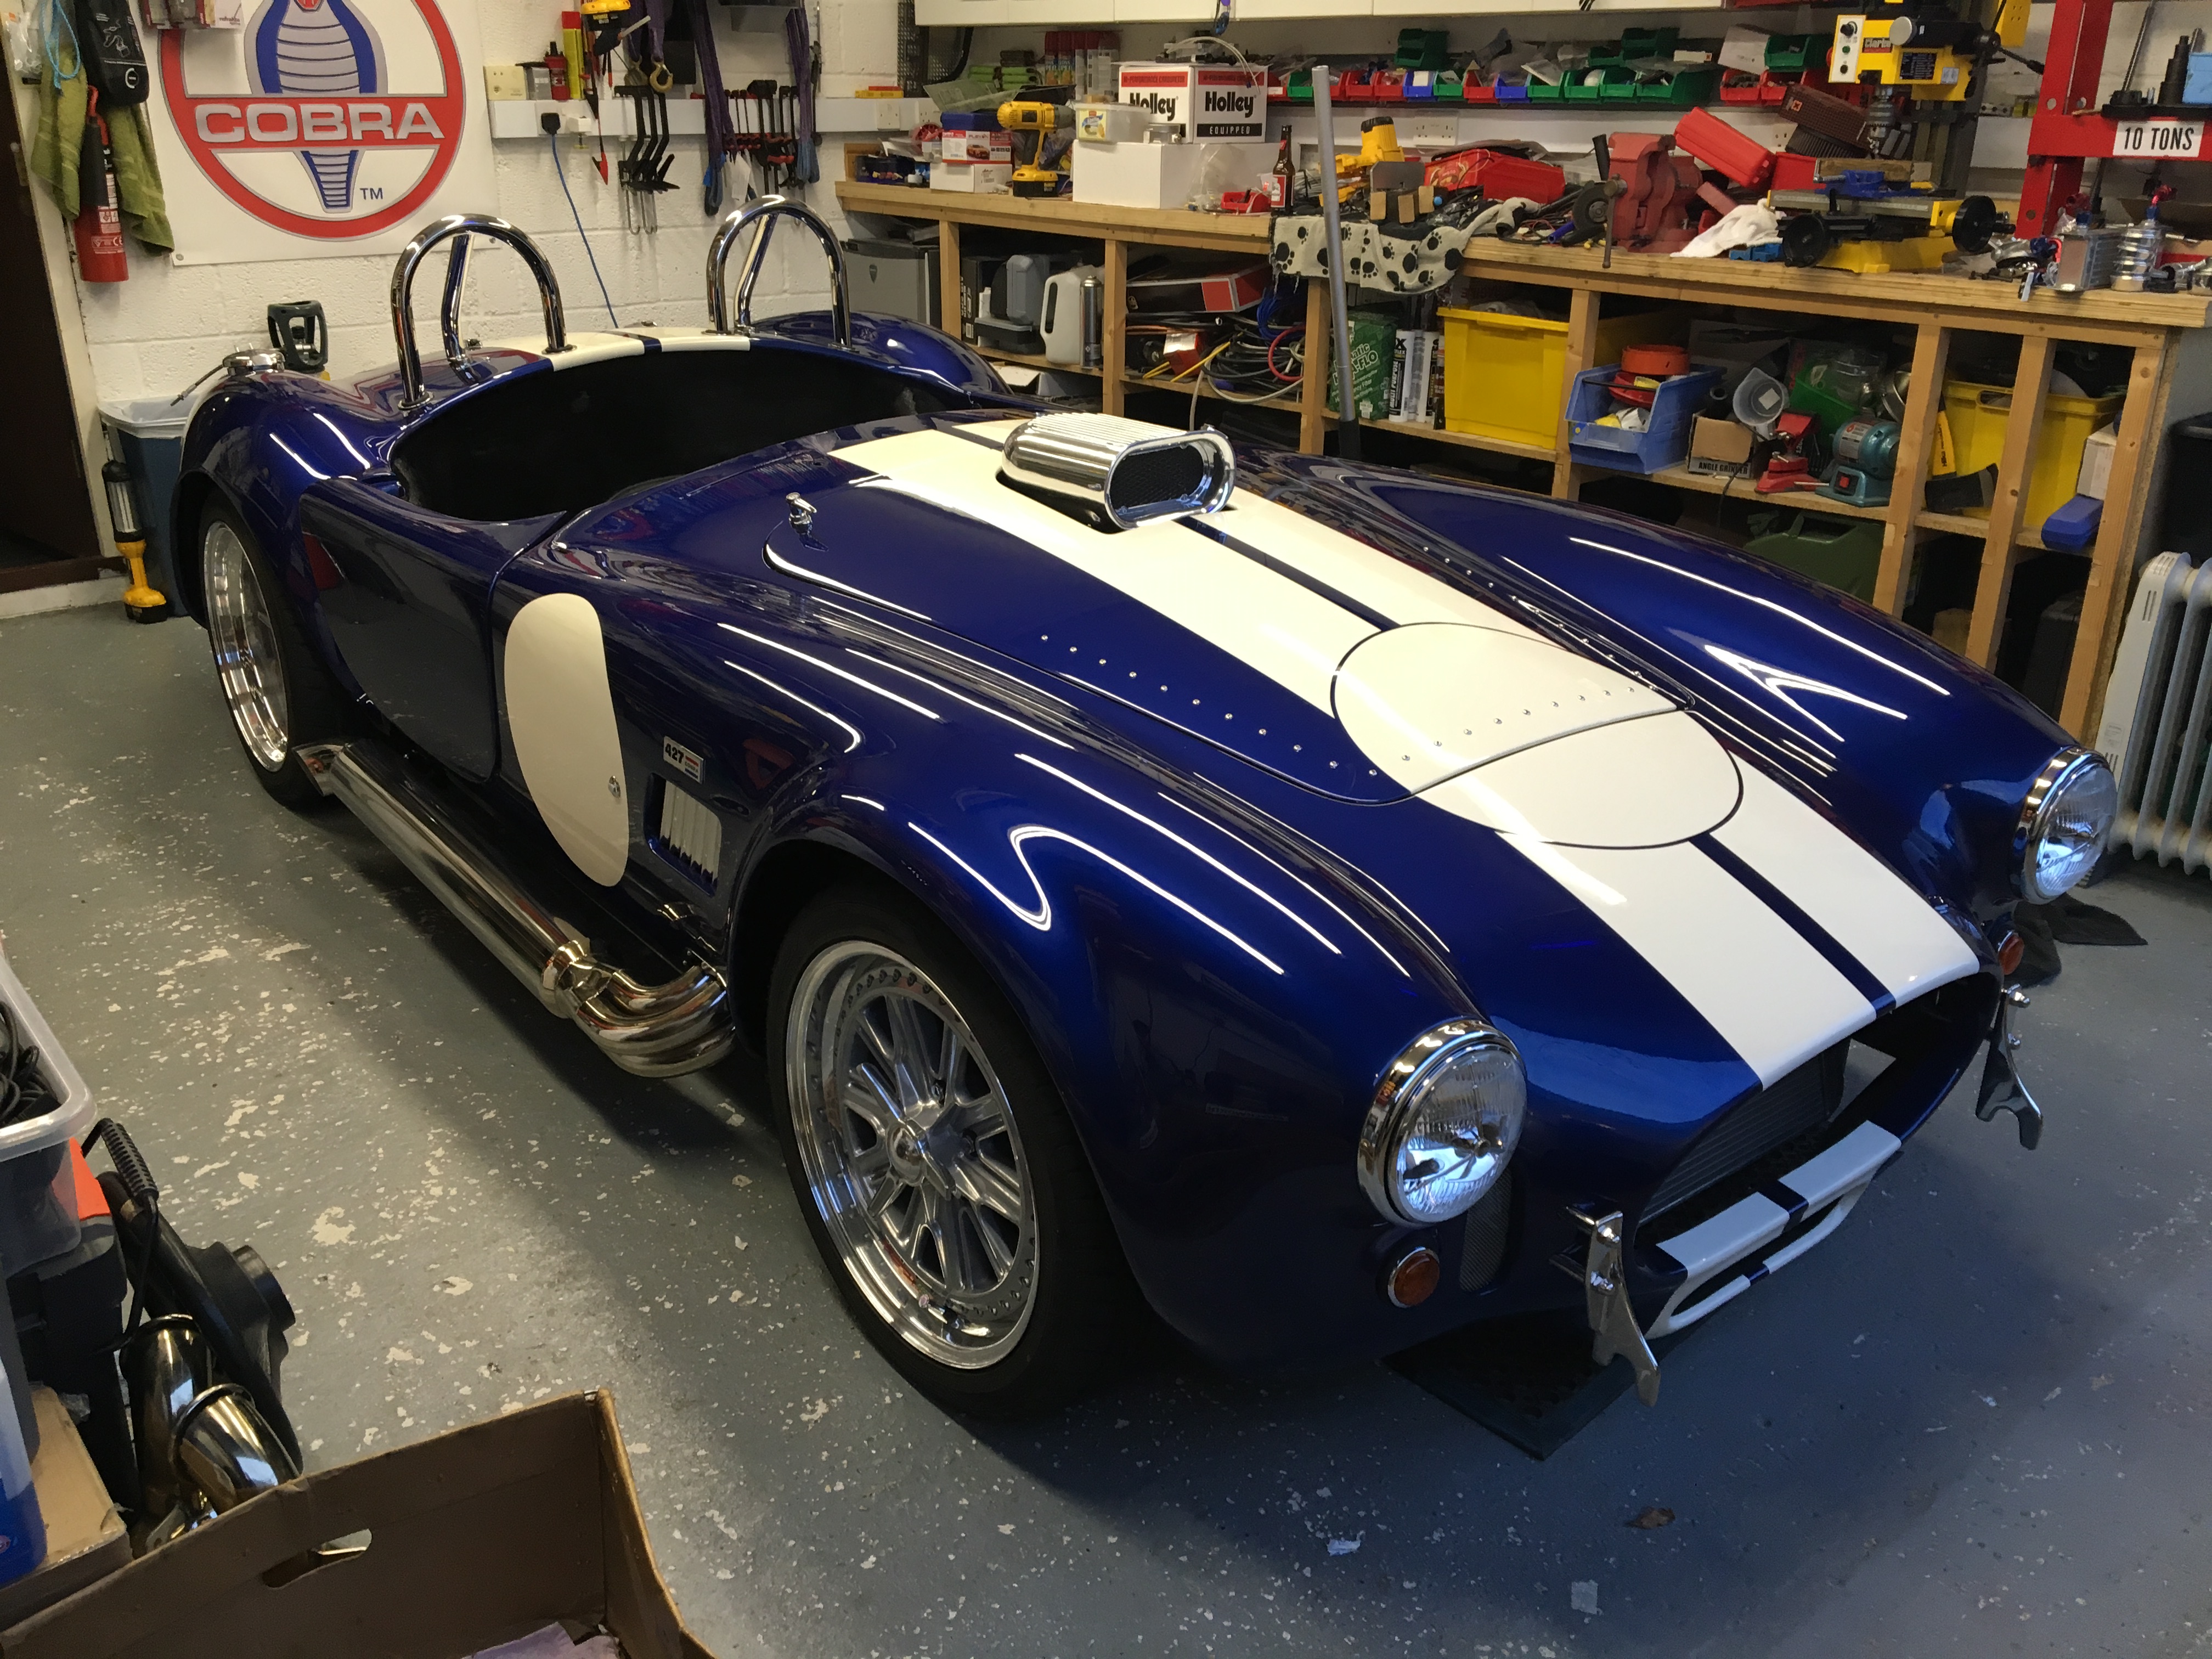
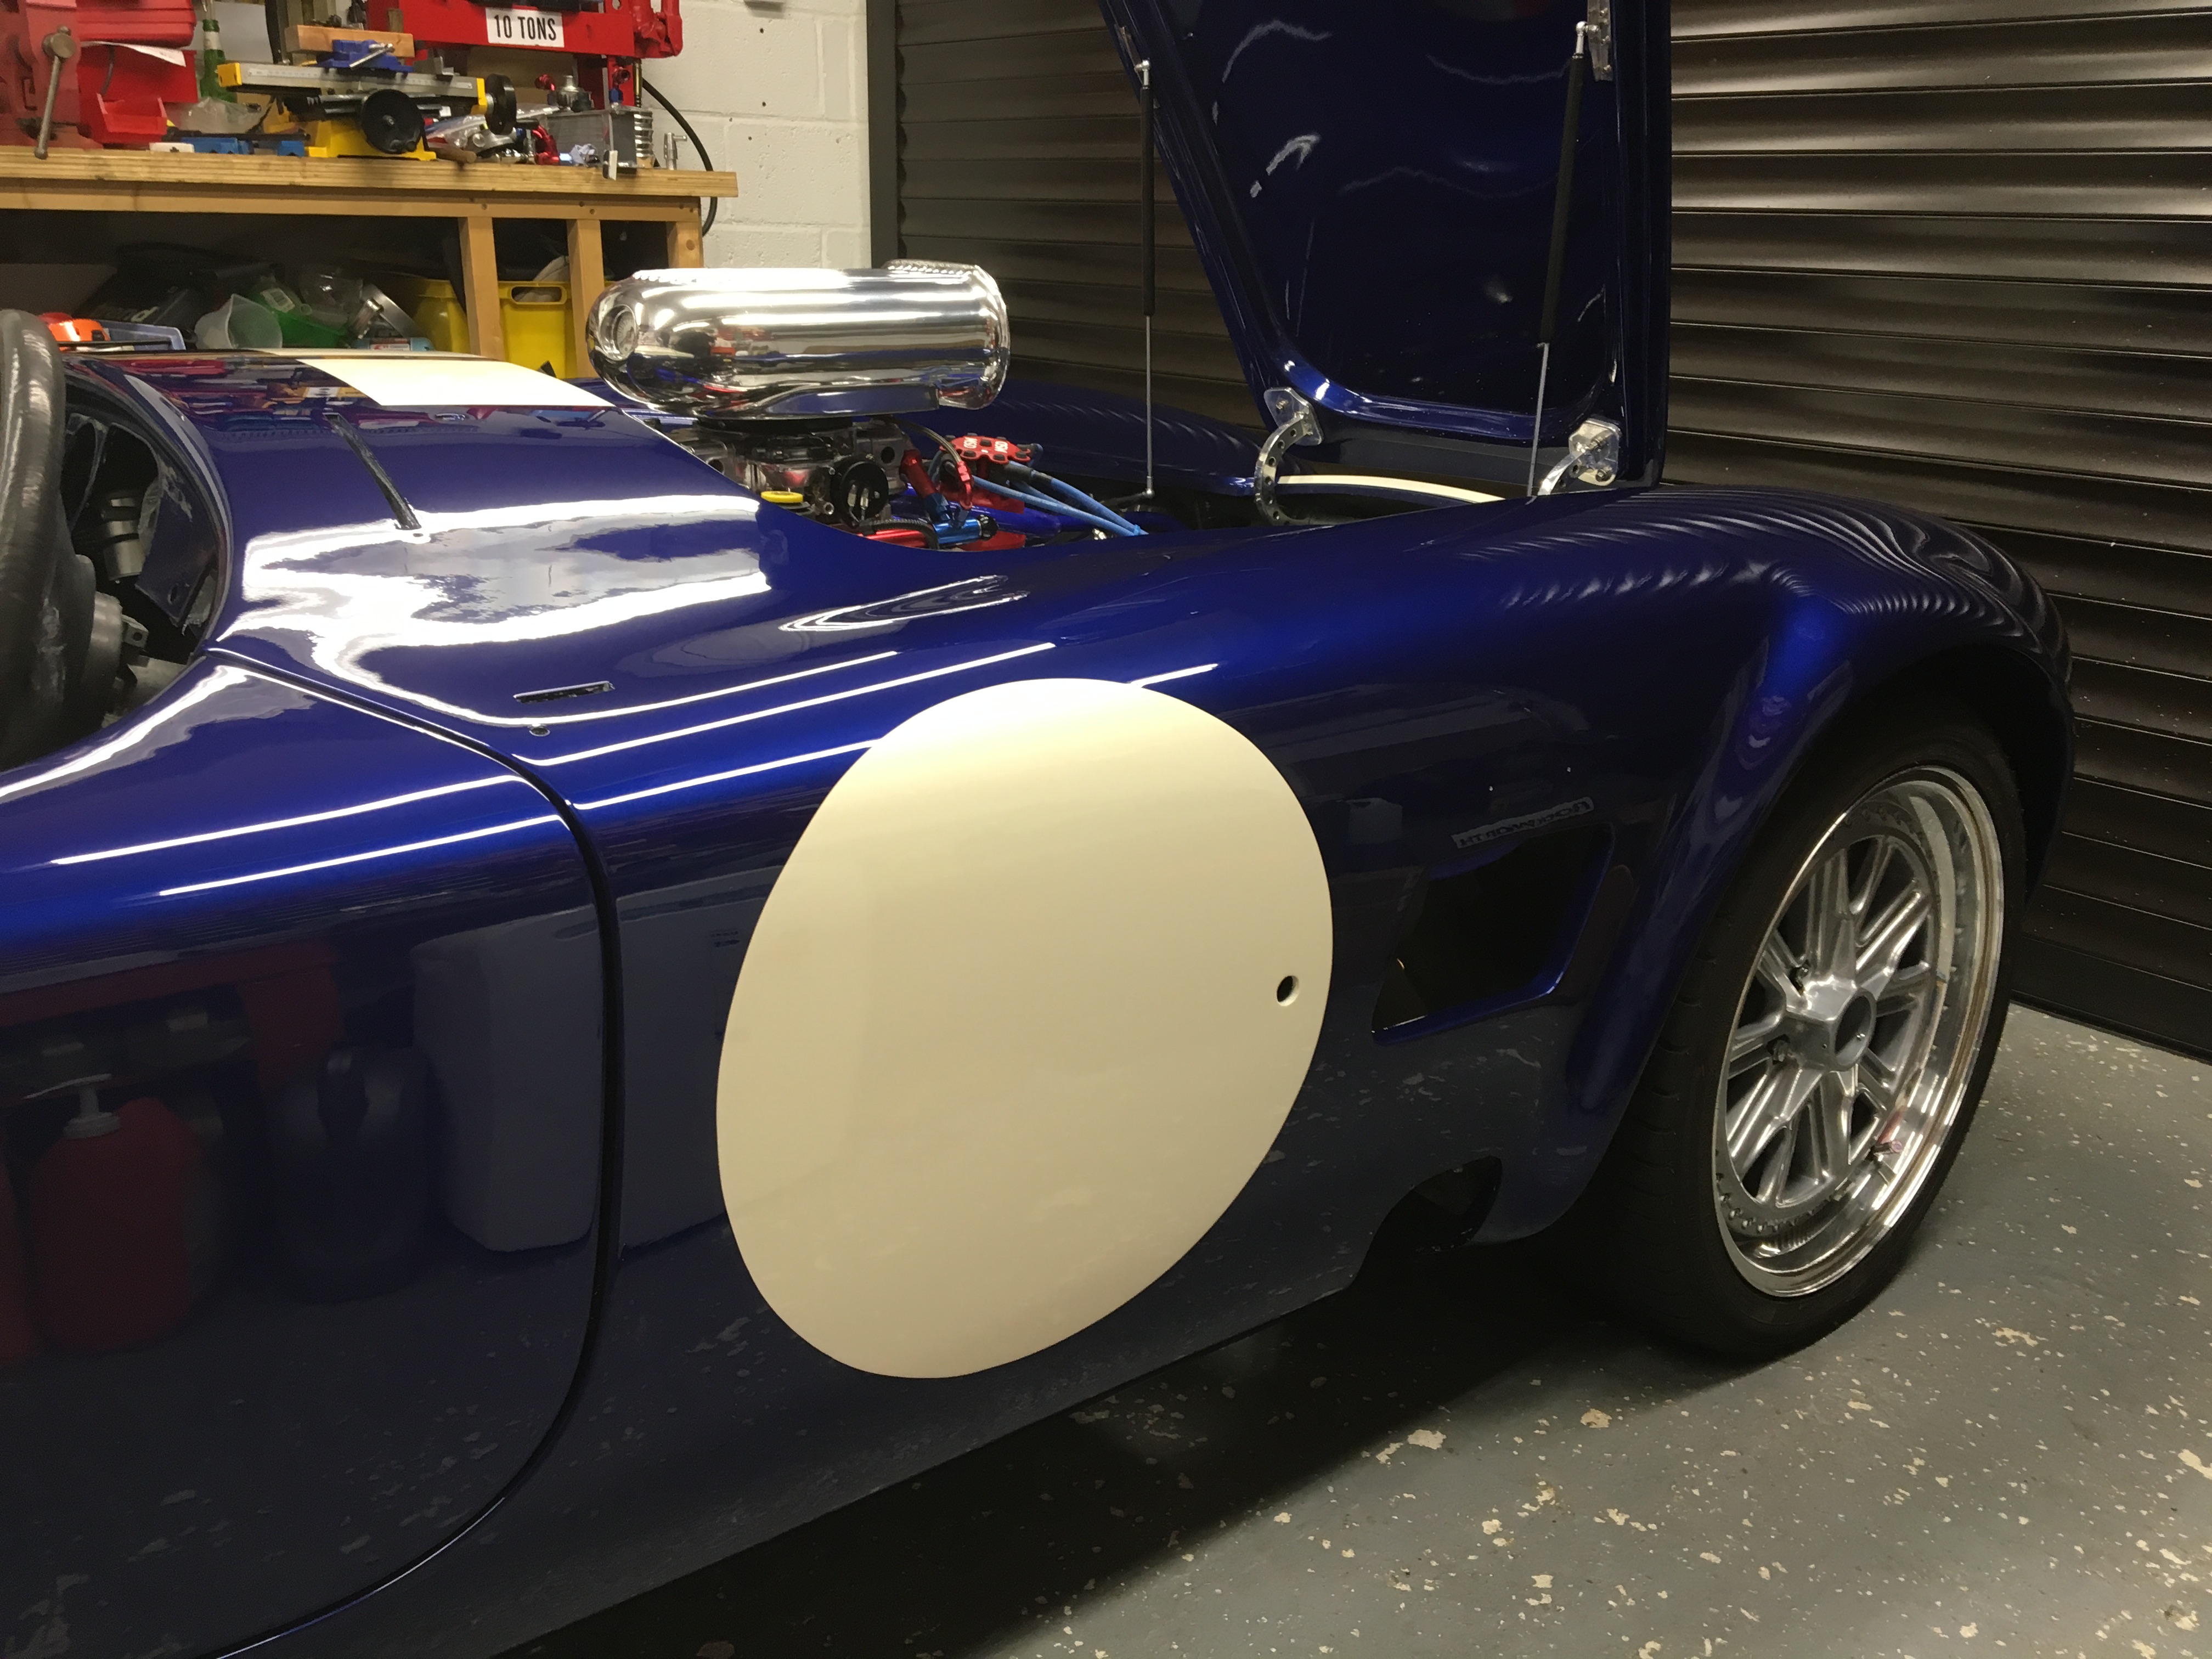
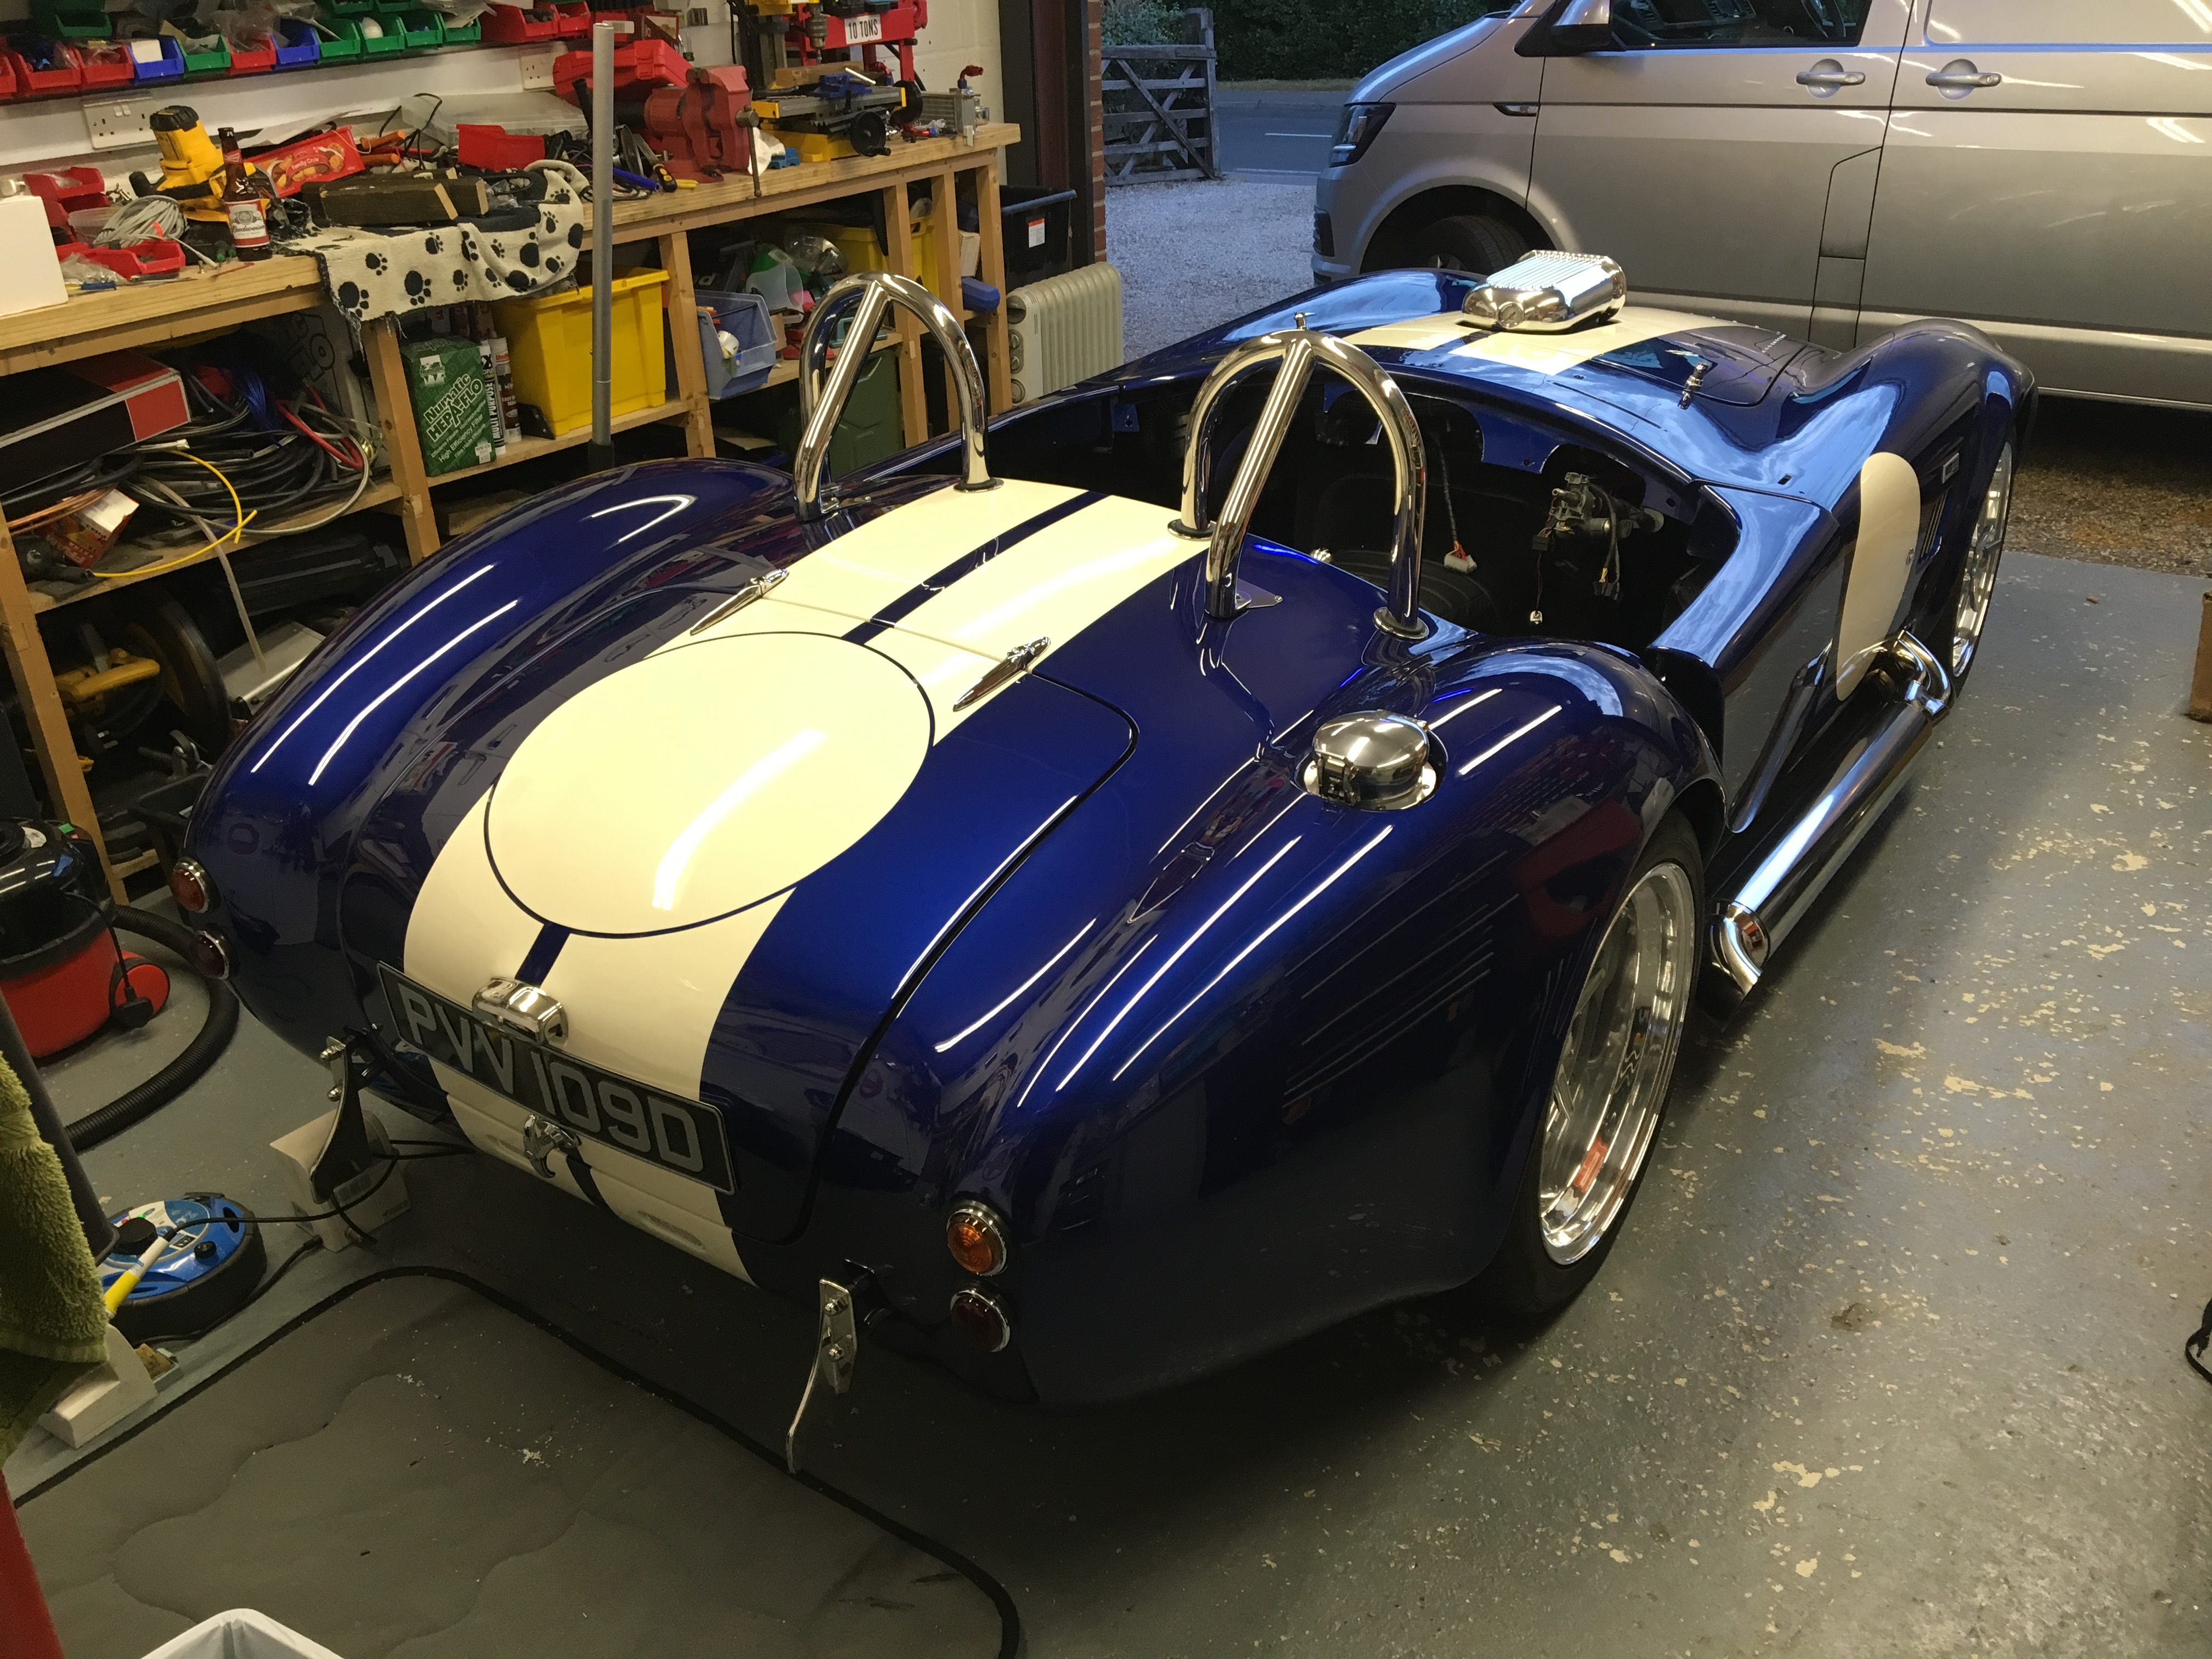
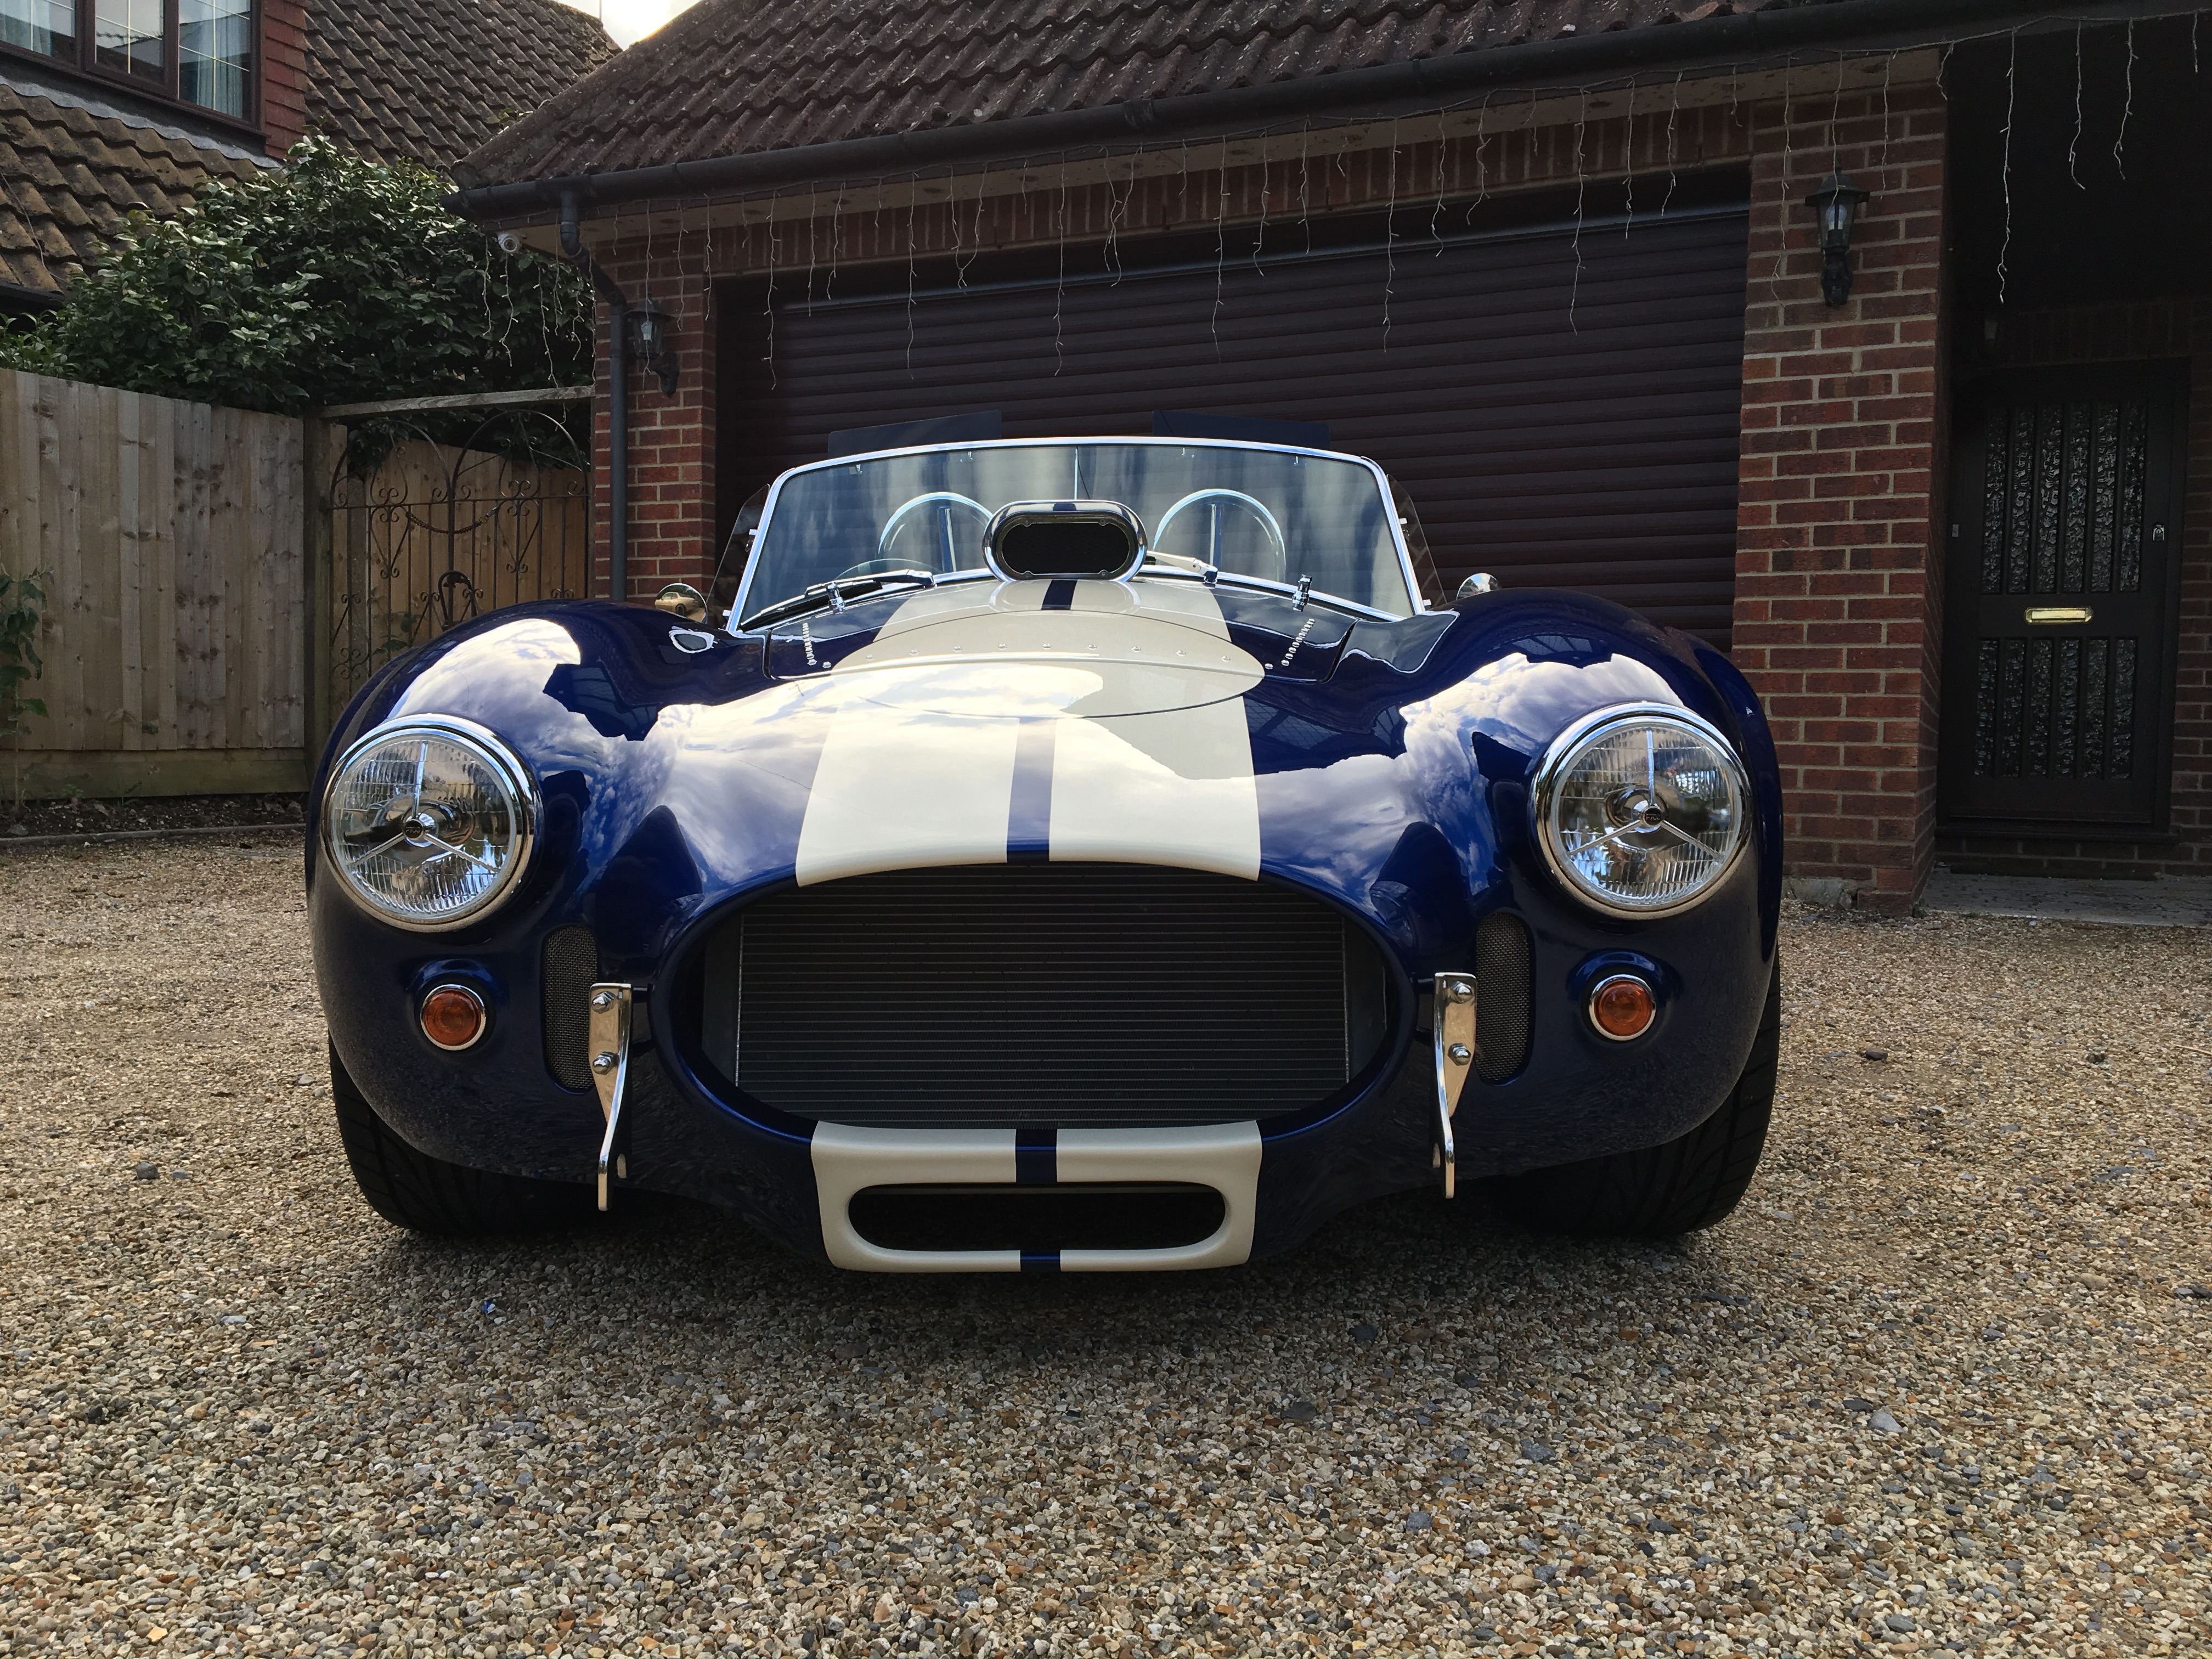
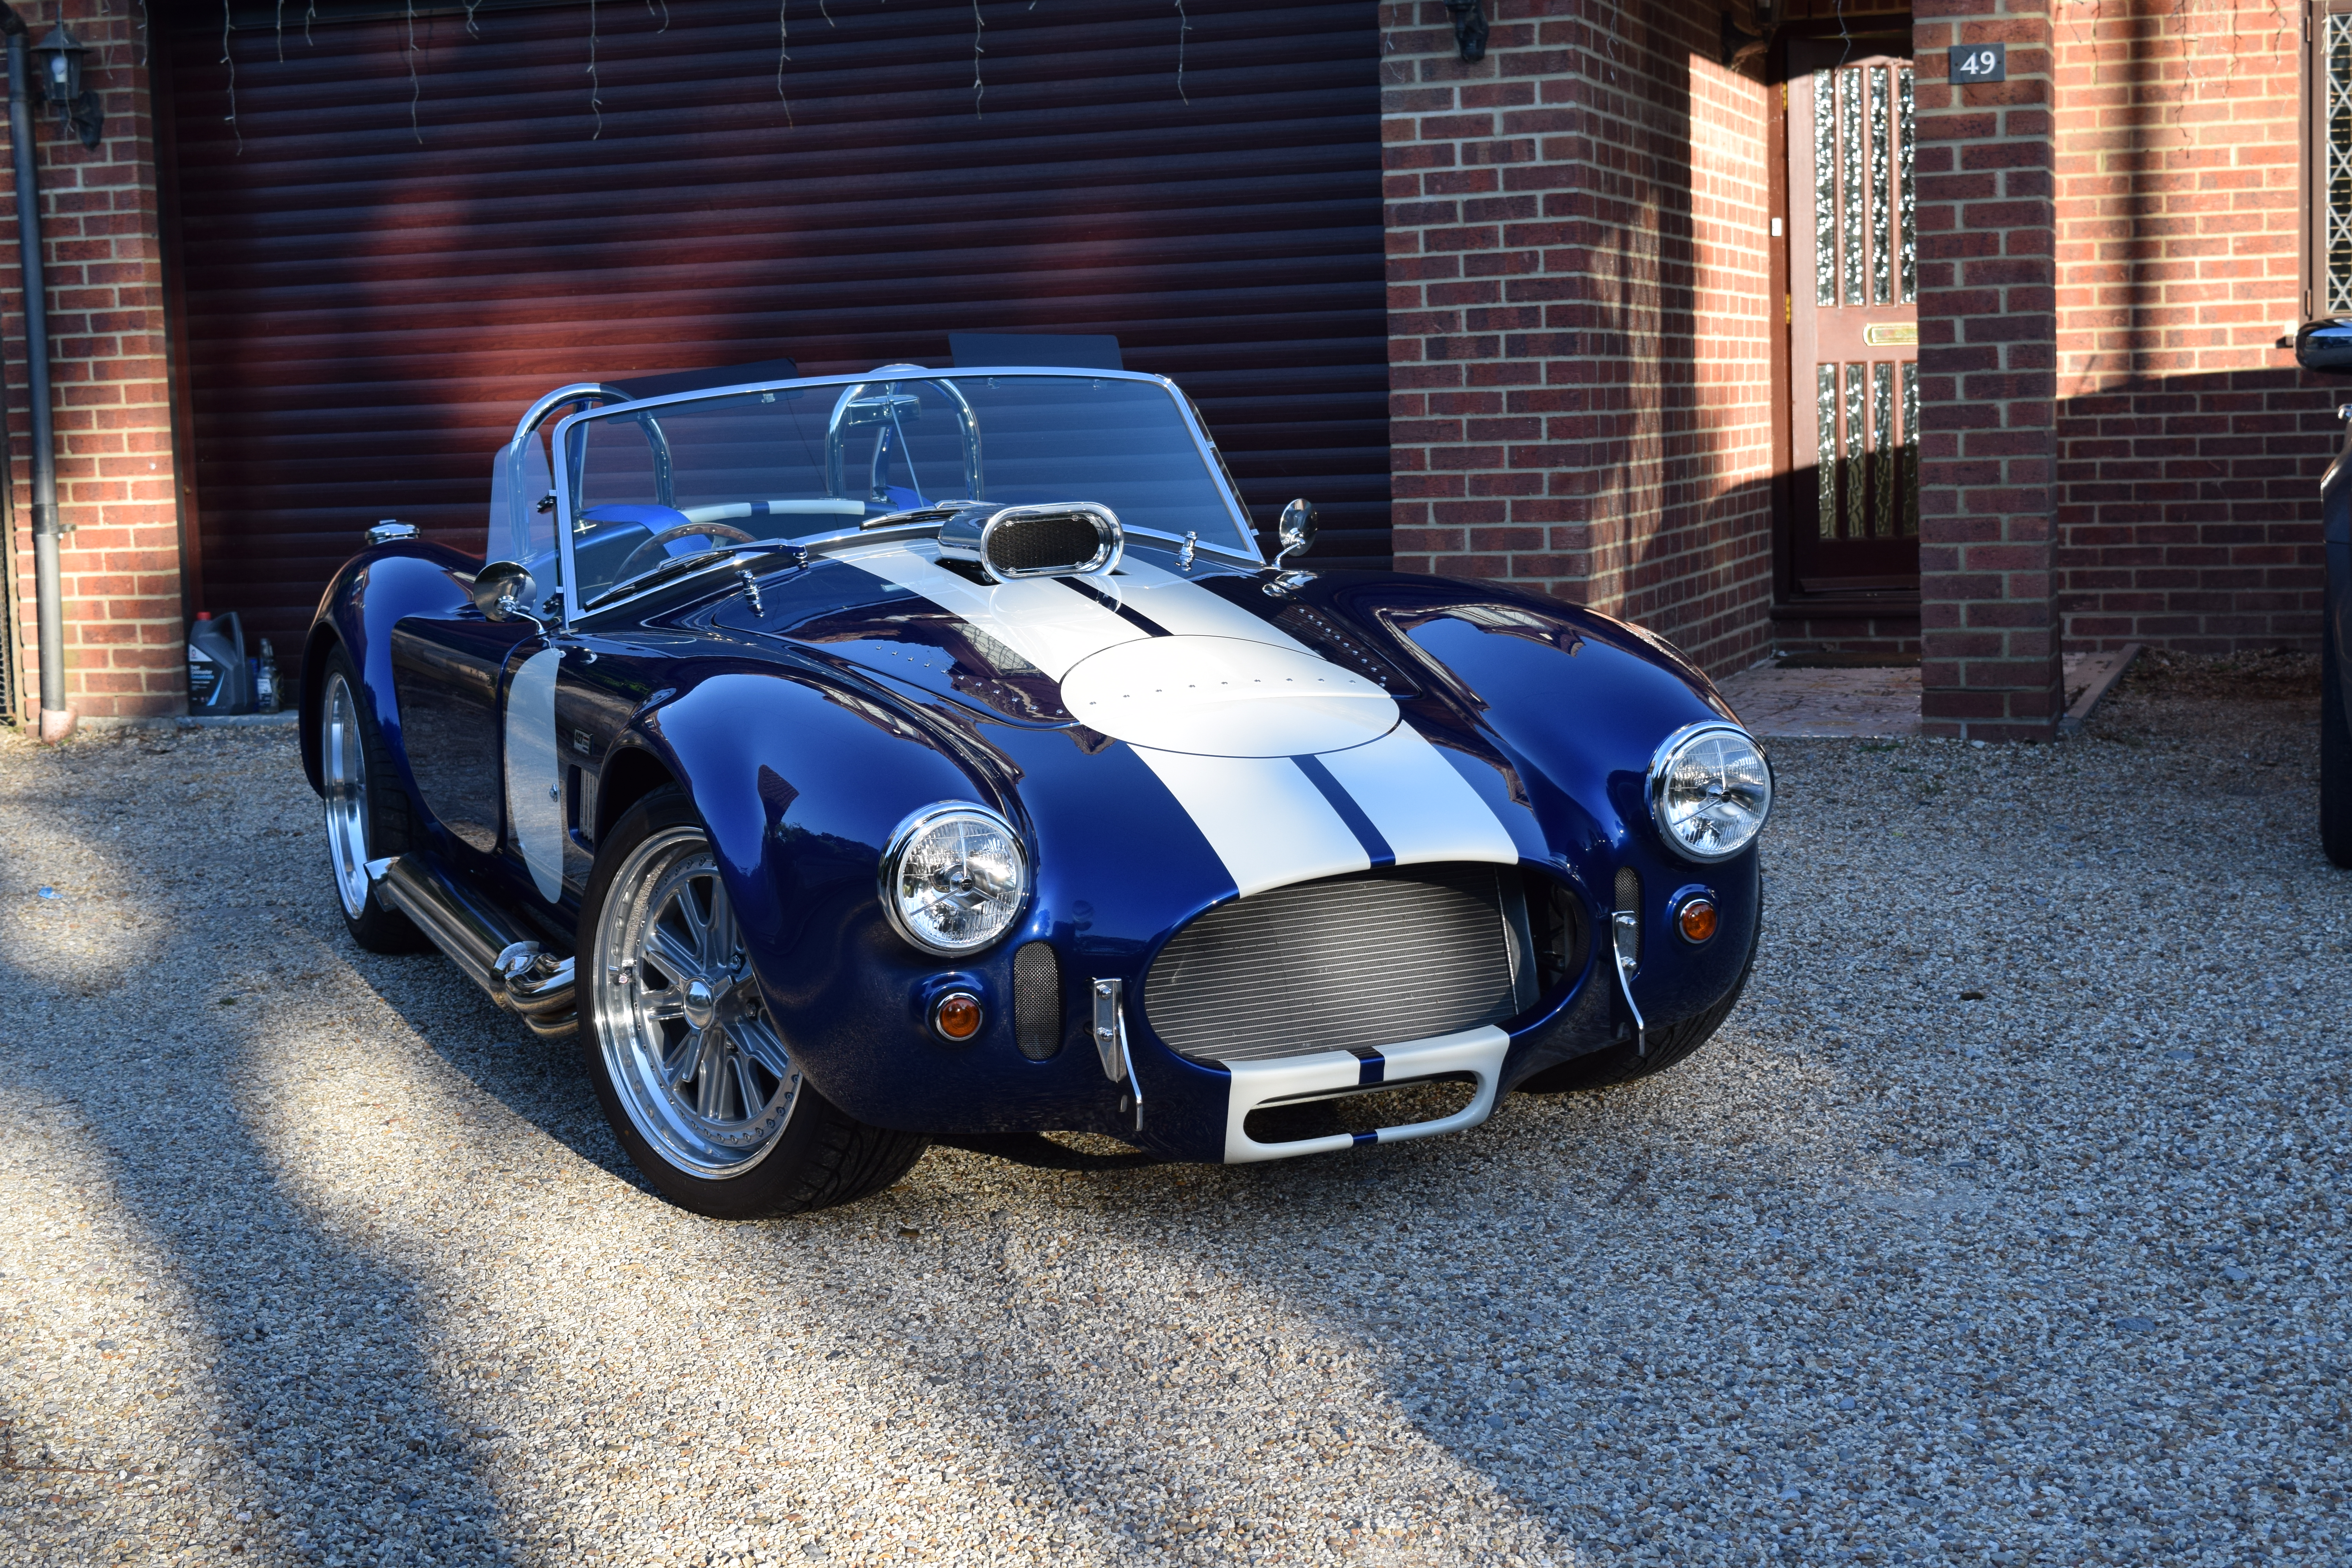
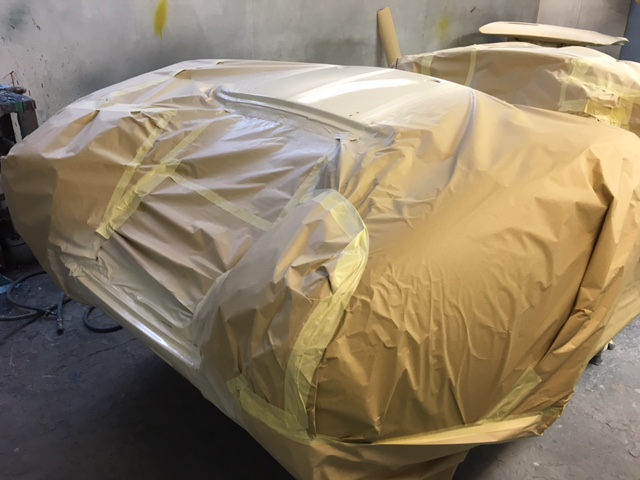
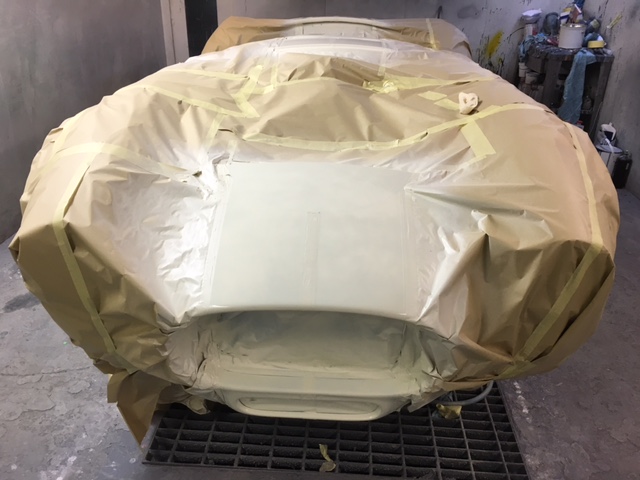
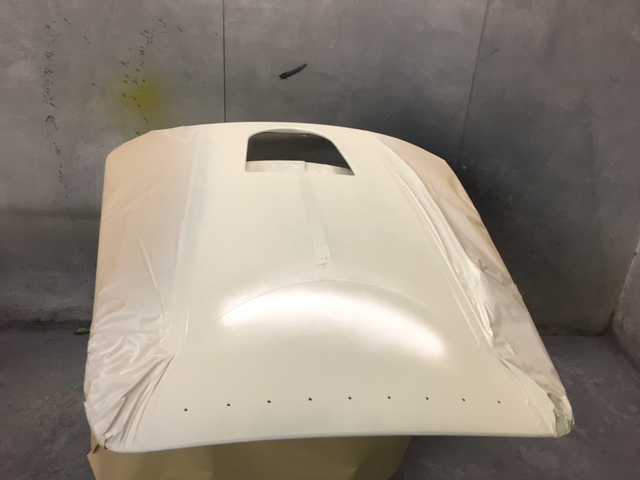
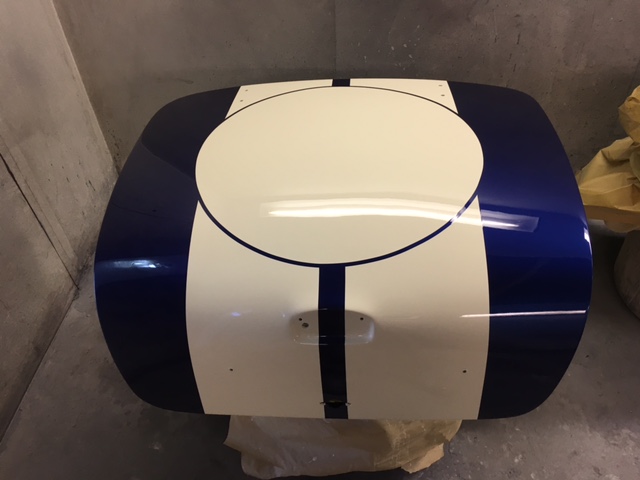
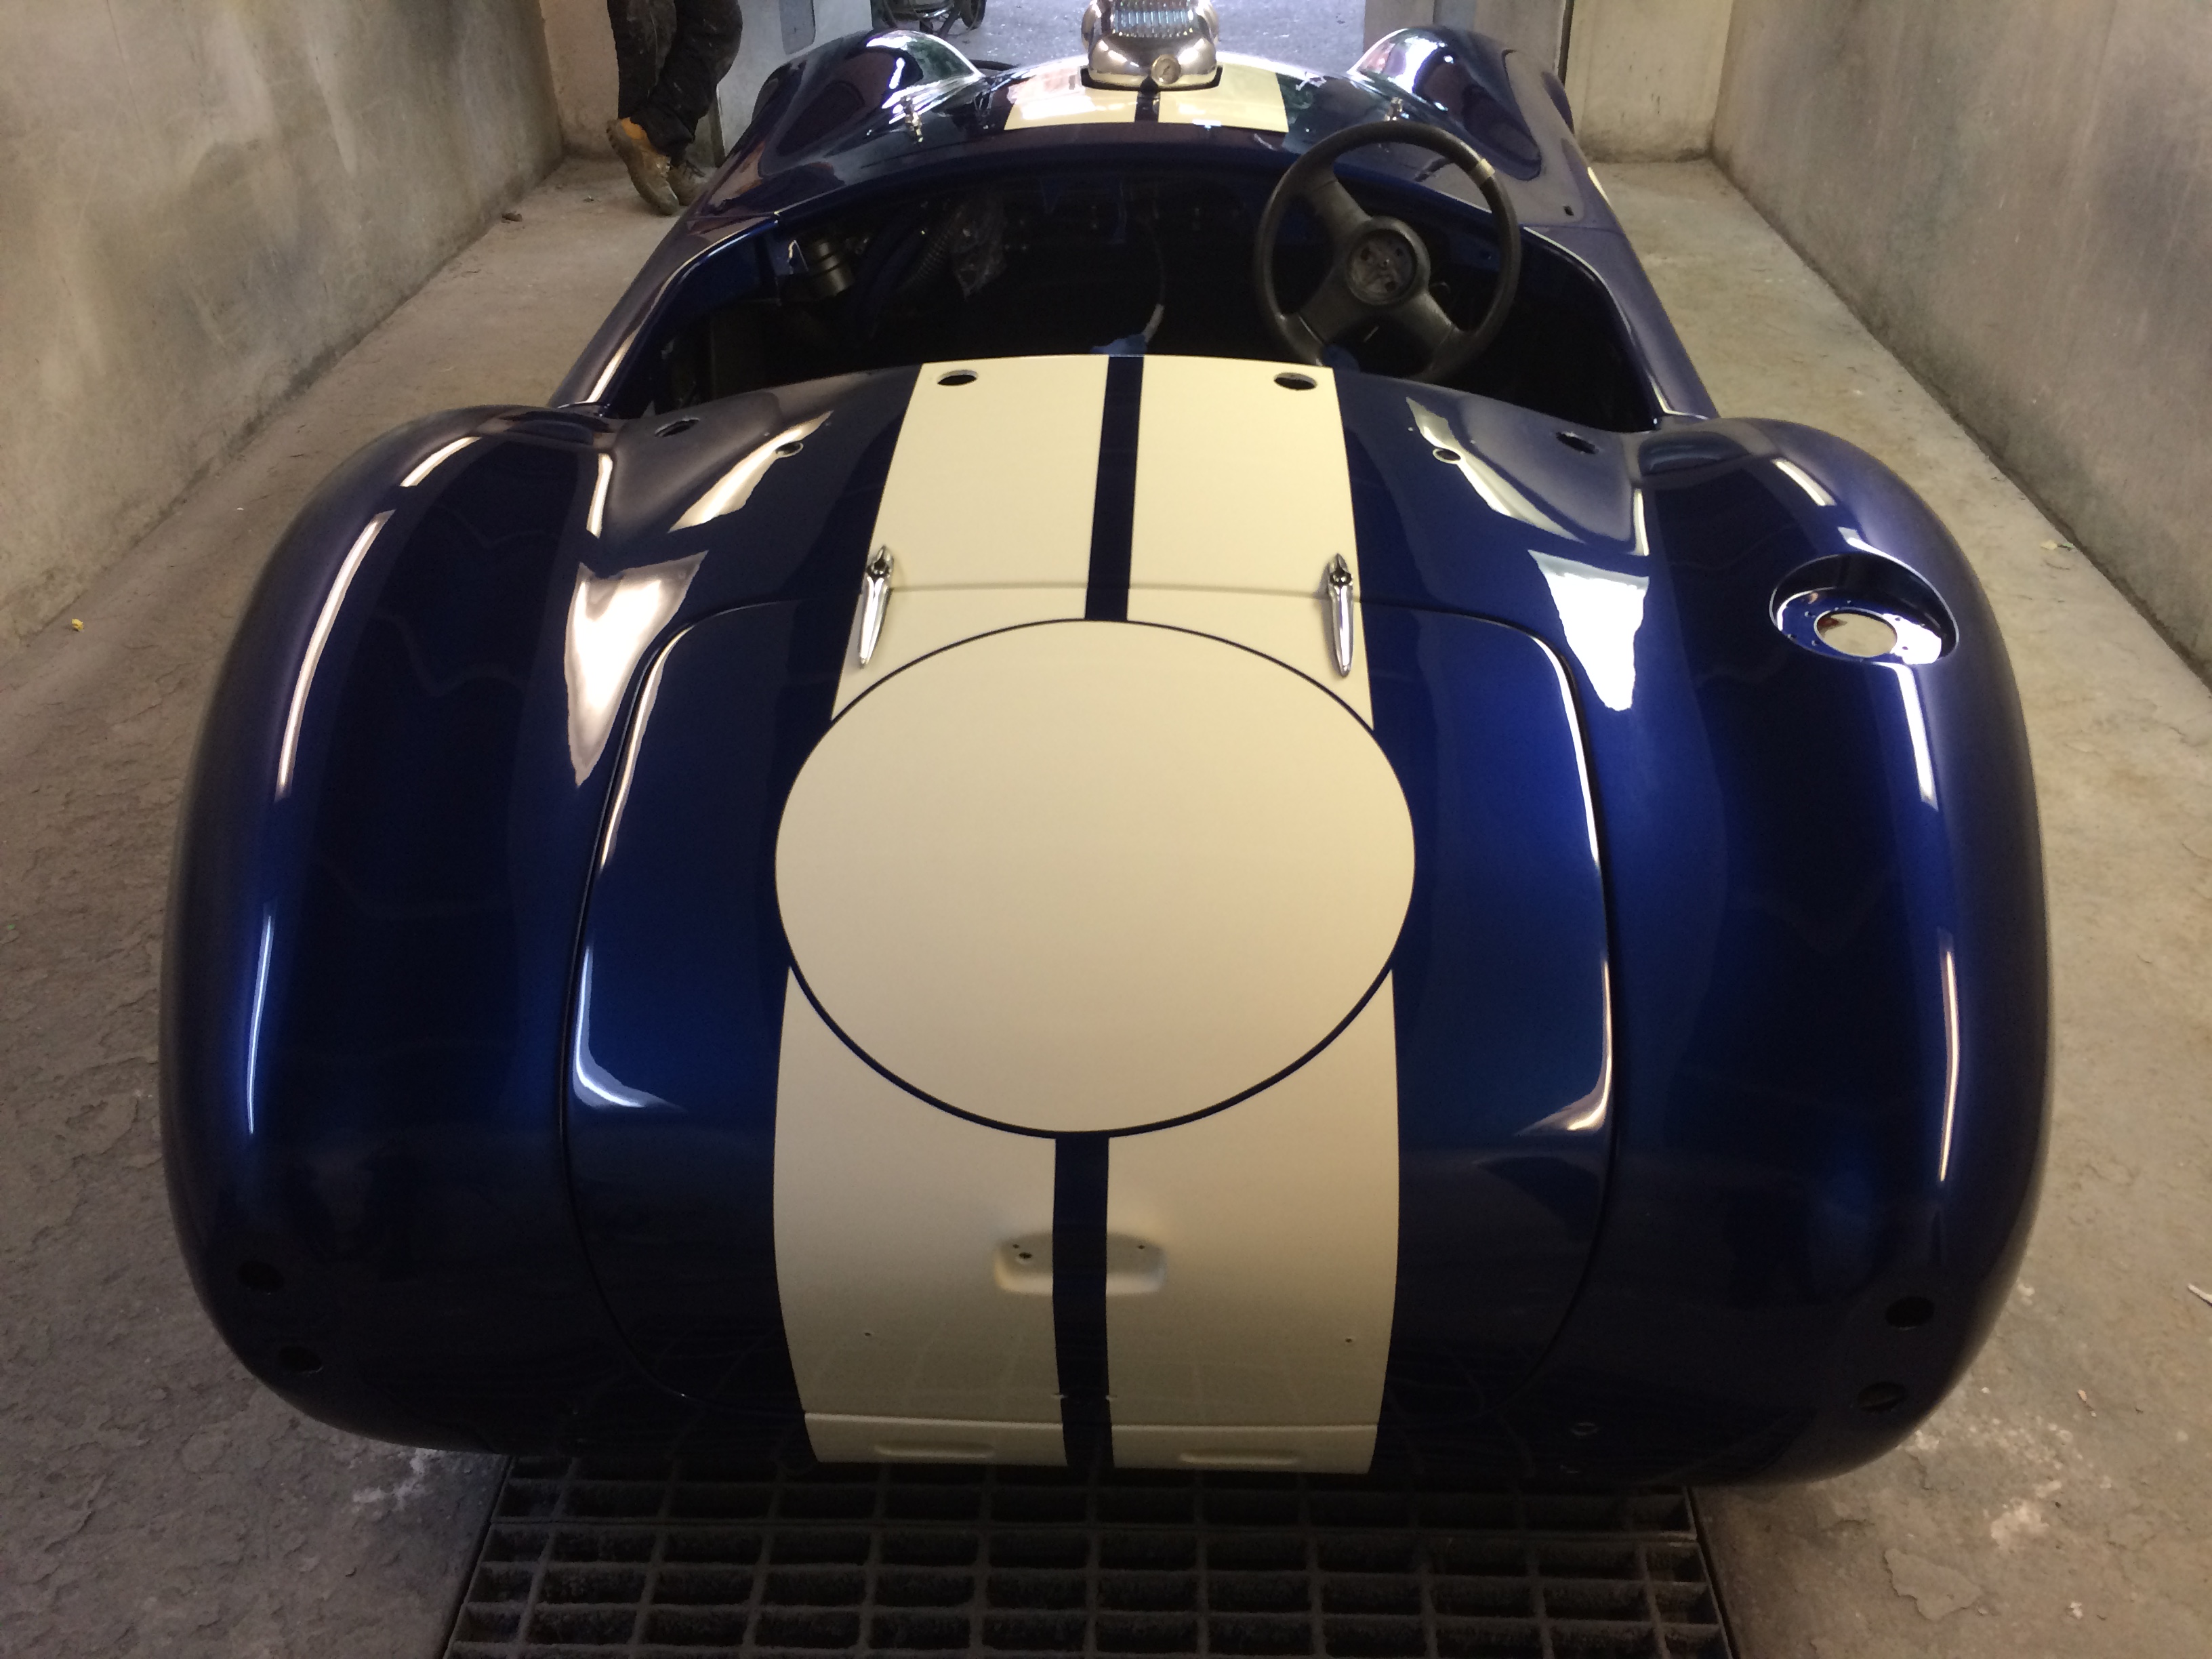
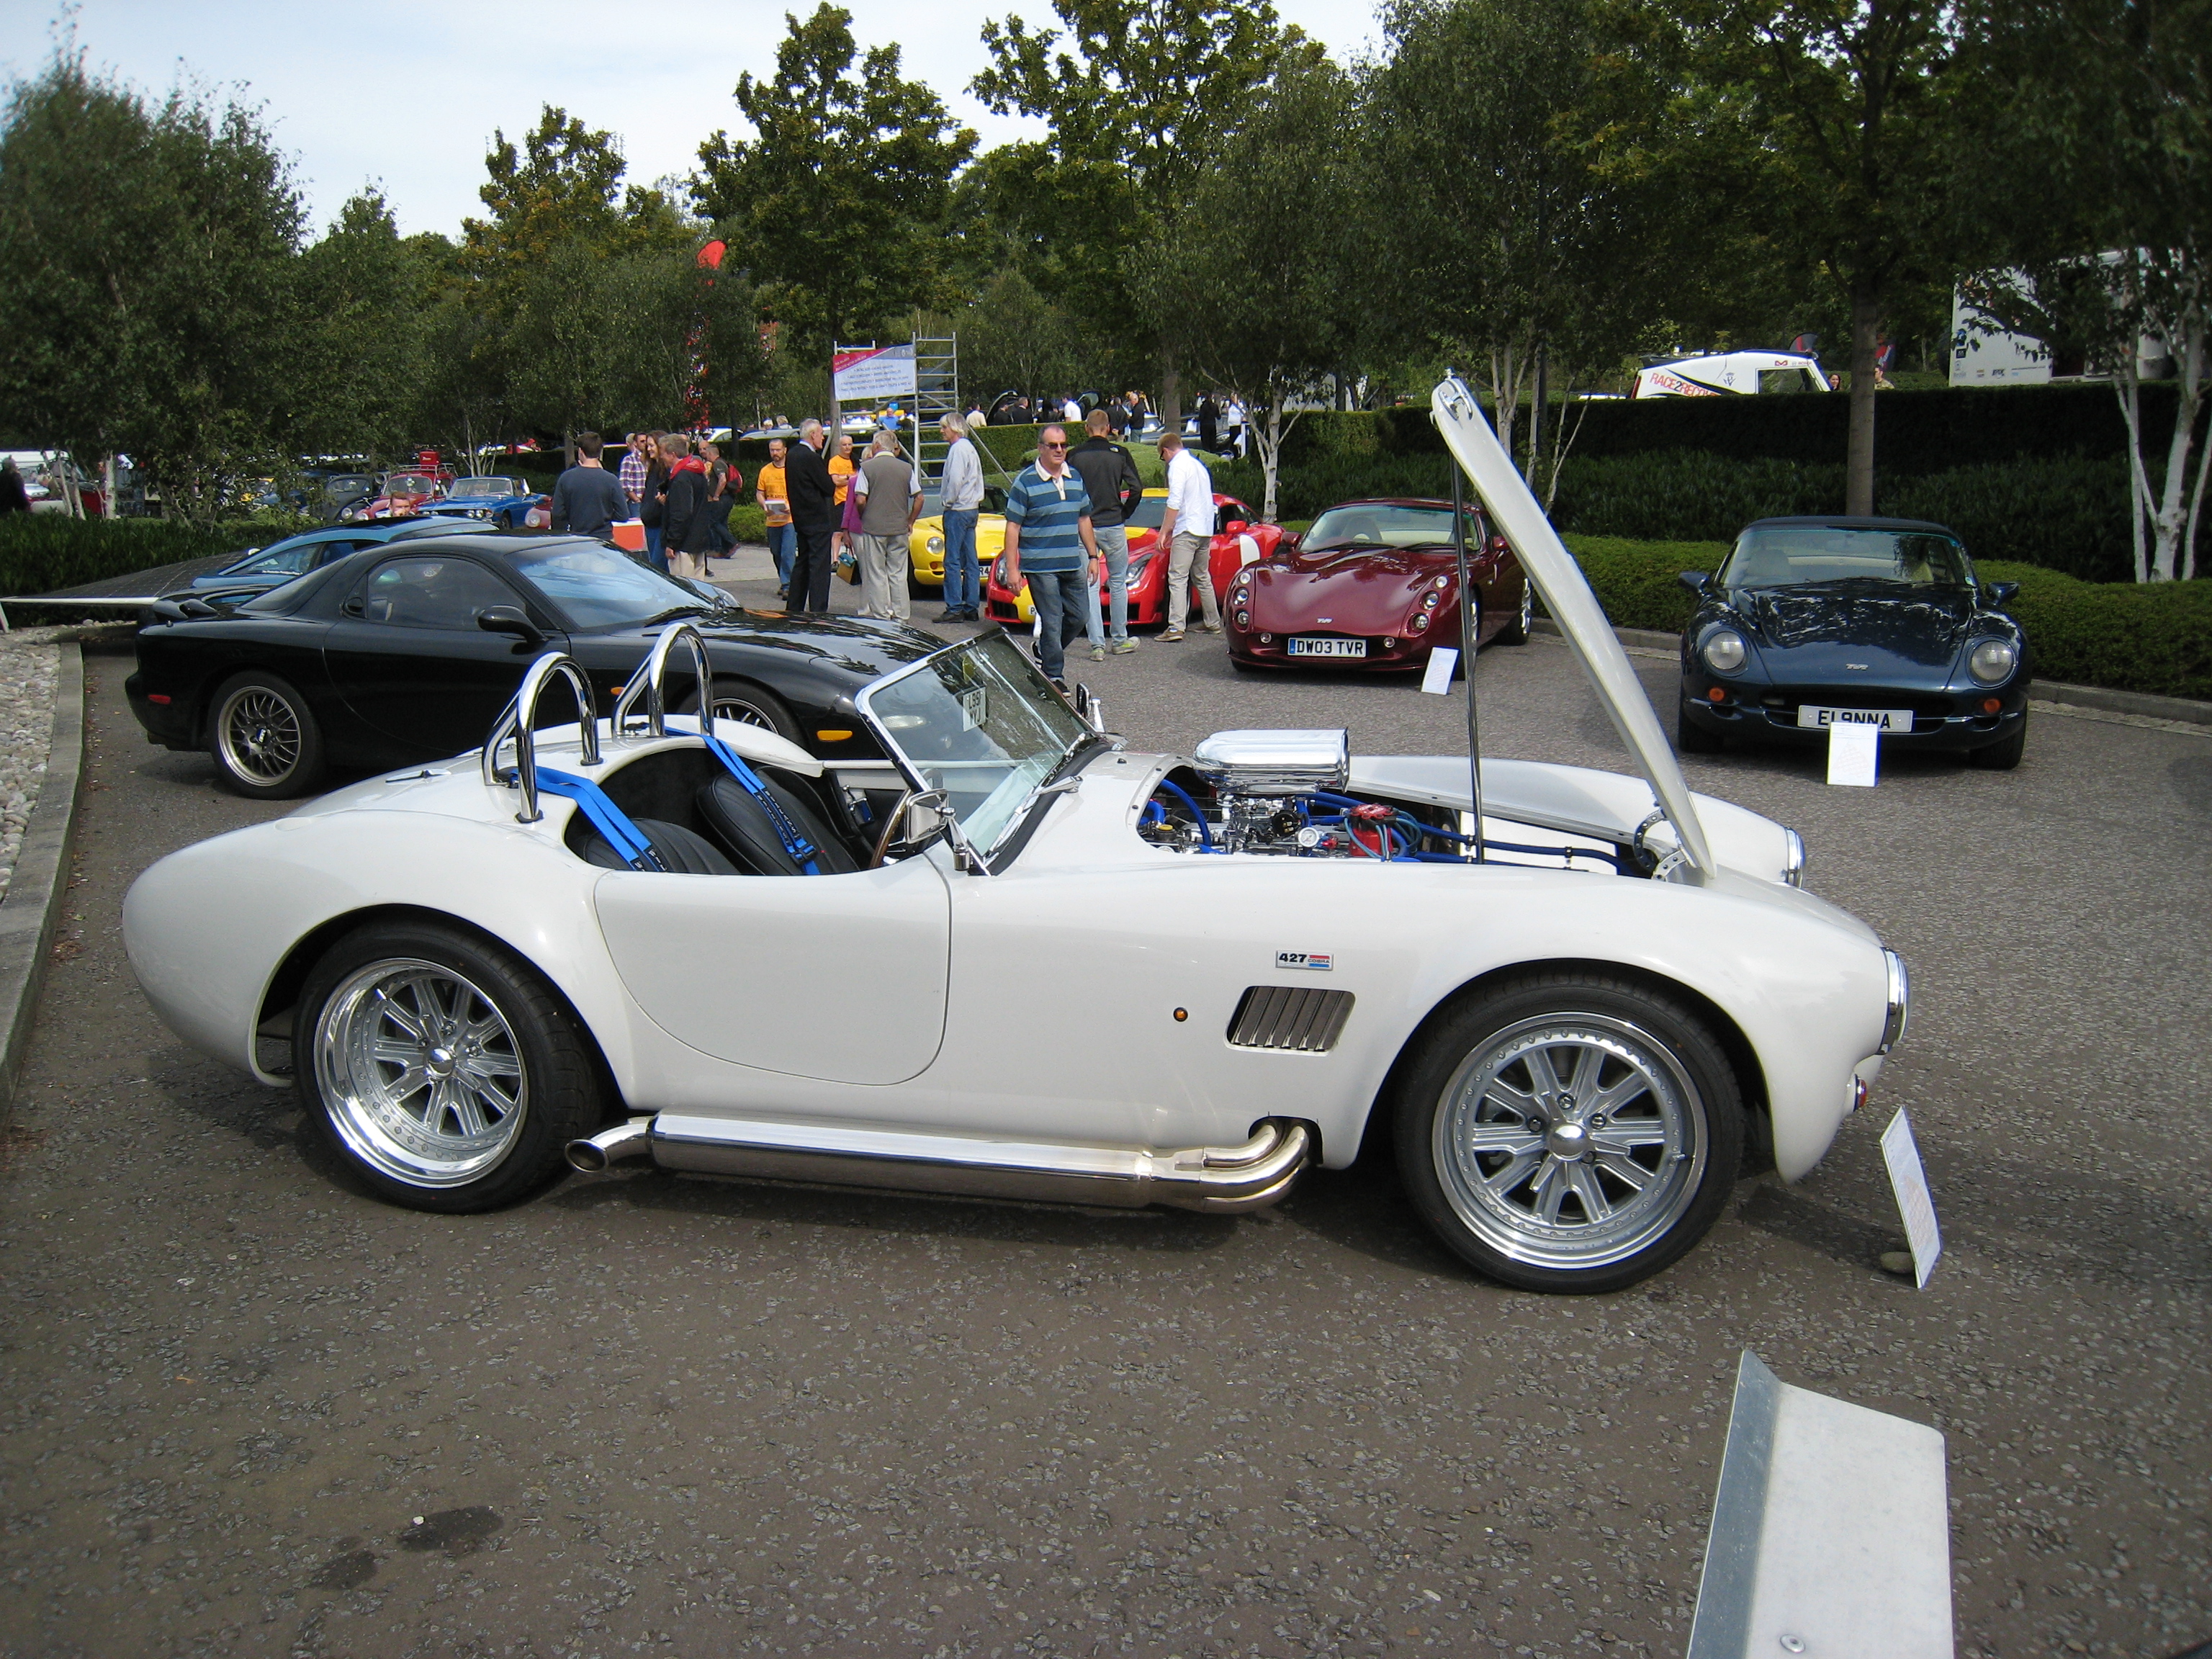
PAINT !!!!
Finally the time has come for paint!, So who to choose?, Well after looking at a few stands at the Stoneleigh shows over the last
few years and speaking to other builders the same name came up over and over -
SMS Autospray, which I had on my list and this was finally confirmed as another builder who I have been in contact with via this site
had his car done there and was very happy with the finish. His car was even on their stand this year (2016) at the Stoneleigh show.
So I called them back in November 2015 booked the car in as soon as they had space, this wasn’t until end of May so on Friday 27th May 2016 I
delivered the sad looking car back to them (Sad because it was stripped and on space saver wheels).
It took 6 weeks for them to complete the works and on Friday 8th July I collected the finished car.
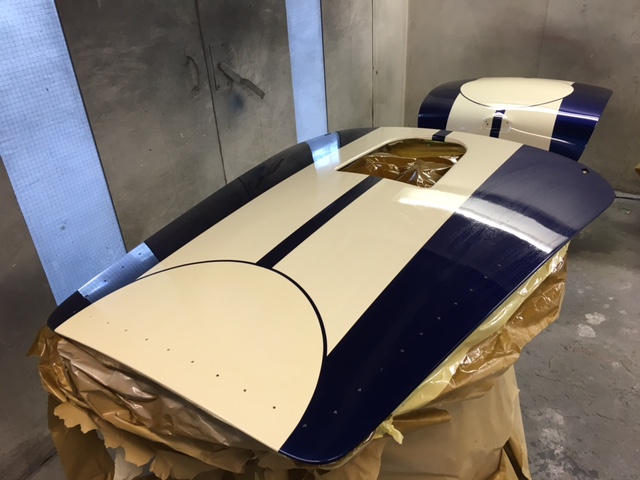
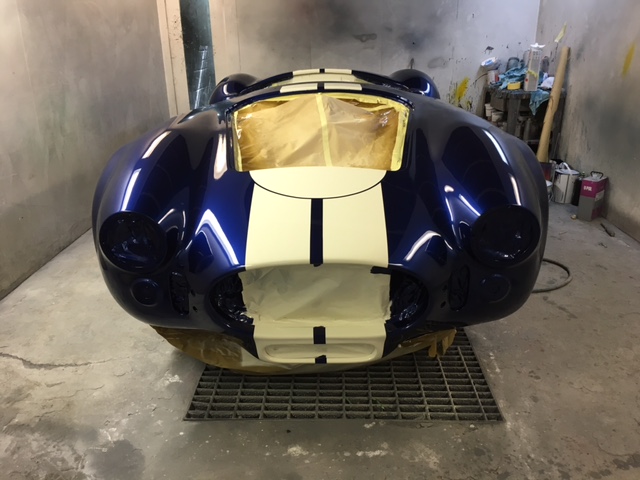
Here are some pics of the paint progress
I wanted the reverse and fog lights to be frenched into the body where the strip will be.
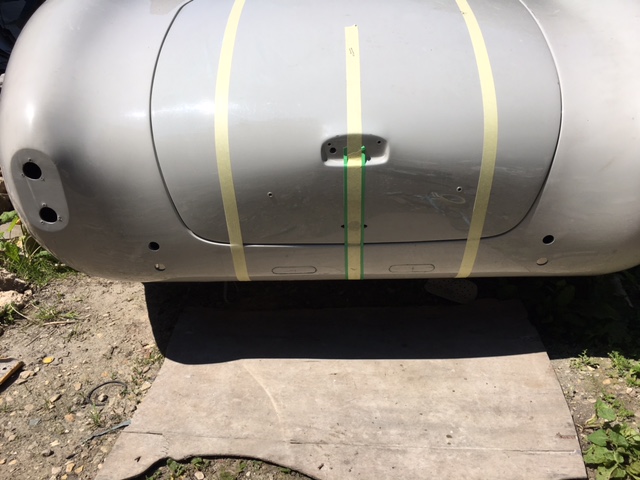
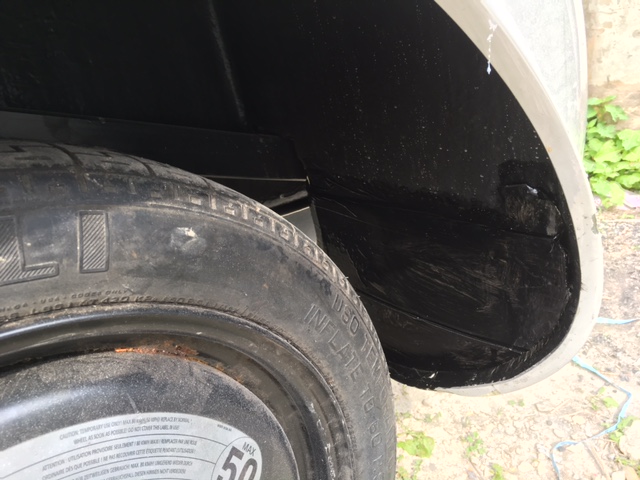
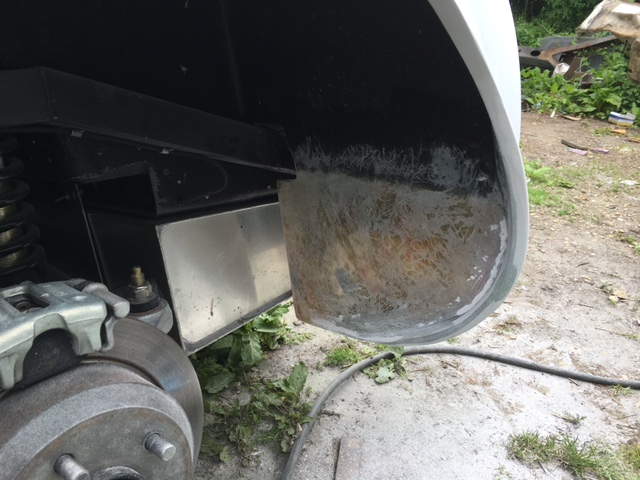
Also wanted to fill the gaps in in the wheel arches, just to give a better look.
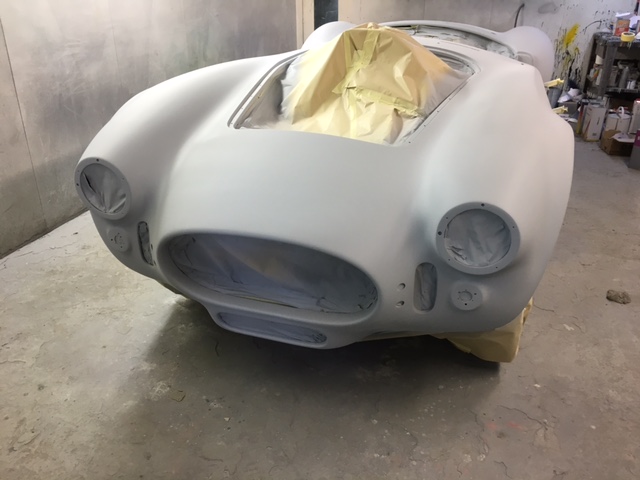
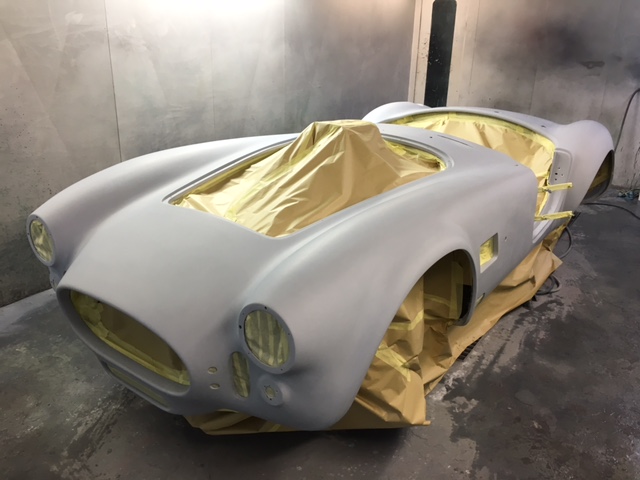
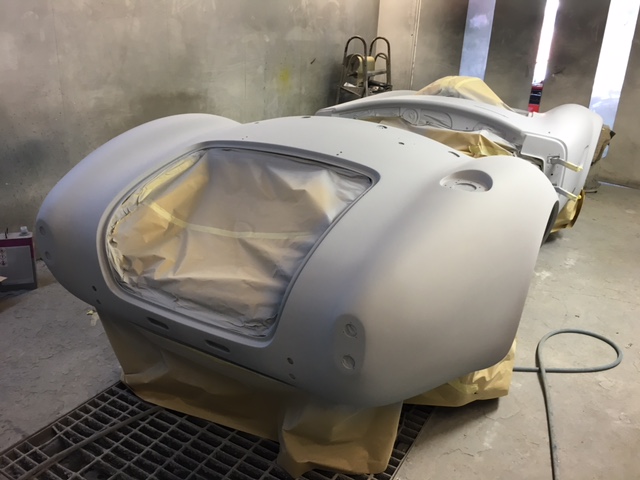
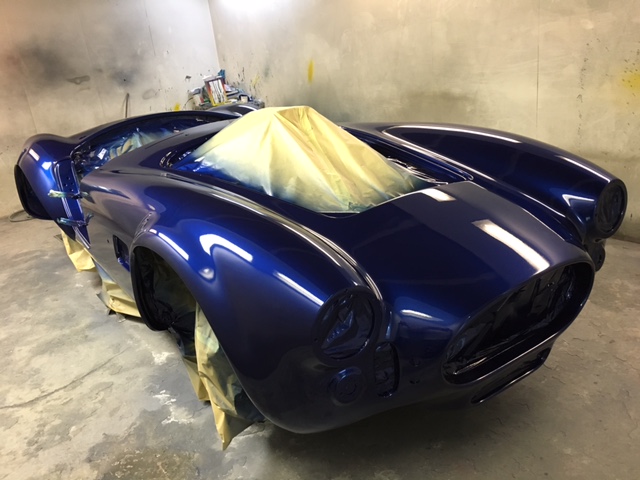
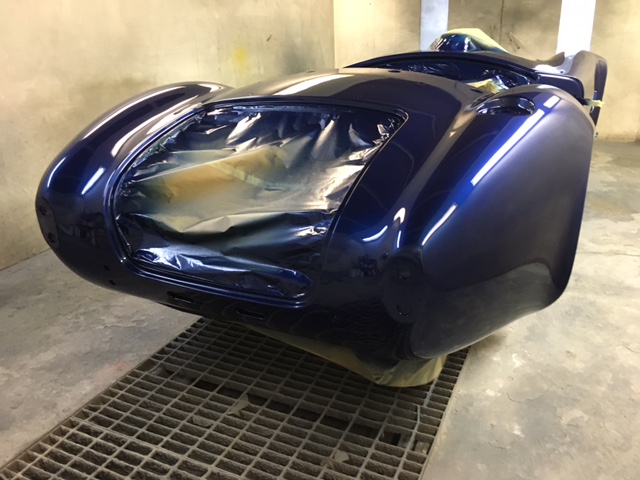
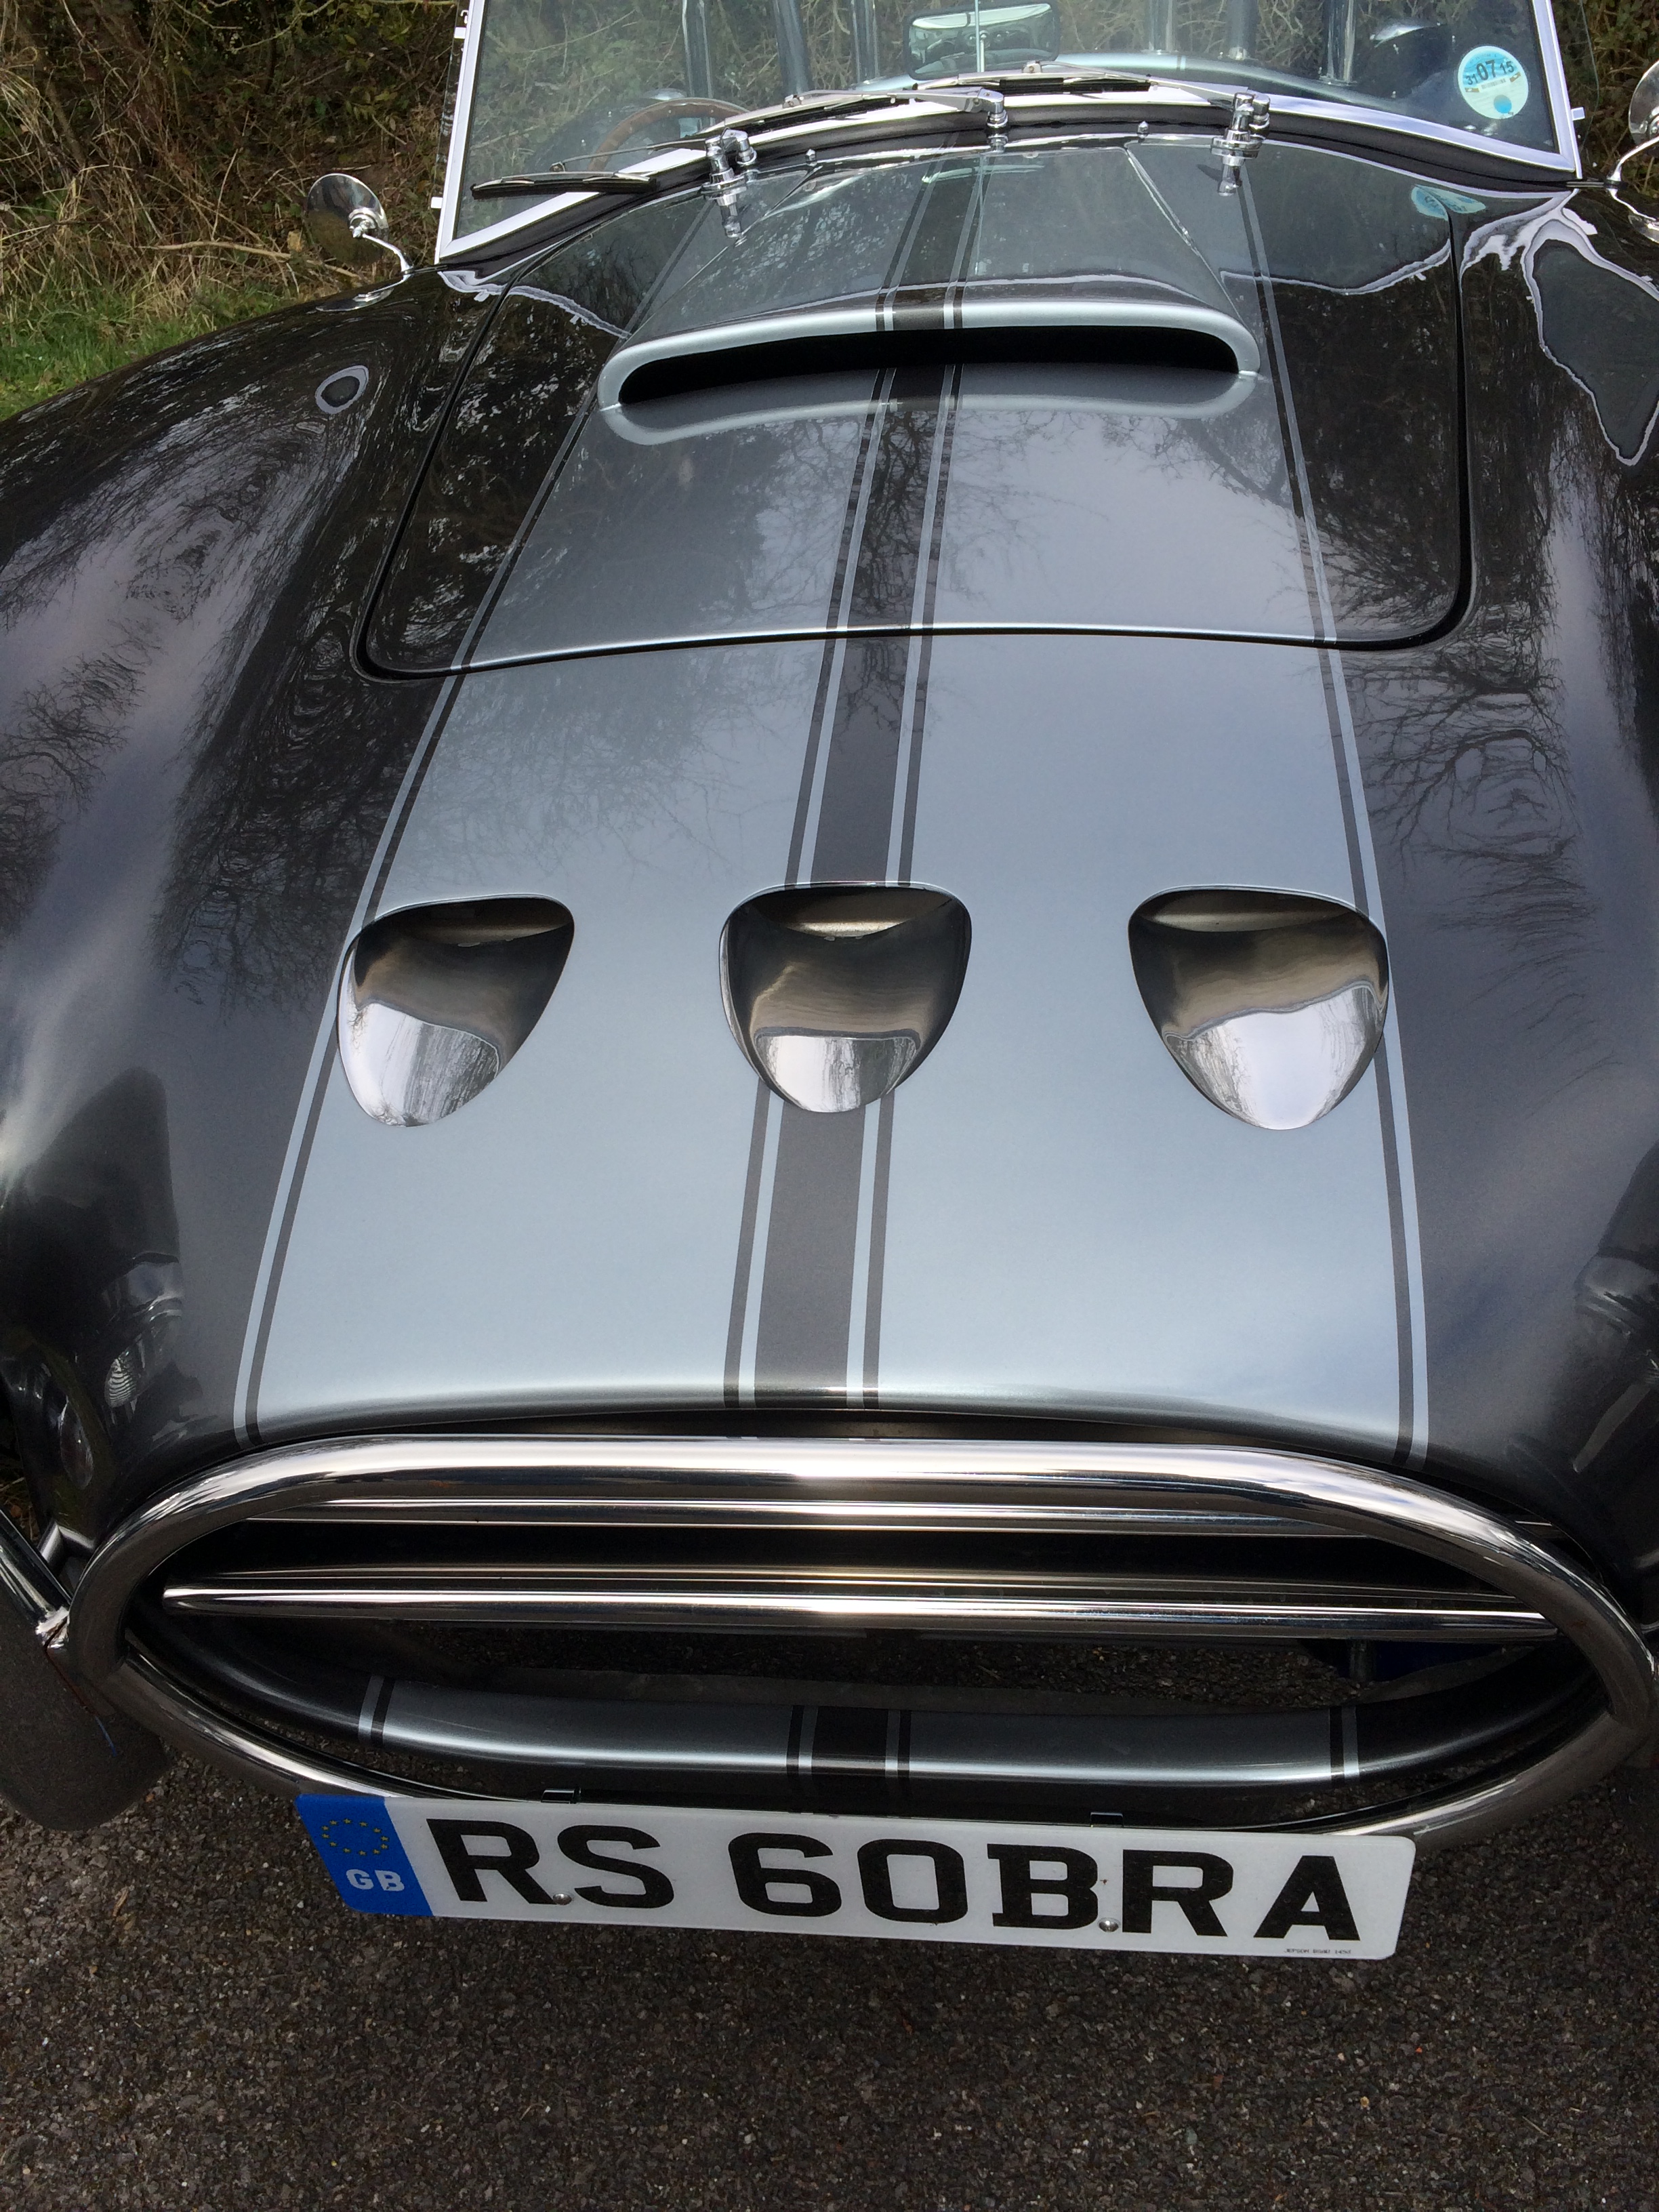
Main Colour - Ford USA Royal Blue Pearl
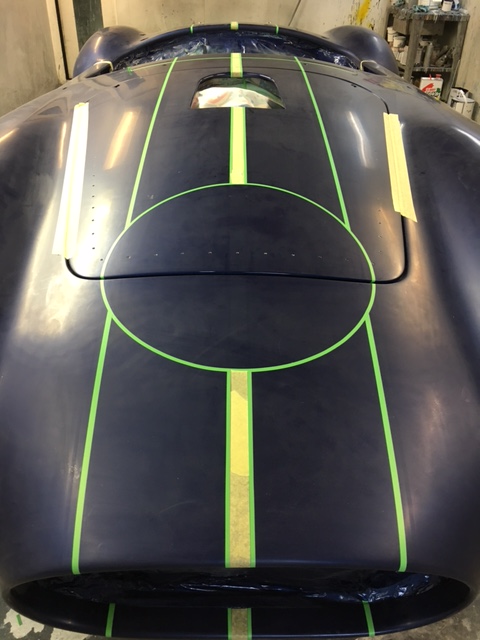
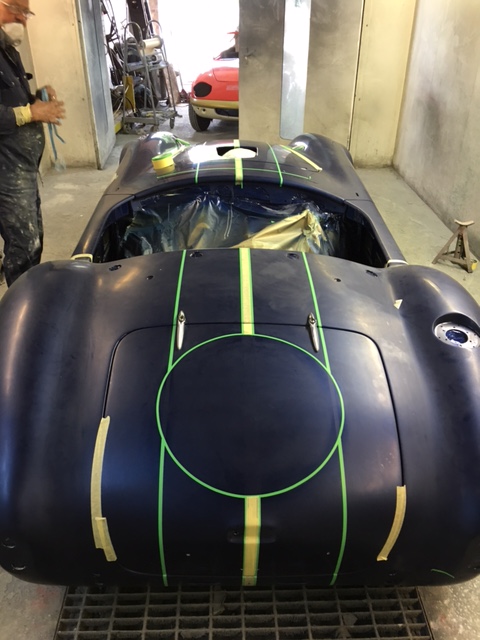
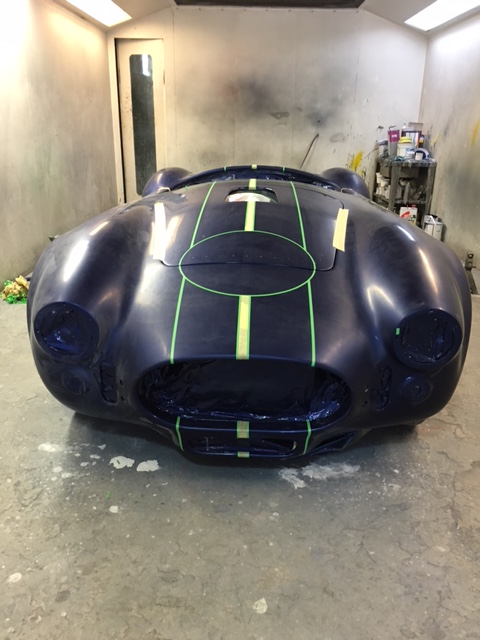
Paint flatted off ready for masking the stripes and roundels
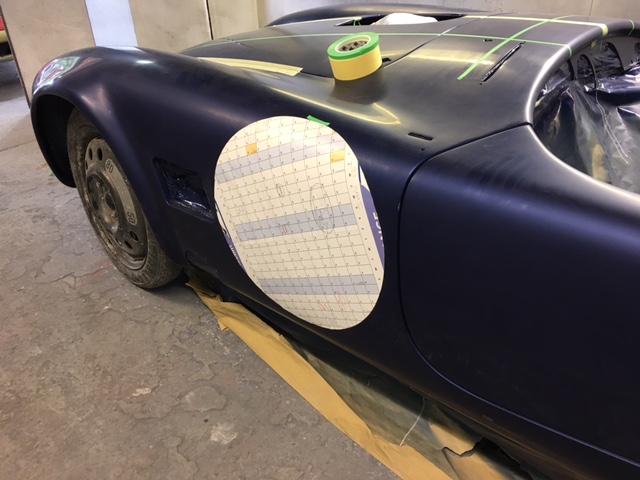
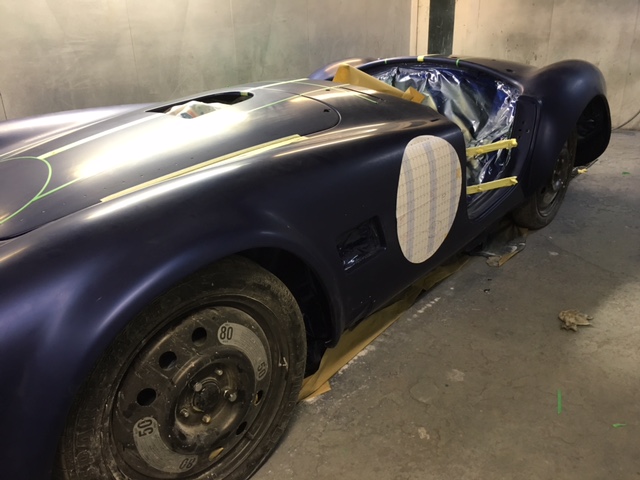
Stipe Colour - Ford USA Wimbledon White


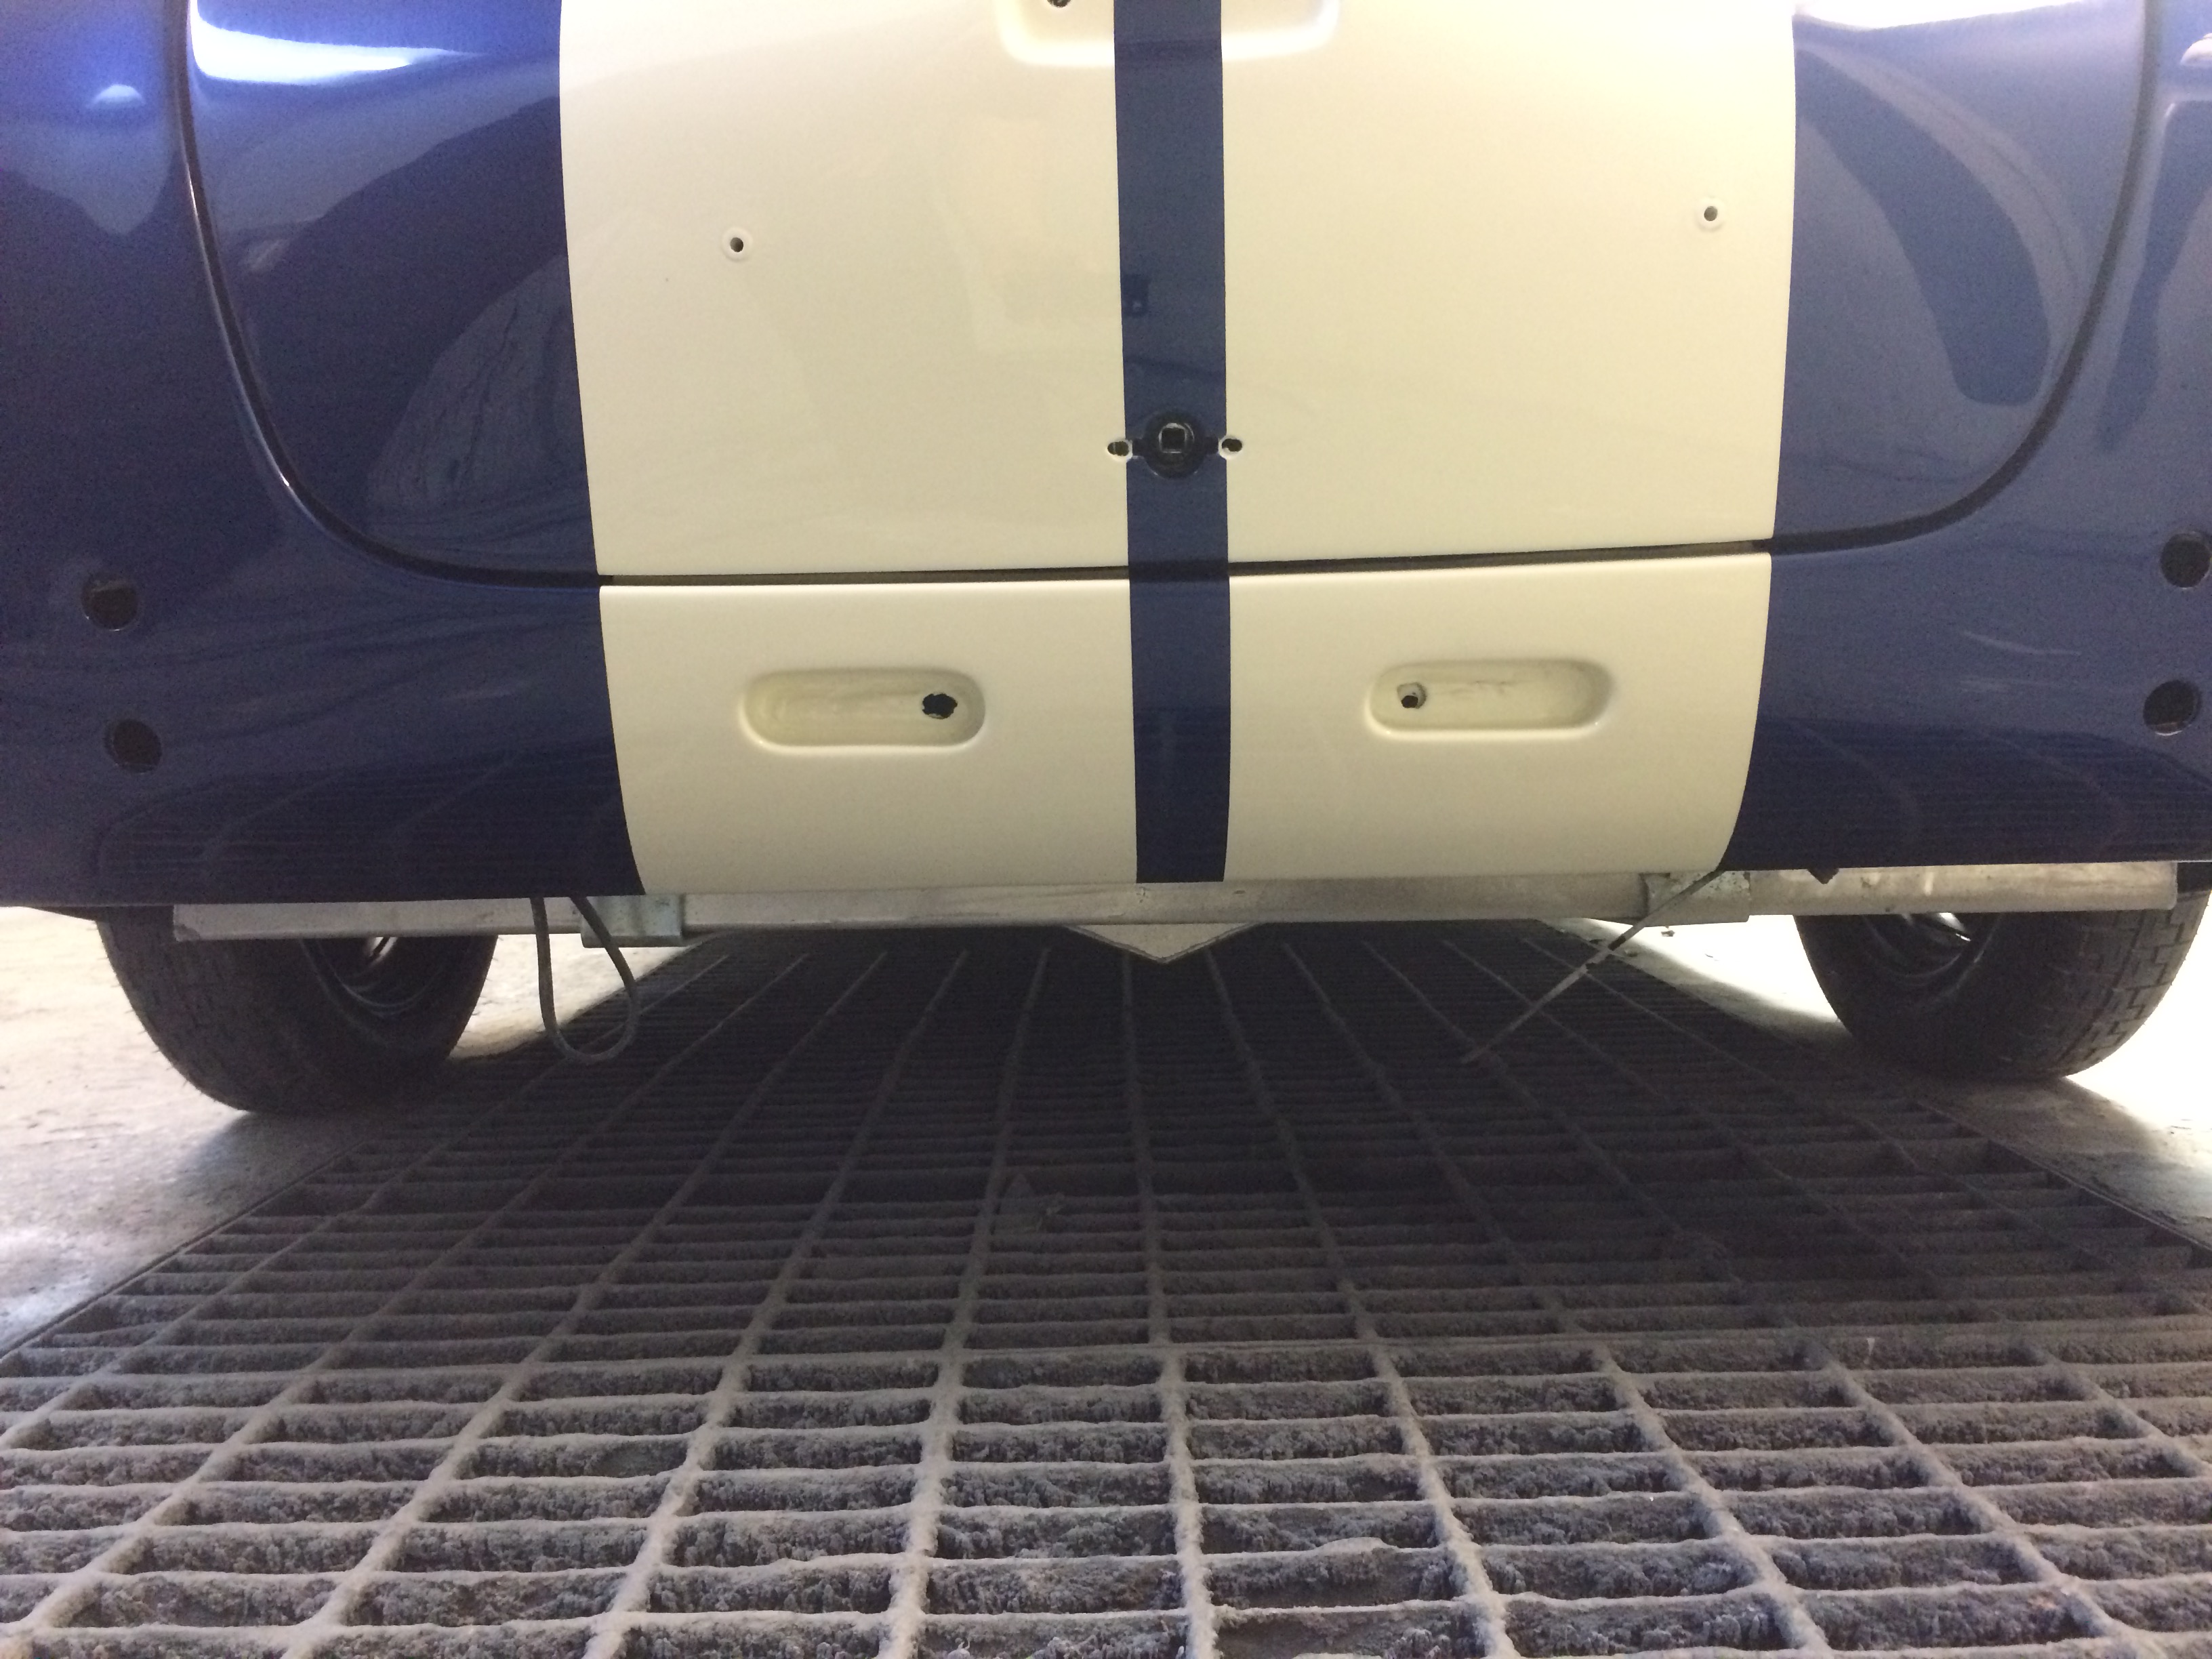
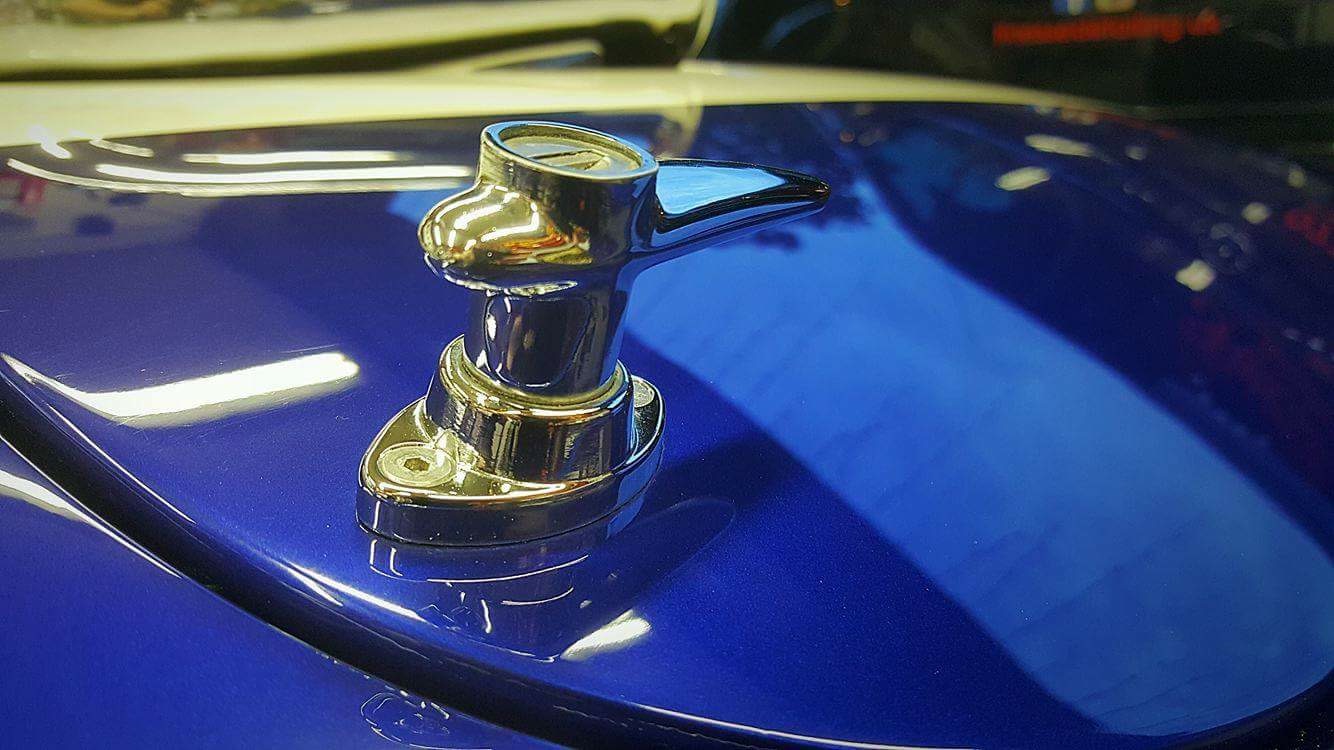
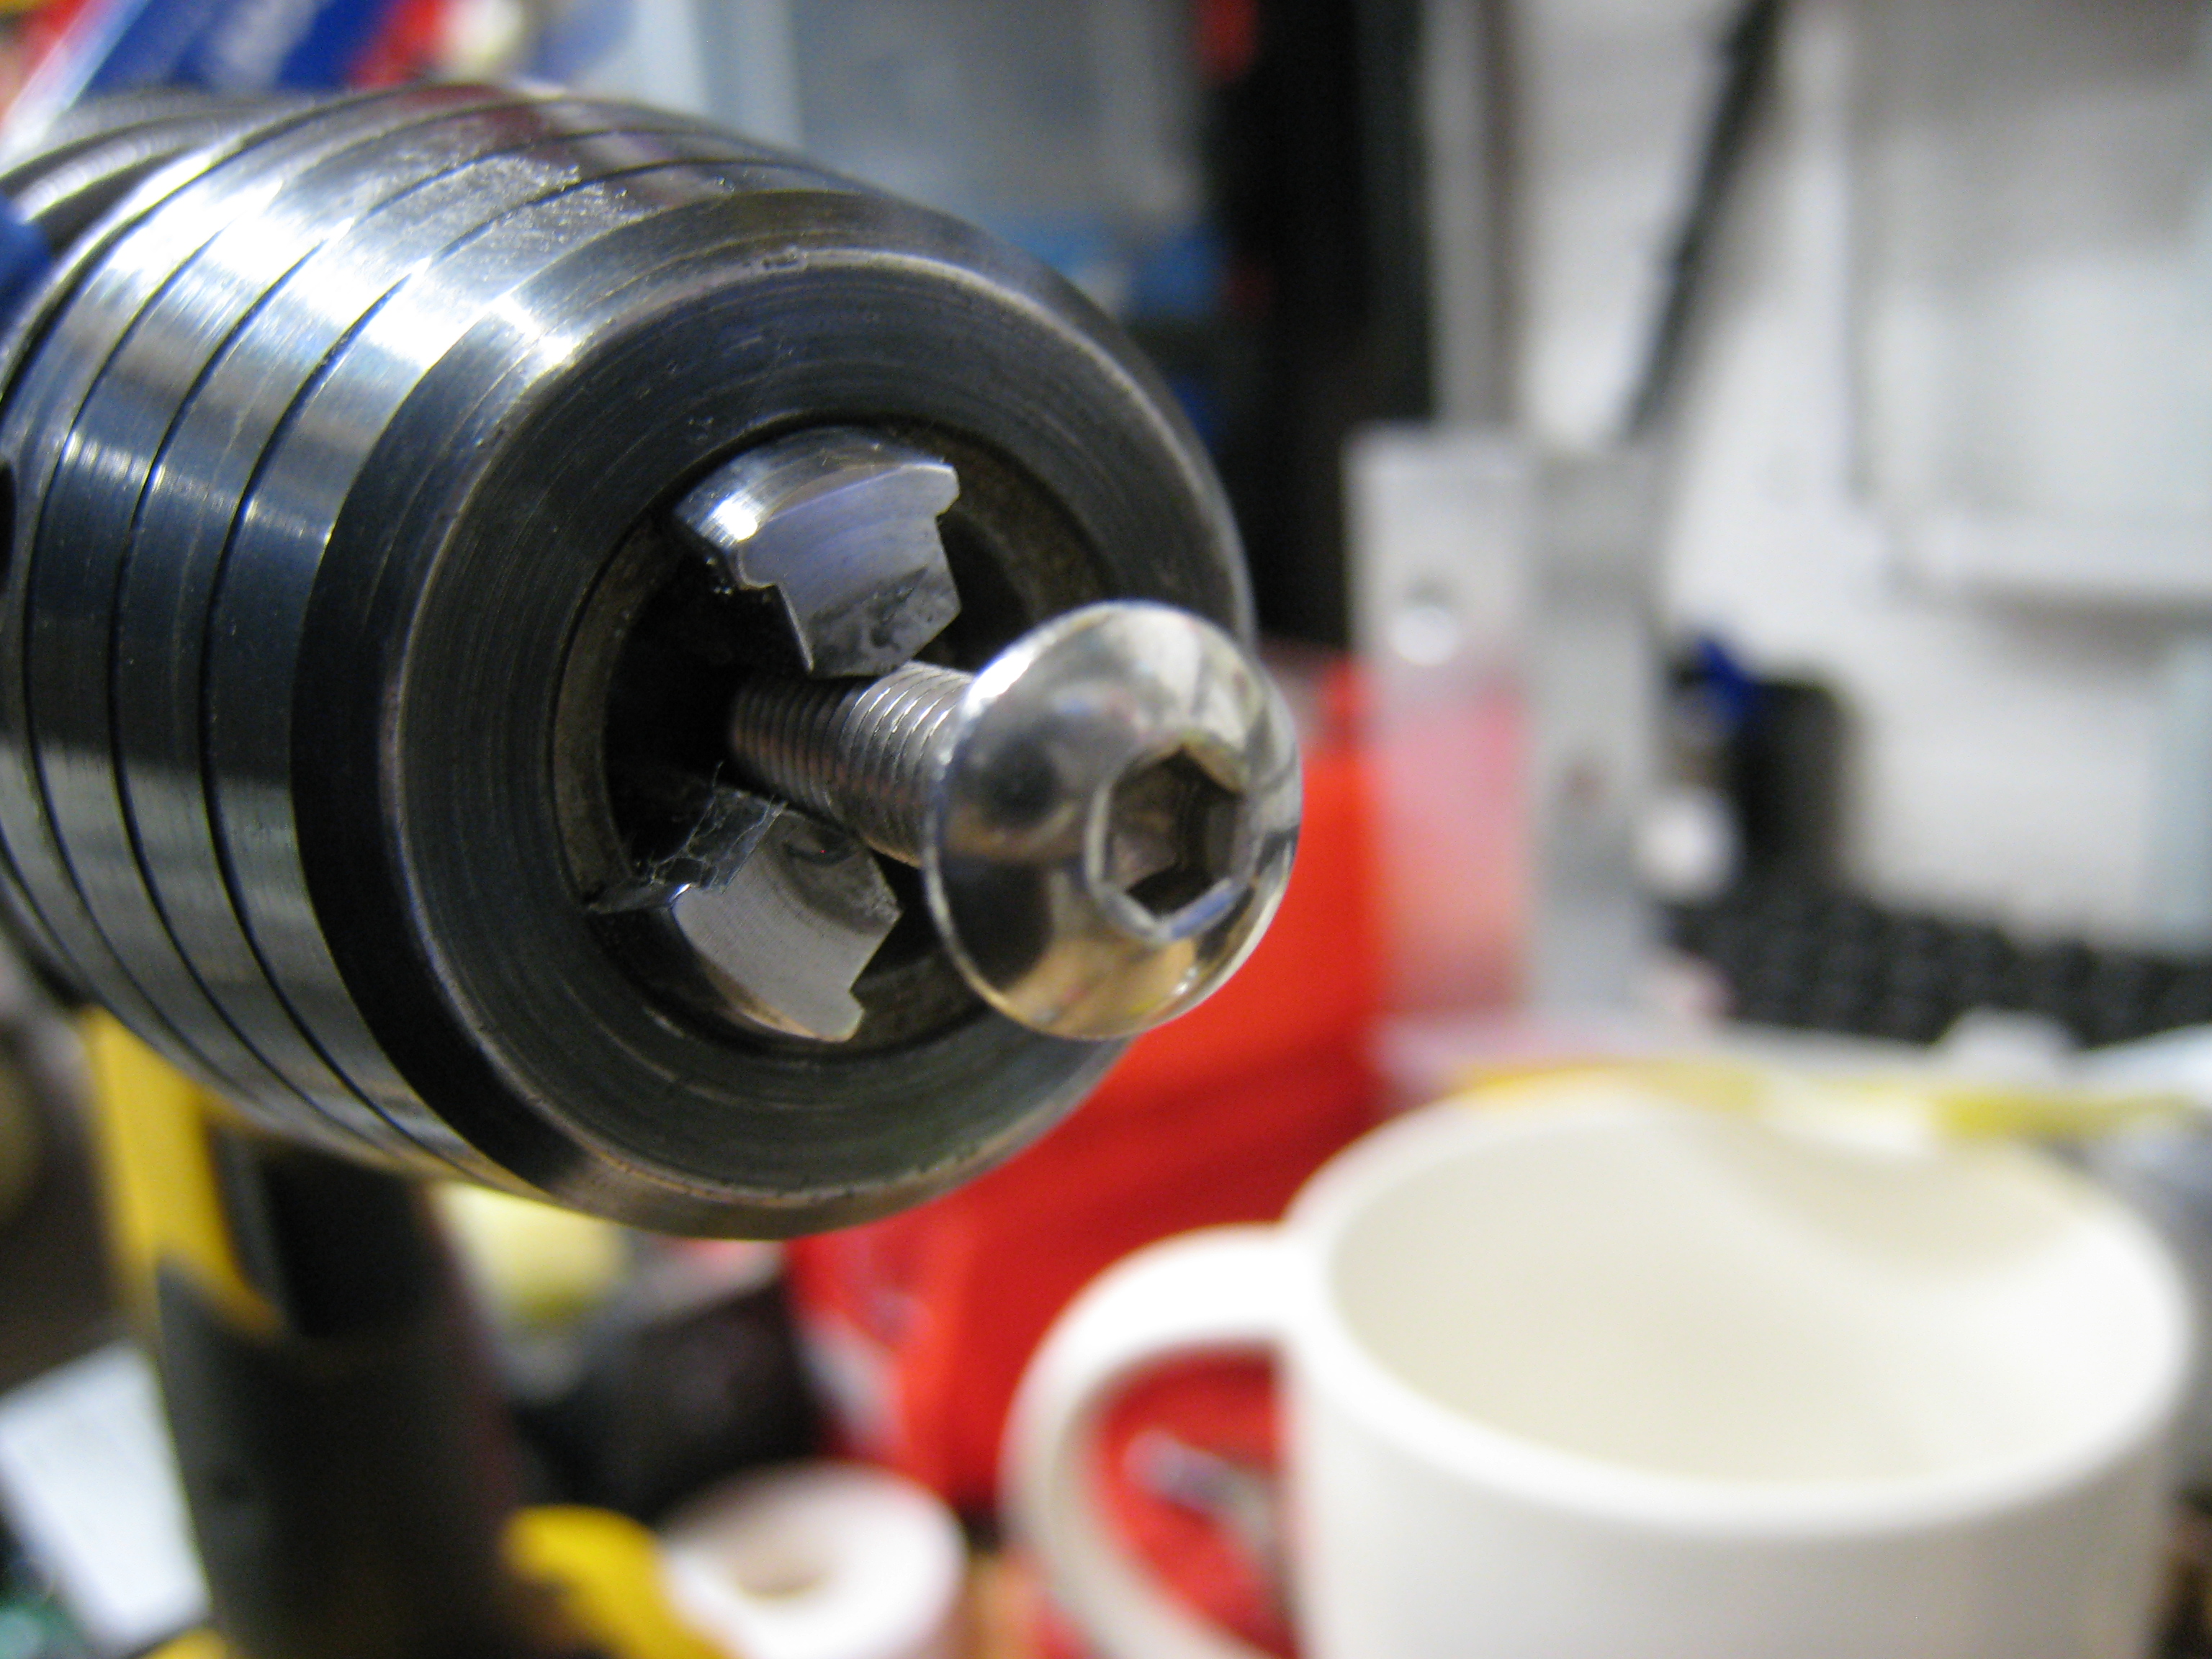
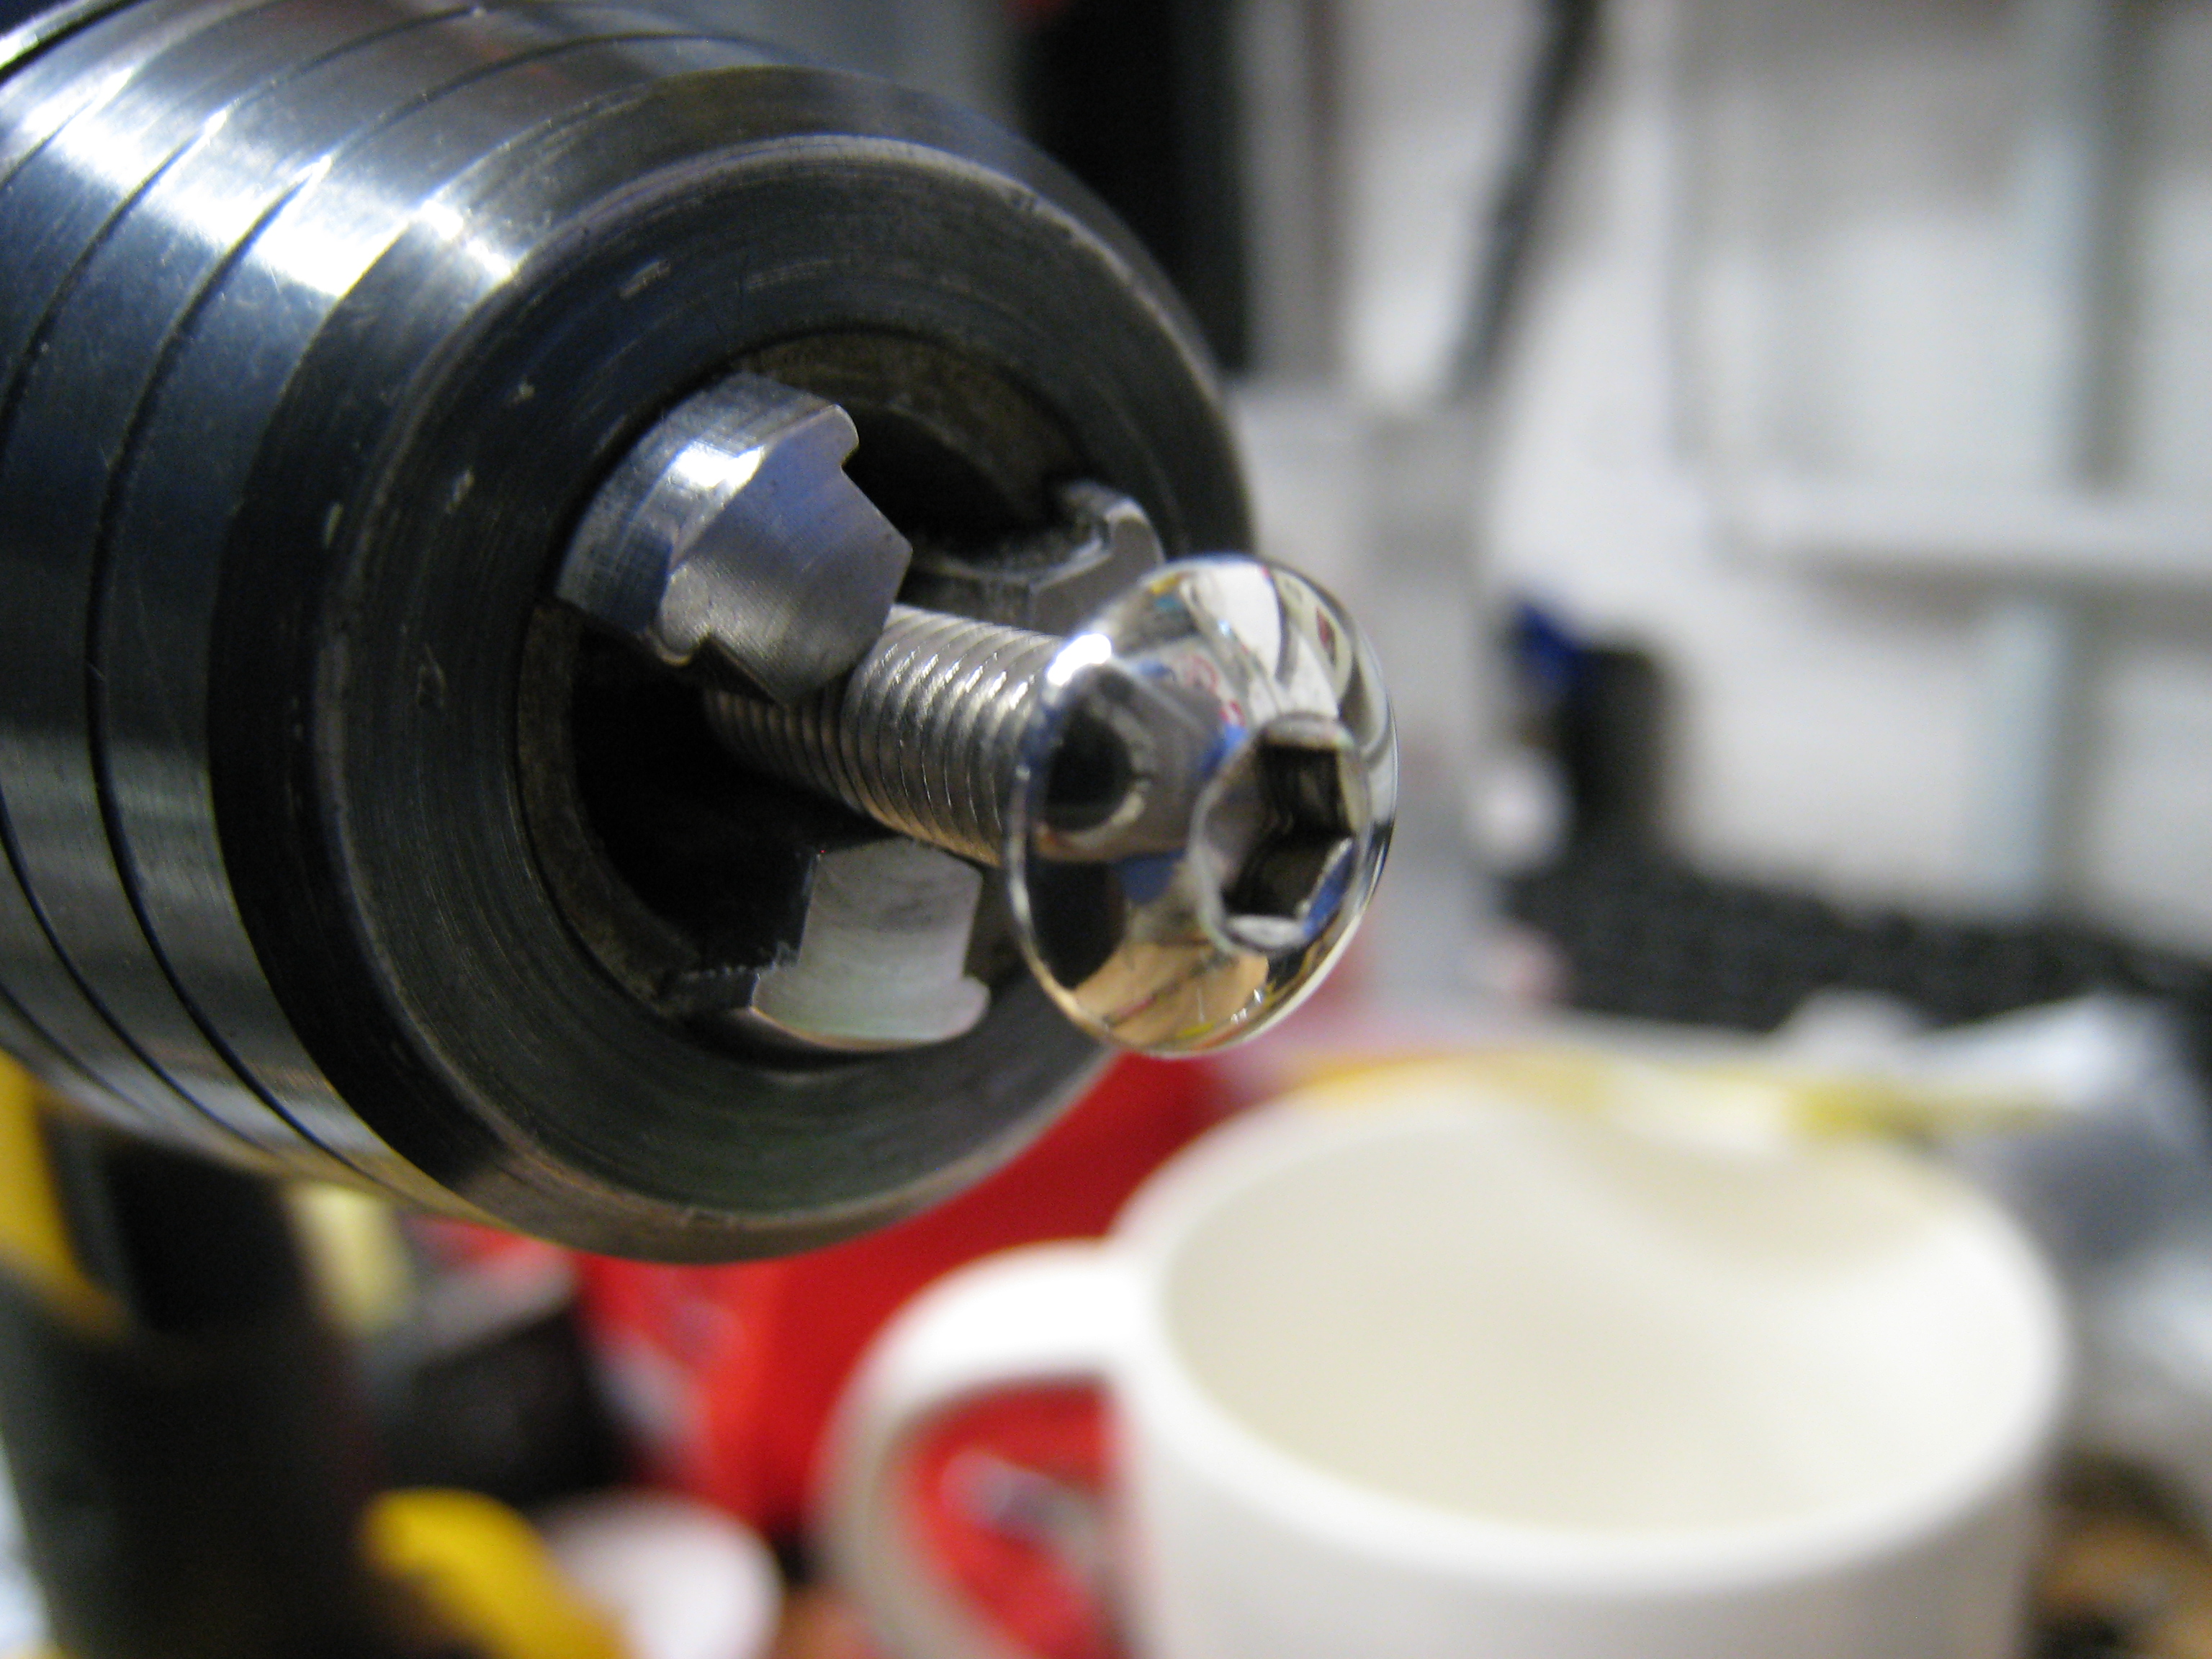
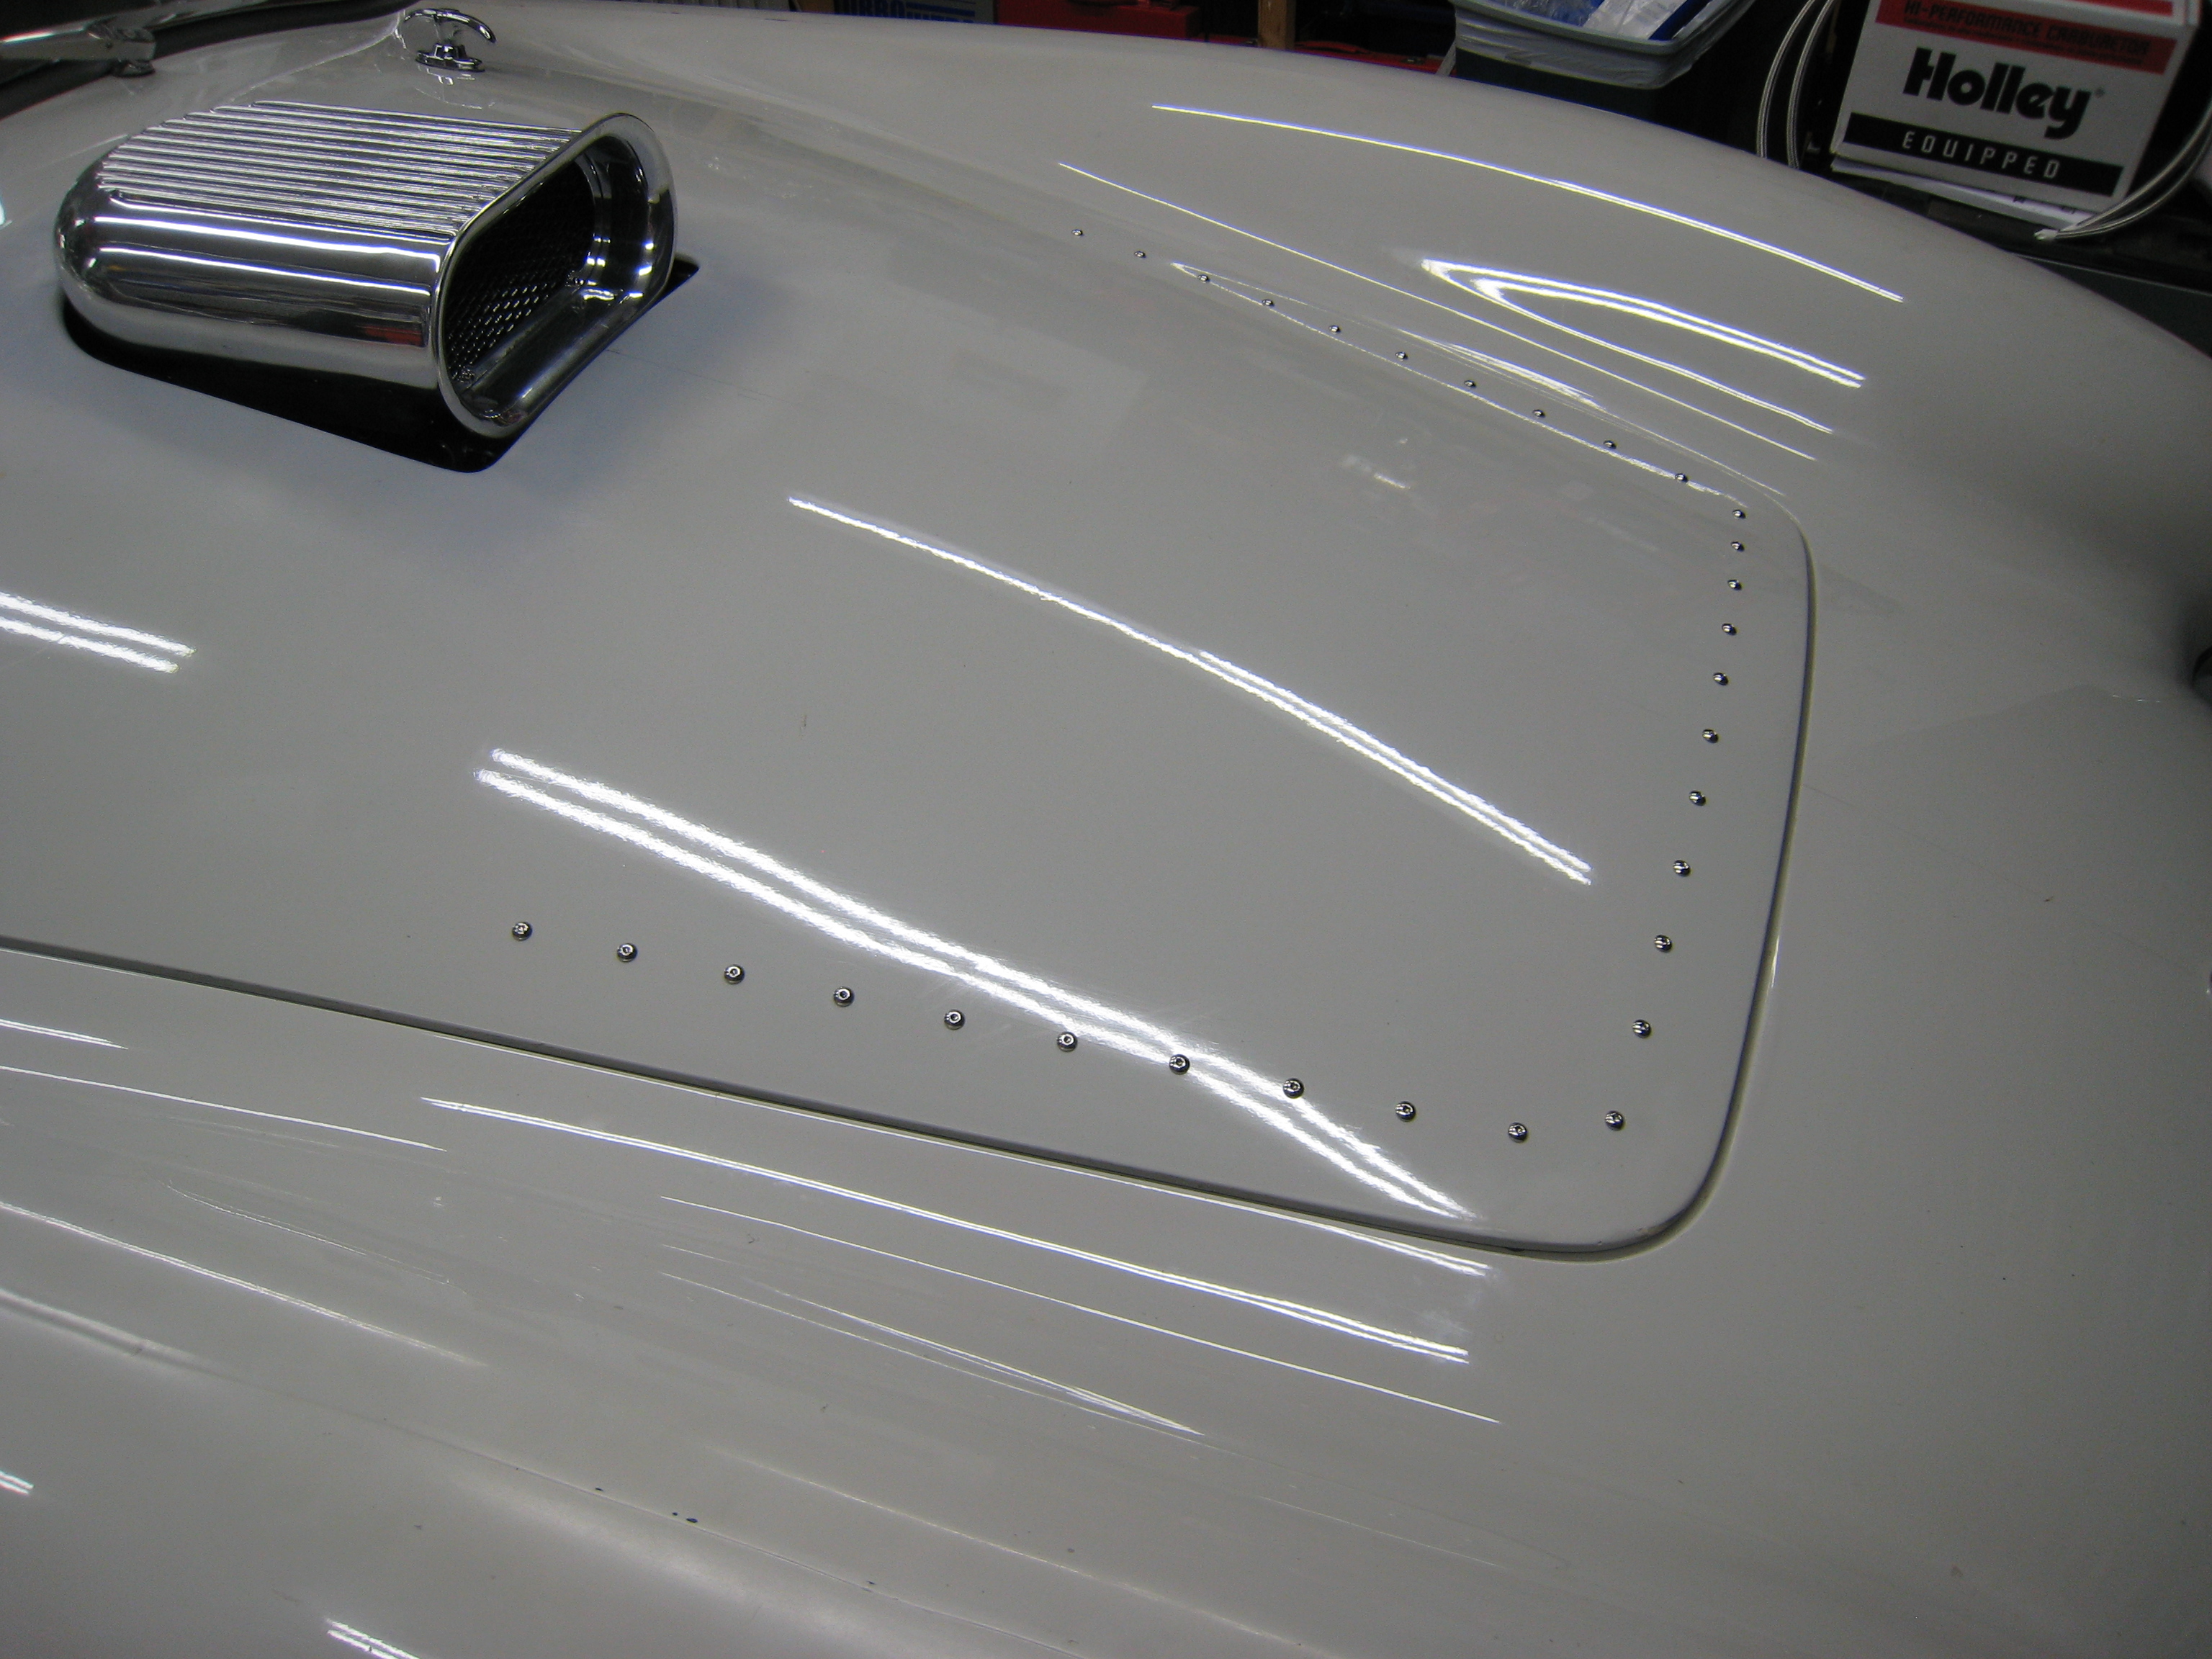
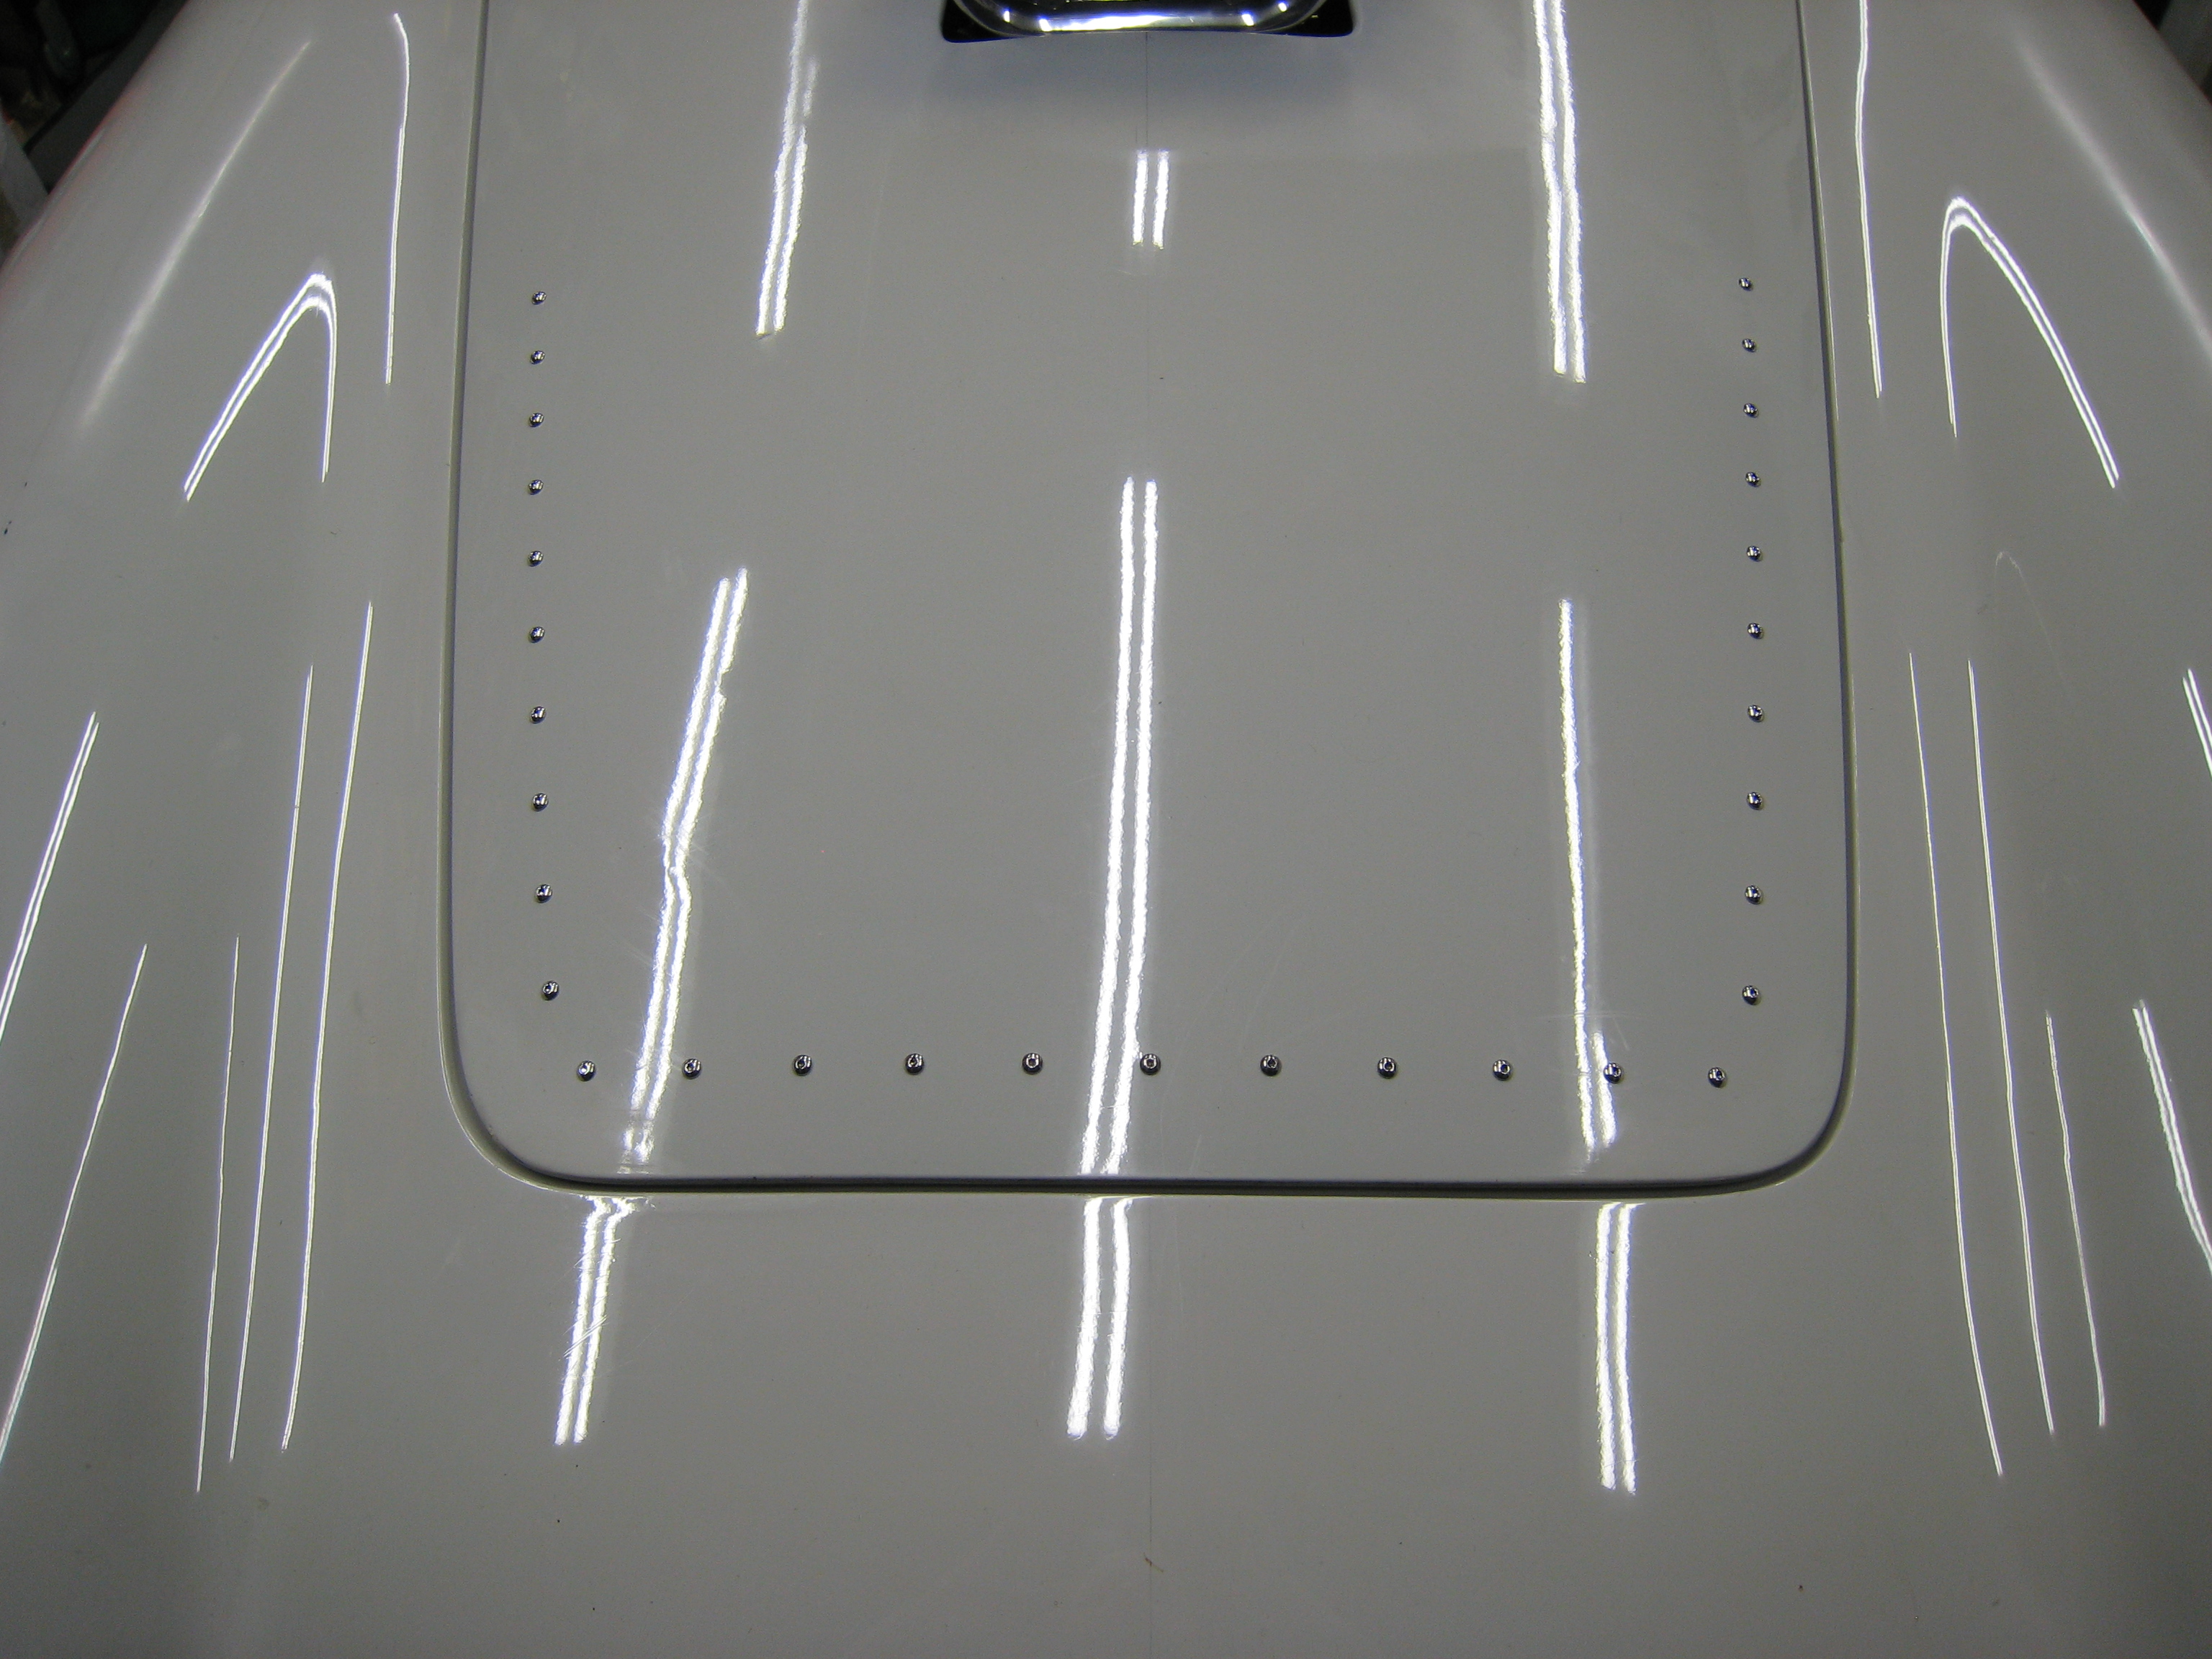
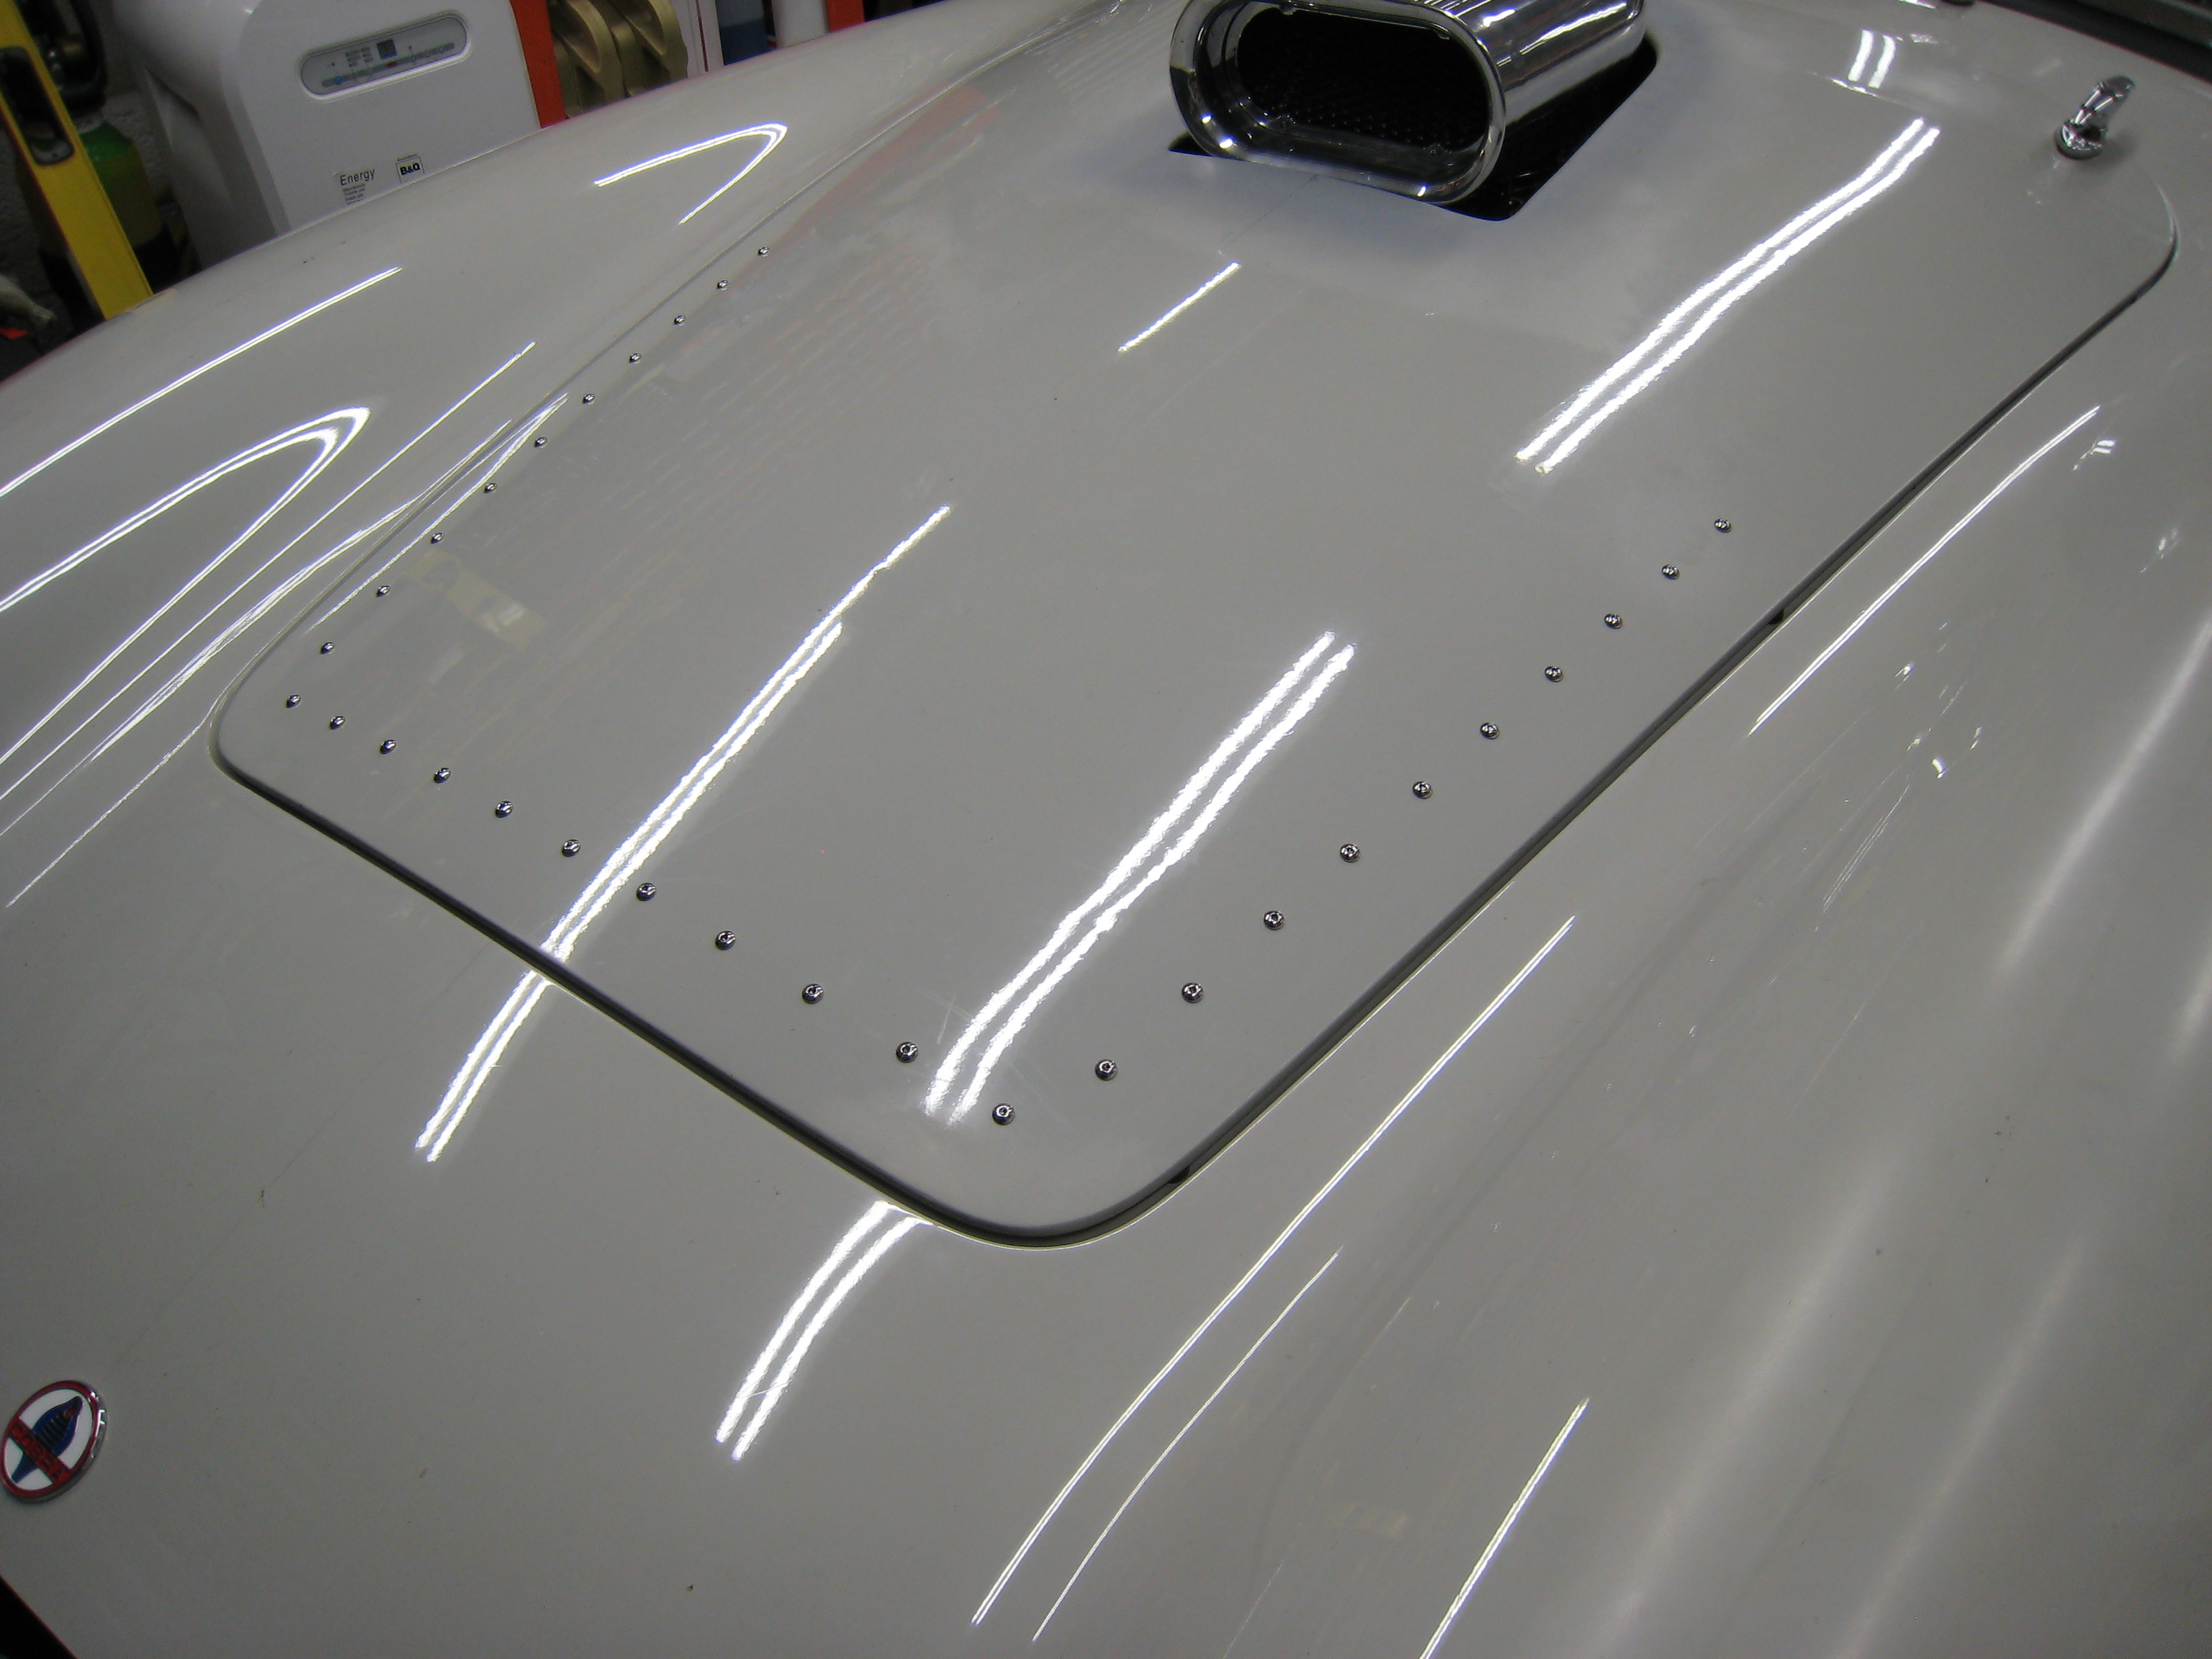
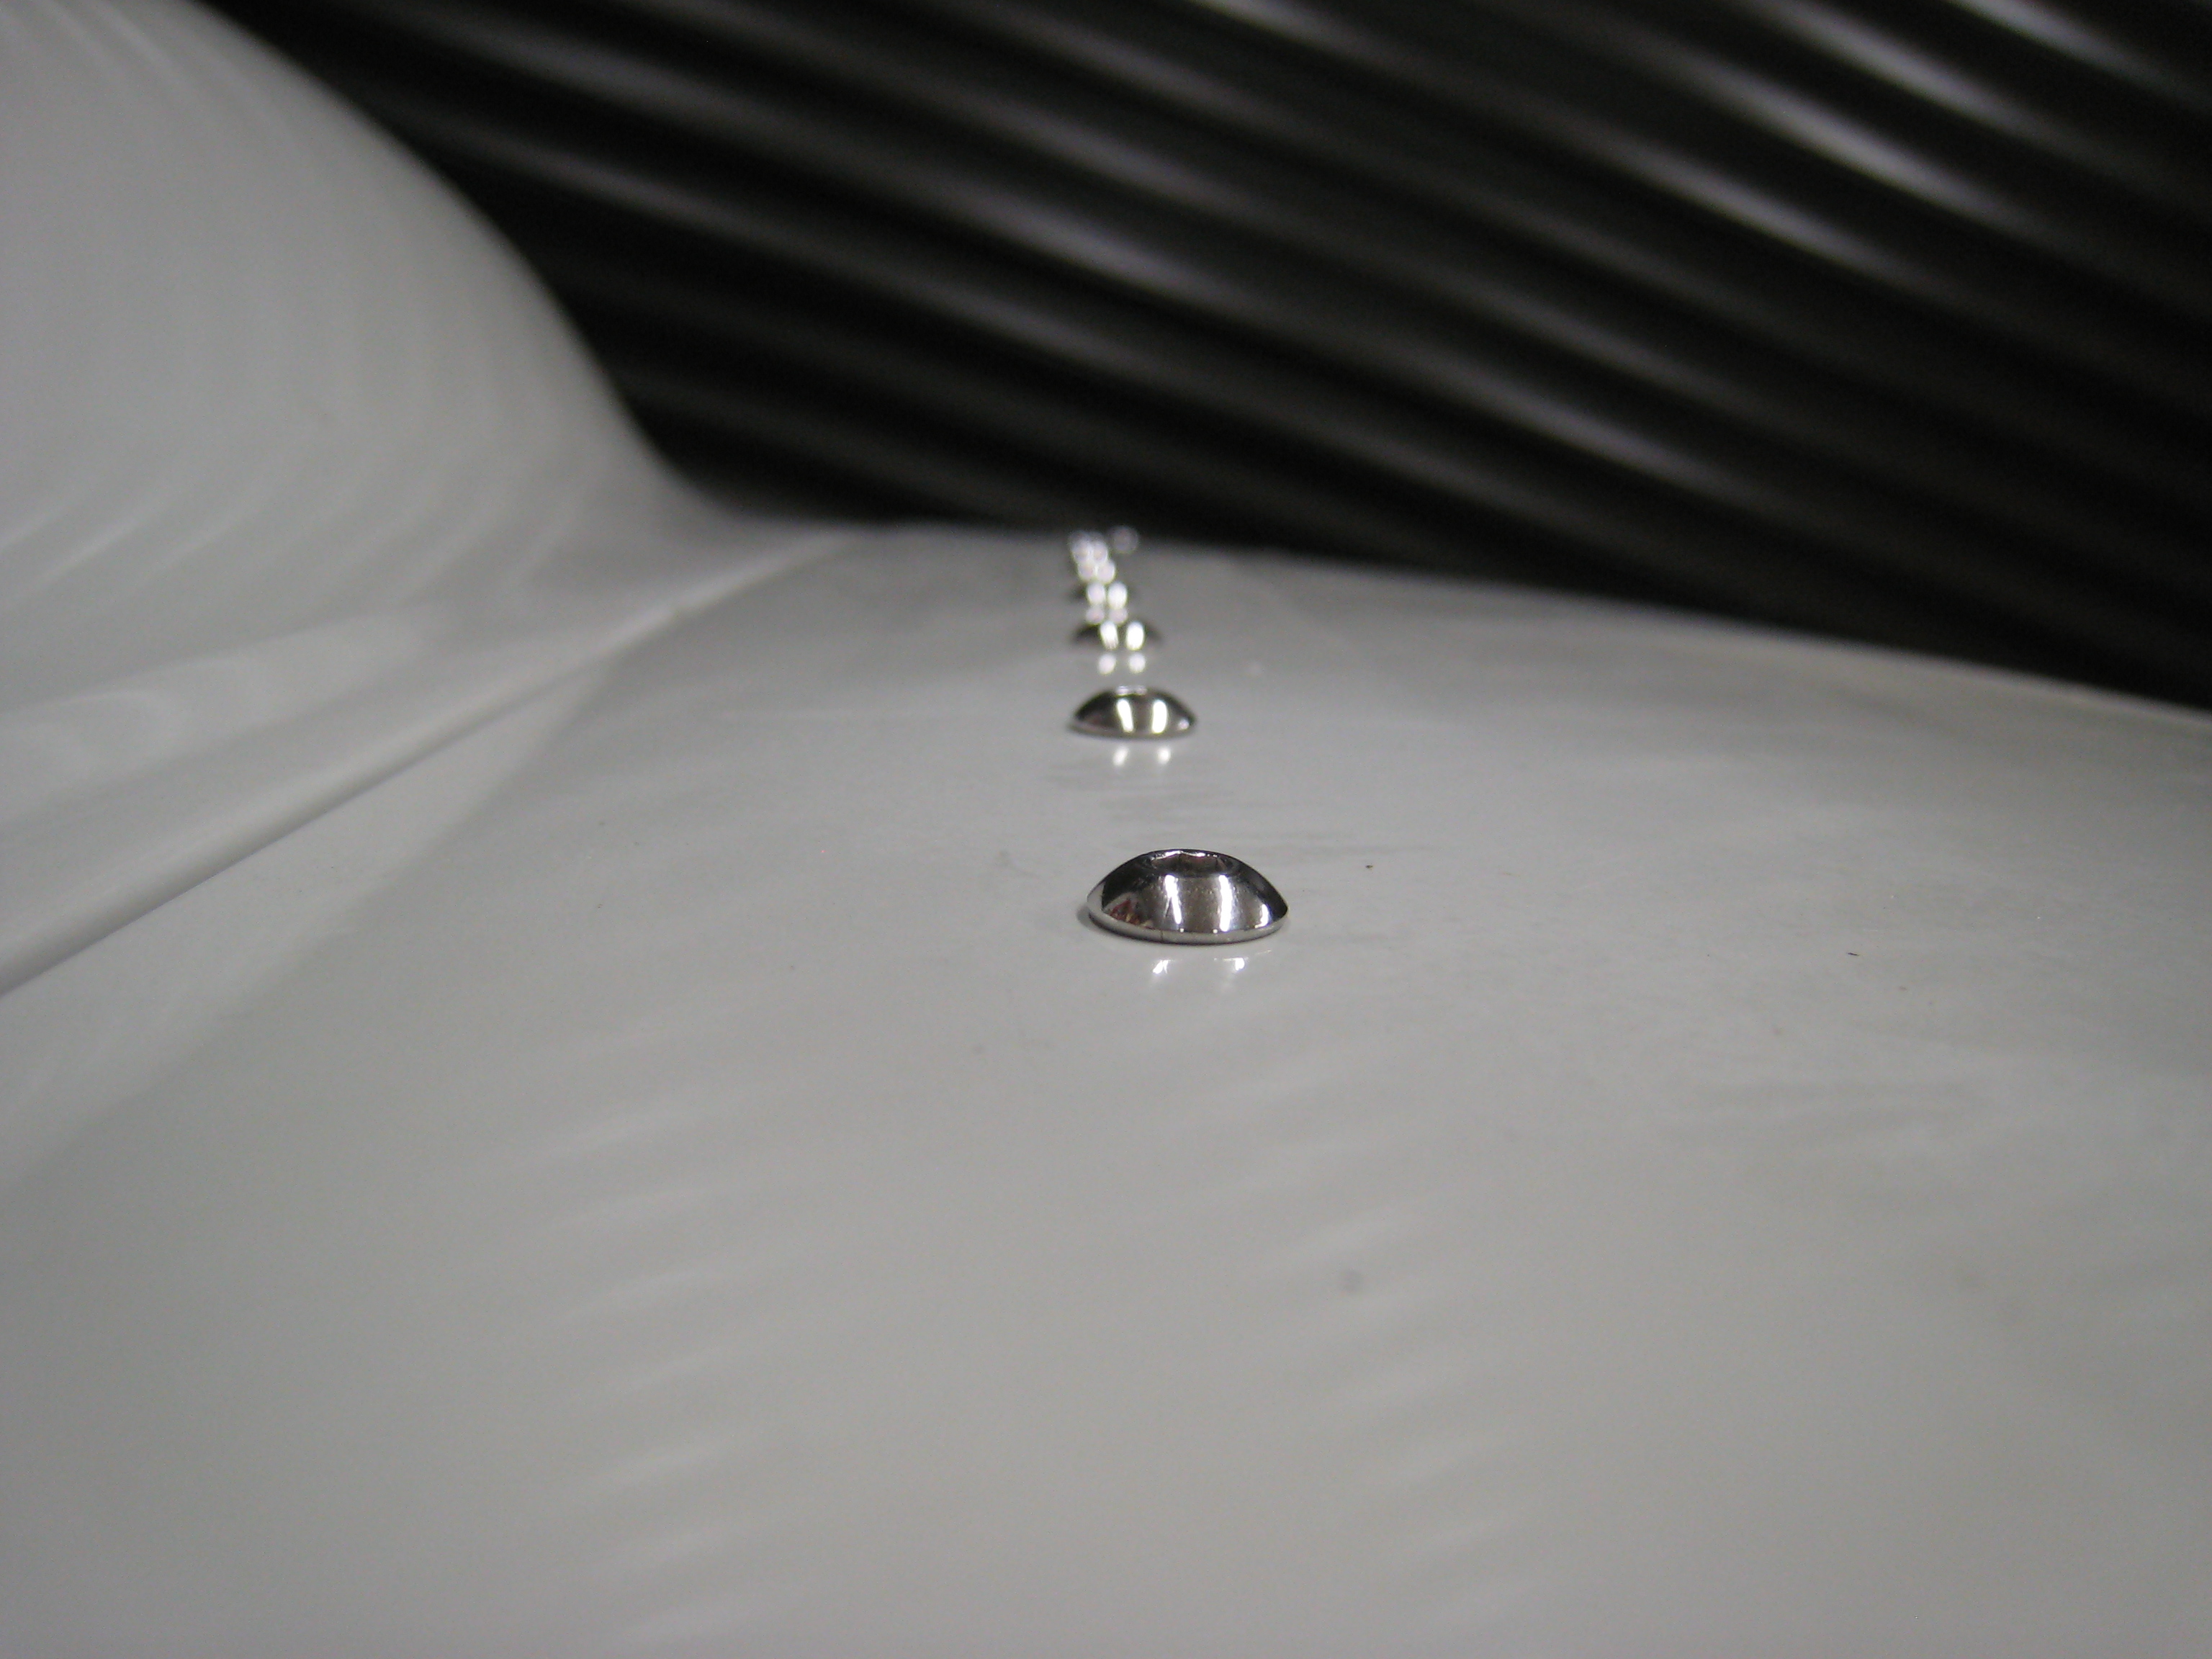
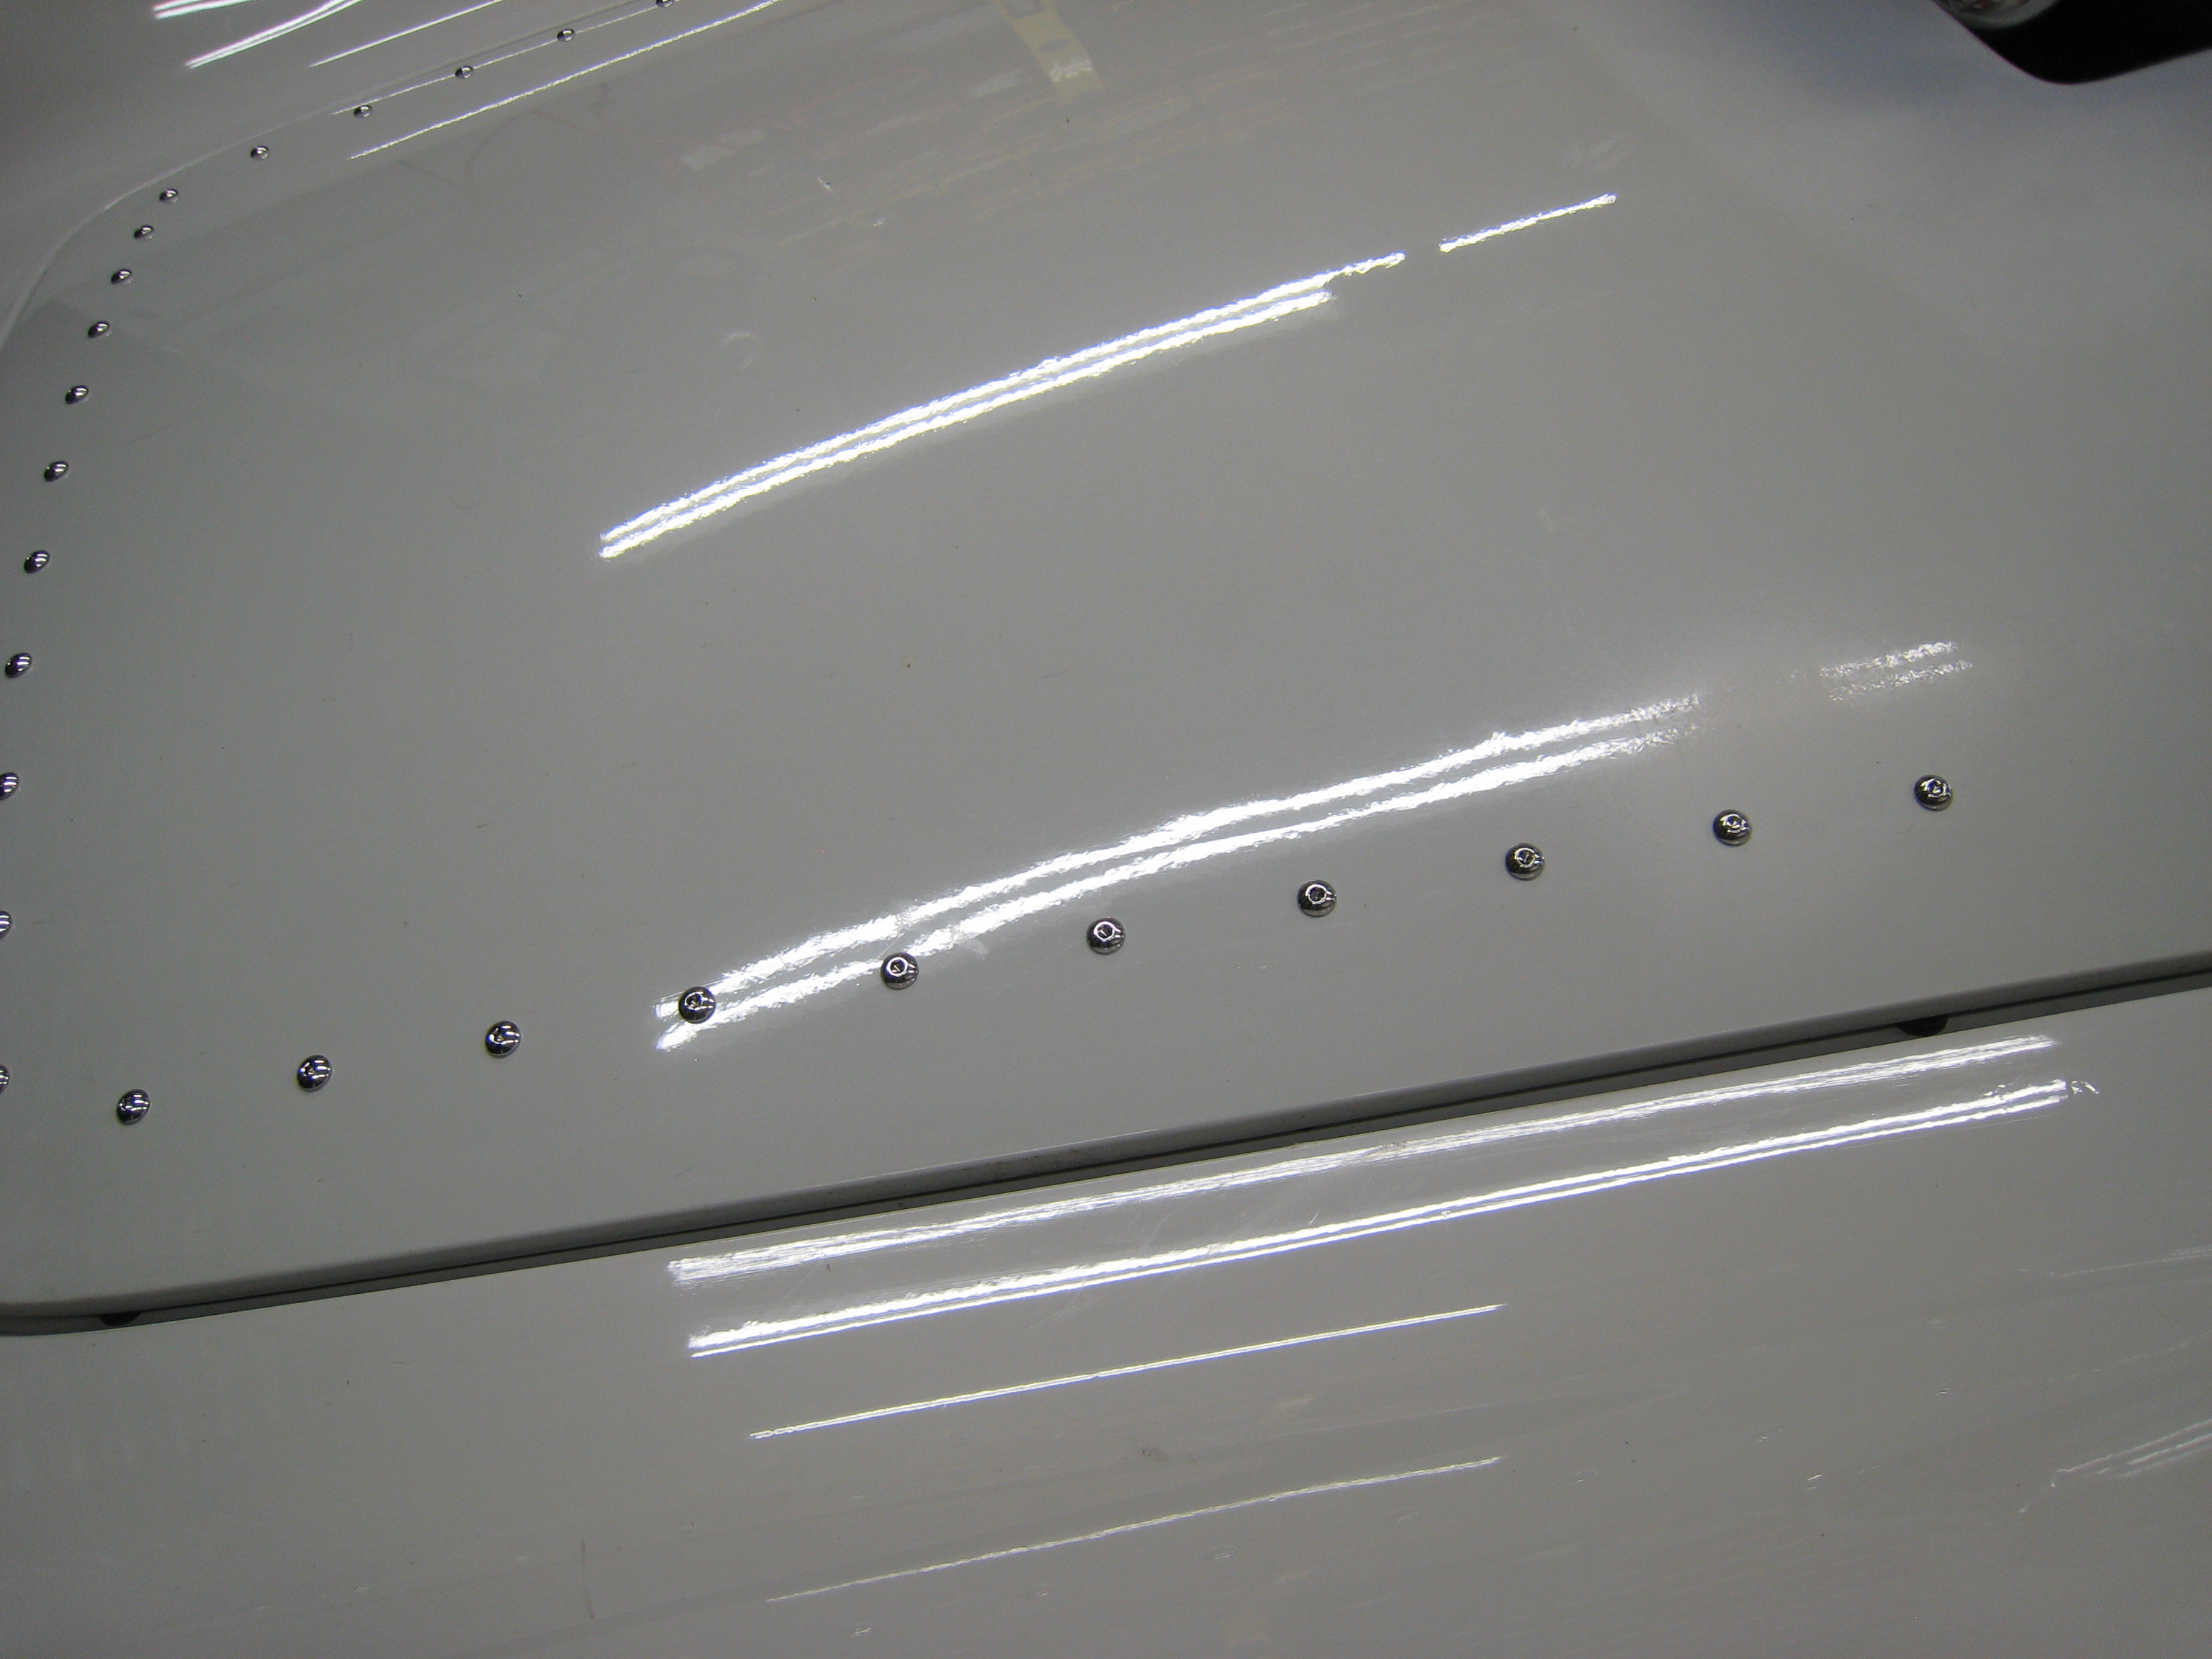
Bonnet Bolts
This is a personal thing, but I like them, so I've given my car the look of 15-1-15 rivet pattern in M5 polished dome head bolts.

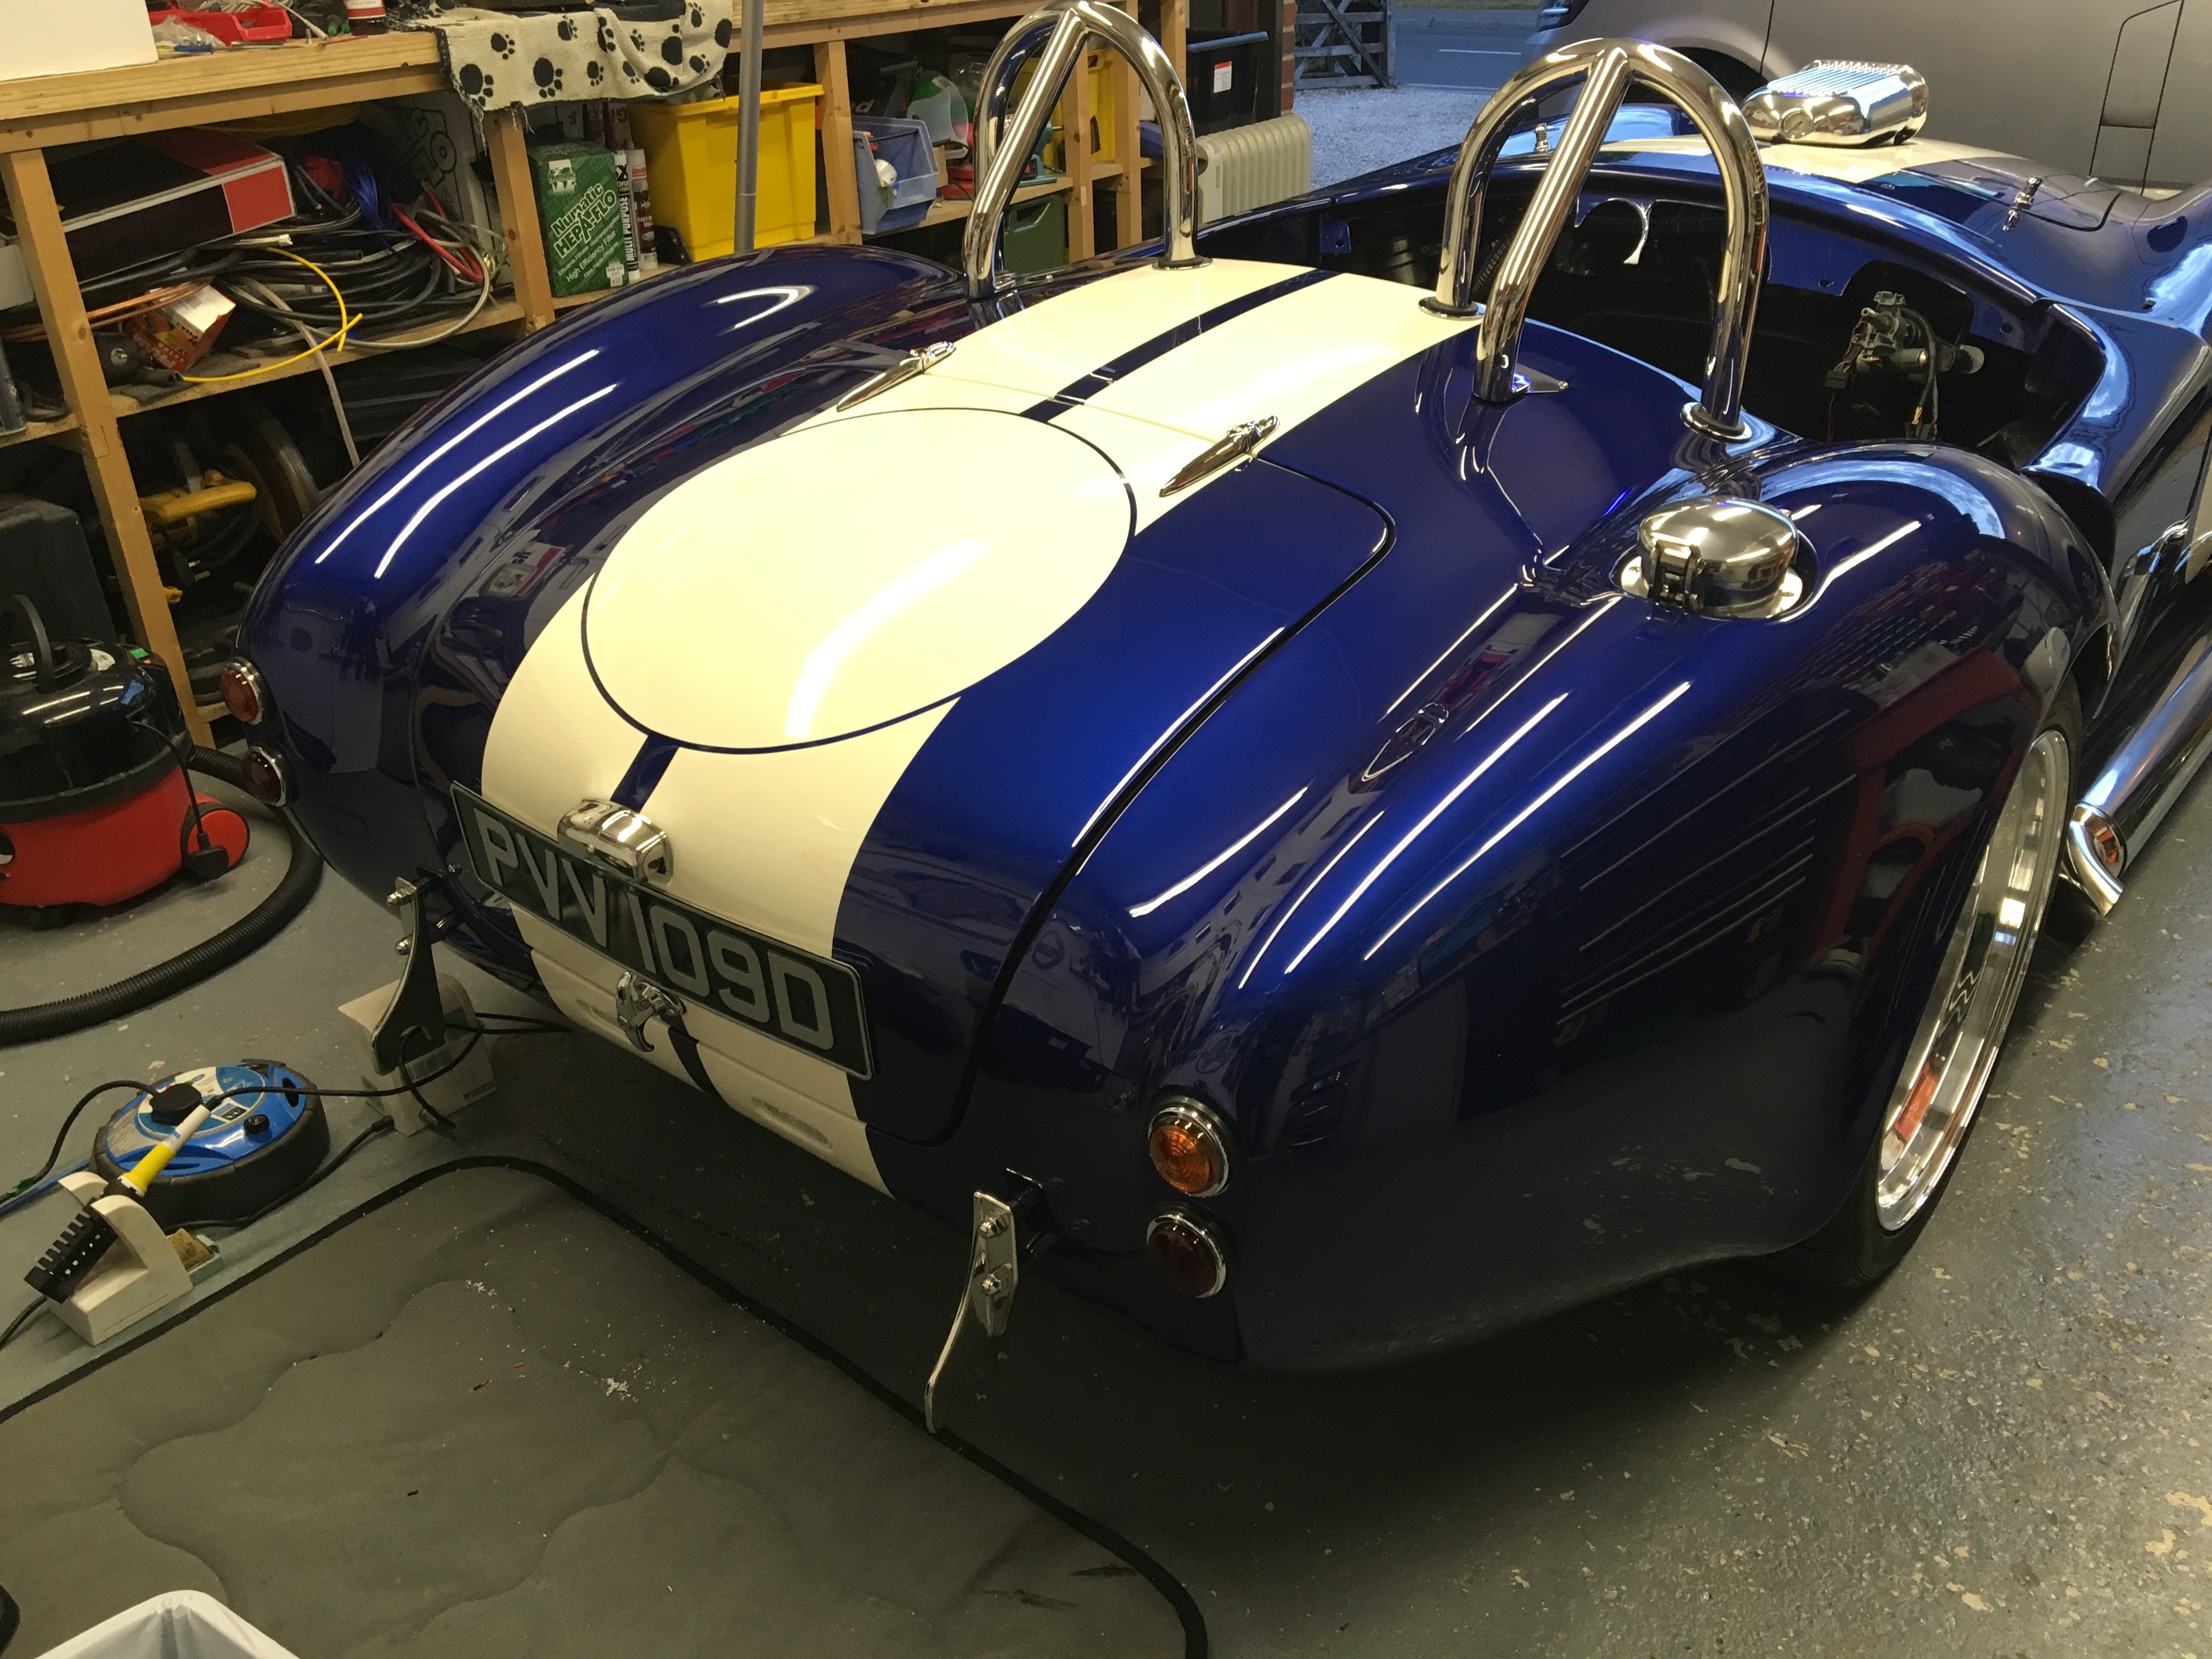
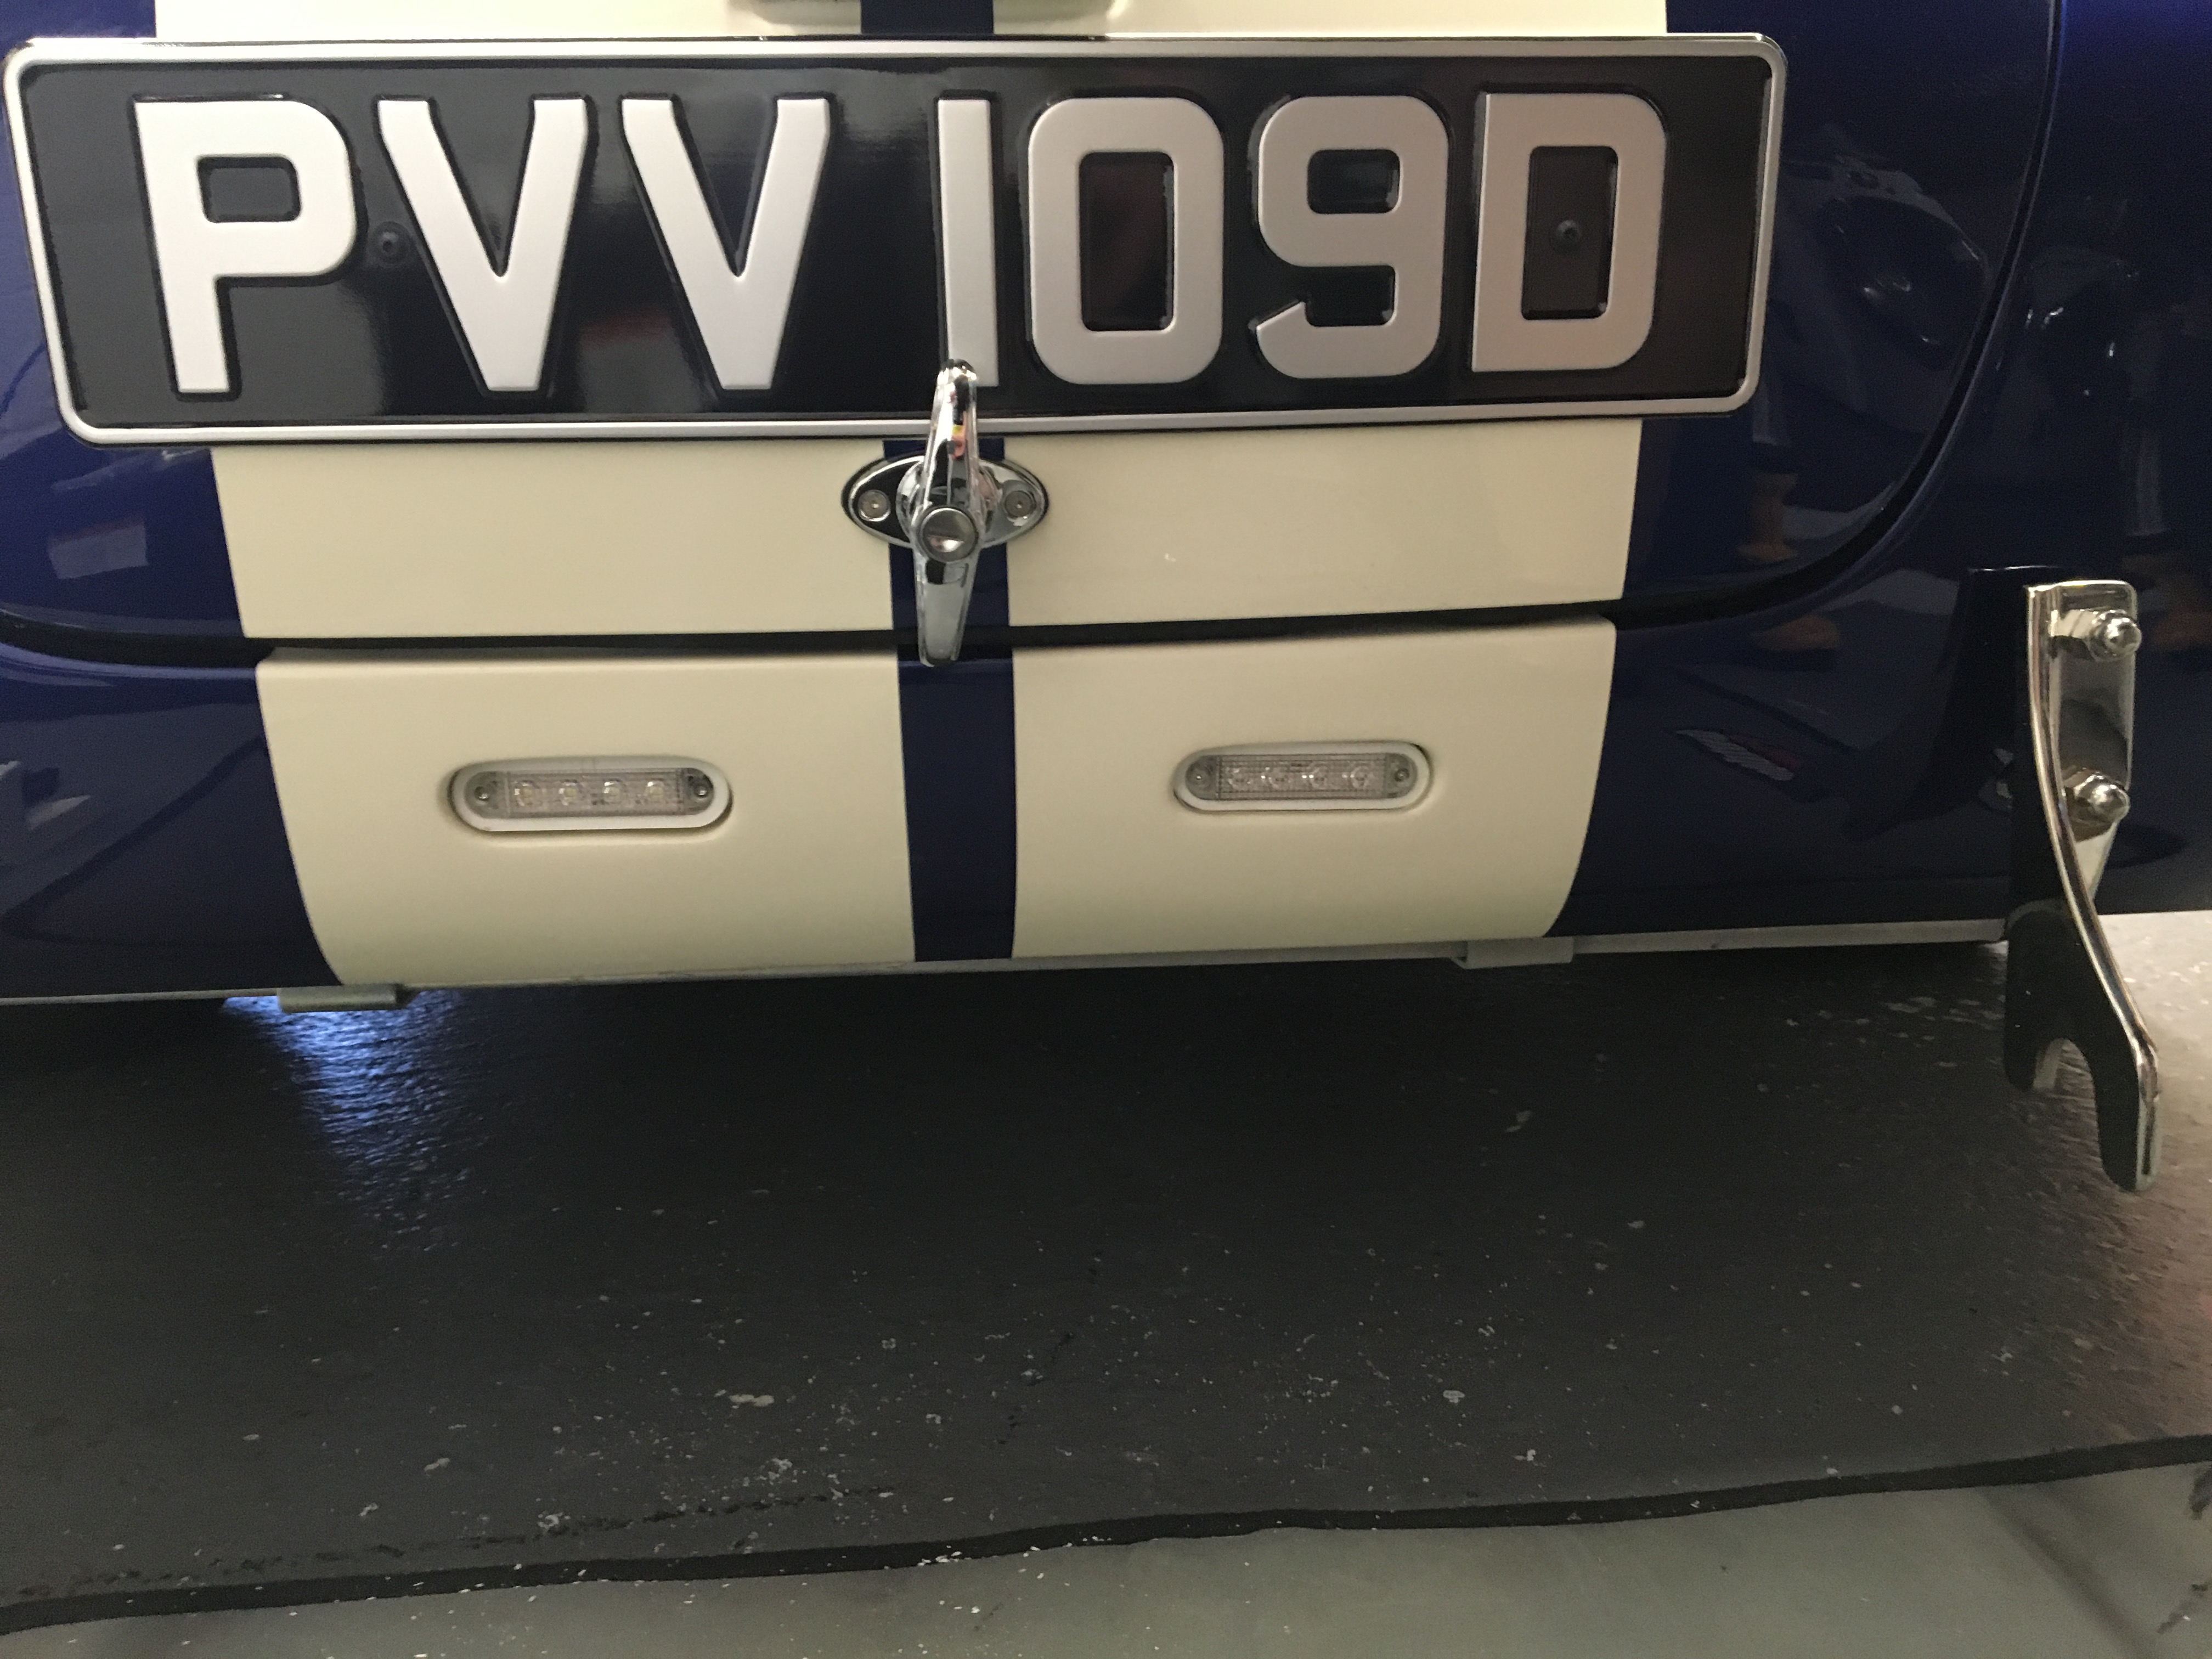
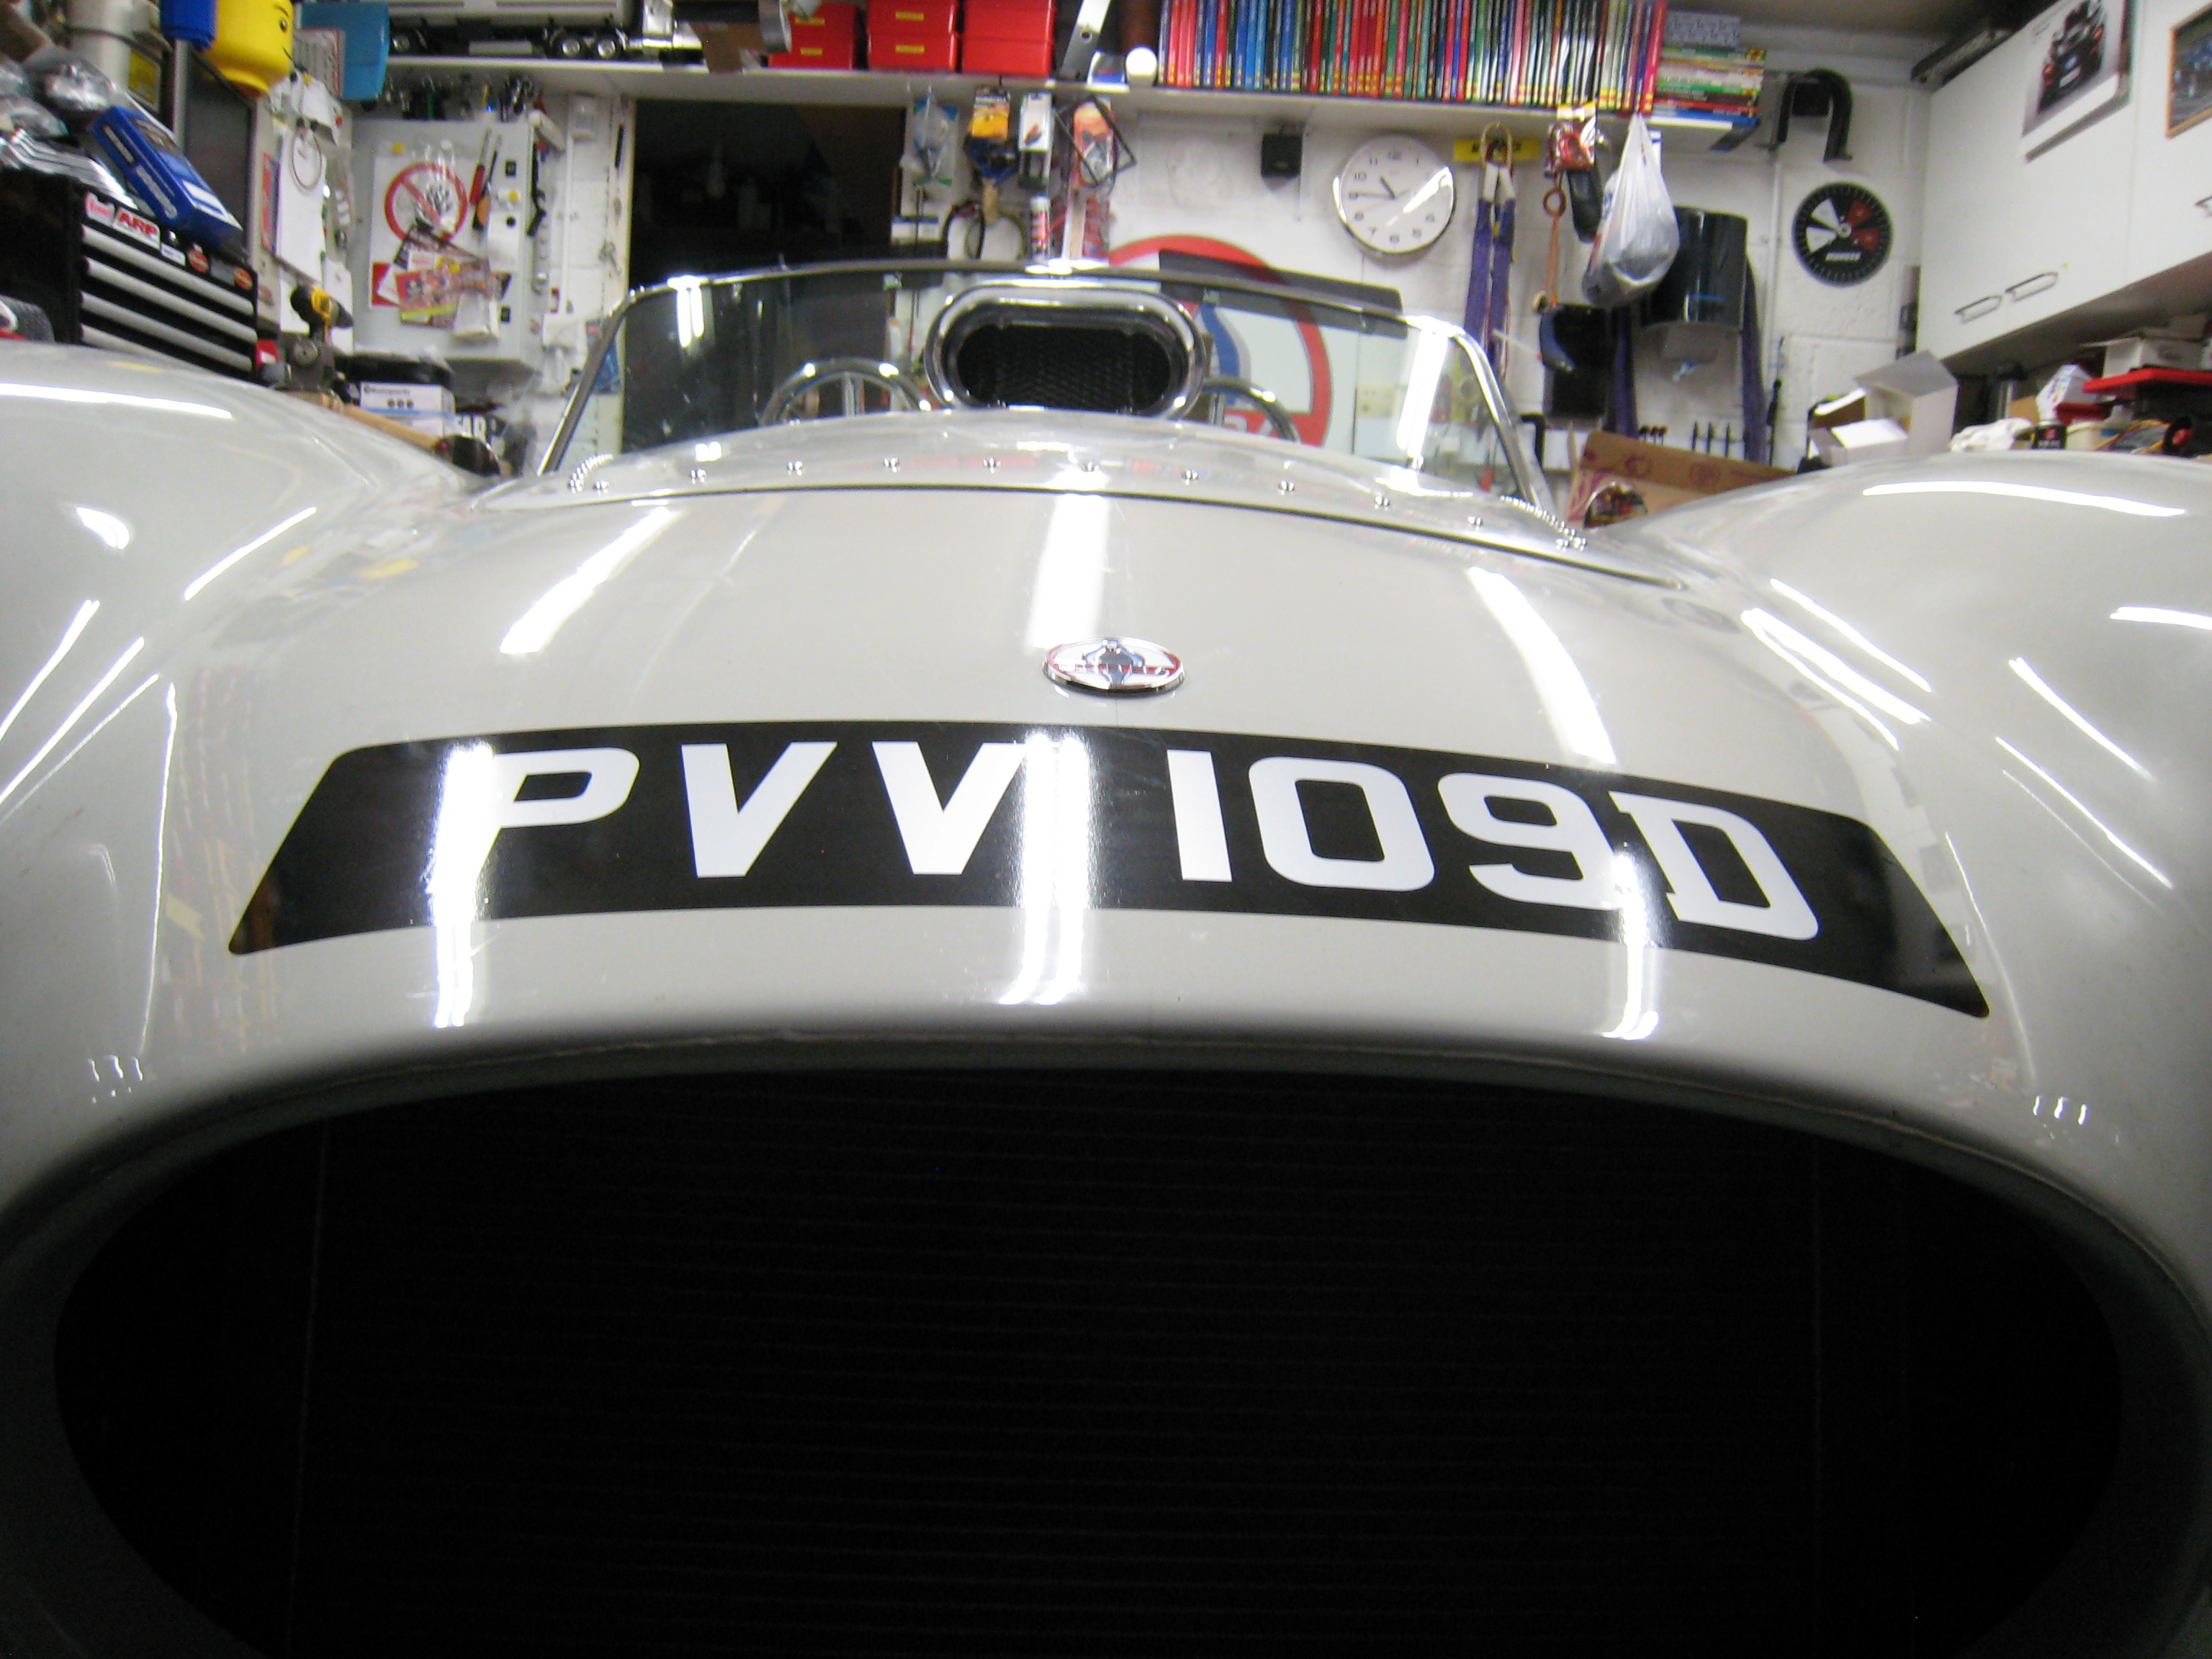
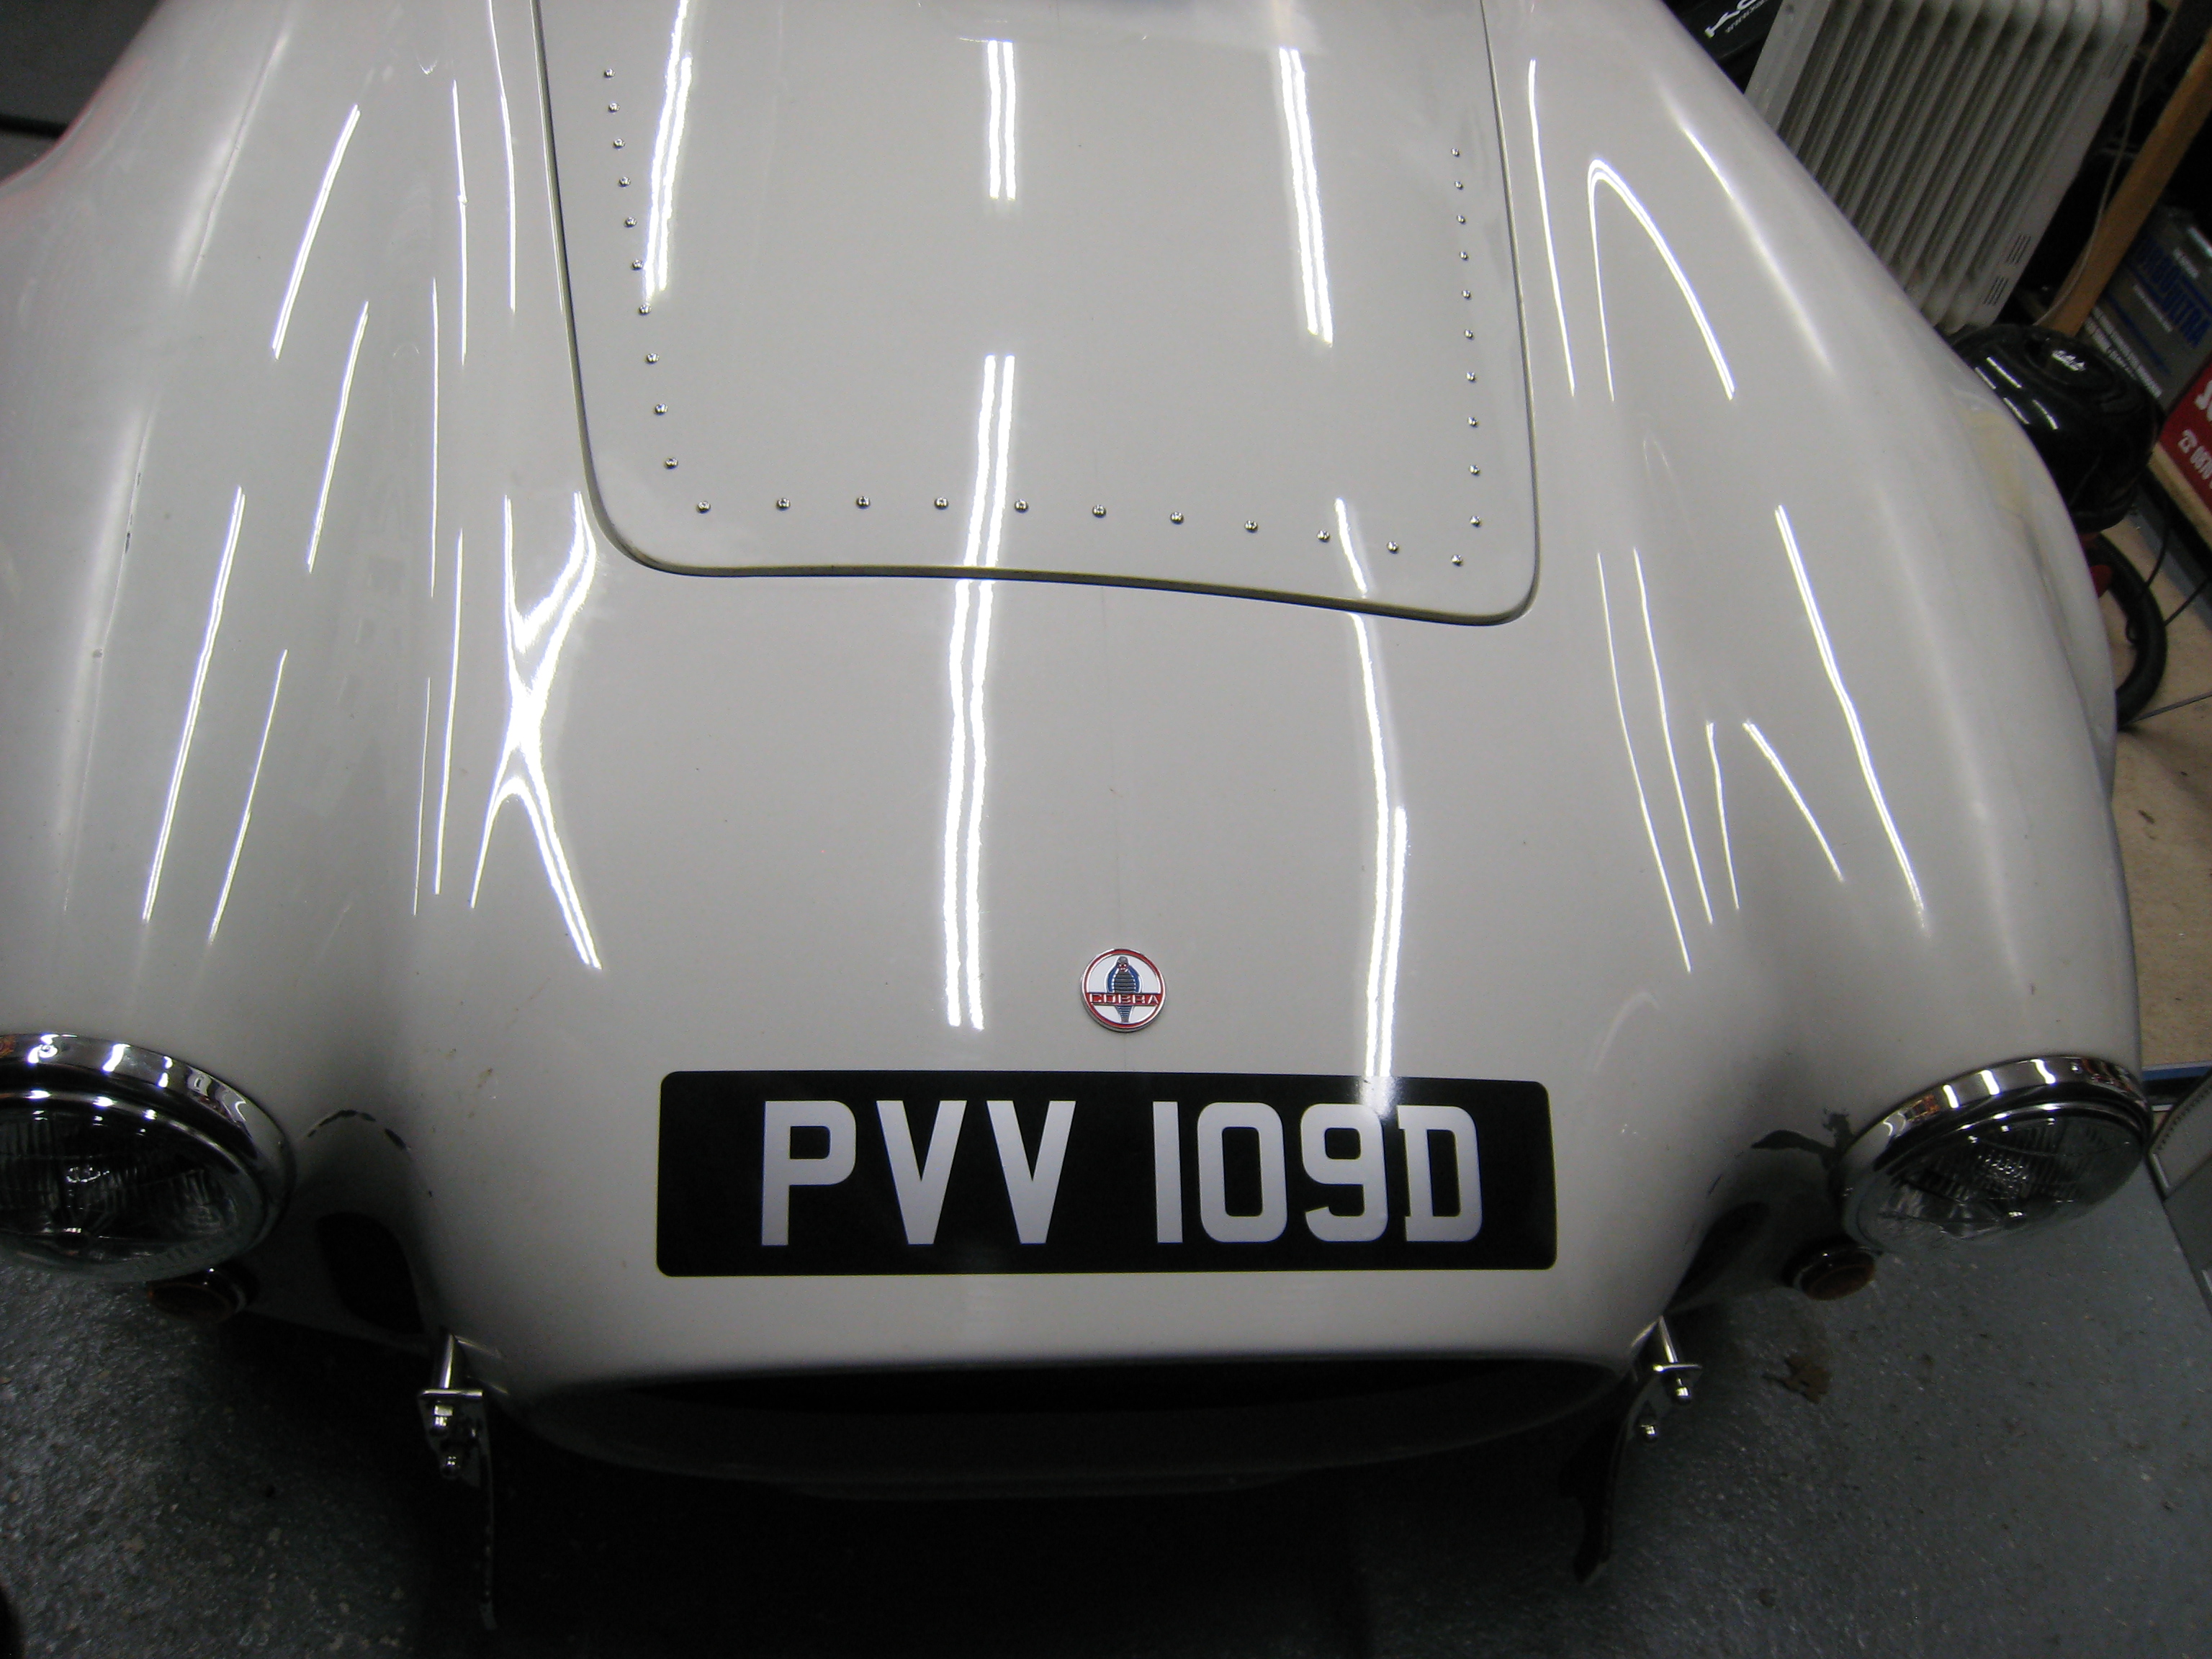
1966 Number Plate
Christmas present from family and friends was a replacement number plate for the cobra, I've selected a 1966 D reg. Rear plate is a black and silver
pressed plate and the front is a stick on - hopefully this won't bring any unwanted attention from the boys in blue.

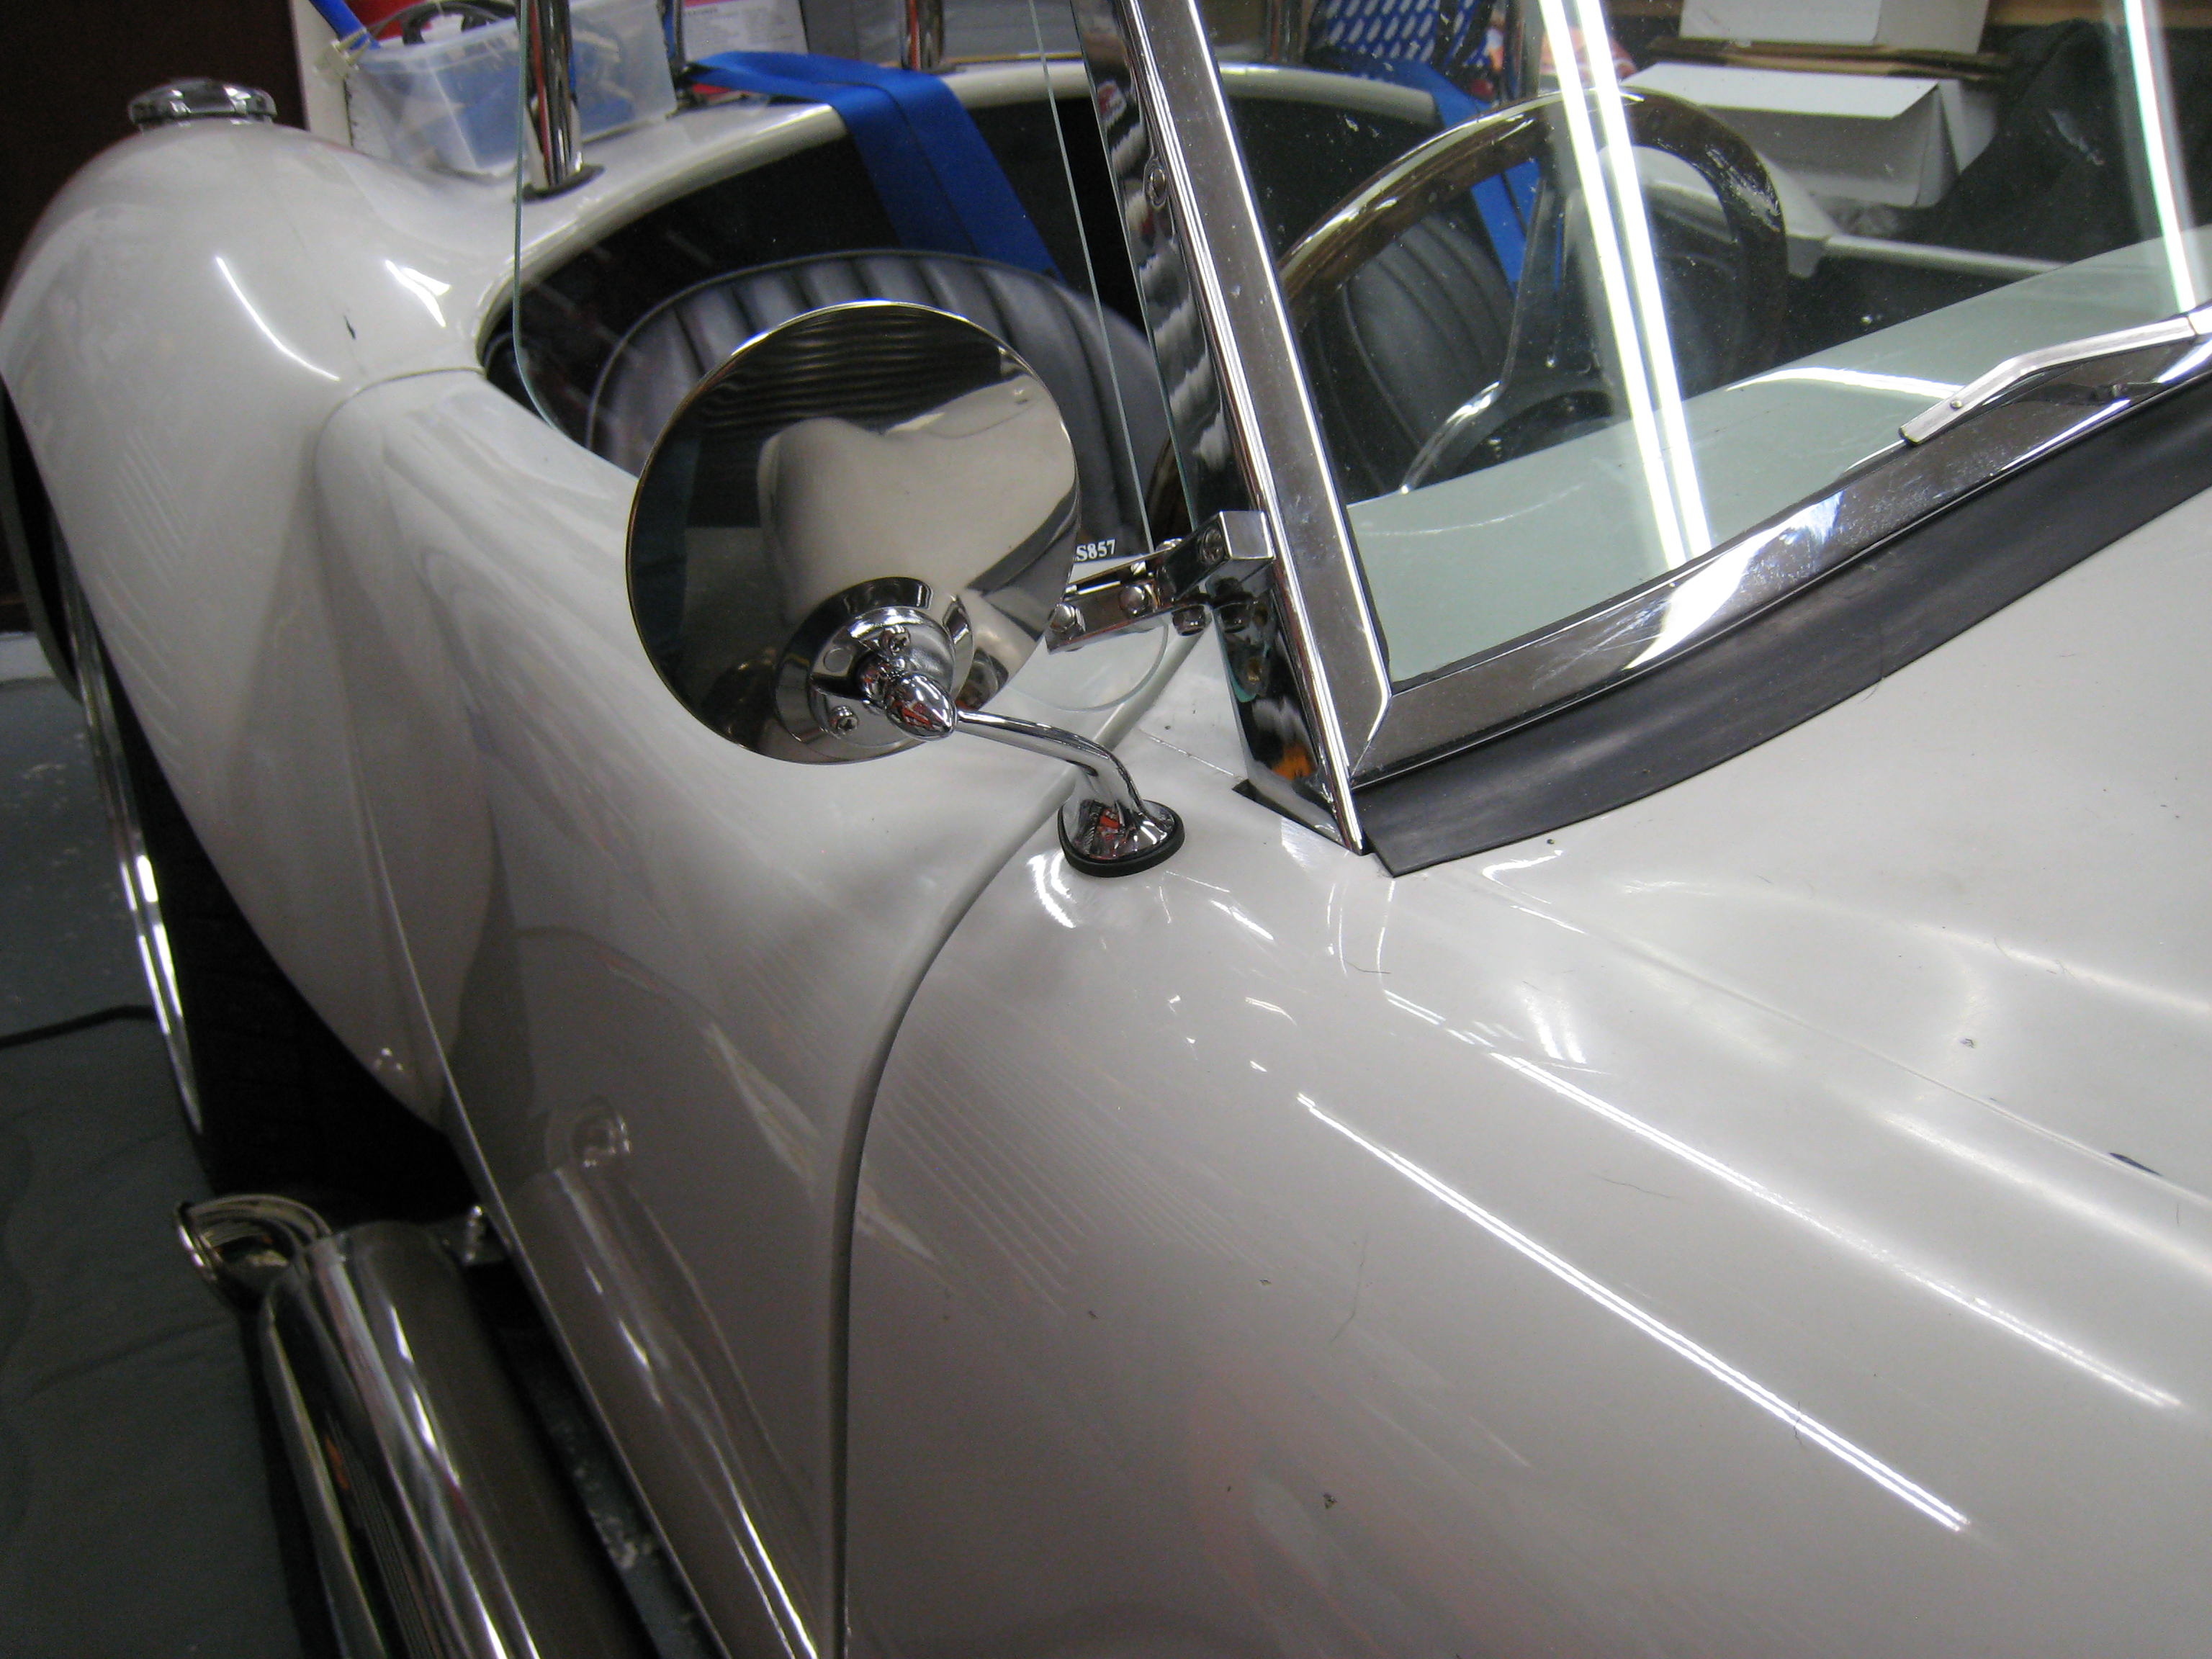
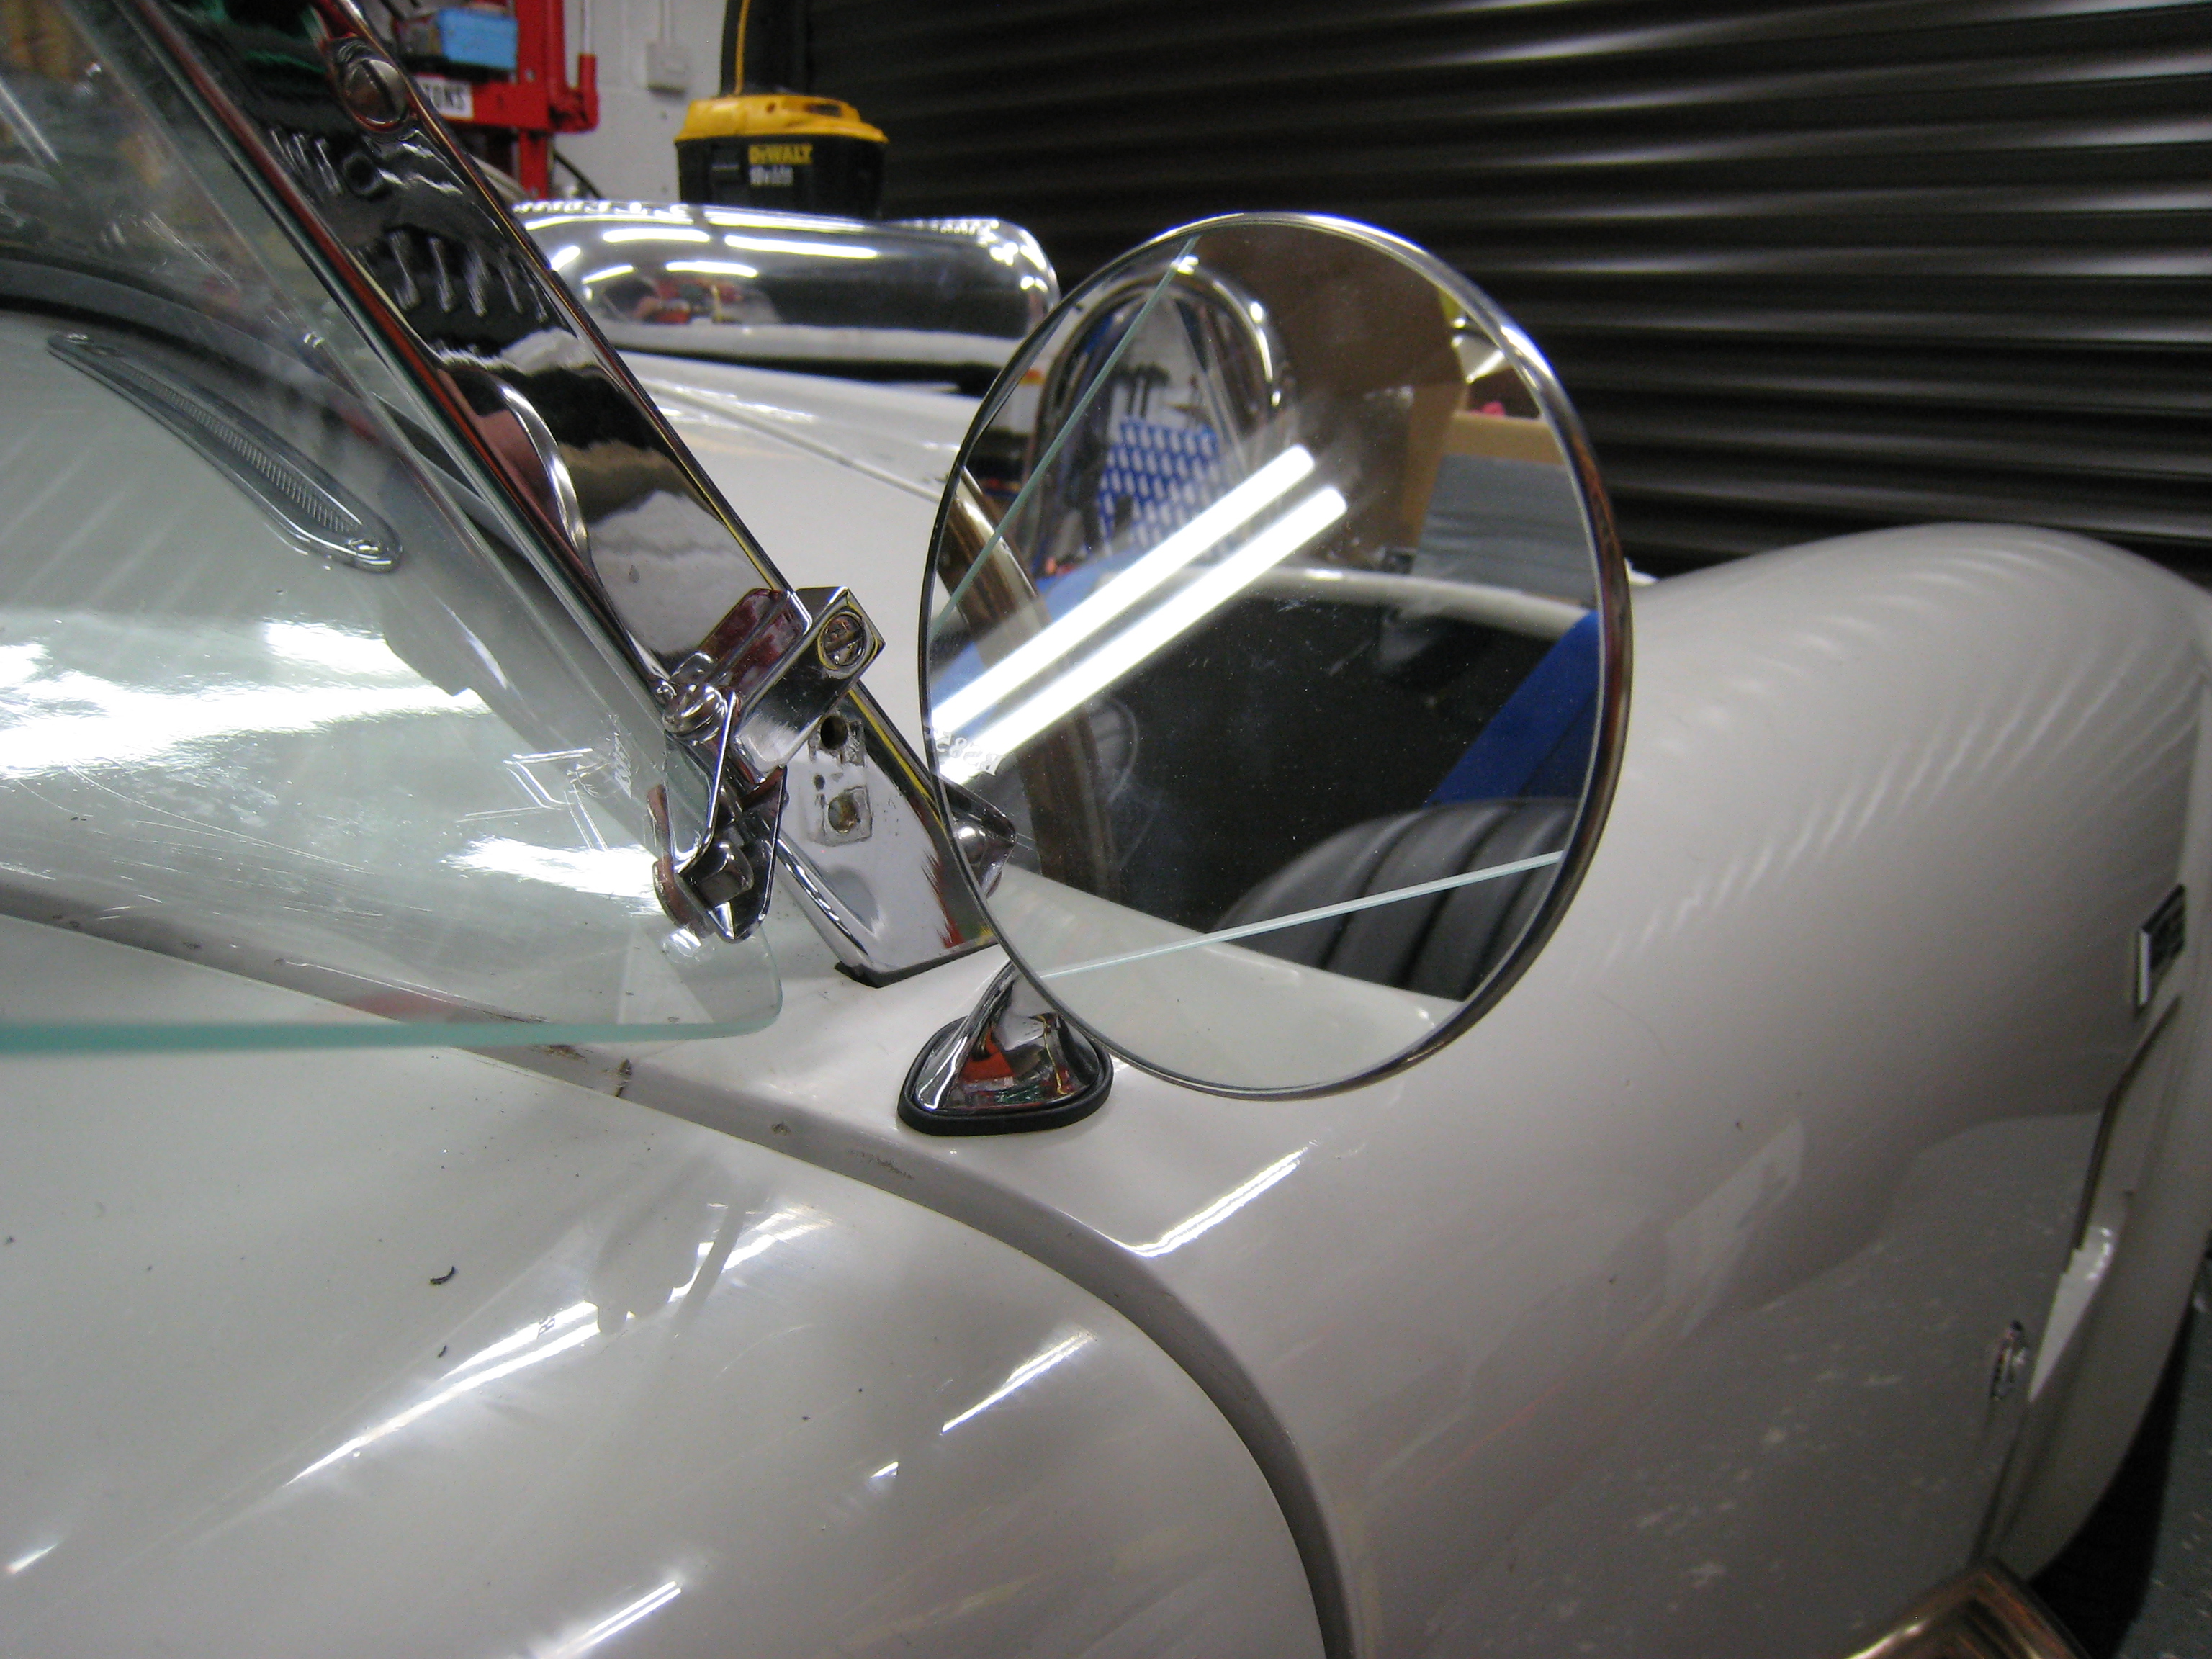
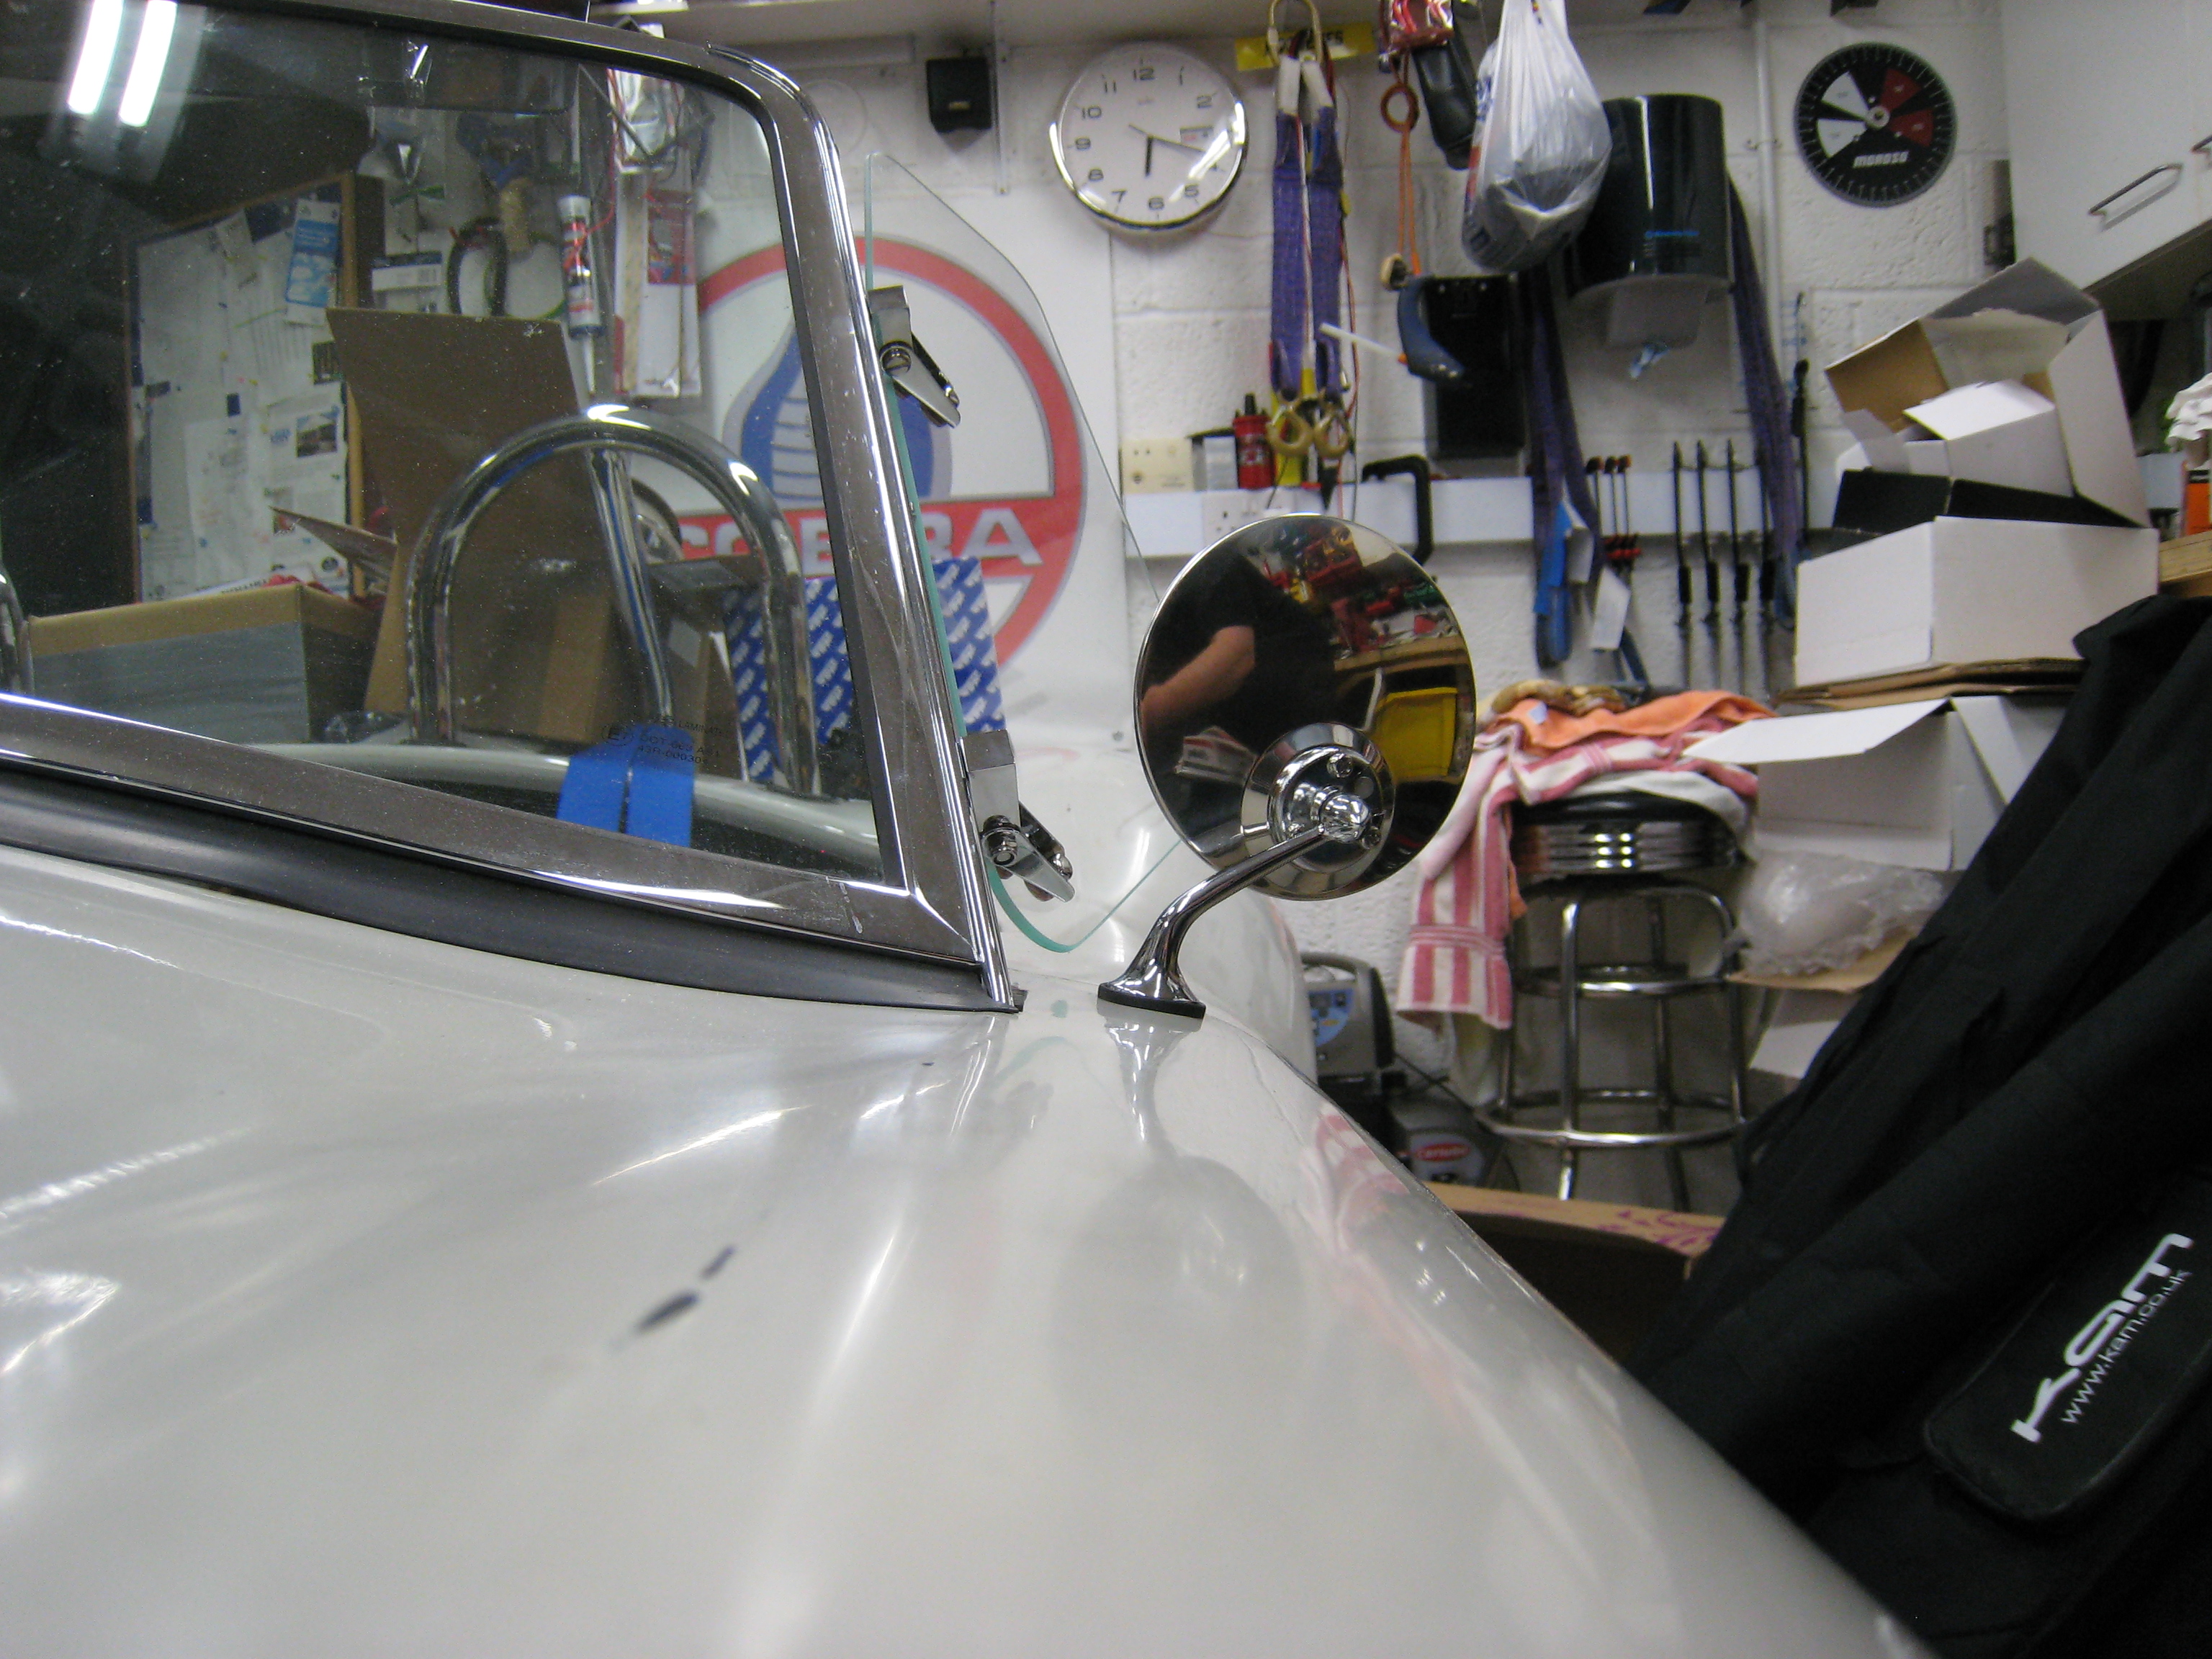
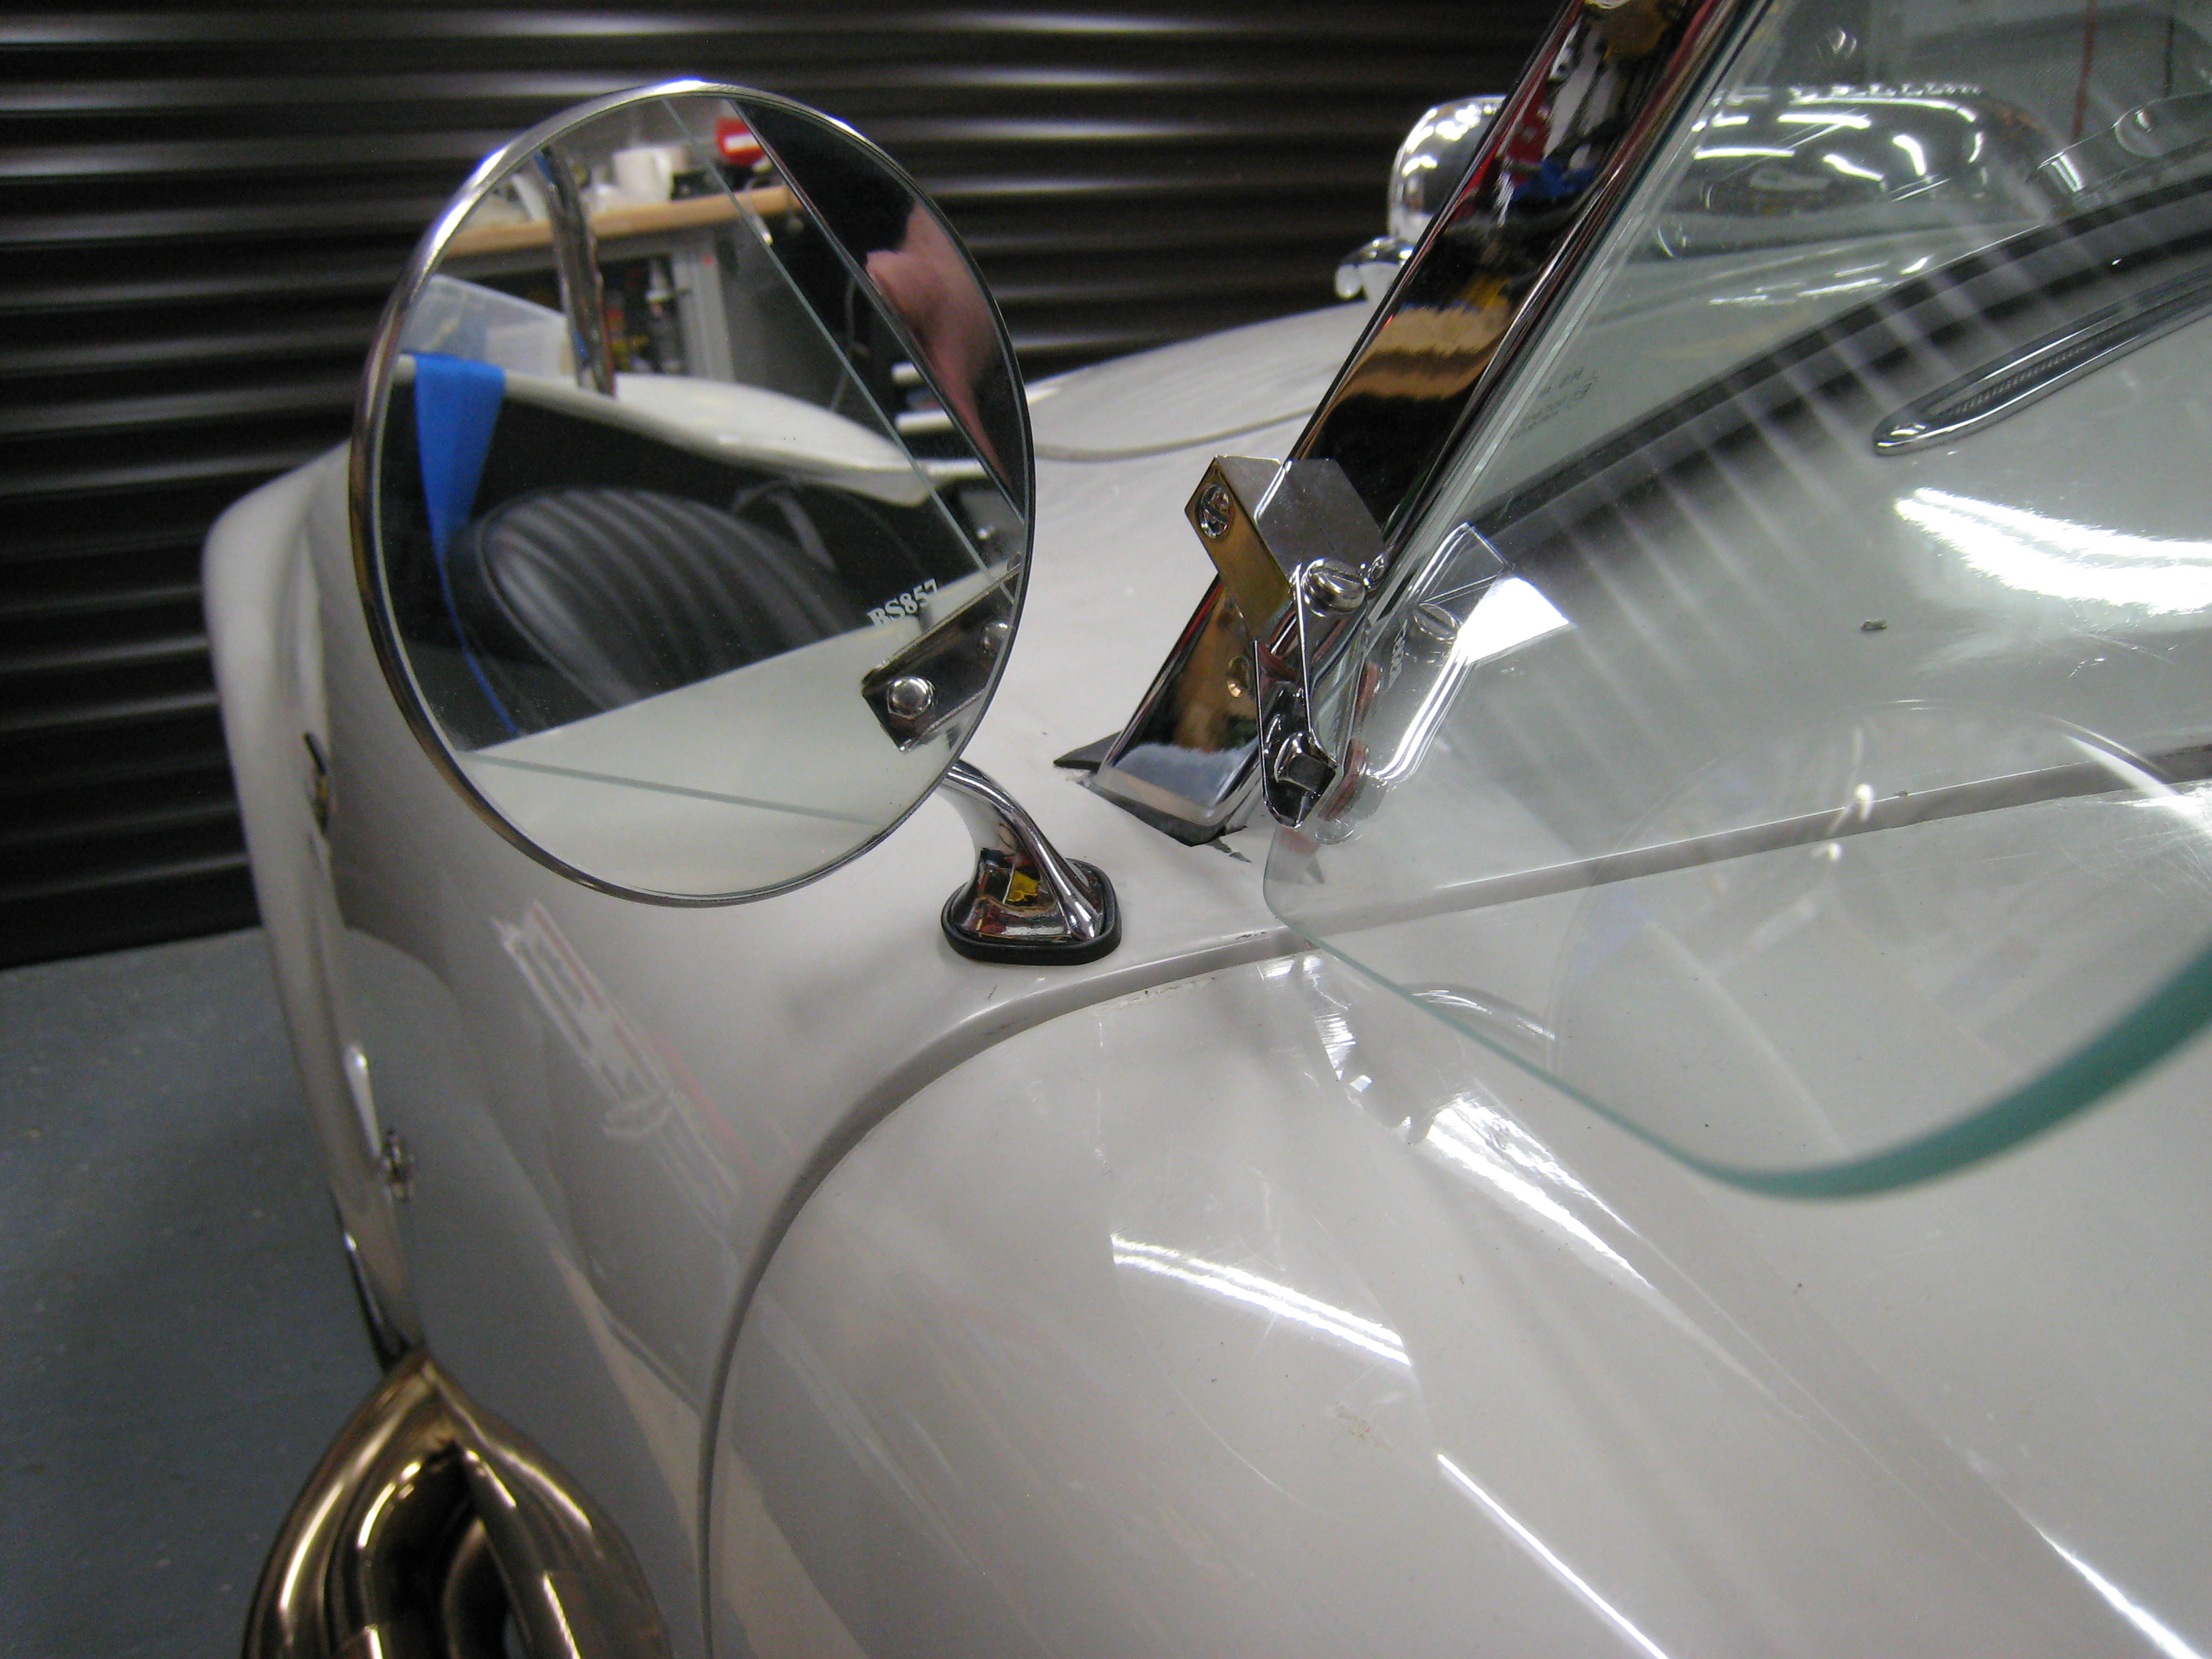
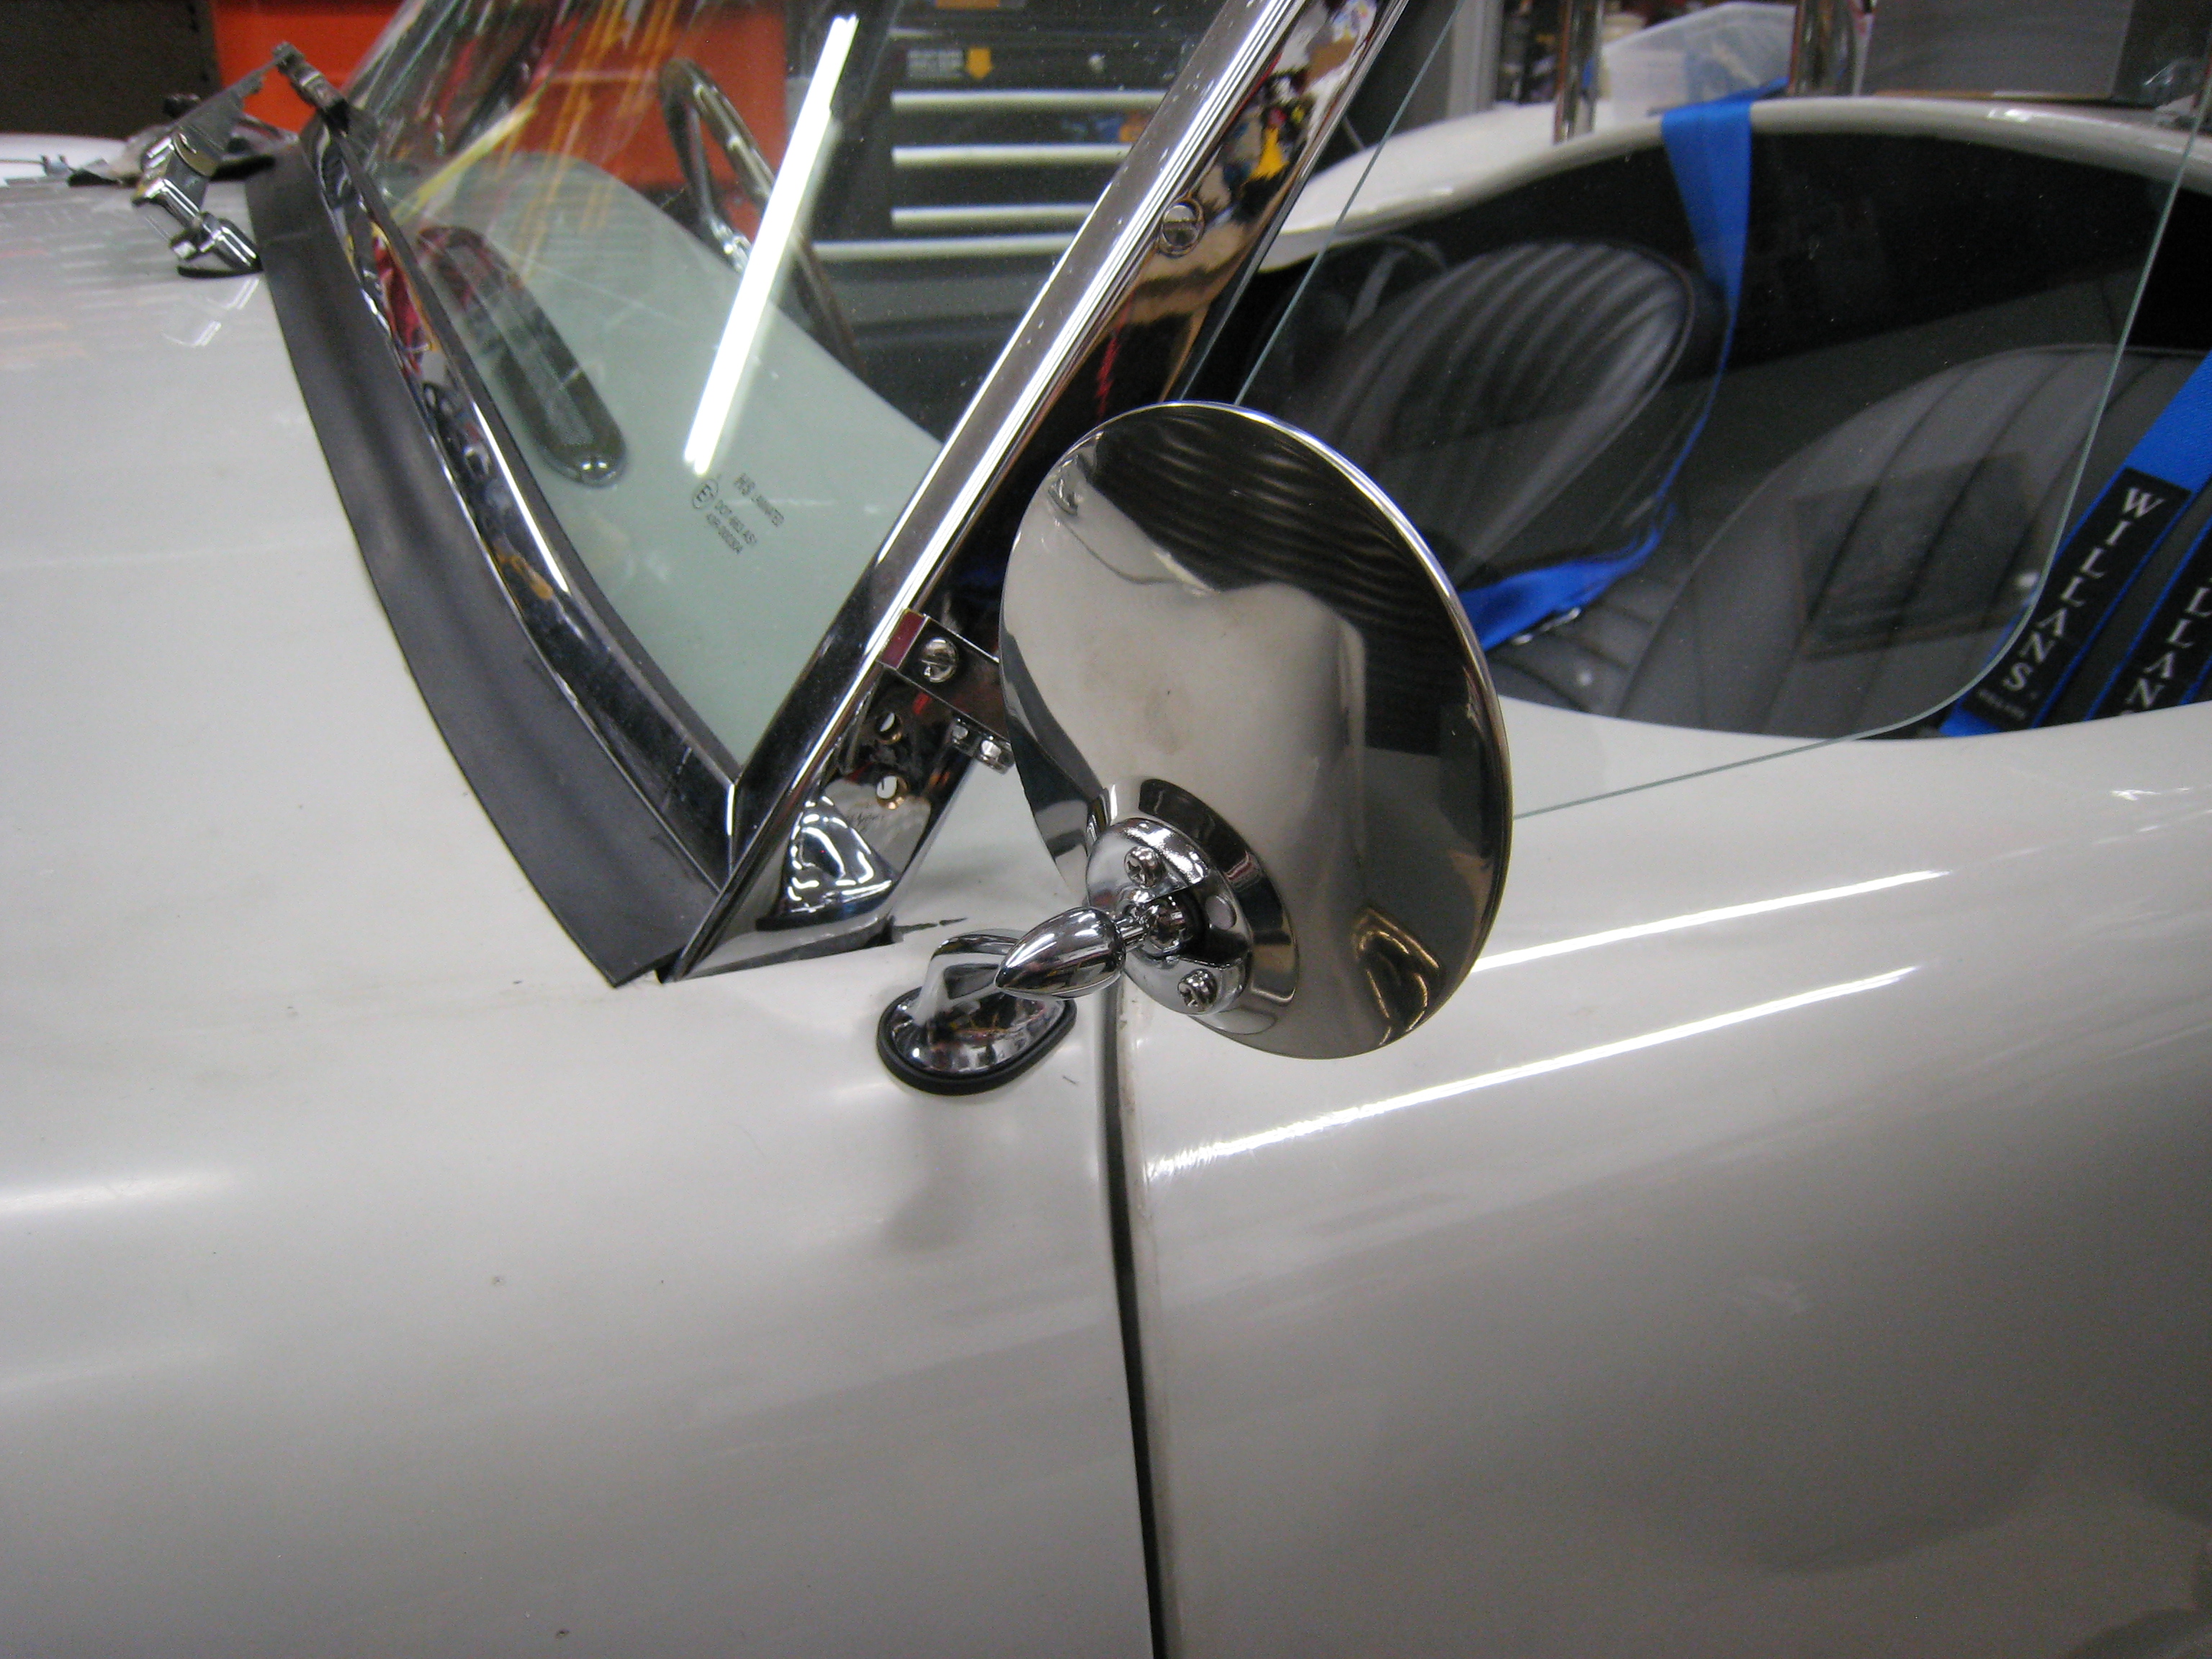
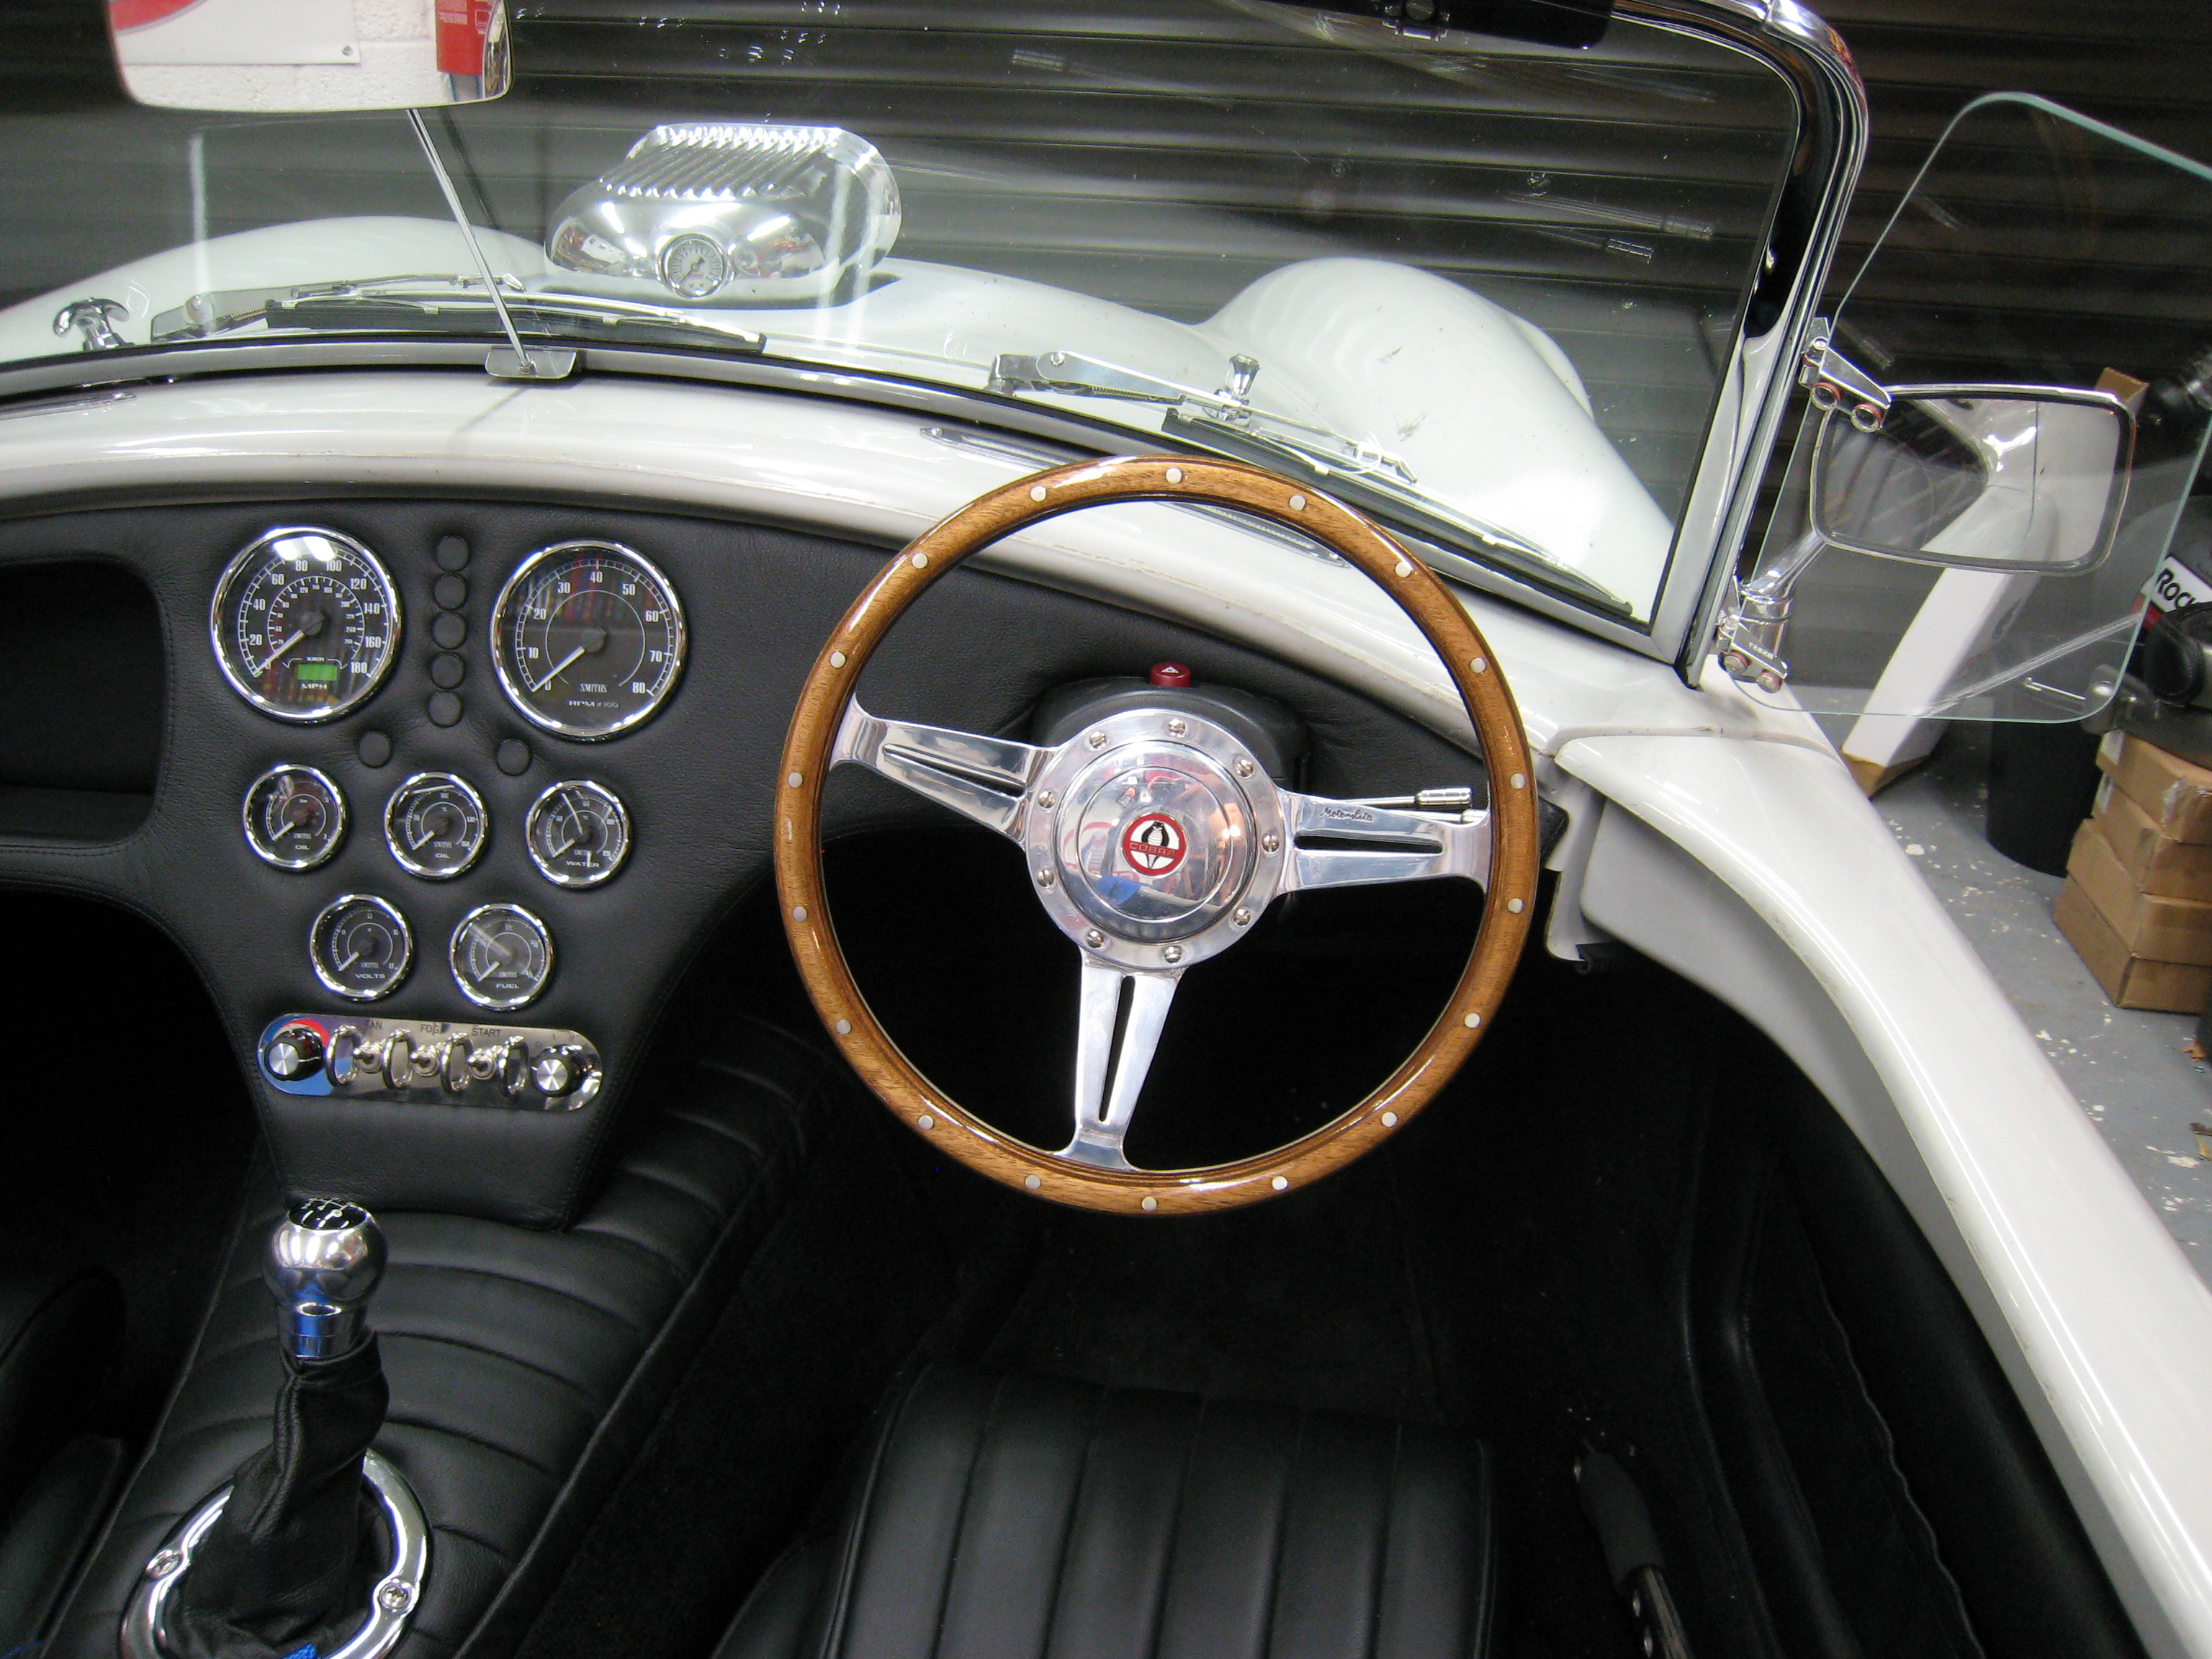
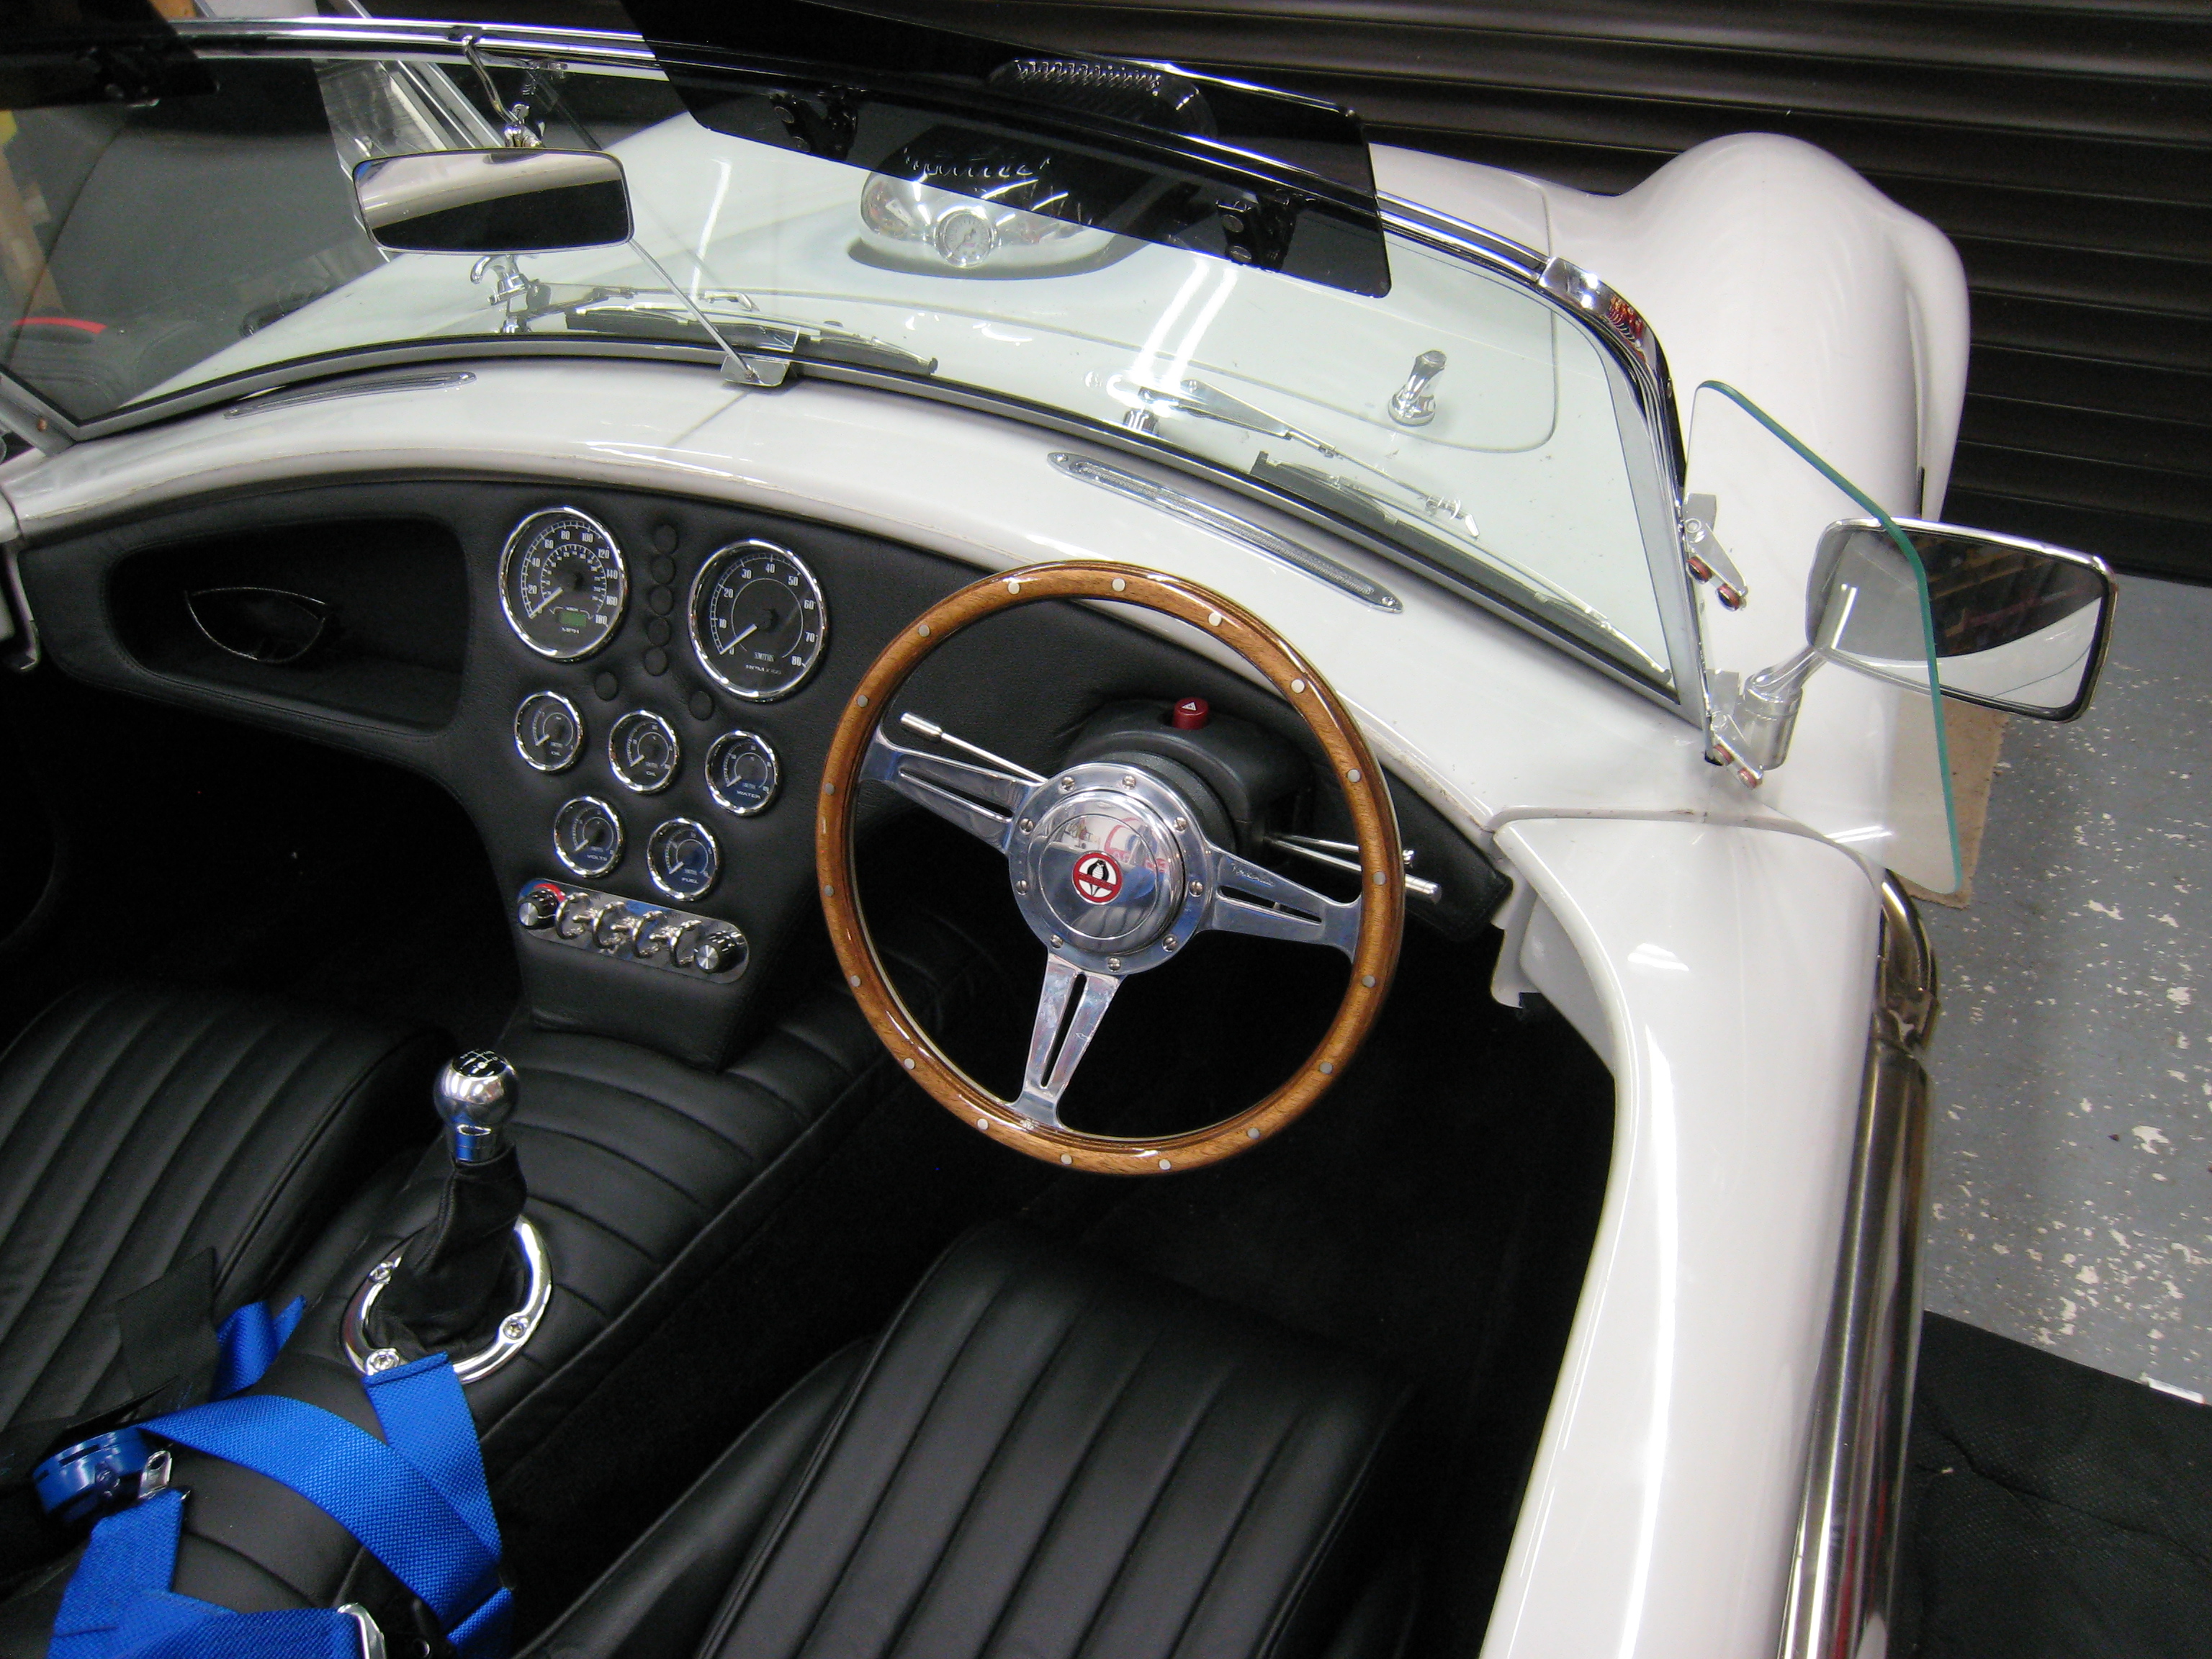
Round Mirrors
The IVA compatible mirrors were functional but not very good looking, so I'd been searching for a while and after trawling all over the net
eventually found these in the counter at Dax ! Much happier with the look these give.

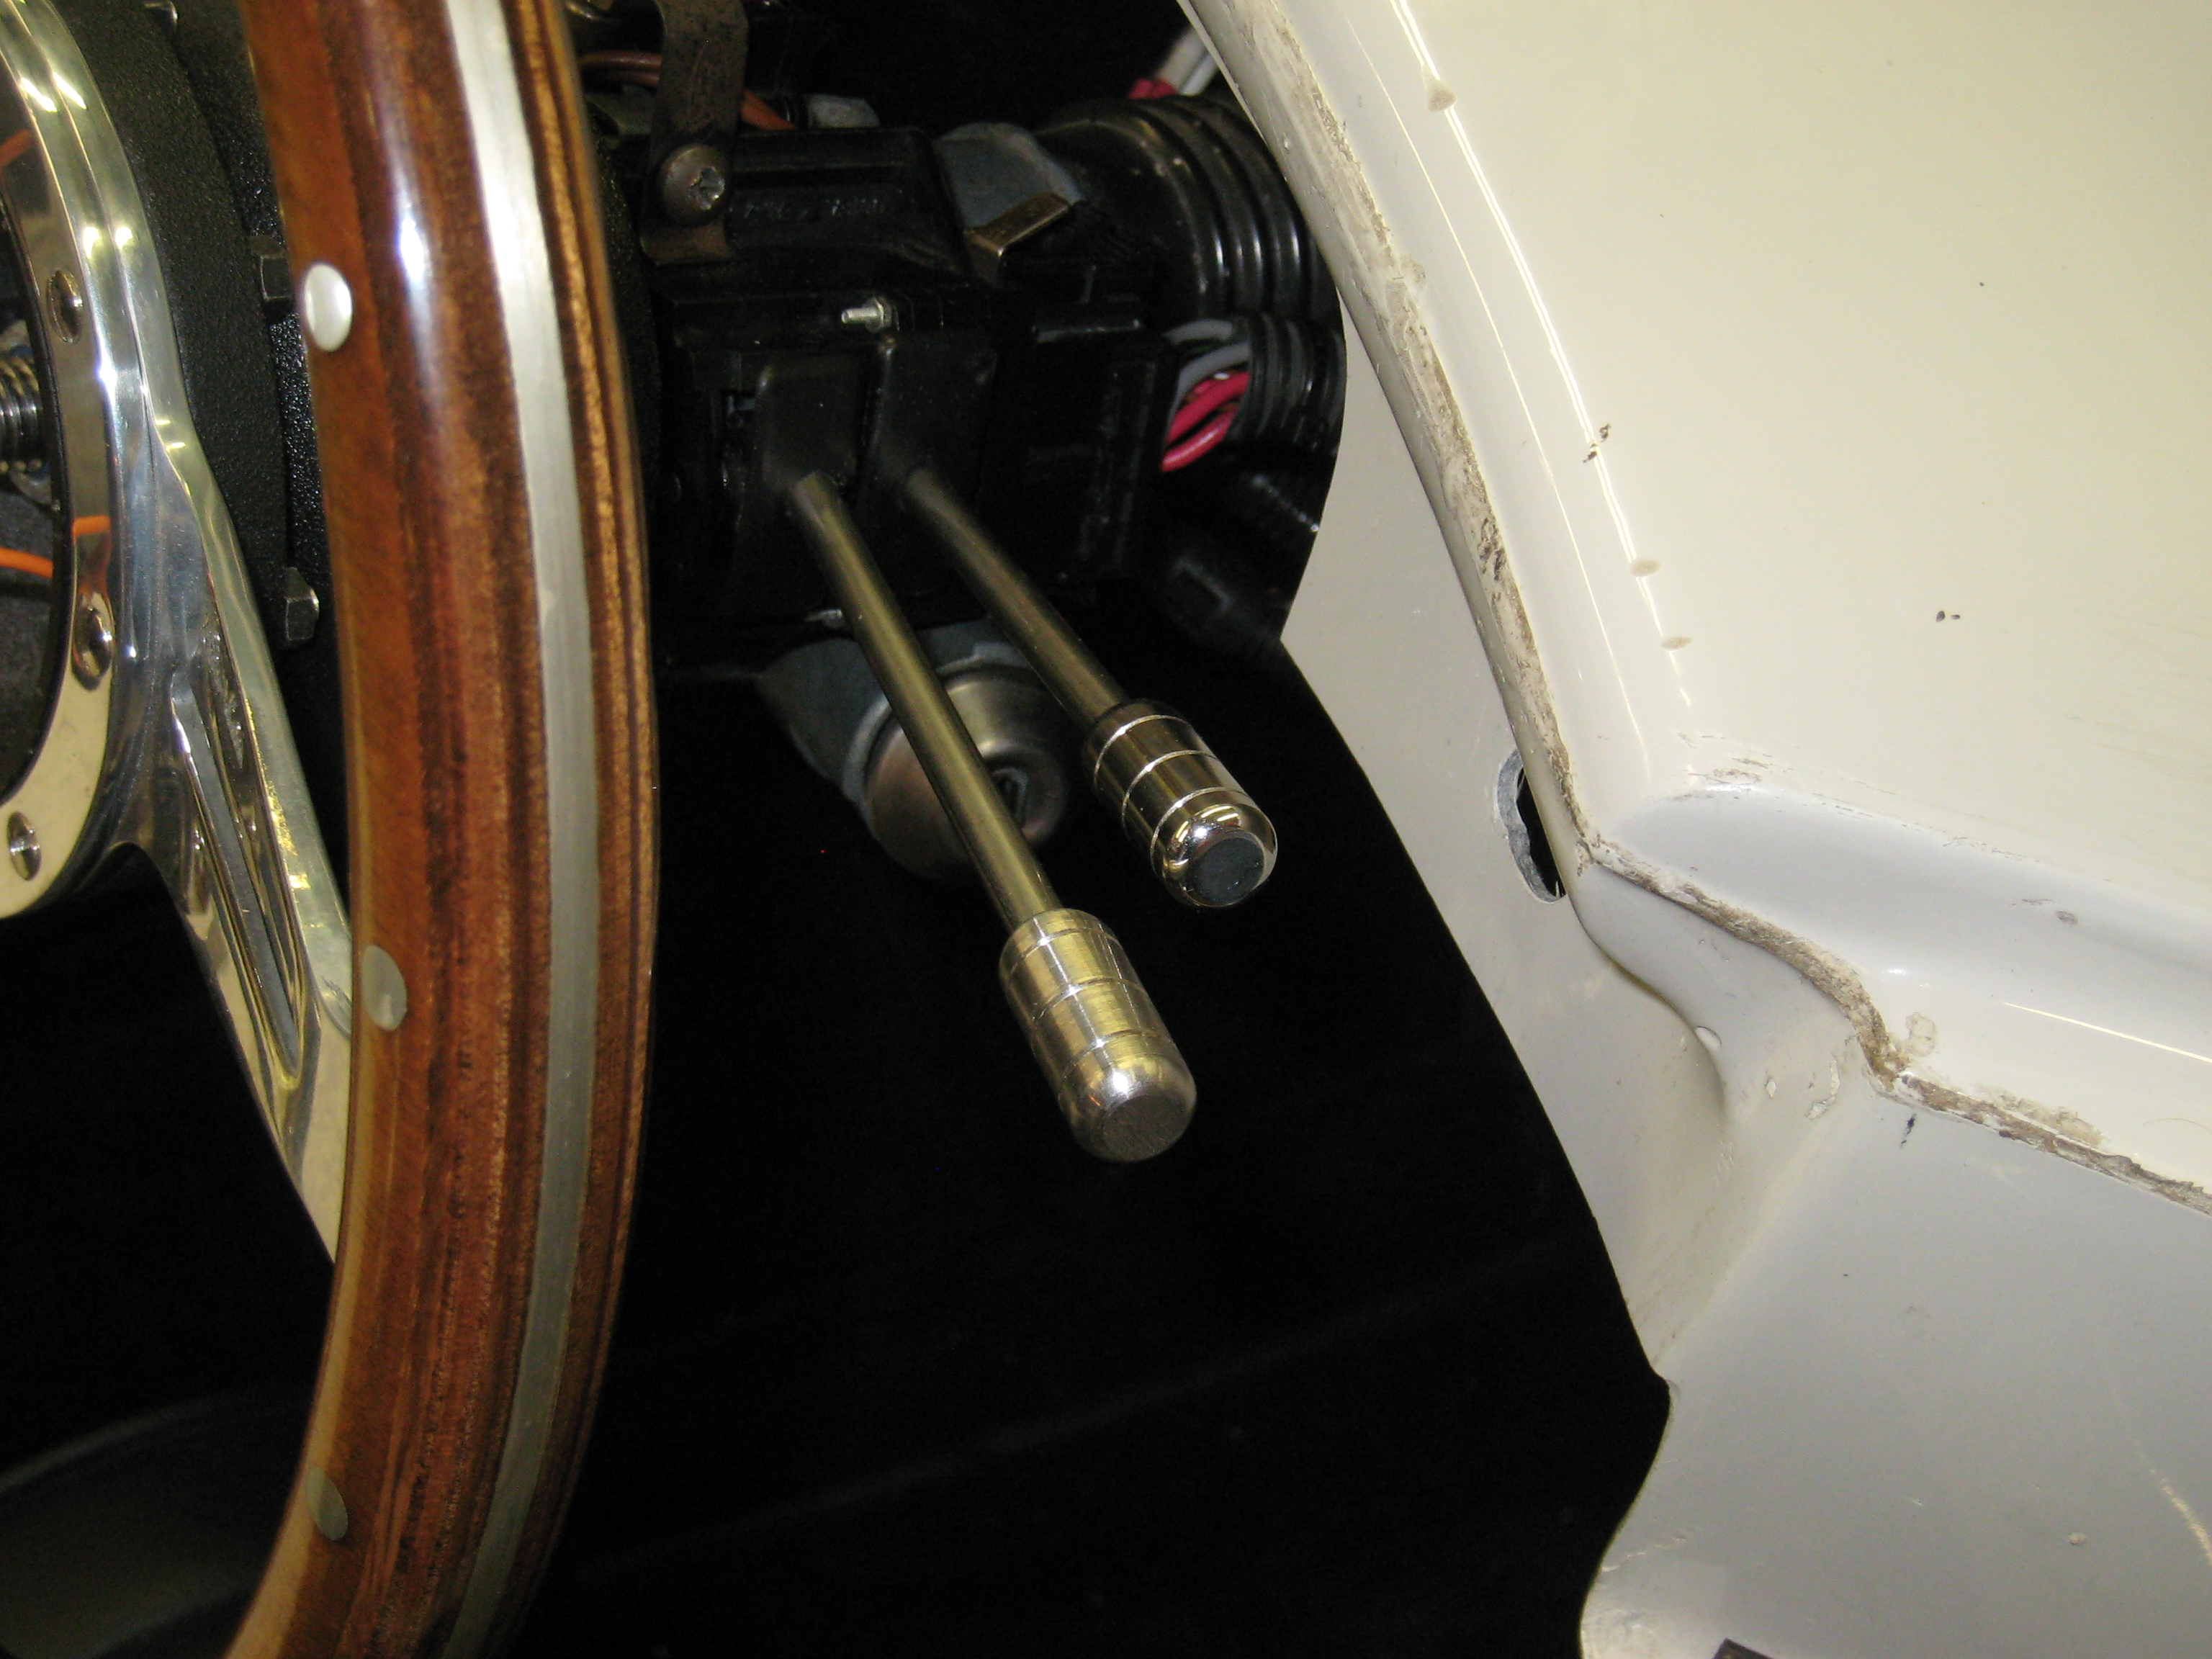
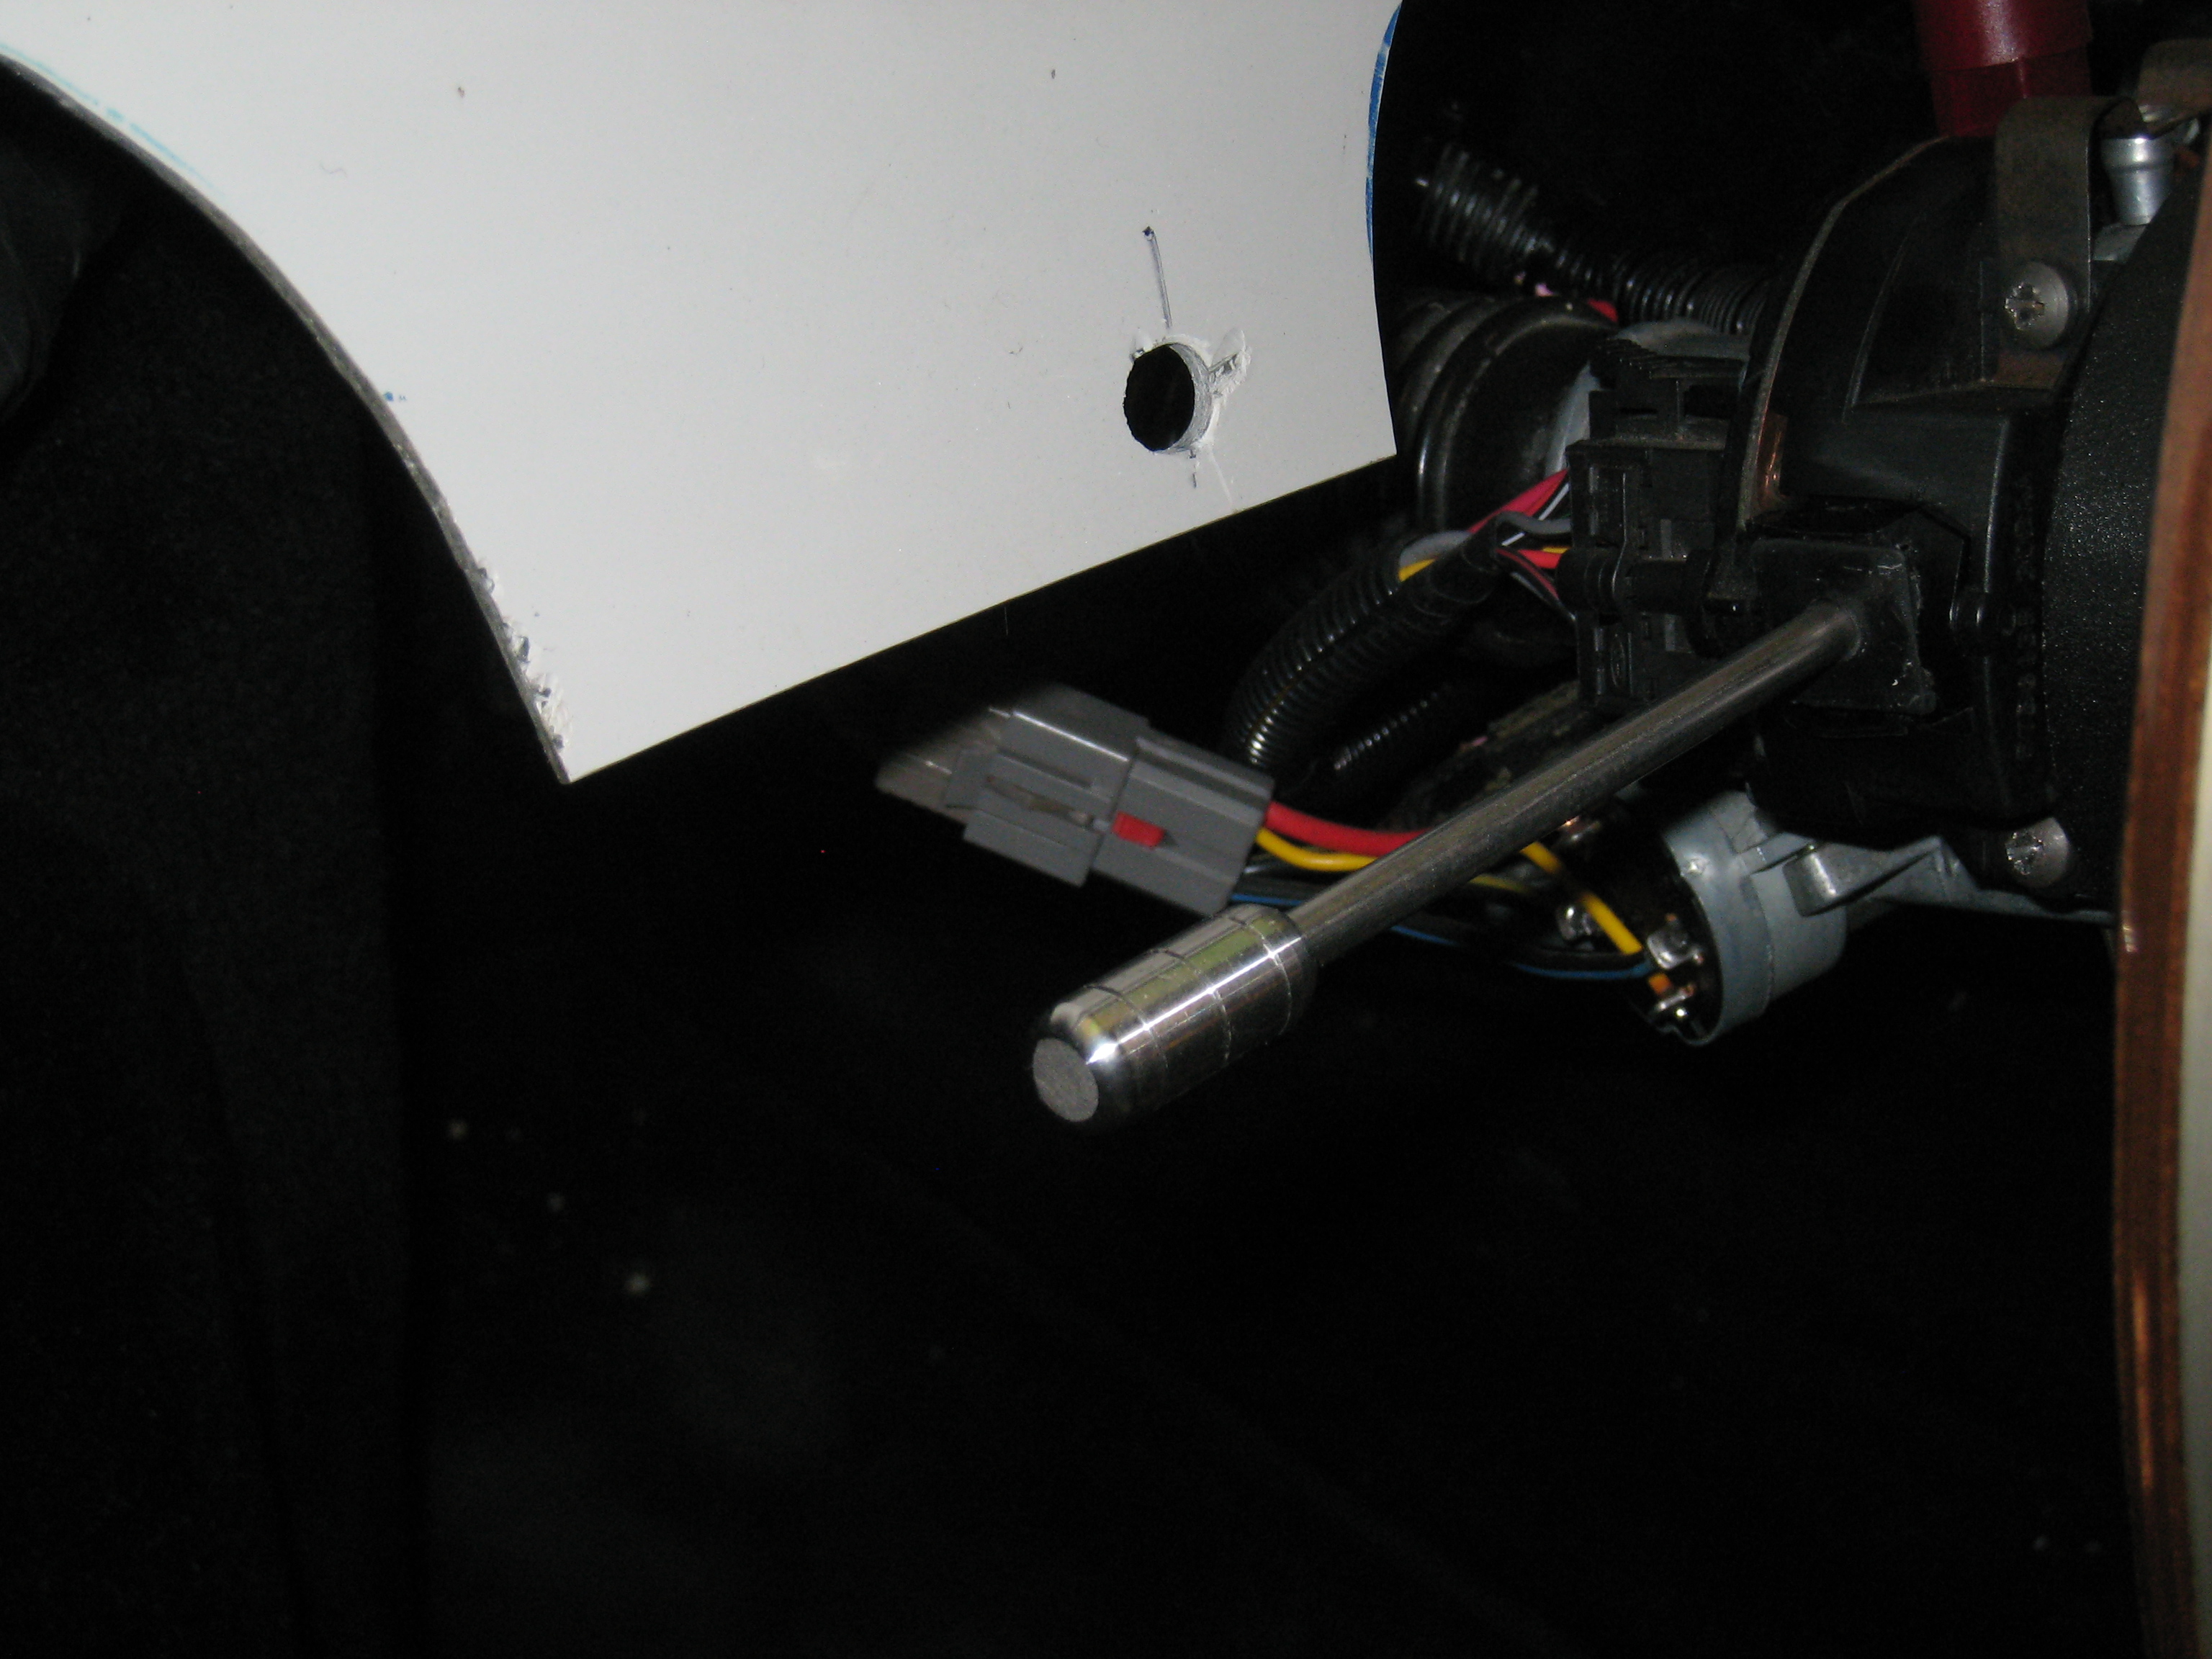
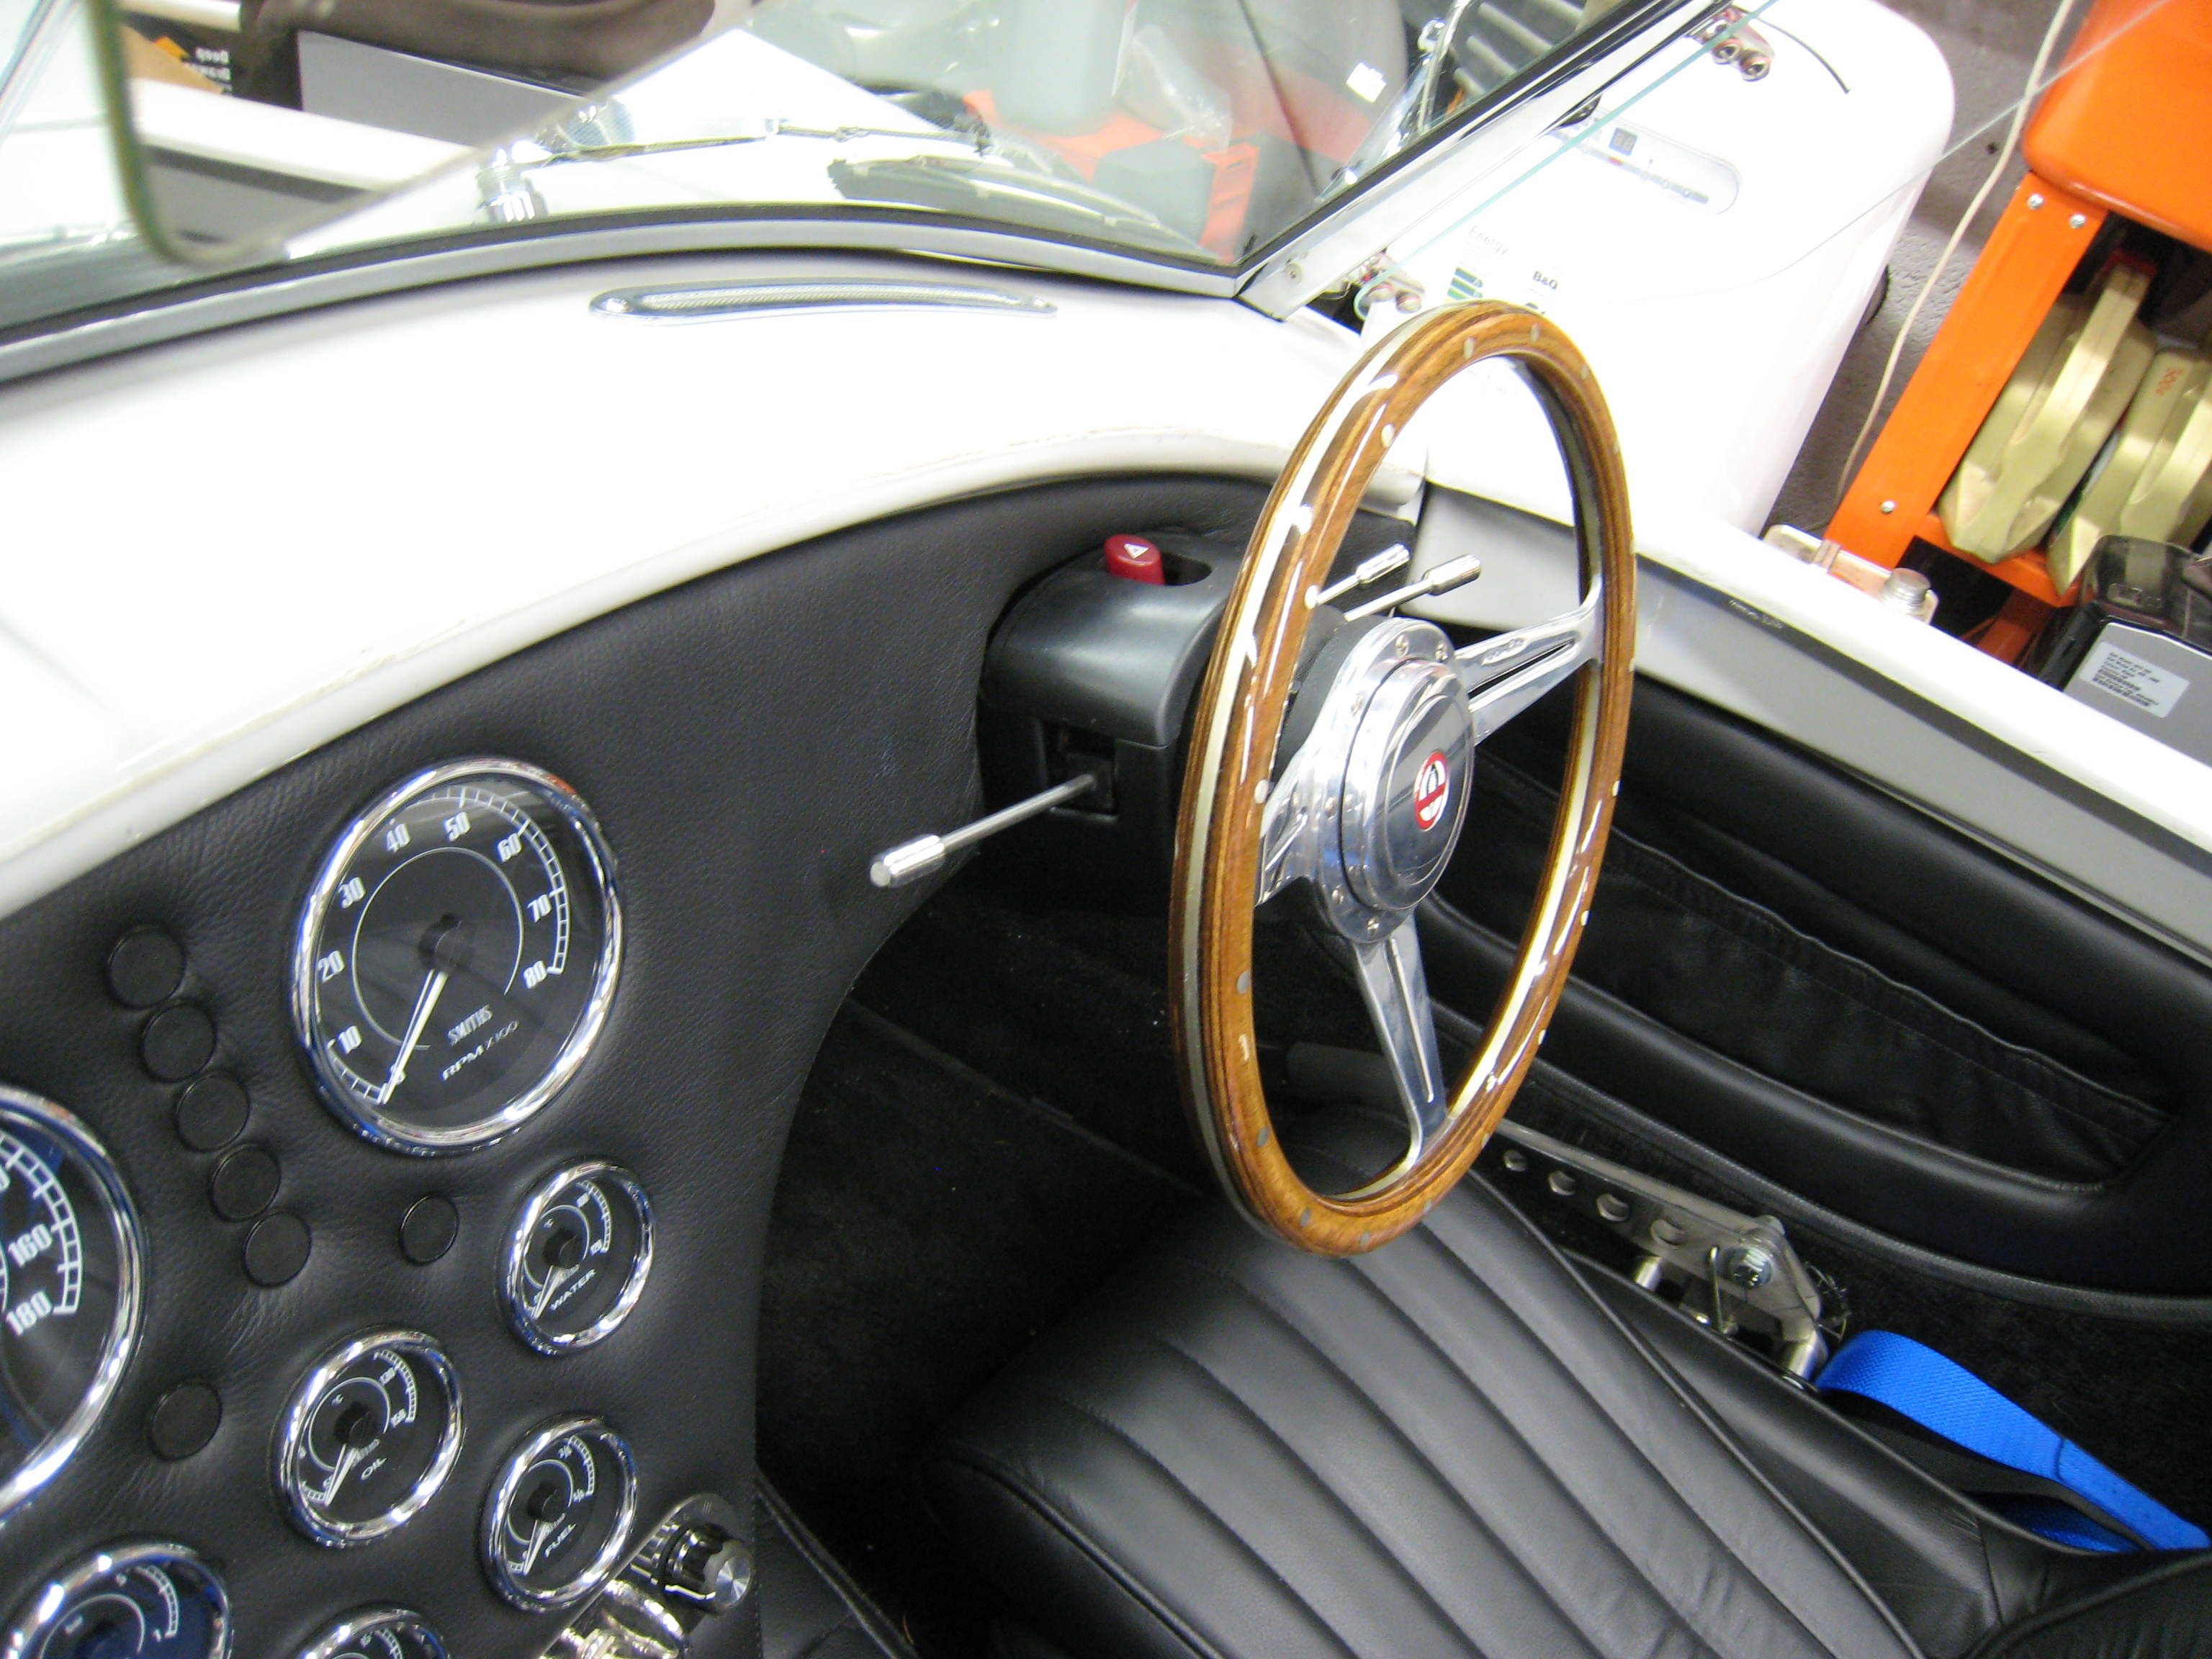
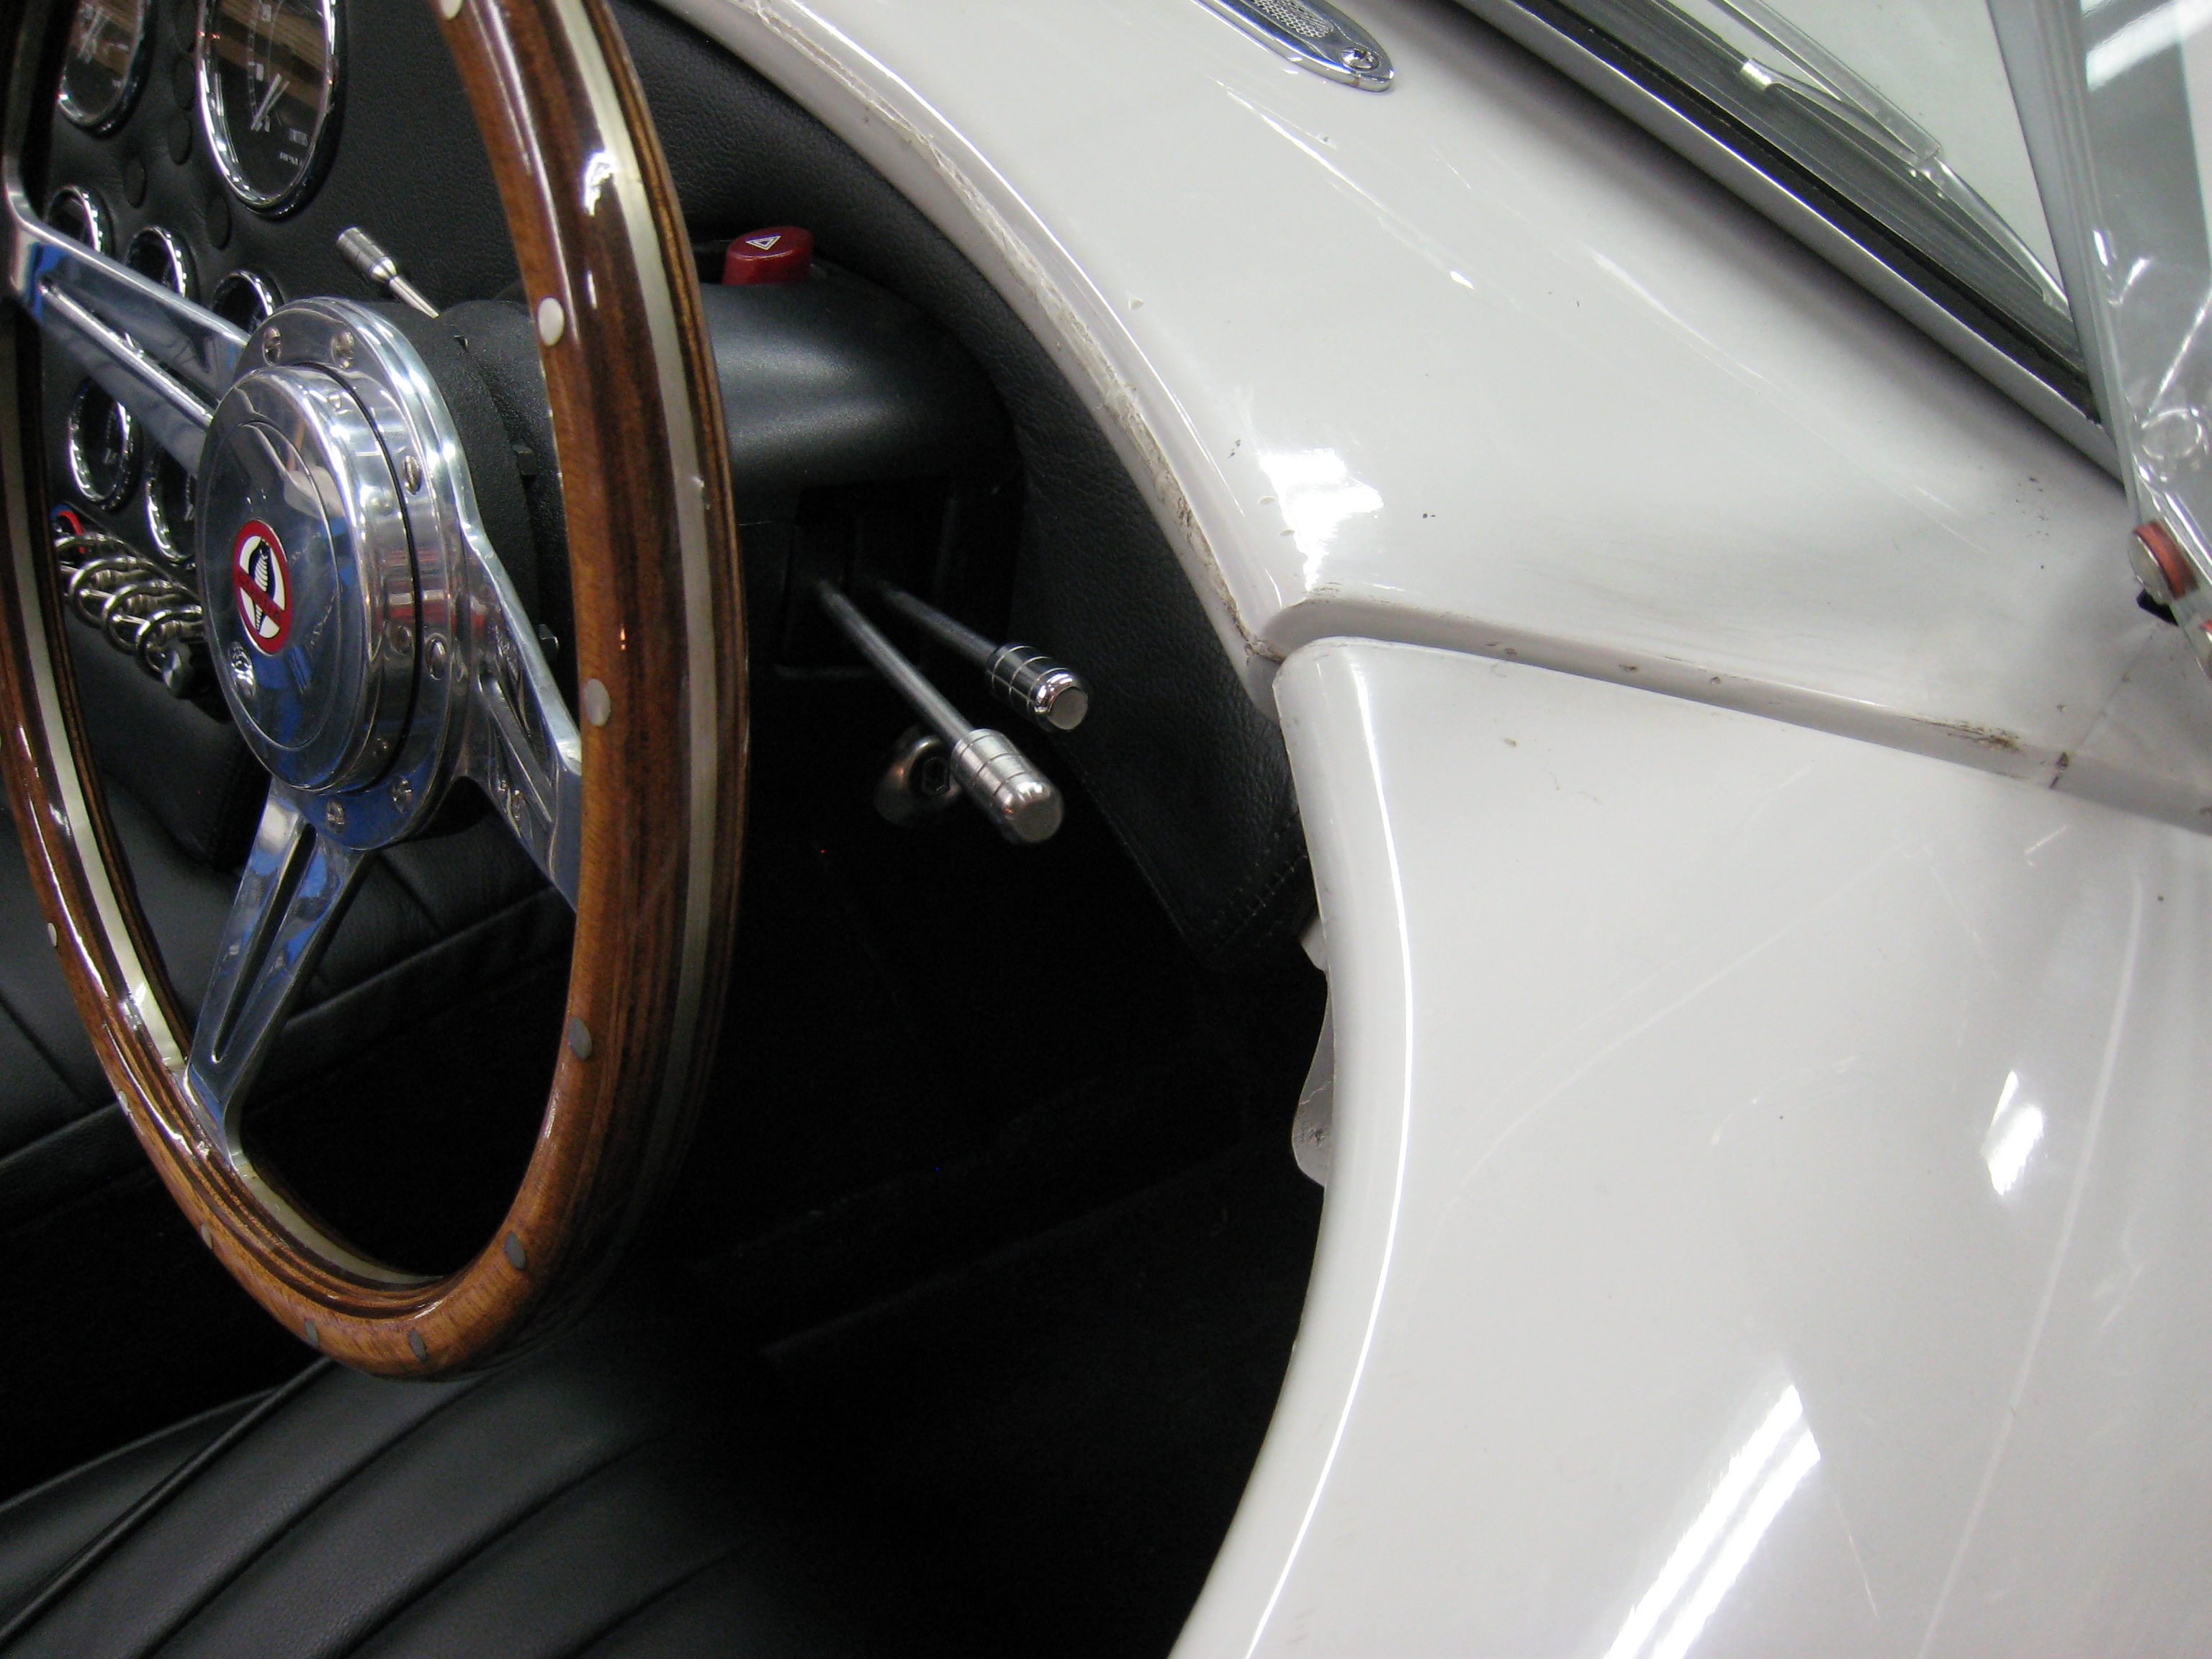
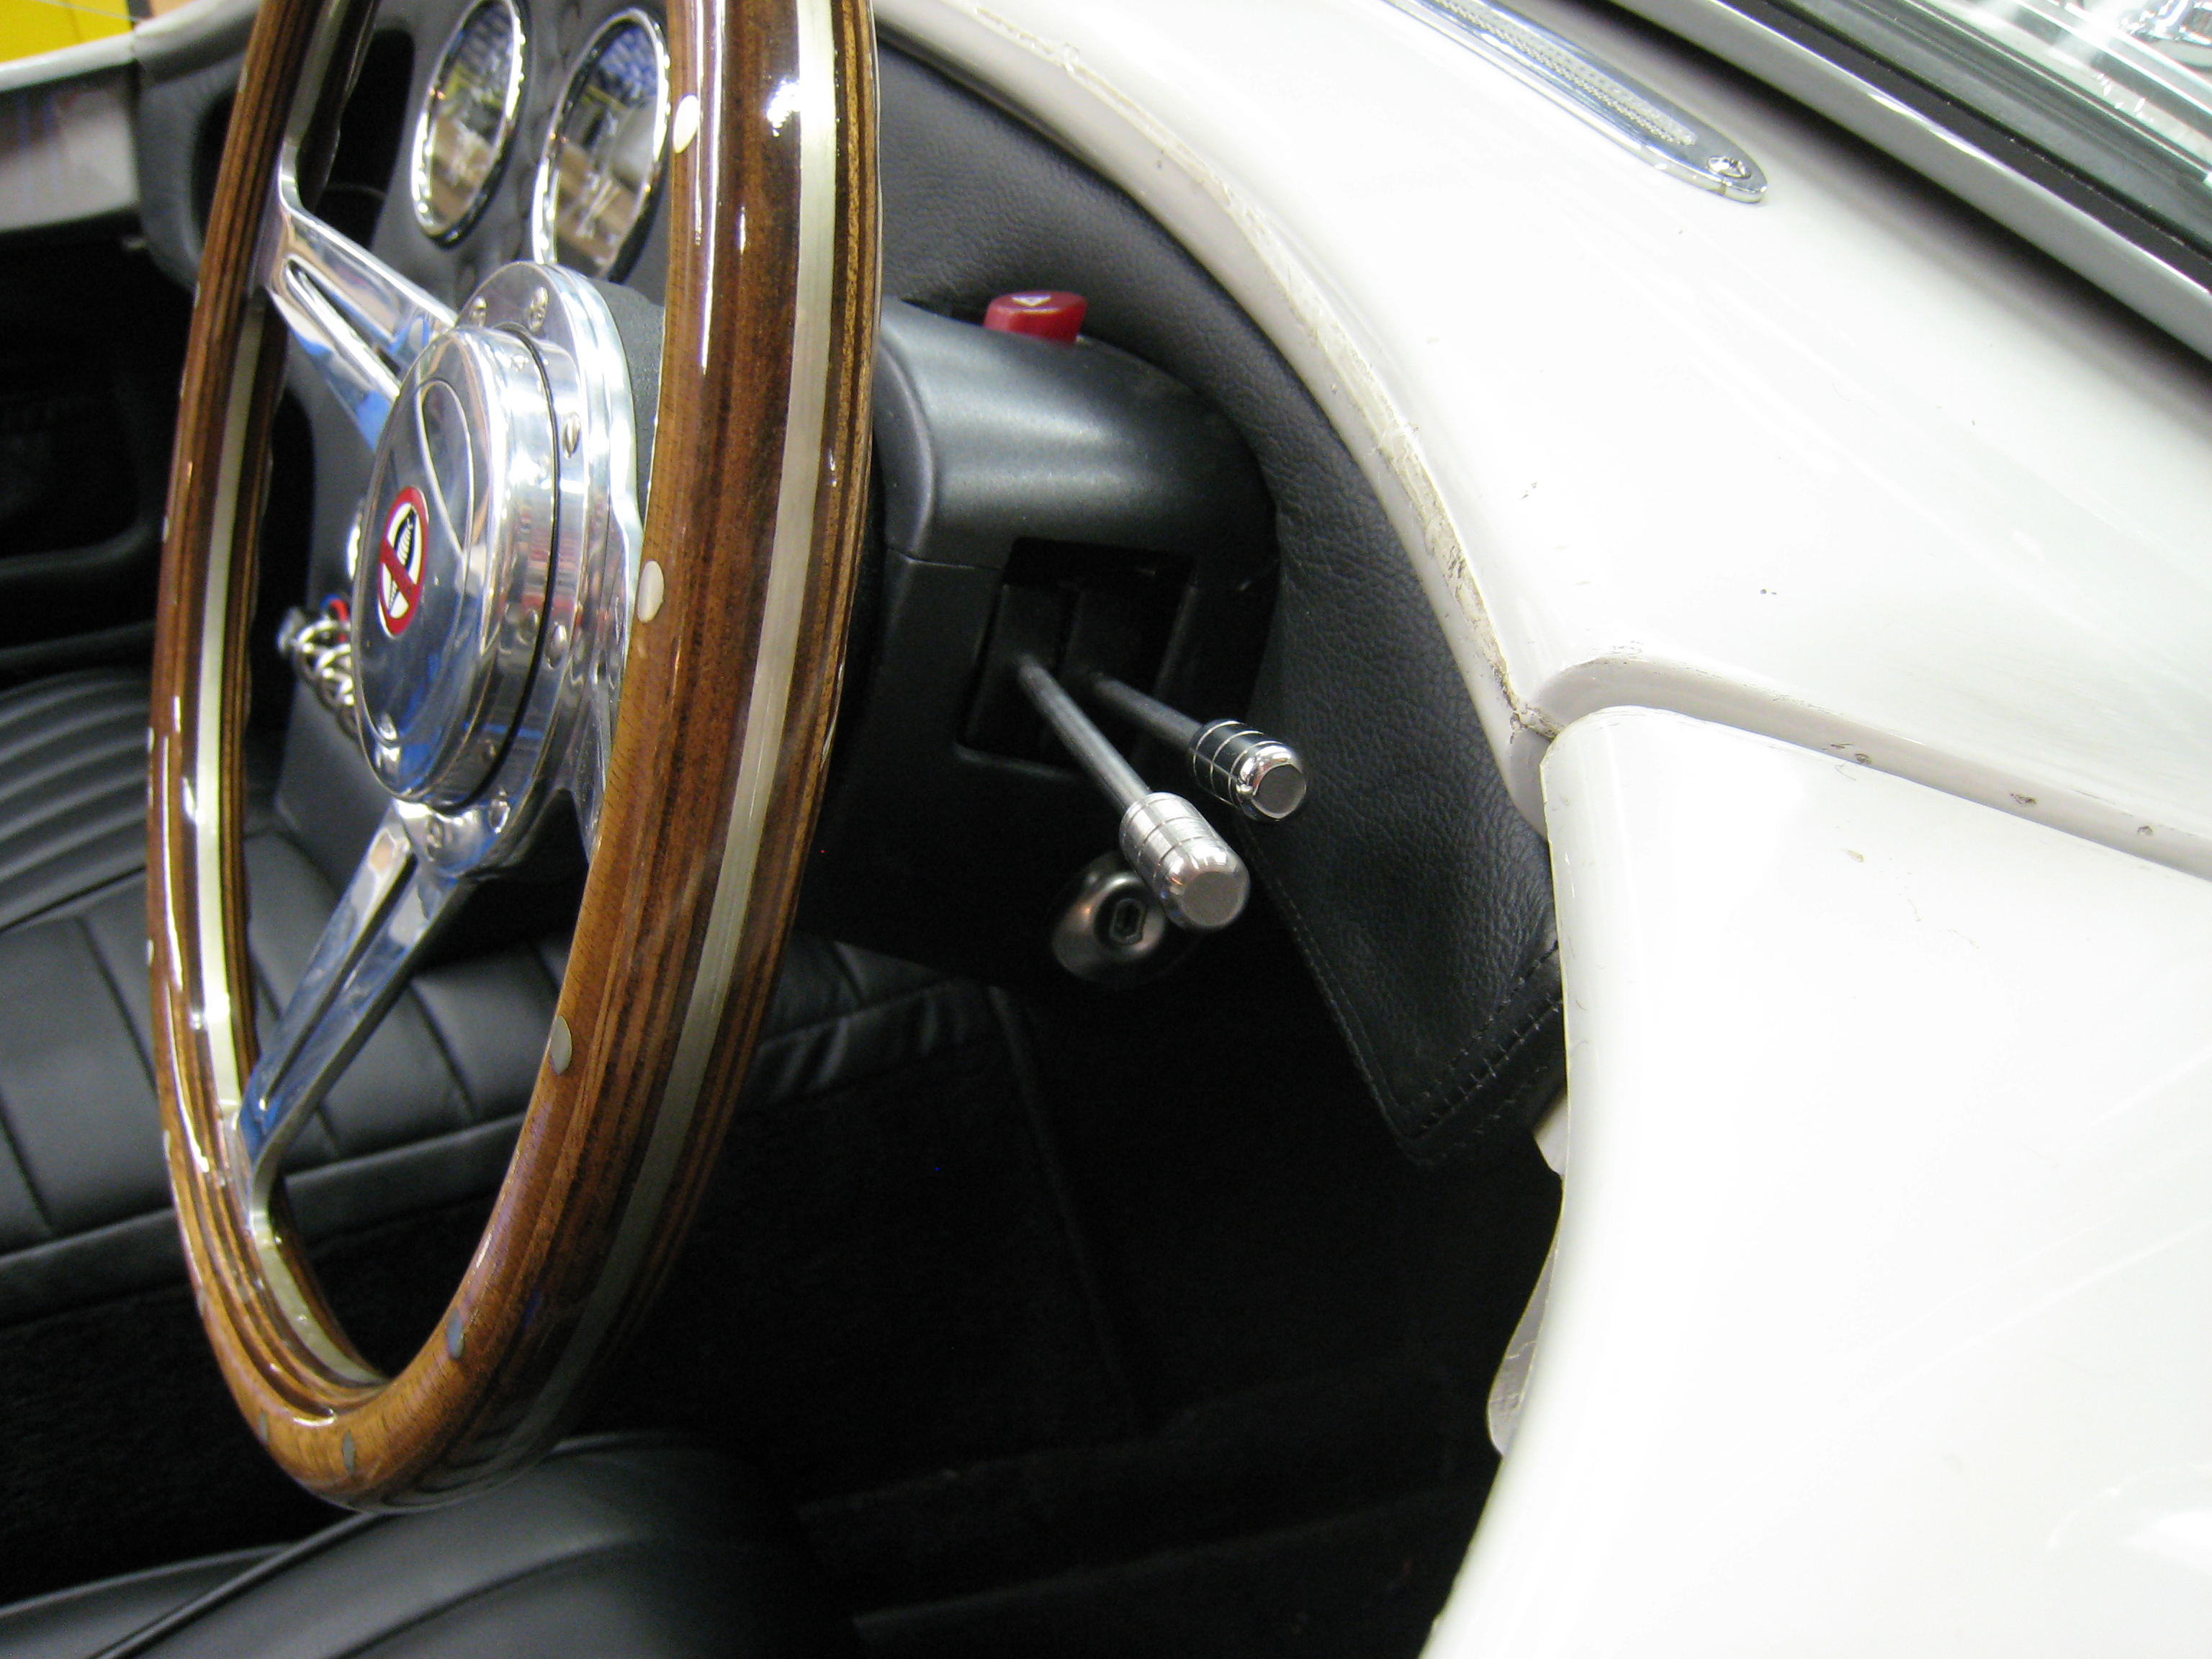
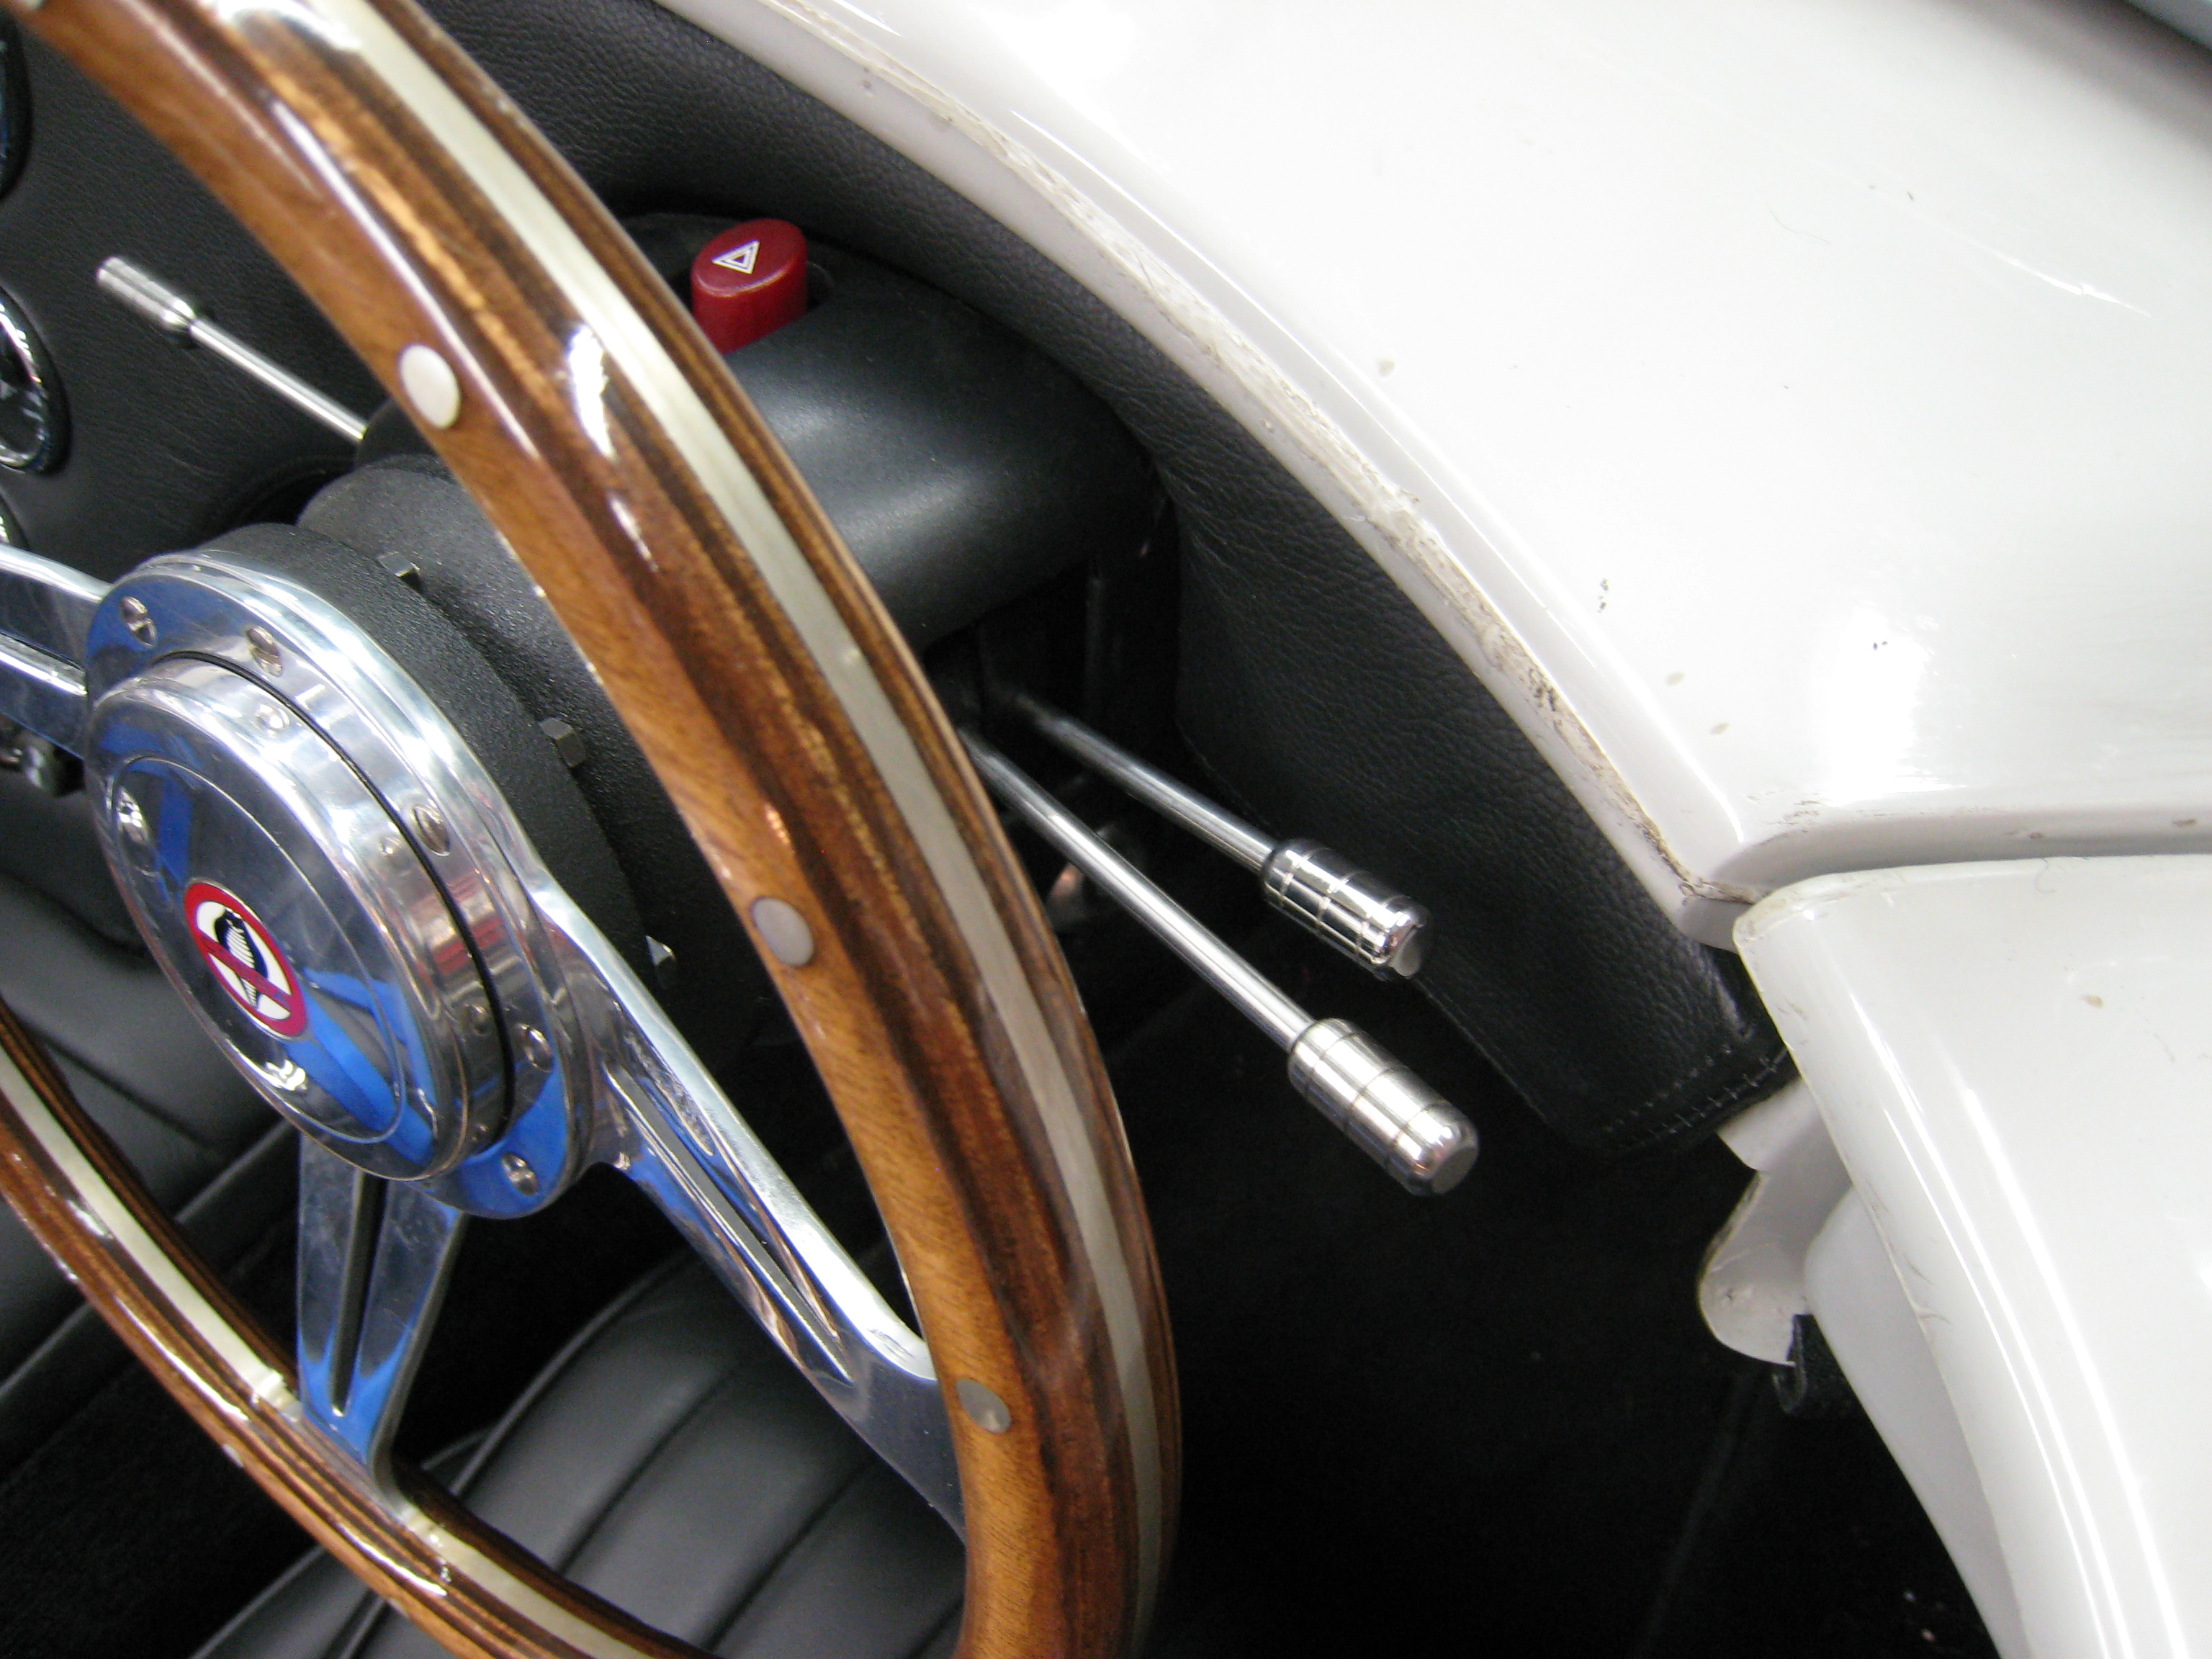
Stainless Steel Stalks
These stalks come from Dax and have to be fitted to the Sierra switches. The lights and wipers were fairly easy as there was plenty of plastic in the
housing once the existing stalk was cut off, I then simply threaded the plastic and screwed them in. Added some Araldite to hold them solid.
The indicators/headlights was a bit trickier as these was not much plastic once the stalk was cut off so it had to be made up from Araldite
to hold it in place.

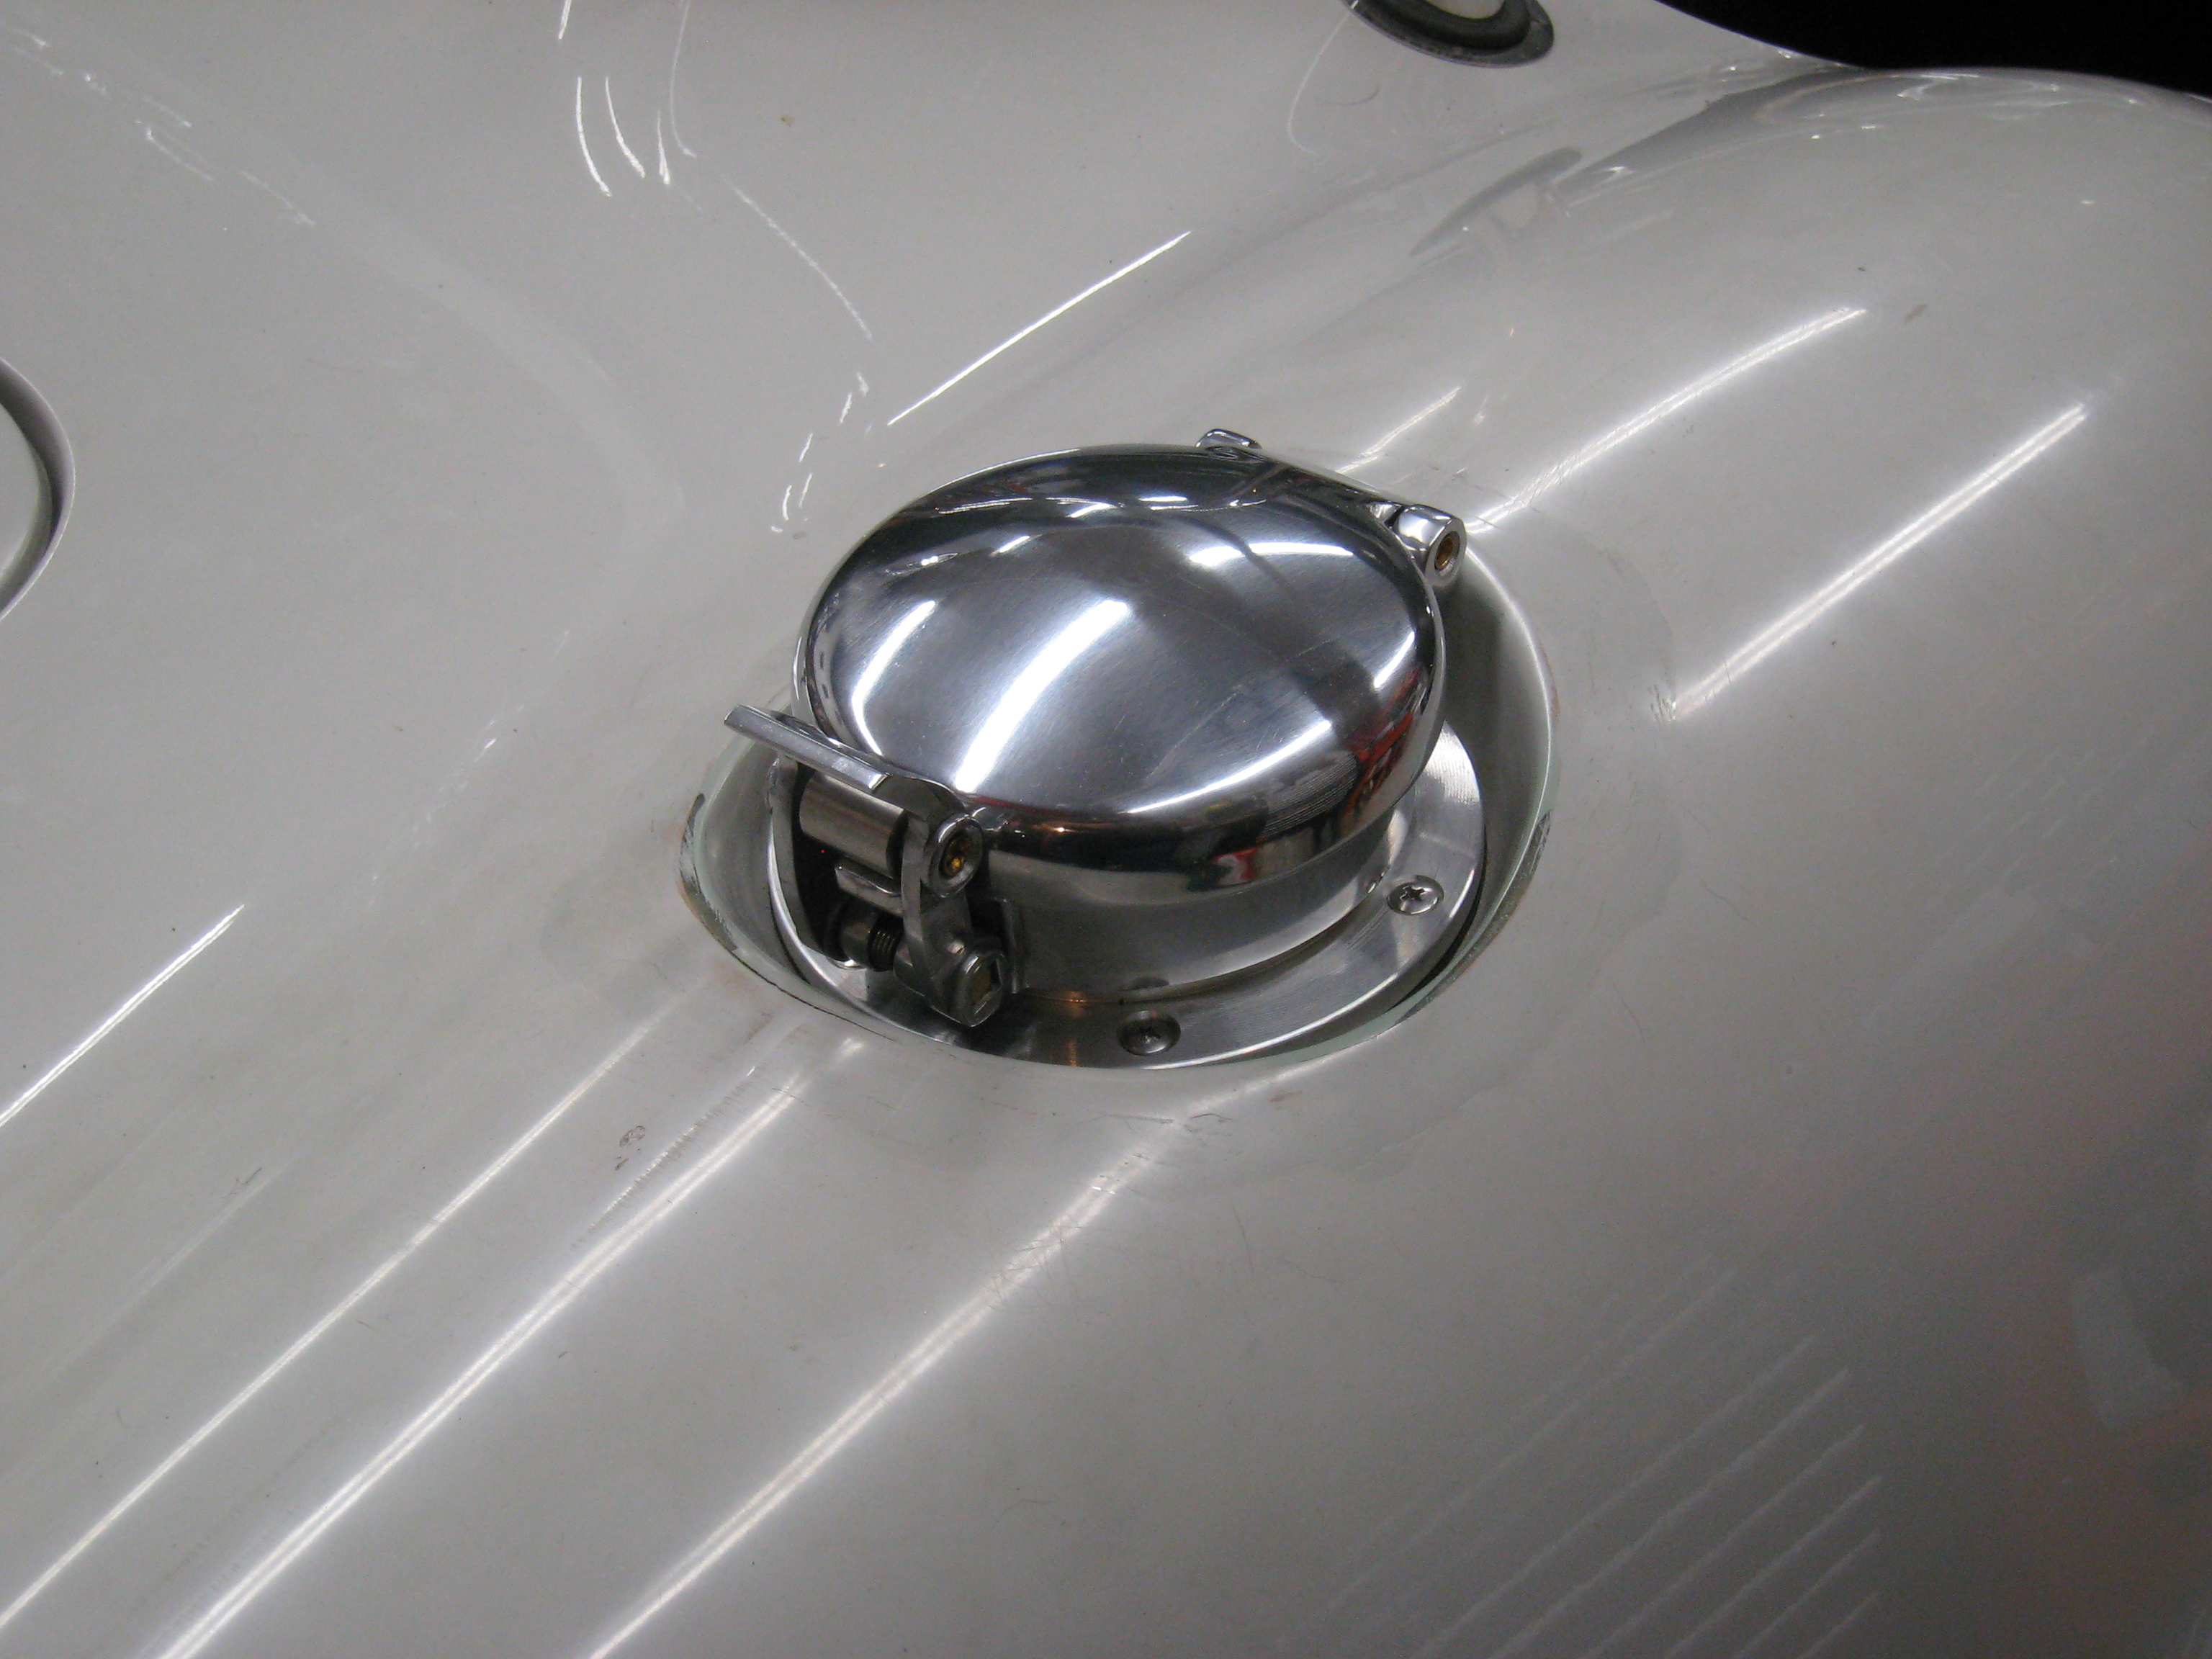
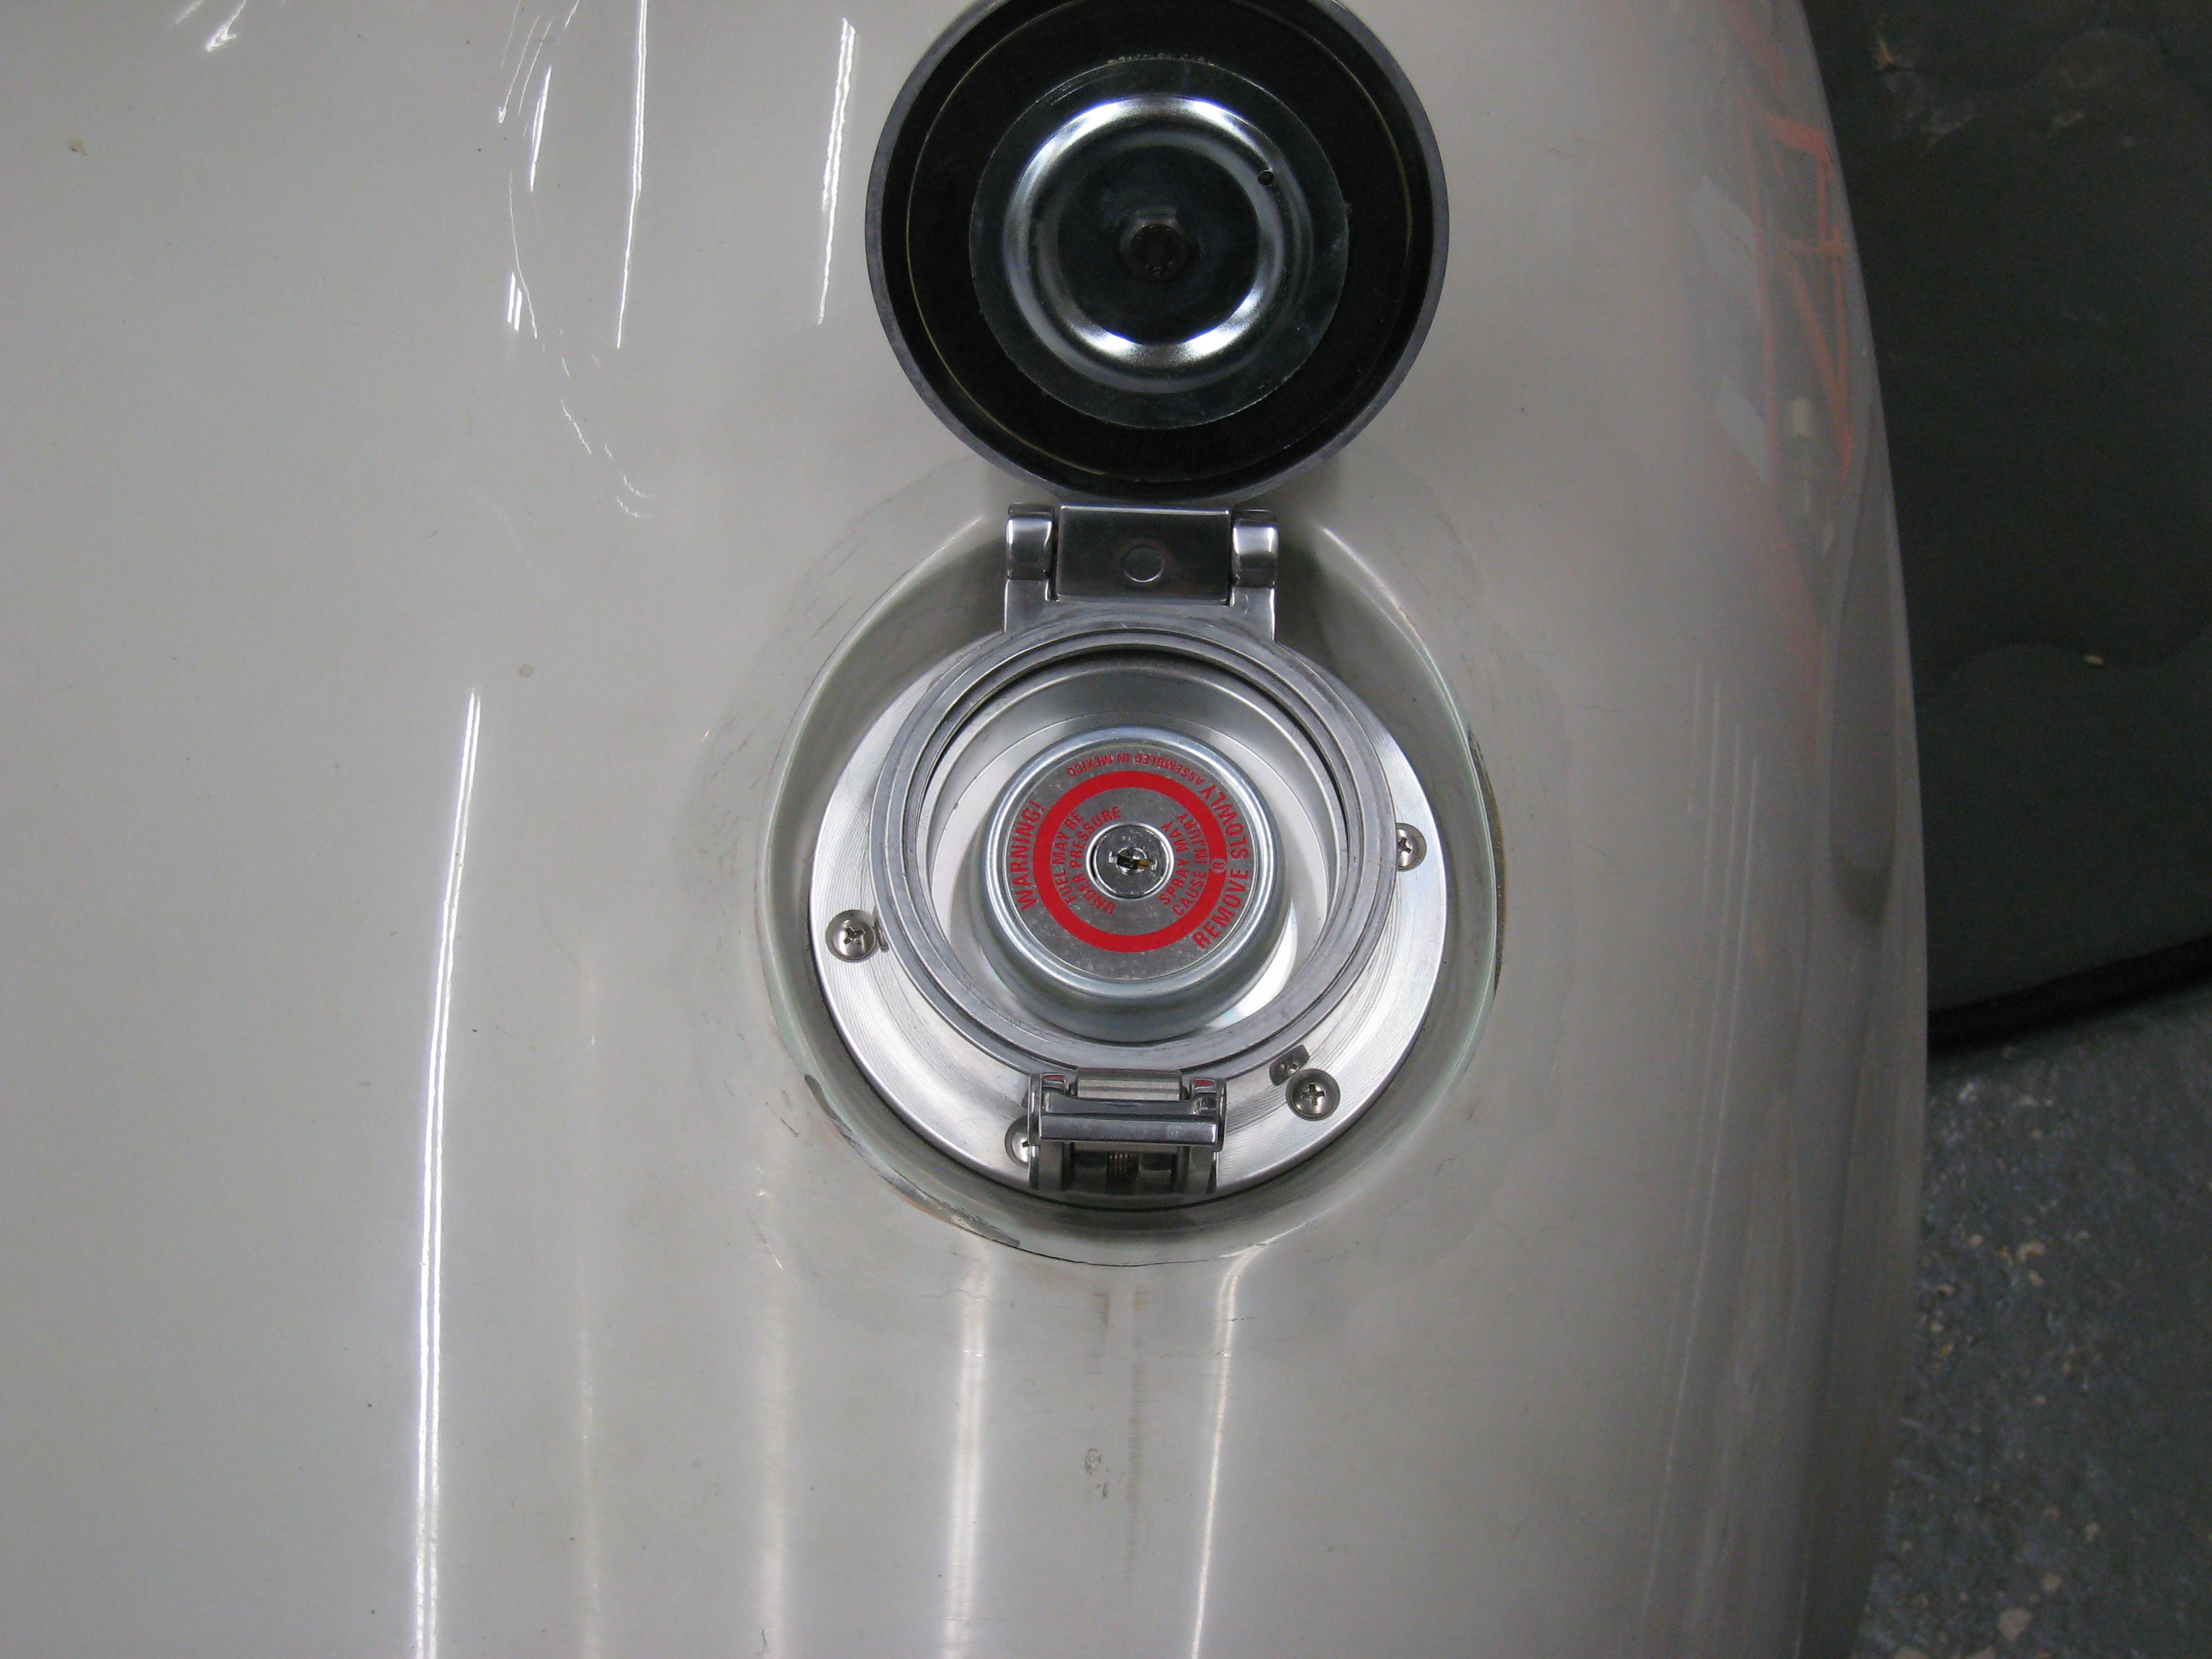
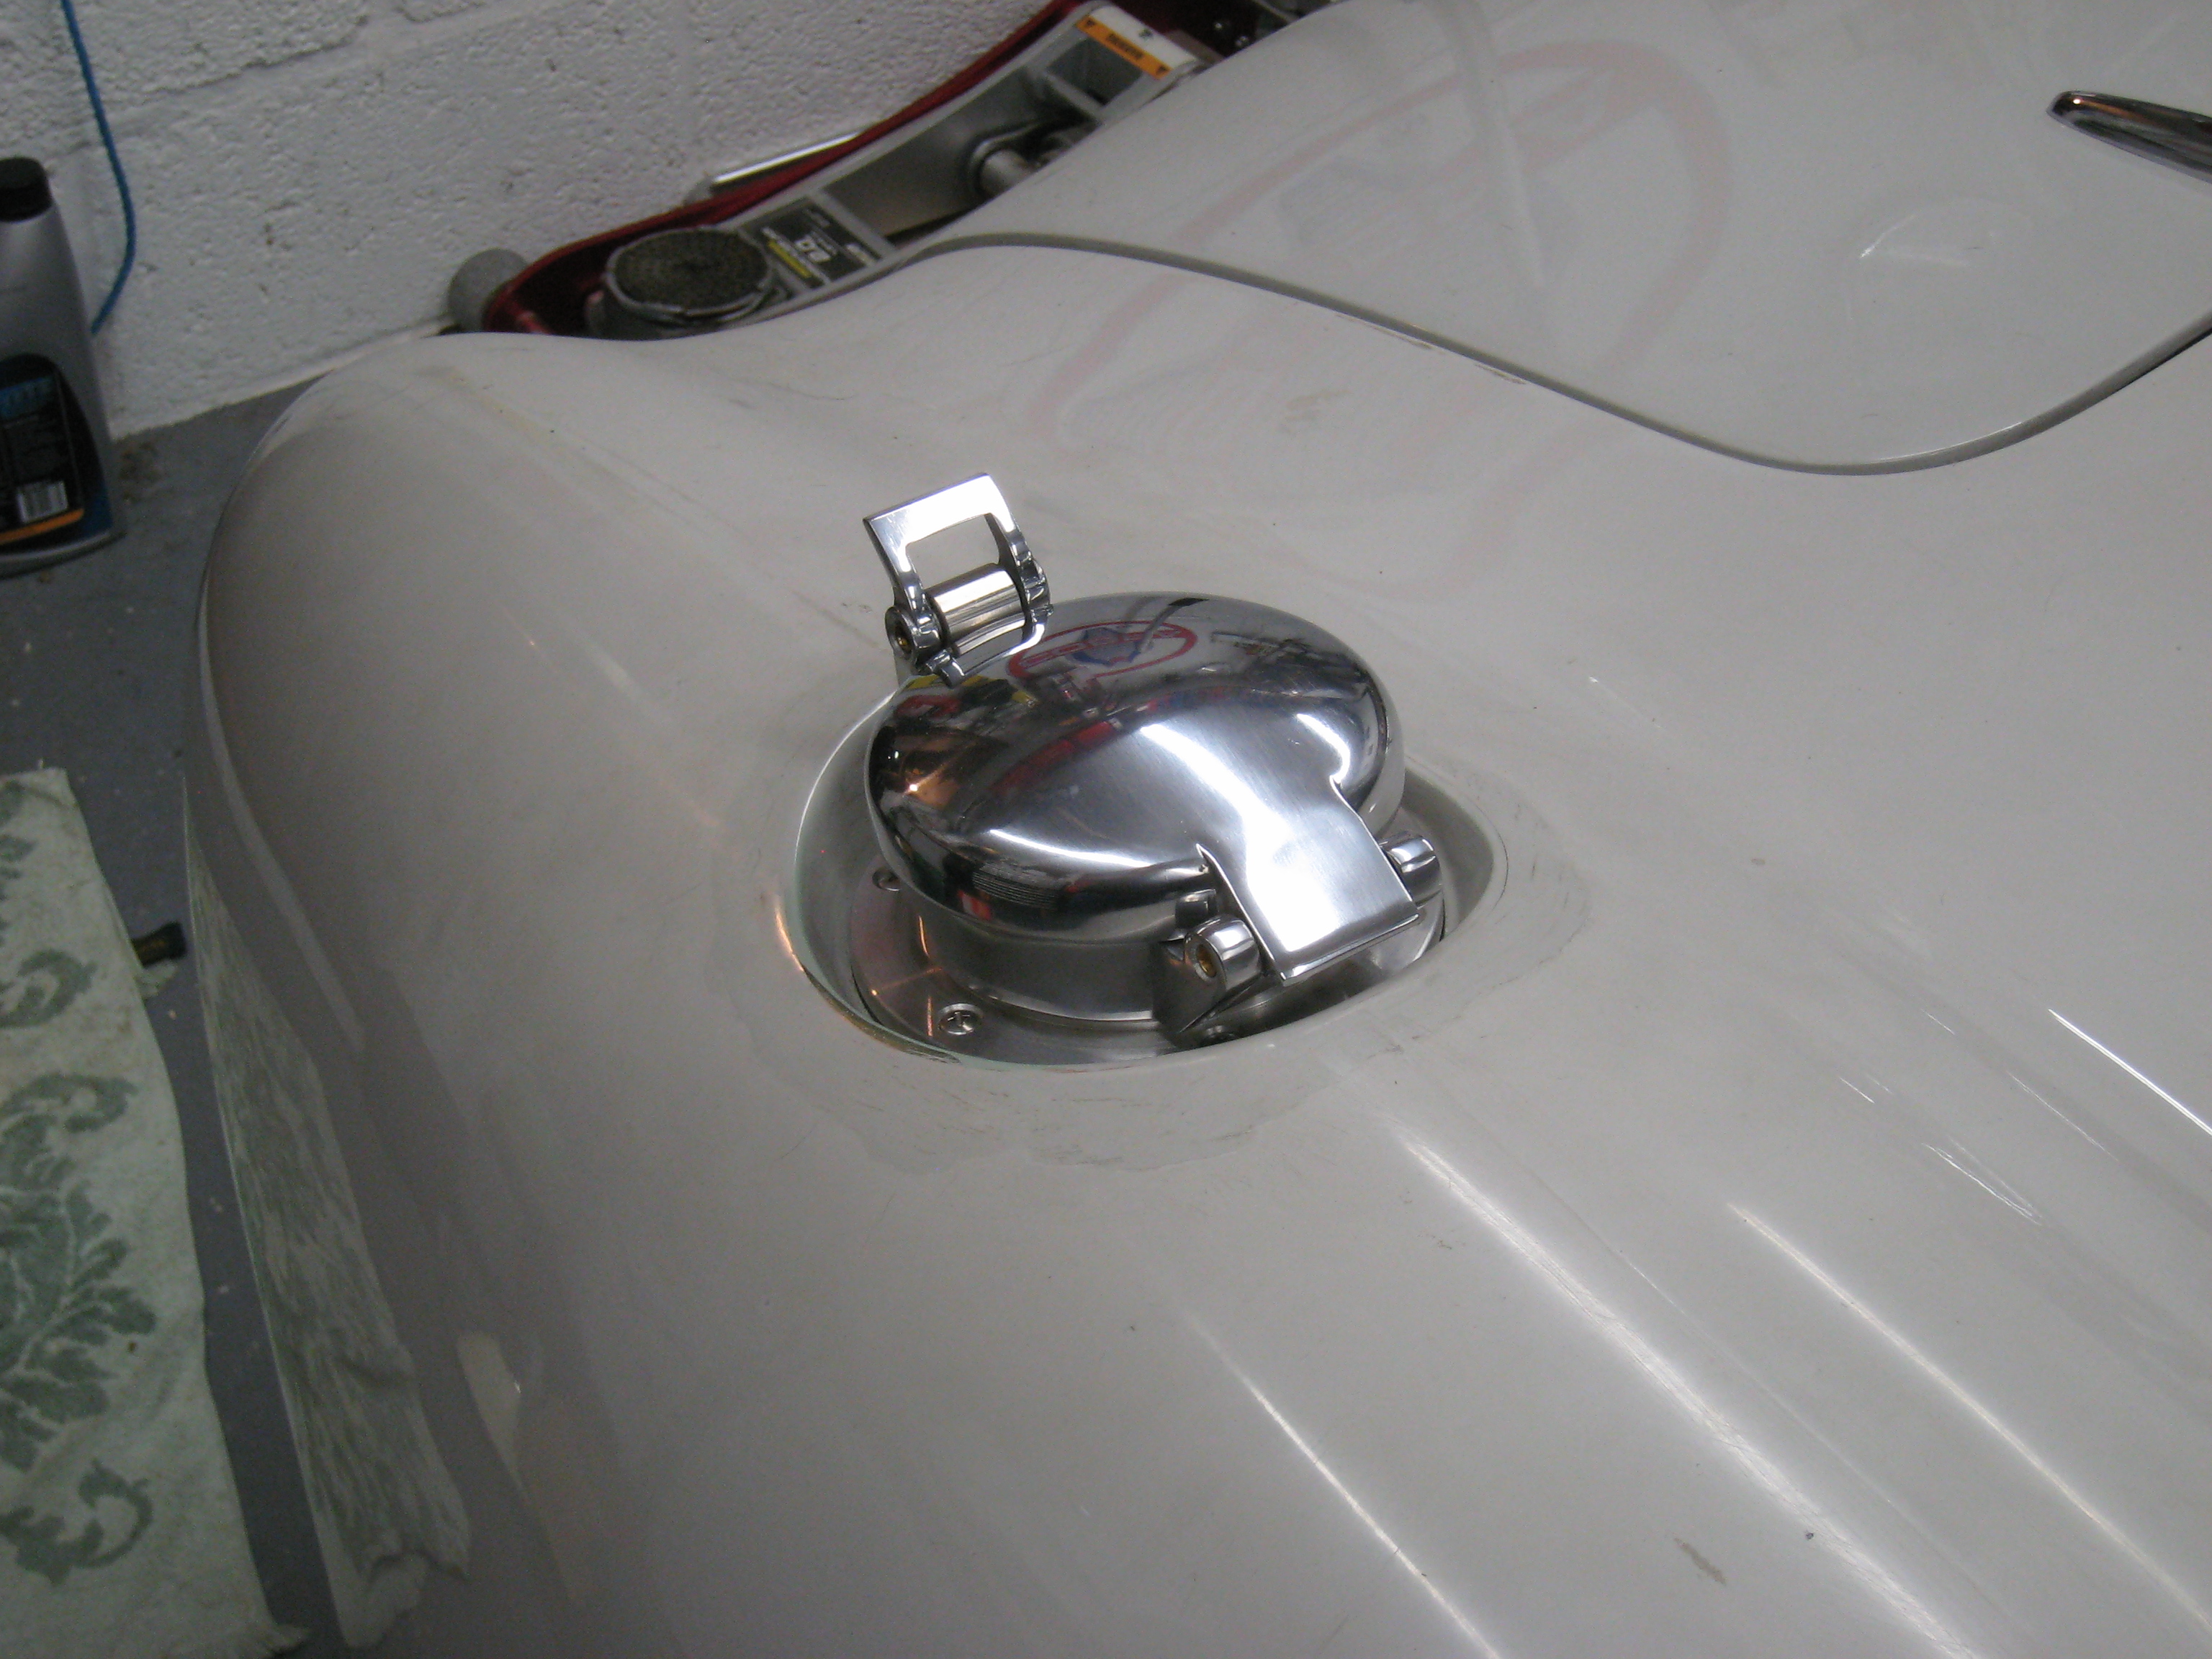
Petrol Filler Cap
Post IVA a few new shiny parts can now be fitted, so to start with an easy change is the filler cap.
Sun Visors
Easy addition, windscreen already has the threaded holes in it, only issue is making sure you get the tabs the right way up in
the first place. I didn’t at first!.
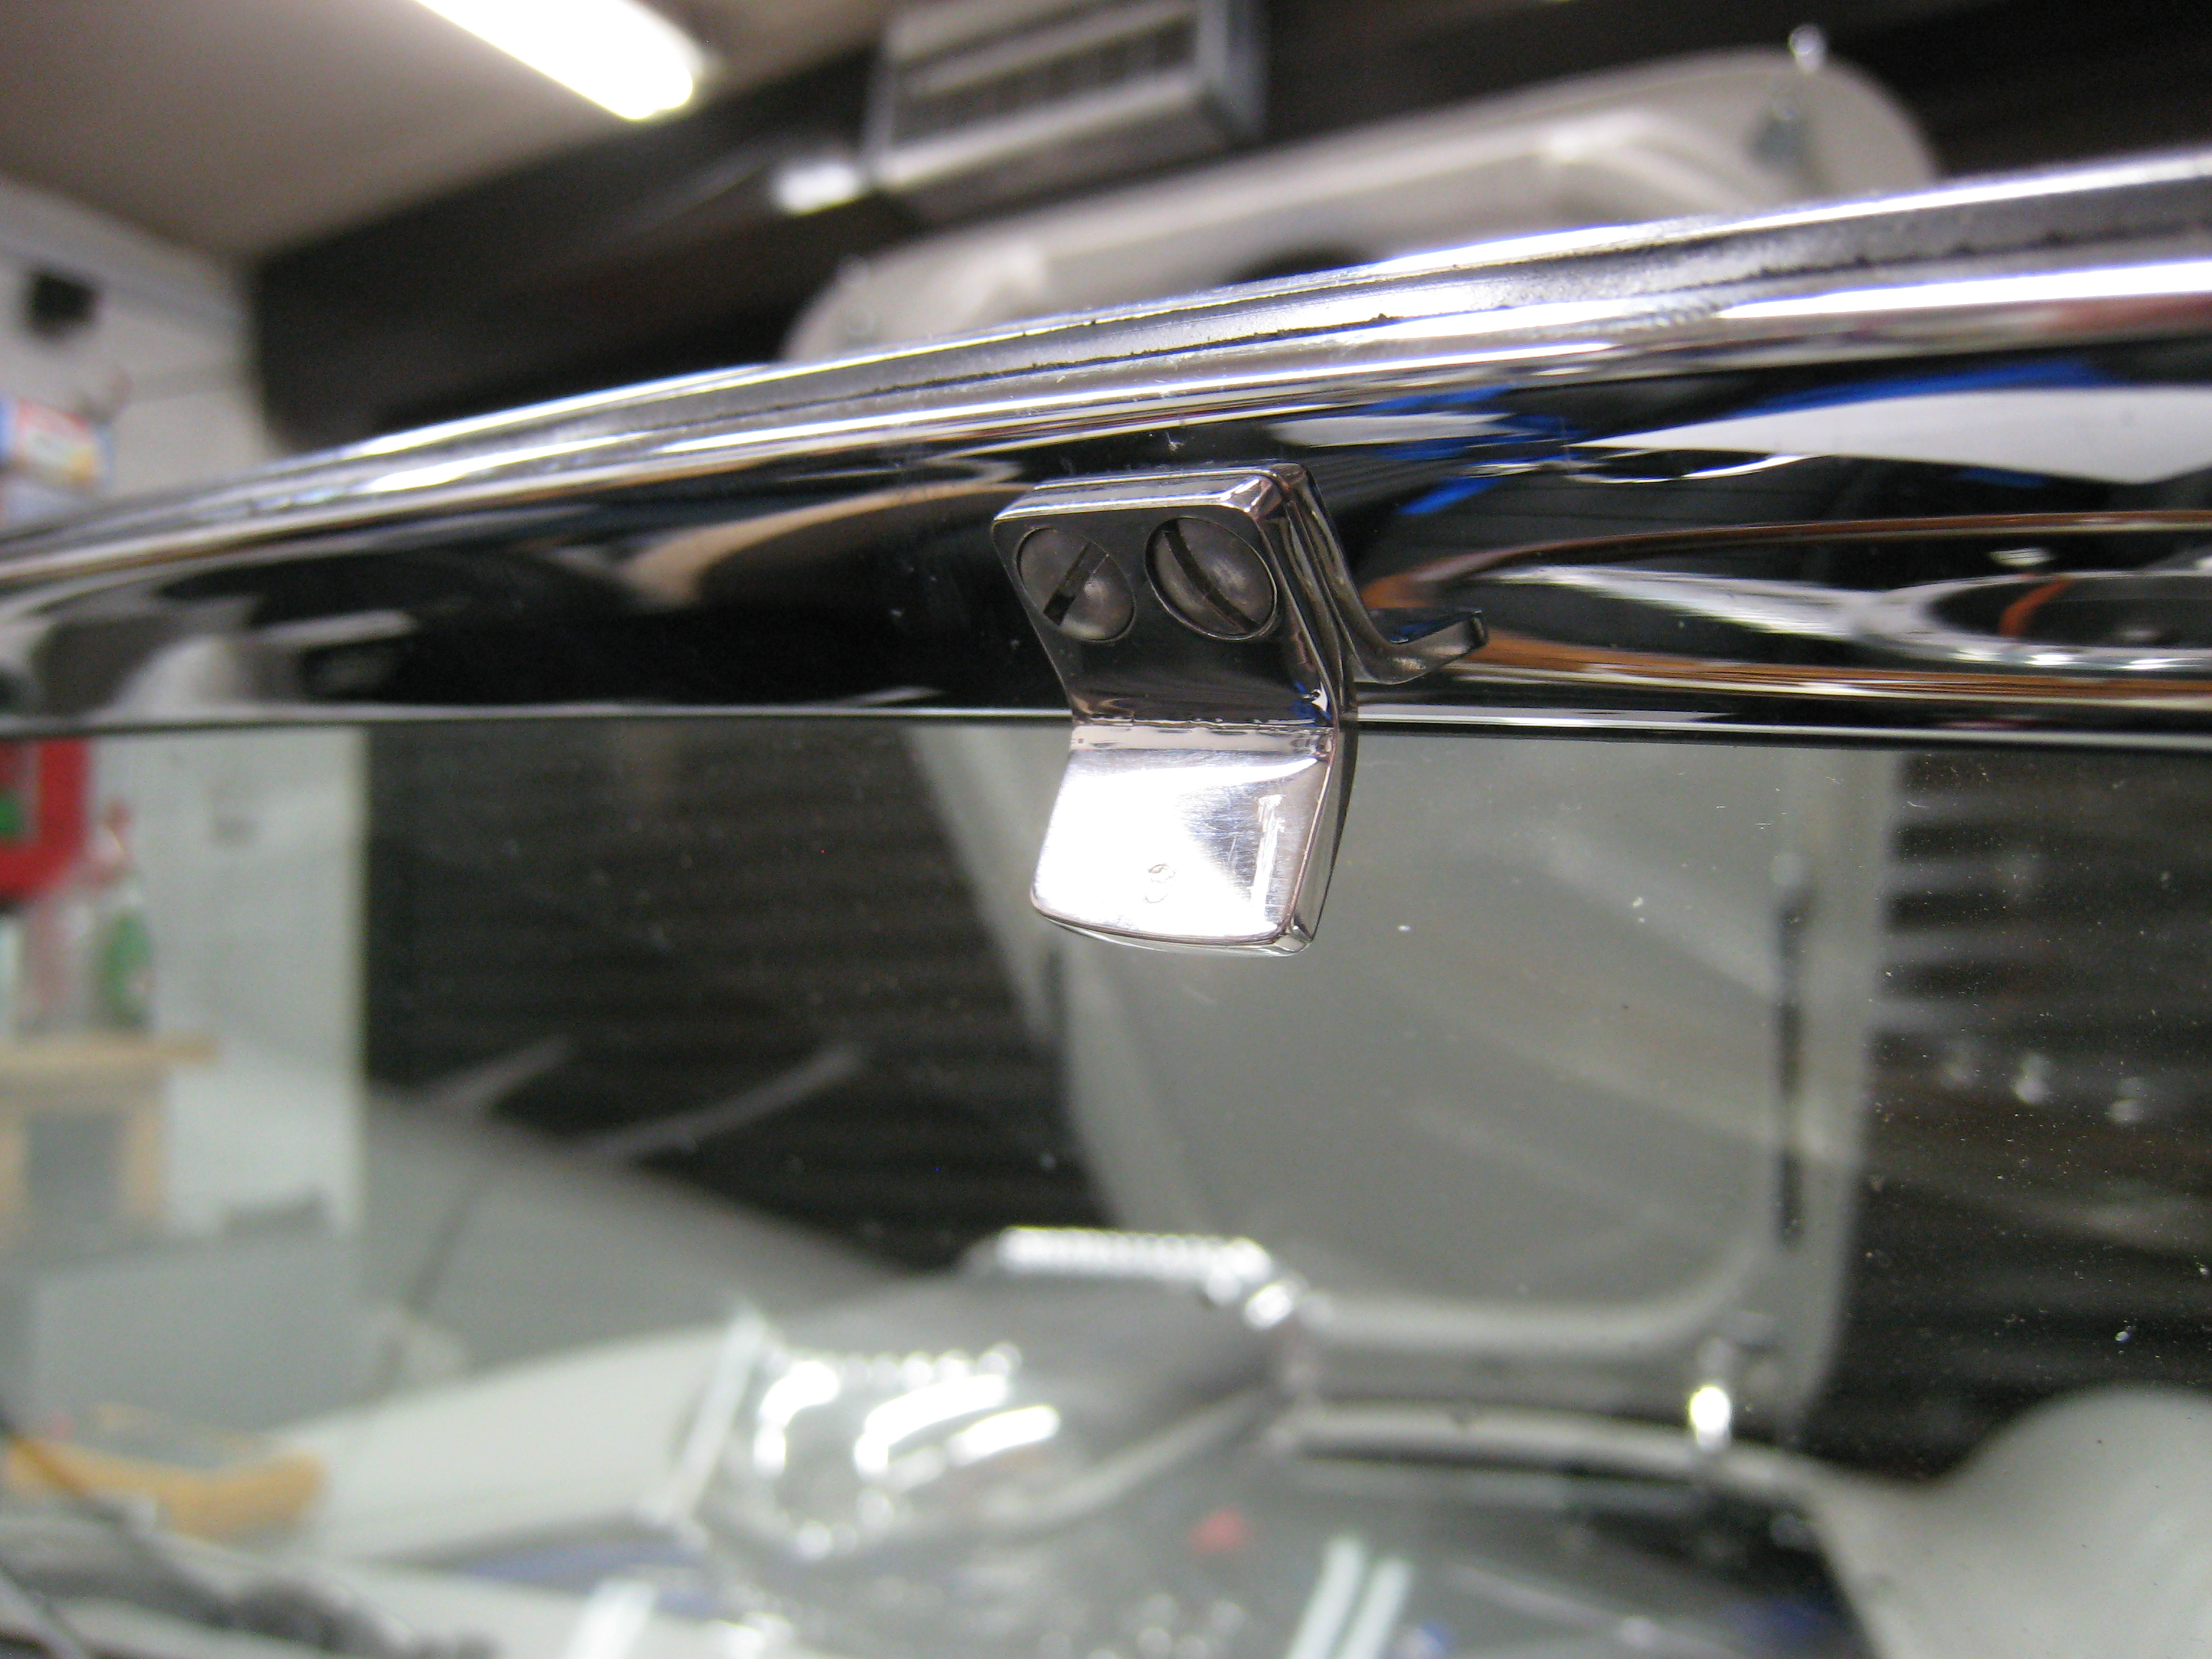
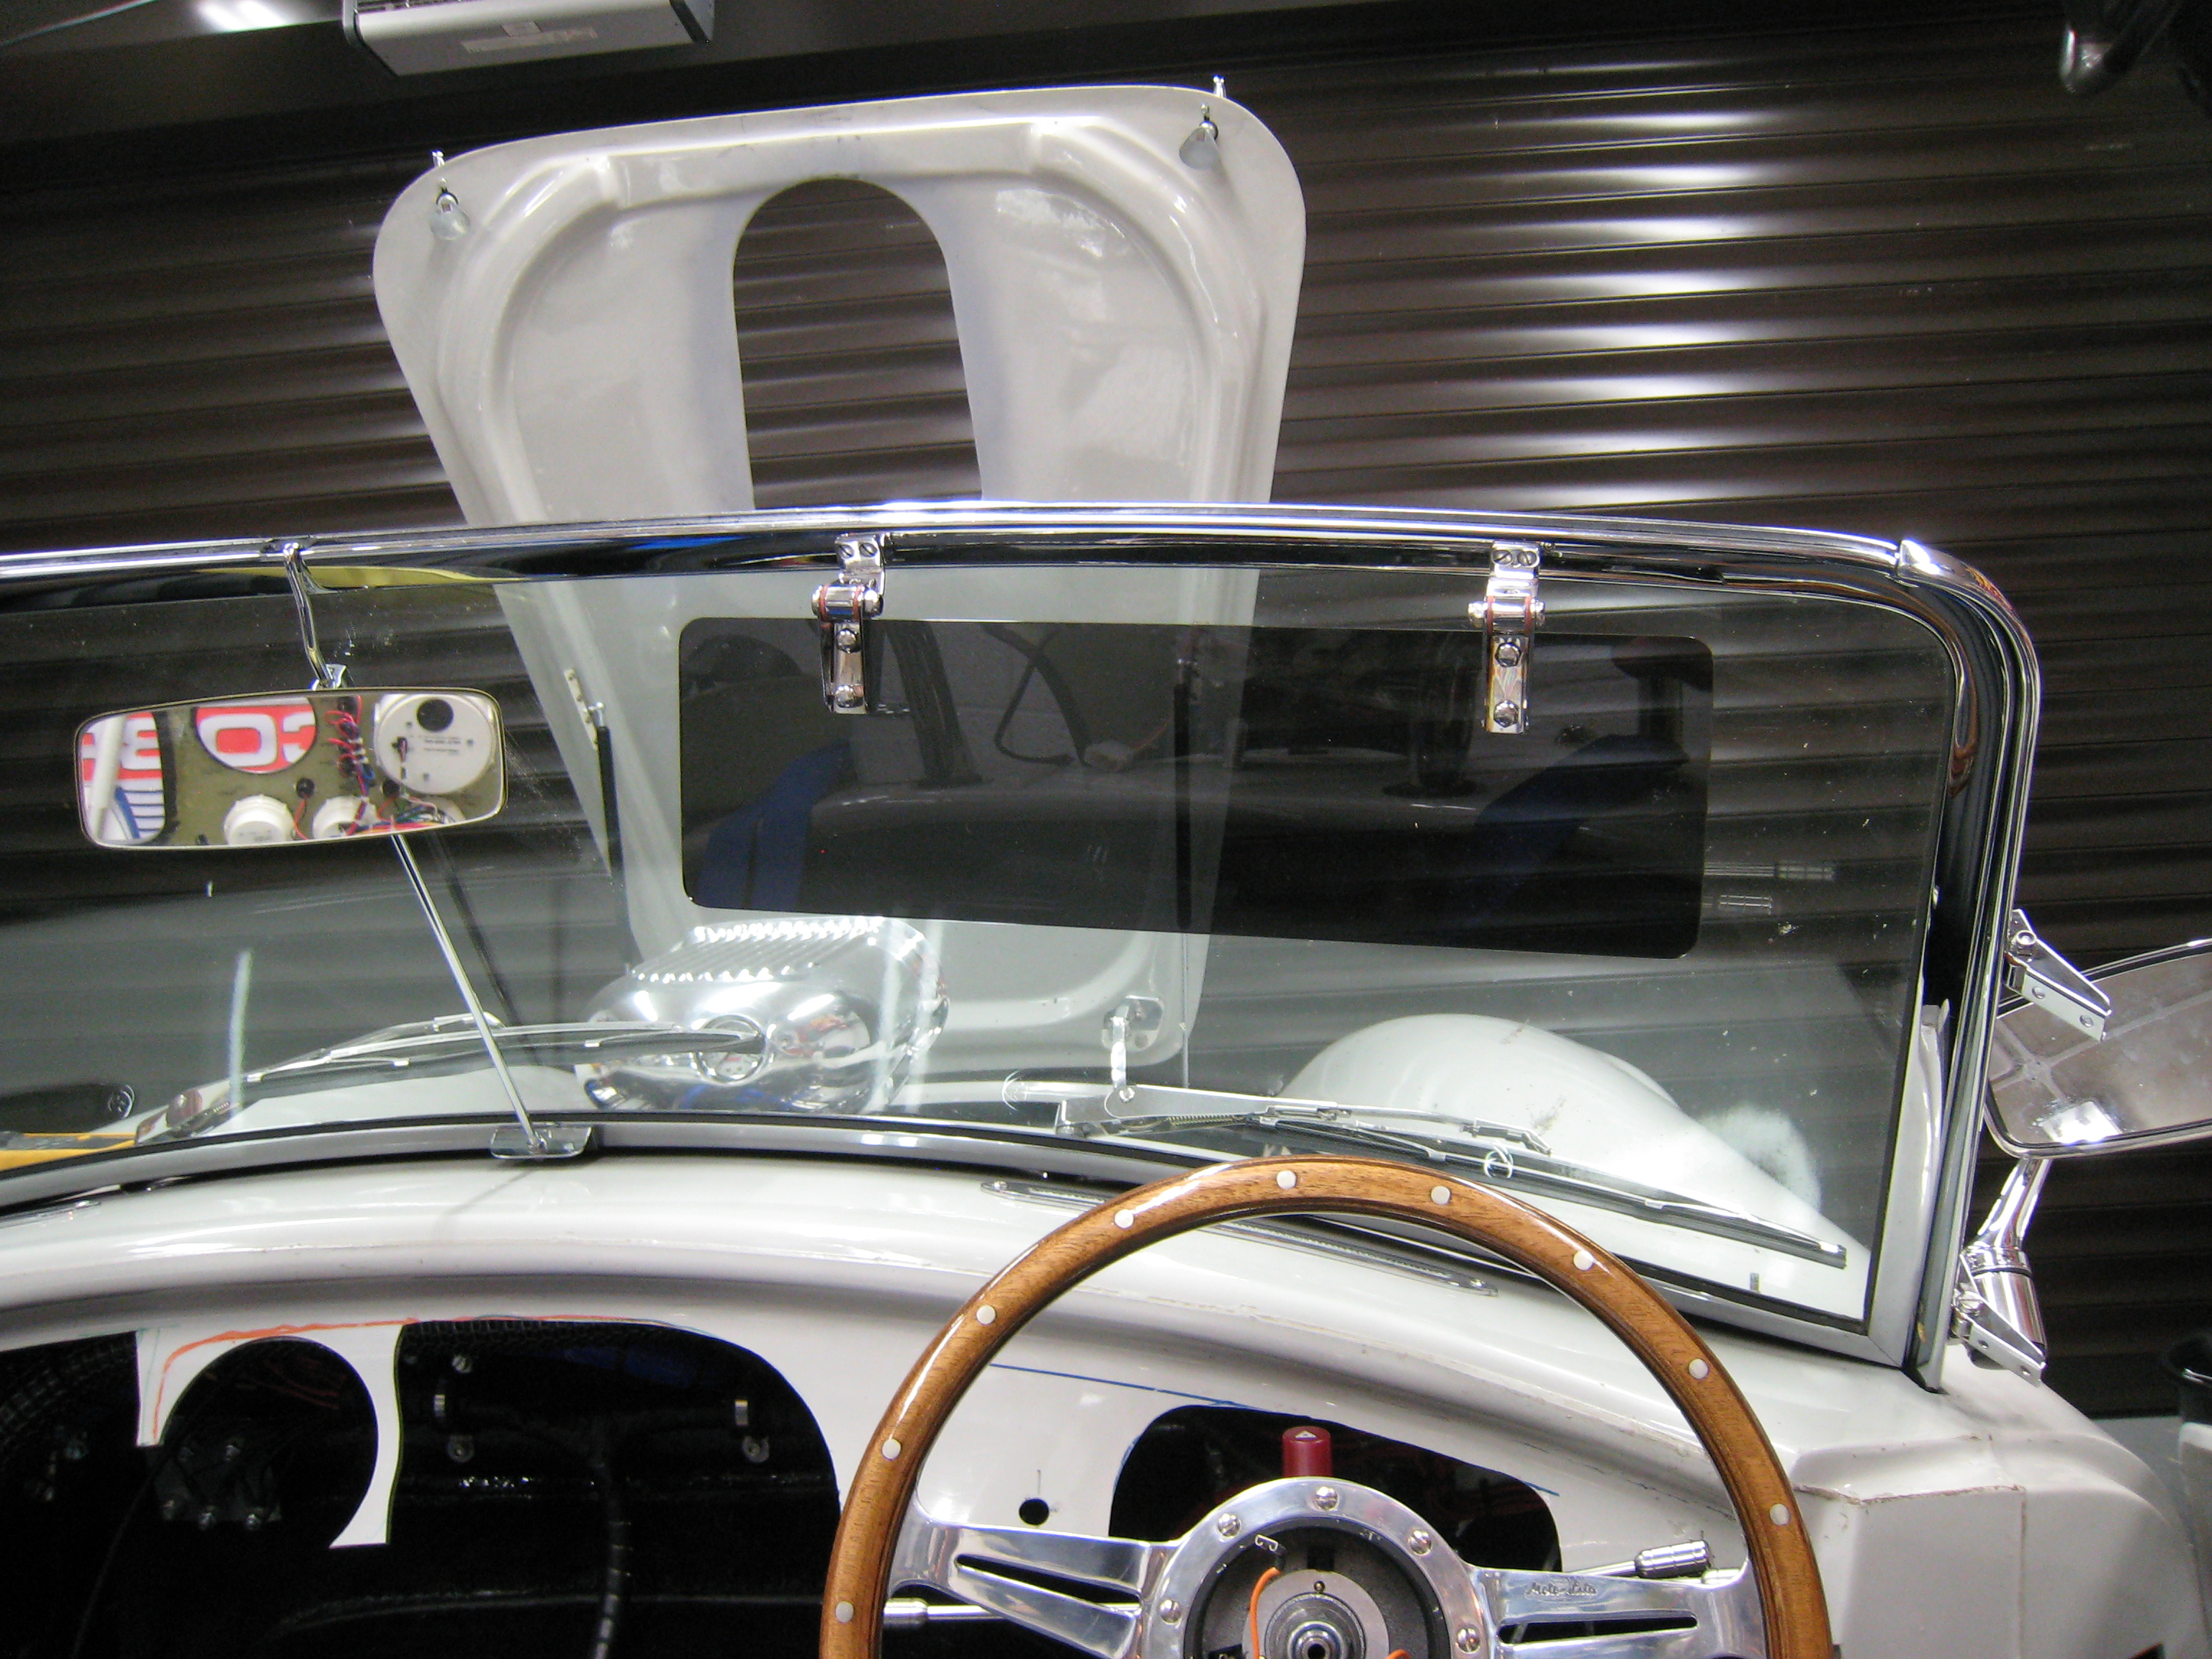
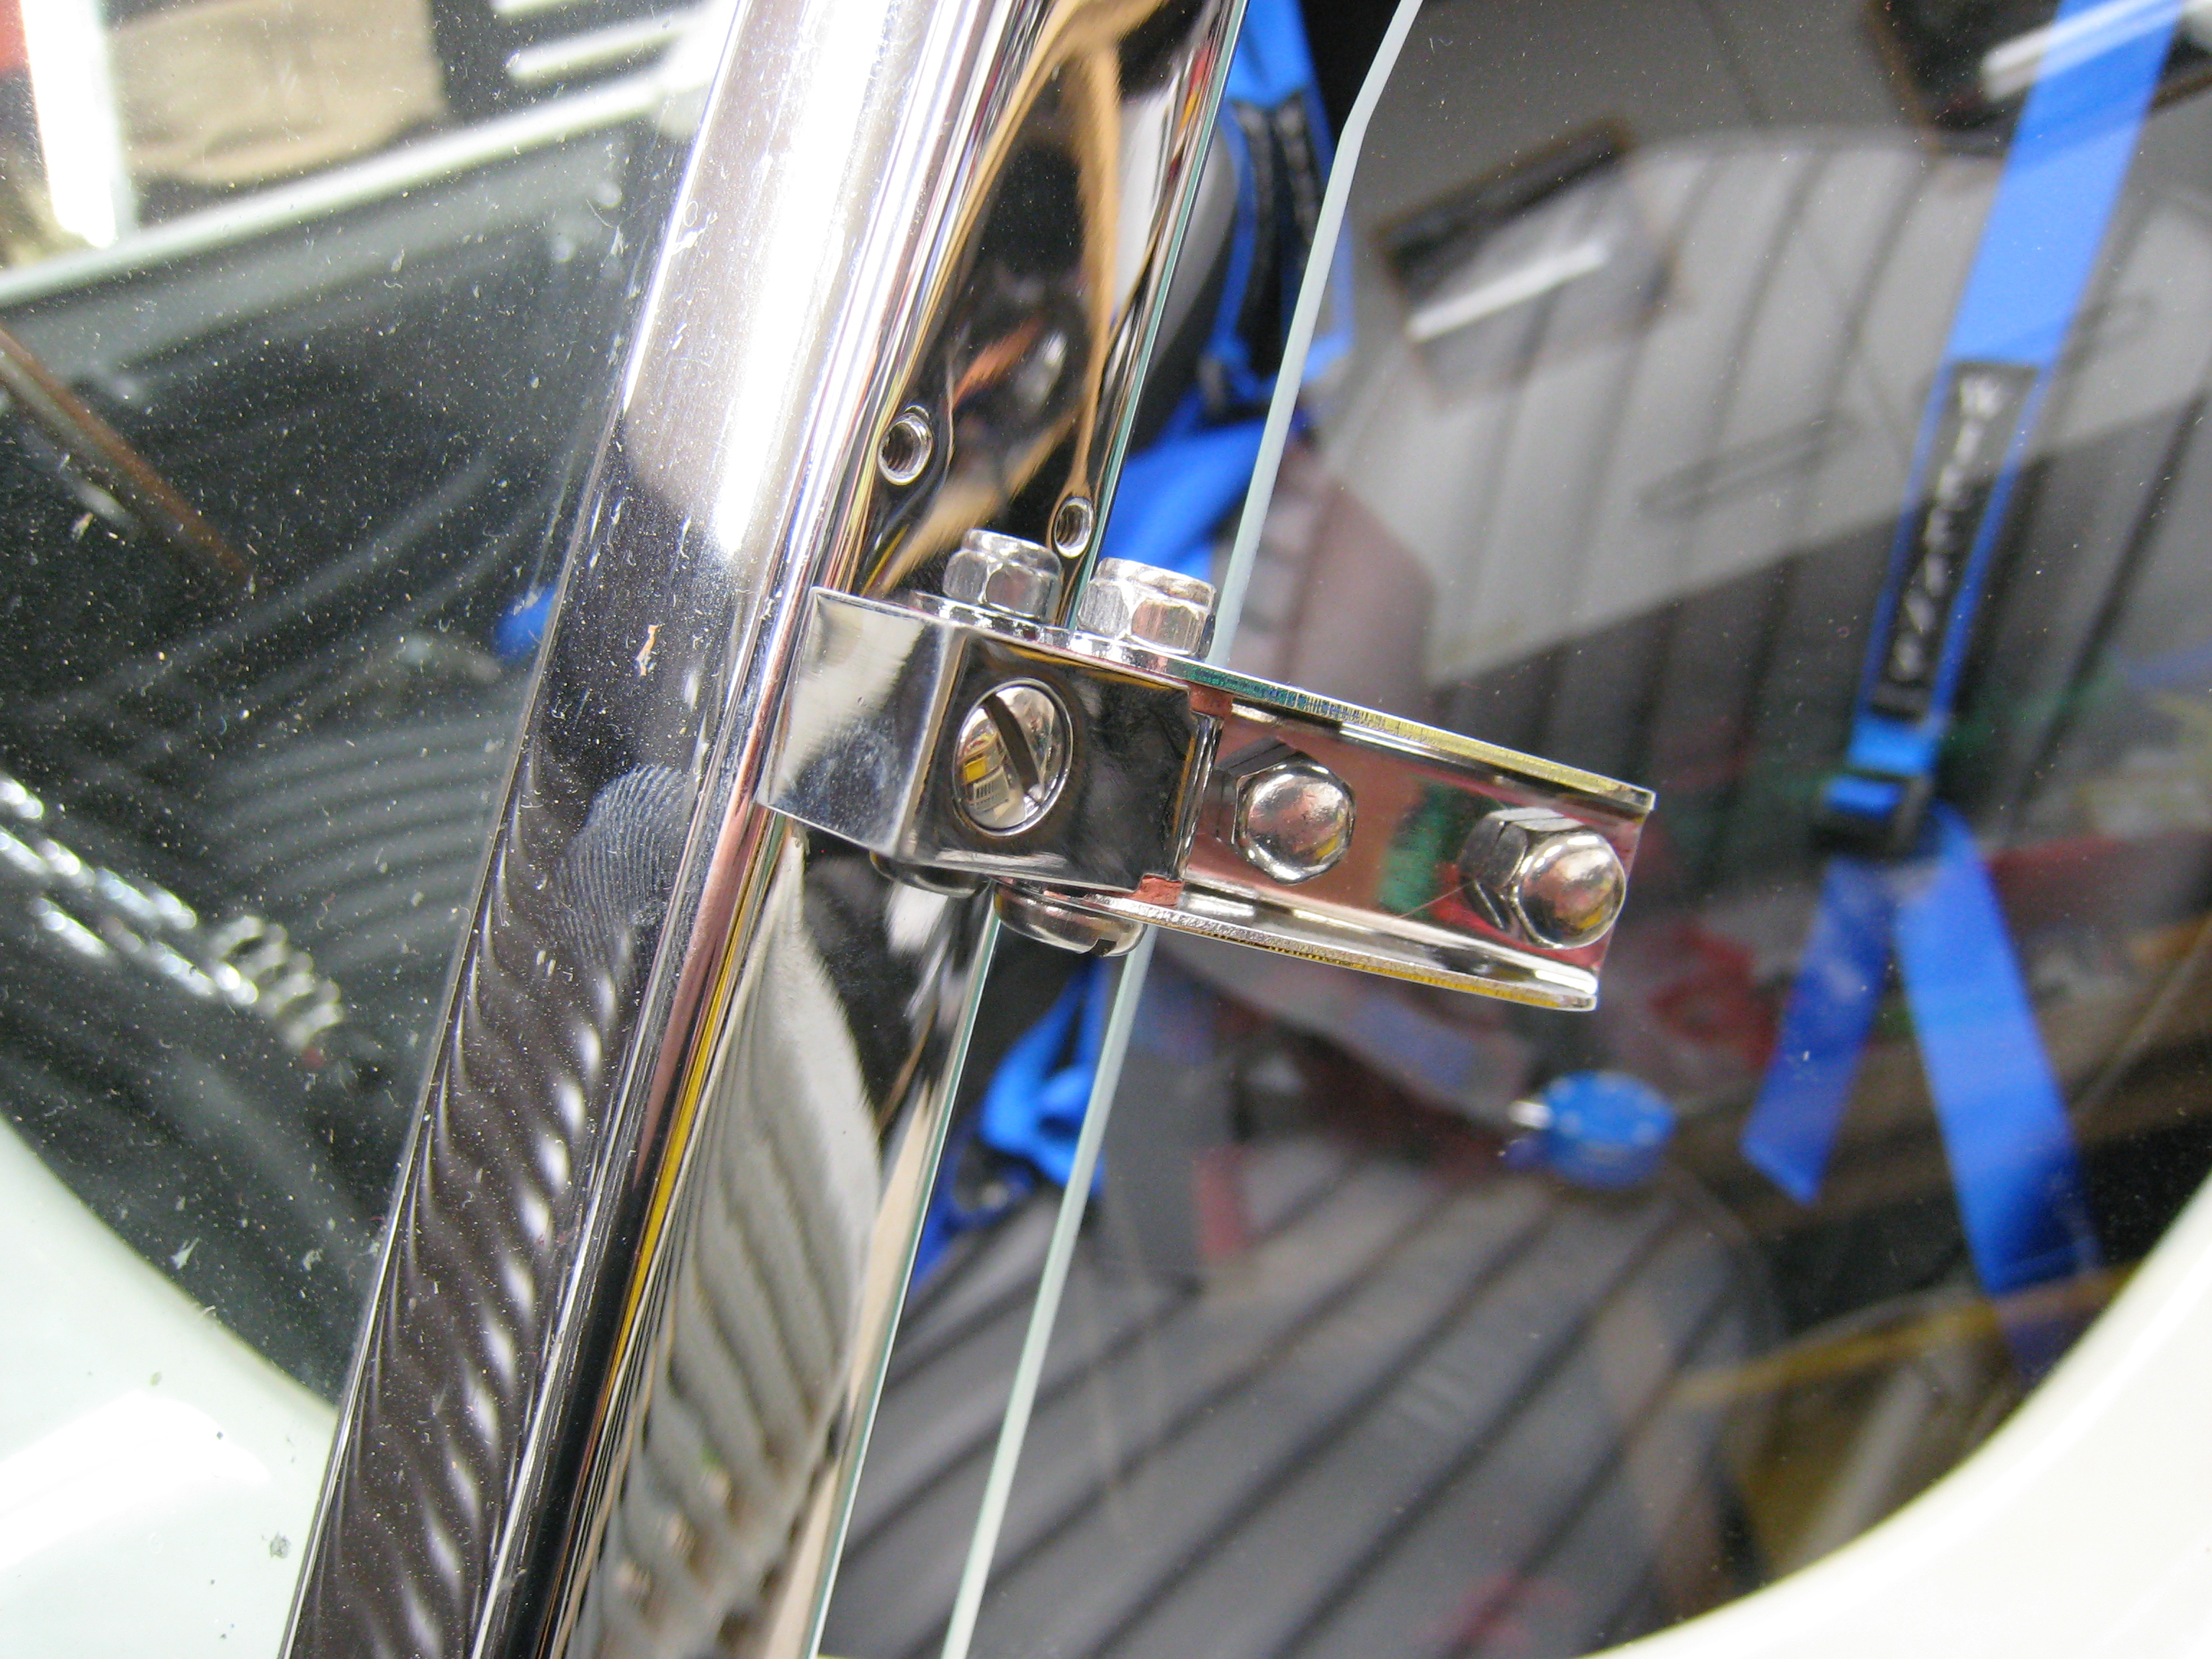
Side Screens / Wind Deflectors
Again another easy addition, windscreen uprights have 4 screws holding the frame in, simply remove two and screw on the
brackets with the longer bolts supplied with the kit.
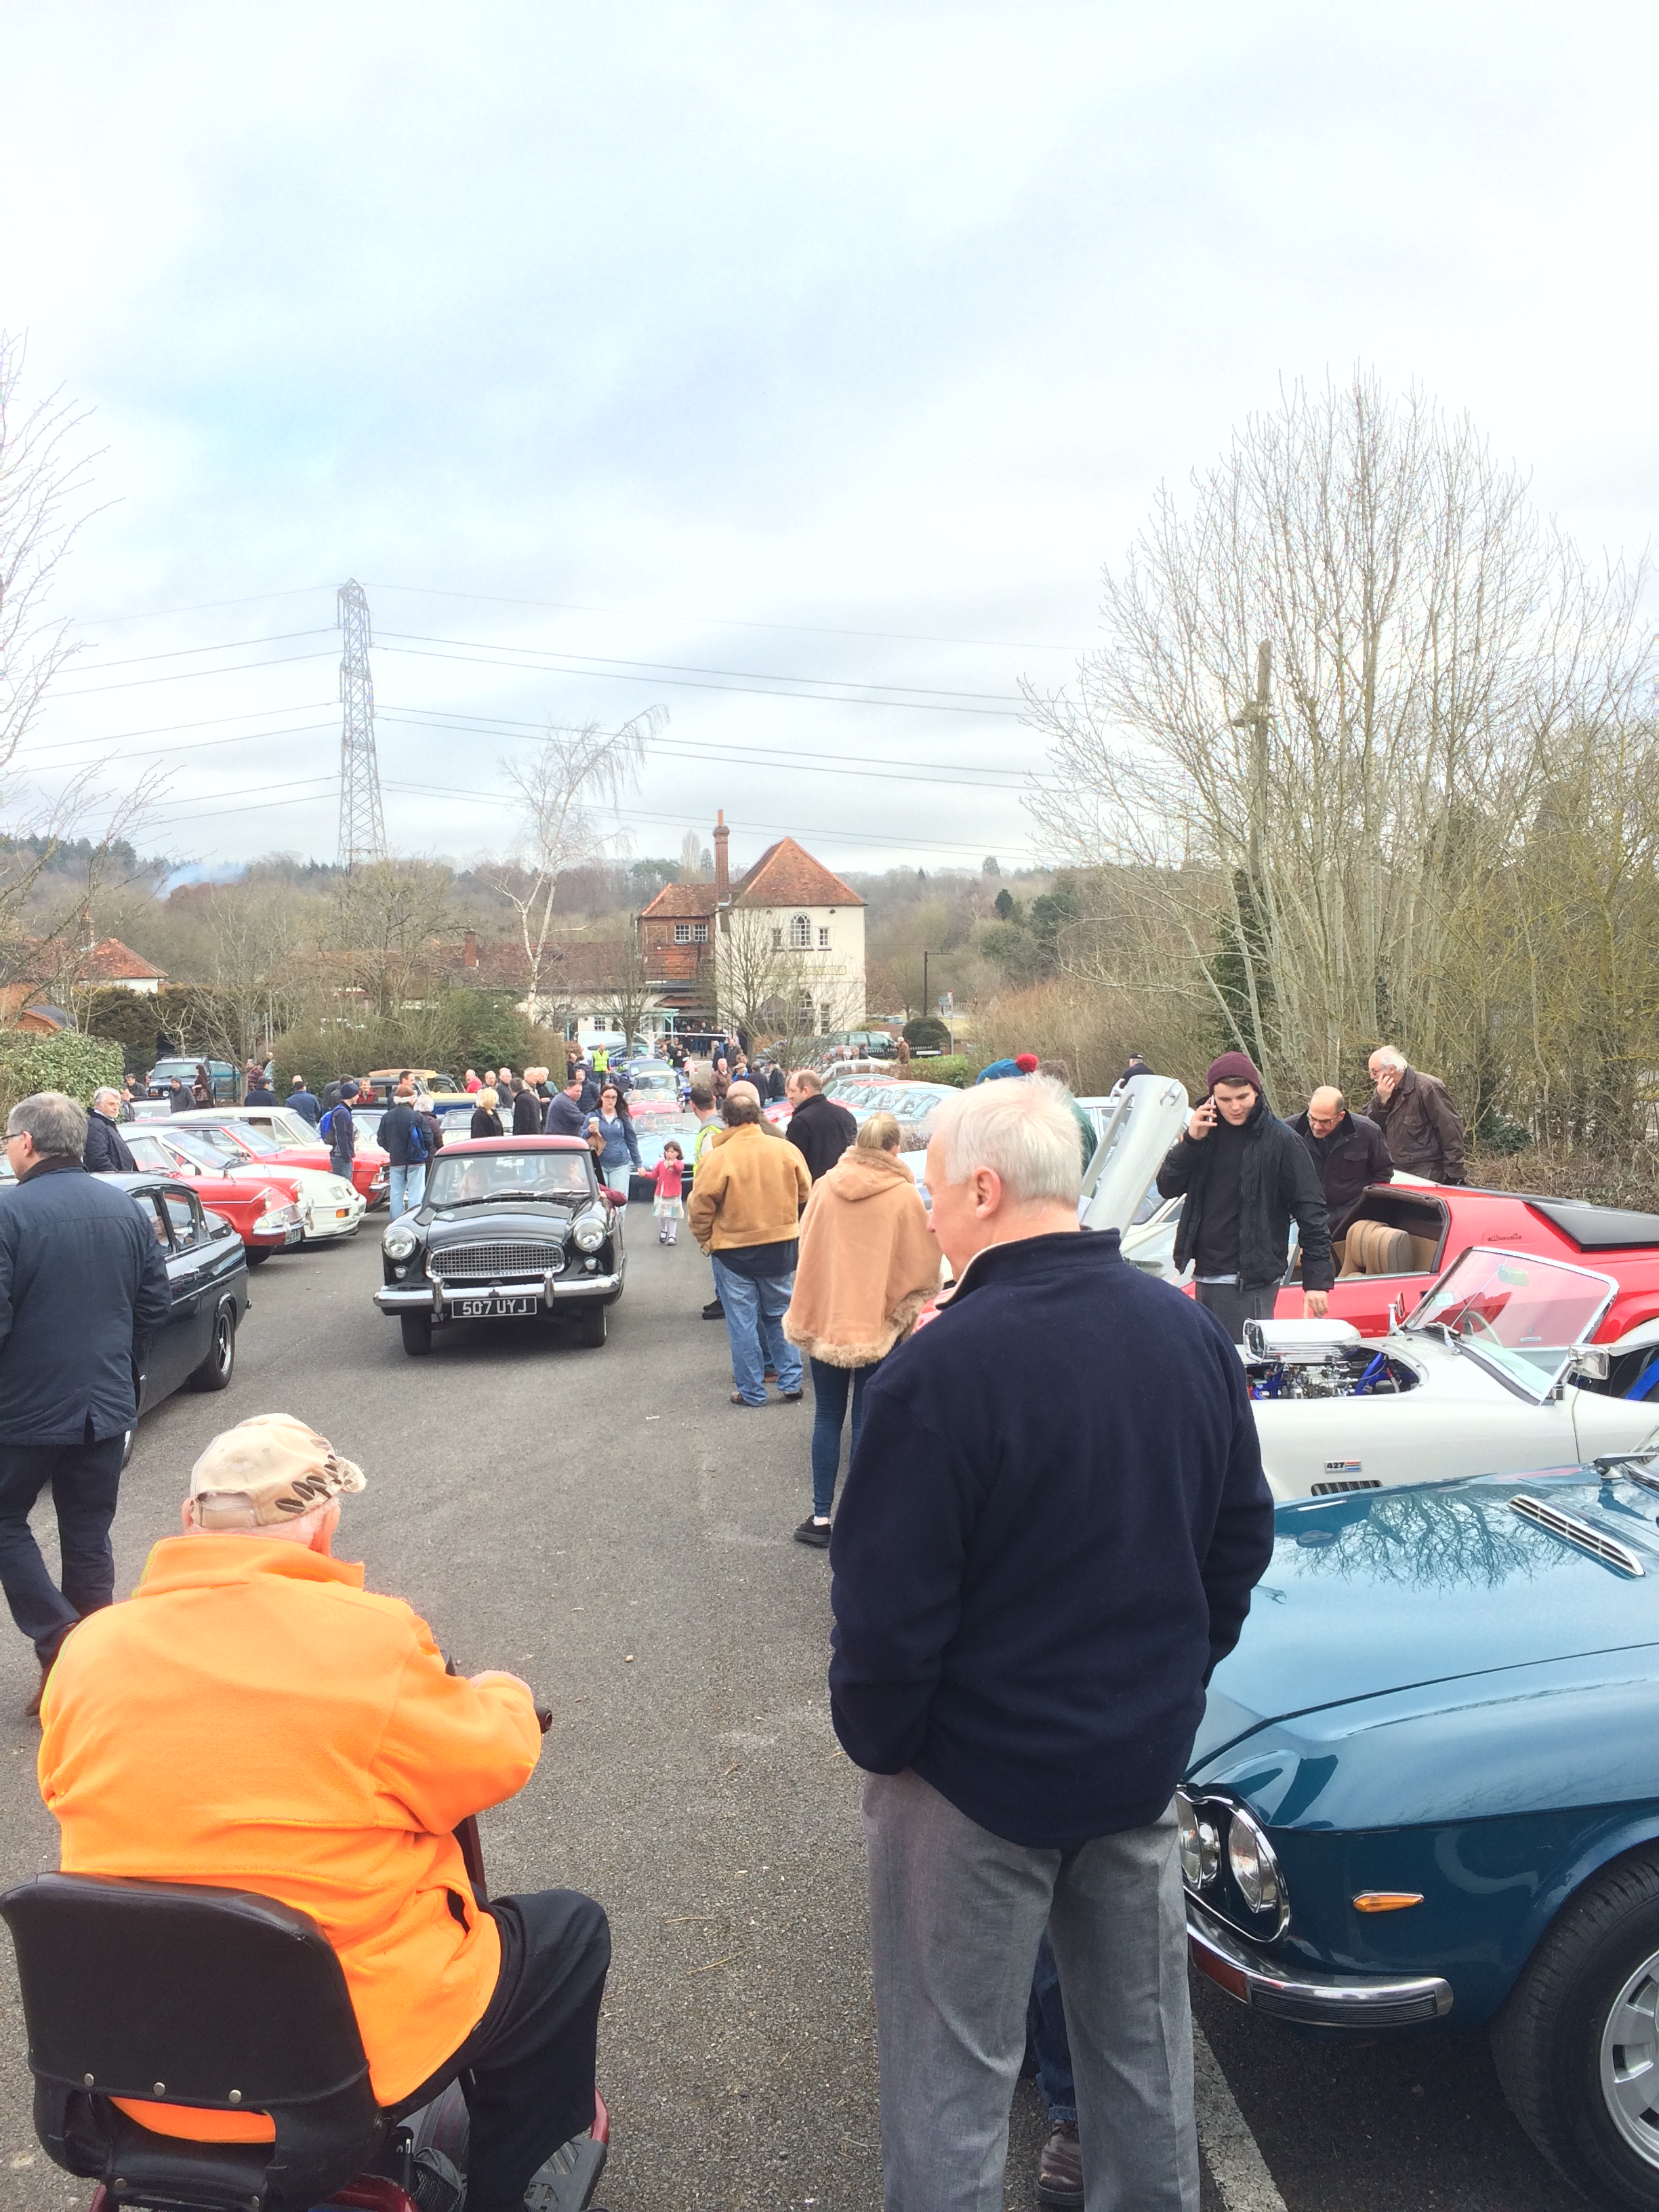
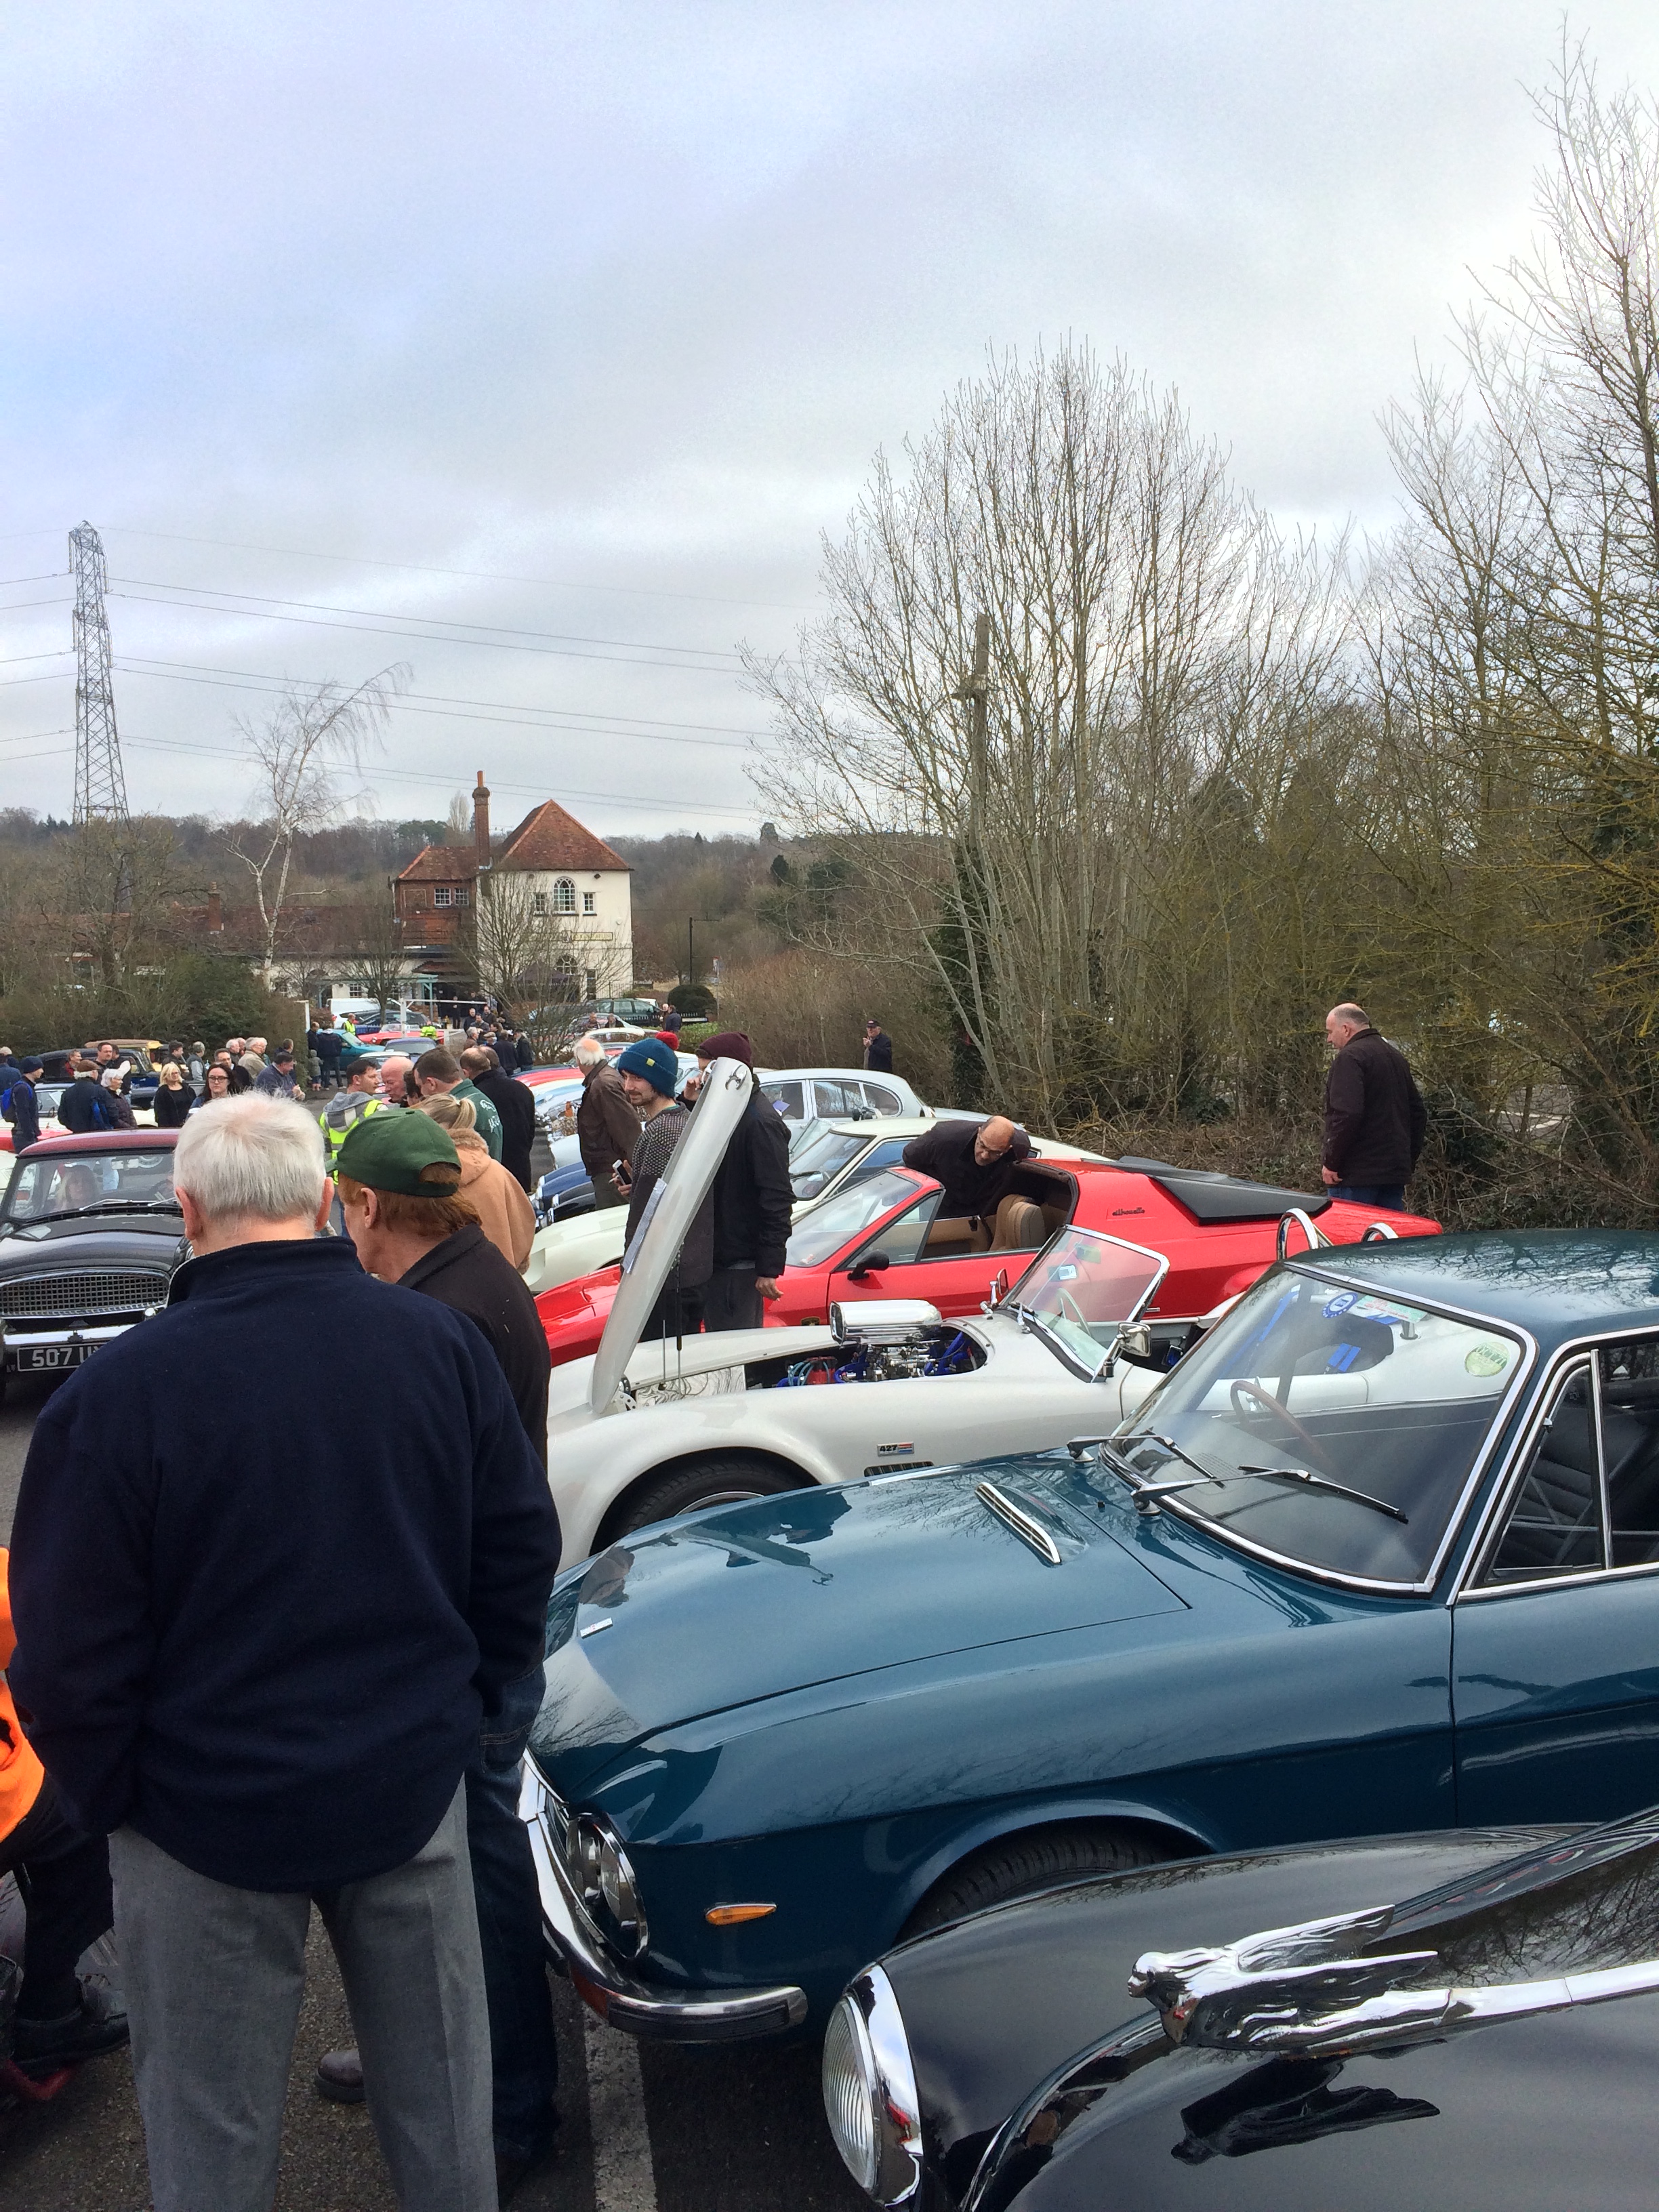
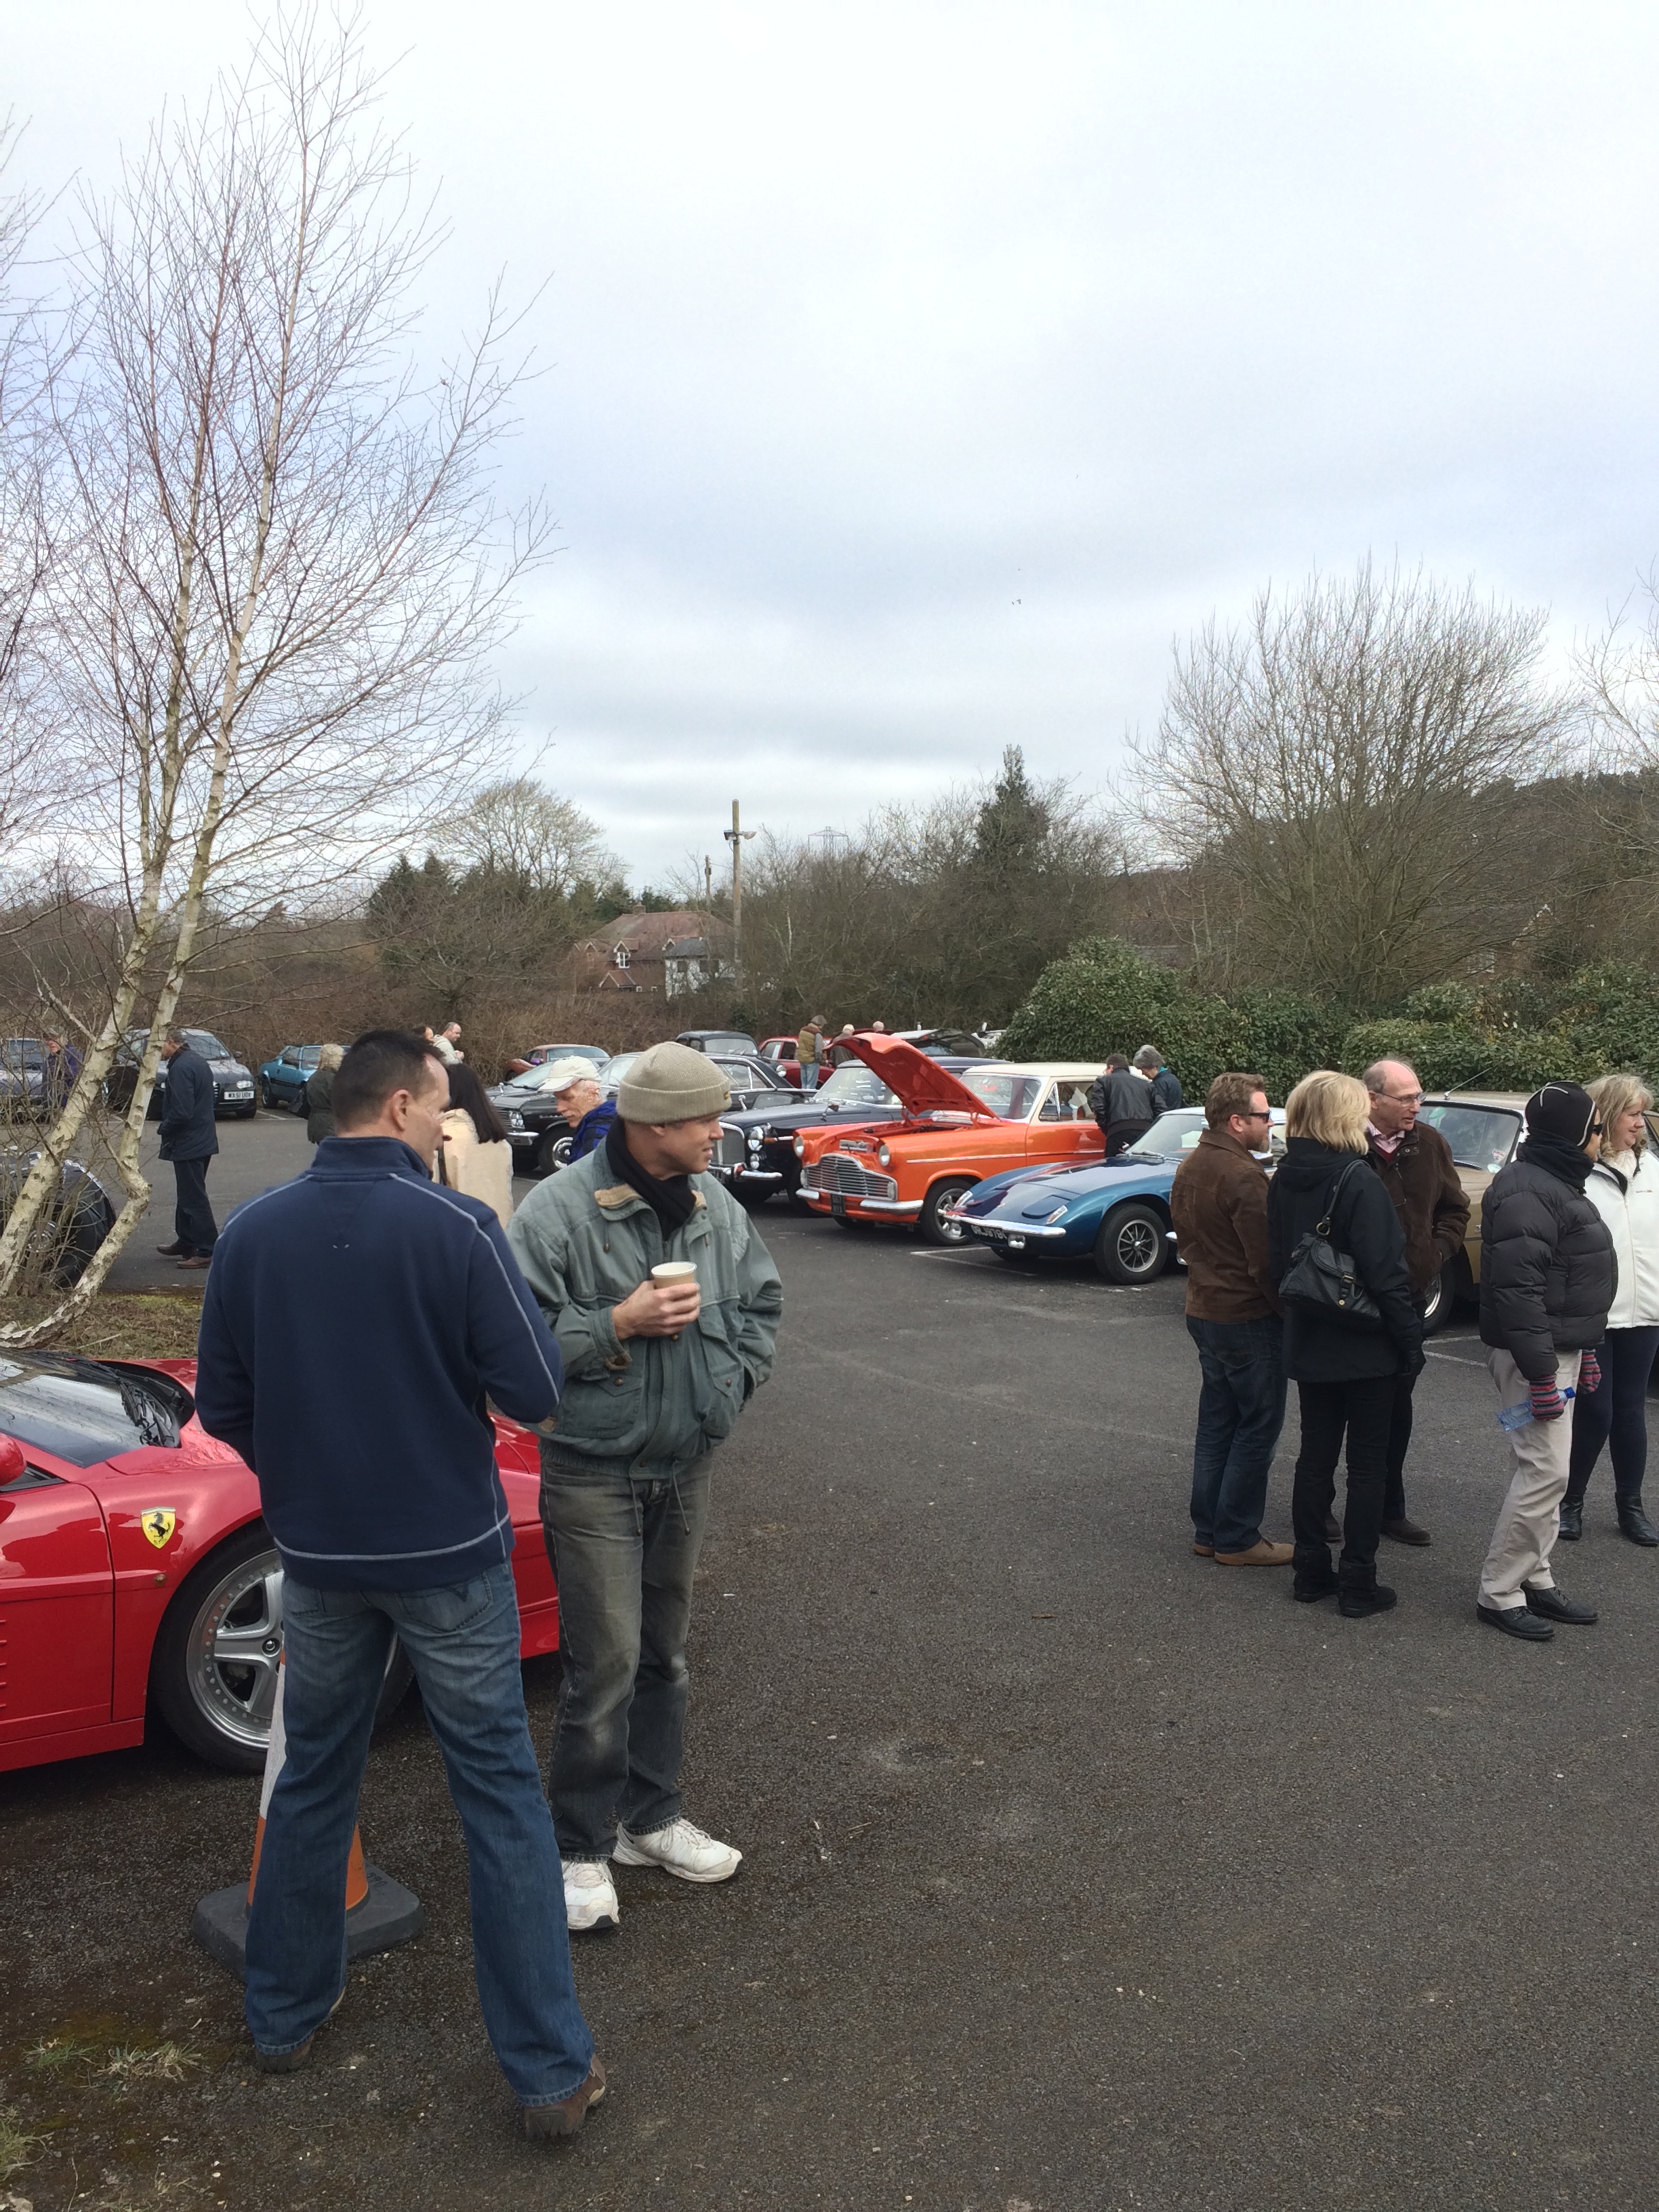
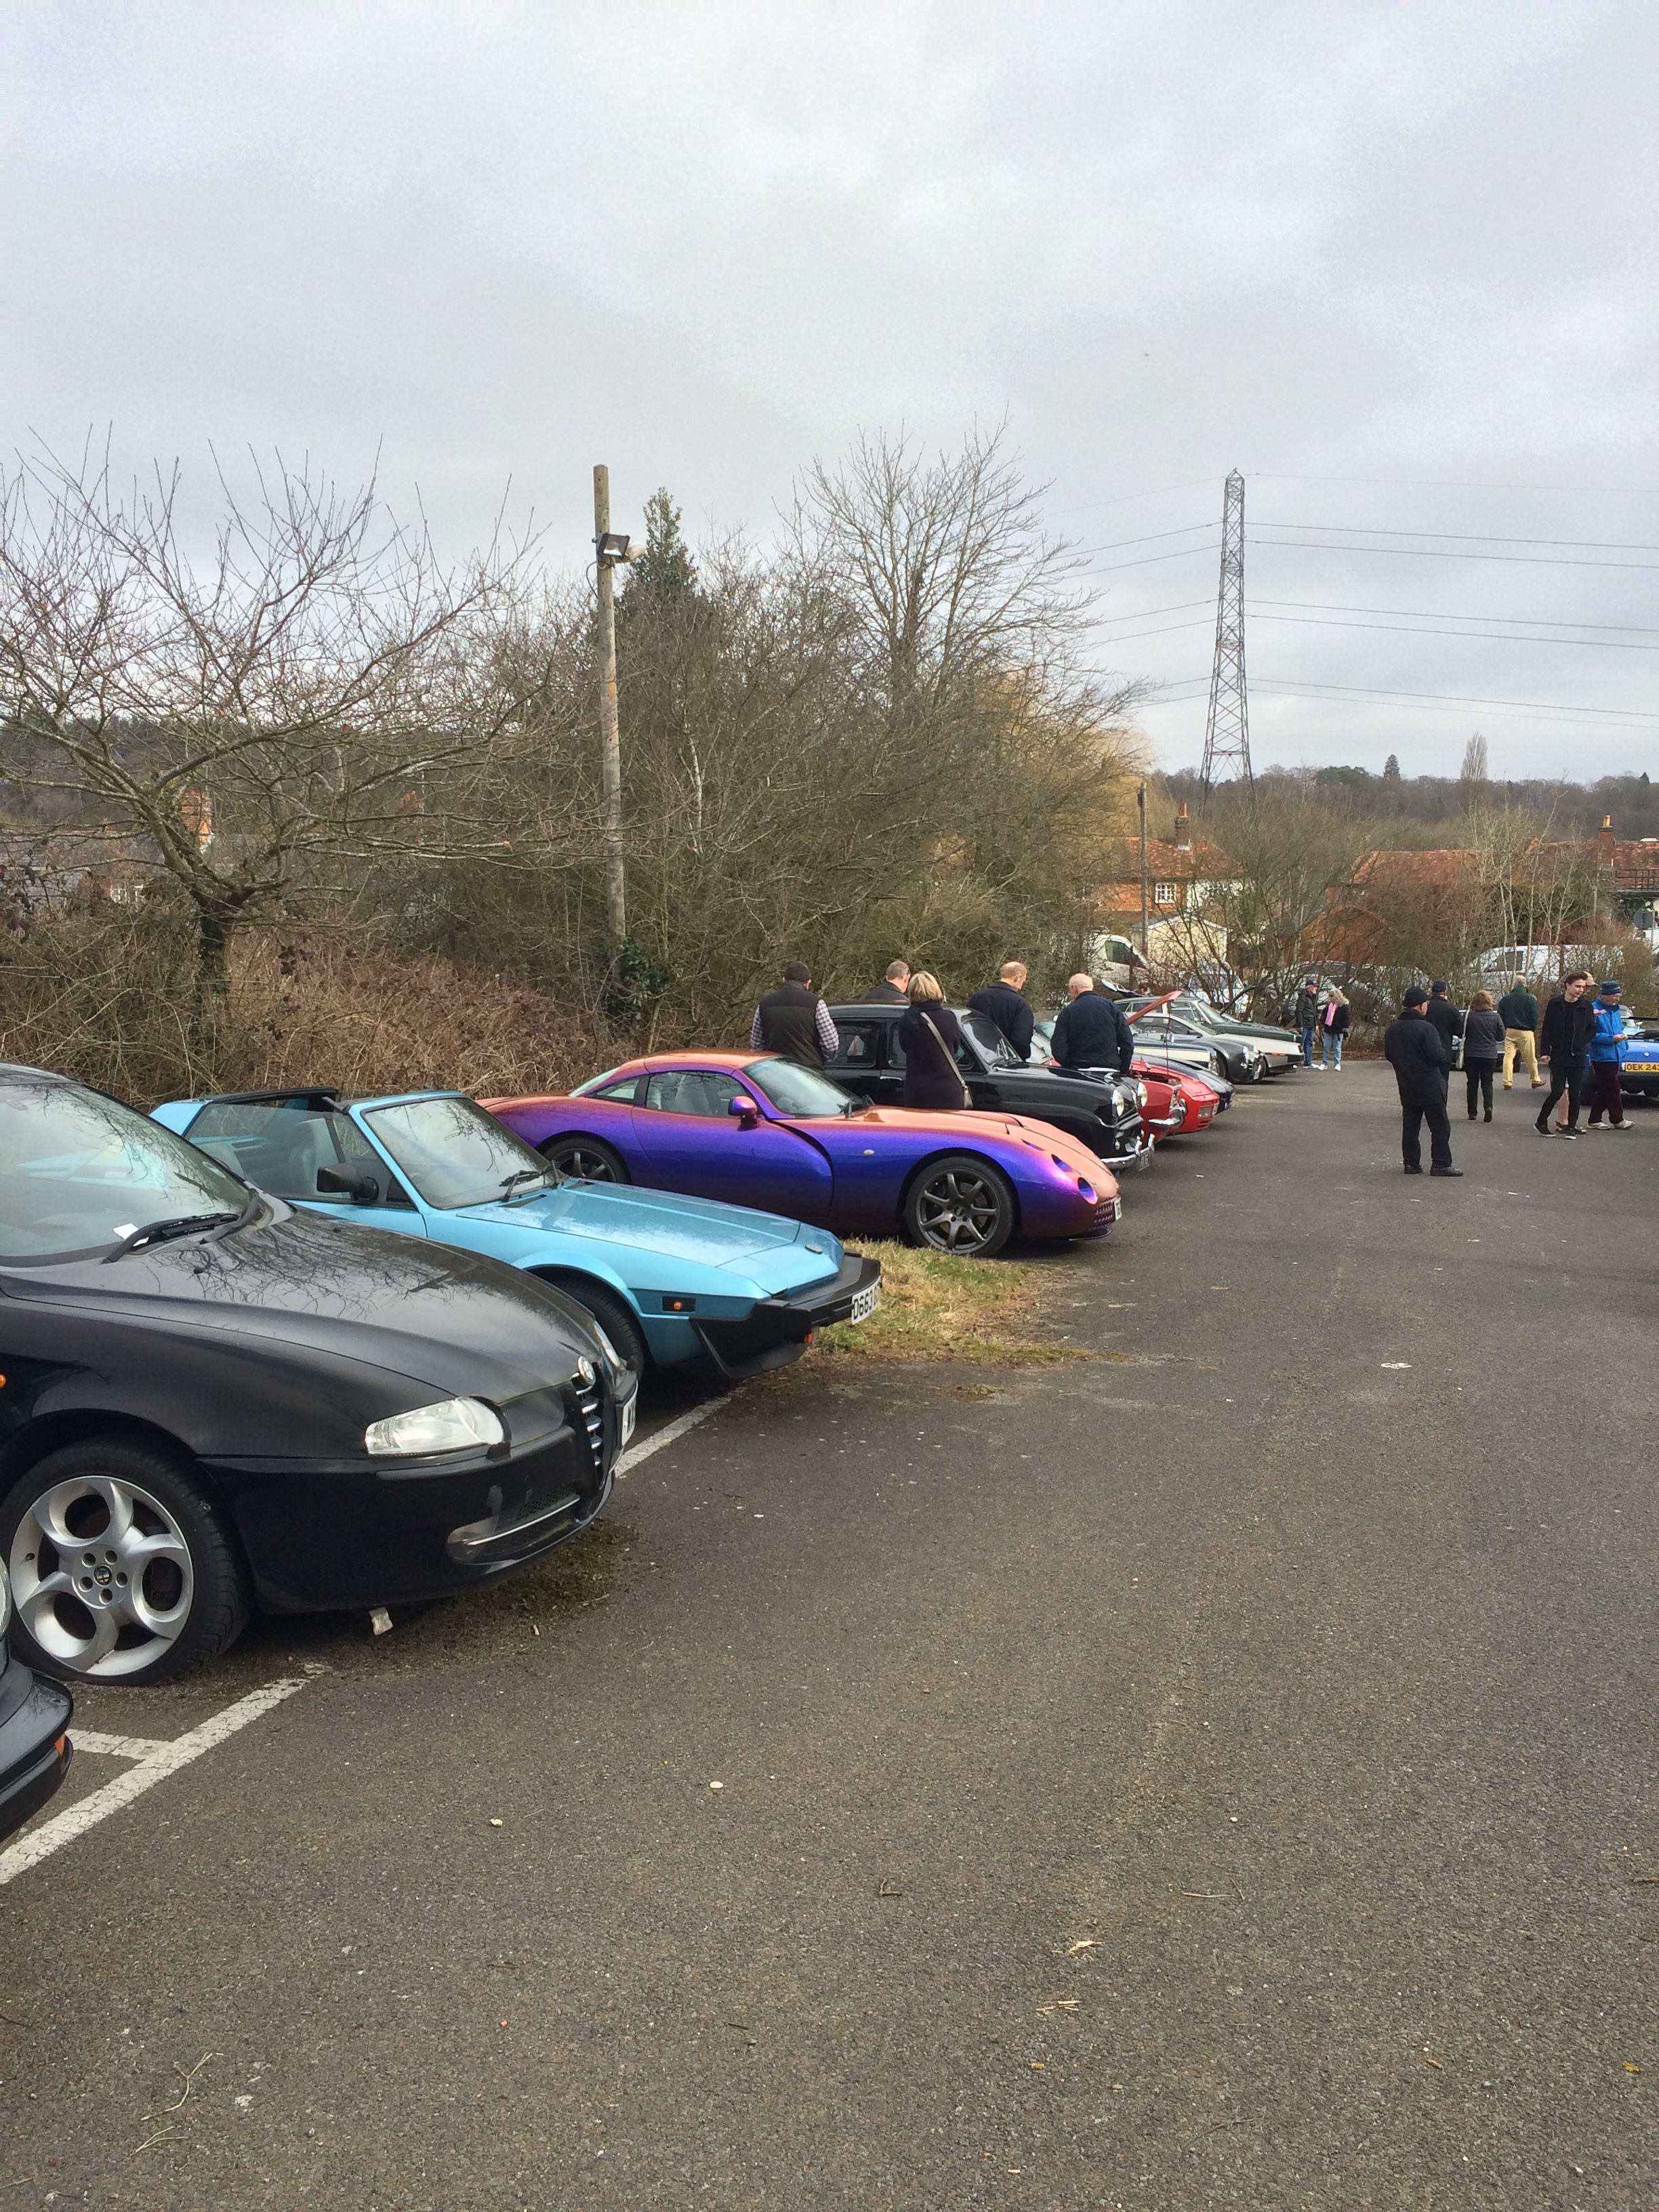
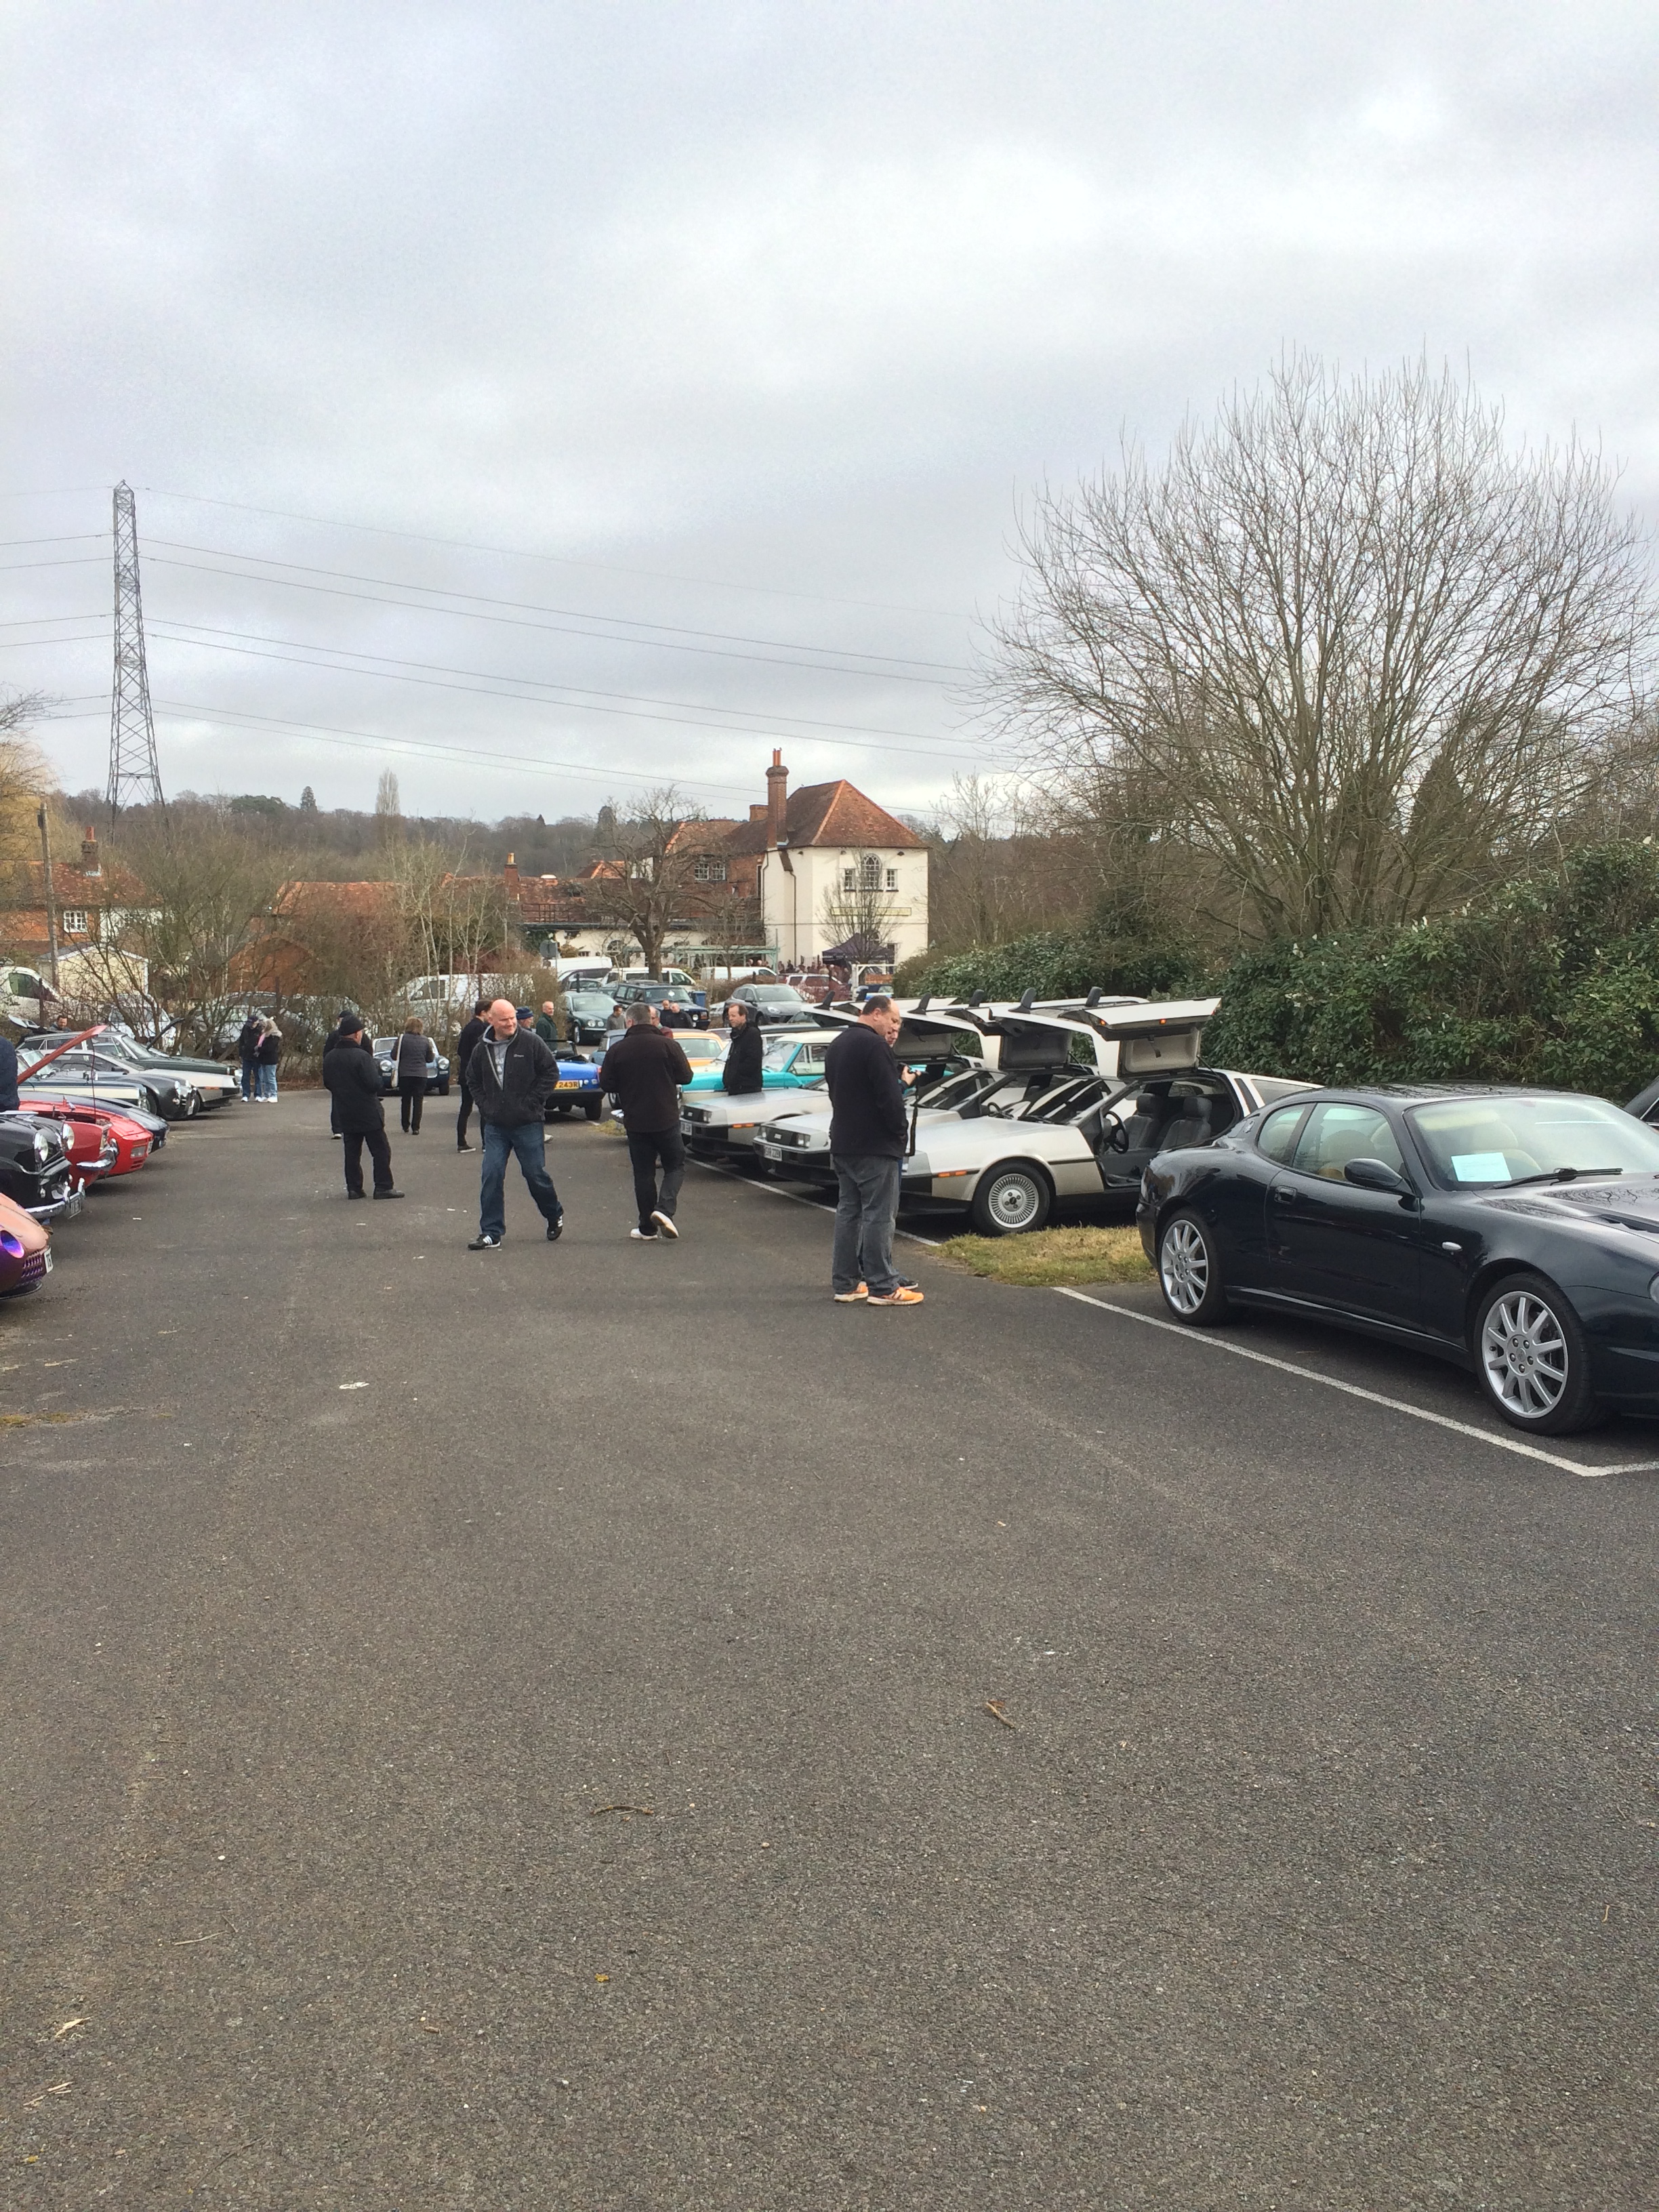
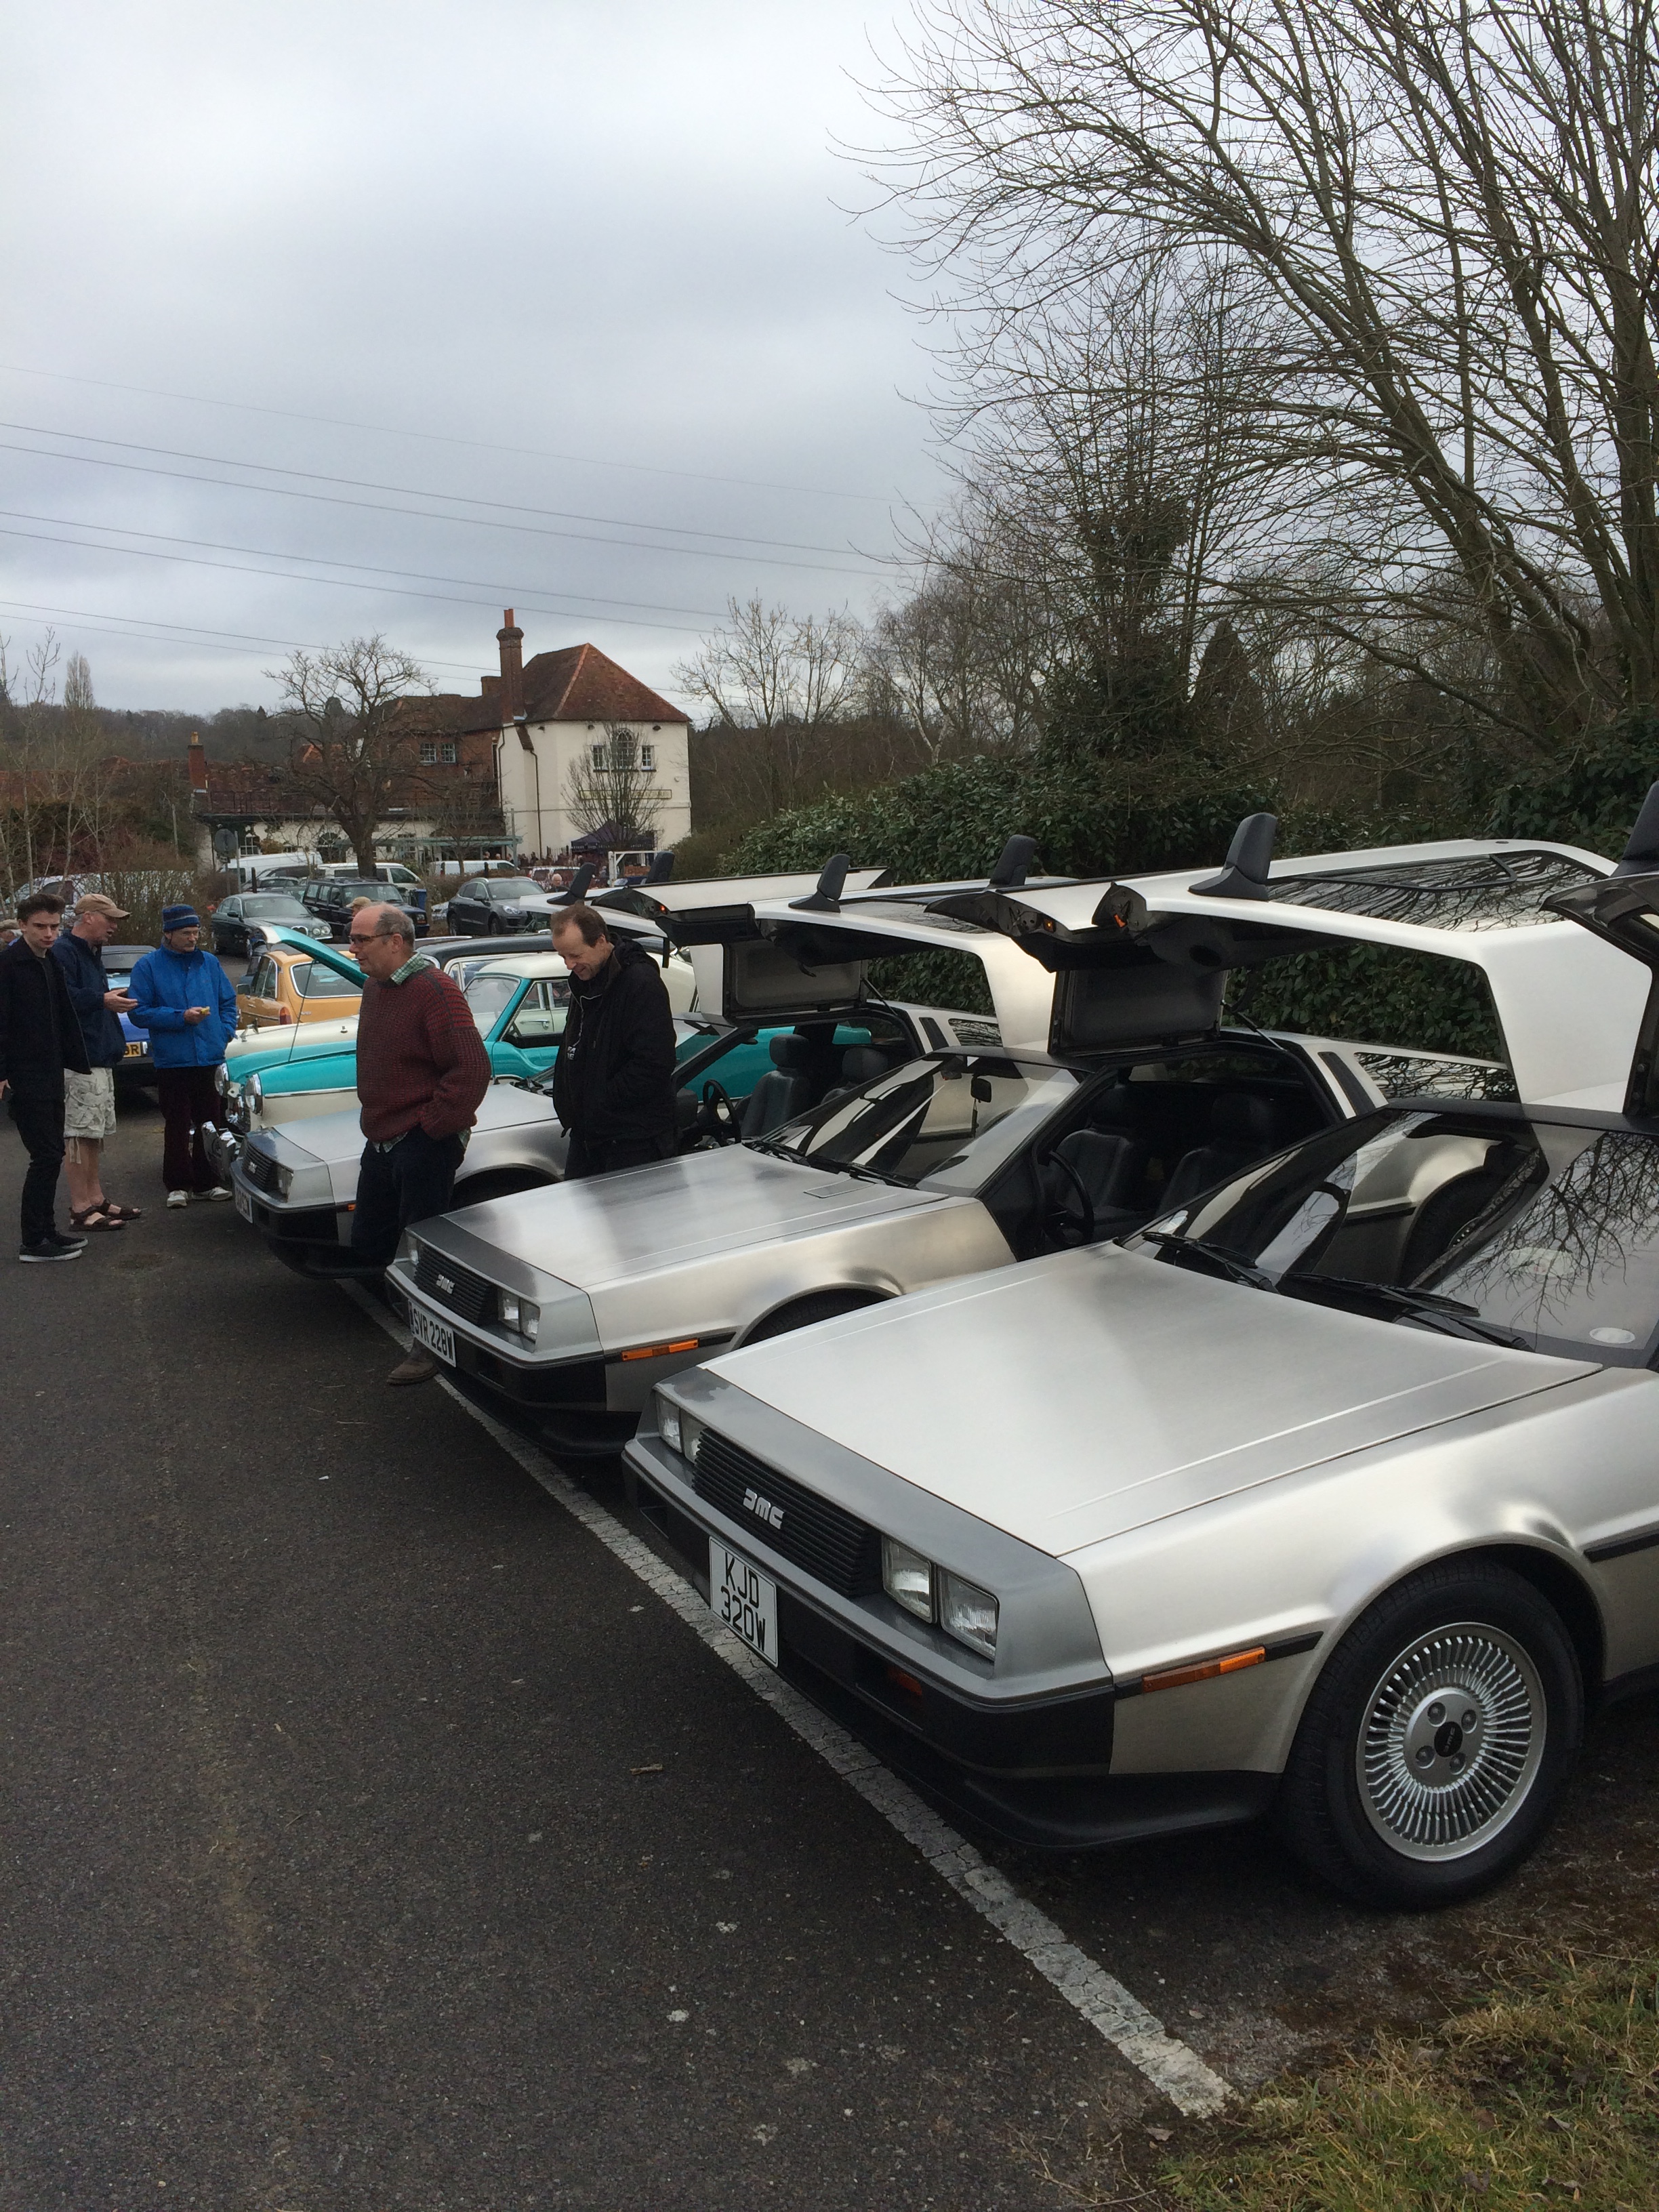
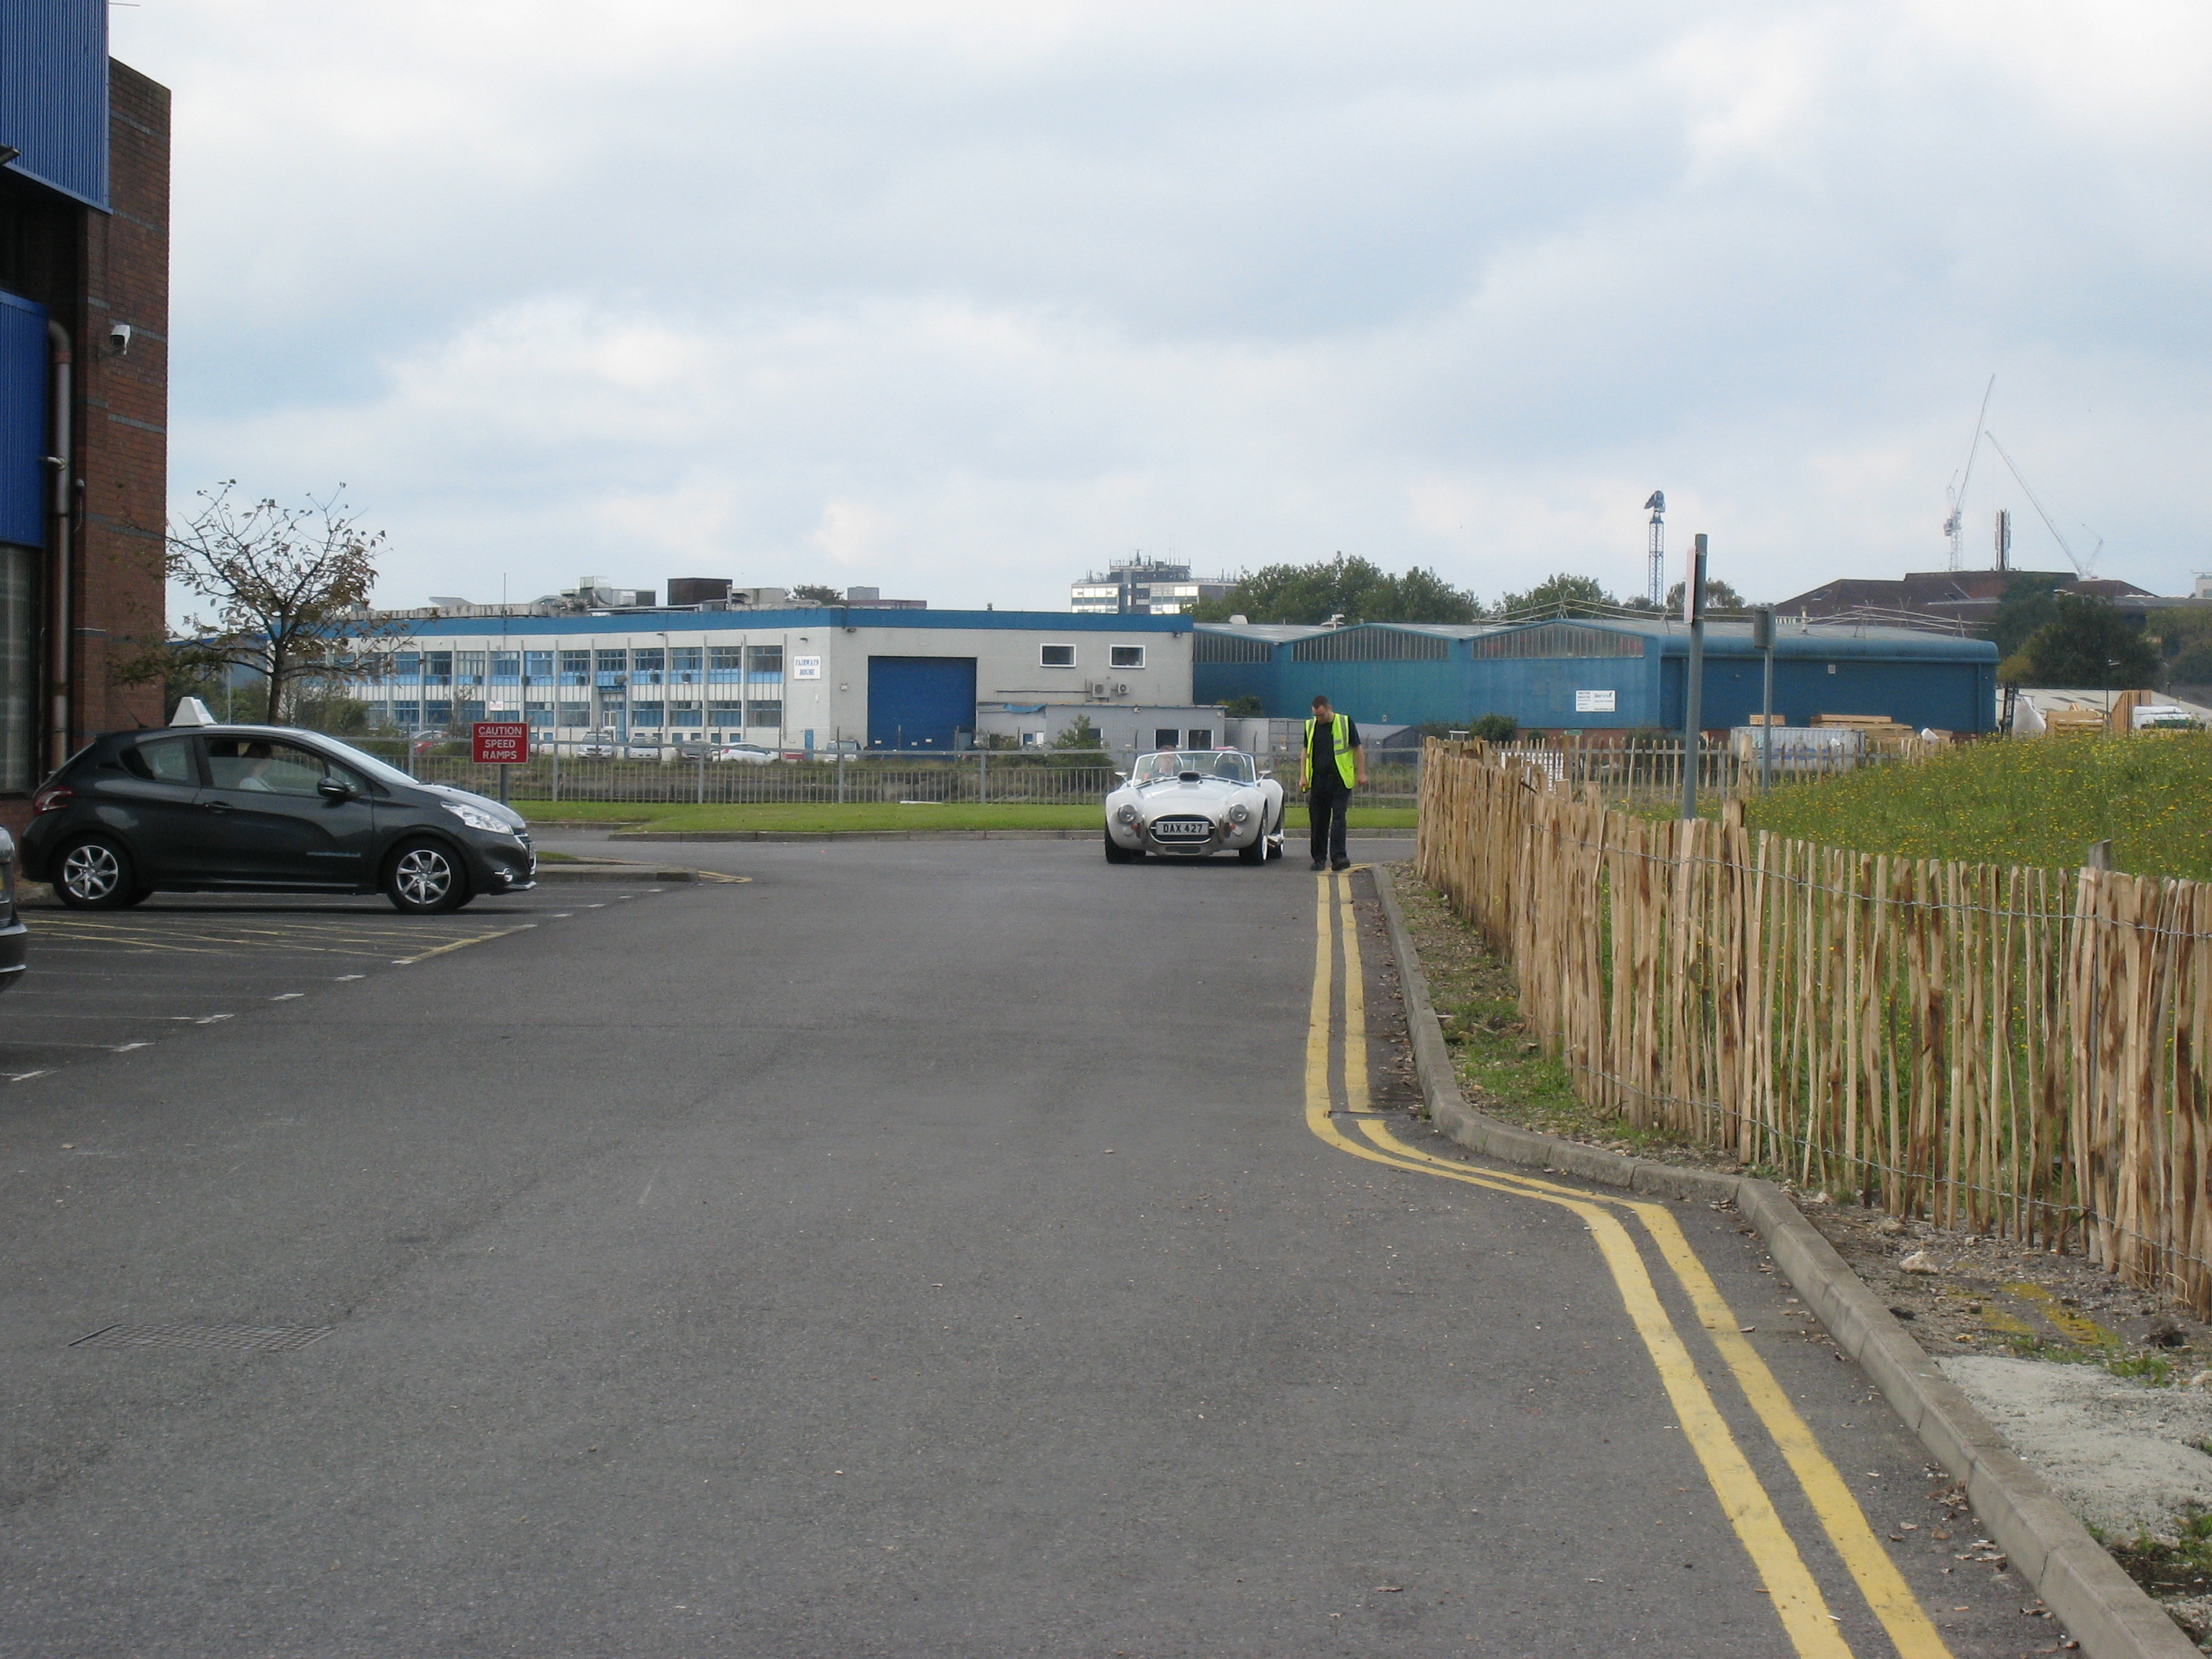
White Lion Breakfast Club - Sunday 8th March 2015
Decided not to venture too far for the first show I'd actually driven the car to. I now know she is running very rich and defiantly not to the full potential, this is more to do with the
restriction of the air filter I think more than the carb setup; however I made to the show without incident and the weather held. Here are a few shots of the cars that were there,
it was nice to see that the Cobra got plenty of interest as it was one of only a handful who opened their bonnets.


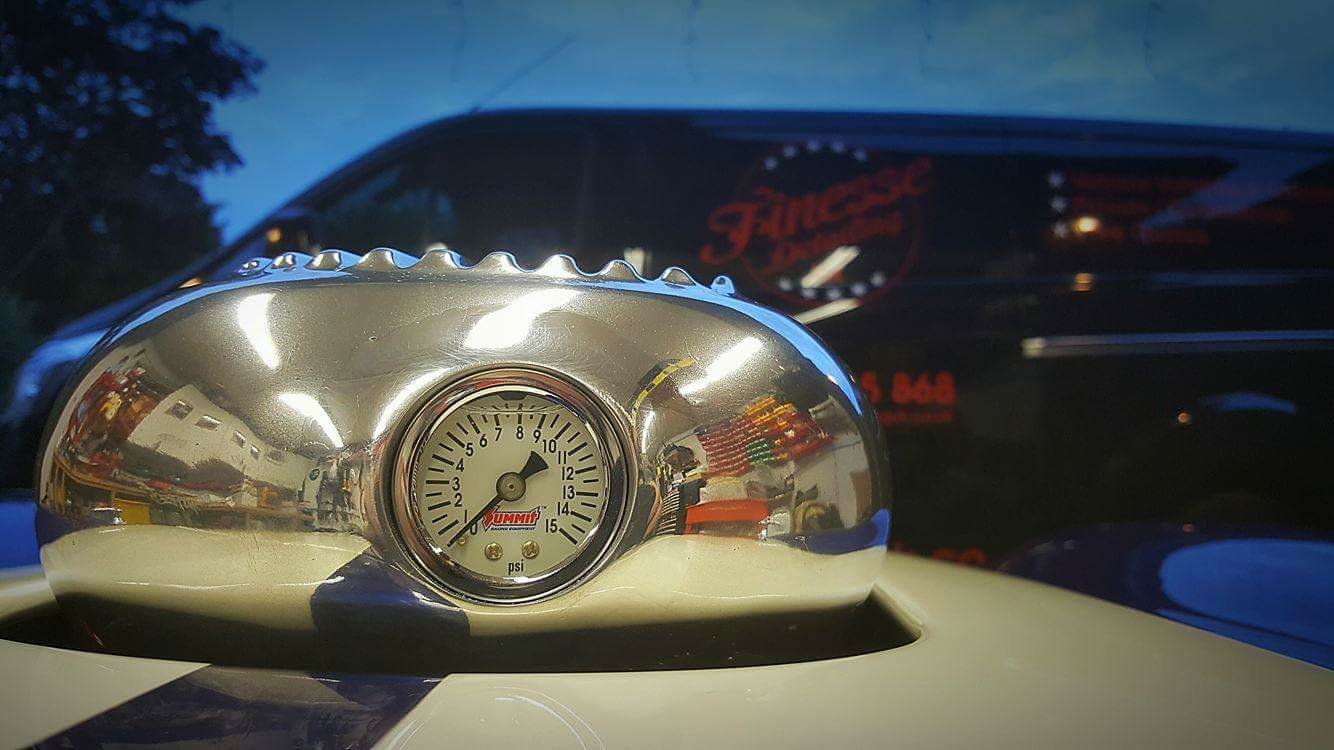
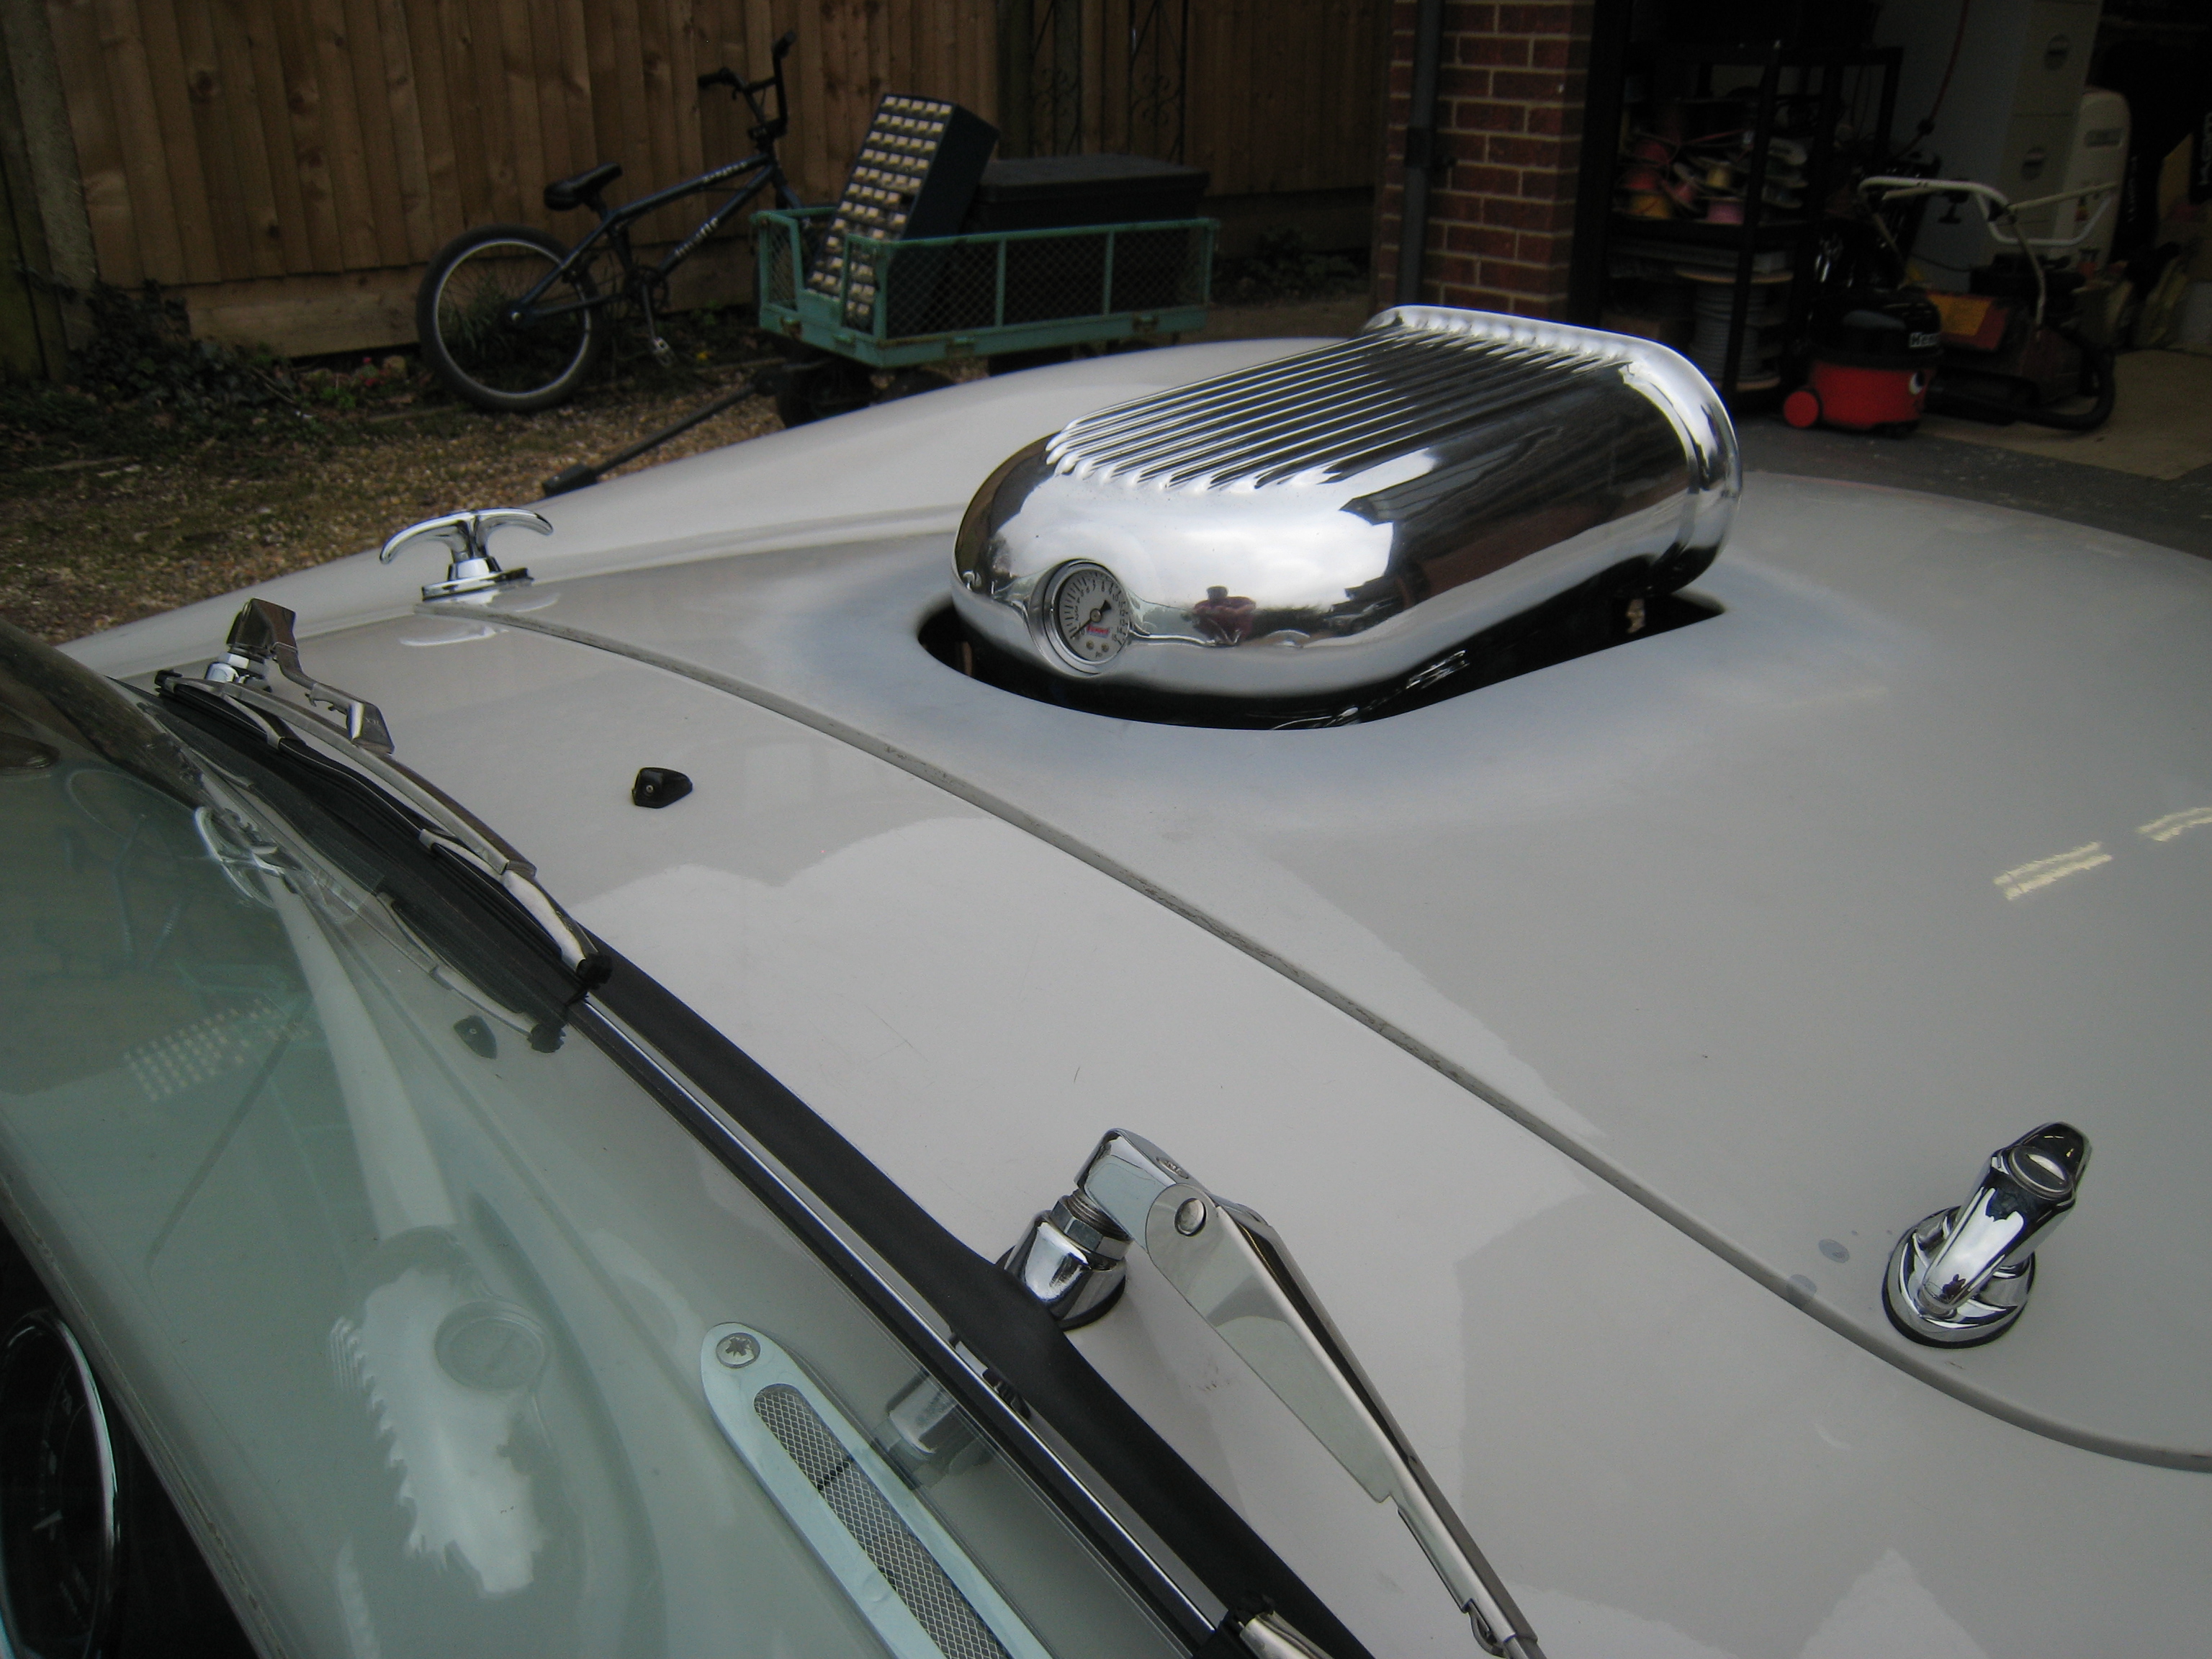
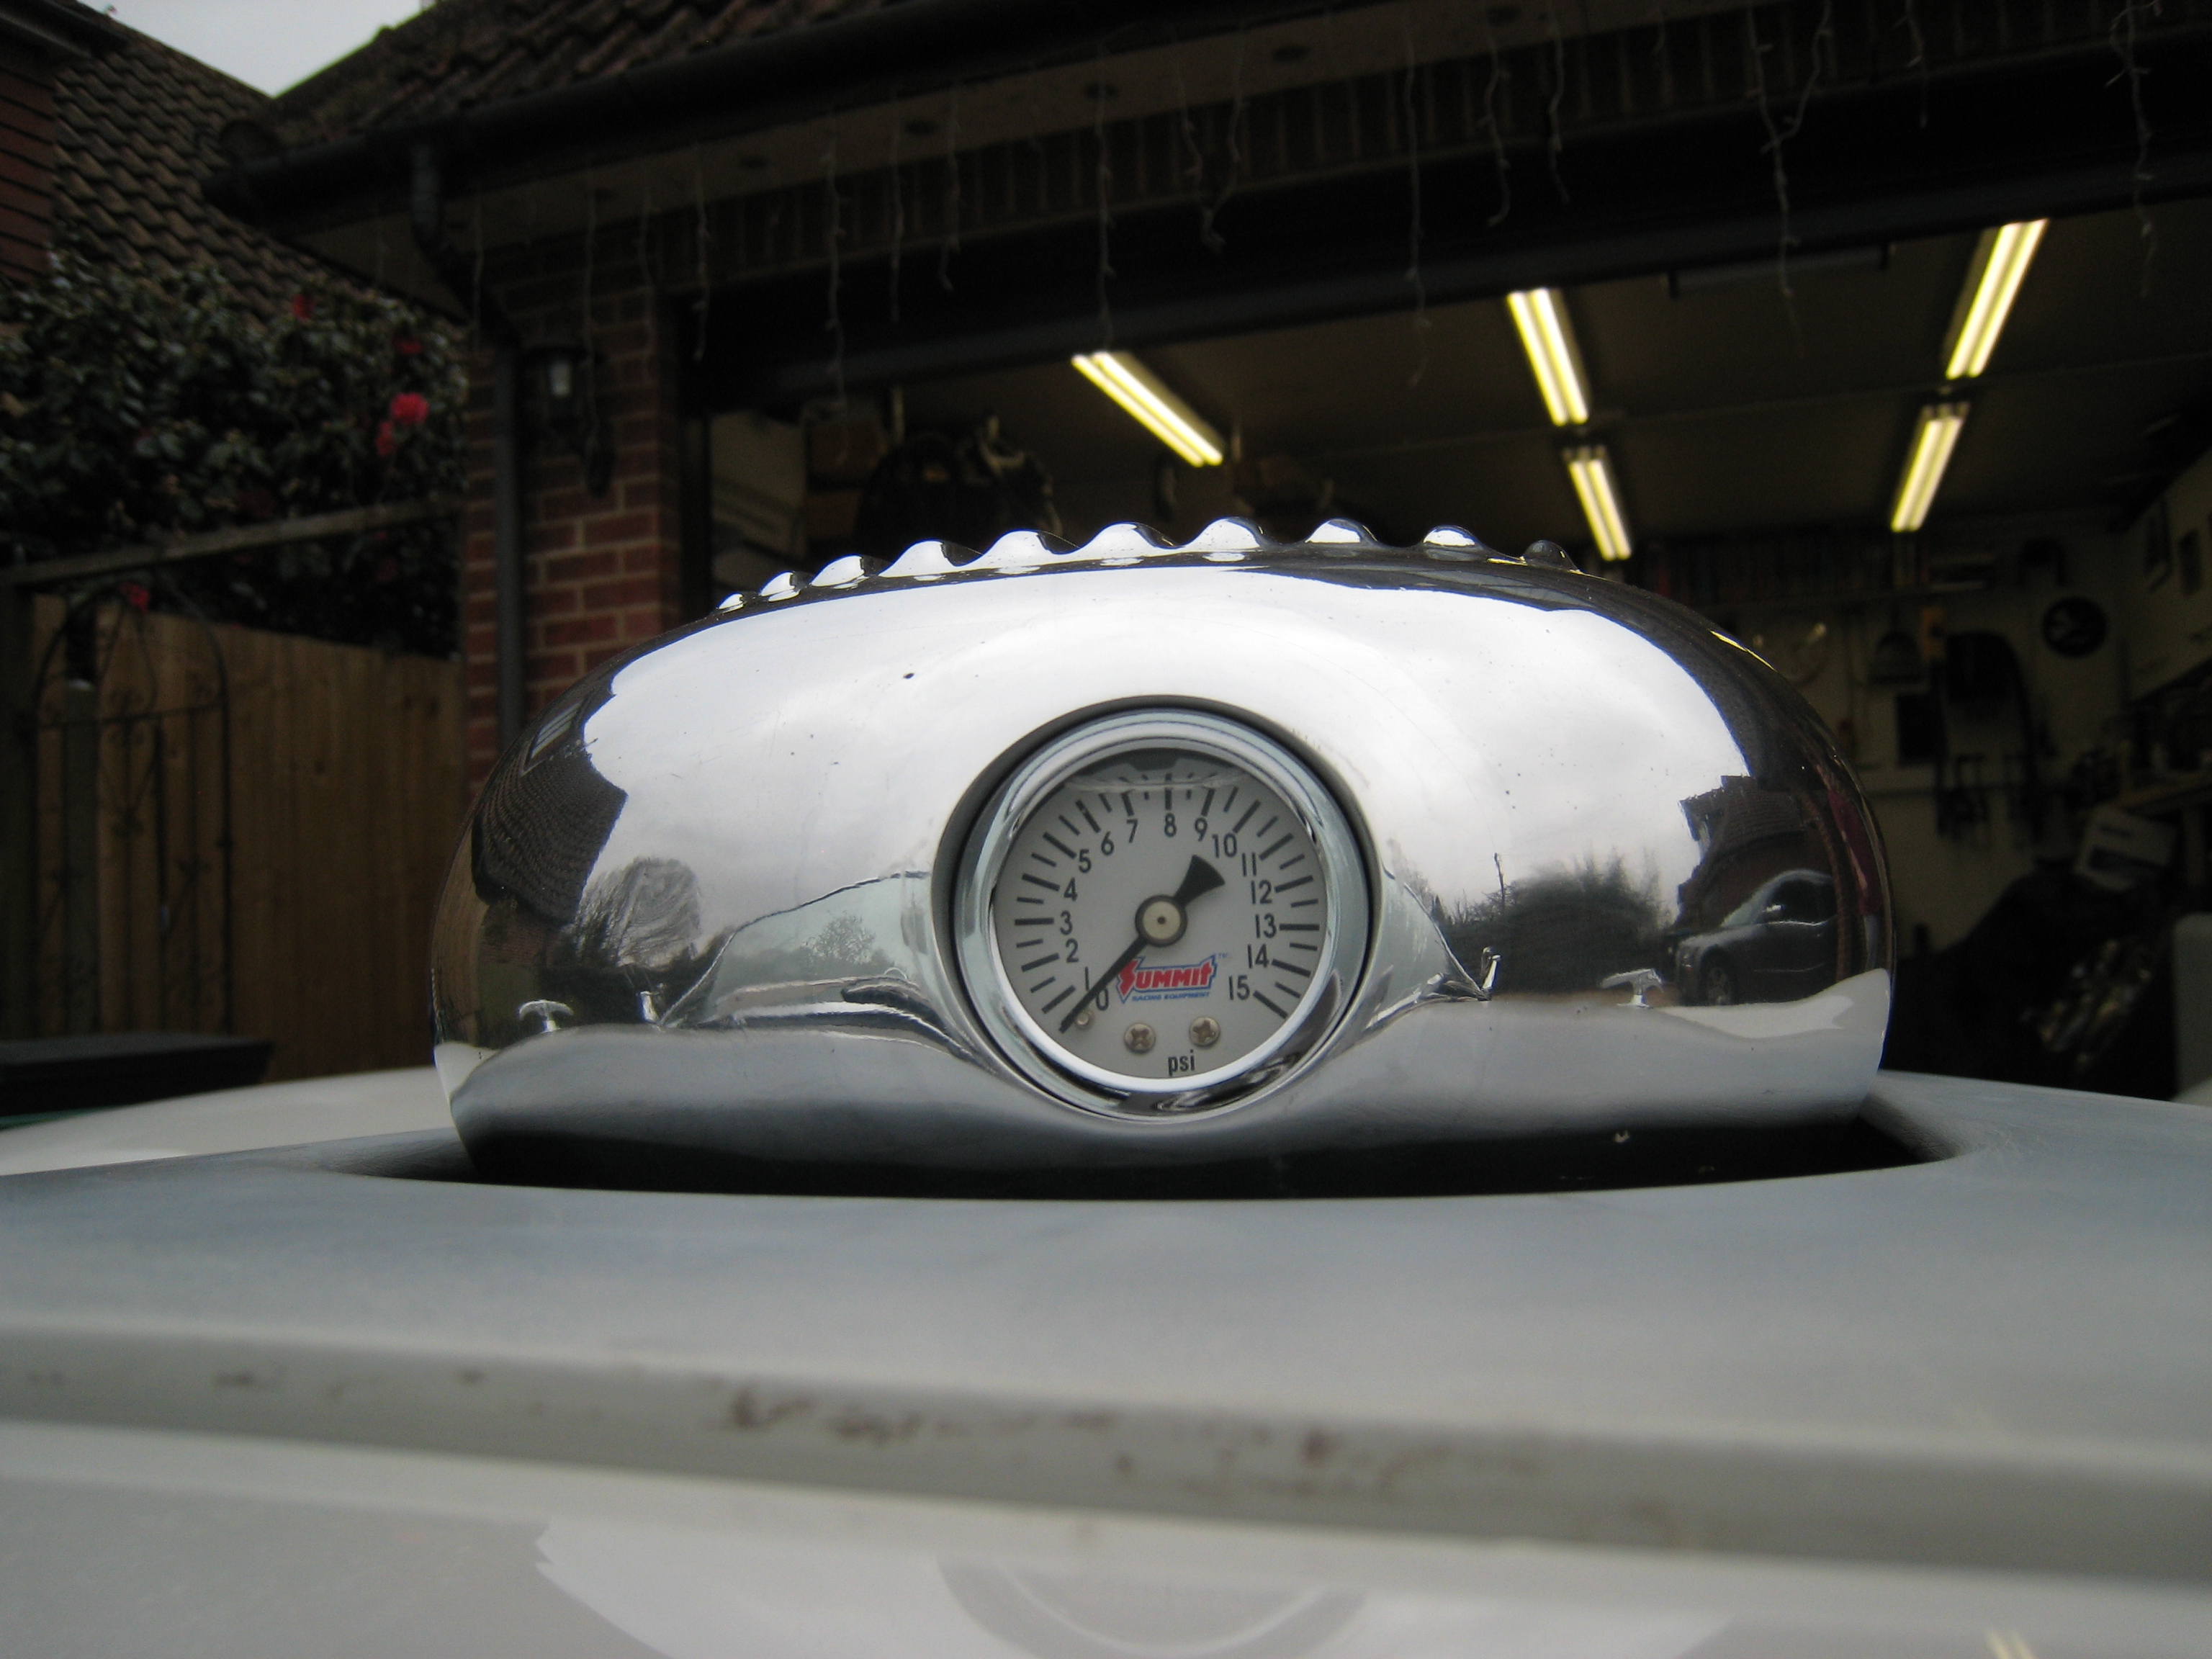
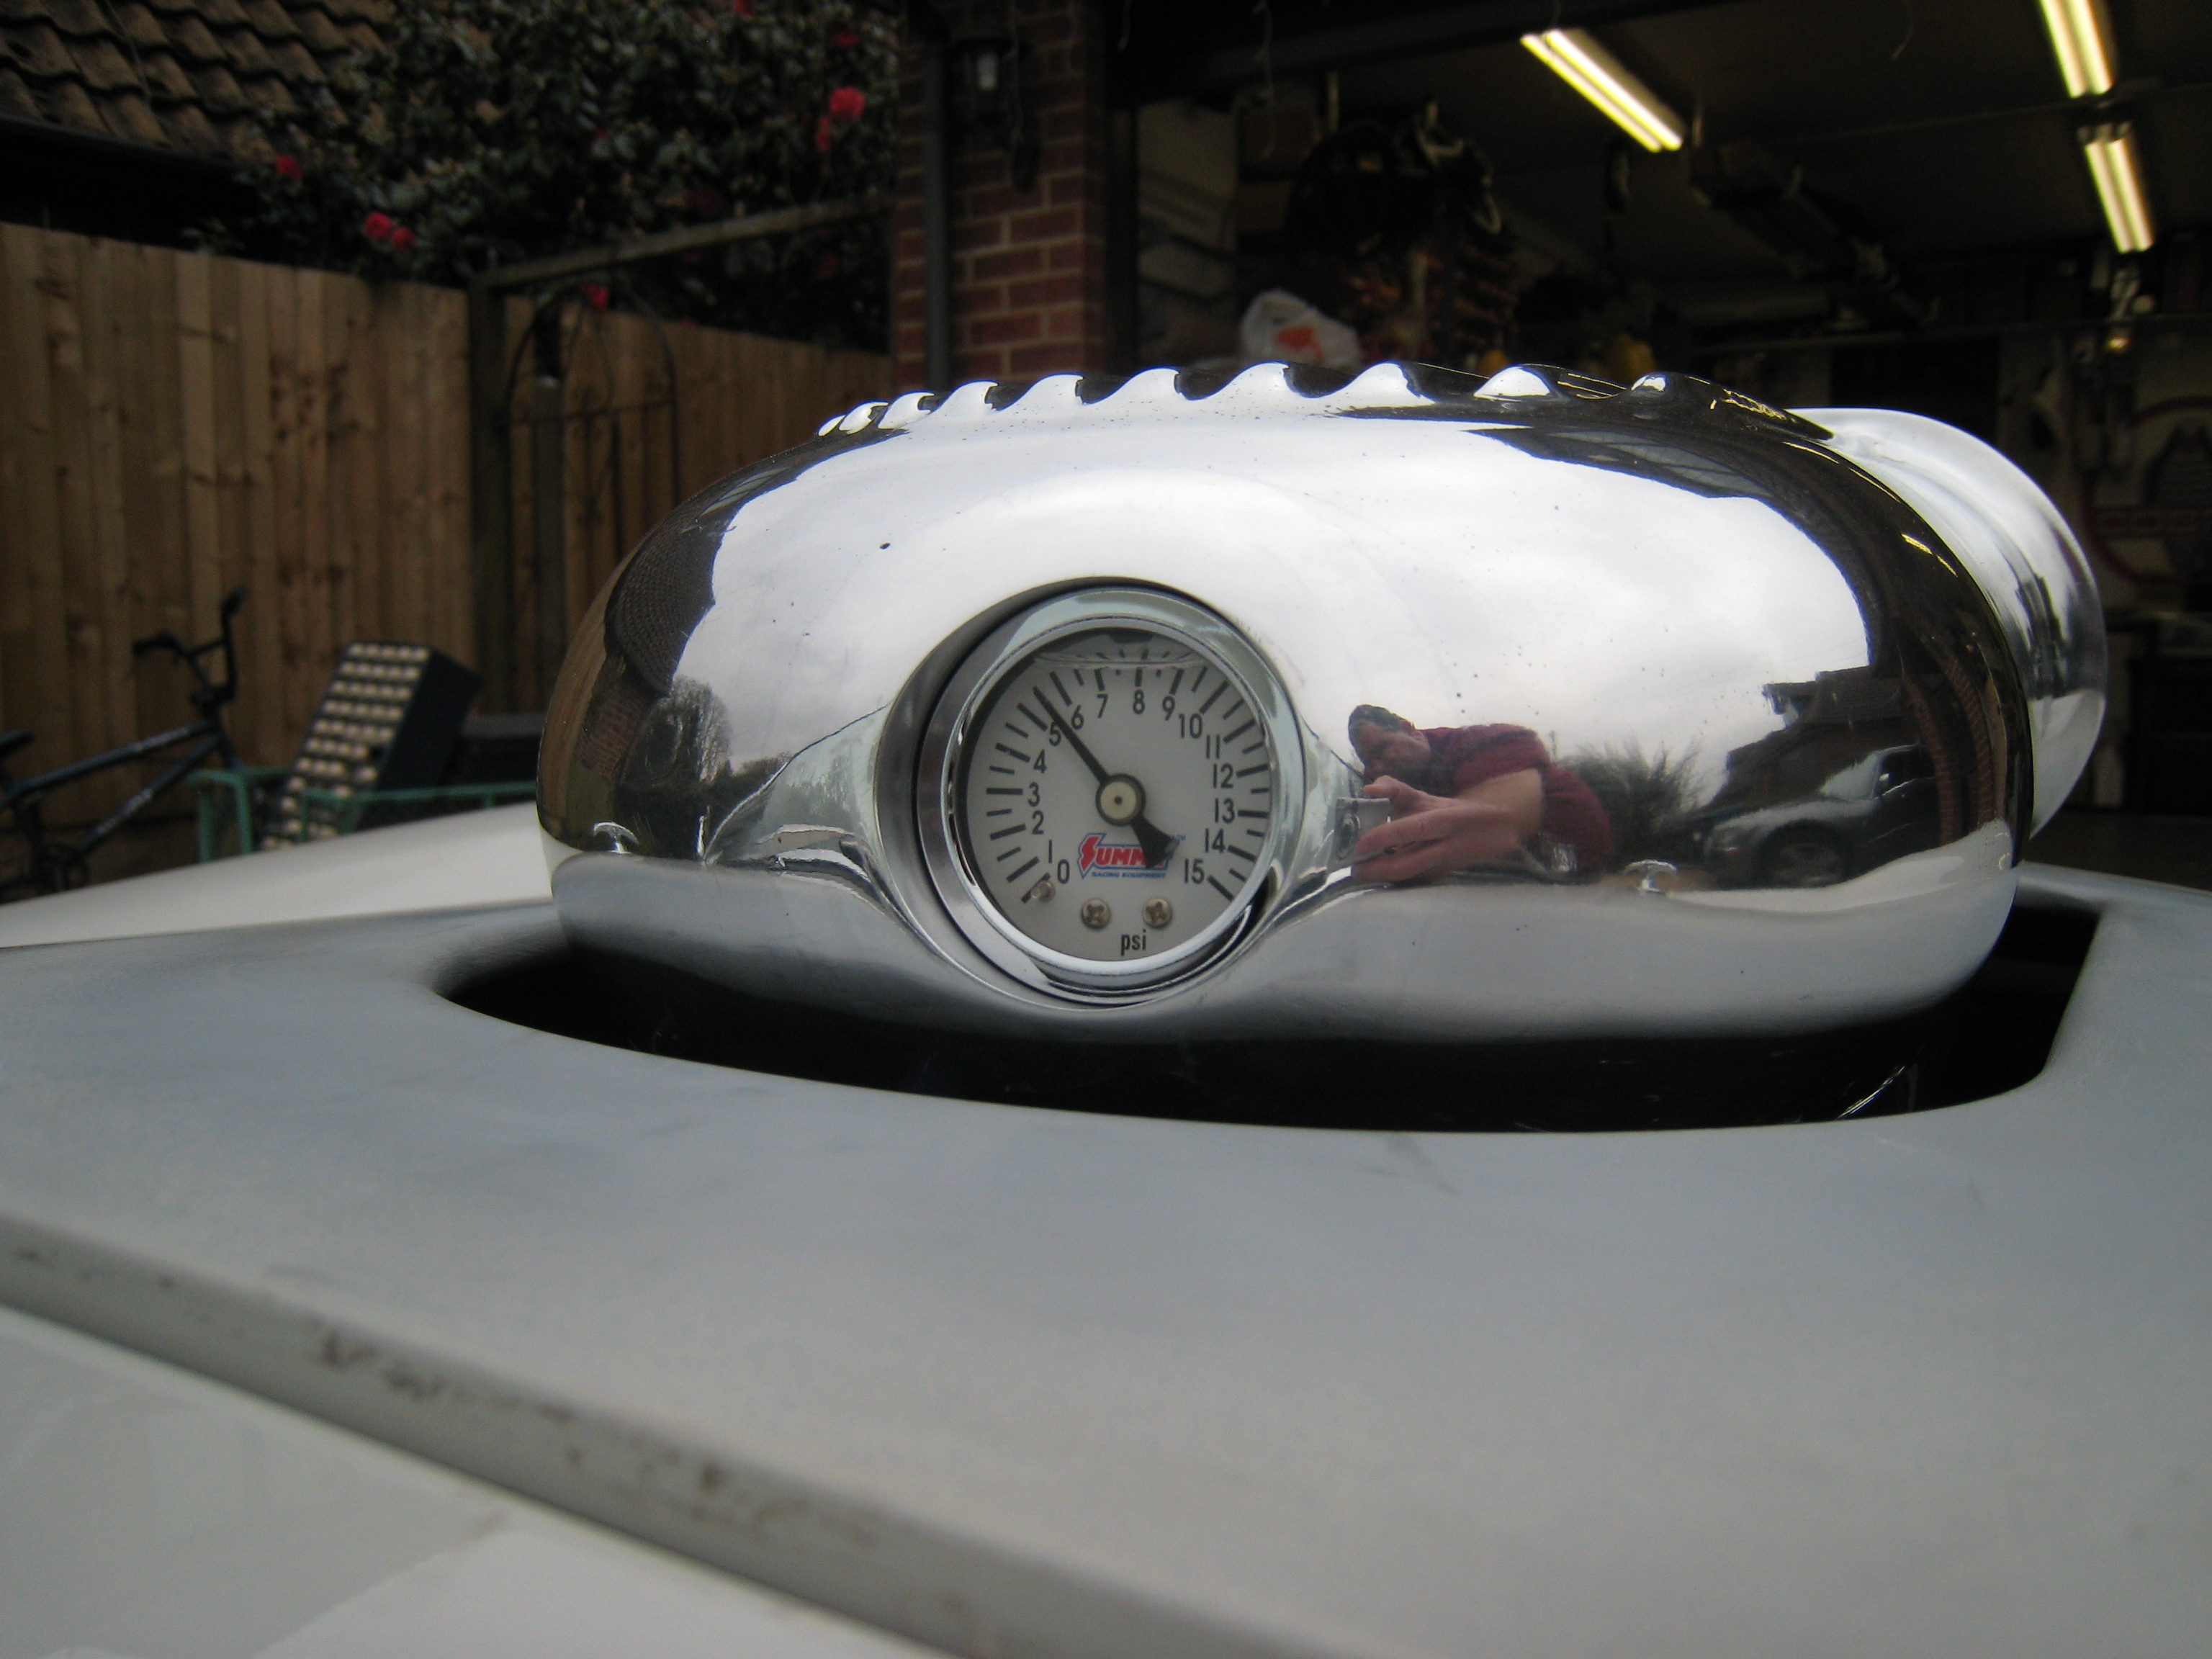
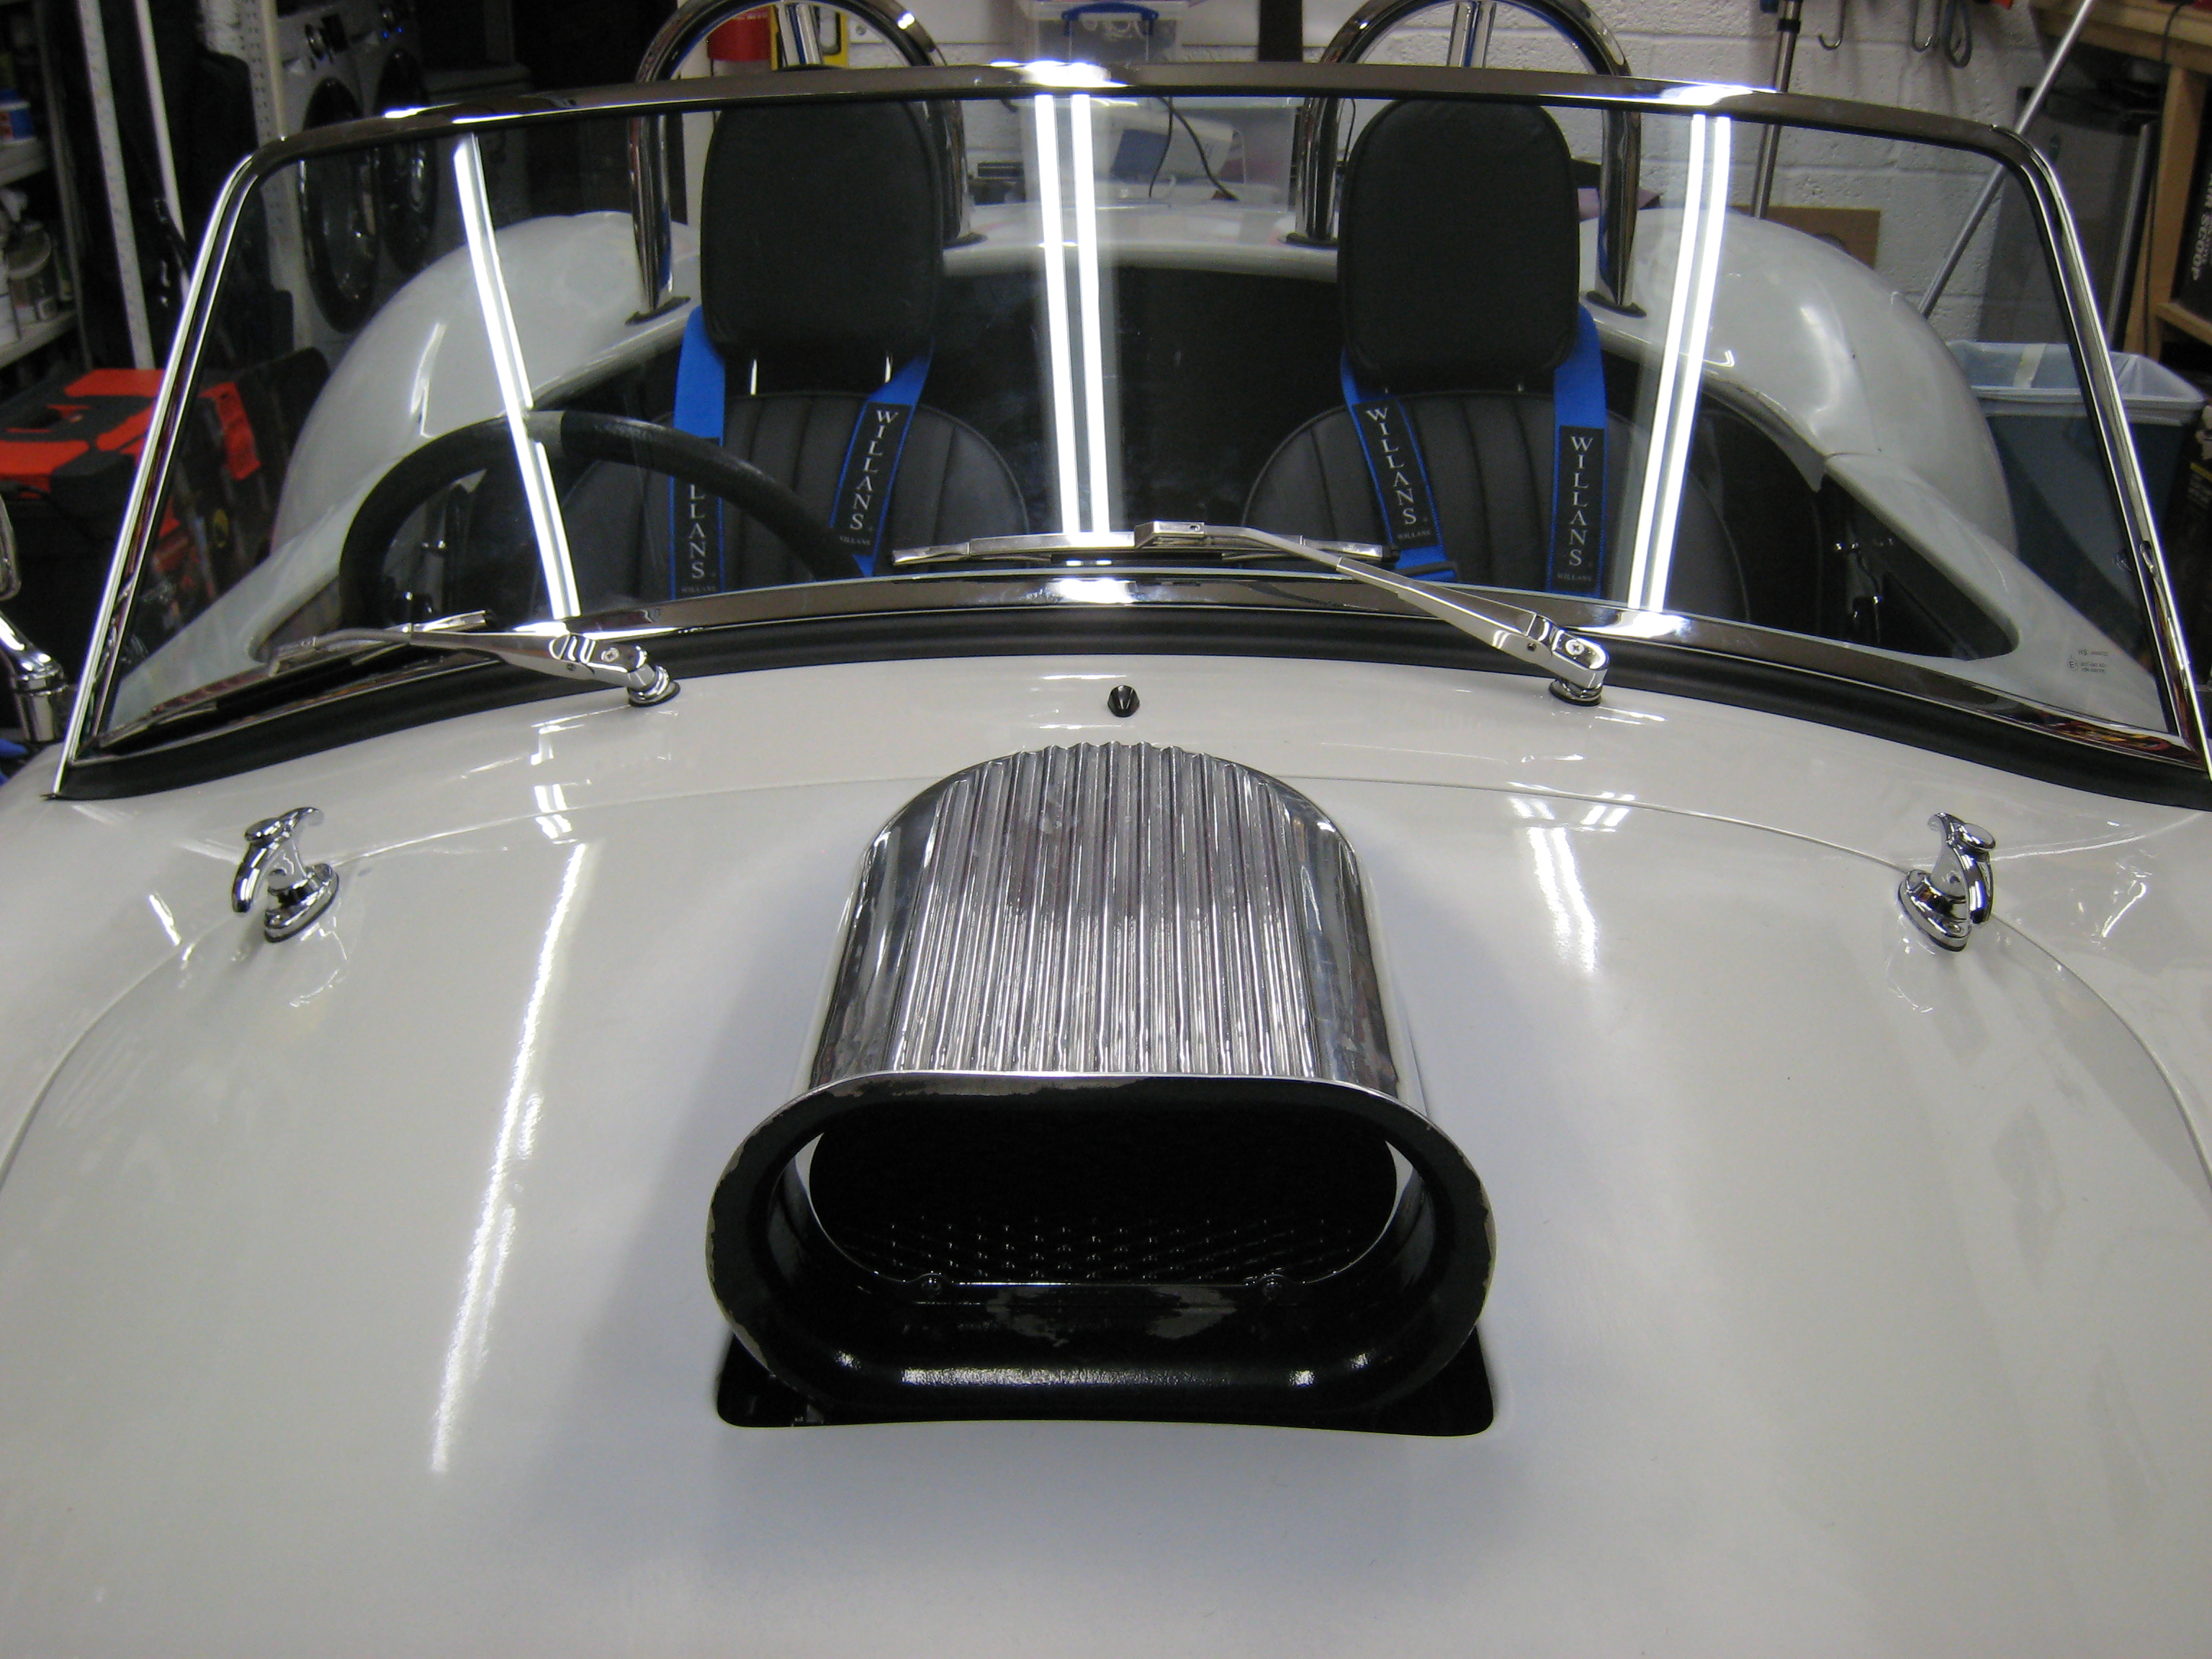
Bonnet Scoop Modification
Decided that I wanted to see the fuel pressure while driving but didn’t want to add a different type of gauge to the dash, Smiths Flight range doesn’t include fuel pressure ?. So thought a better
option was to "French" a gauge into the scoop, actually turned out quite well after the welding and polishing.
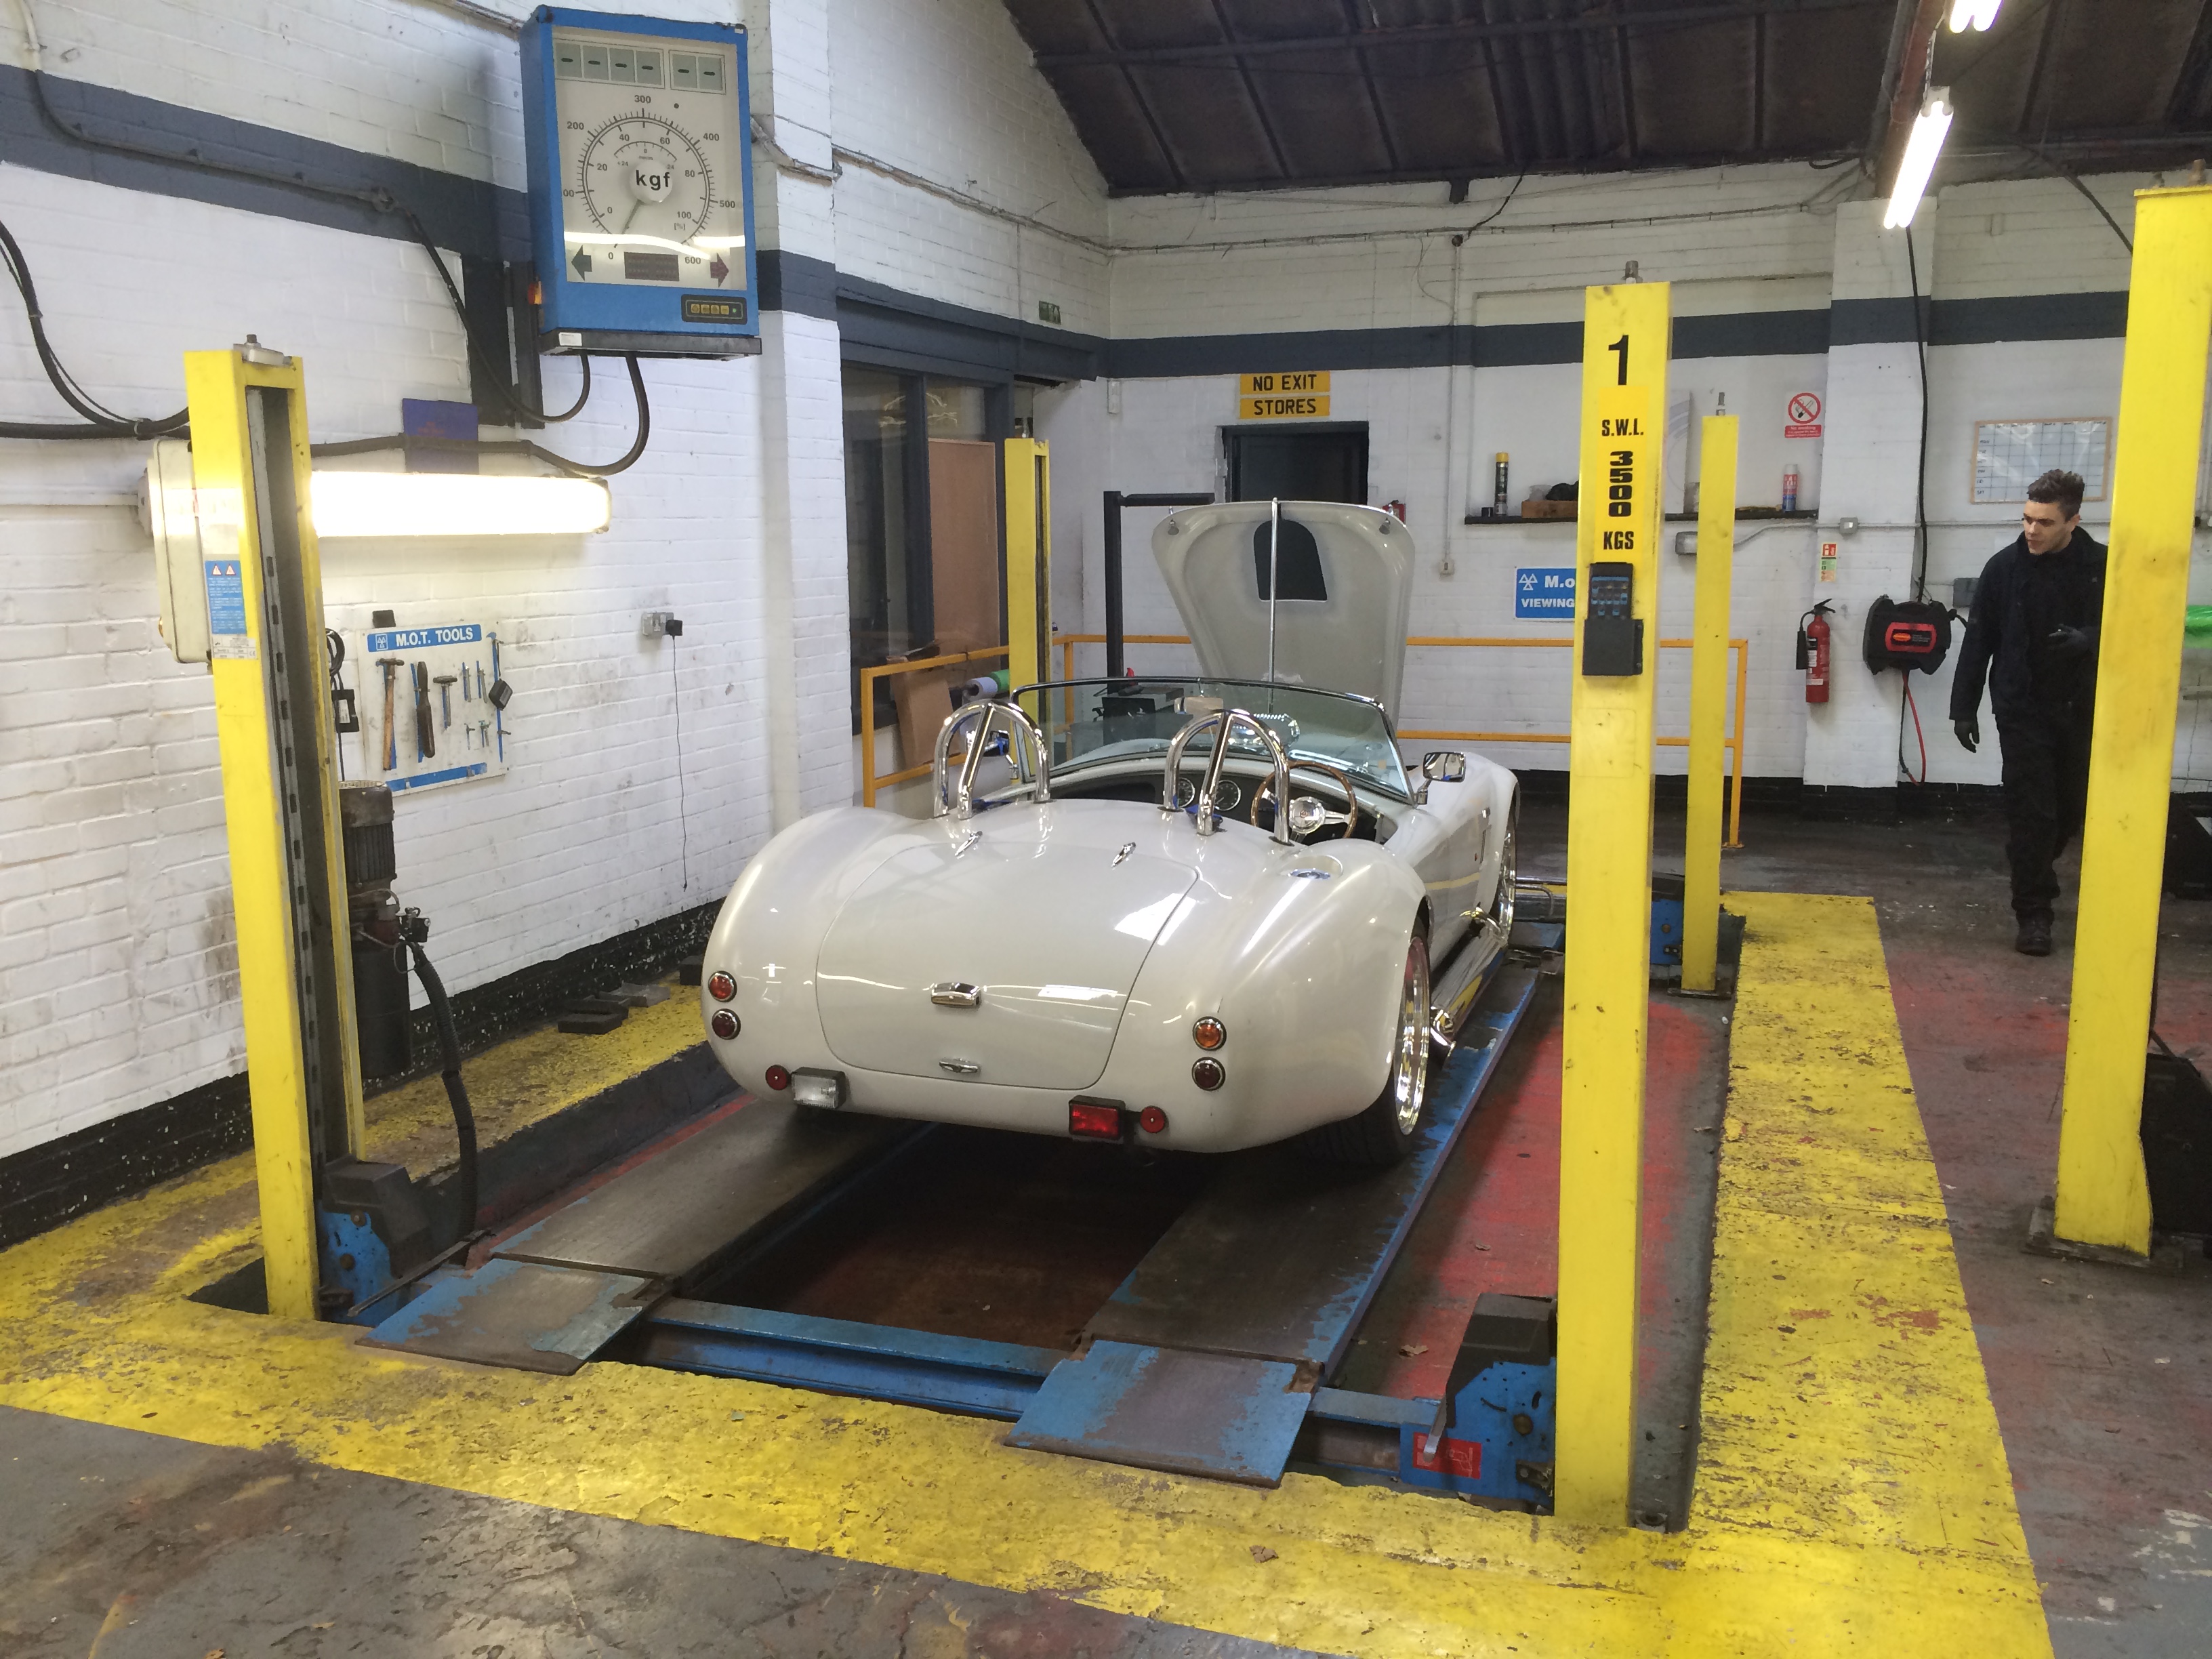
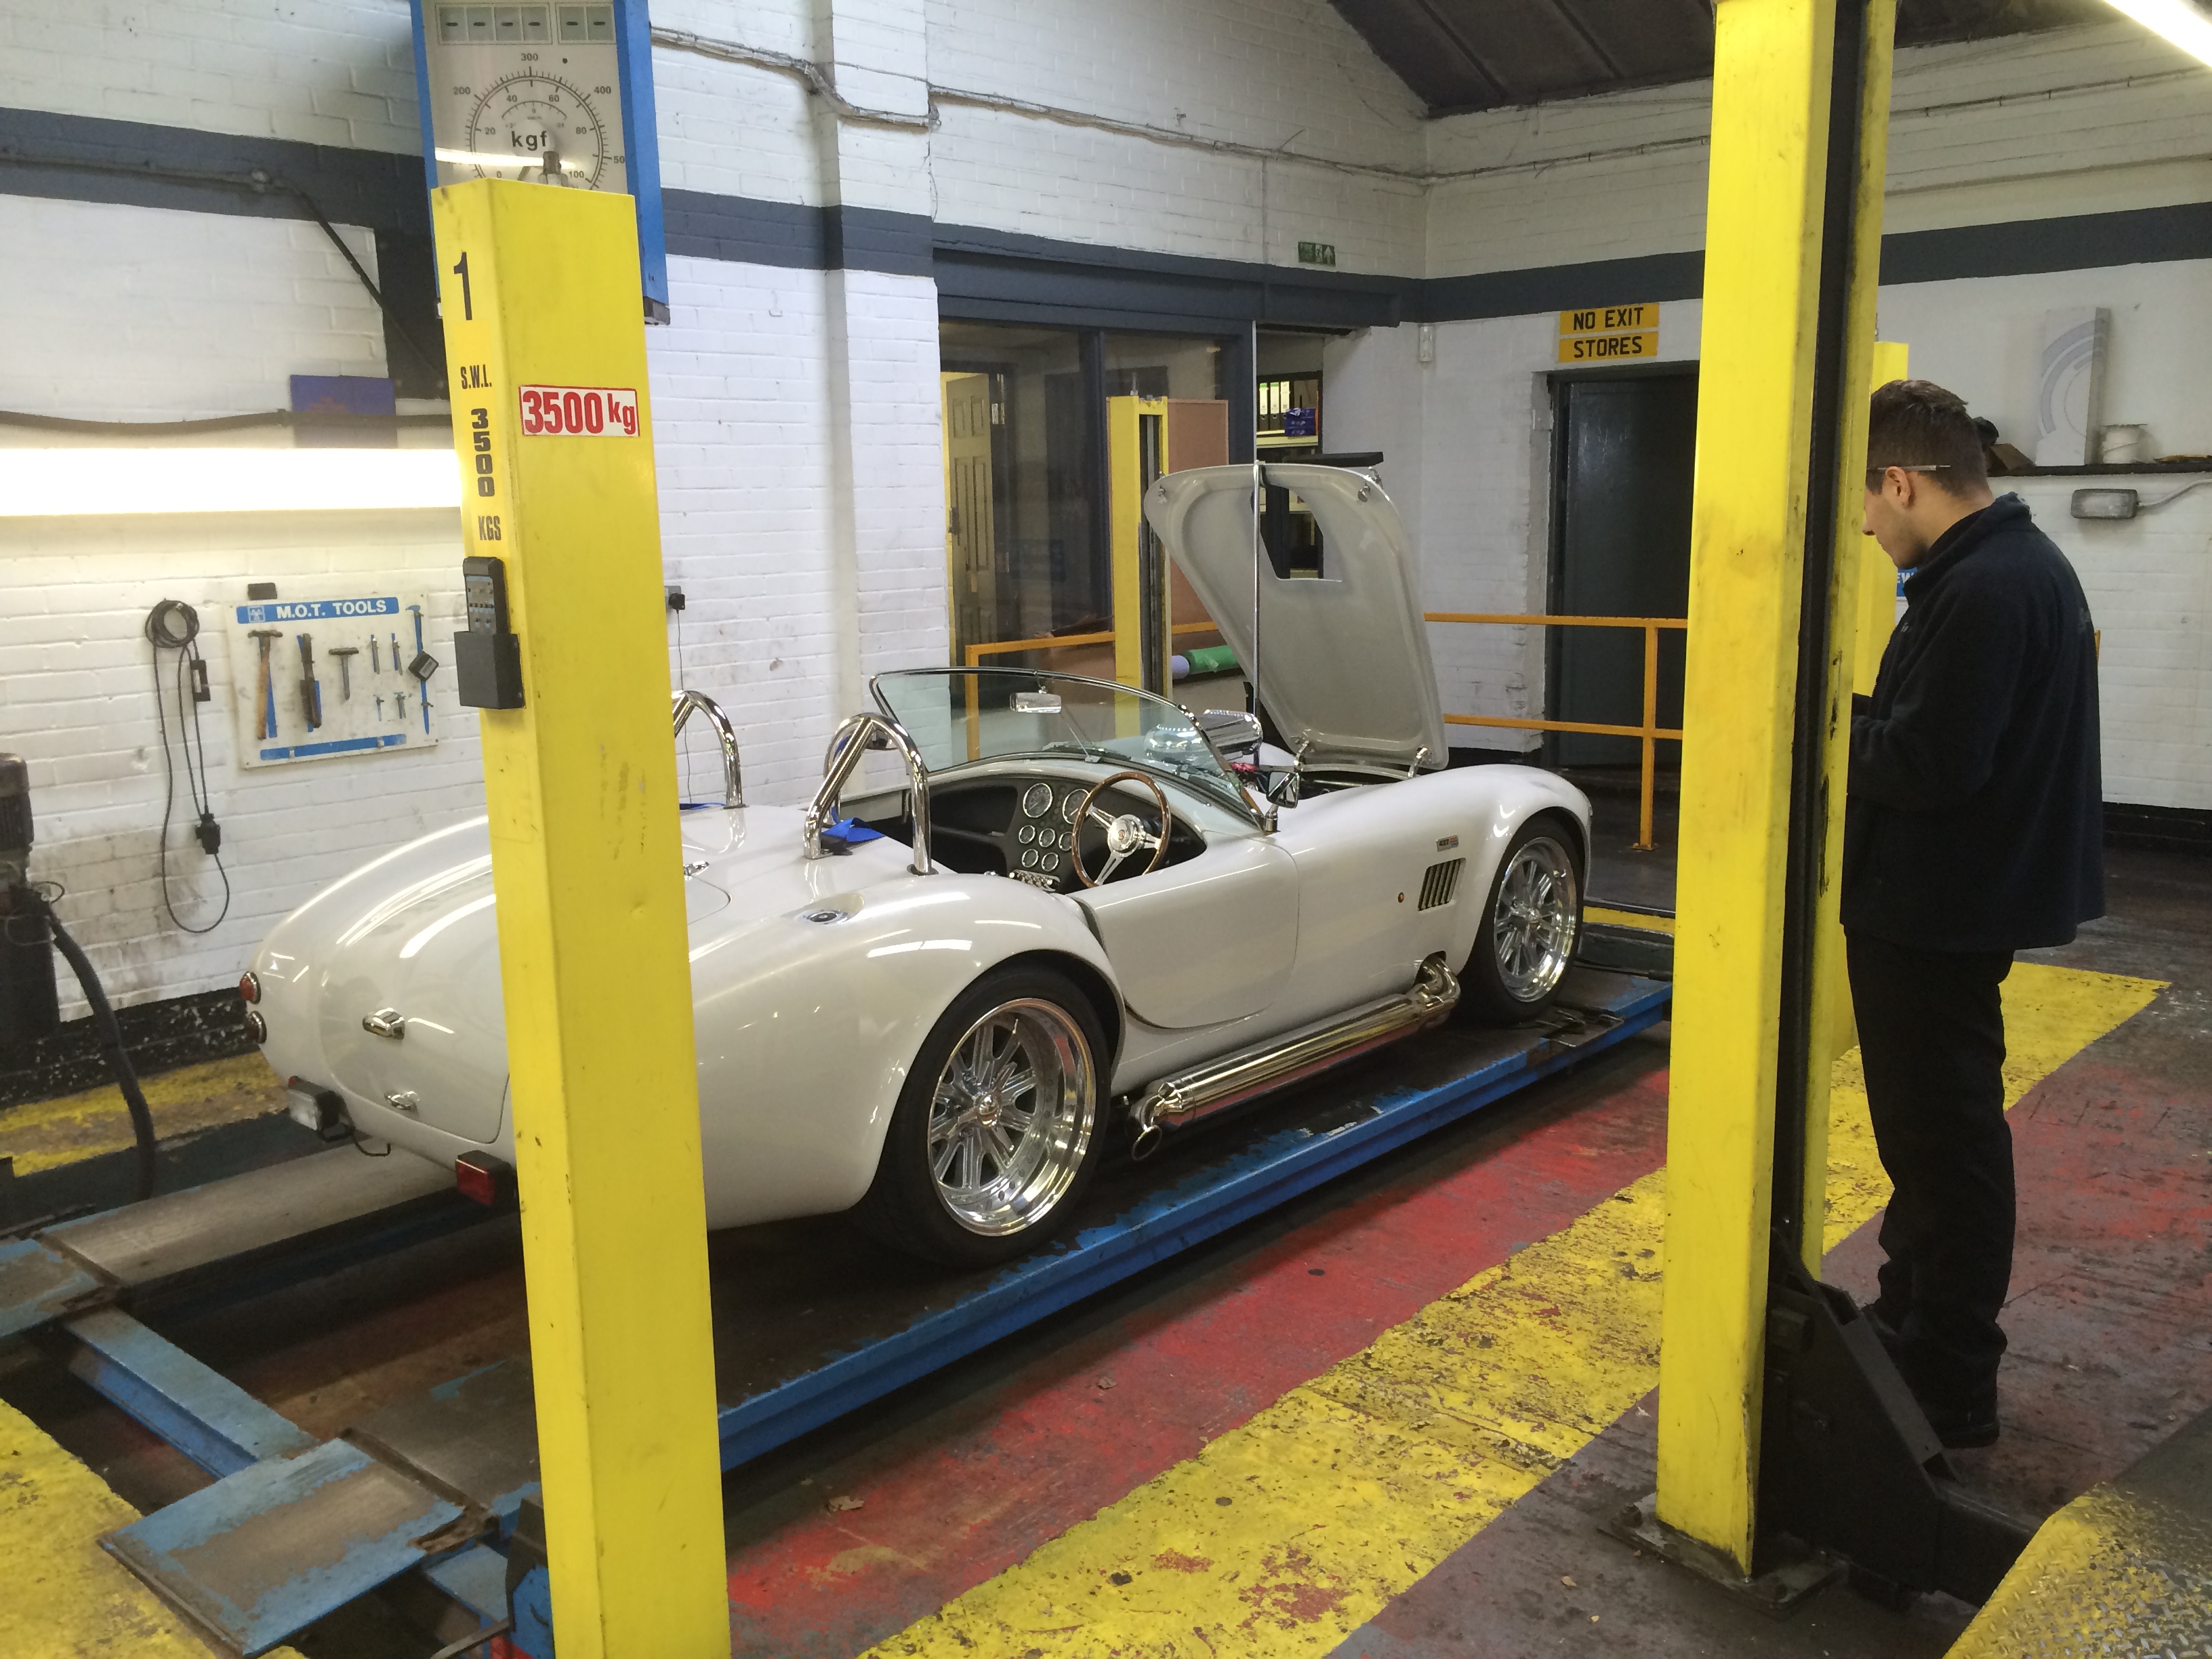
MOT Day - Saturday 25th October 2014
So as it turns out you also need an MOT to enable you to register your kit car !, If I had known that when I got the IVA pass I would have asked
to see if I could have booked one at the IVA centre the same day.
However I didn’t so had to book one at my local Halfords AutoCentre, very helpful chaps who confirmed that I could bring a car to them that didn't actually have a registration number yet.
I popped into the centre just to check the car would be able to get onto the ramp as its quite low at the front and was pleasantly surprised to see the entrance to the garage is at road
level (no ramps or kerbs to mount).
As an added bonus my car is immune from the brake test rollers as it has a Limited Slip Diff, so those were covered over and I was able to drive
straight onto the lift. As you can see in the pictures the lift is set into the floor so no clearance issues there either.
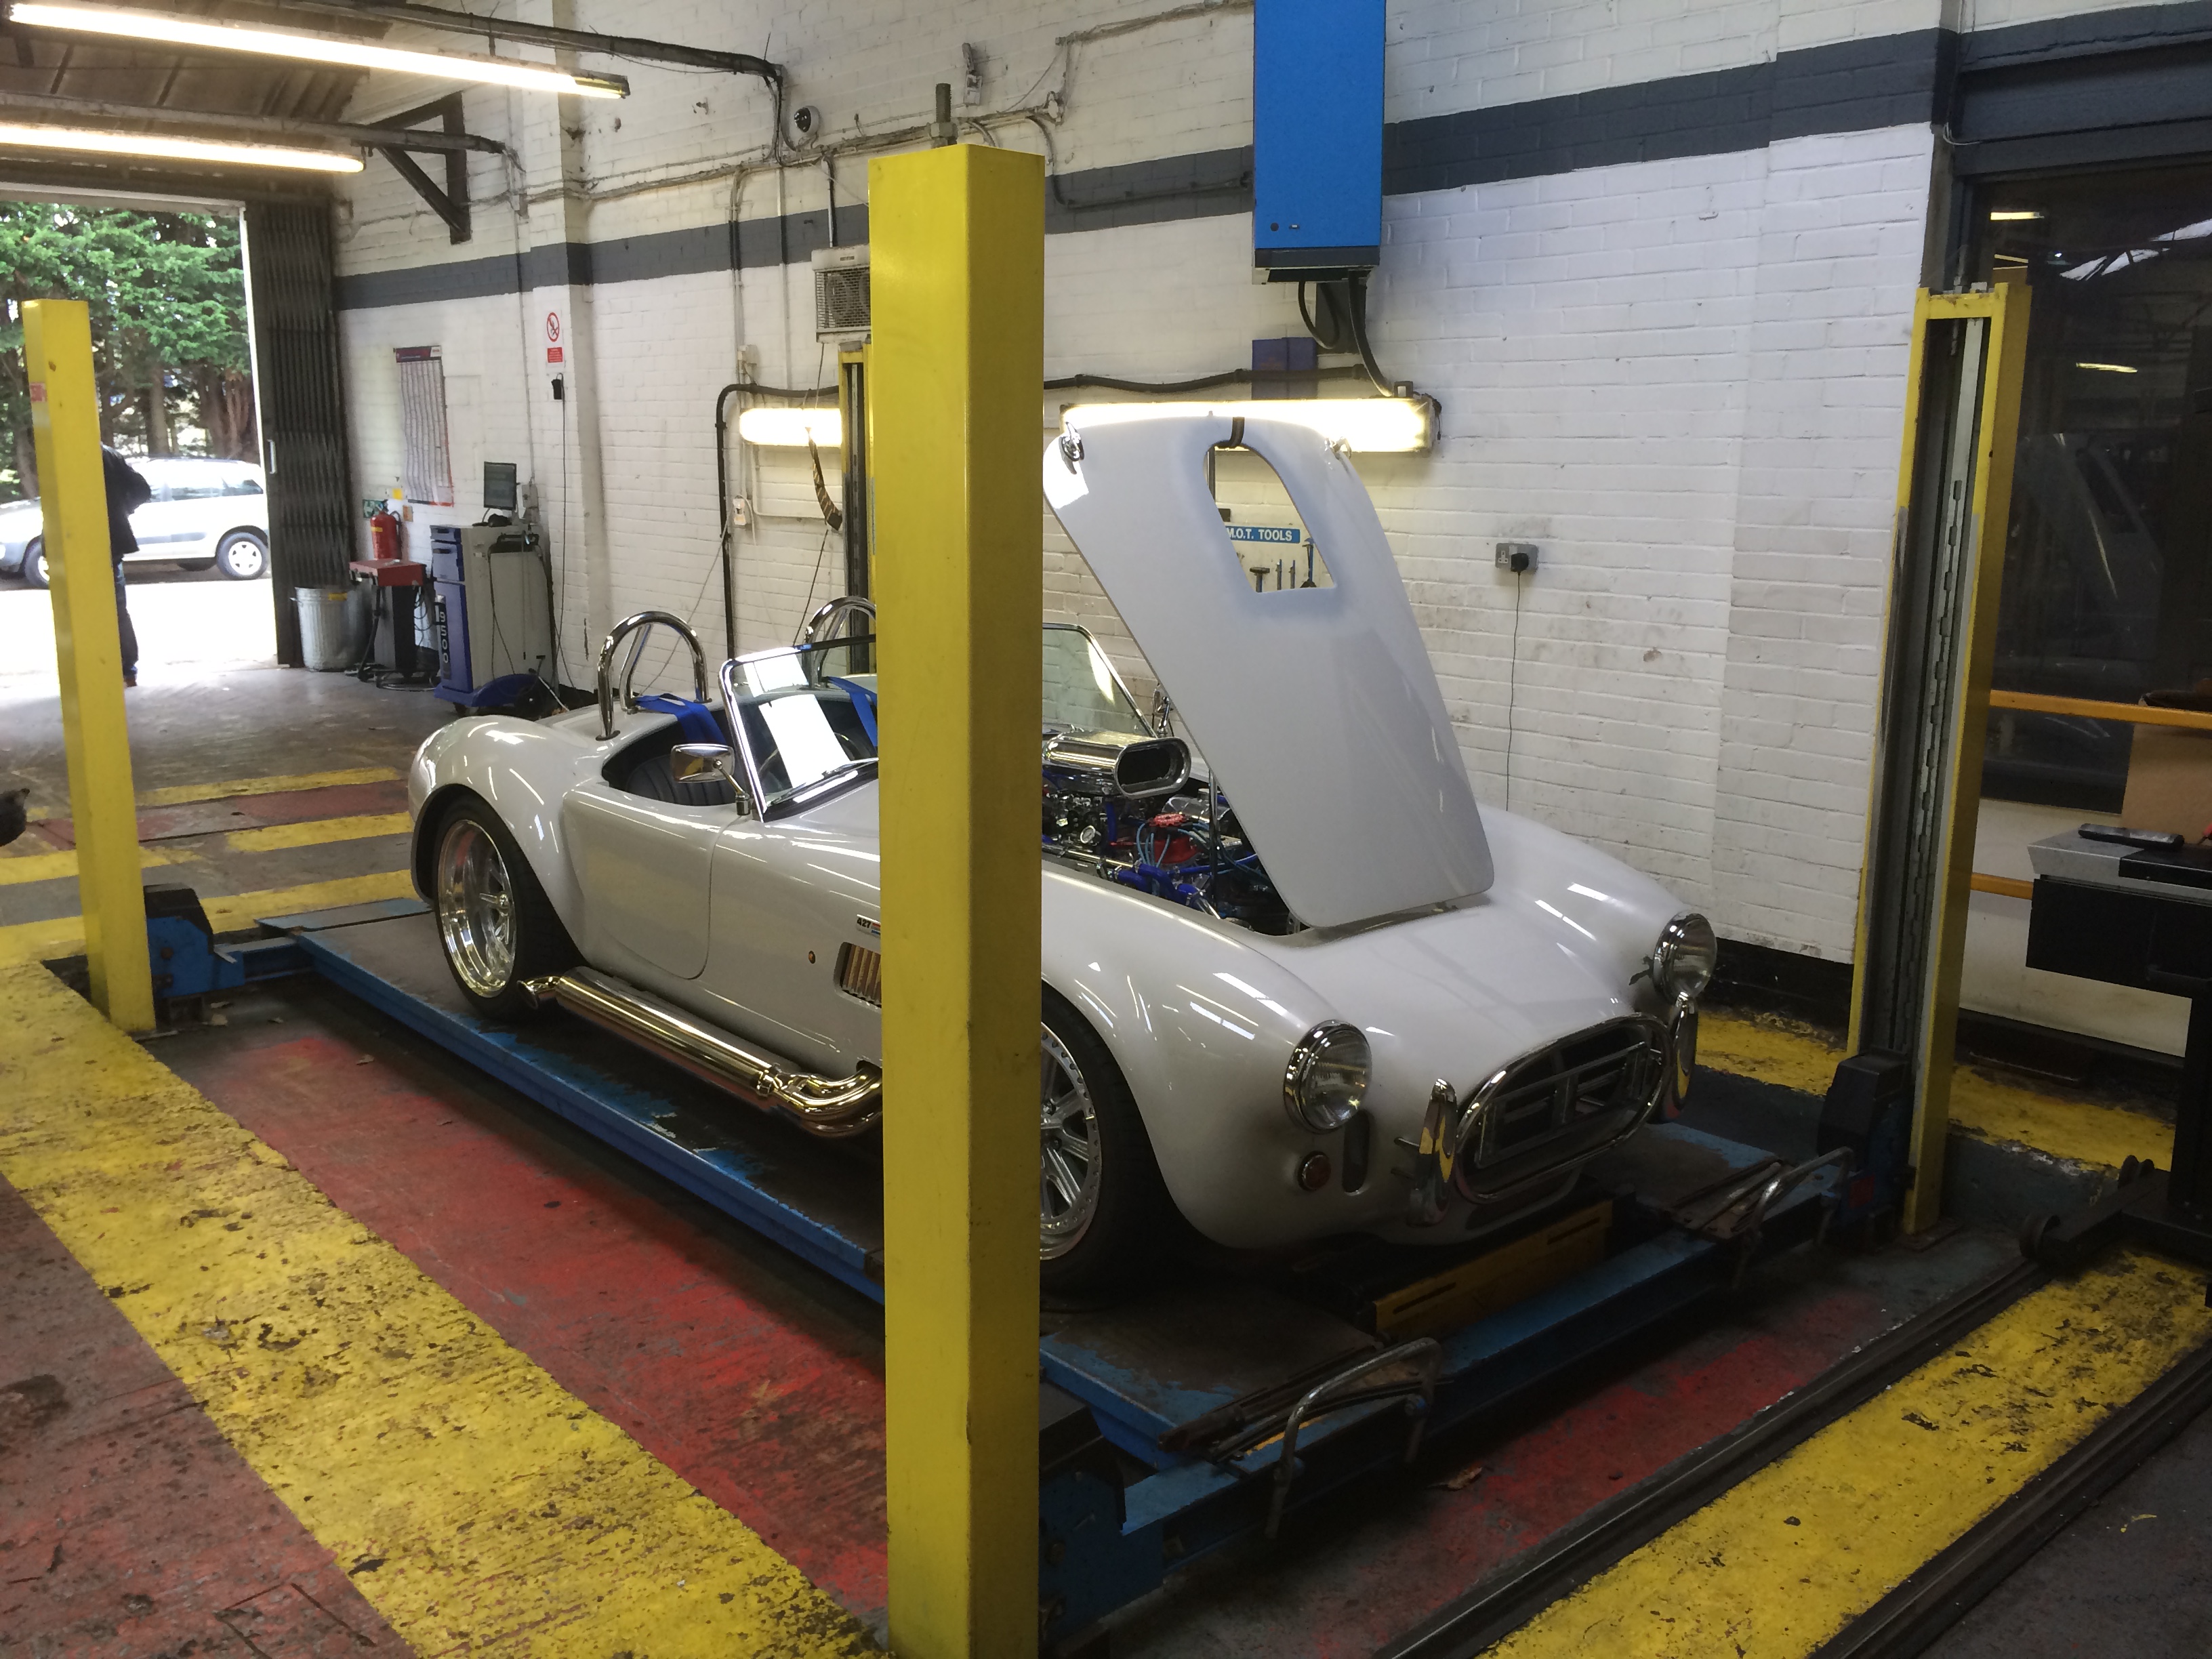
The test itself is quite basic once you establish the age of the engine, as being pre 1975 emissions are a visual smoke check only. They then went through the usual check on seat belt
mountings, lights, suspension etc before asking me to take the tester for a spin up the road to test the brakes using a calibrated "G force decelerometer", Pulled out of the centre and give the throttle
a quick blip up to 30 is then stood on the brakes when he asked - passed no problem even though we got a little lockup. He then reset the device and we did the same again only using just the
handbrake, and again a pass.
With that done it was back to the centre for the last couple of check before I was told she'd passed - YAY, another step closer. I now think I have everything I need to be able to send off for the
age related plate so I can finally get her road legal (just in time for winter!). I have decided to create a section all about the paperwork and hoops to jump through around the IVA - Here.
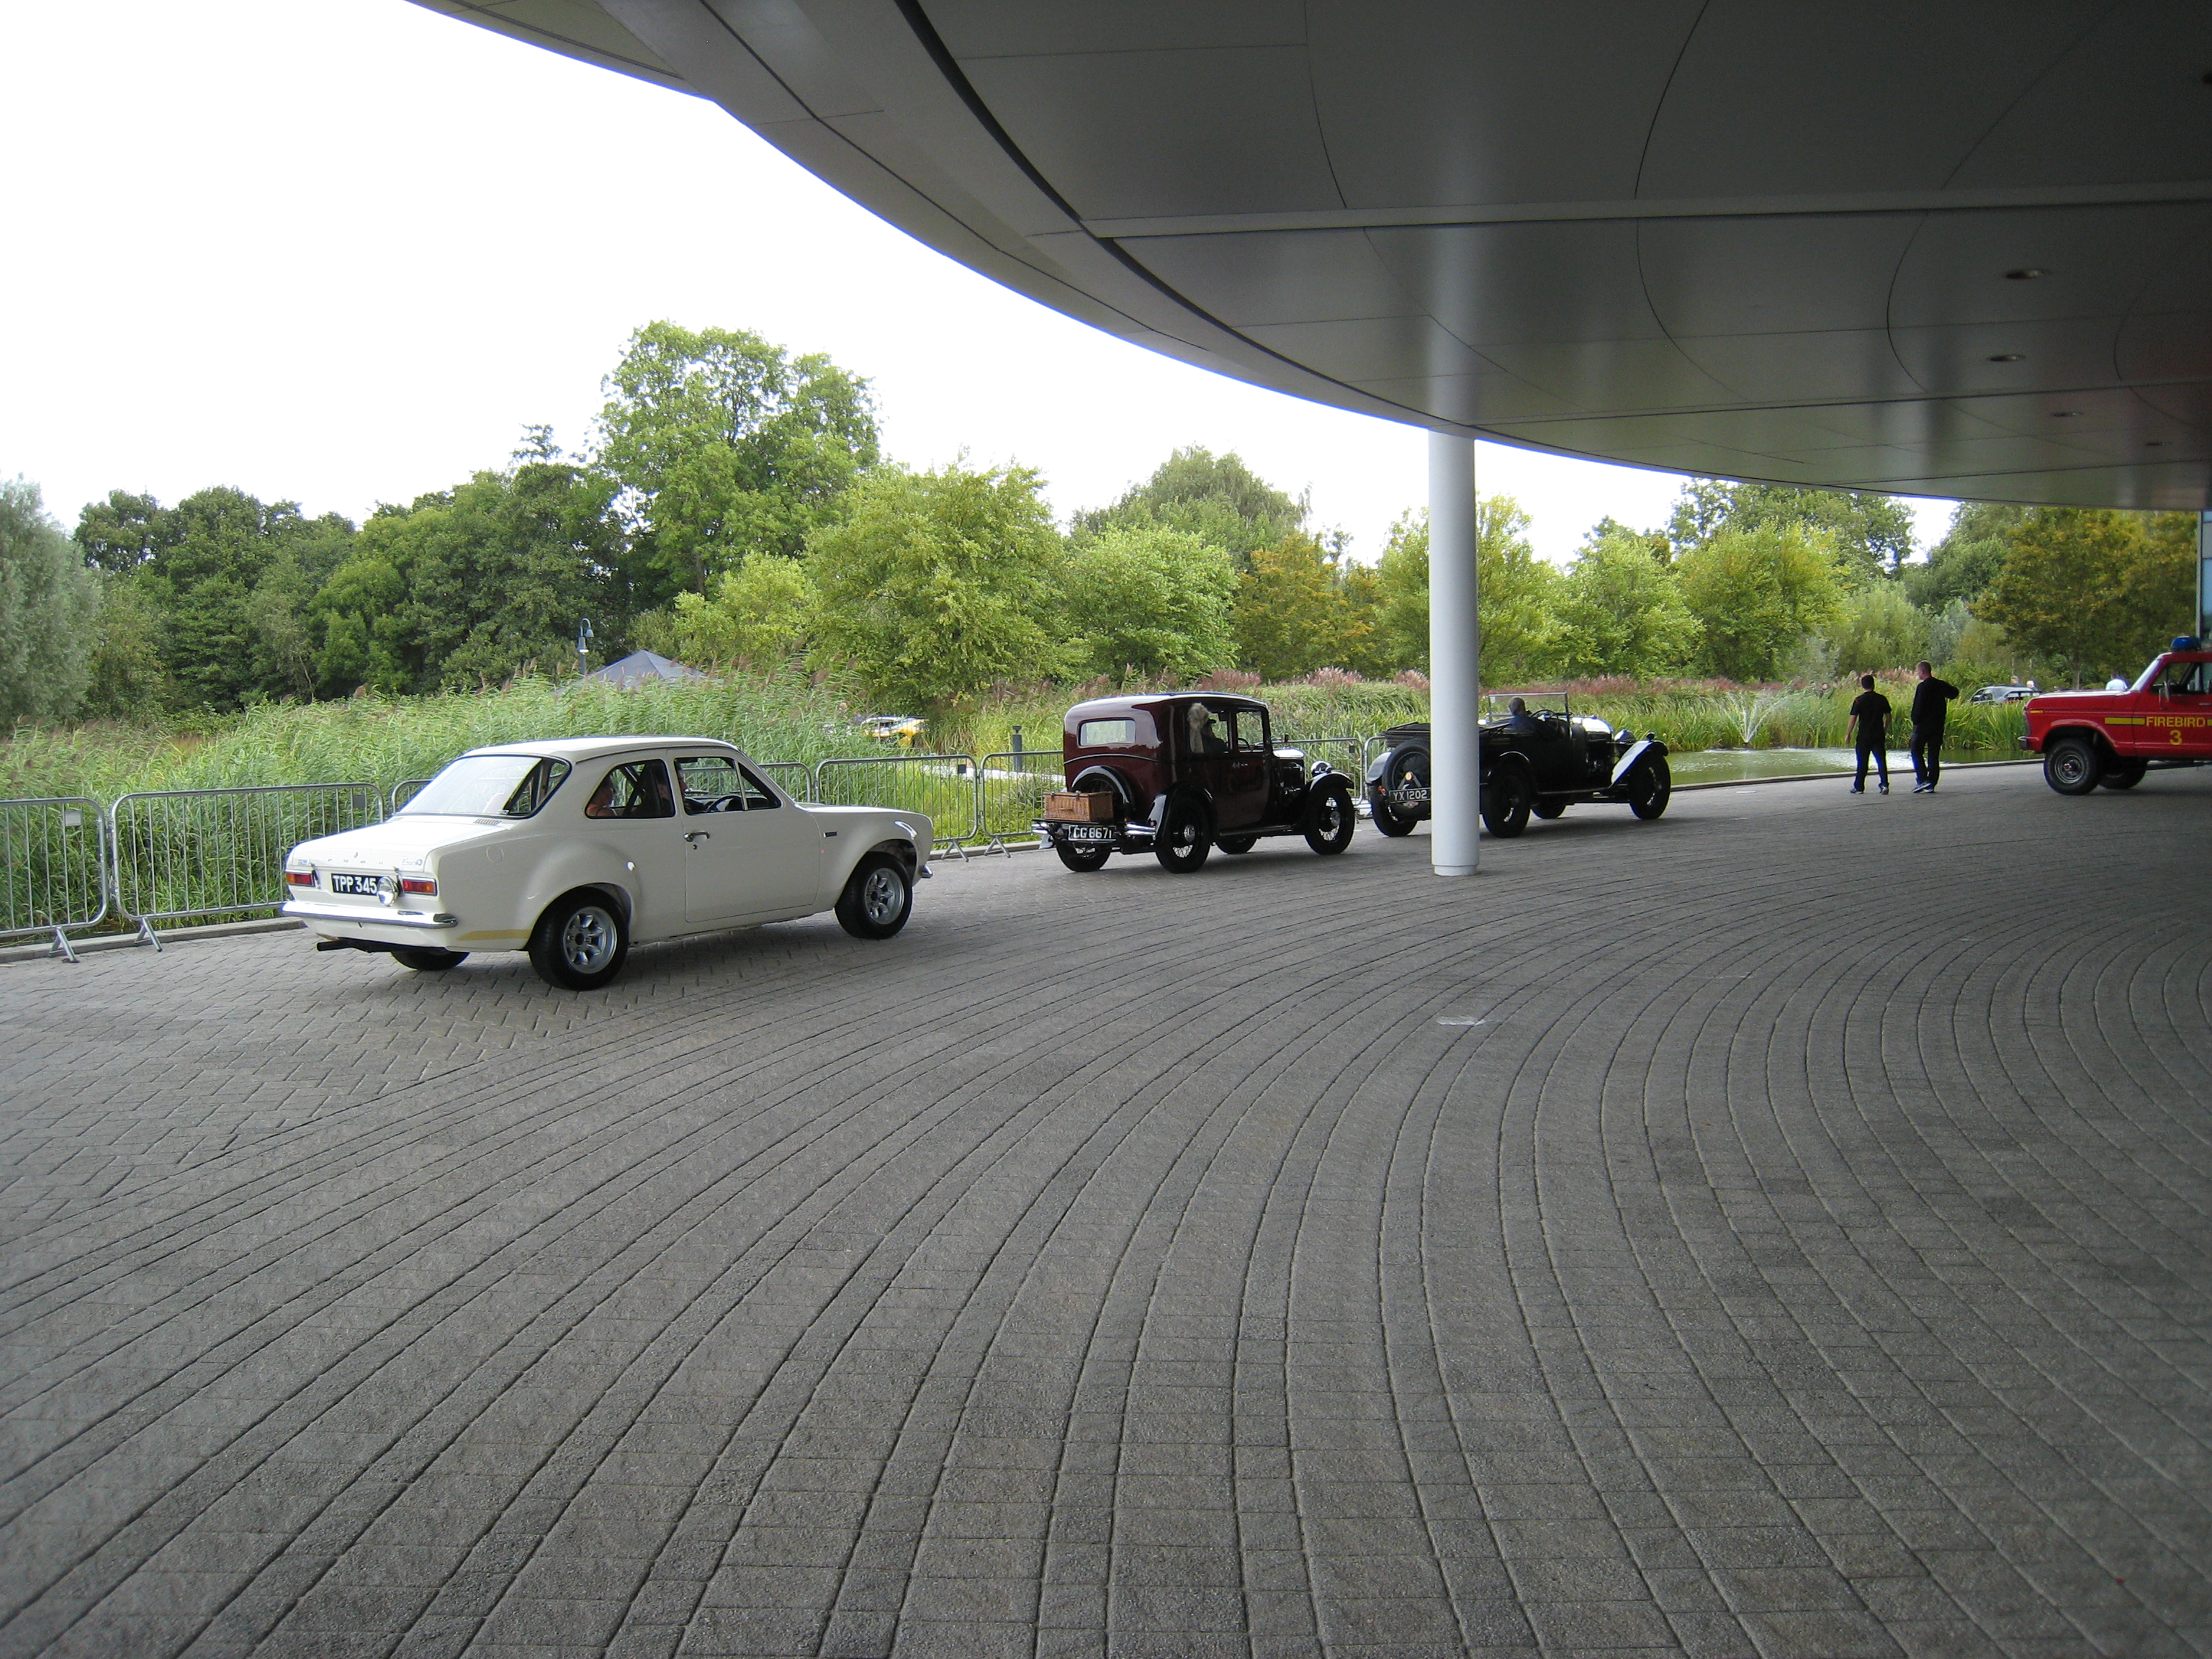
IVA Day - Friday 3rd October 2014
After the McLaren show it was time to put the car back to IVA spec as the test date was looming. Alan and I went right over the car checking
that we had covered as far as we could every aspect. So on Friday 3rd October we loaded the car with what felt like the entire contents of the garage
in case we needed to make any small fixes, loaded the car onto the trailer kindly lent by Dax and headed off to Southampton at 06:30 for an 08:00 test.
We arrived with 15 mins to spare thanks to the M3 traffic, unloaded the car and parked her outside the test centre. Unfortunately we were not allowed to use phones
or camera's inside the test centre so we only have these three photos as evidence that we were there !.
That said, 5 hours later we came away with a pass !! This is a rare thing we were told as very few kit cars pass first time, admittedly we had to make a couple
of minor adjustments to the front indicators and rear reflectors but the examiner was kind enough to let us park the car around the rear of the building to do the mods and
bring it back in for testing.
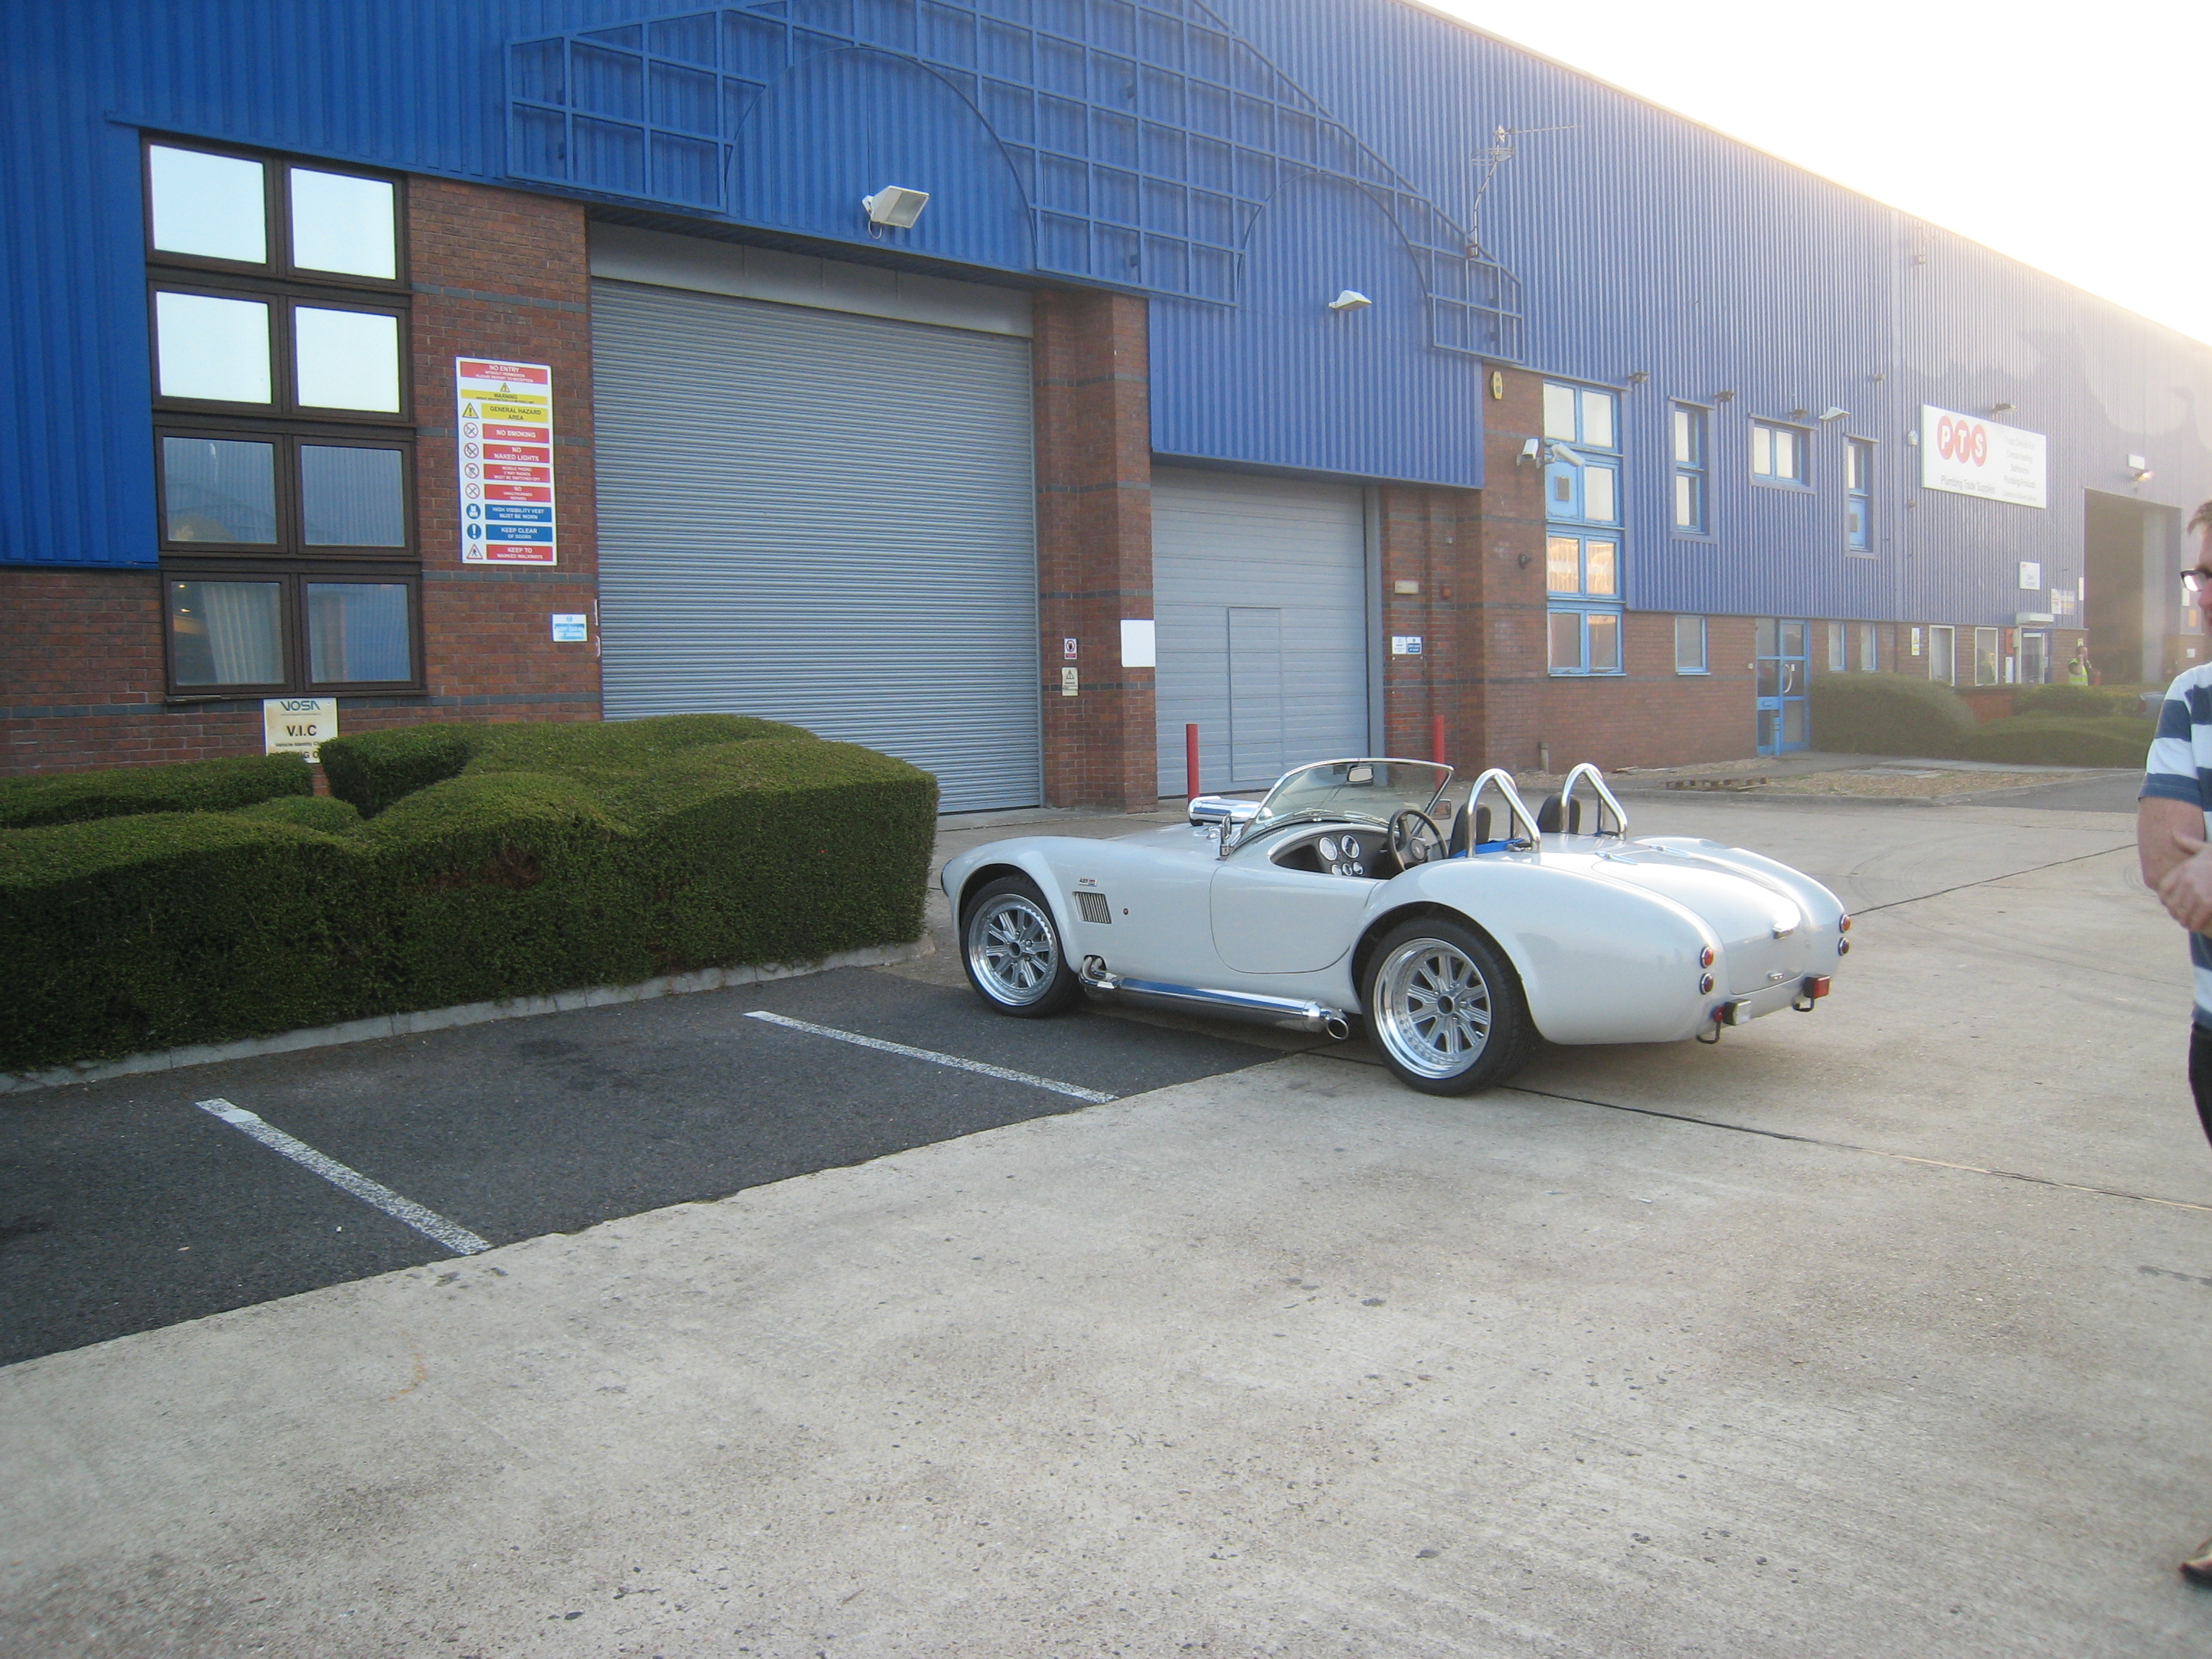
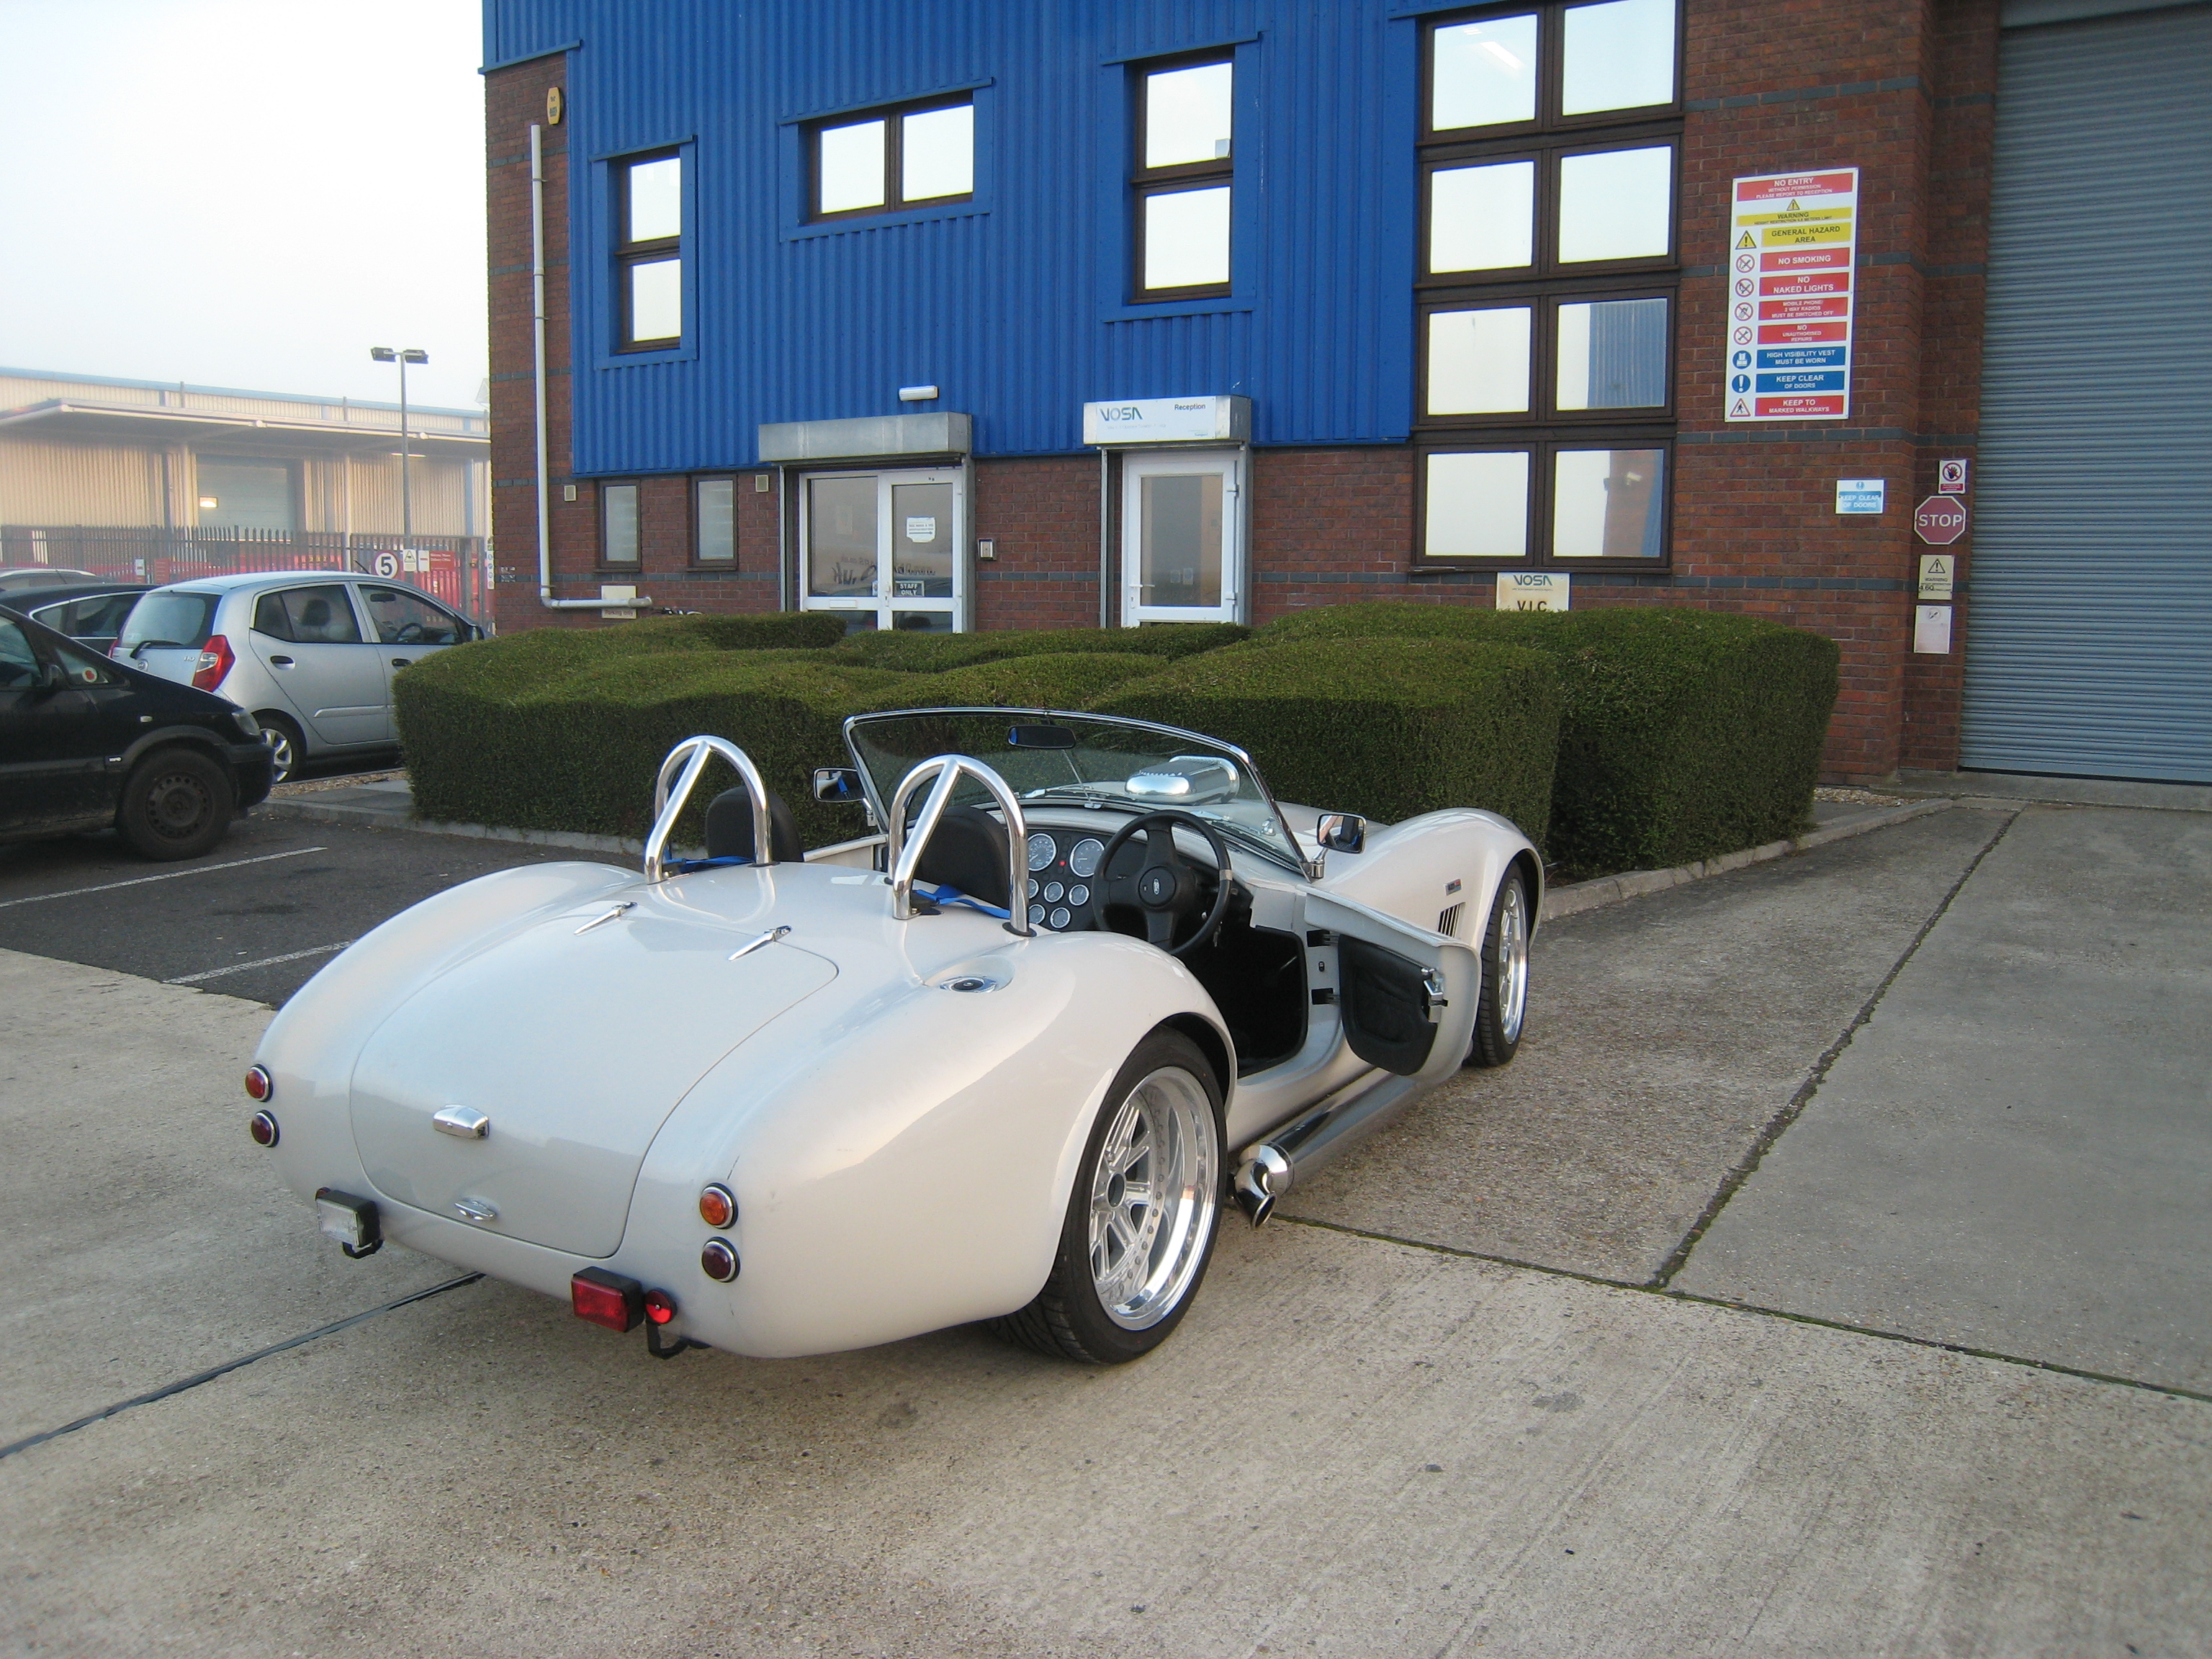
I have decided to create a section all about the paperwork and hoops to jump through around the IVA - Here.
Invitation I can’t refuse - Saturday 30th August 2014
So the car is ready for the IVA and the paperwork and payment have been sent off, but I then get an invitation to take to car to the McLaren Staff Motor show,
an event held each year at McLaren Technology Centre in Woking - Home of the F1 team, something I could not pass up. So it was time to remove some of the
parts required for IVA and put the car into a state I was happy to show.
Trailer hired and an early start for Alan and I as we had to be at McLaren unloaded at 07:30 !
Here are a few shots from the show.
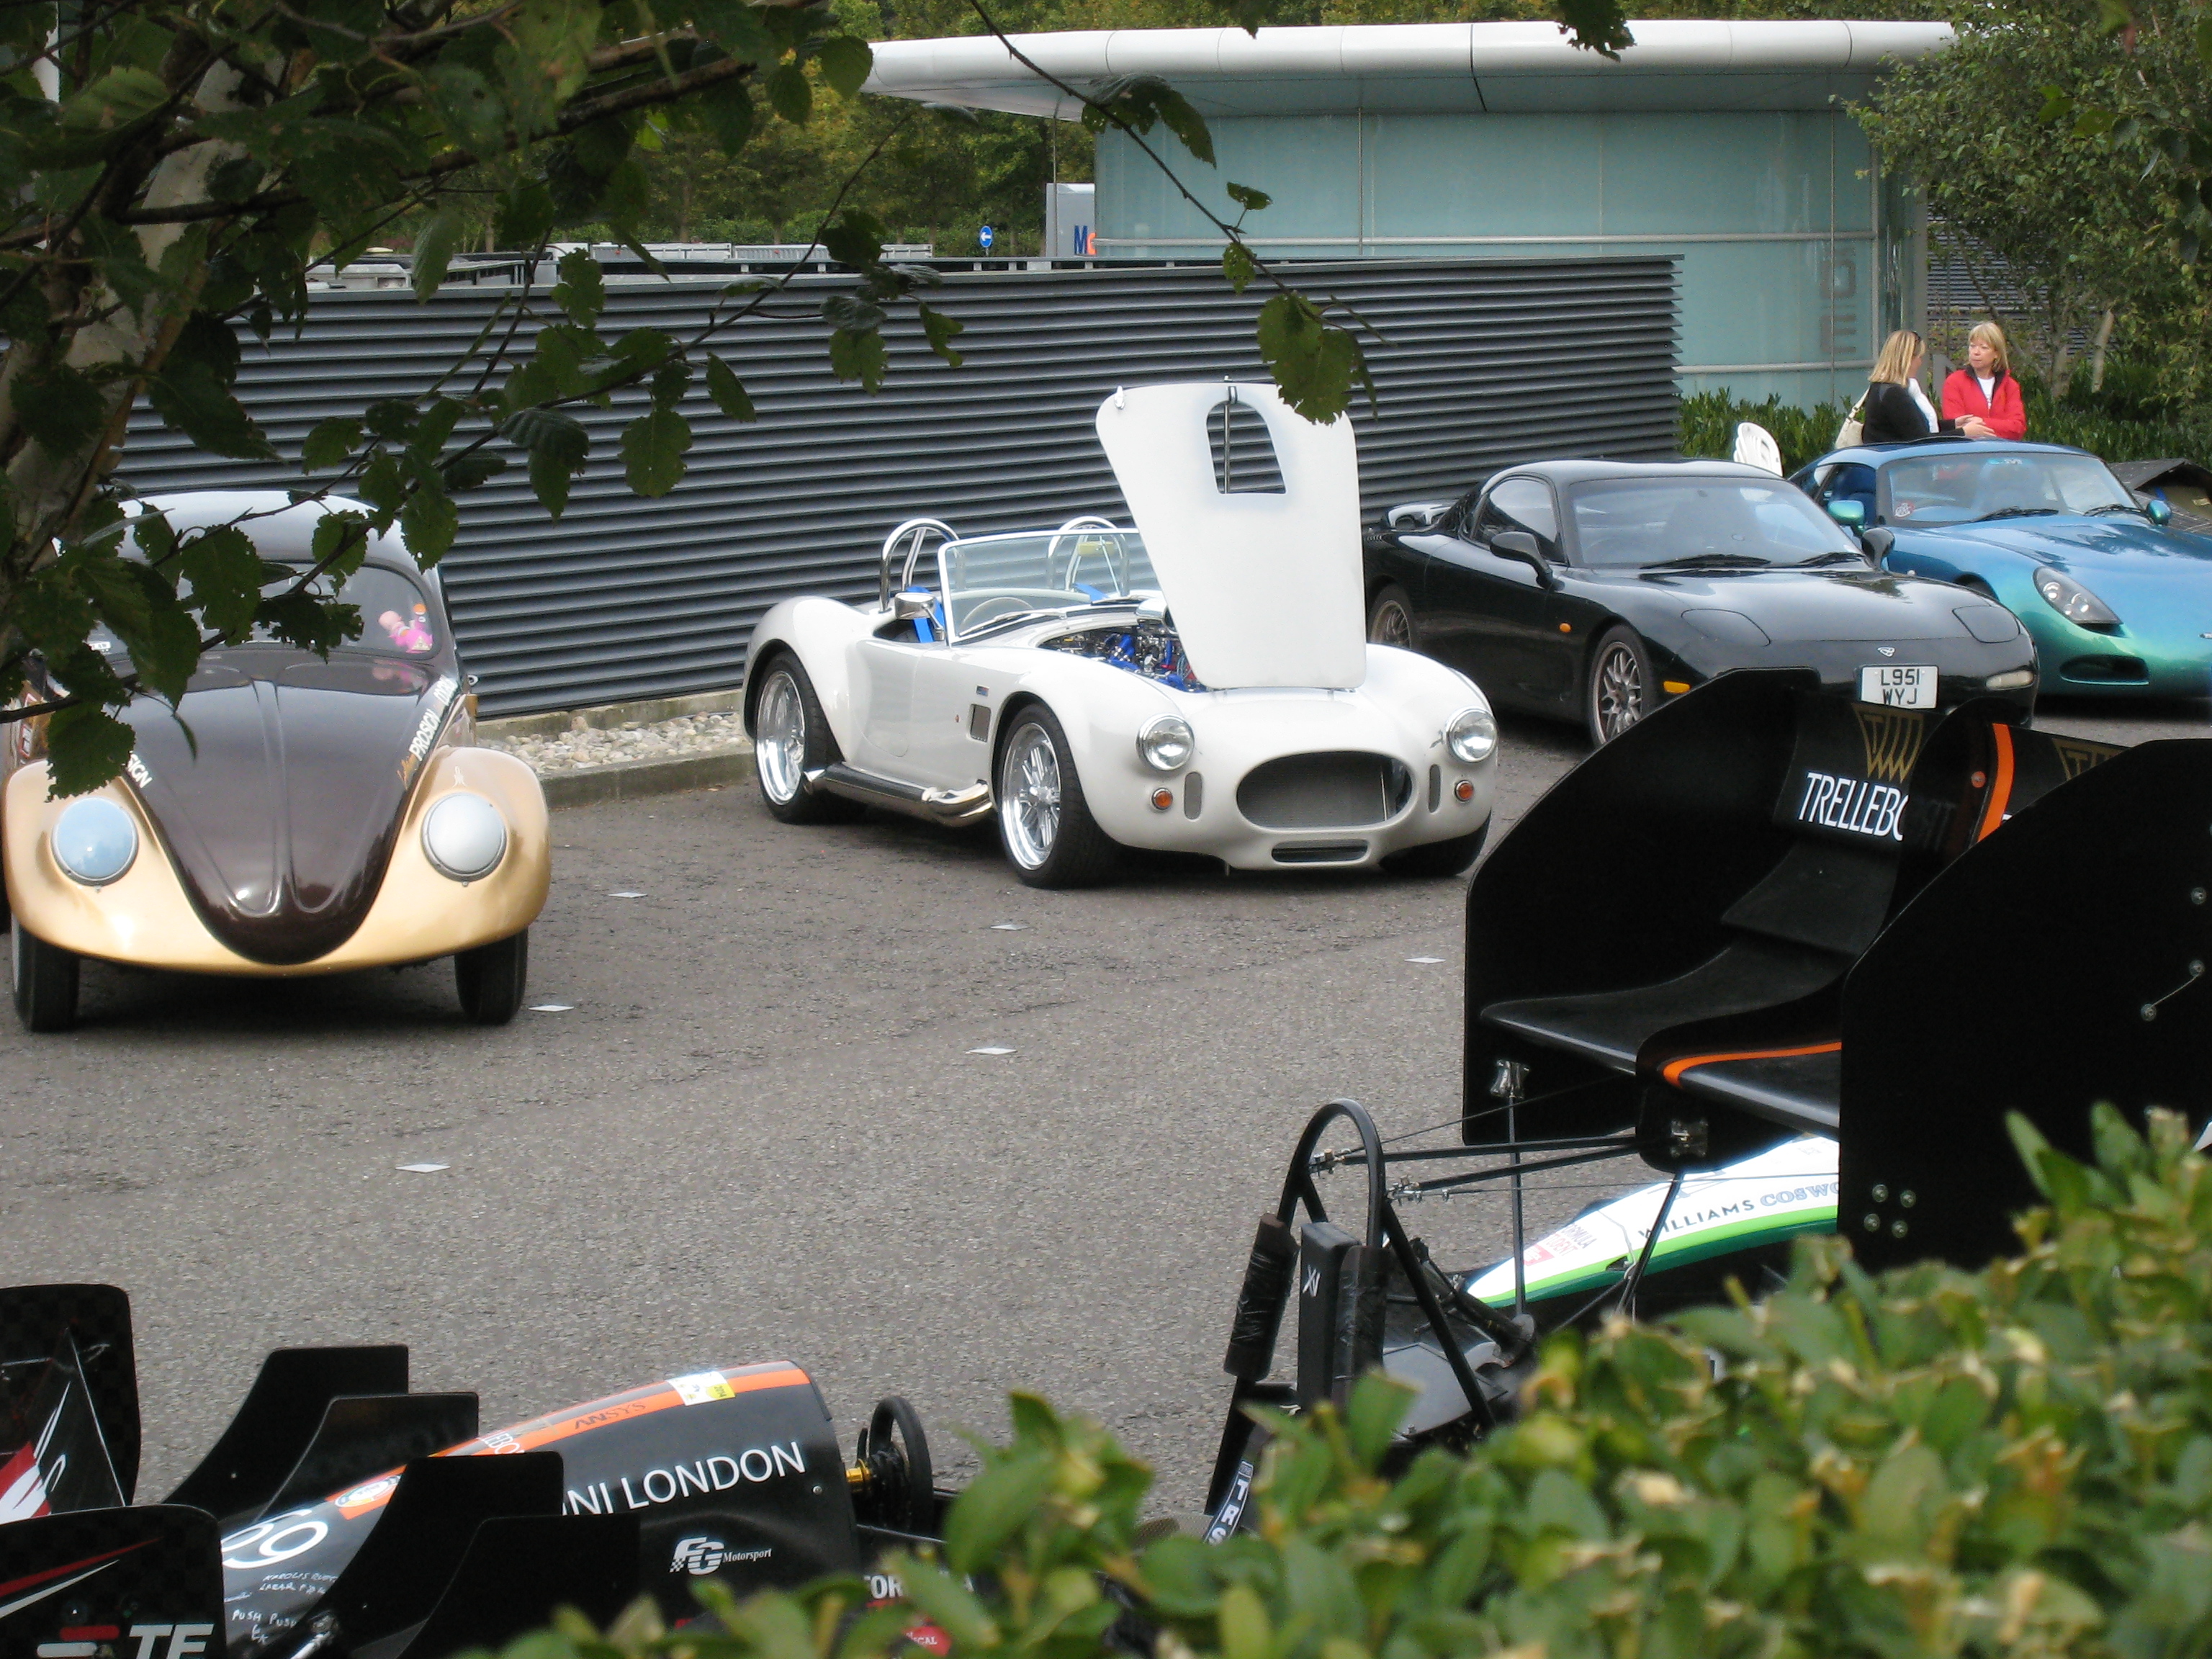

More photo's from the show can be found in Gallery 4
Ready for IVA ?
I think I'm ready.......
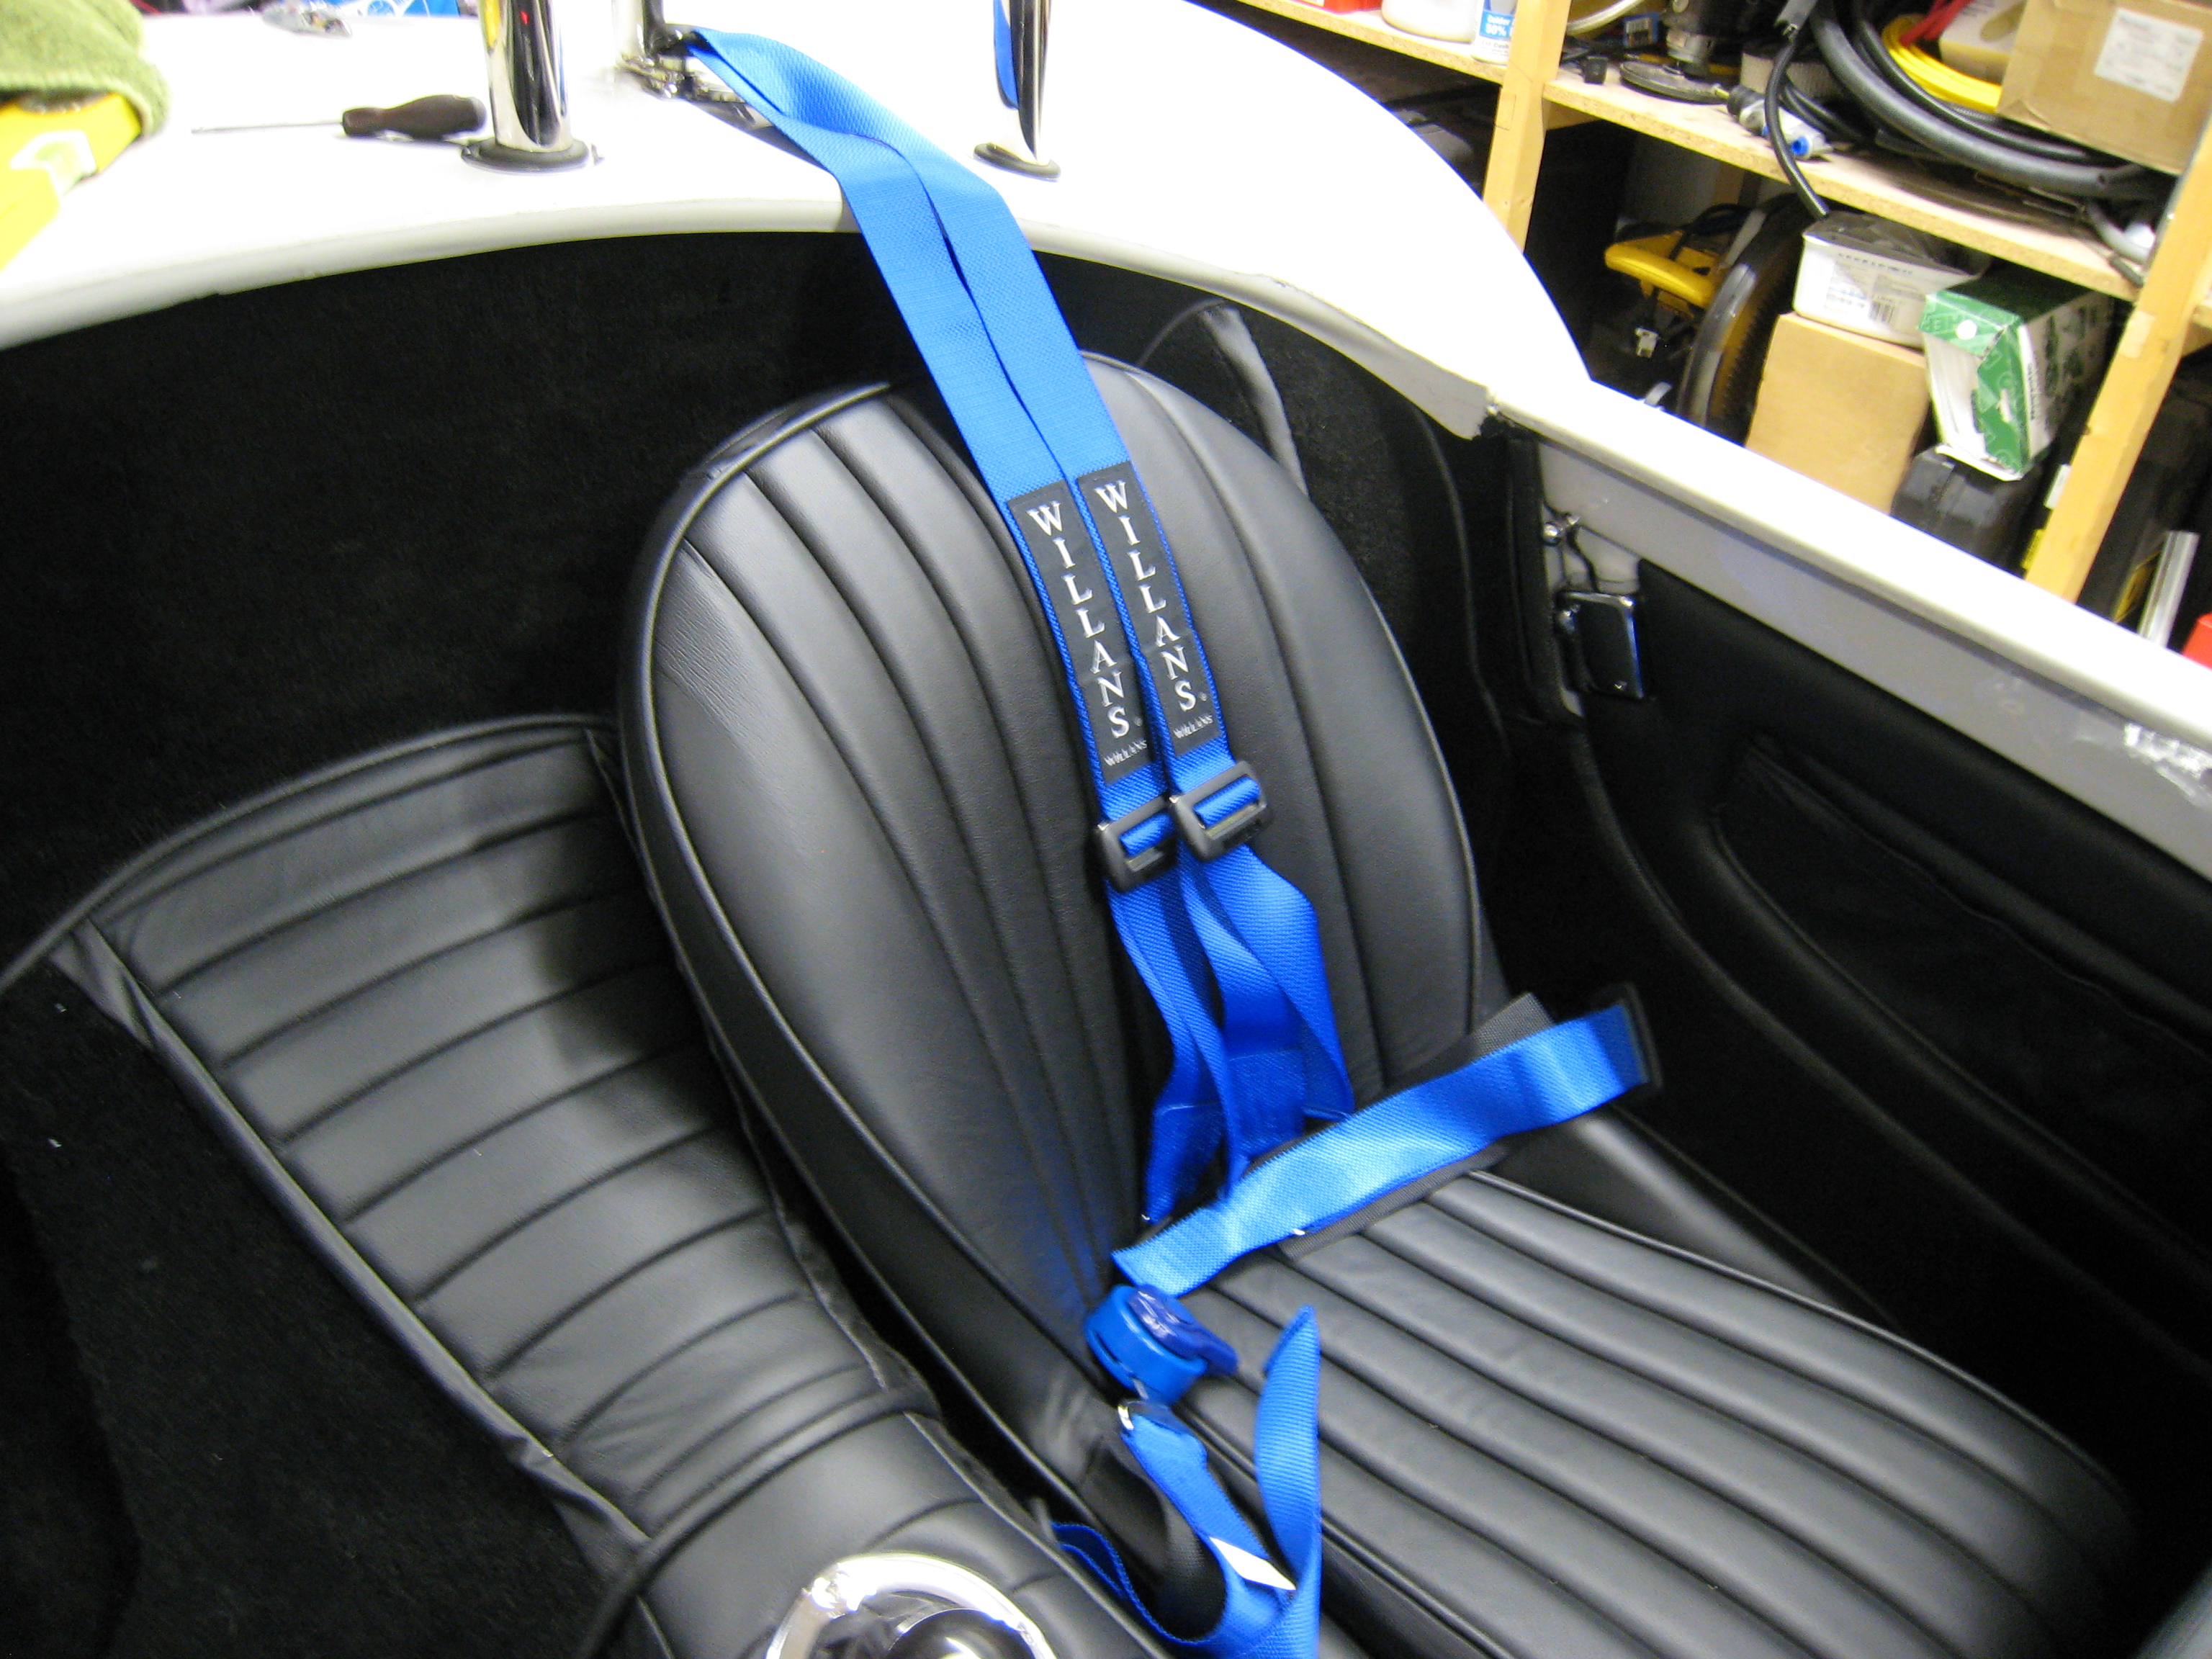
Seats are in, Belts are fitted, Carpet is in, Mirrors are fitted, Steering wheel fitted, Electrics all ok, happy with the dash, Tank has fuel, paperwork is
nearly done, almost ready for a test drive - just need to find a nice open and private space !
Date: 8th August 2014, Time: 21:29

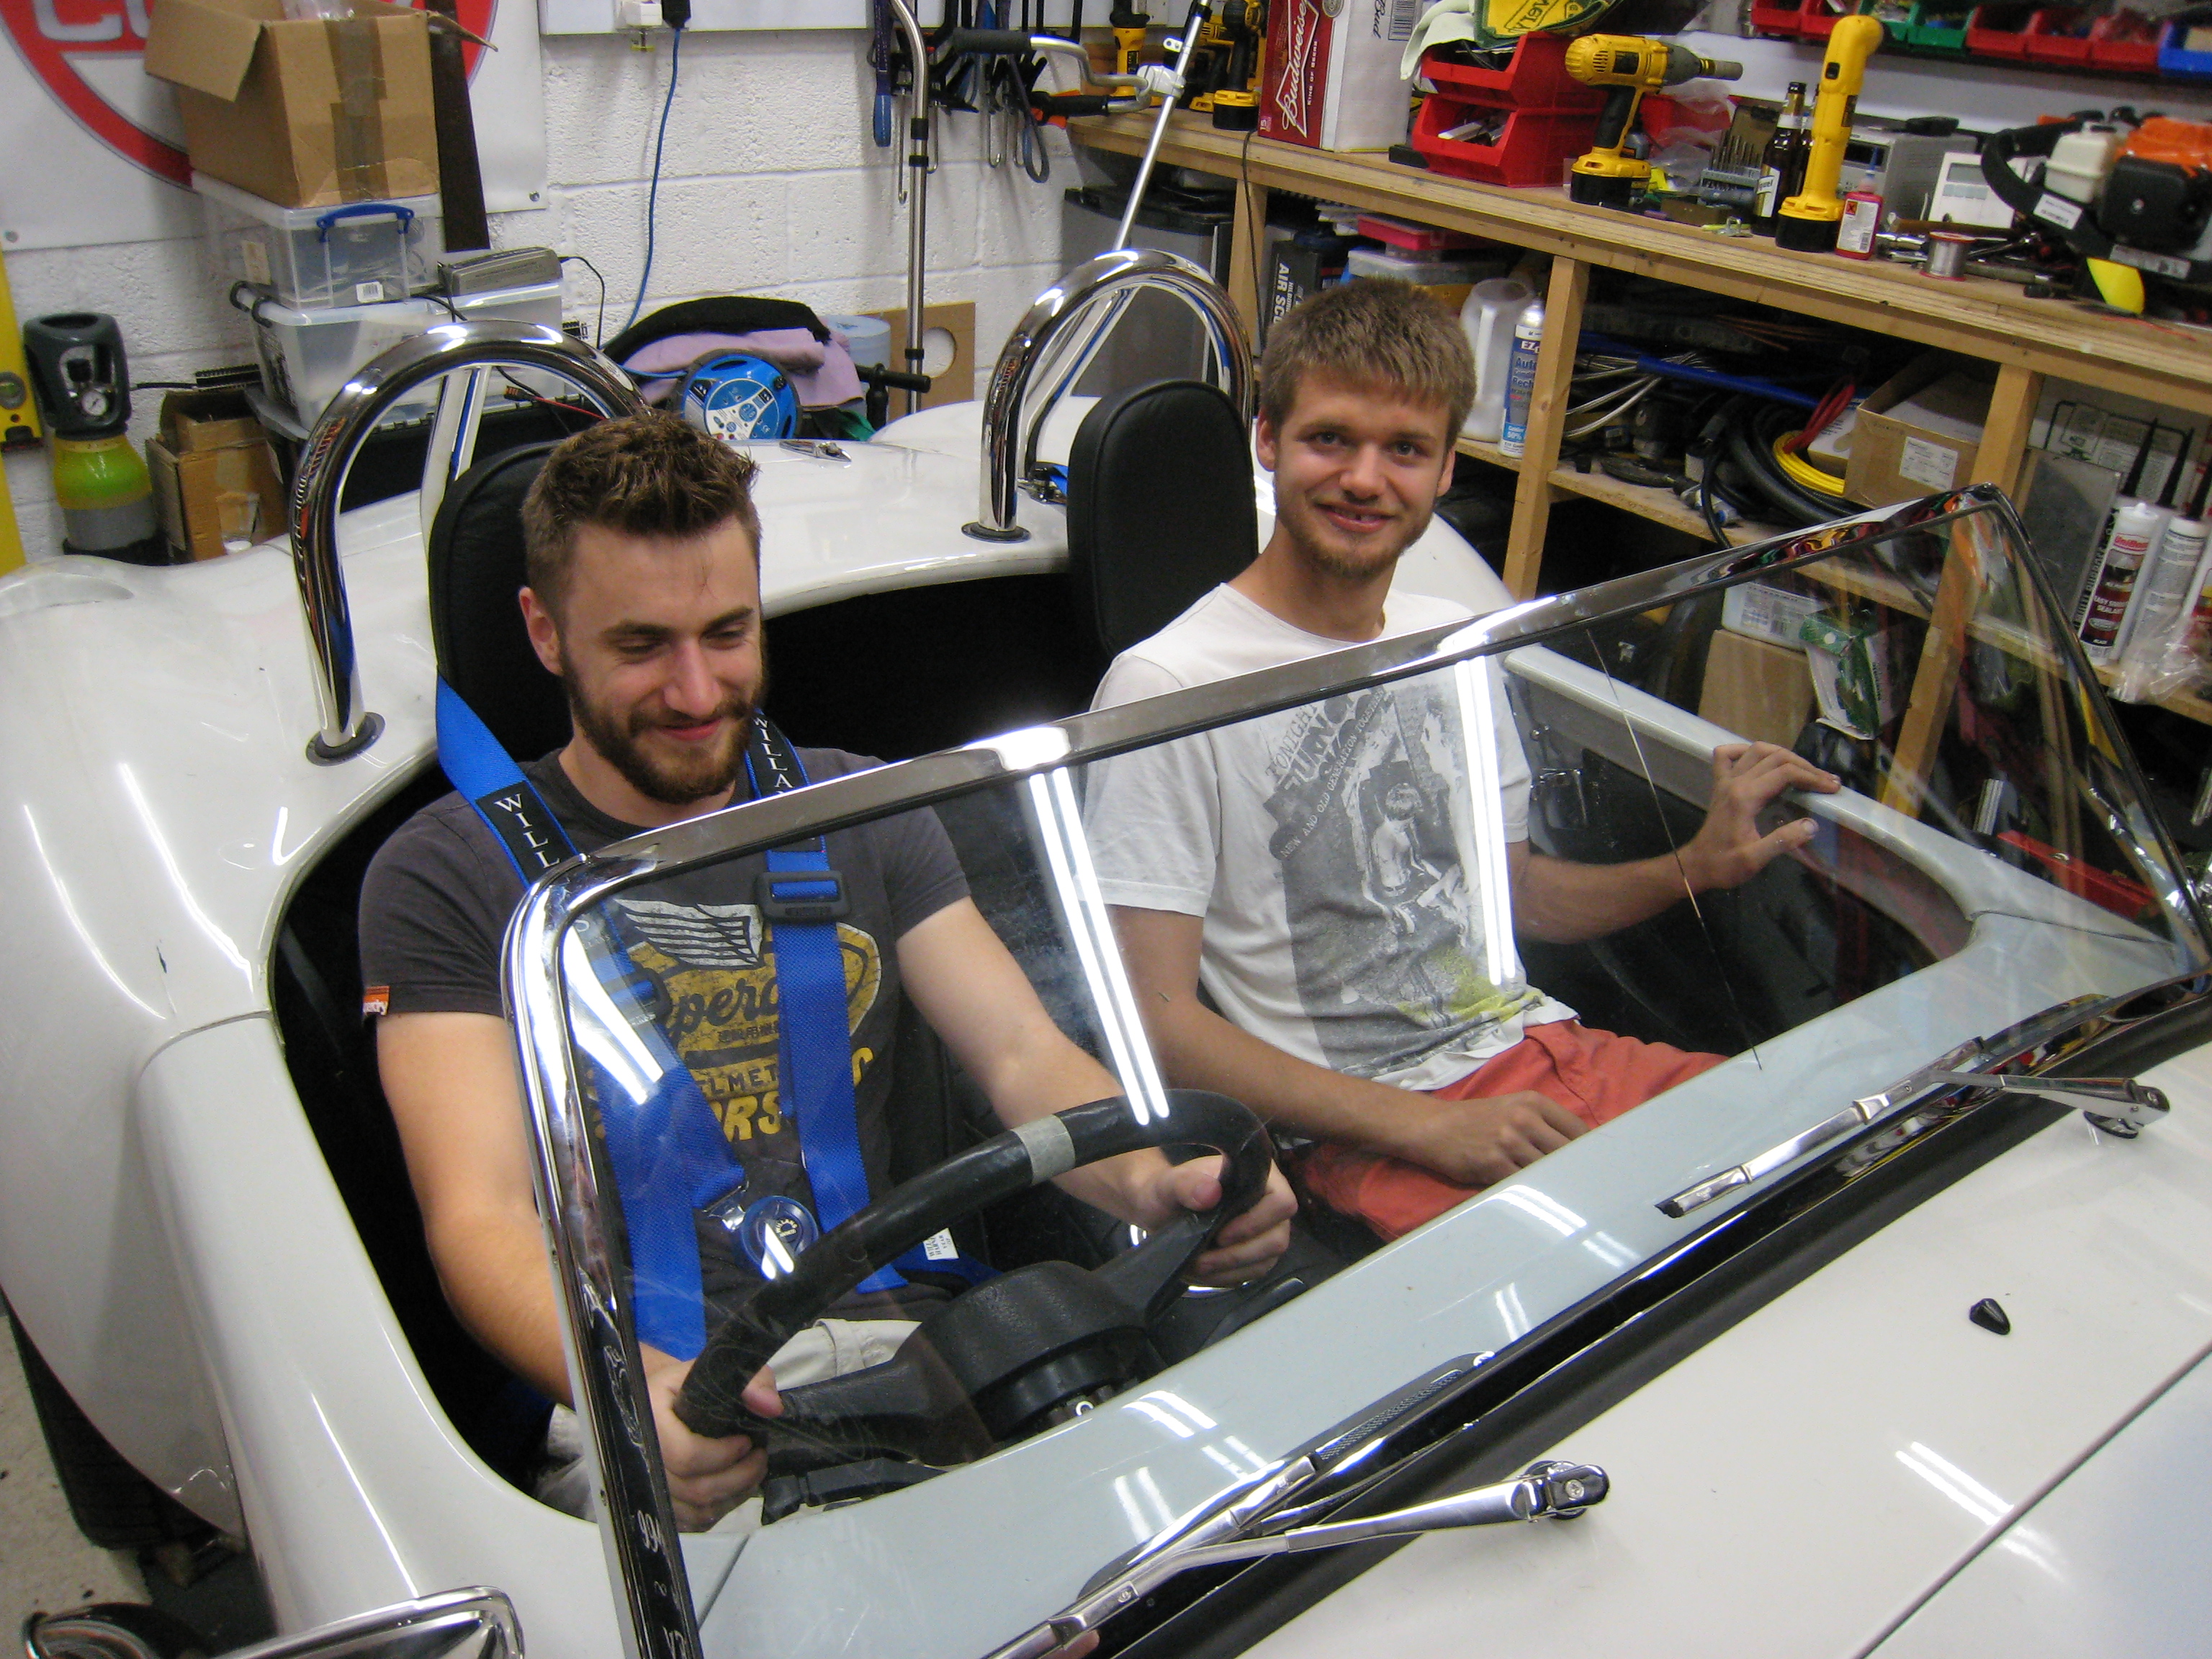
Even found a couple of youths hanging around the garage to test the seats out for me, Thanks Adrian & Darryl !
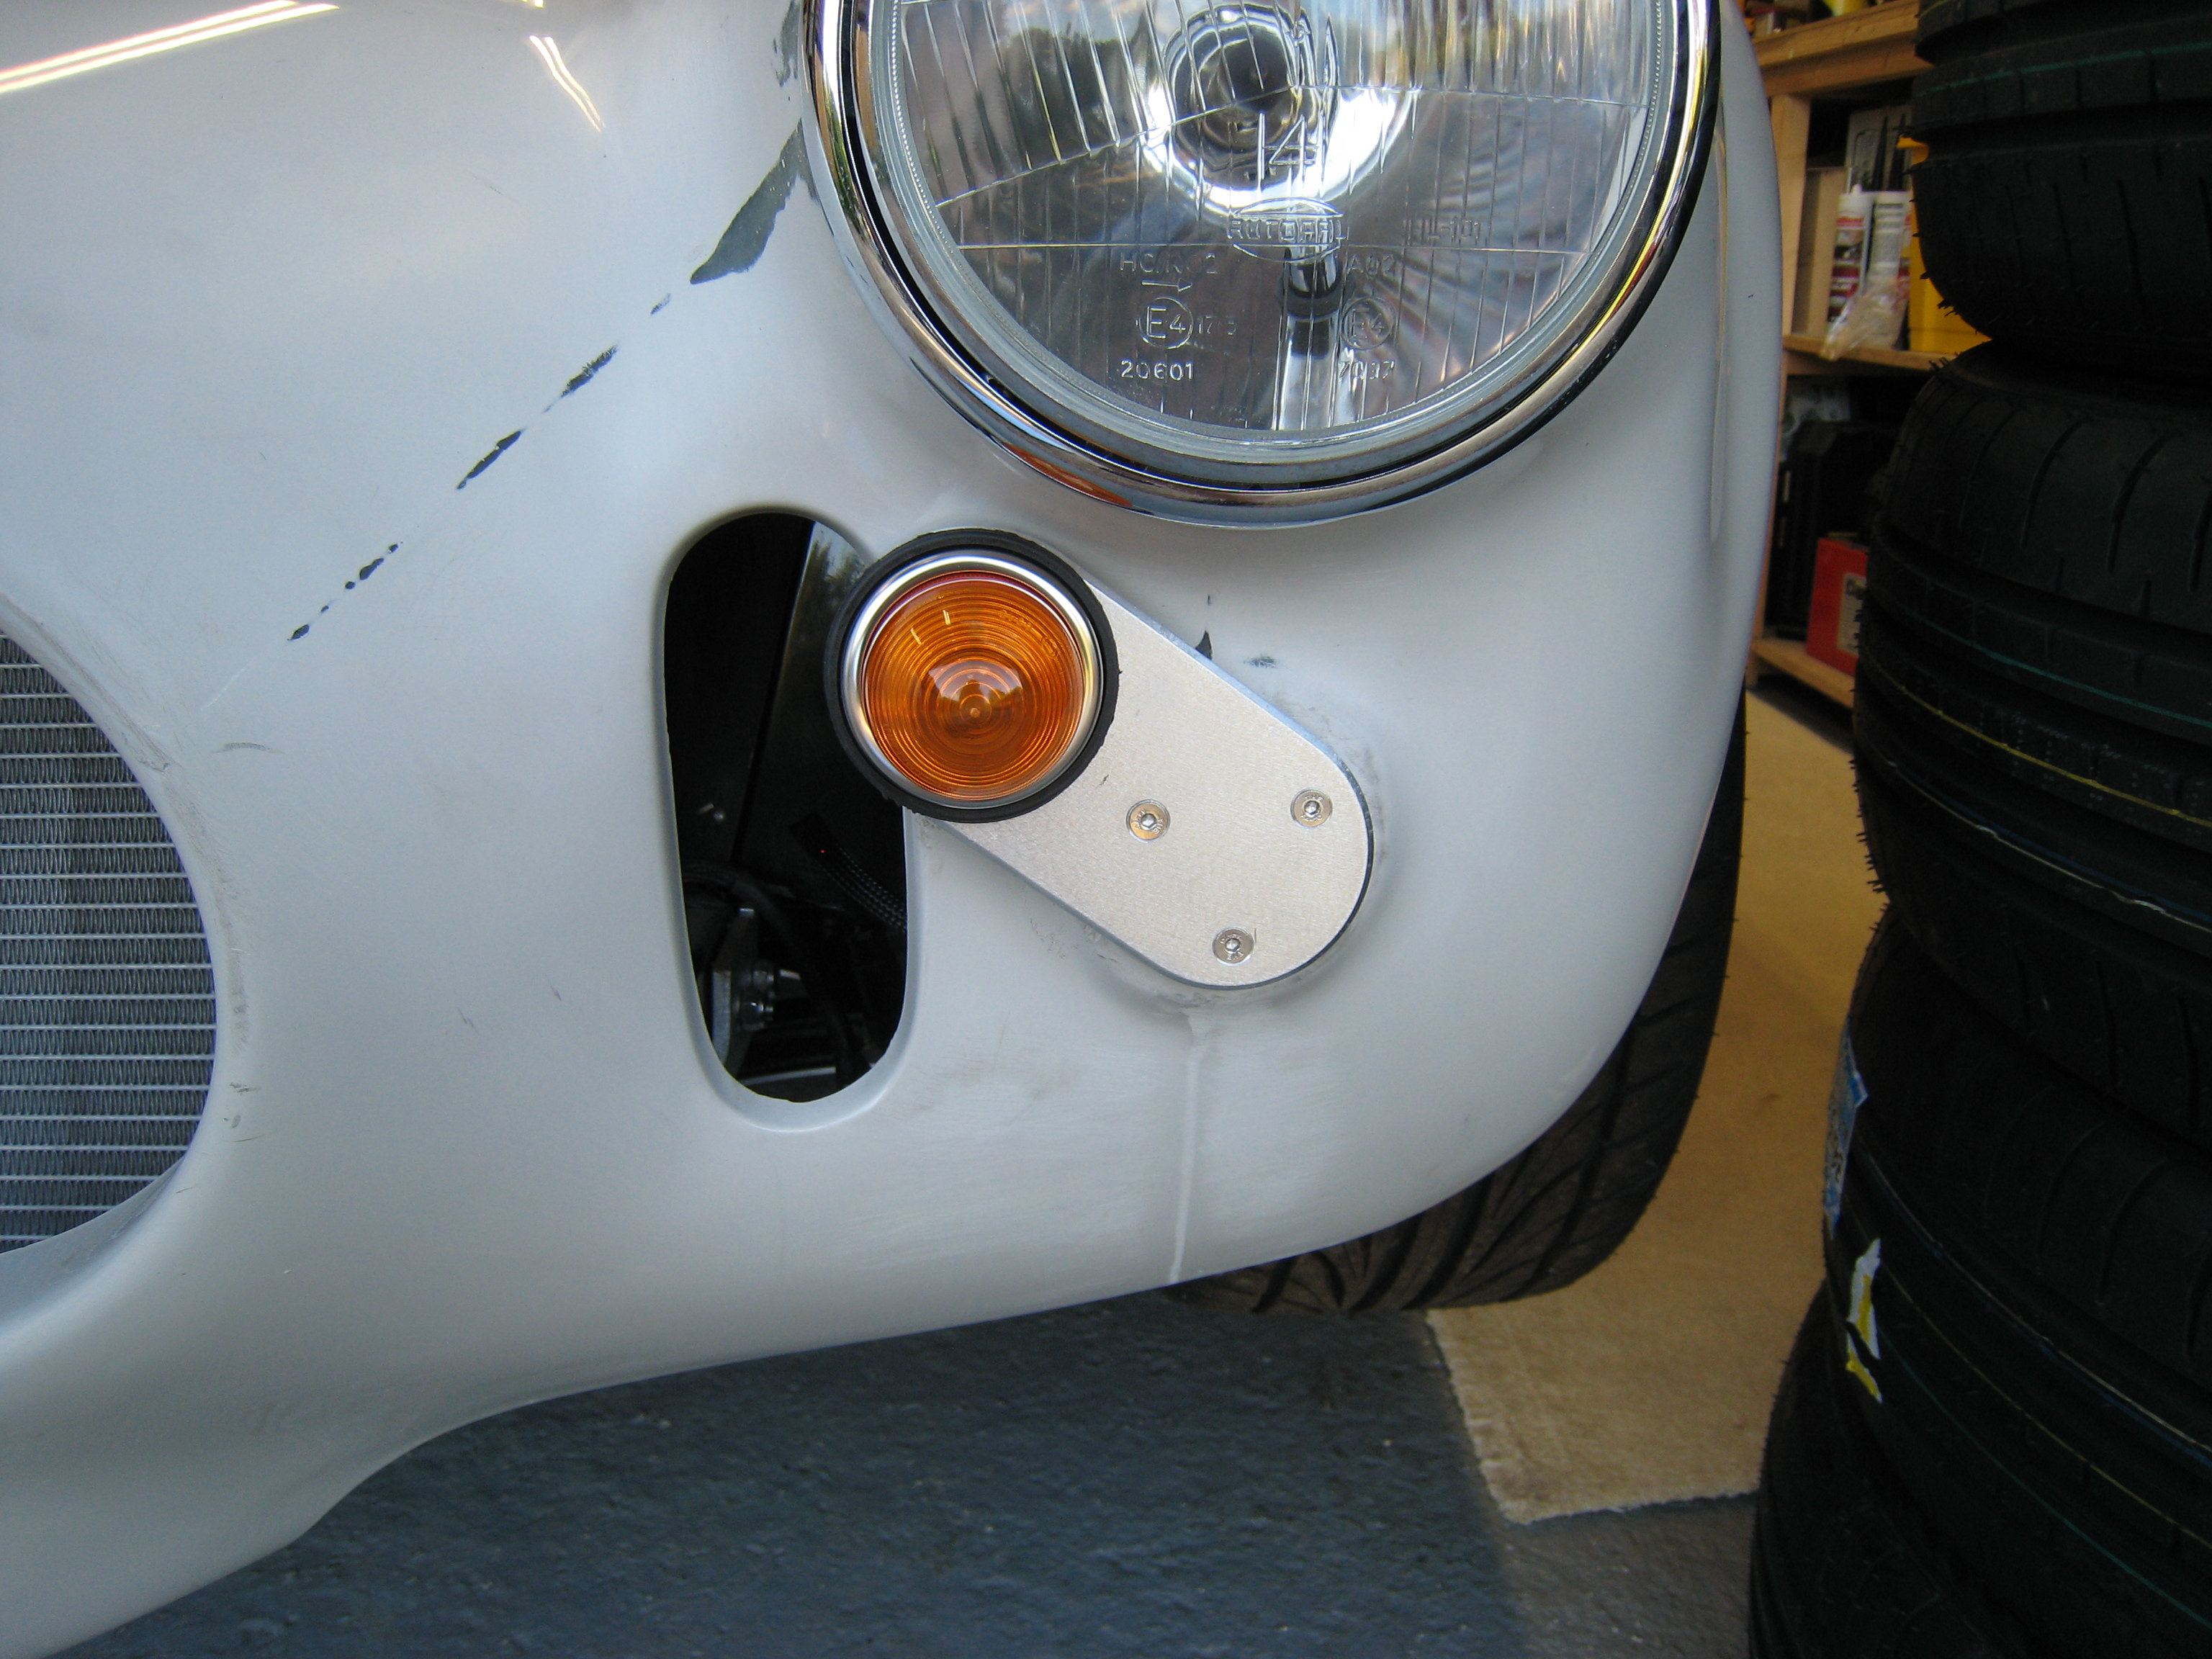
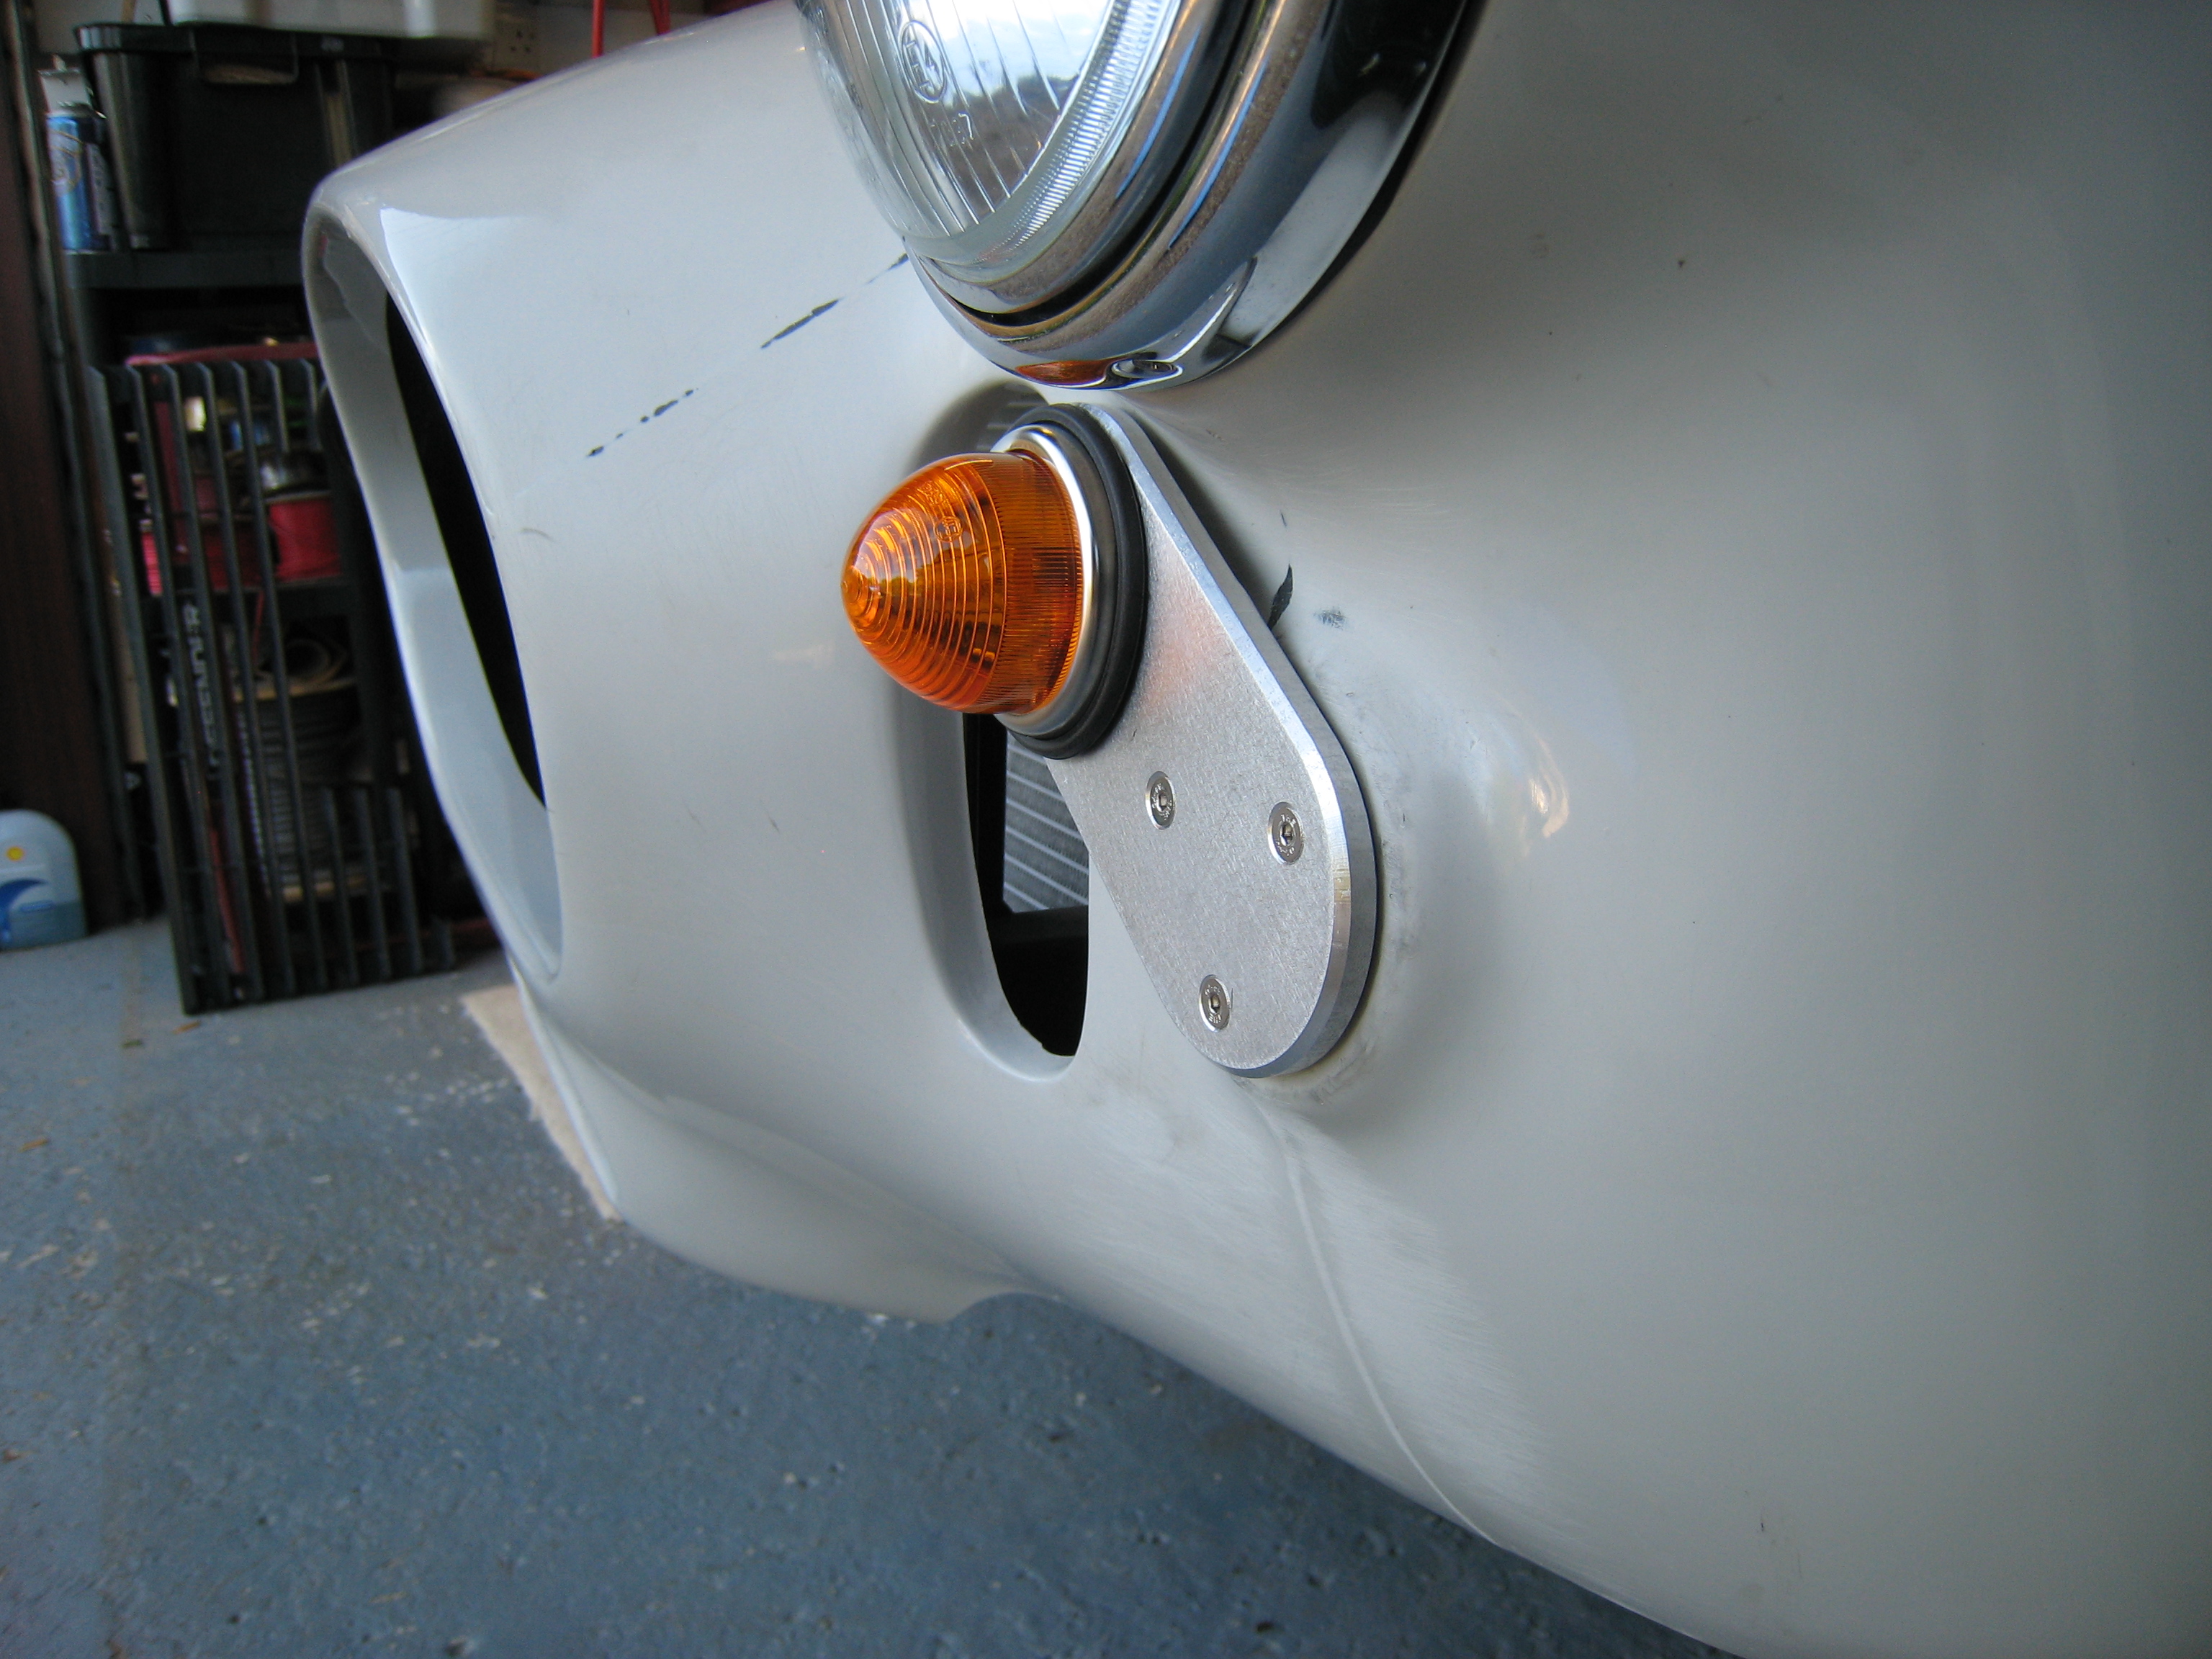
Front Indicators
IVA require the front indicators to be a minimum of 350mm from the ground, now with the suspension wound up I couldn’t quite get there and as I'm not fitting the
front bumper yet the Dax kit isn’t really going to help, so I made my own, this has successfully lifted the lights up over the lower limit so should be ok for the dreaded IVA
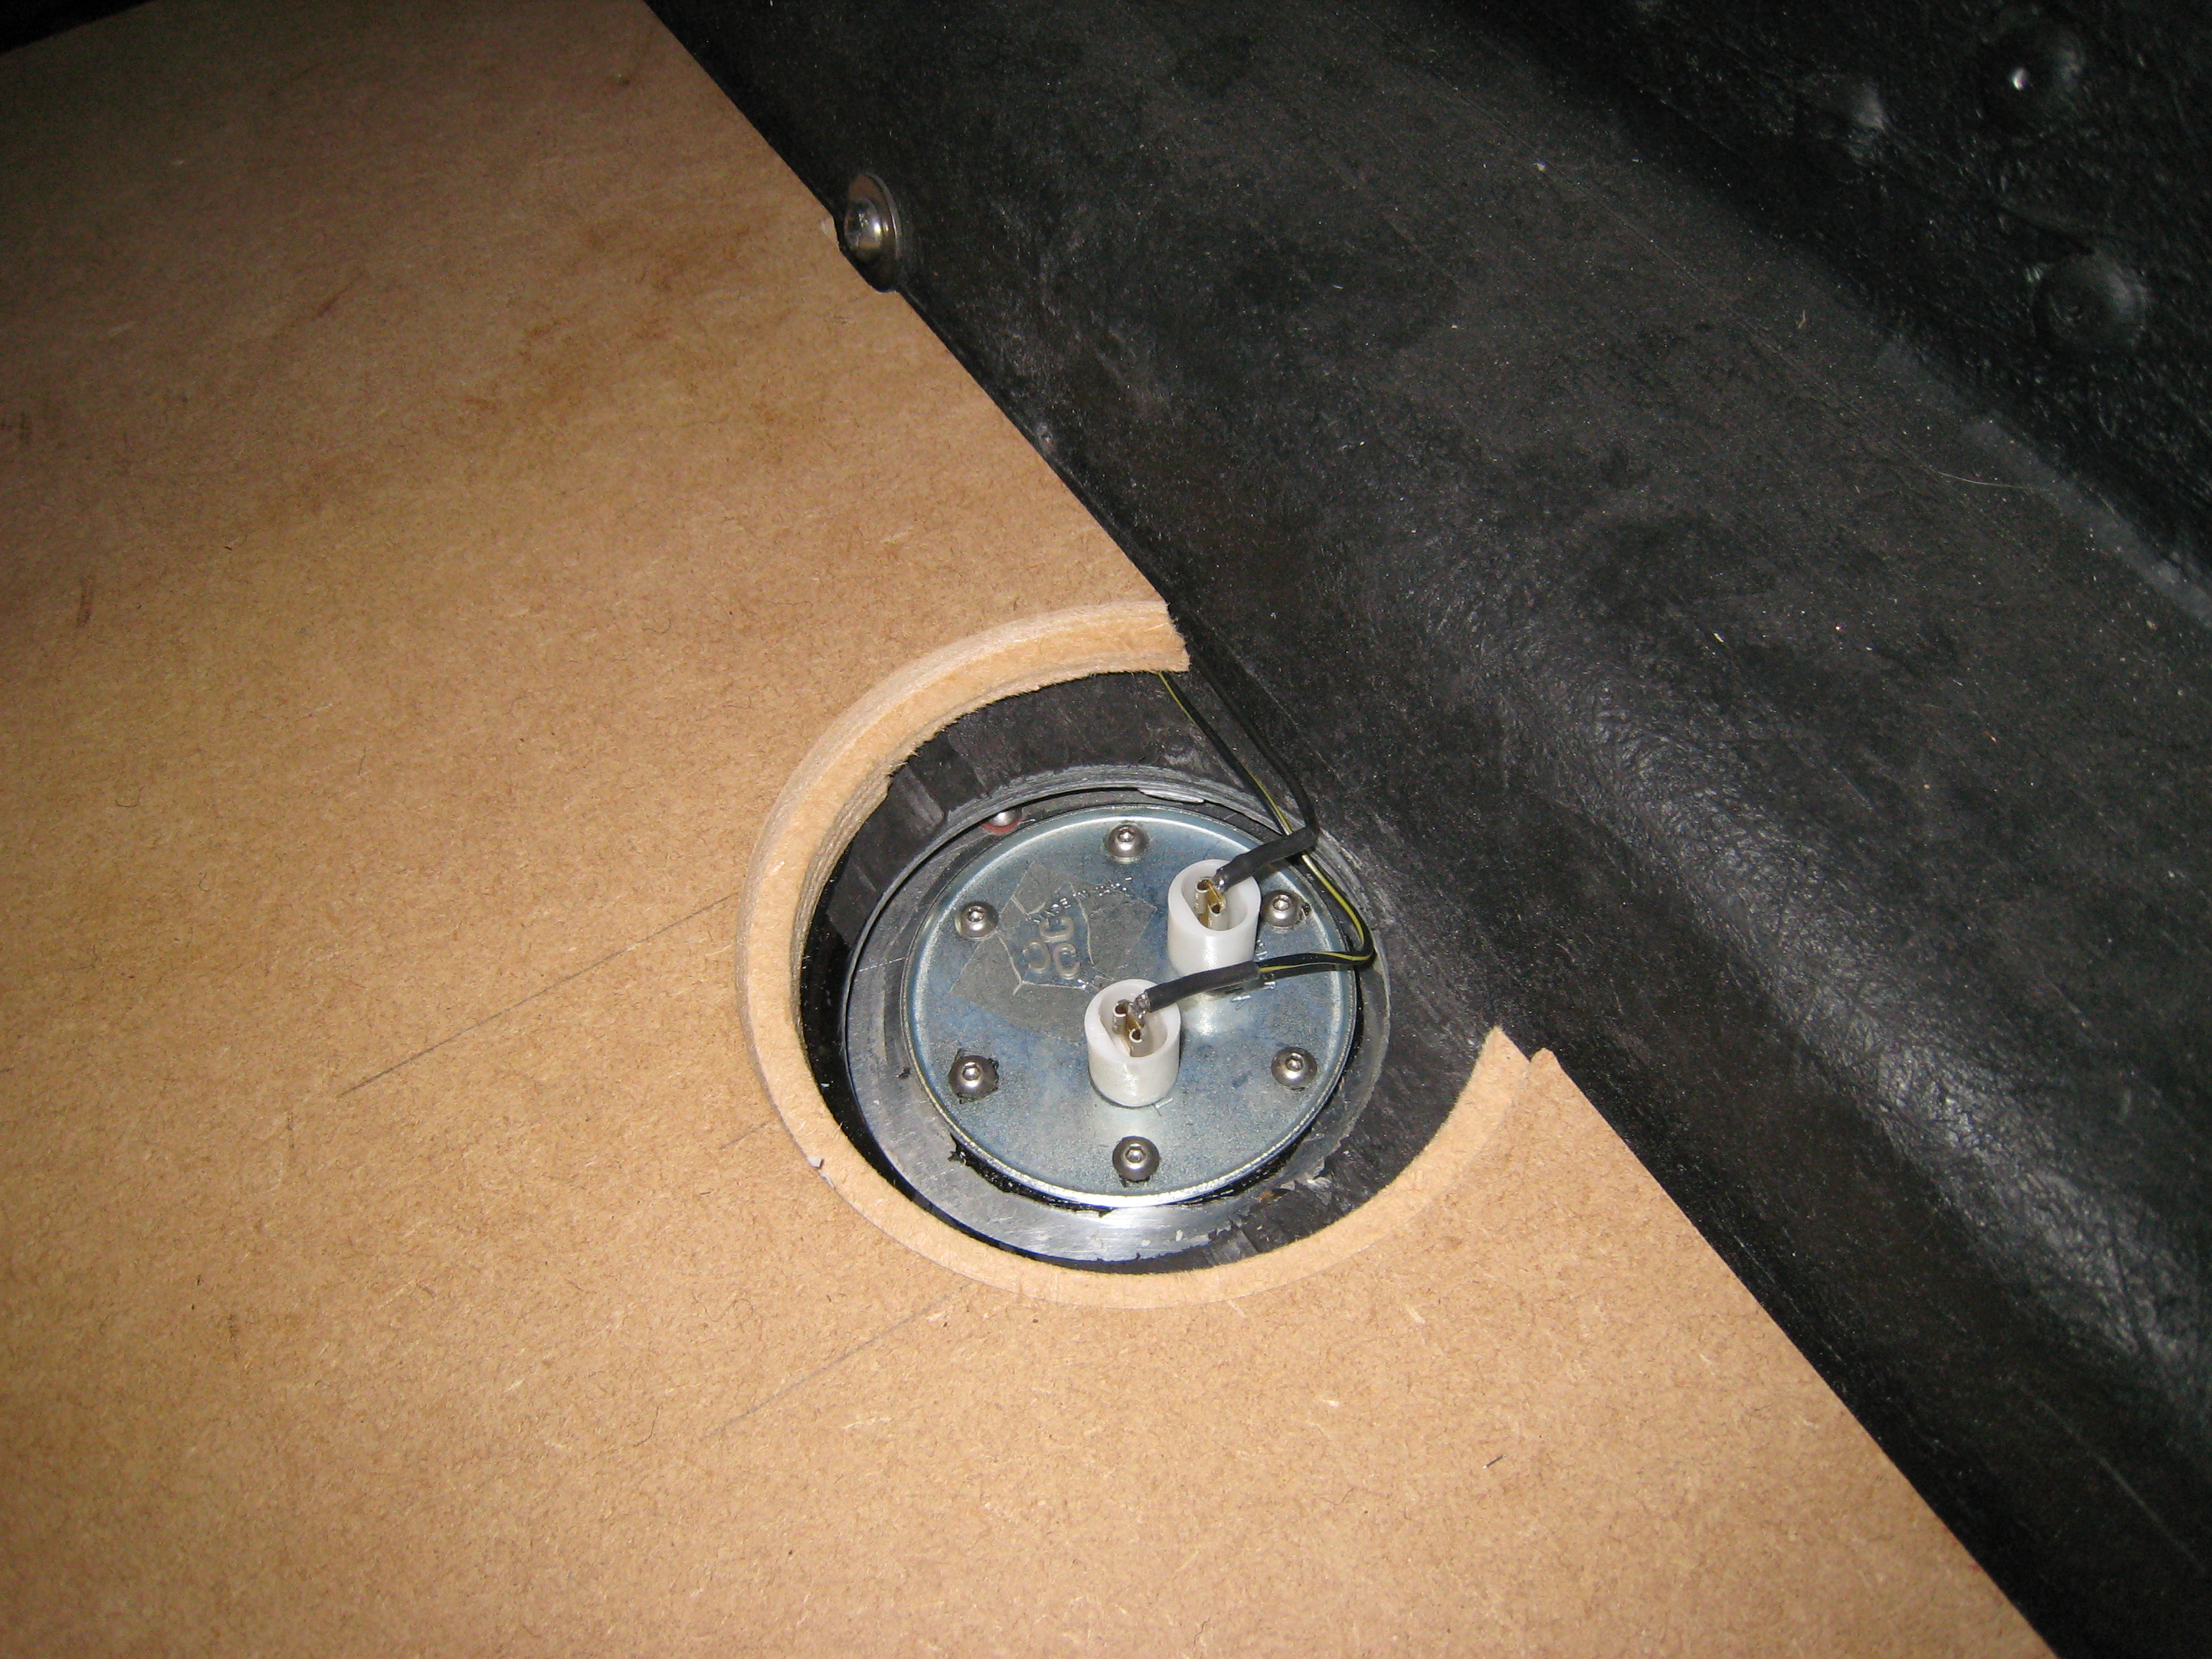
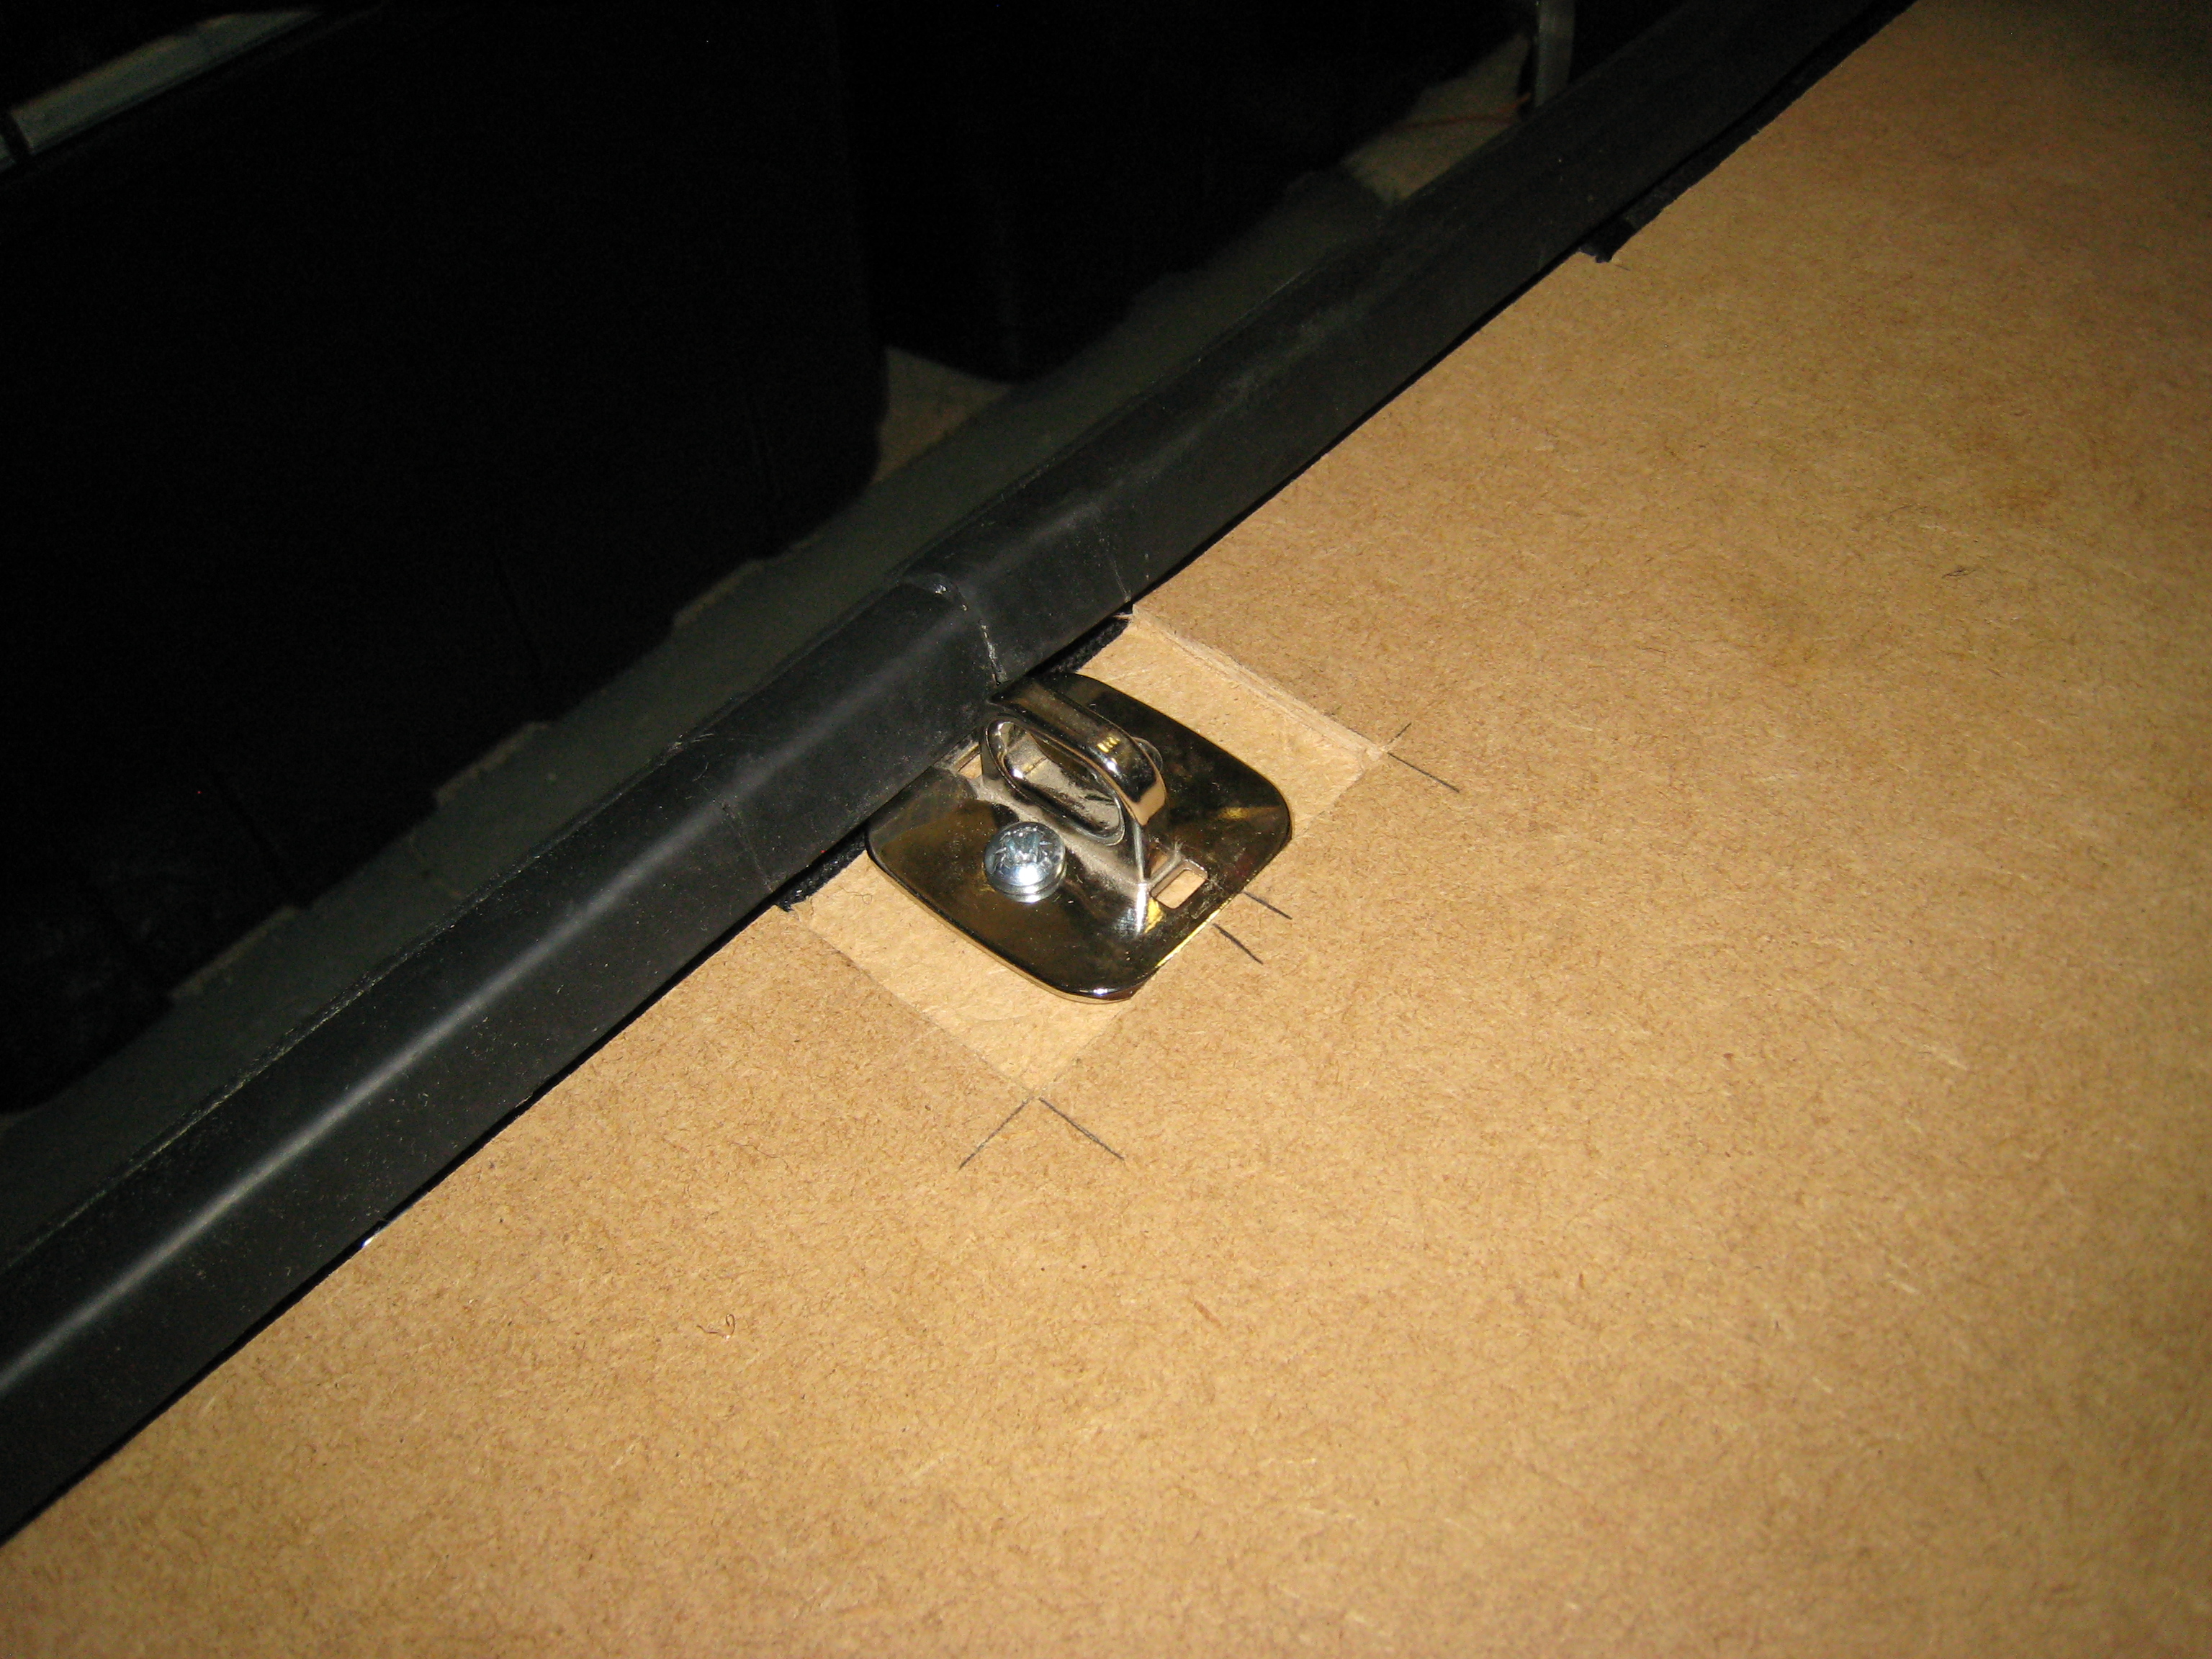
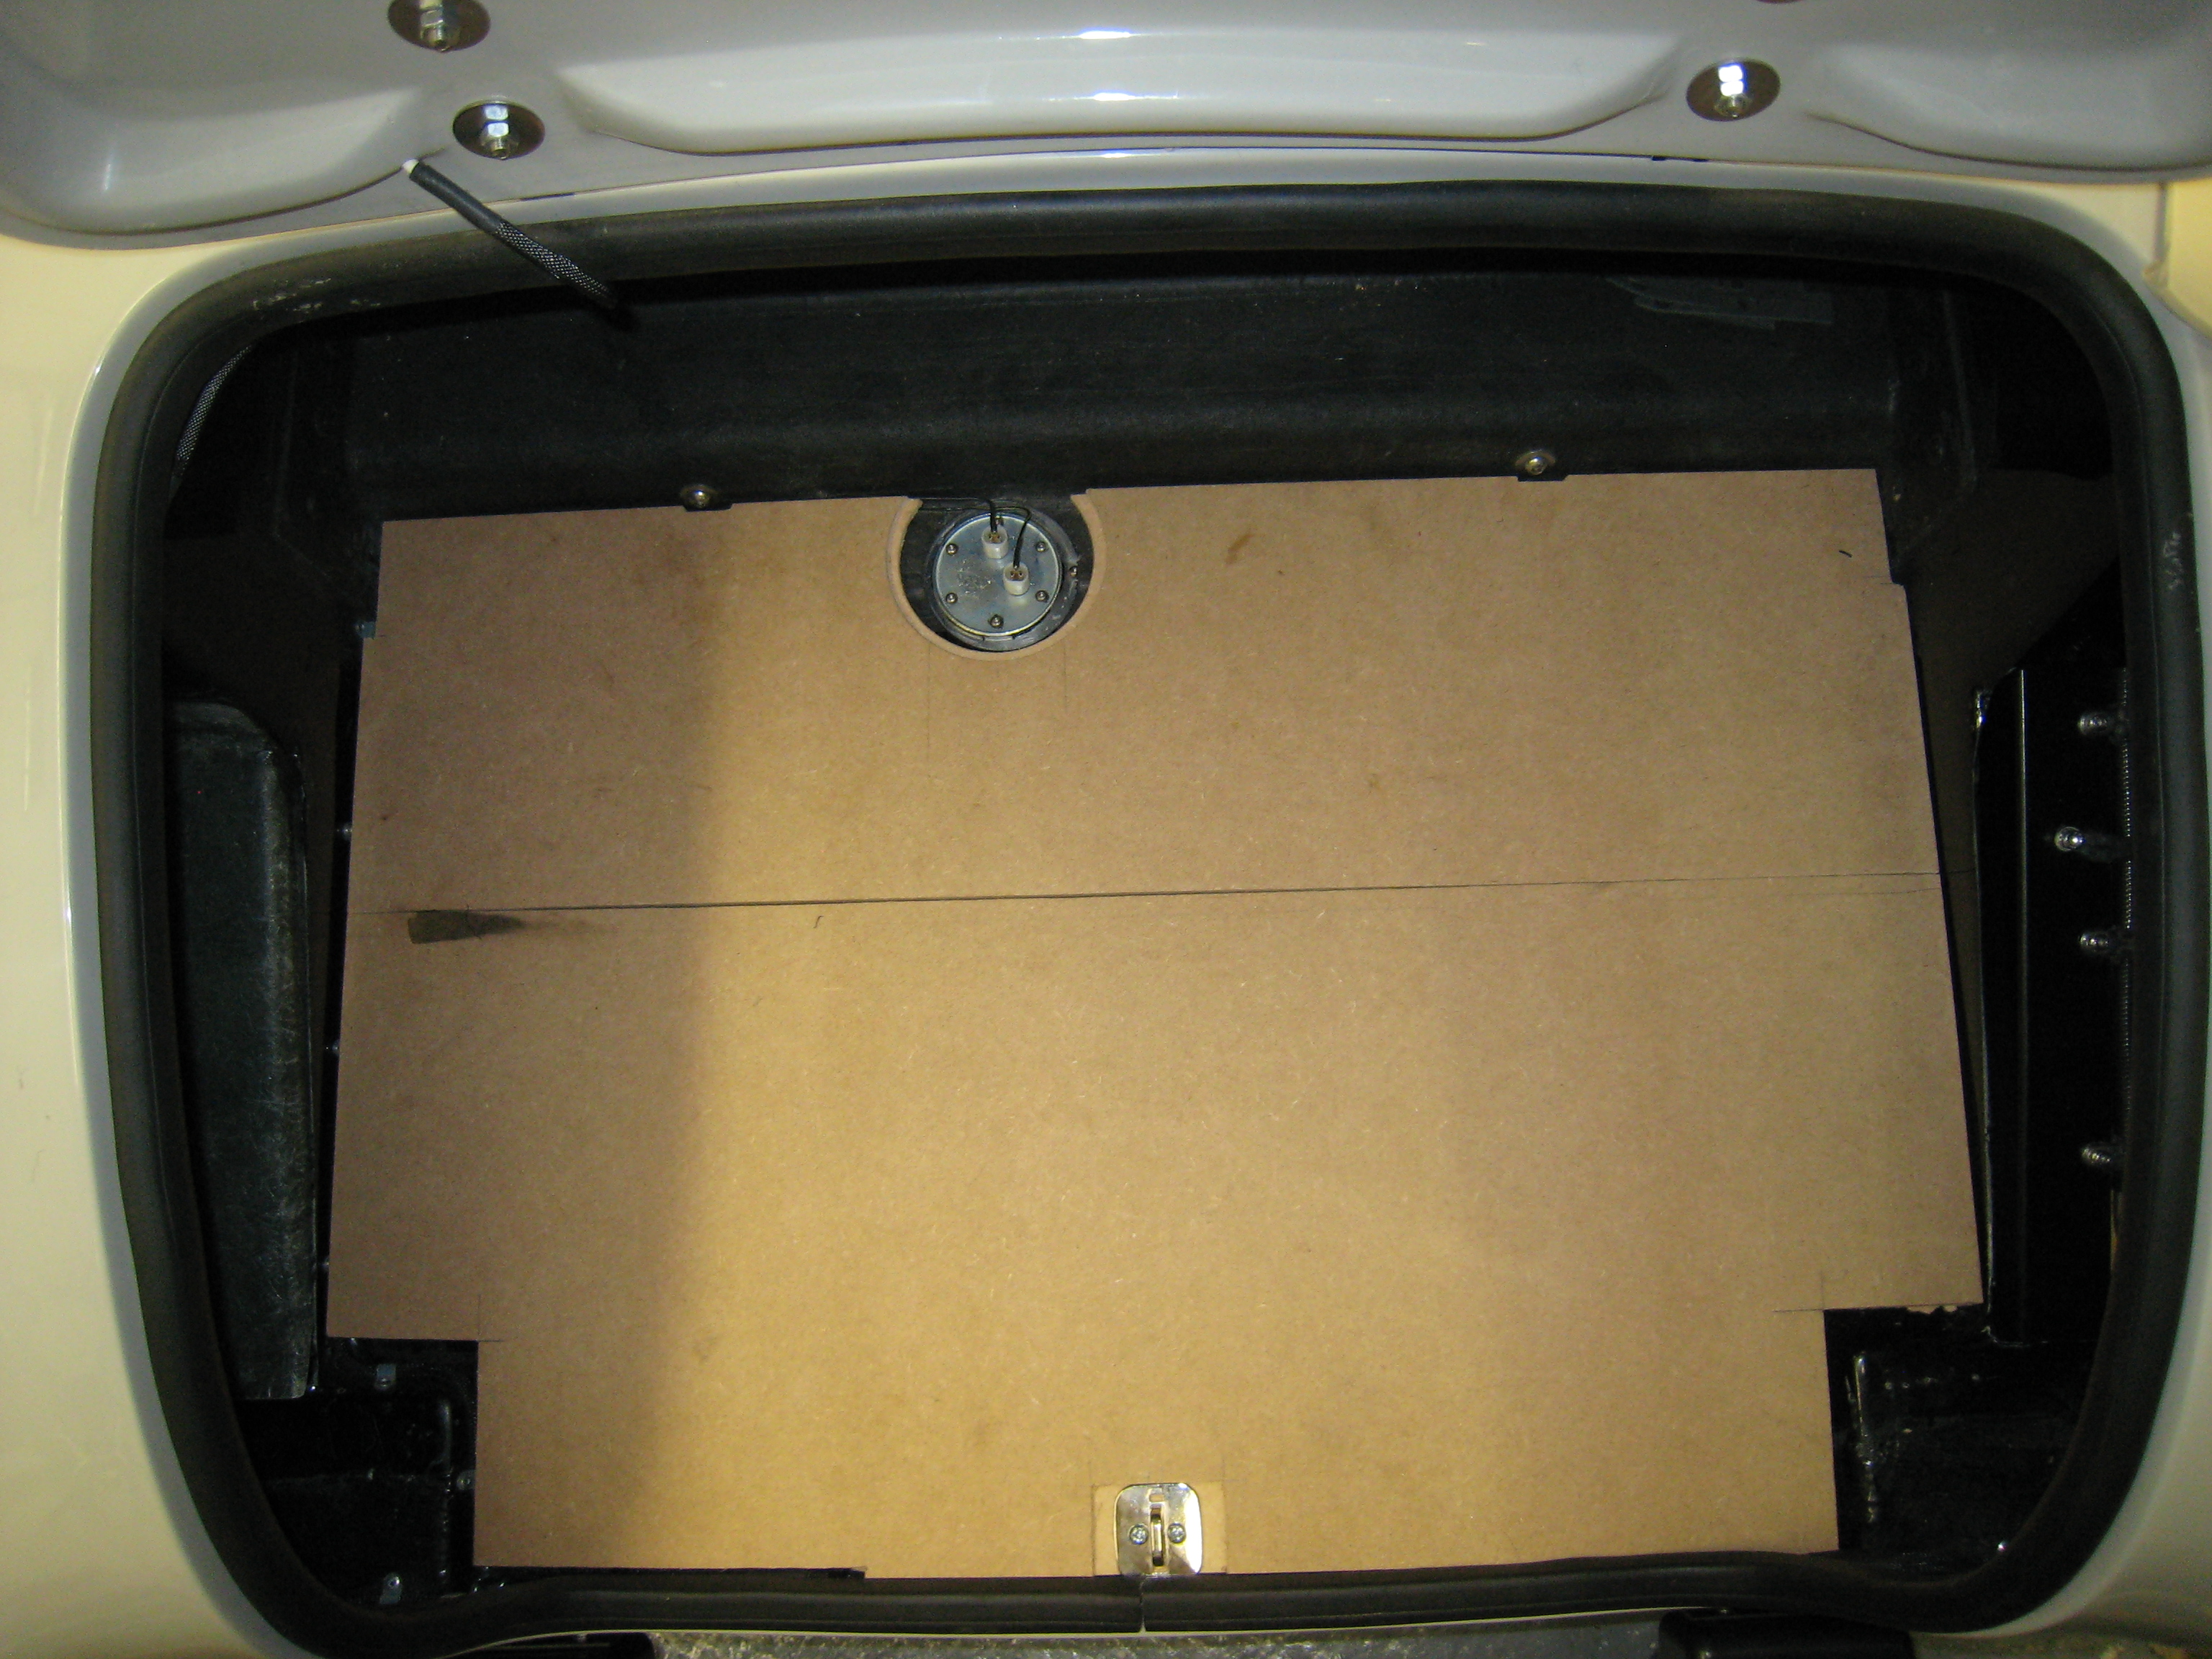
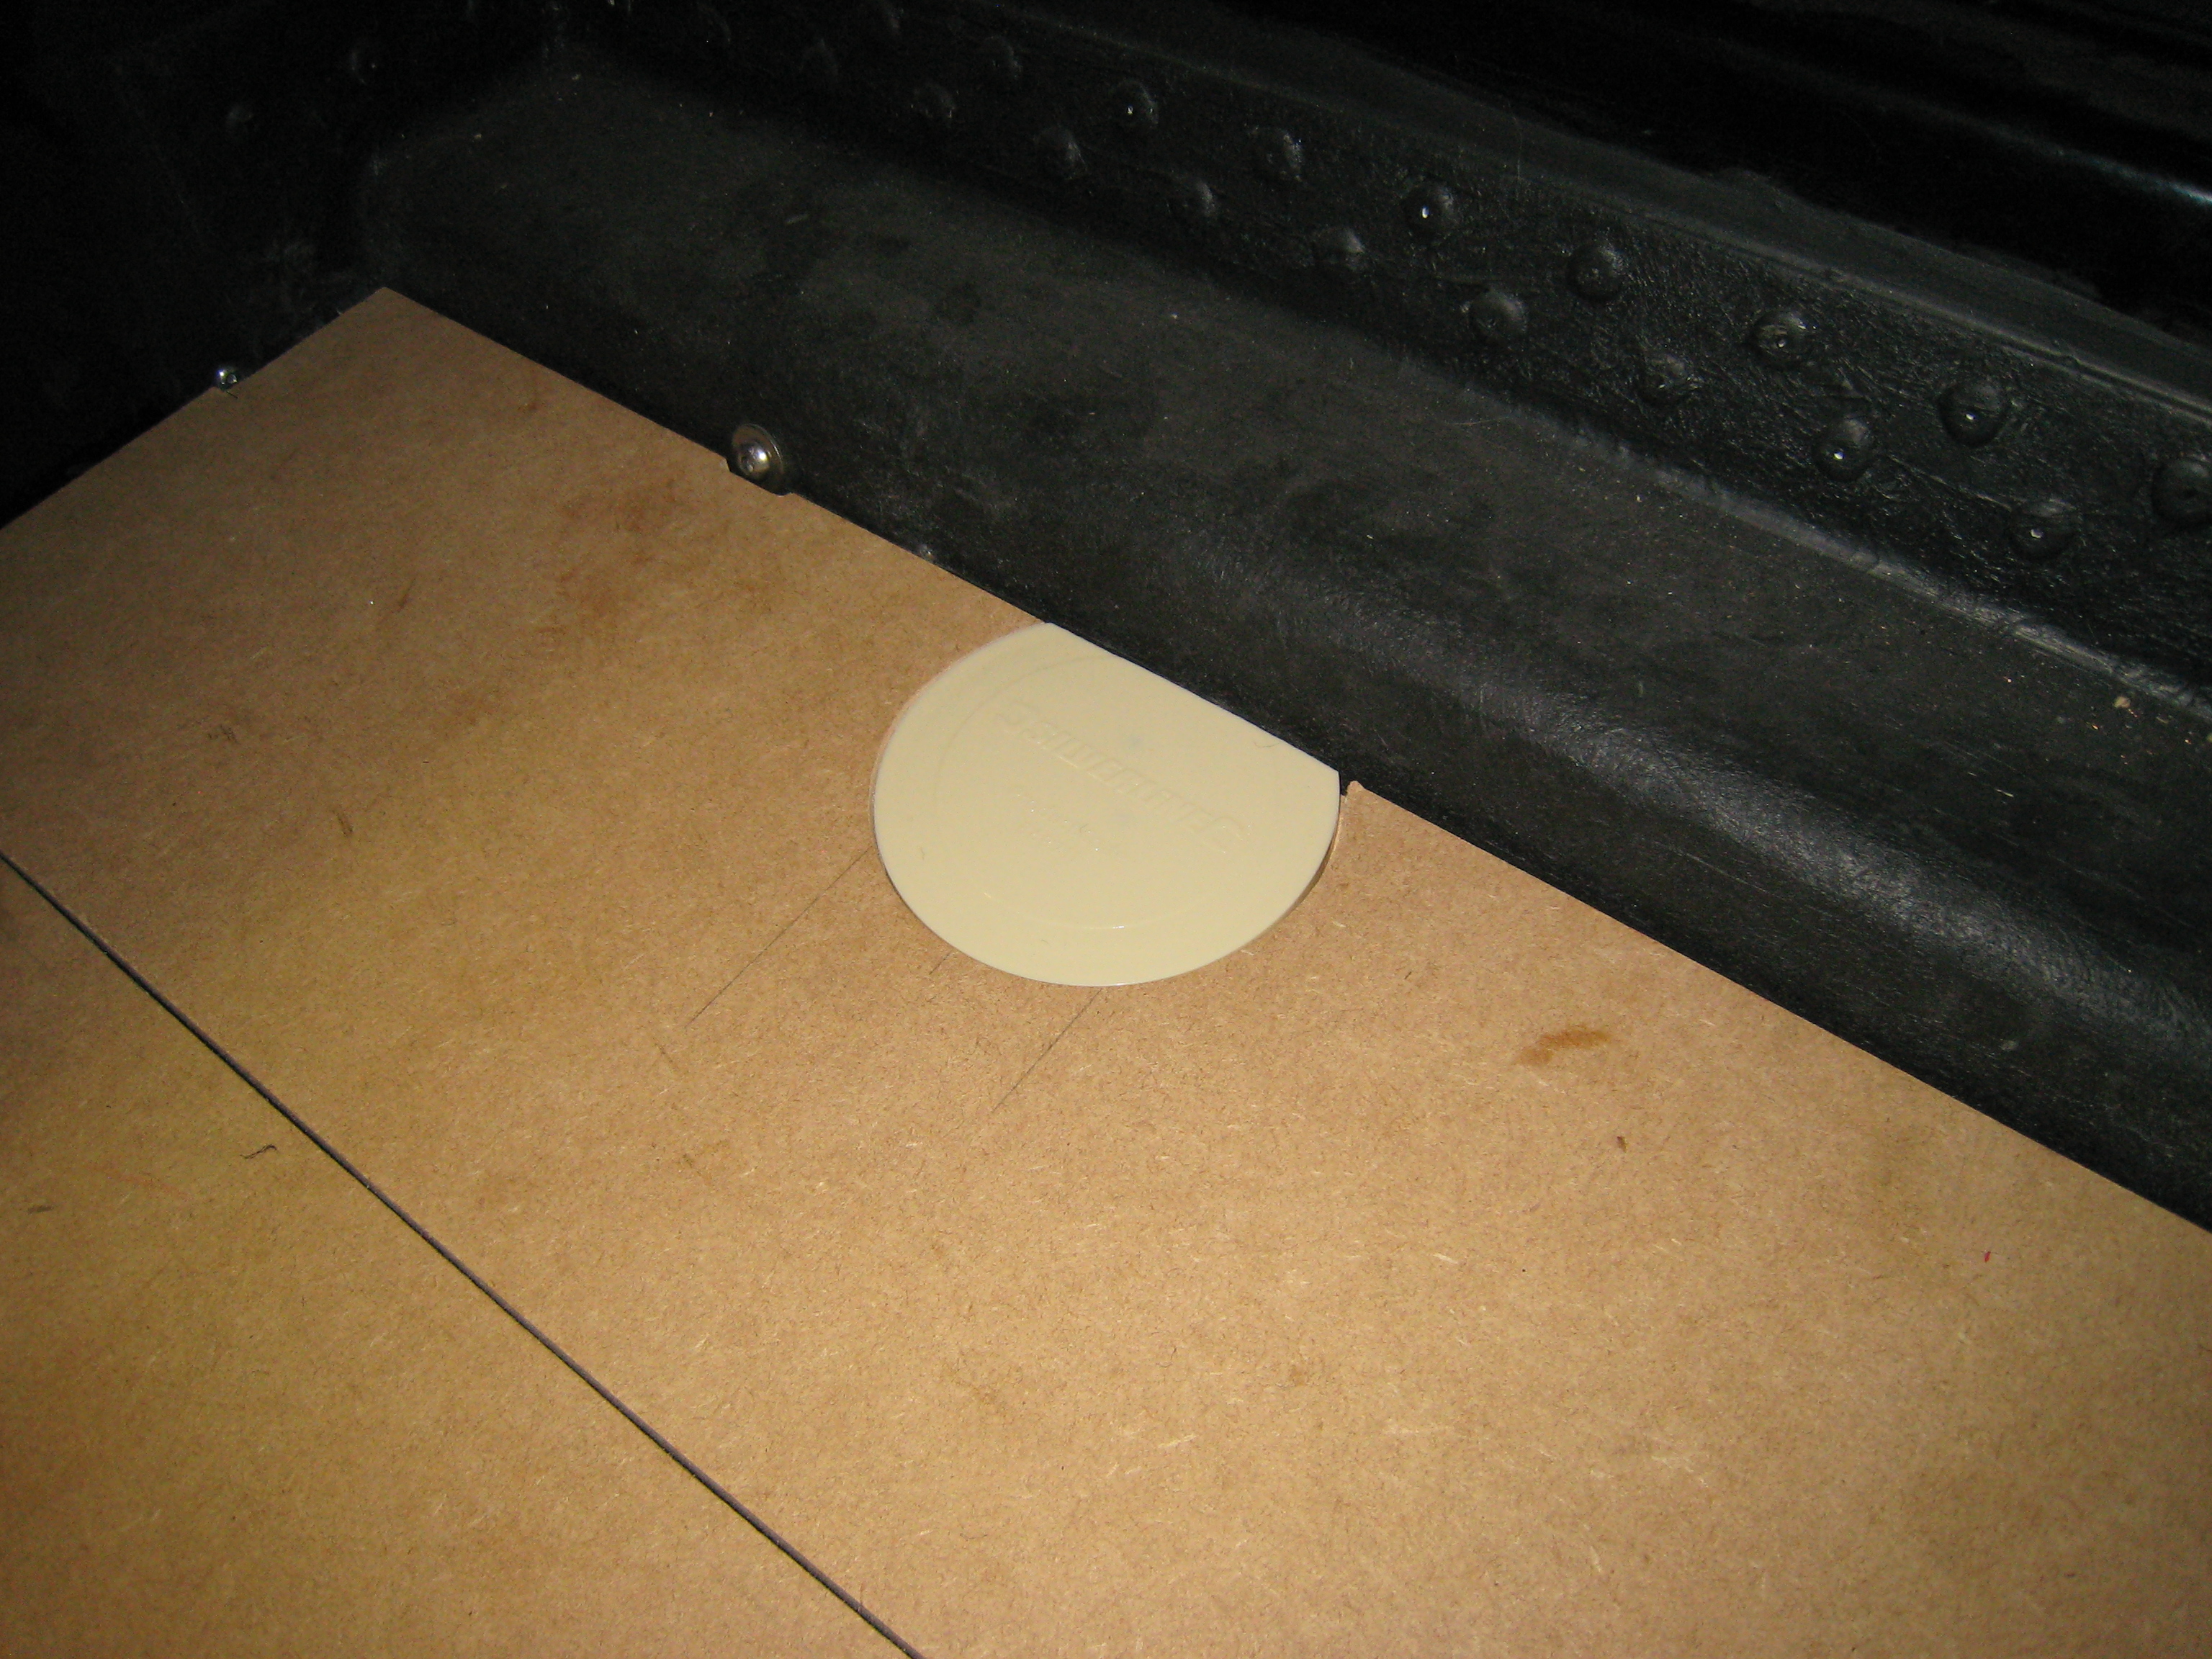
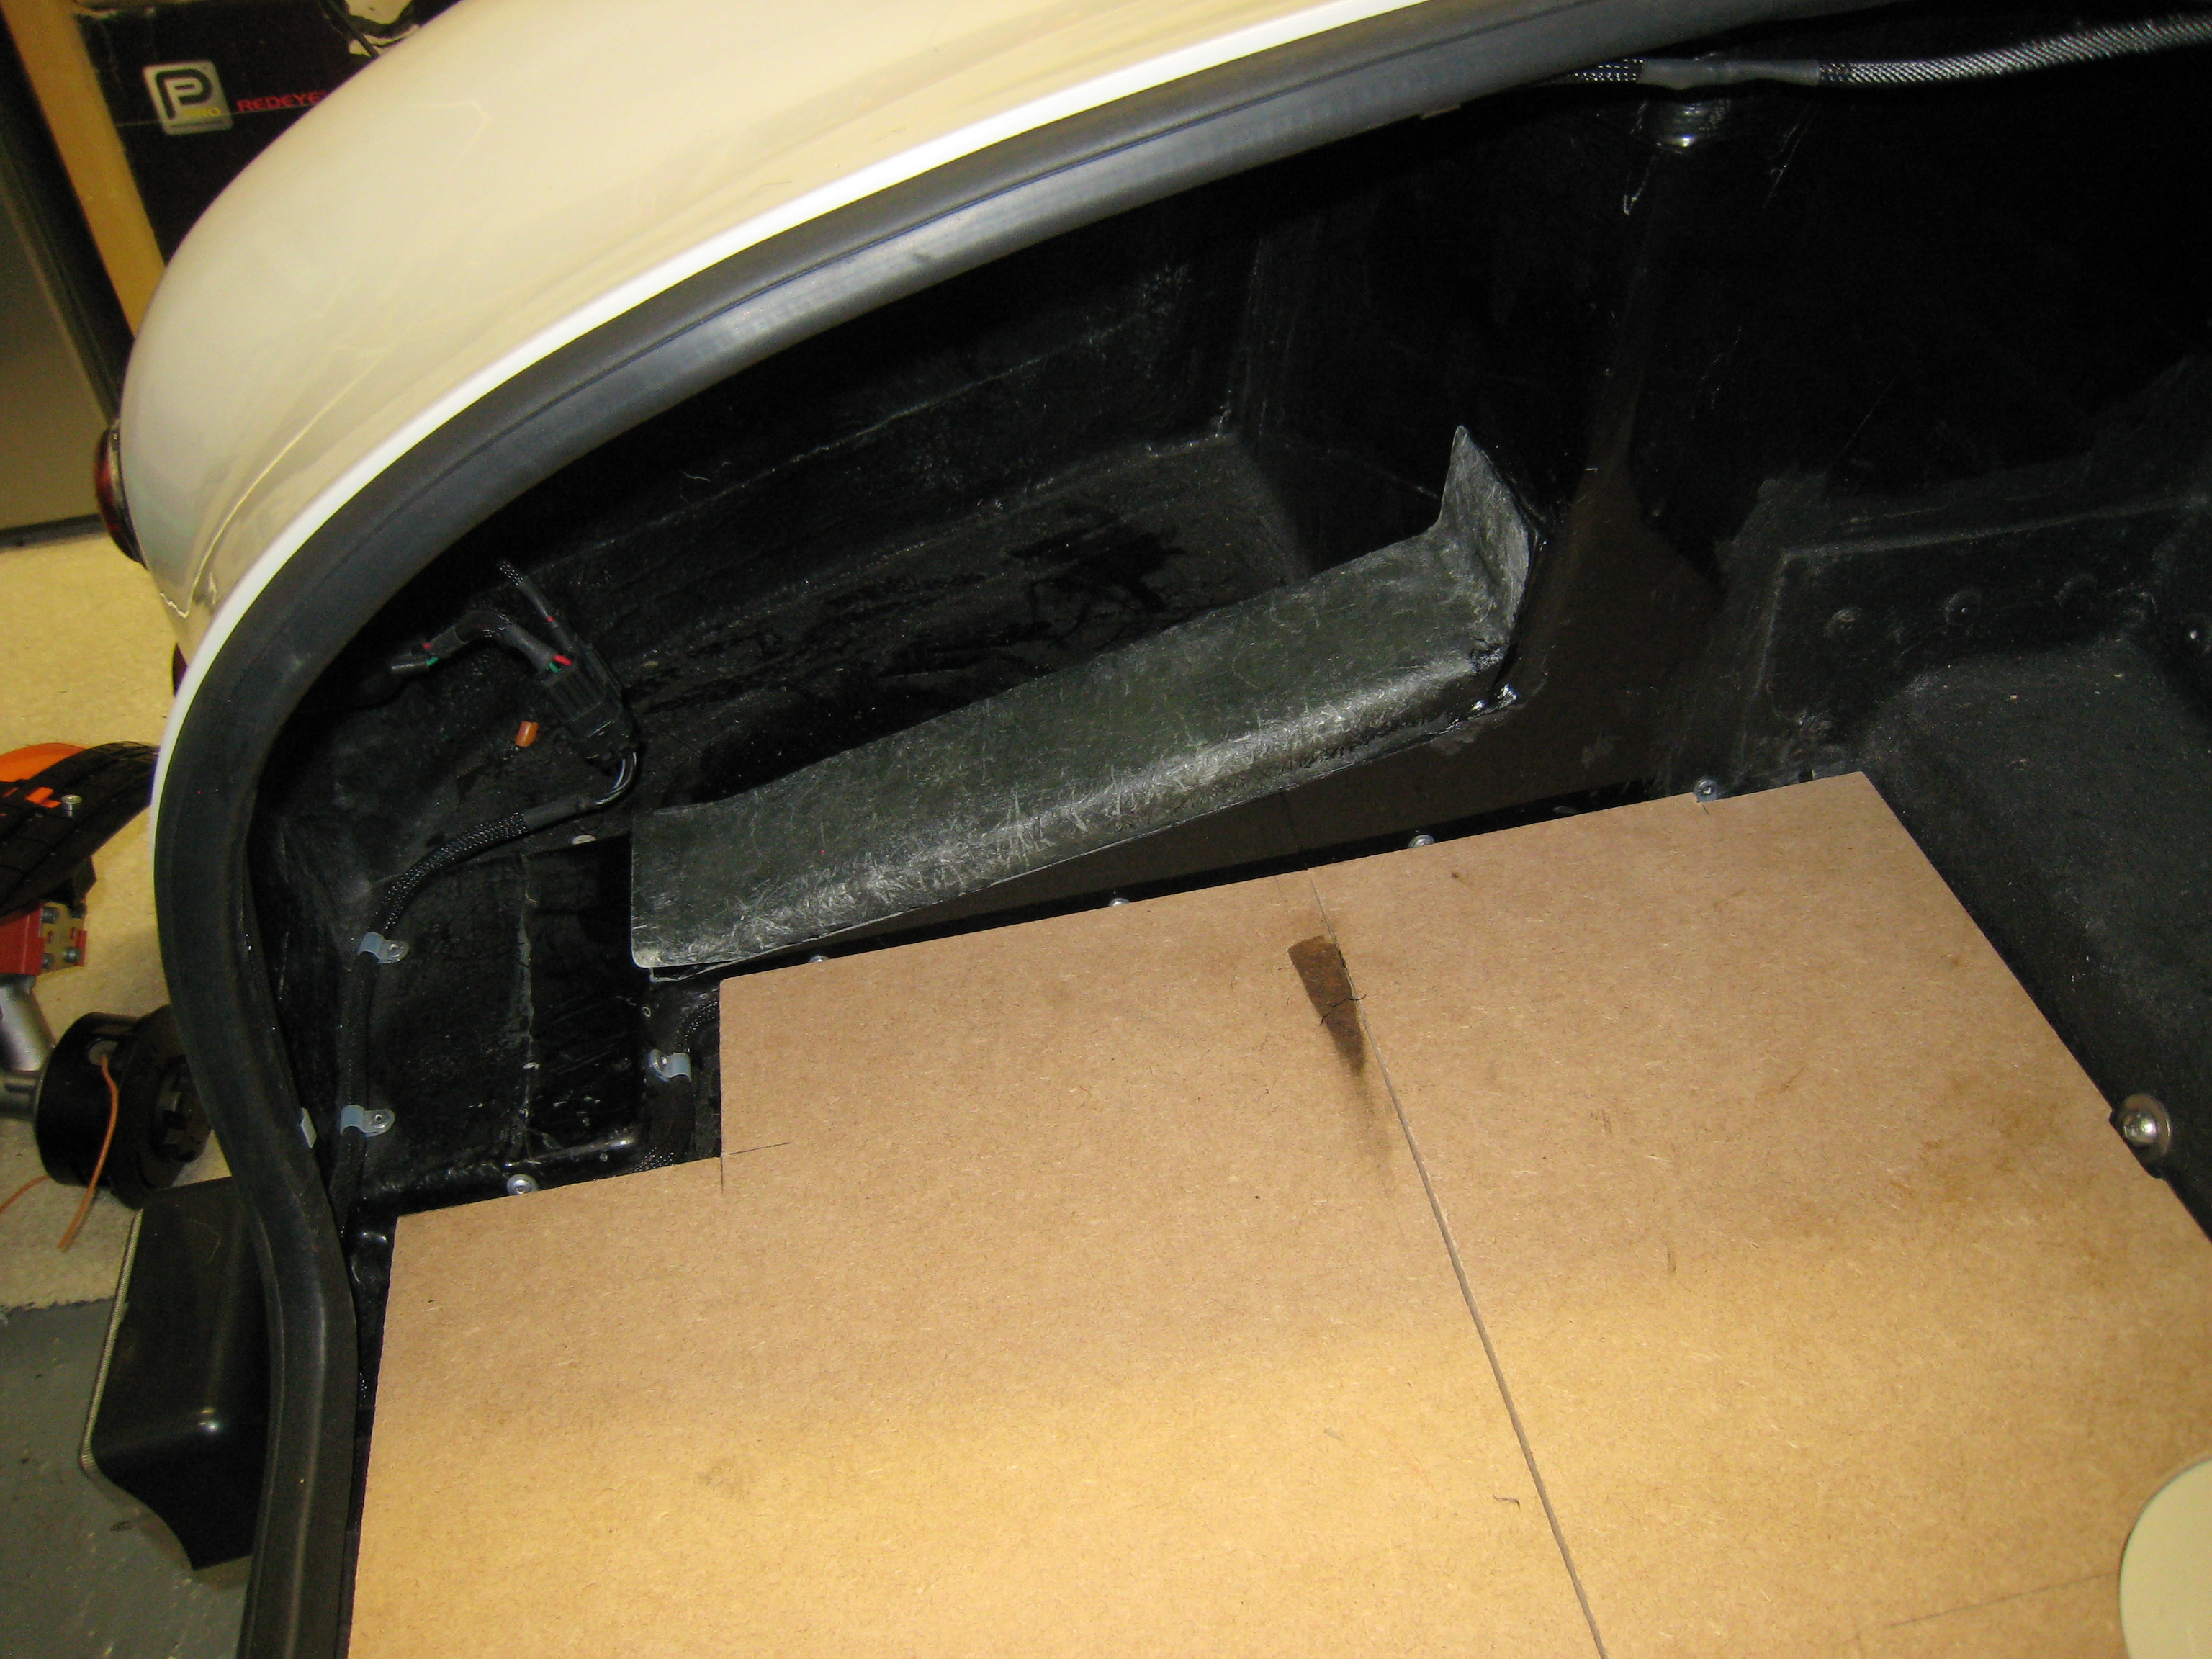
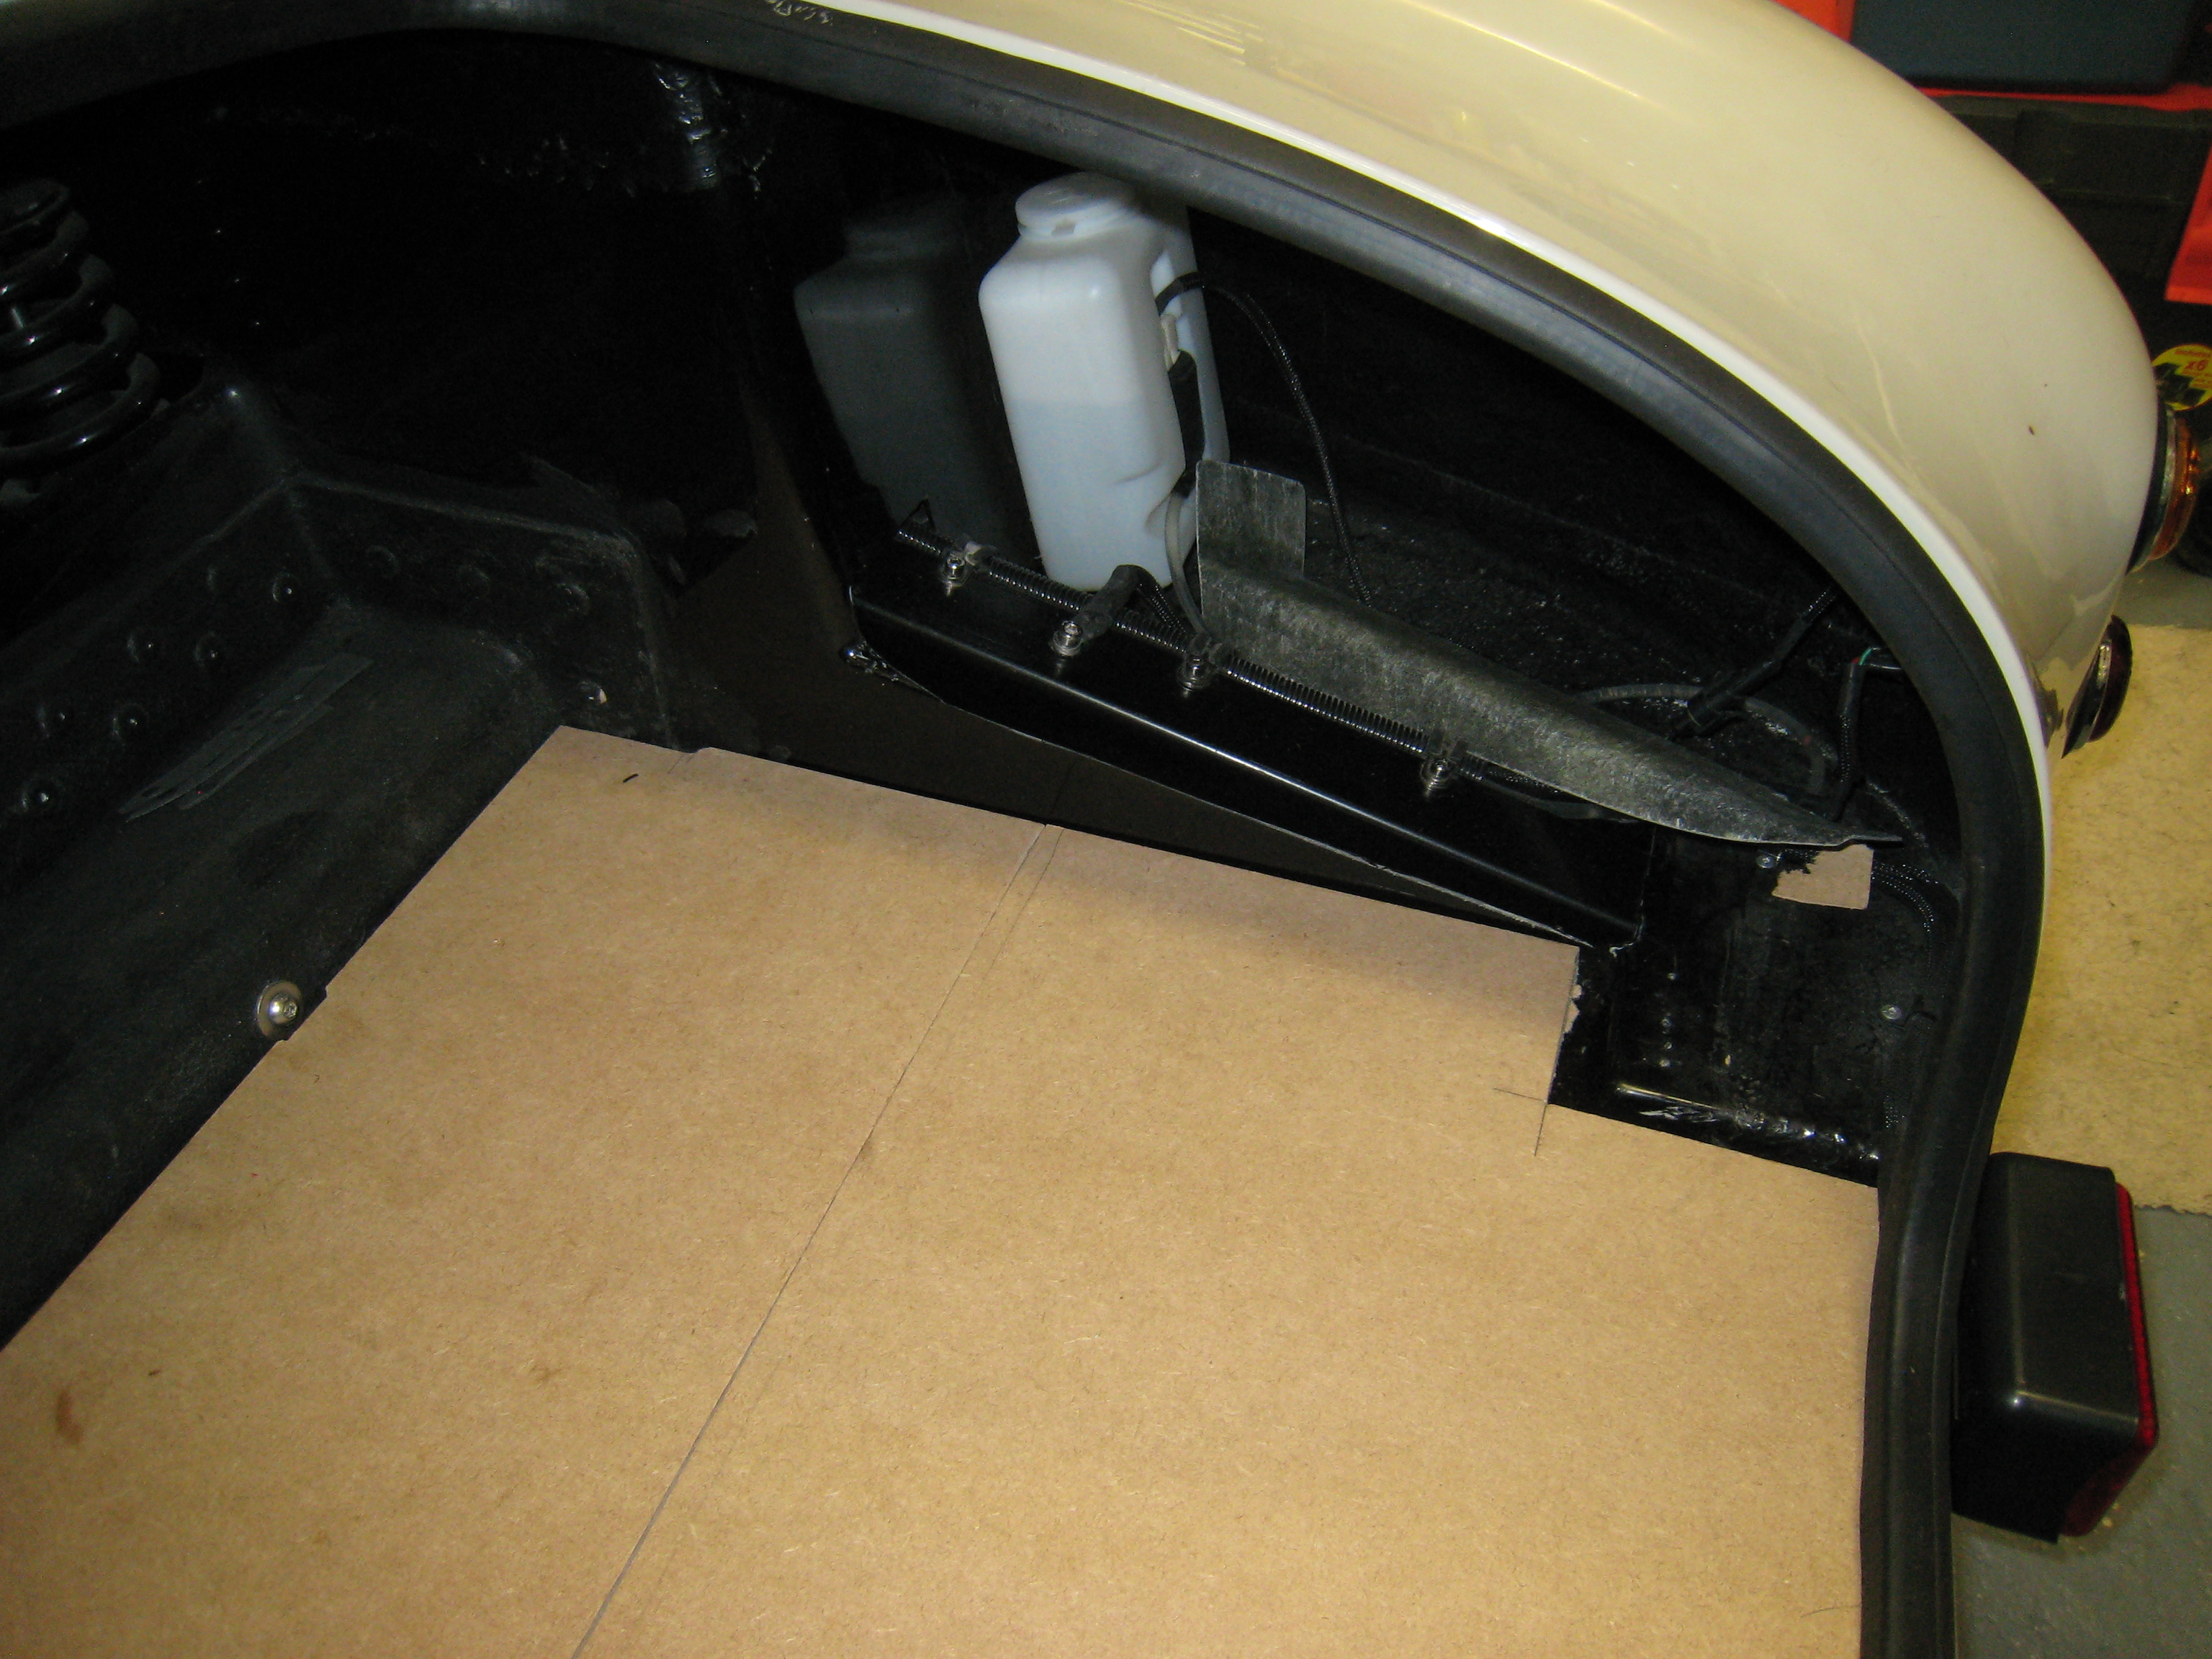
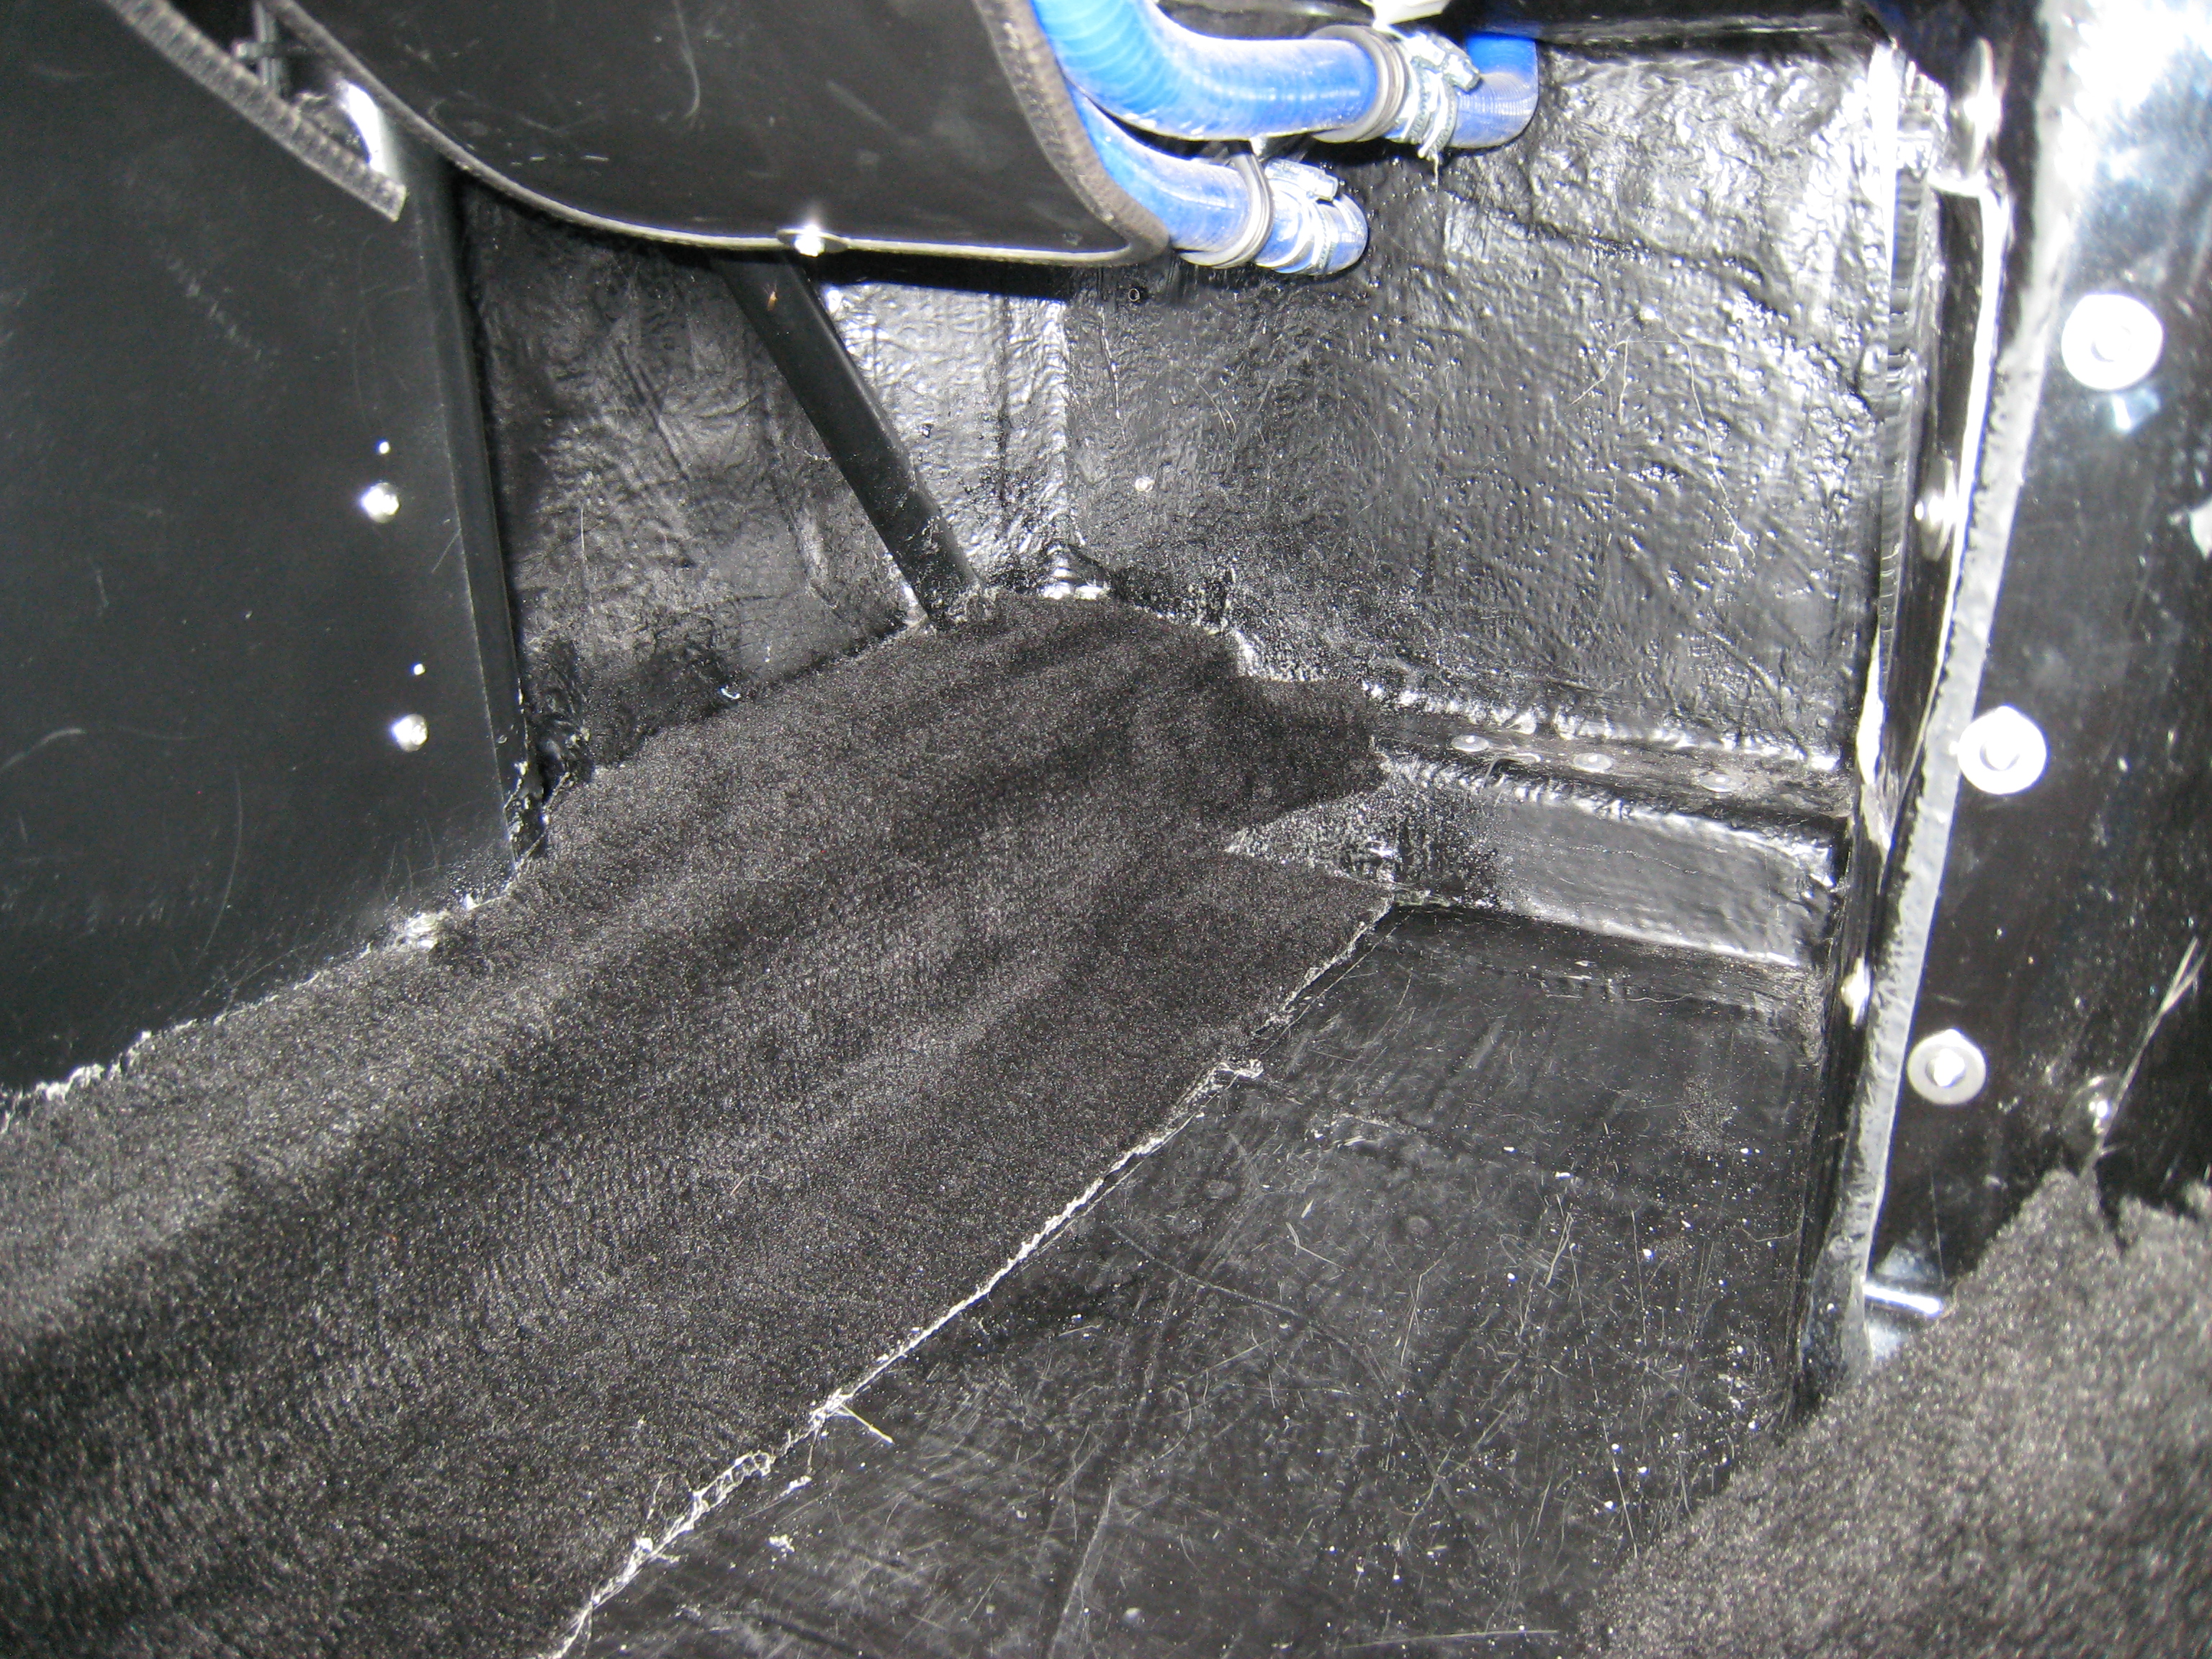
Boot Floor
The floor of the boot has several issues, the least of which is the fact that the fuel tank sender unit sticks up into the
floor space. Also there is an issue where the boot catch needs the locking pit to be raised about 16mm above the
fibreglass, so I decided to fit a false MDF floor to enable me to hide the gauge sender, wiring and raise the locking pin
in one. I used an access hole cutter over the sender unit and installed a cut down cover, Once the carpet is in it will give
a very neat and flat finish to the boot.
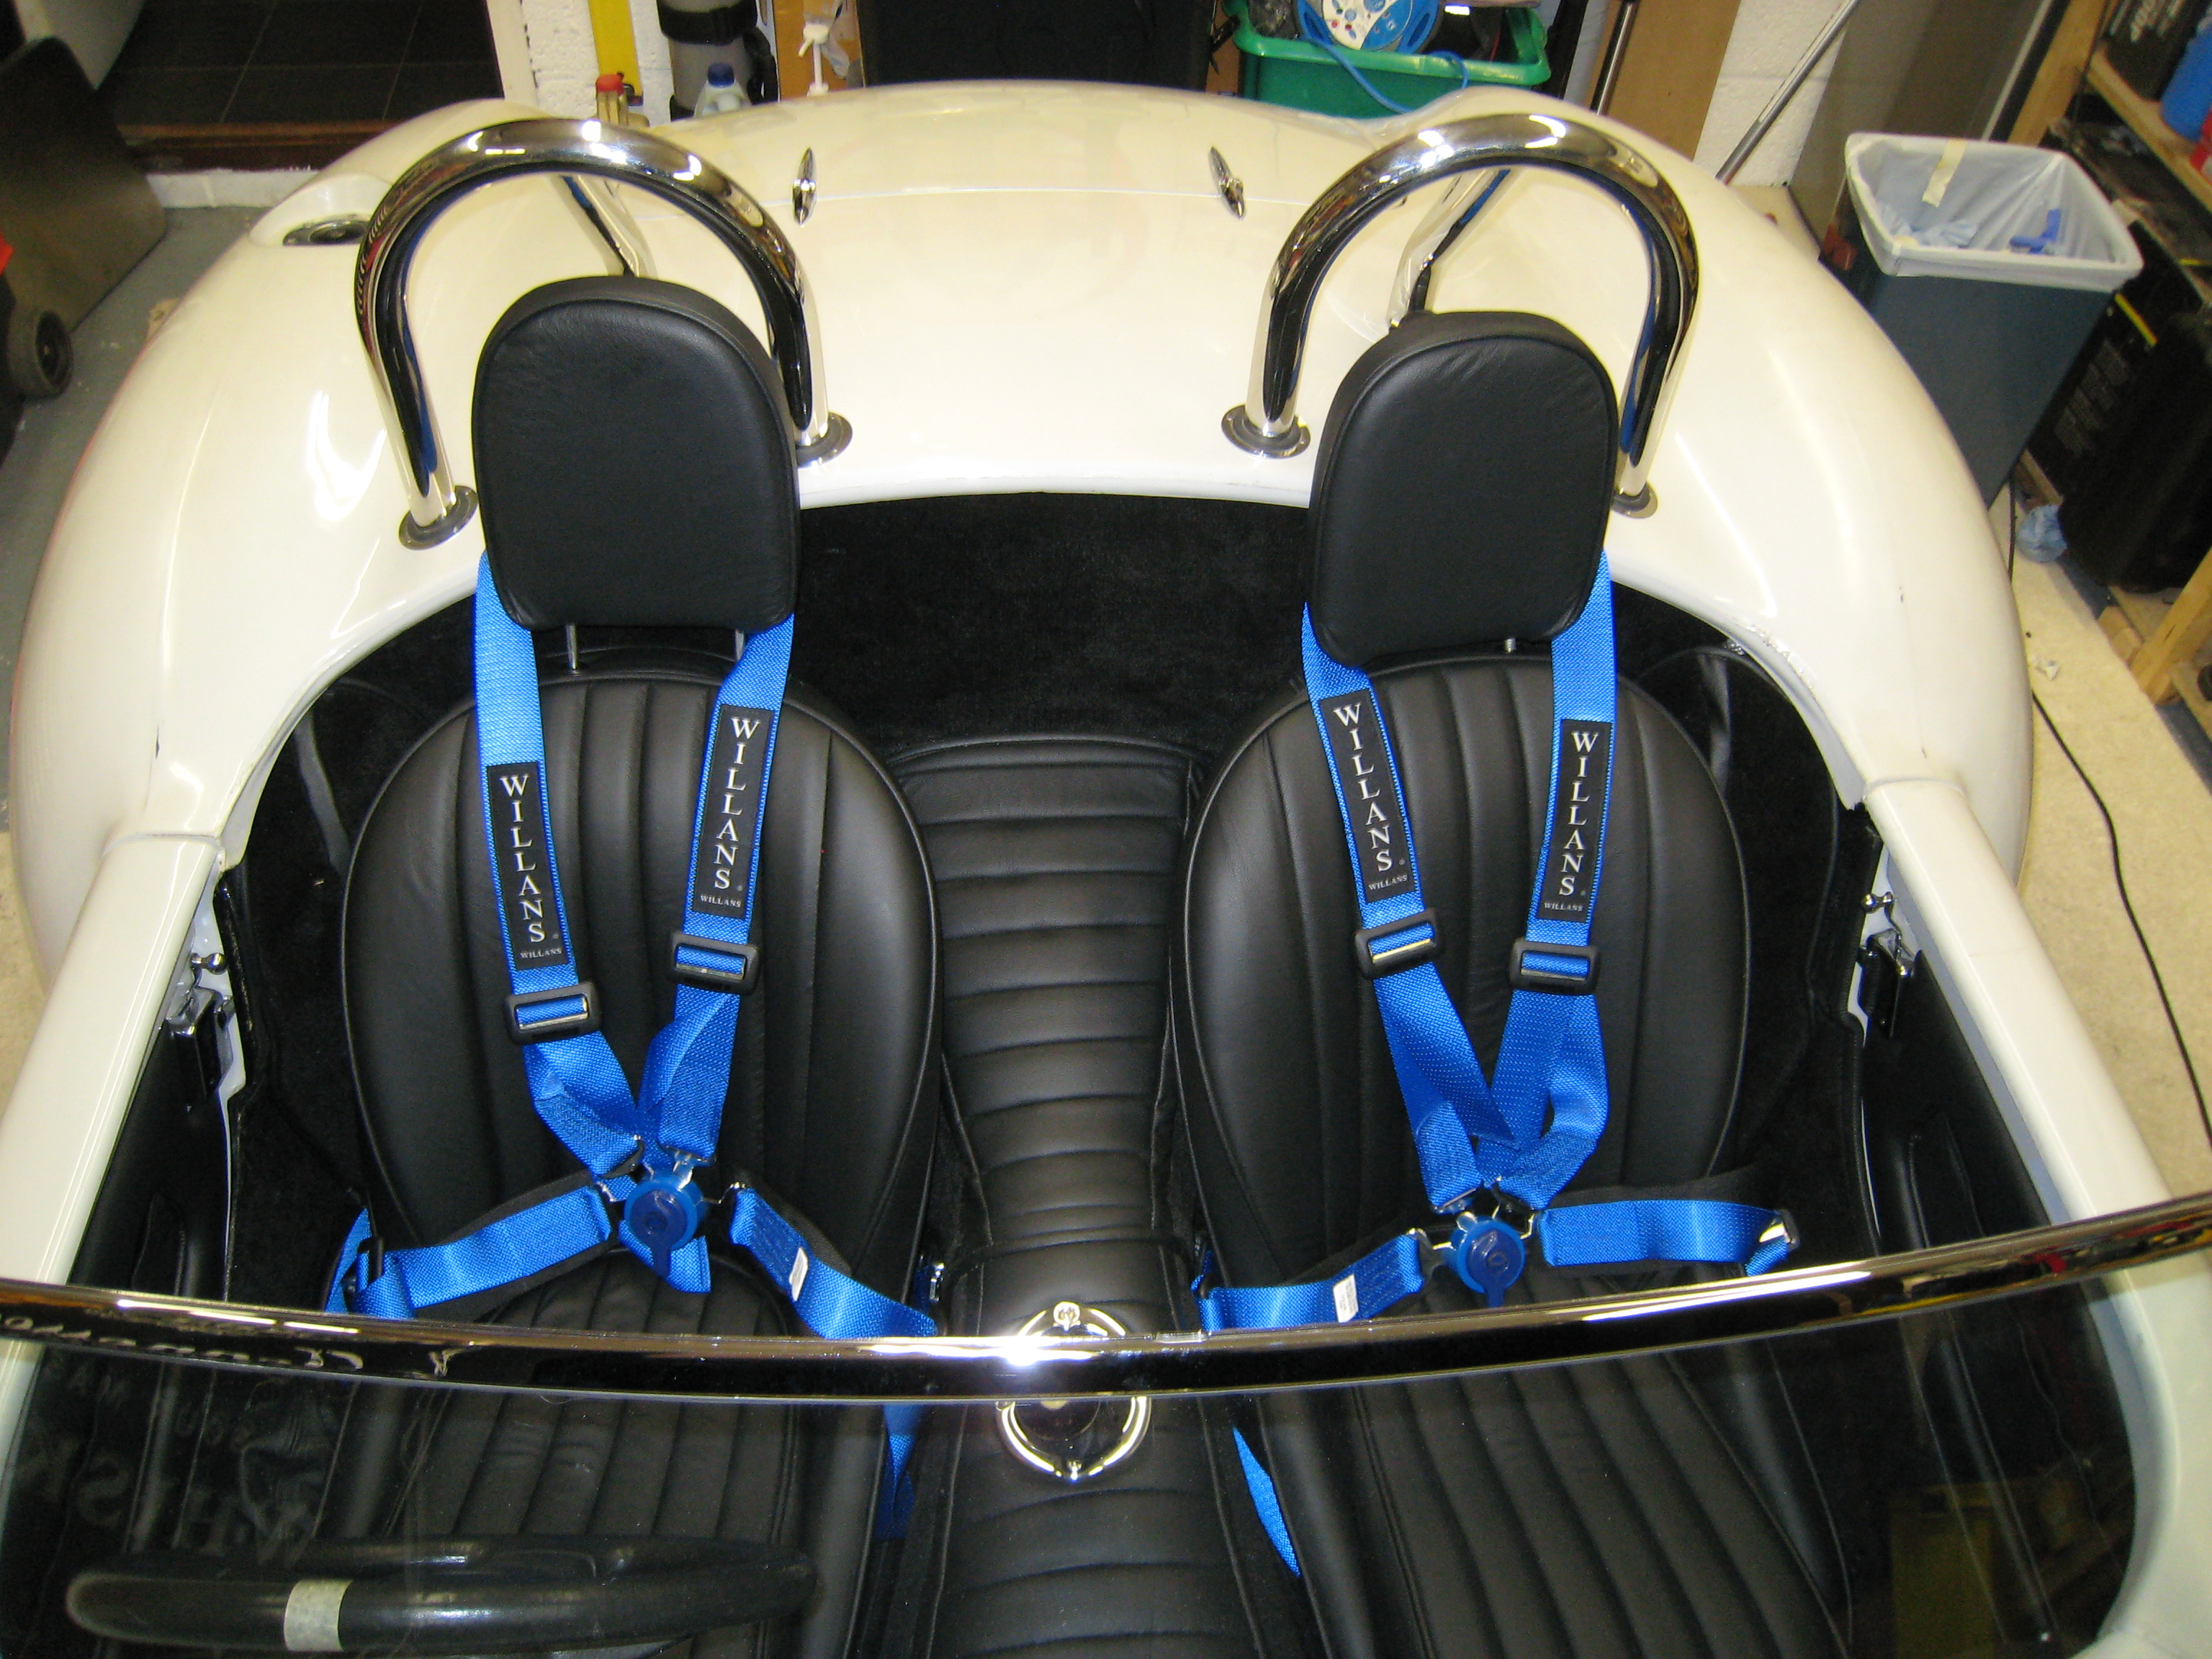
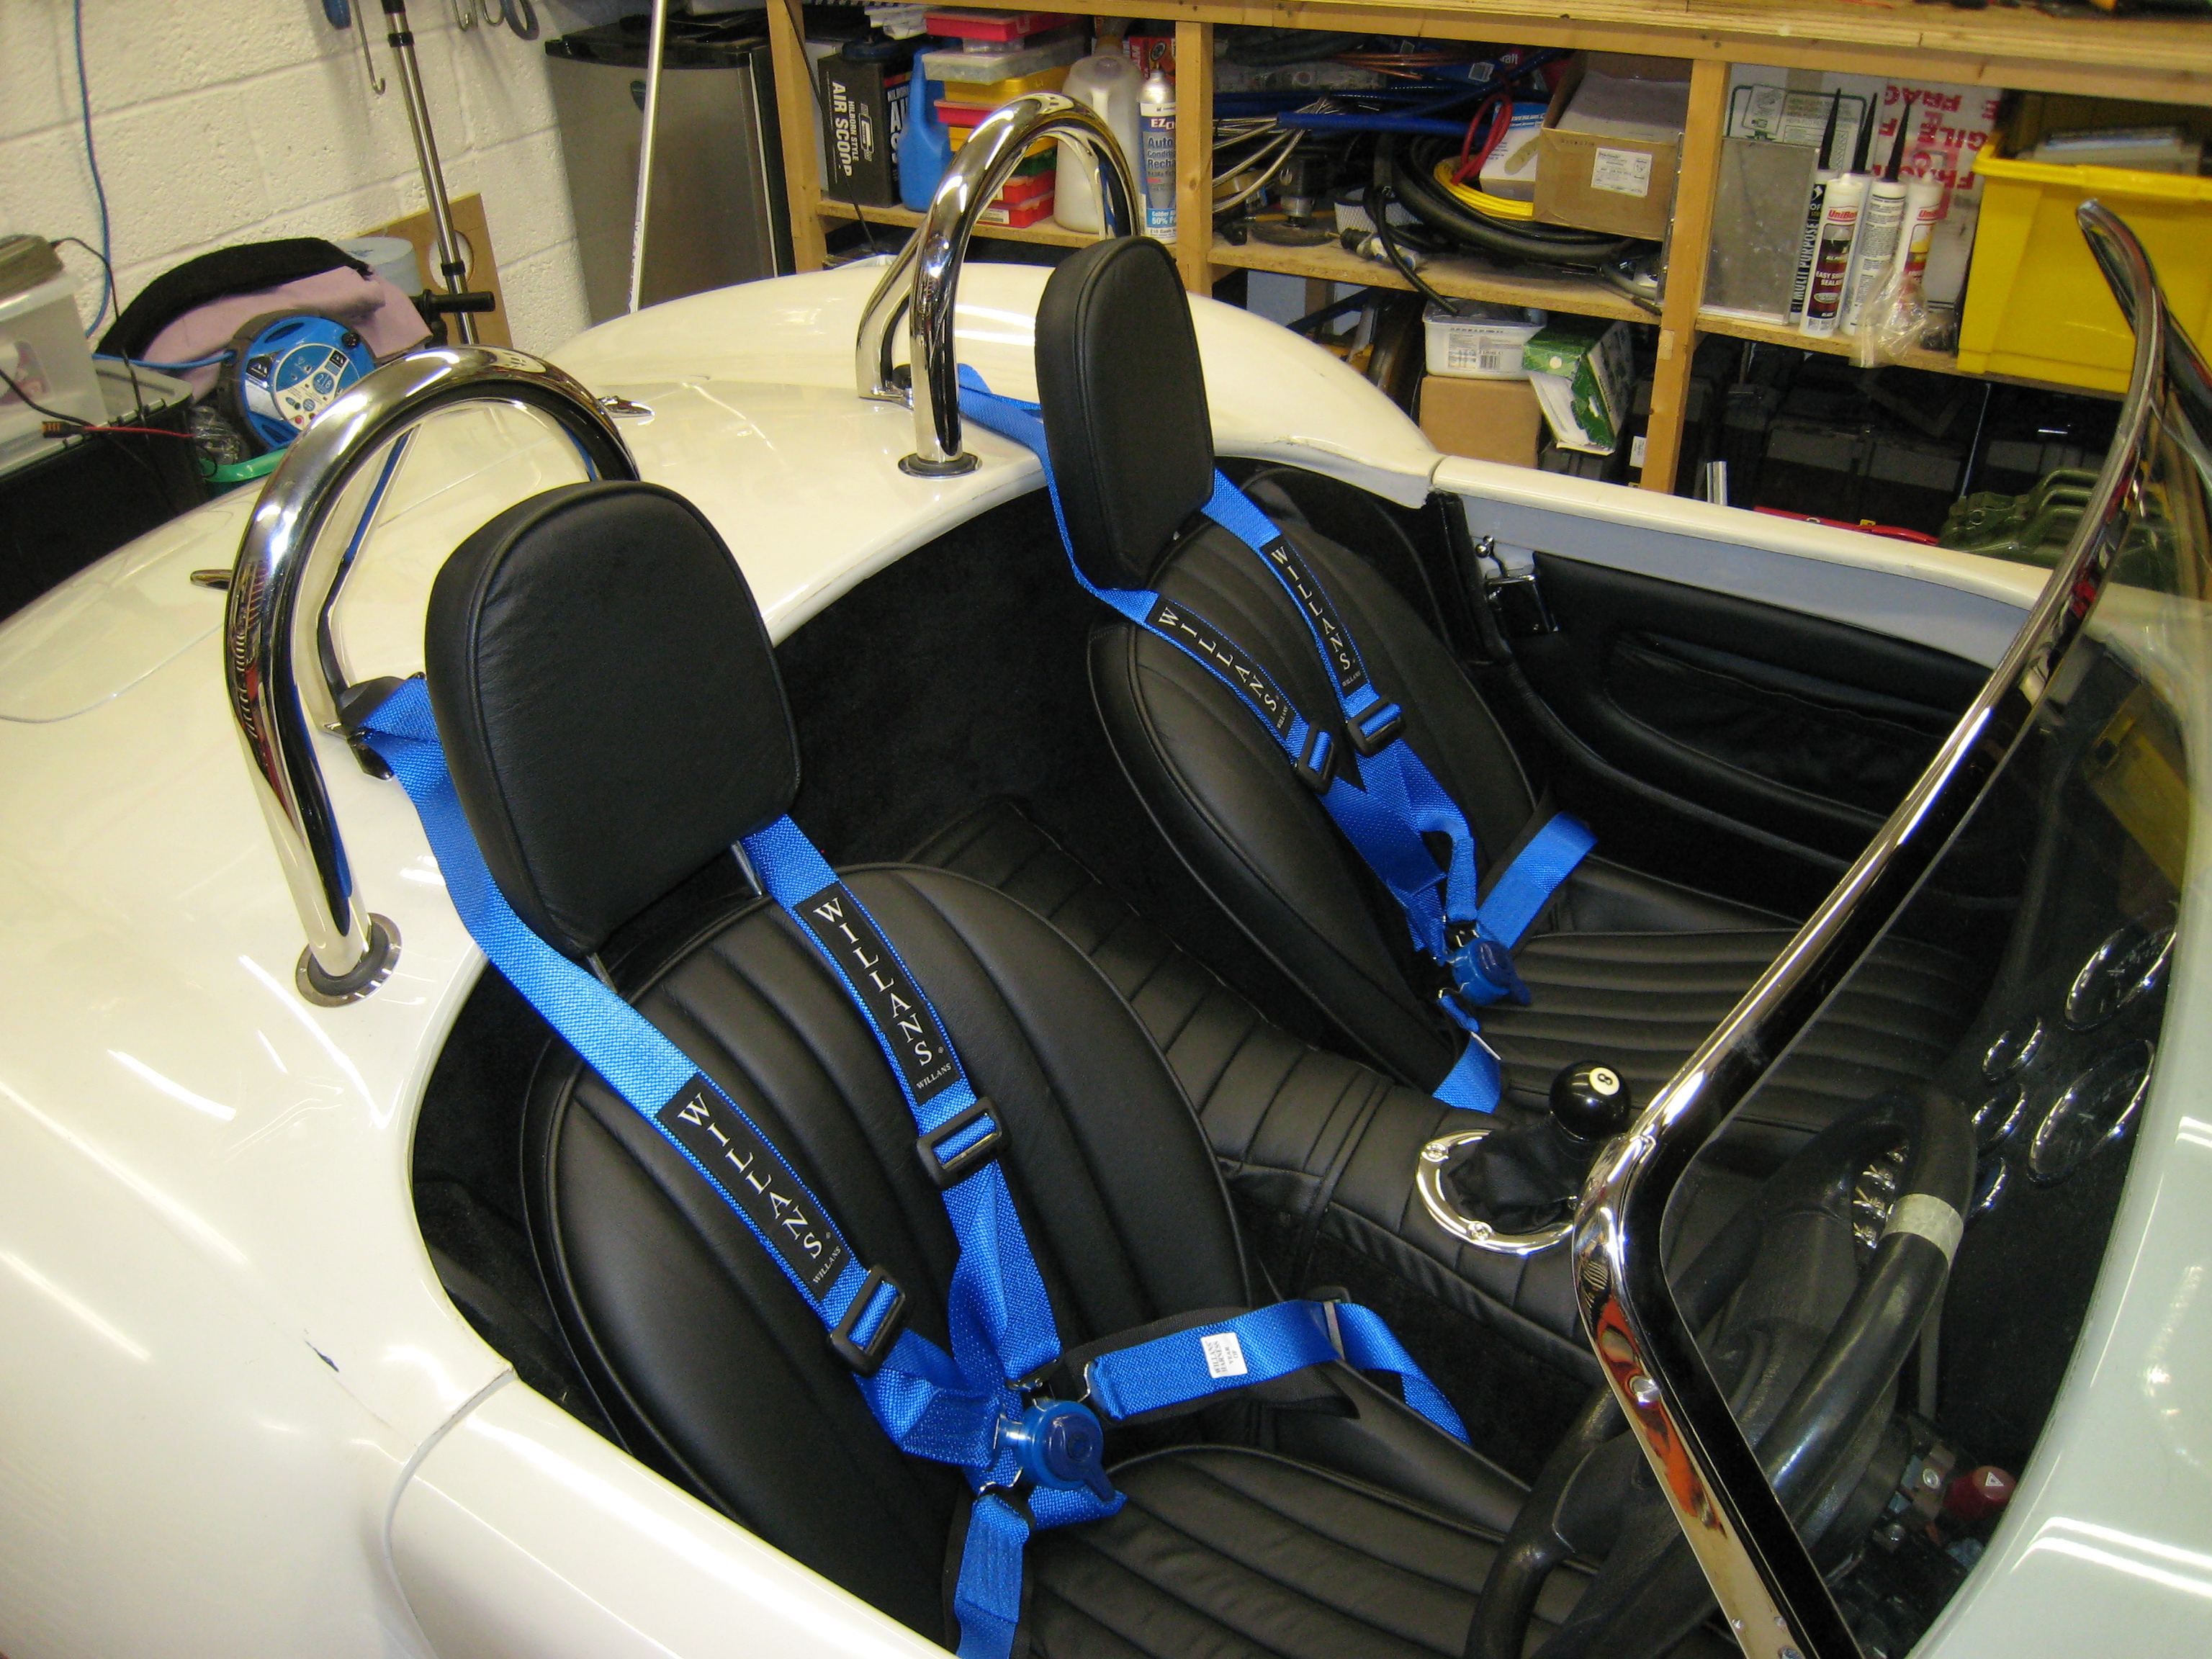
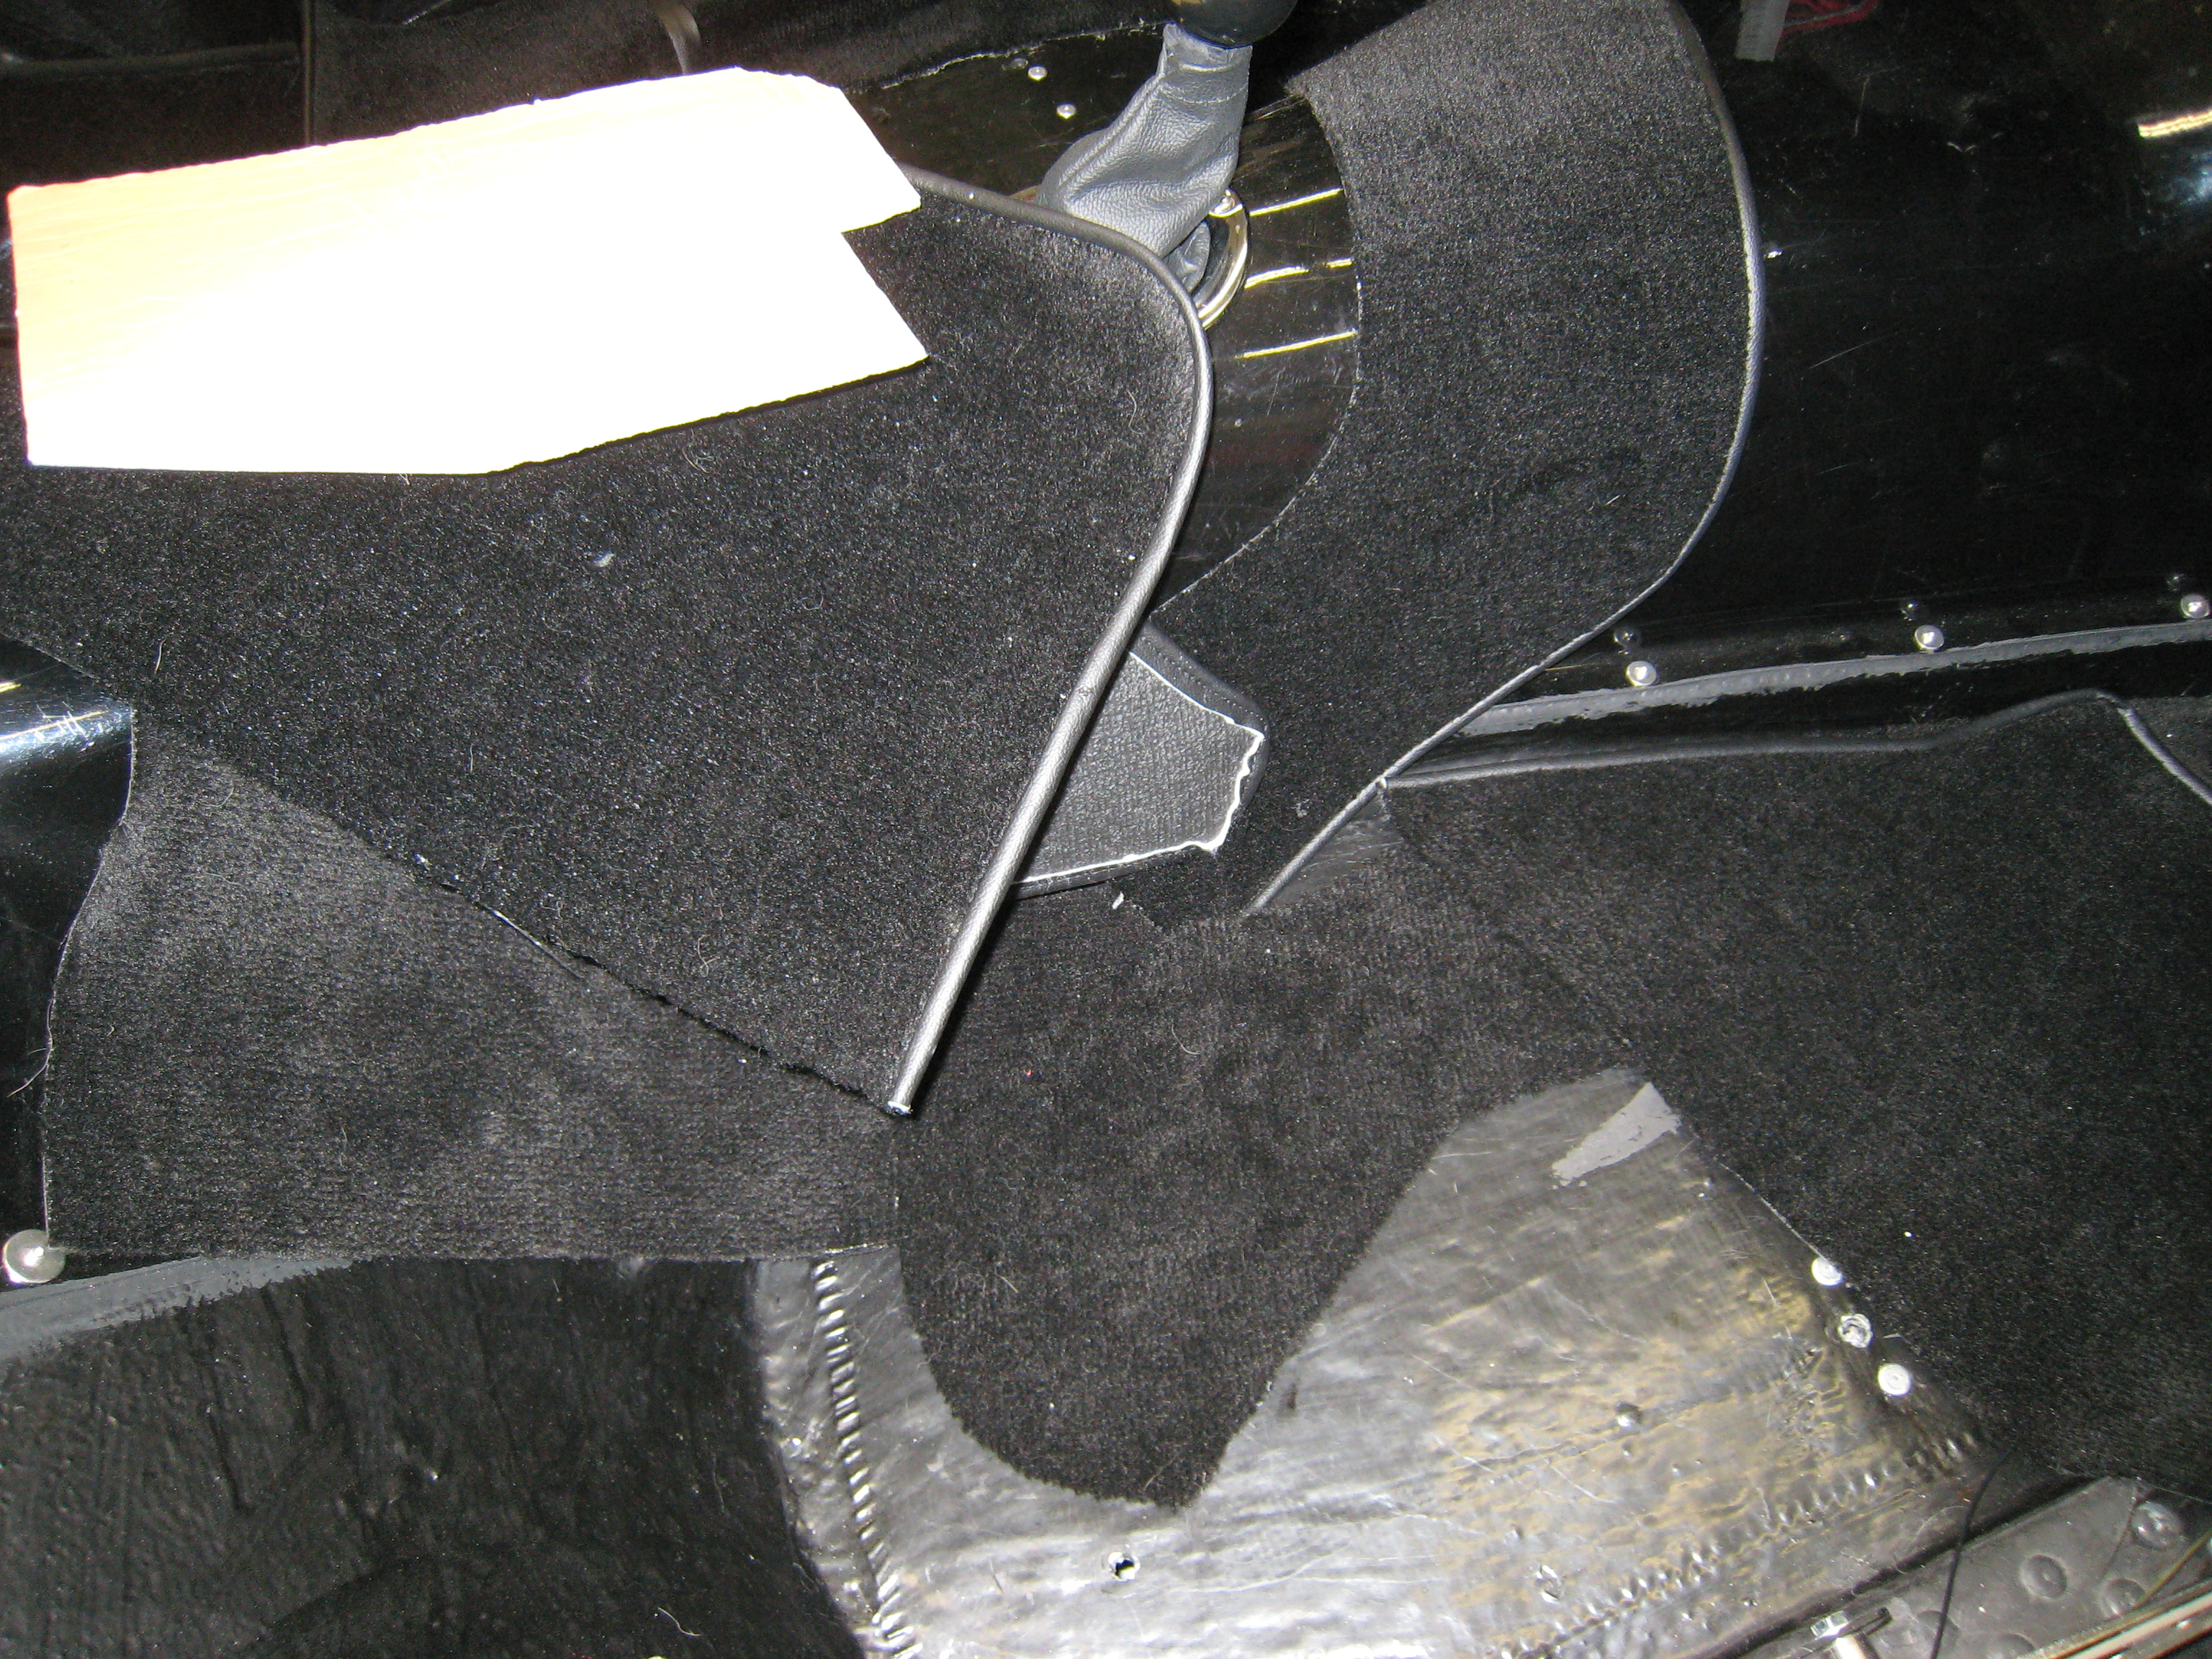
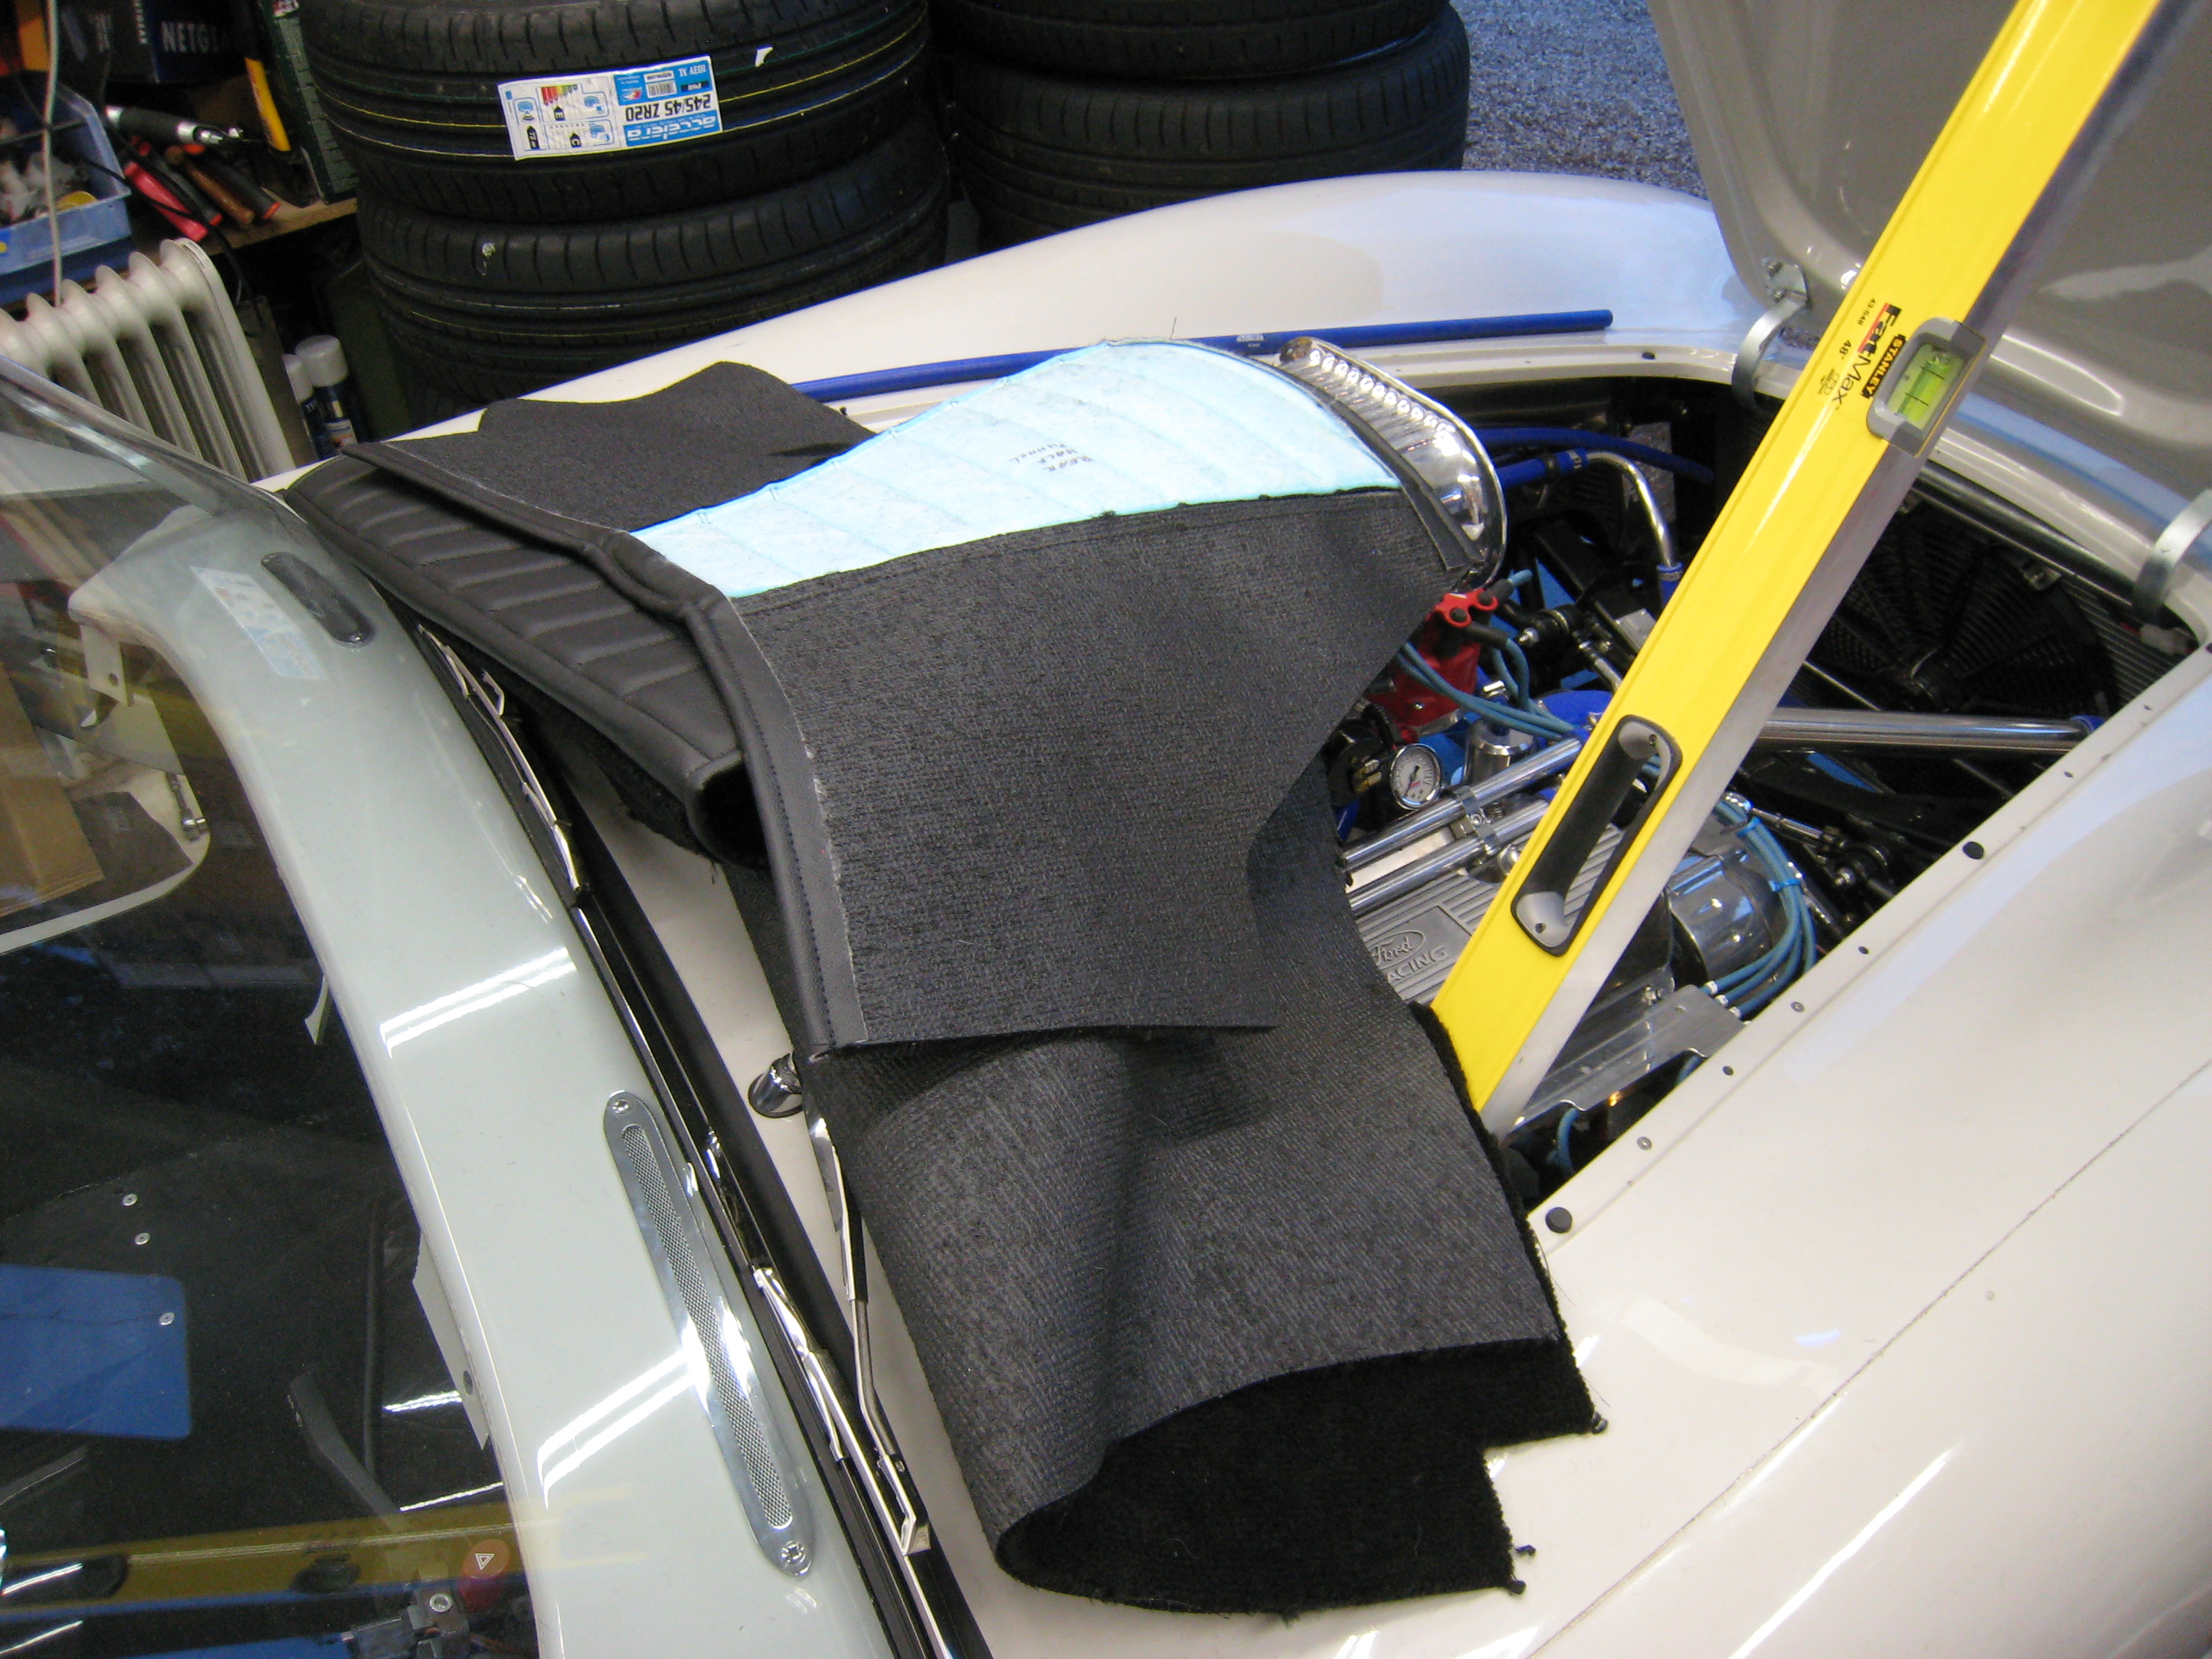
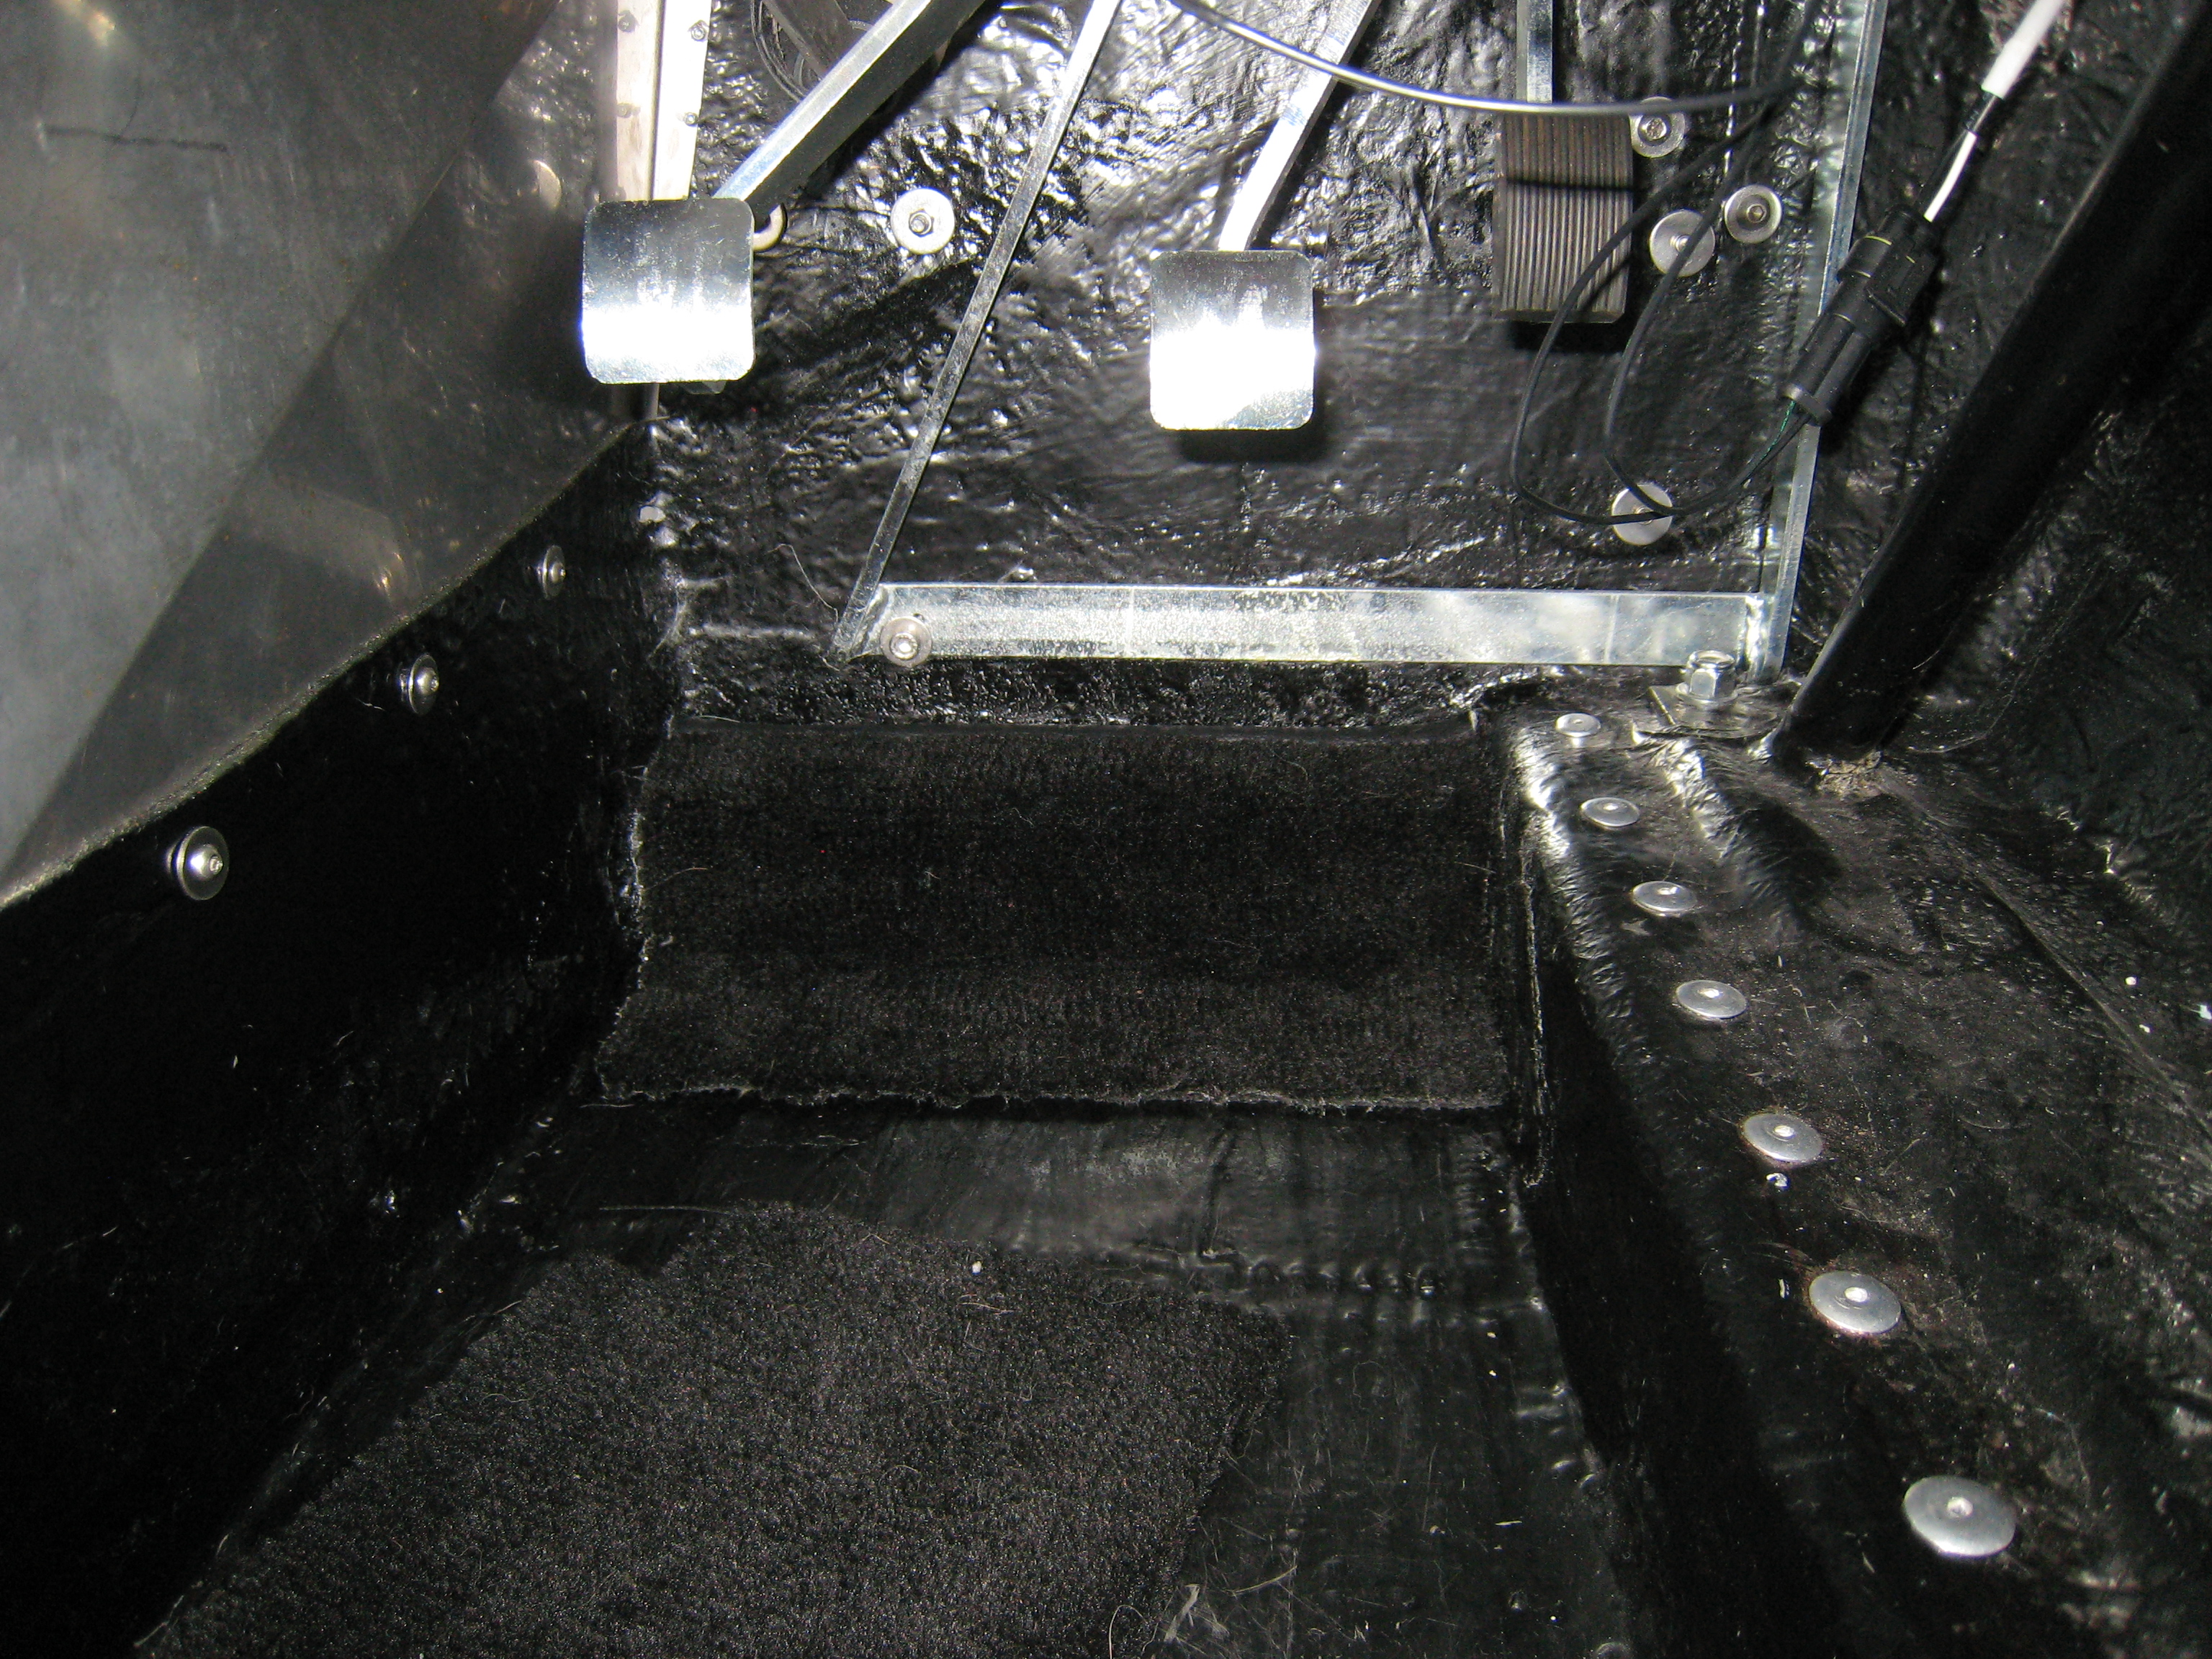
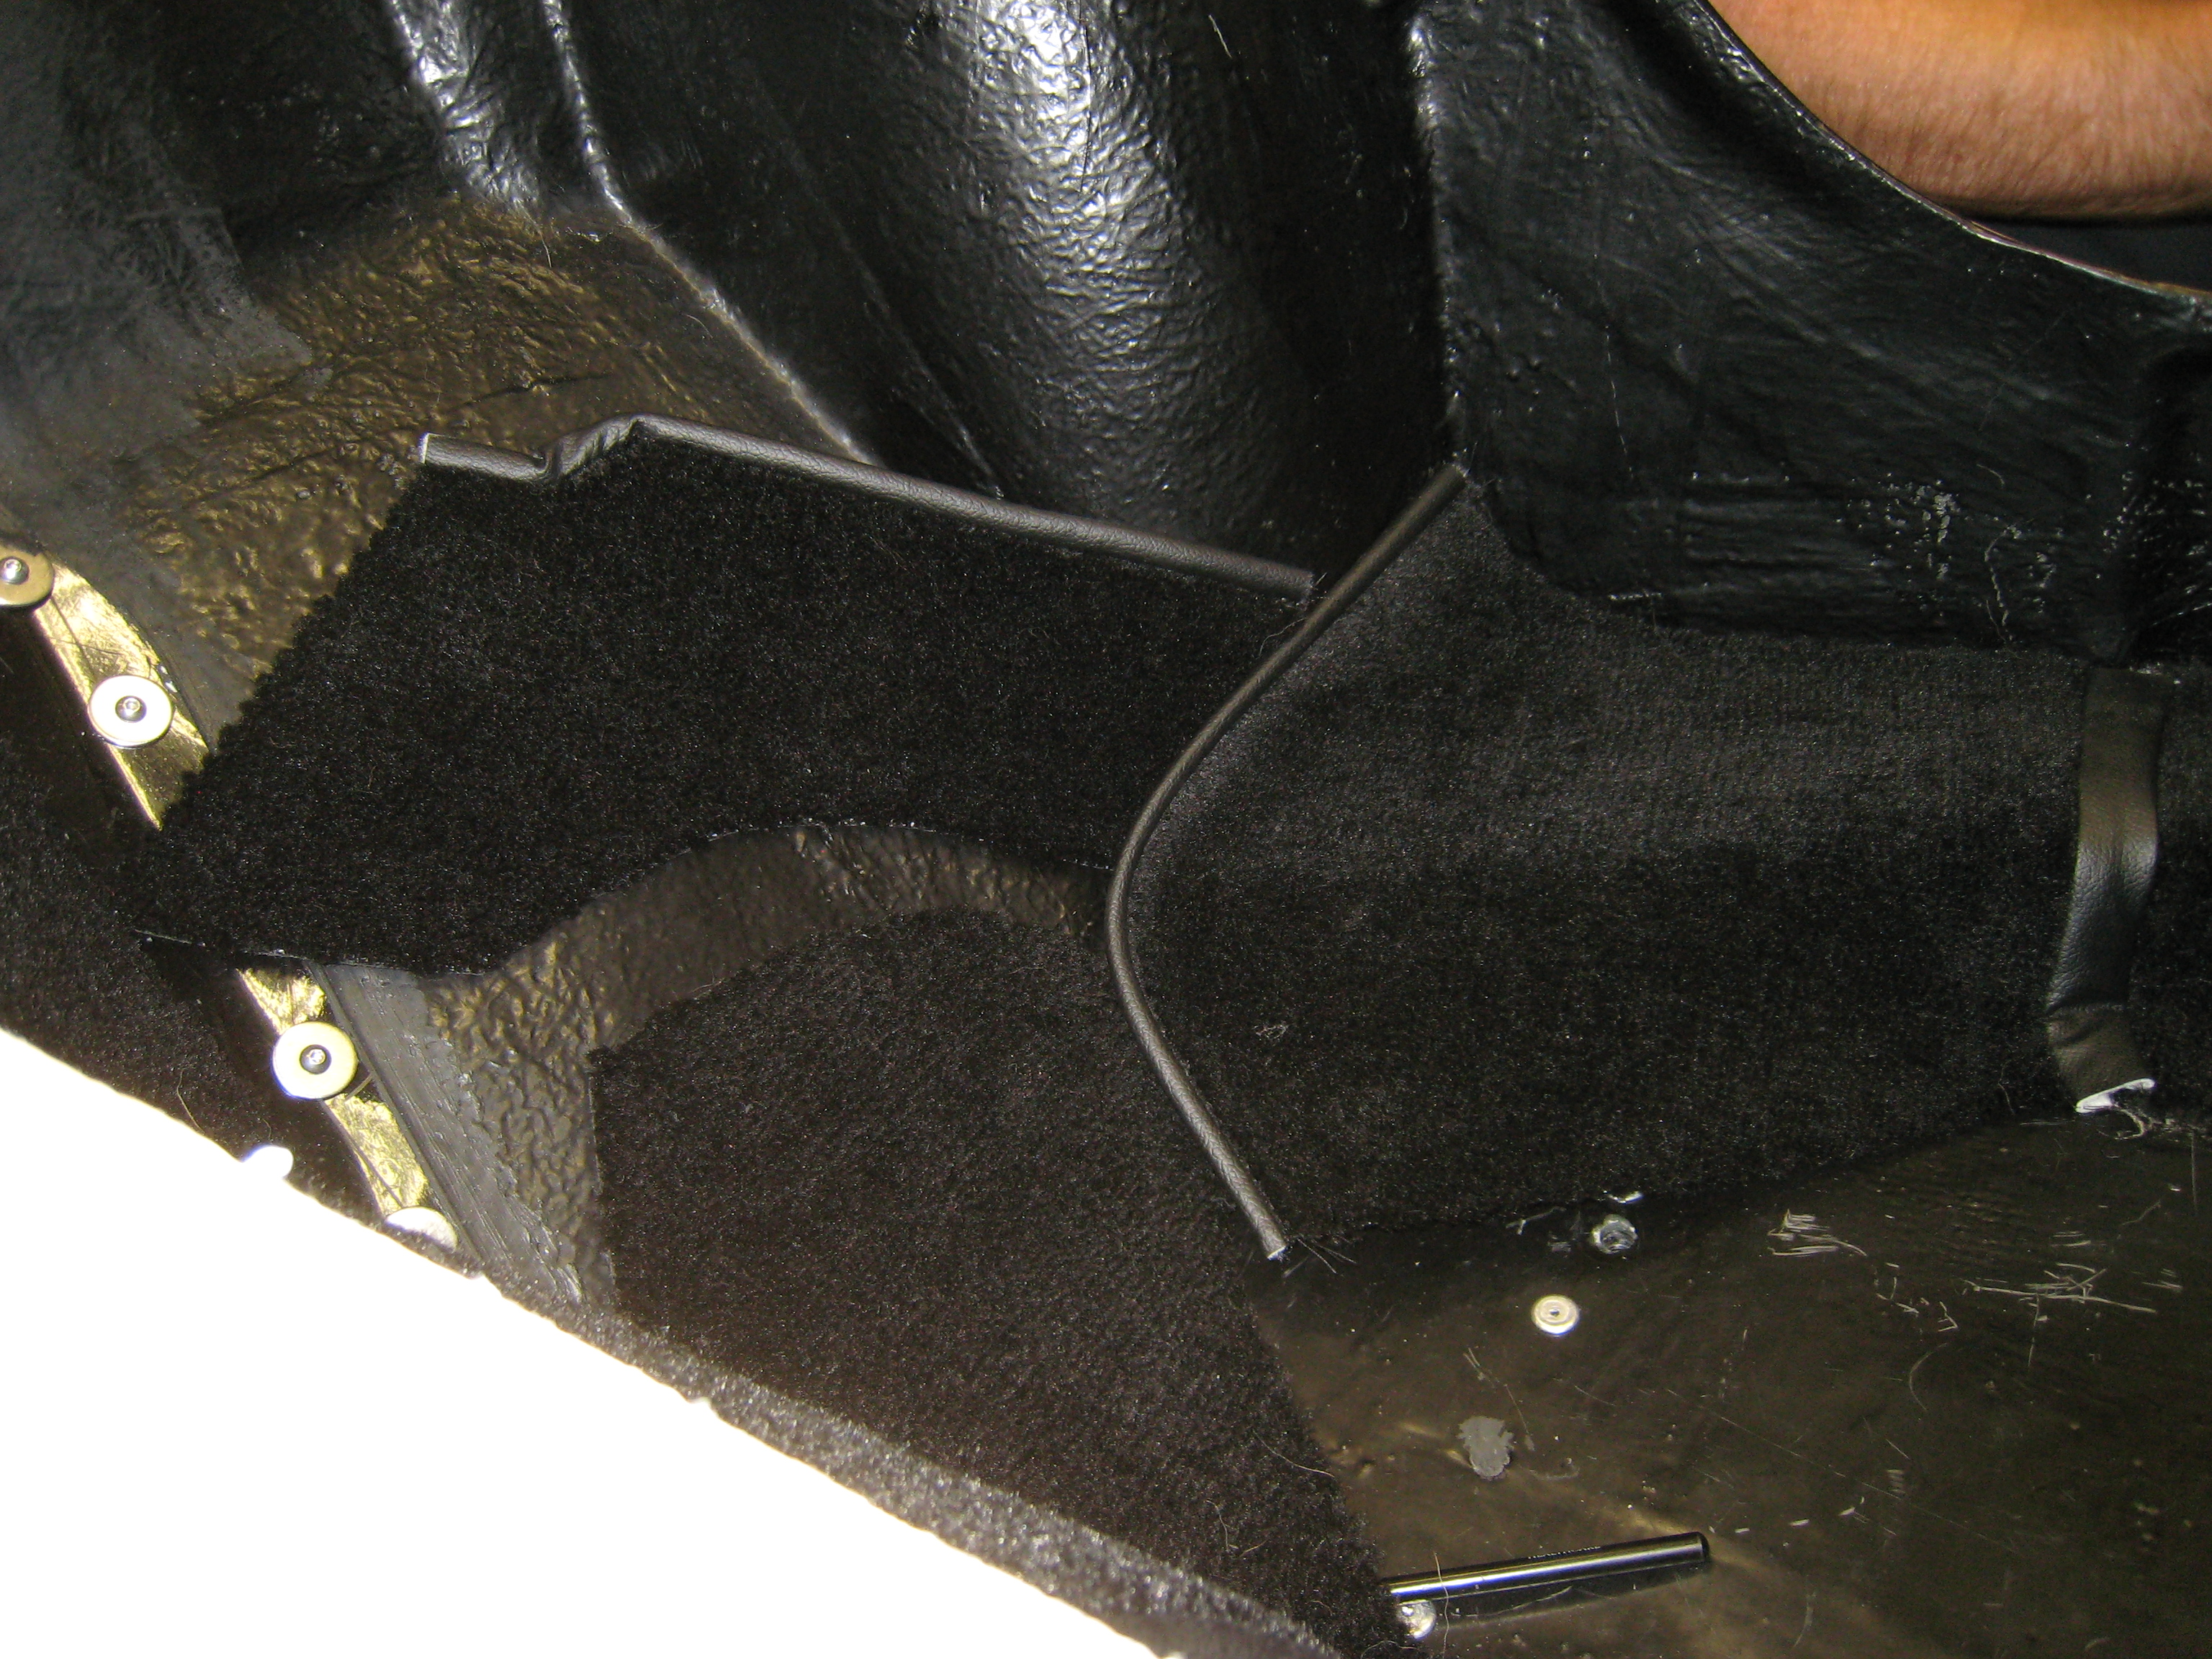
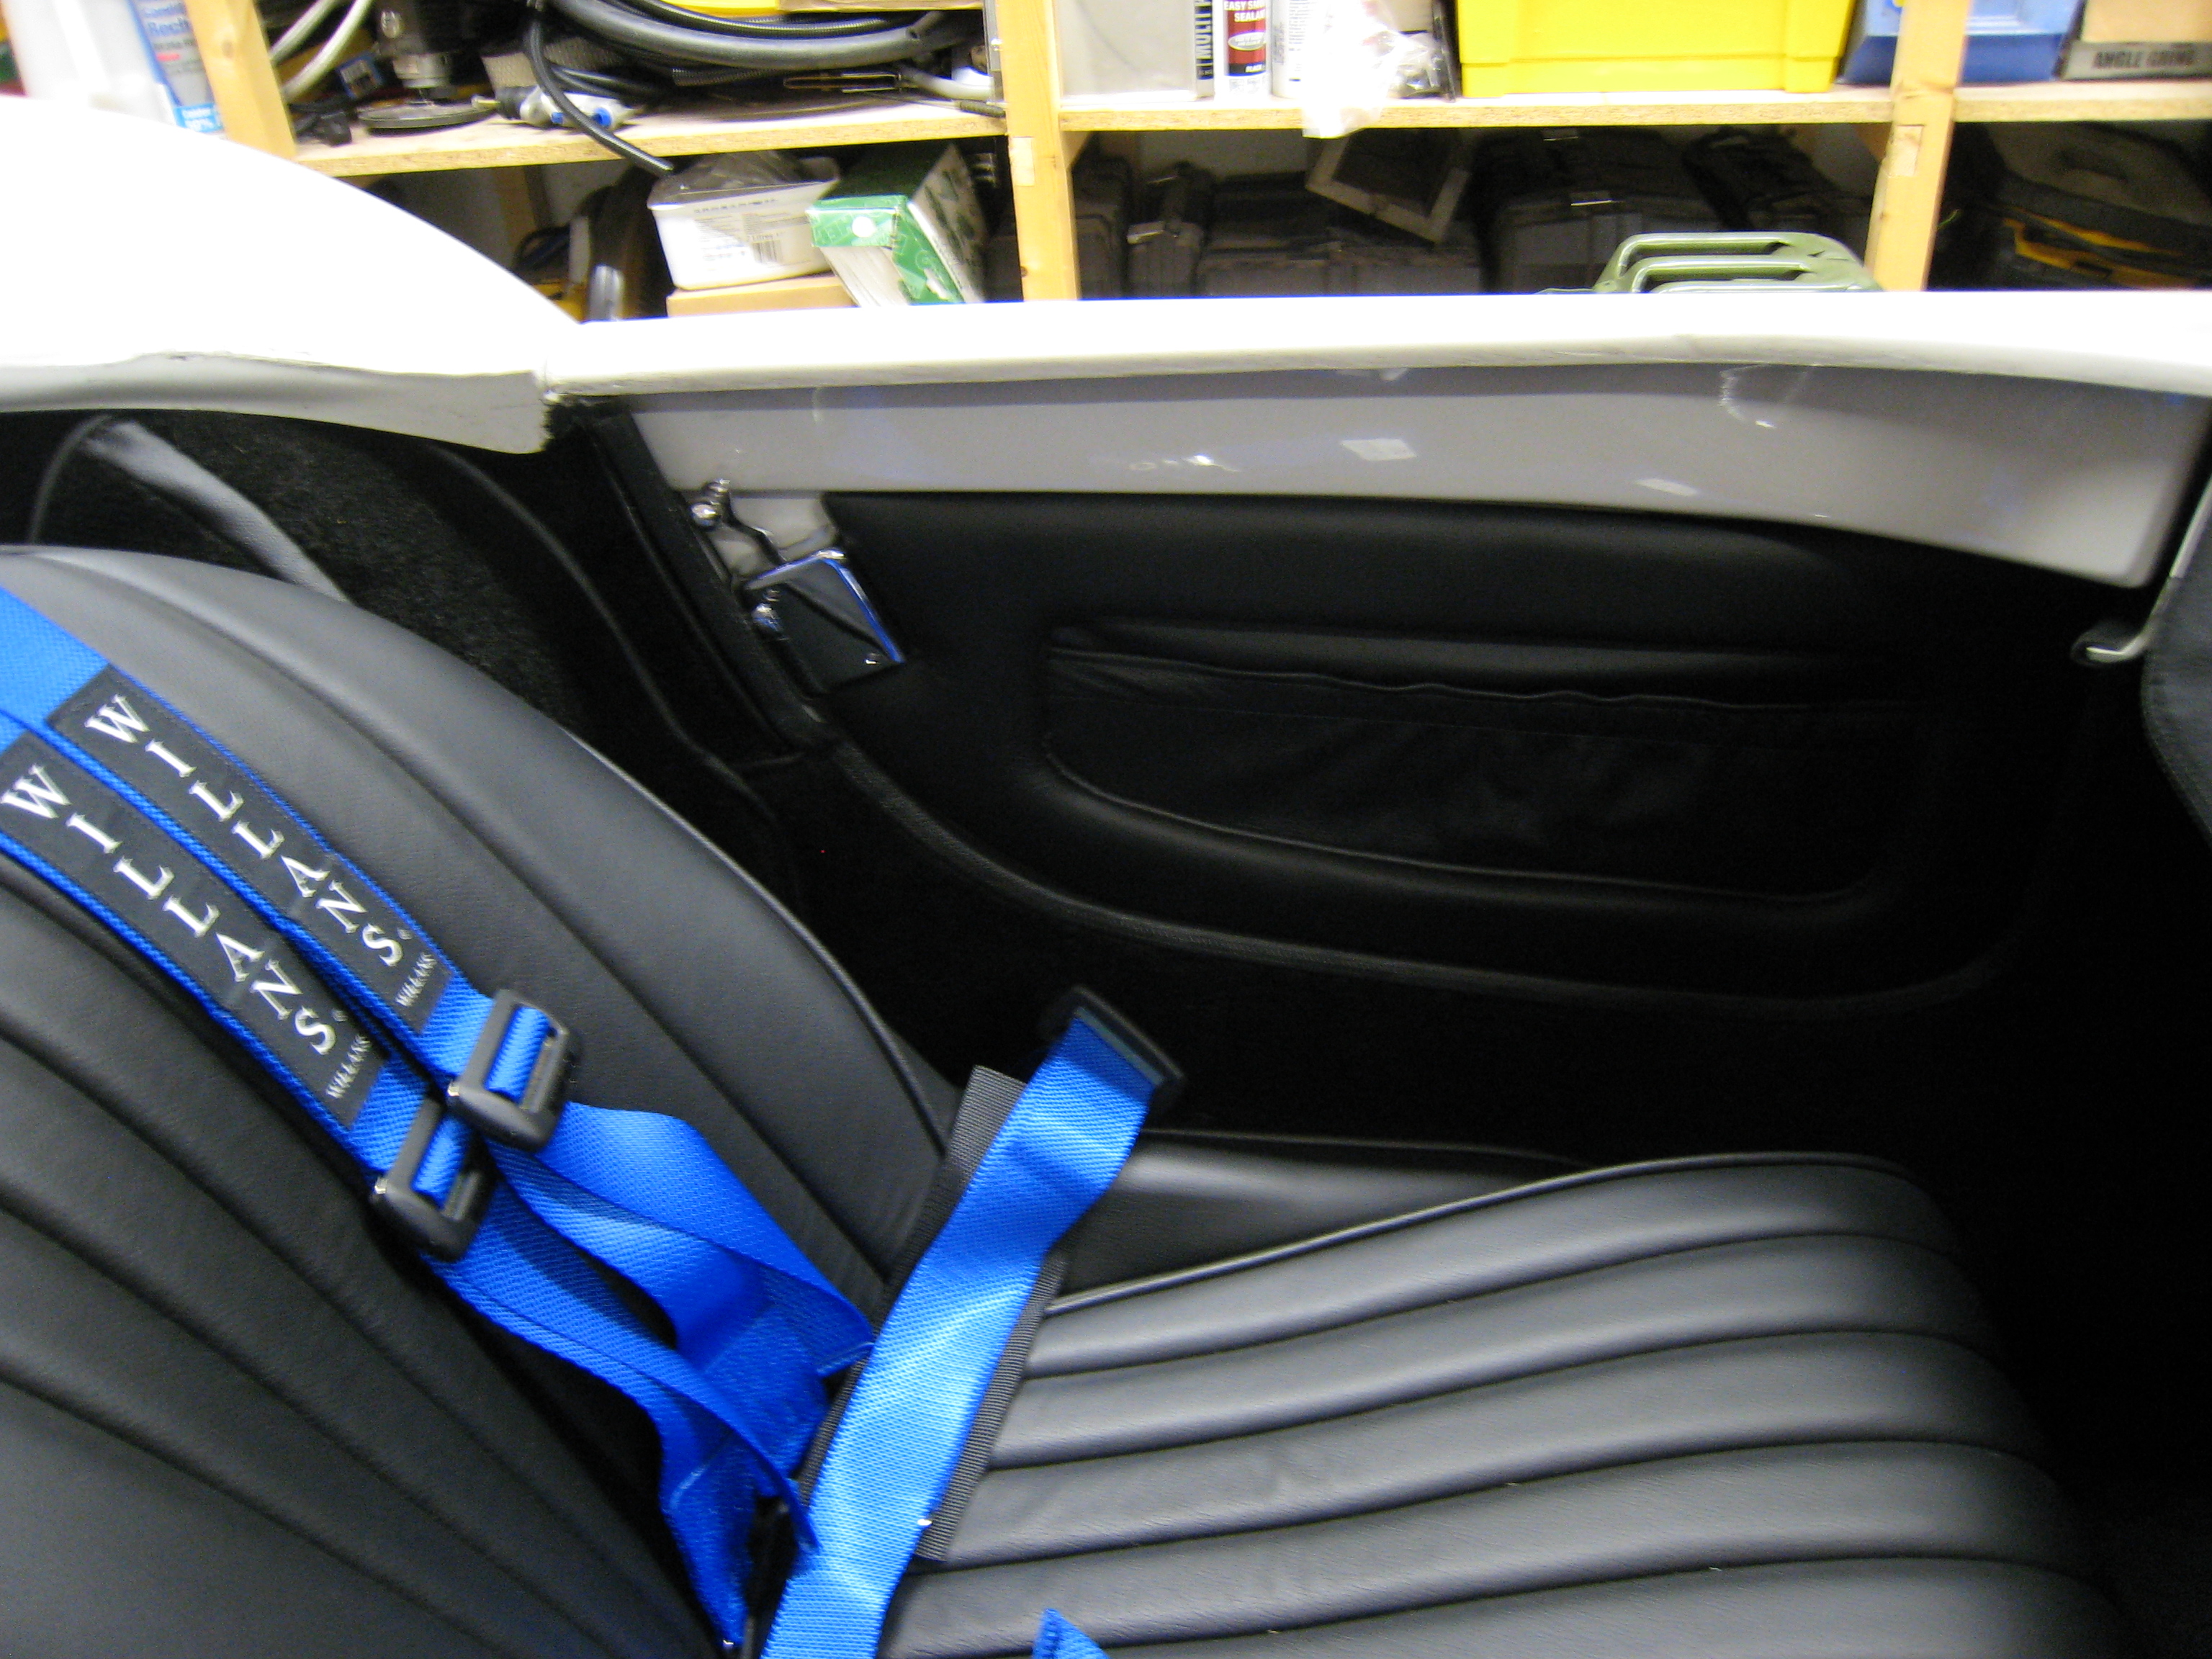
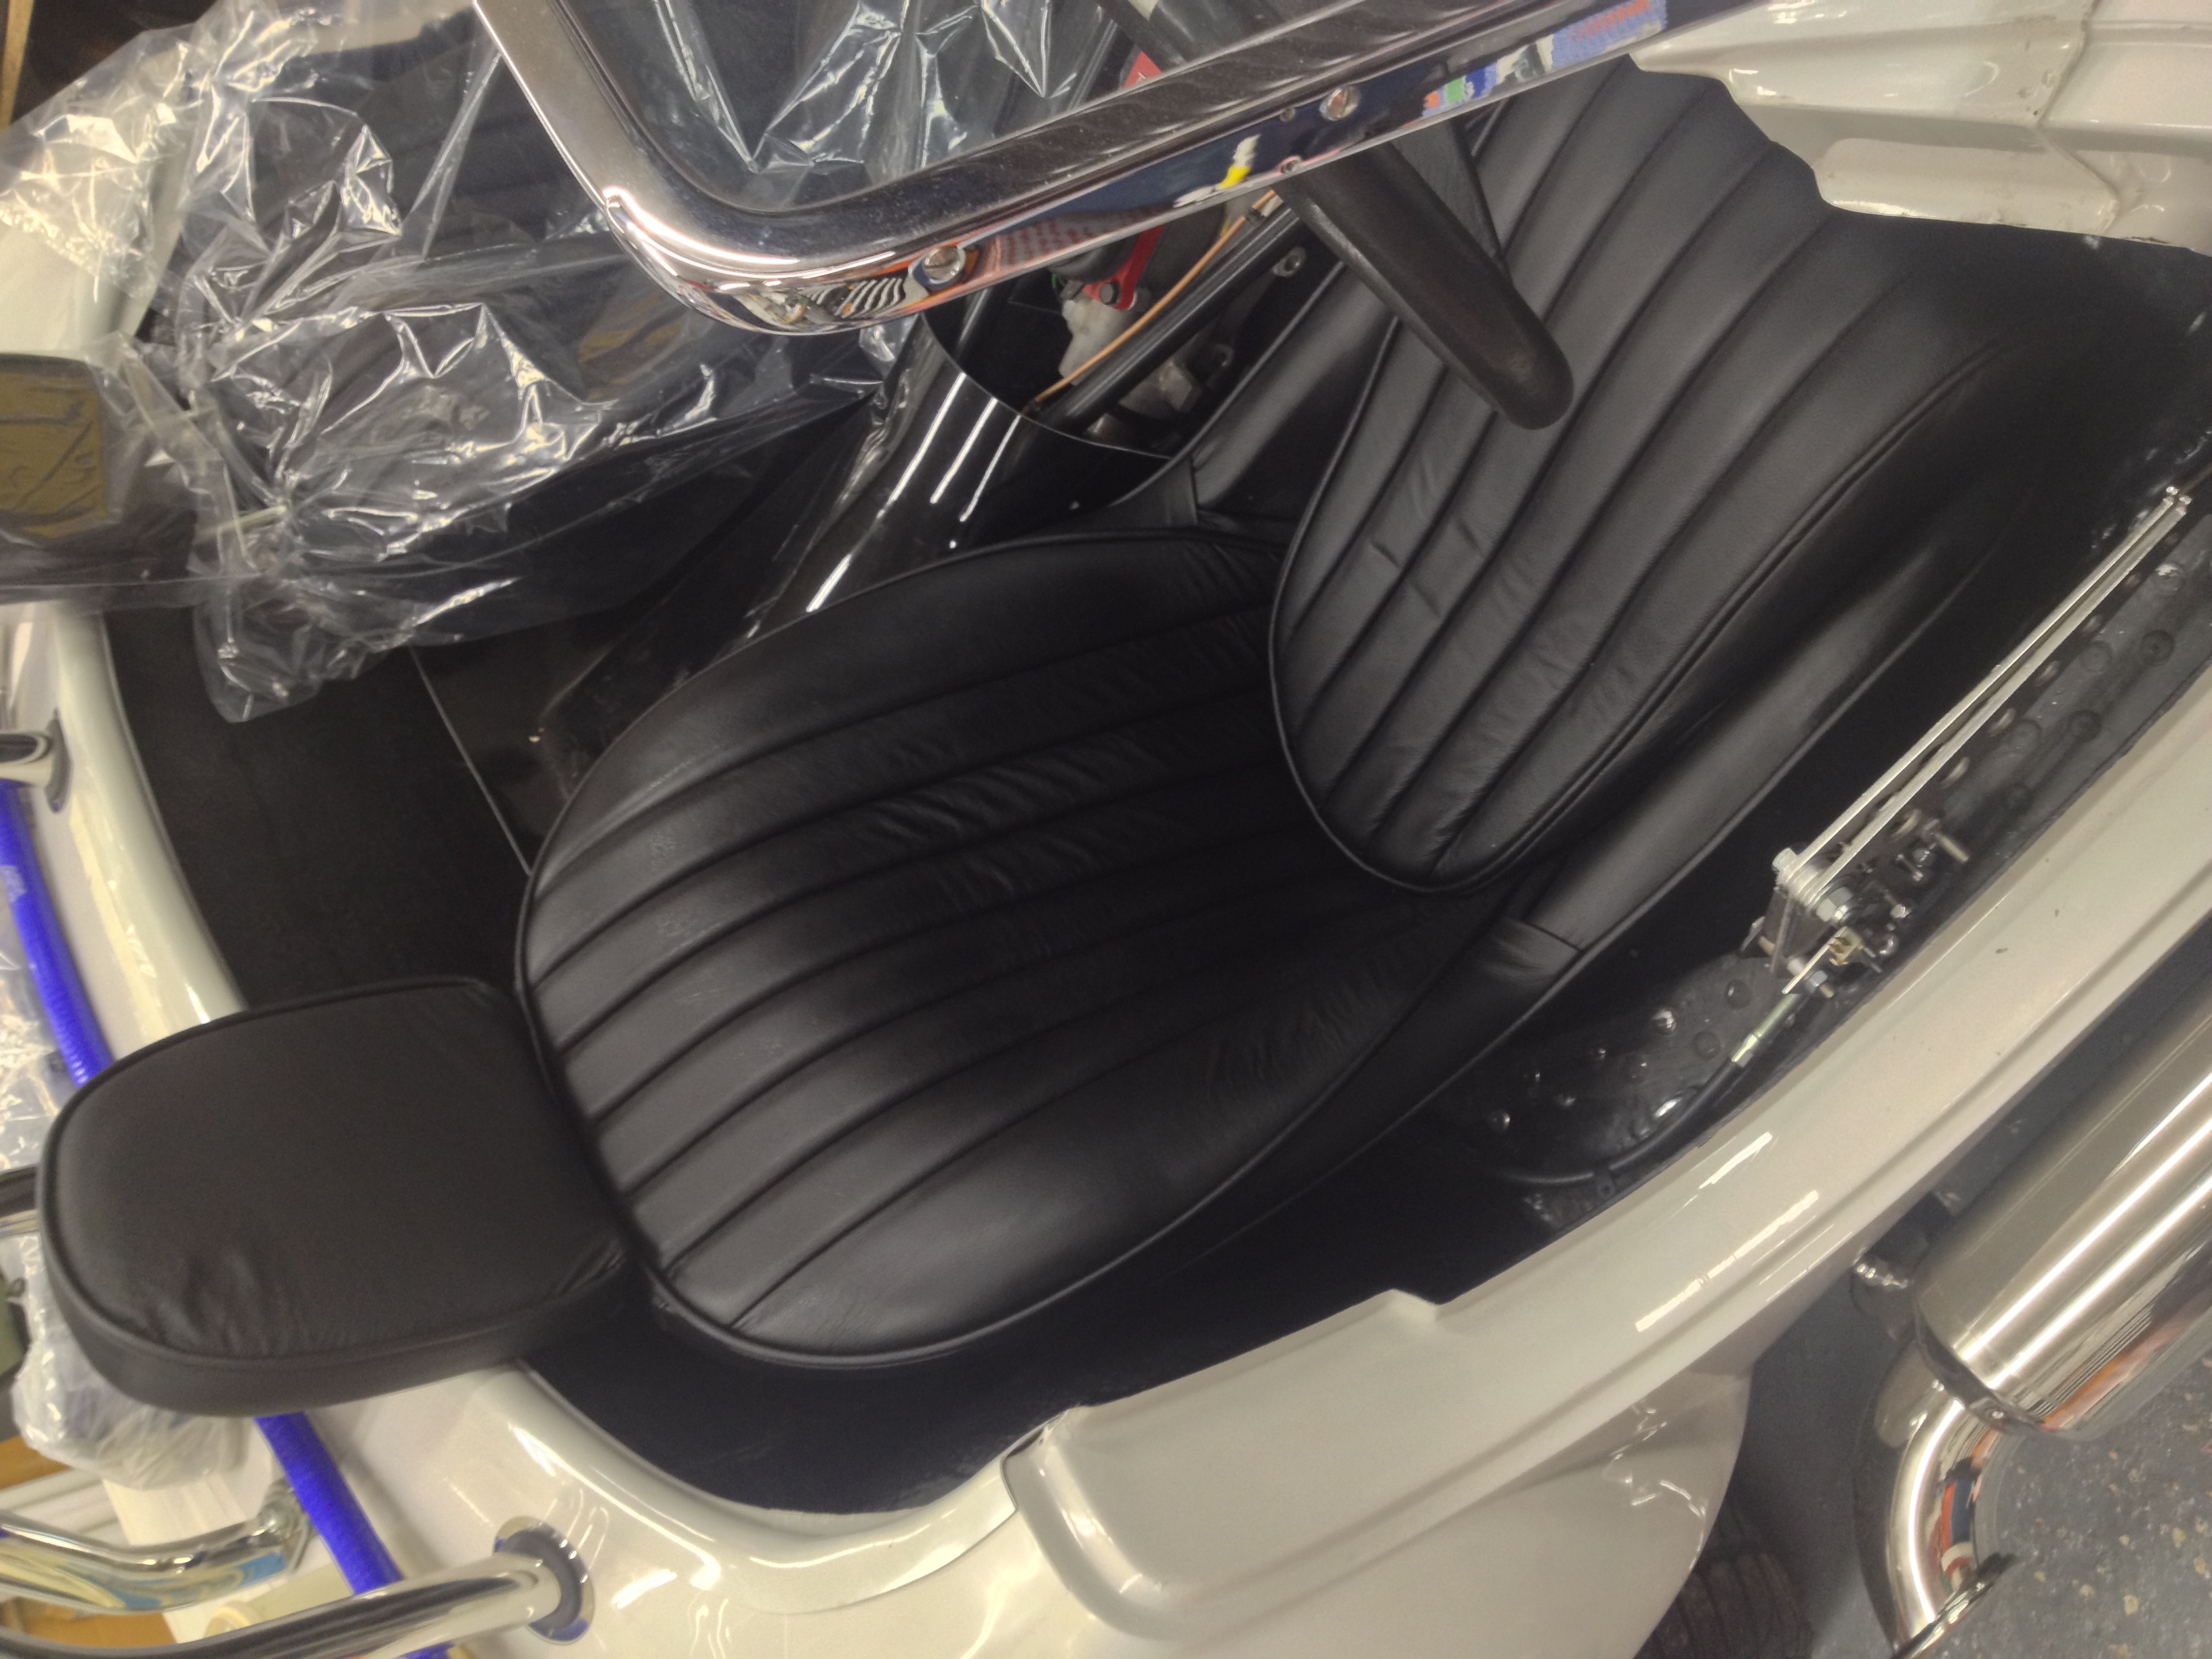
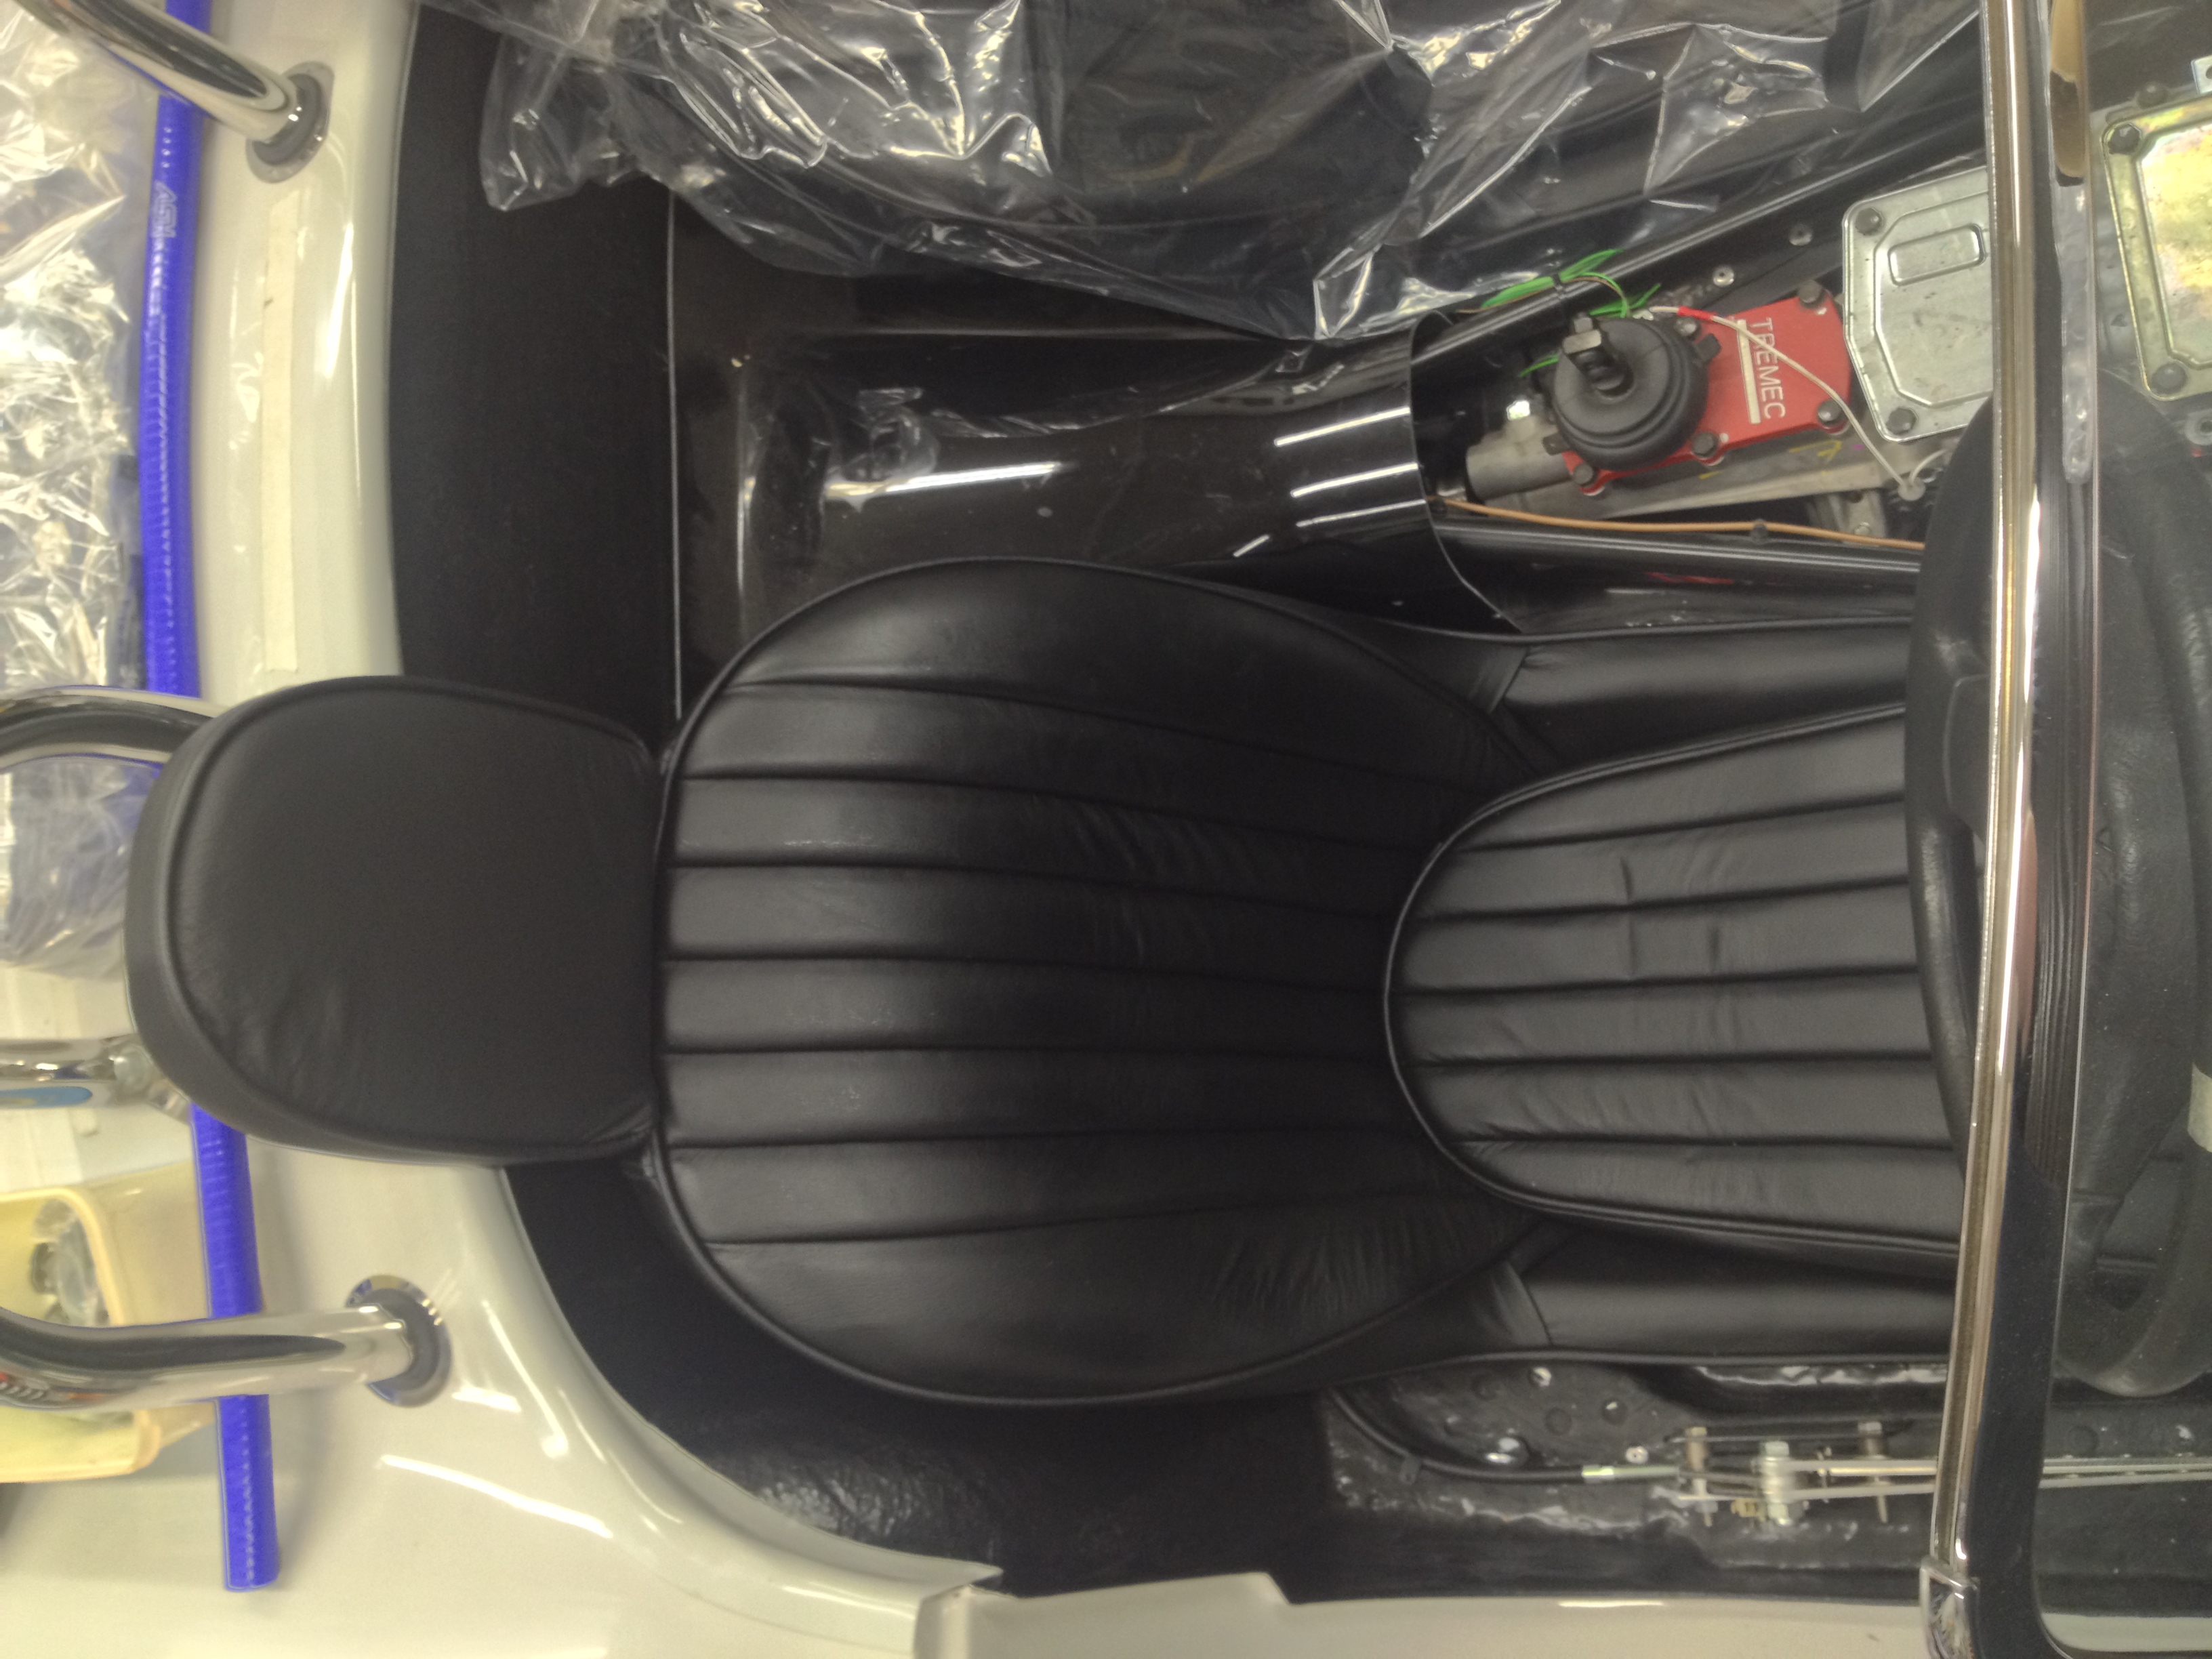
Carpet
Not quite as easy a job as it sounds, the kit you get from Interiours Seating
is massive and takes a while to lay it all out to try and work out what goes where, I took over the lounge for an evening and sorted it but there
is a lot of carpet !
Started with a few easy bits in the foot well before moving onto the side piece under the door. On the door piece we ended up
removing the nice edging so we could fit the carpet underneath the door edge seal, which just looked better. The back piece behind
the seats was next and fairly straight forward except that I am going to have the leather cockpit trim added later so has to leave a
2 inch gap to be able to get that in. We did end up trimming quite a bit of each side of the tunnel pieces, but all in all very happy with the result.
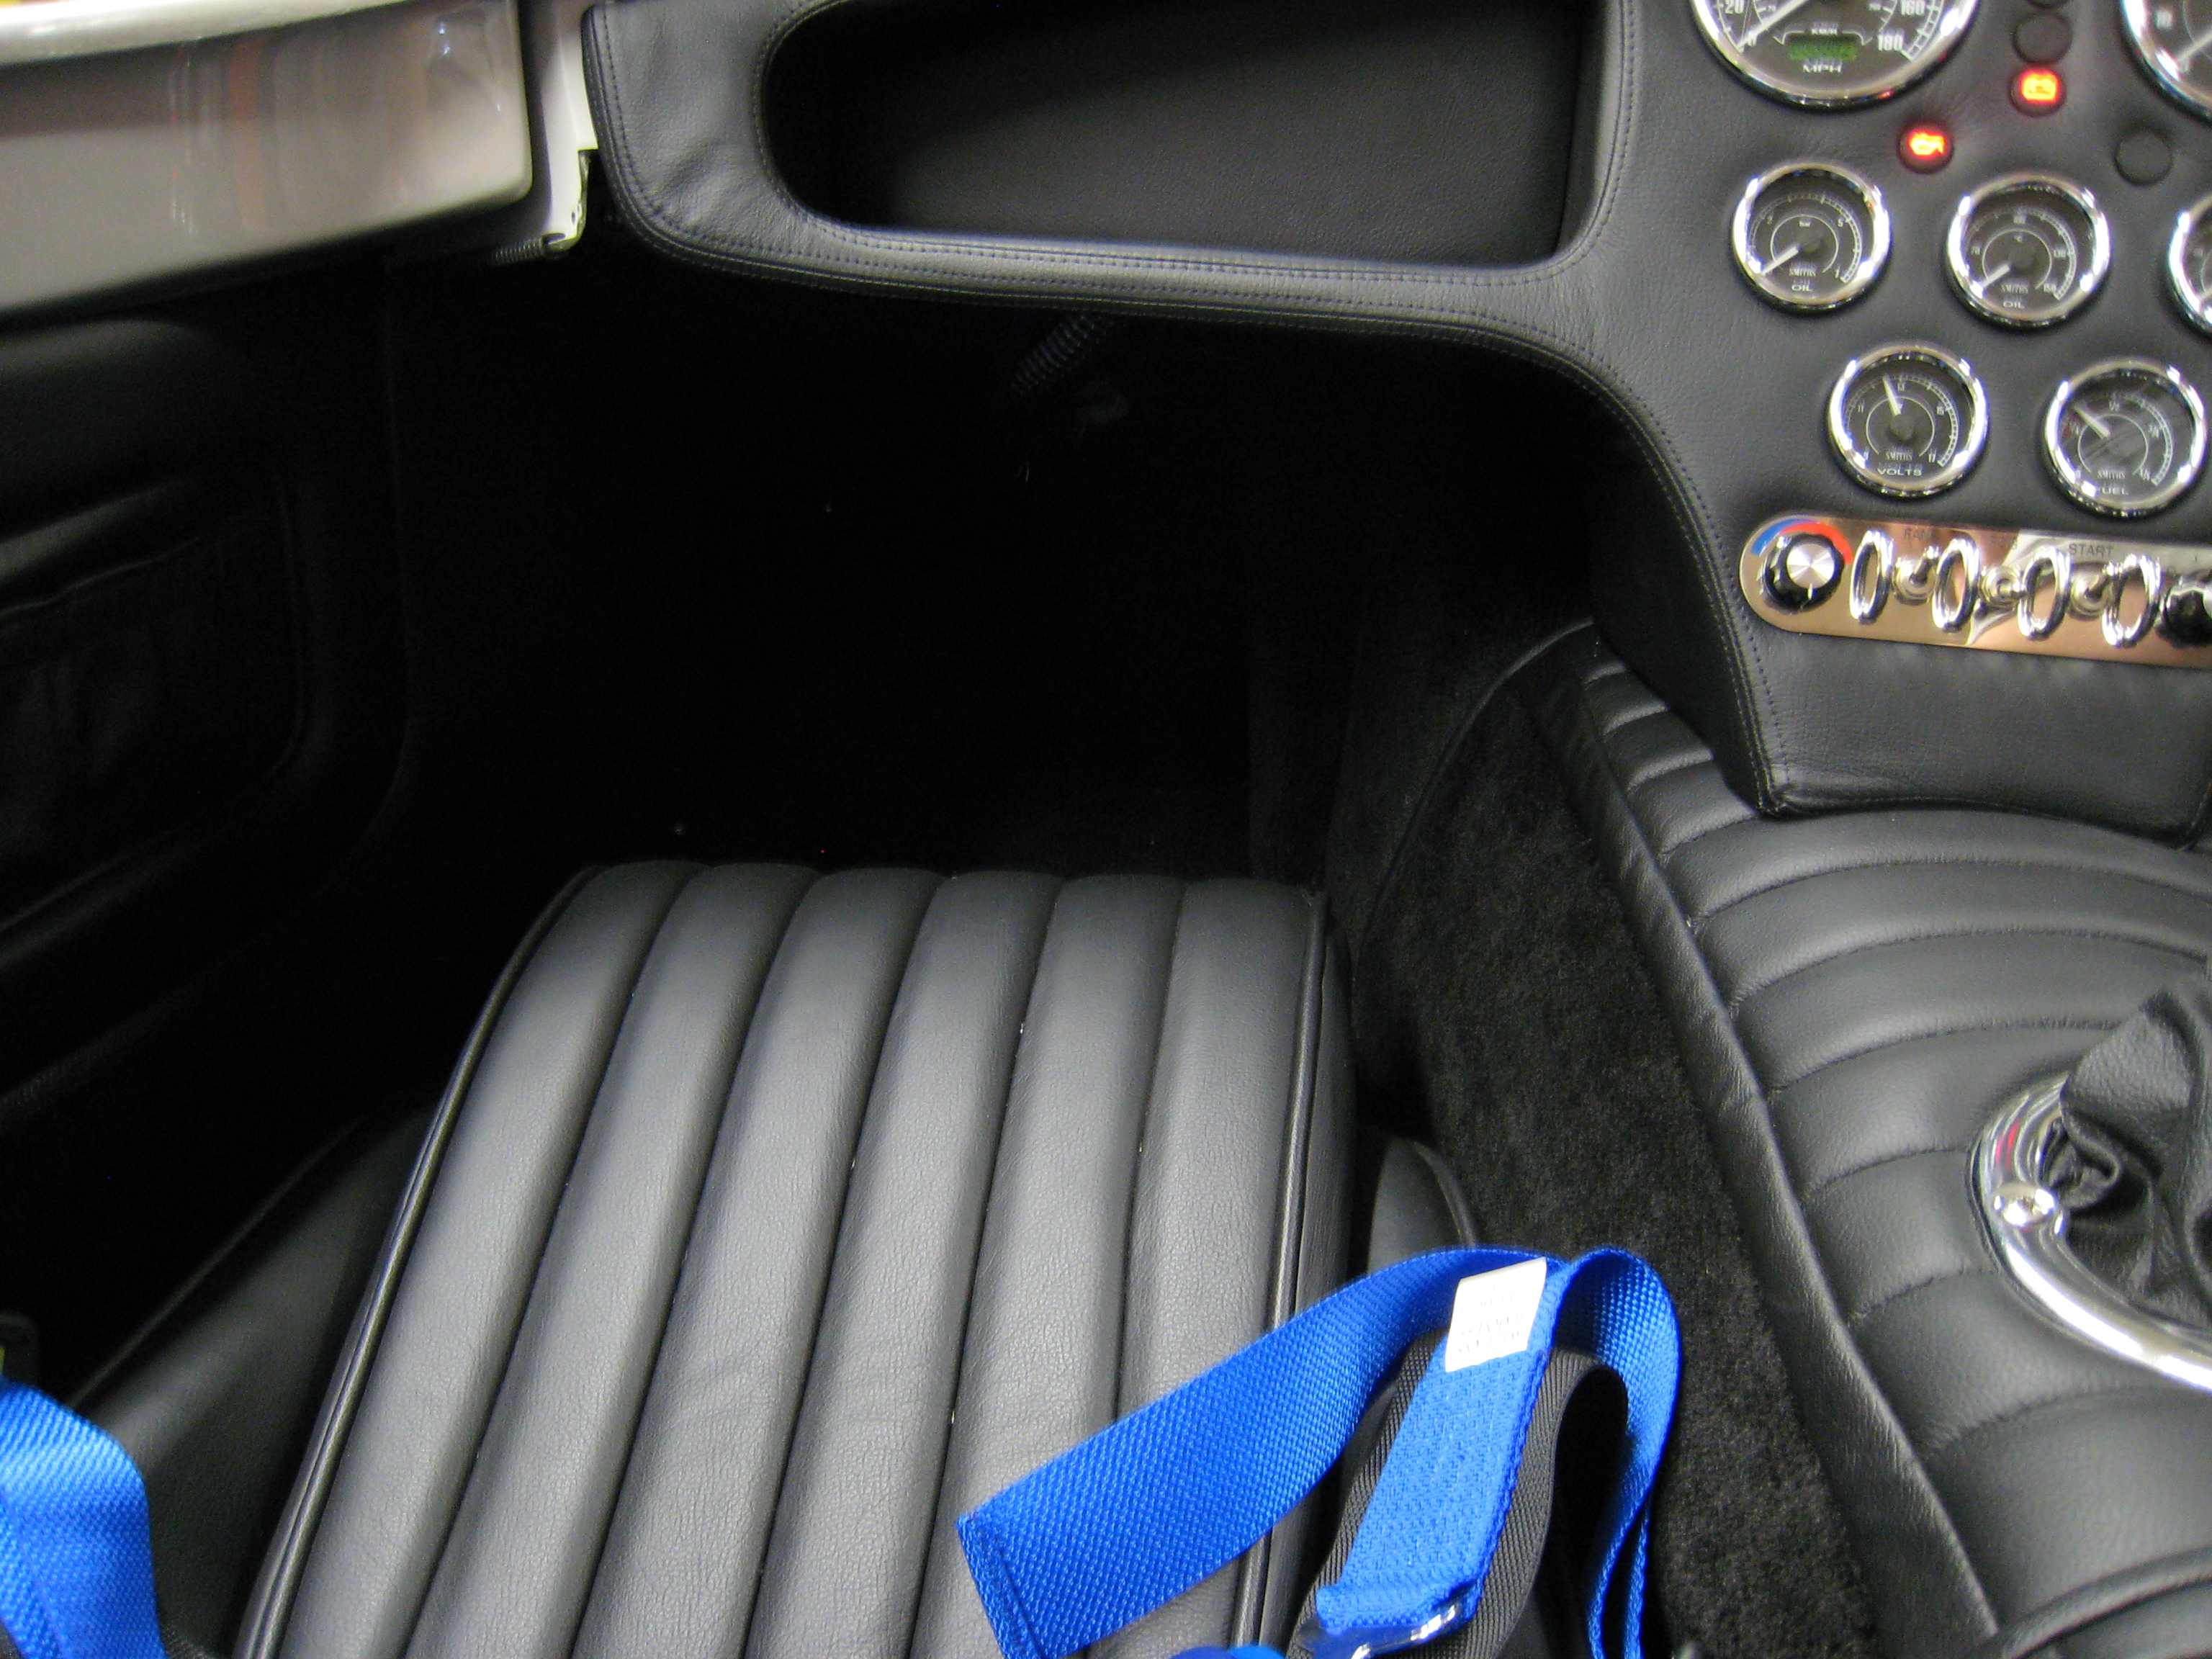
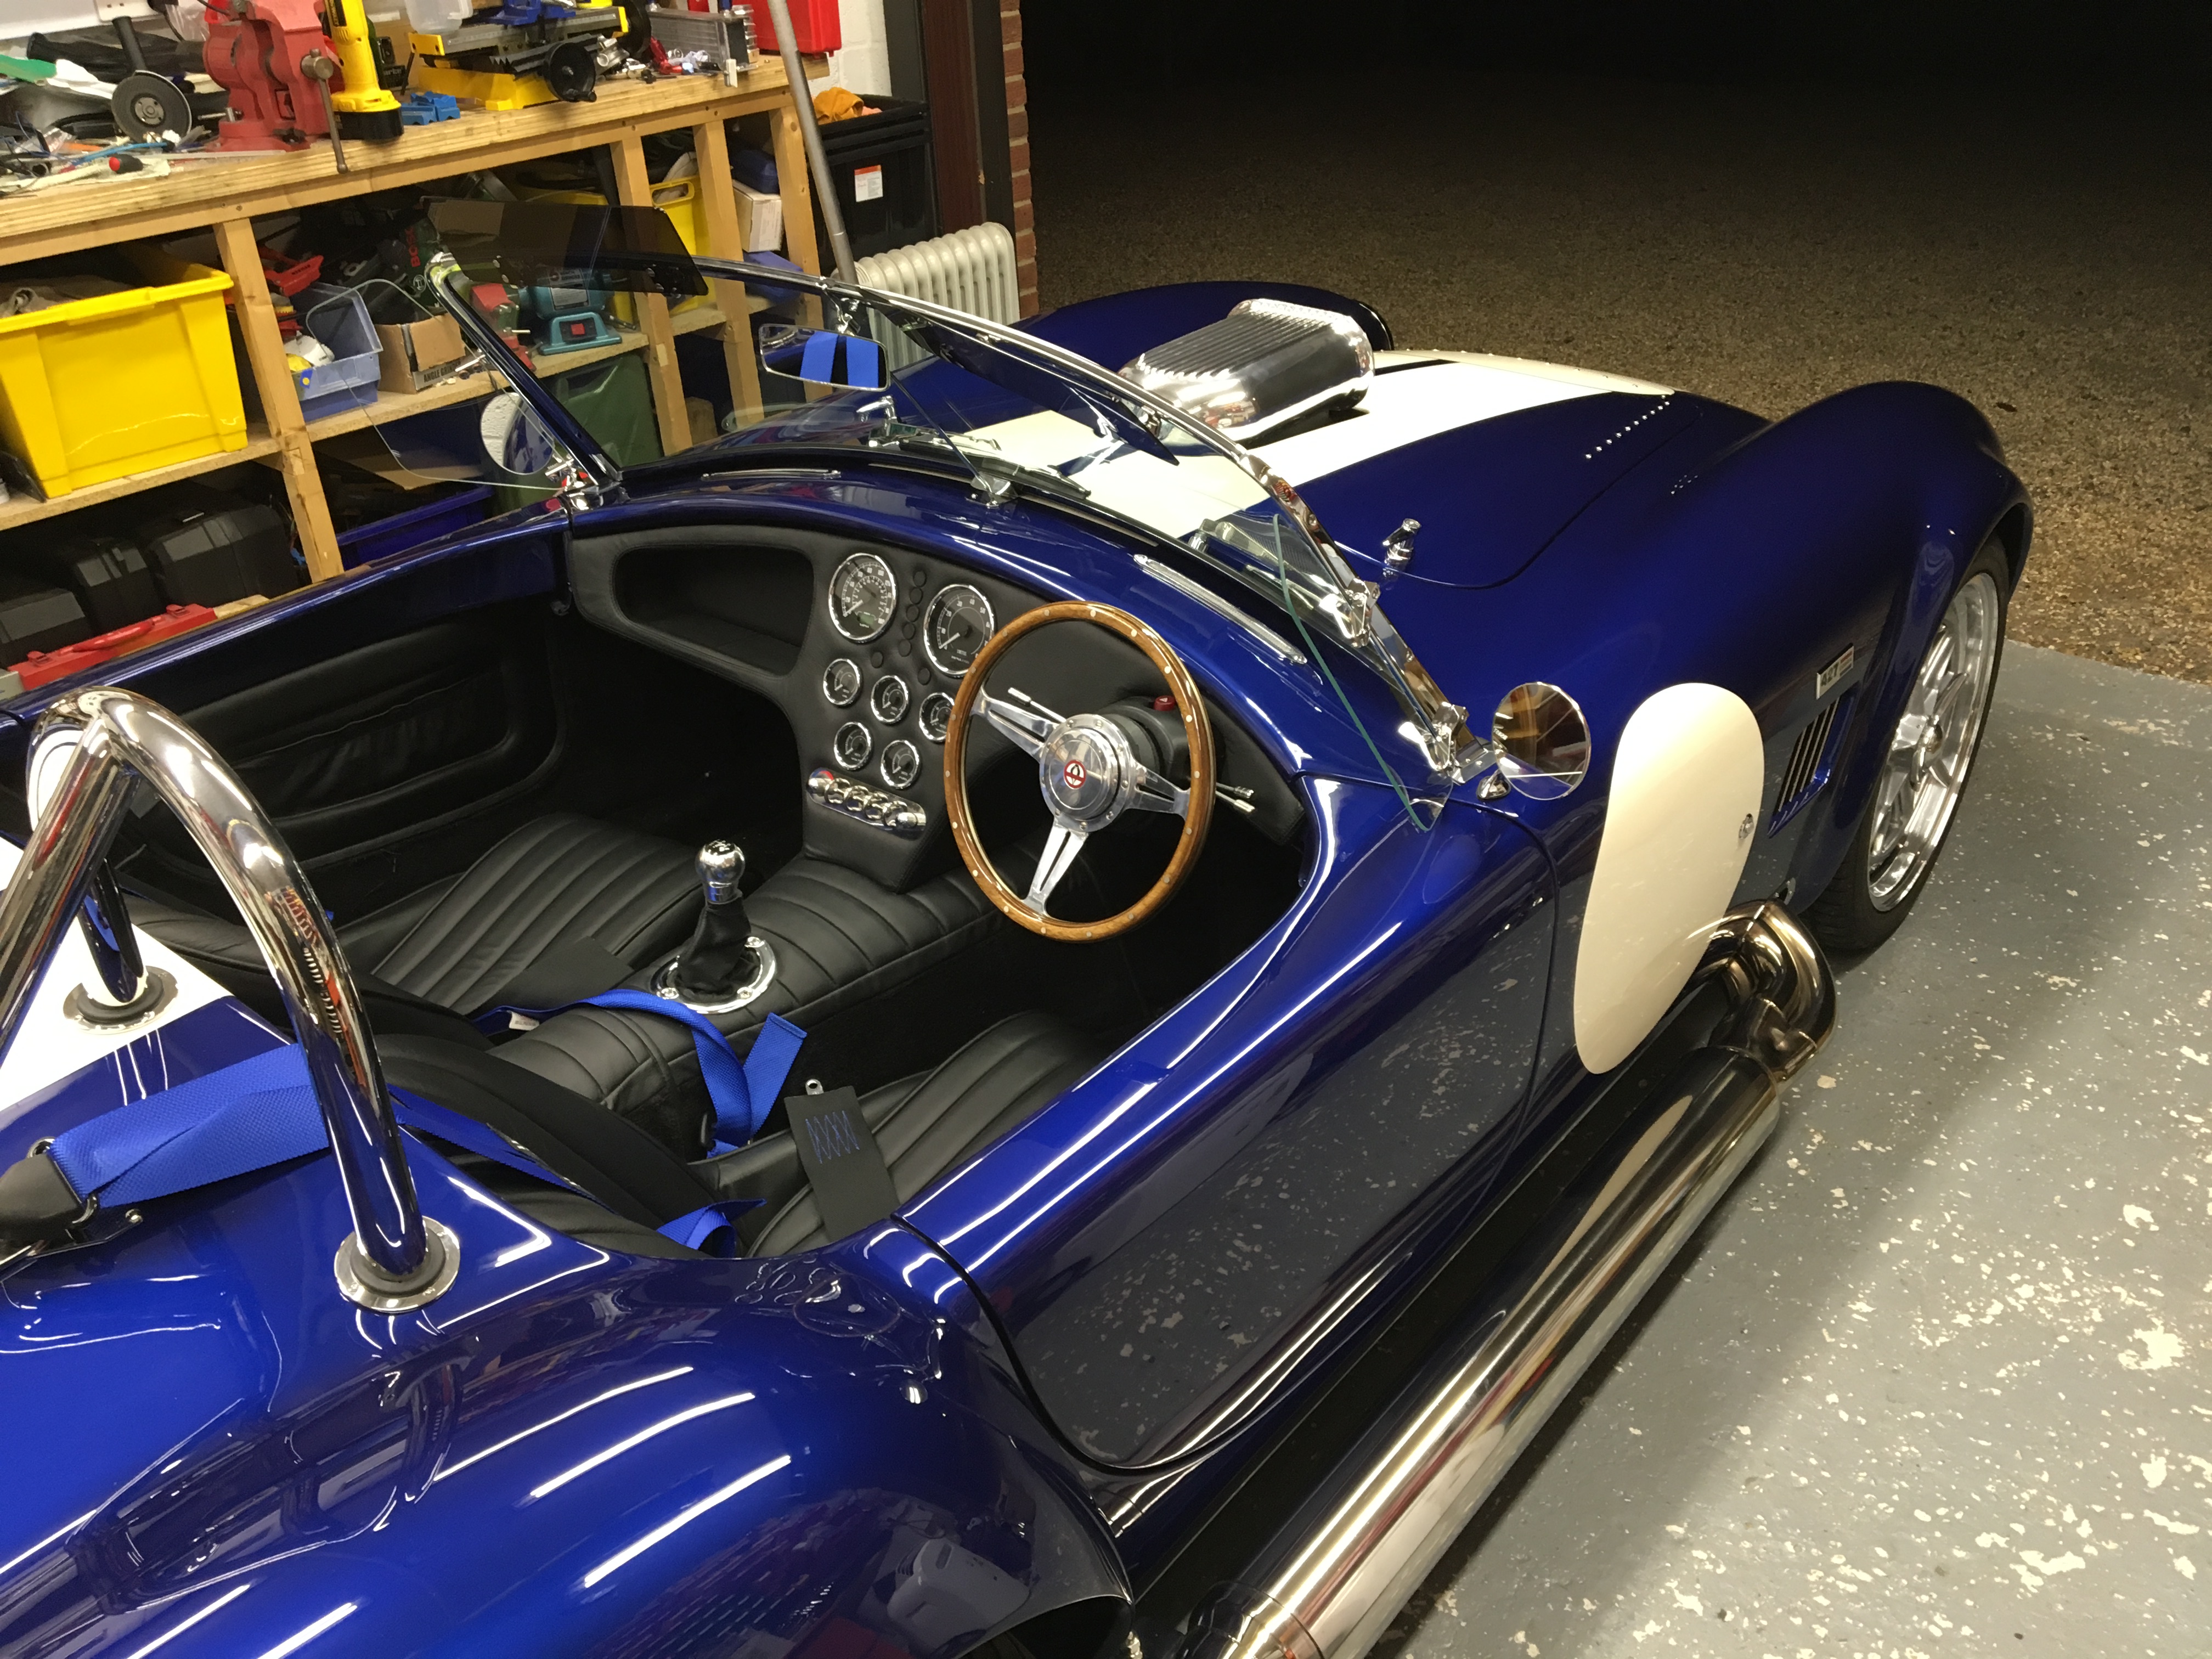
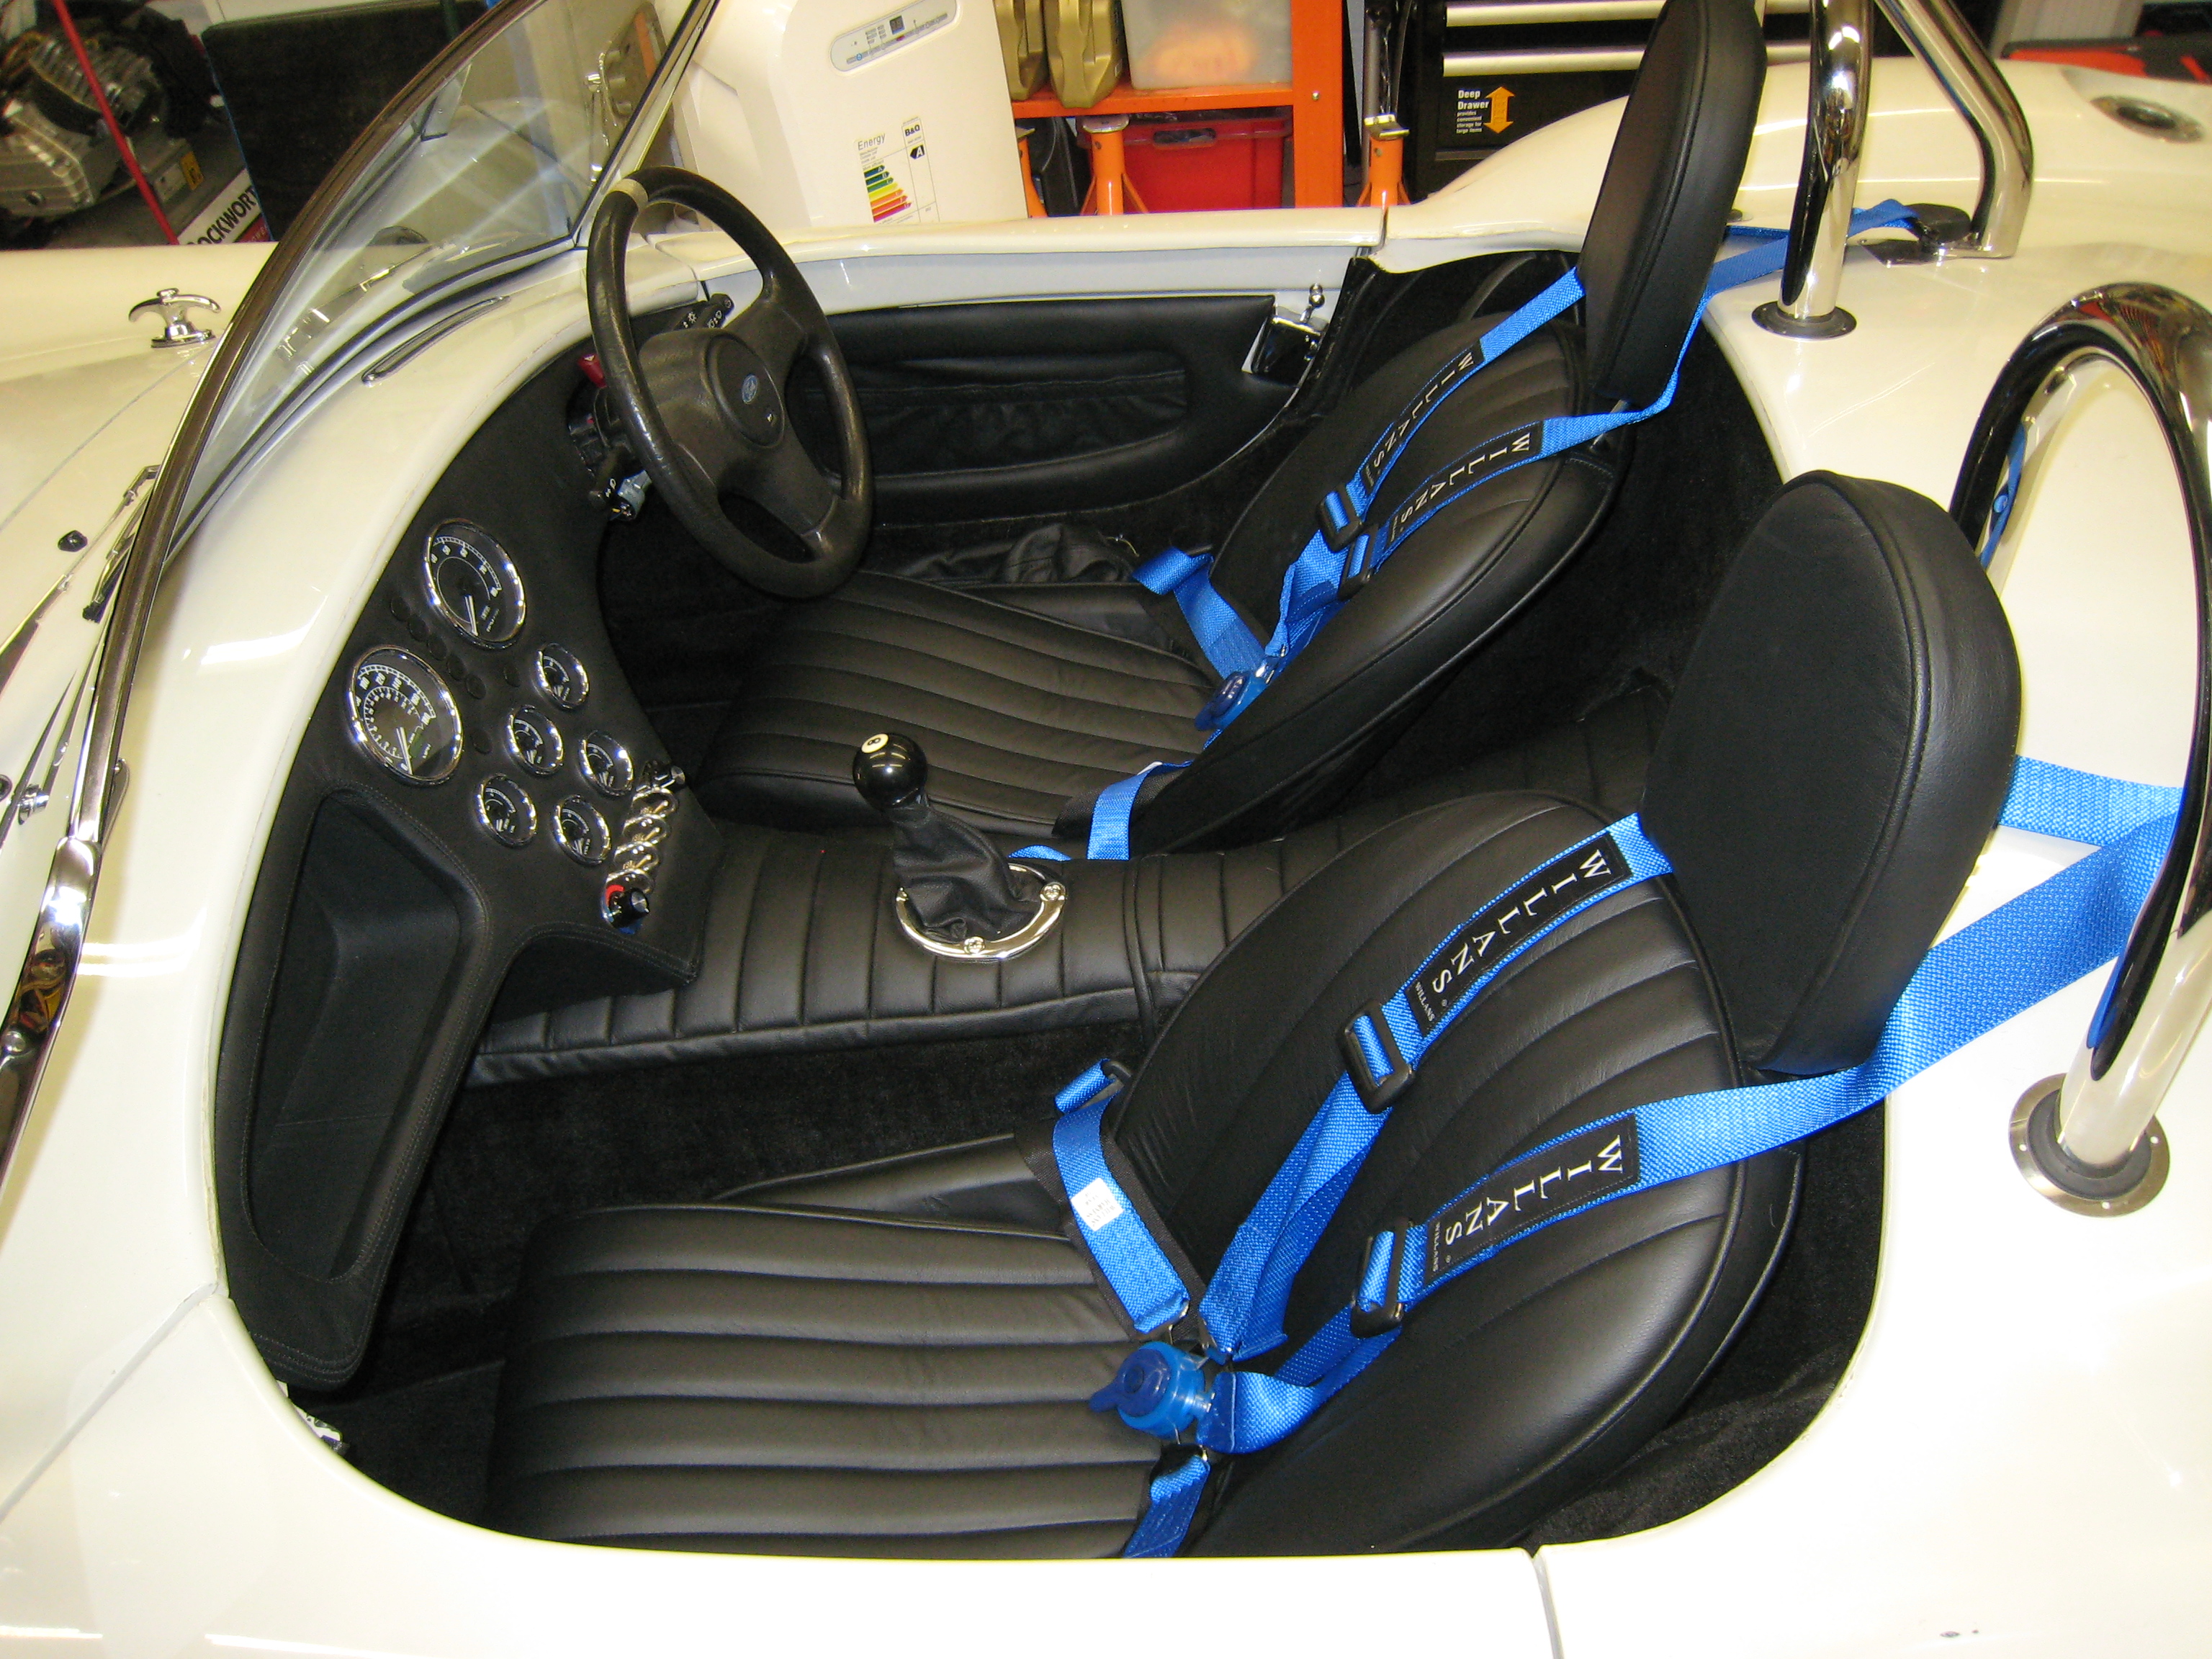
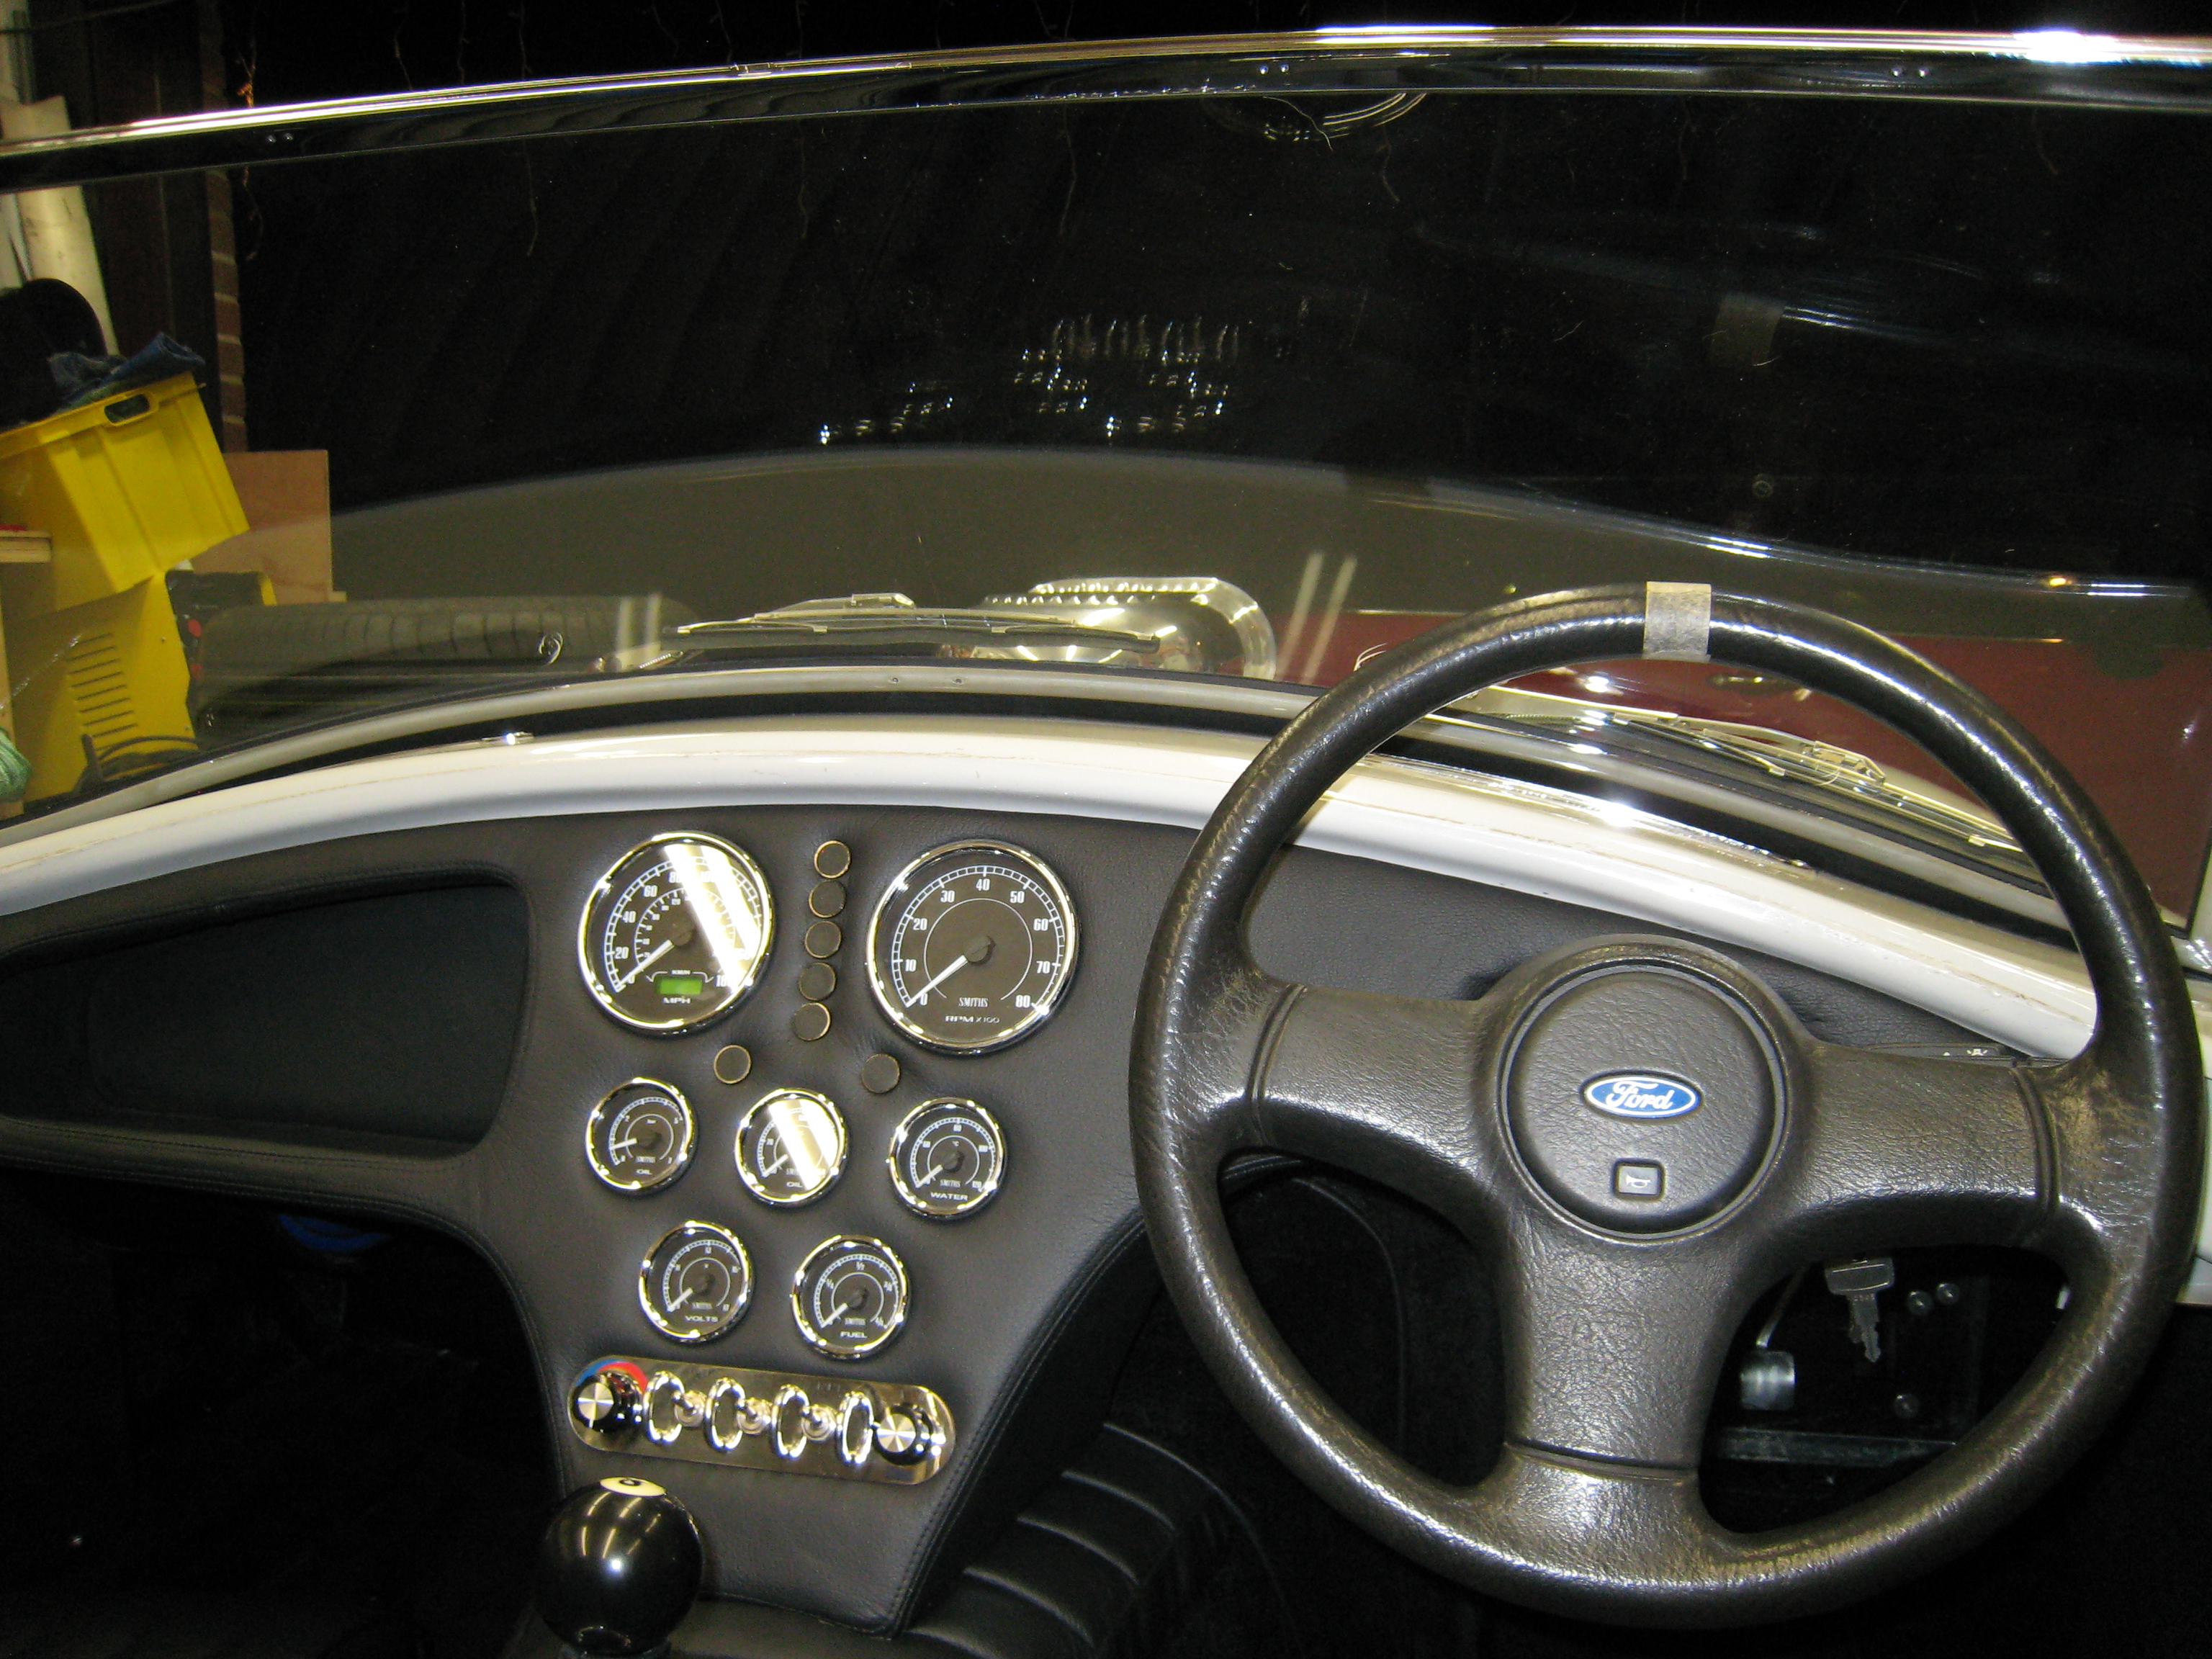
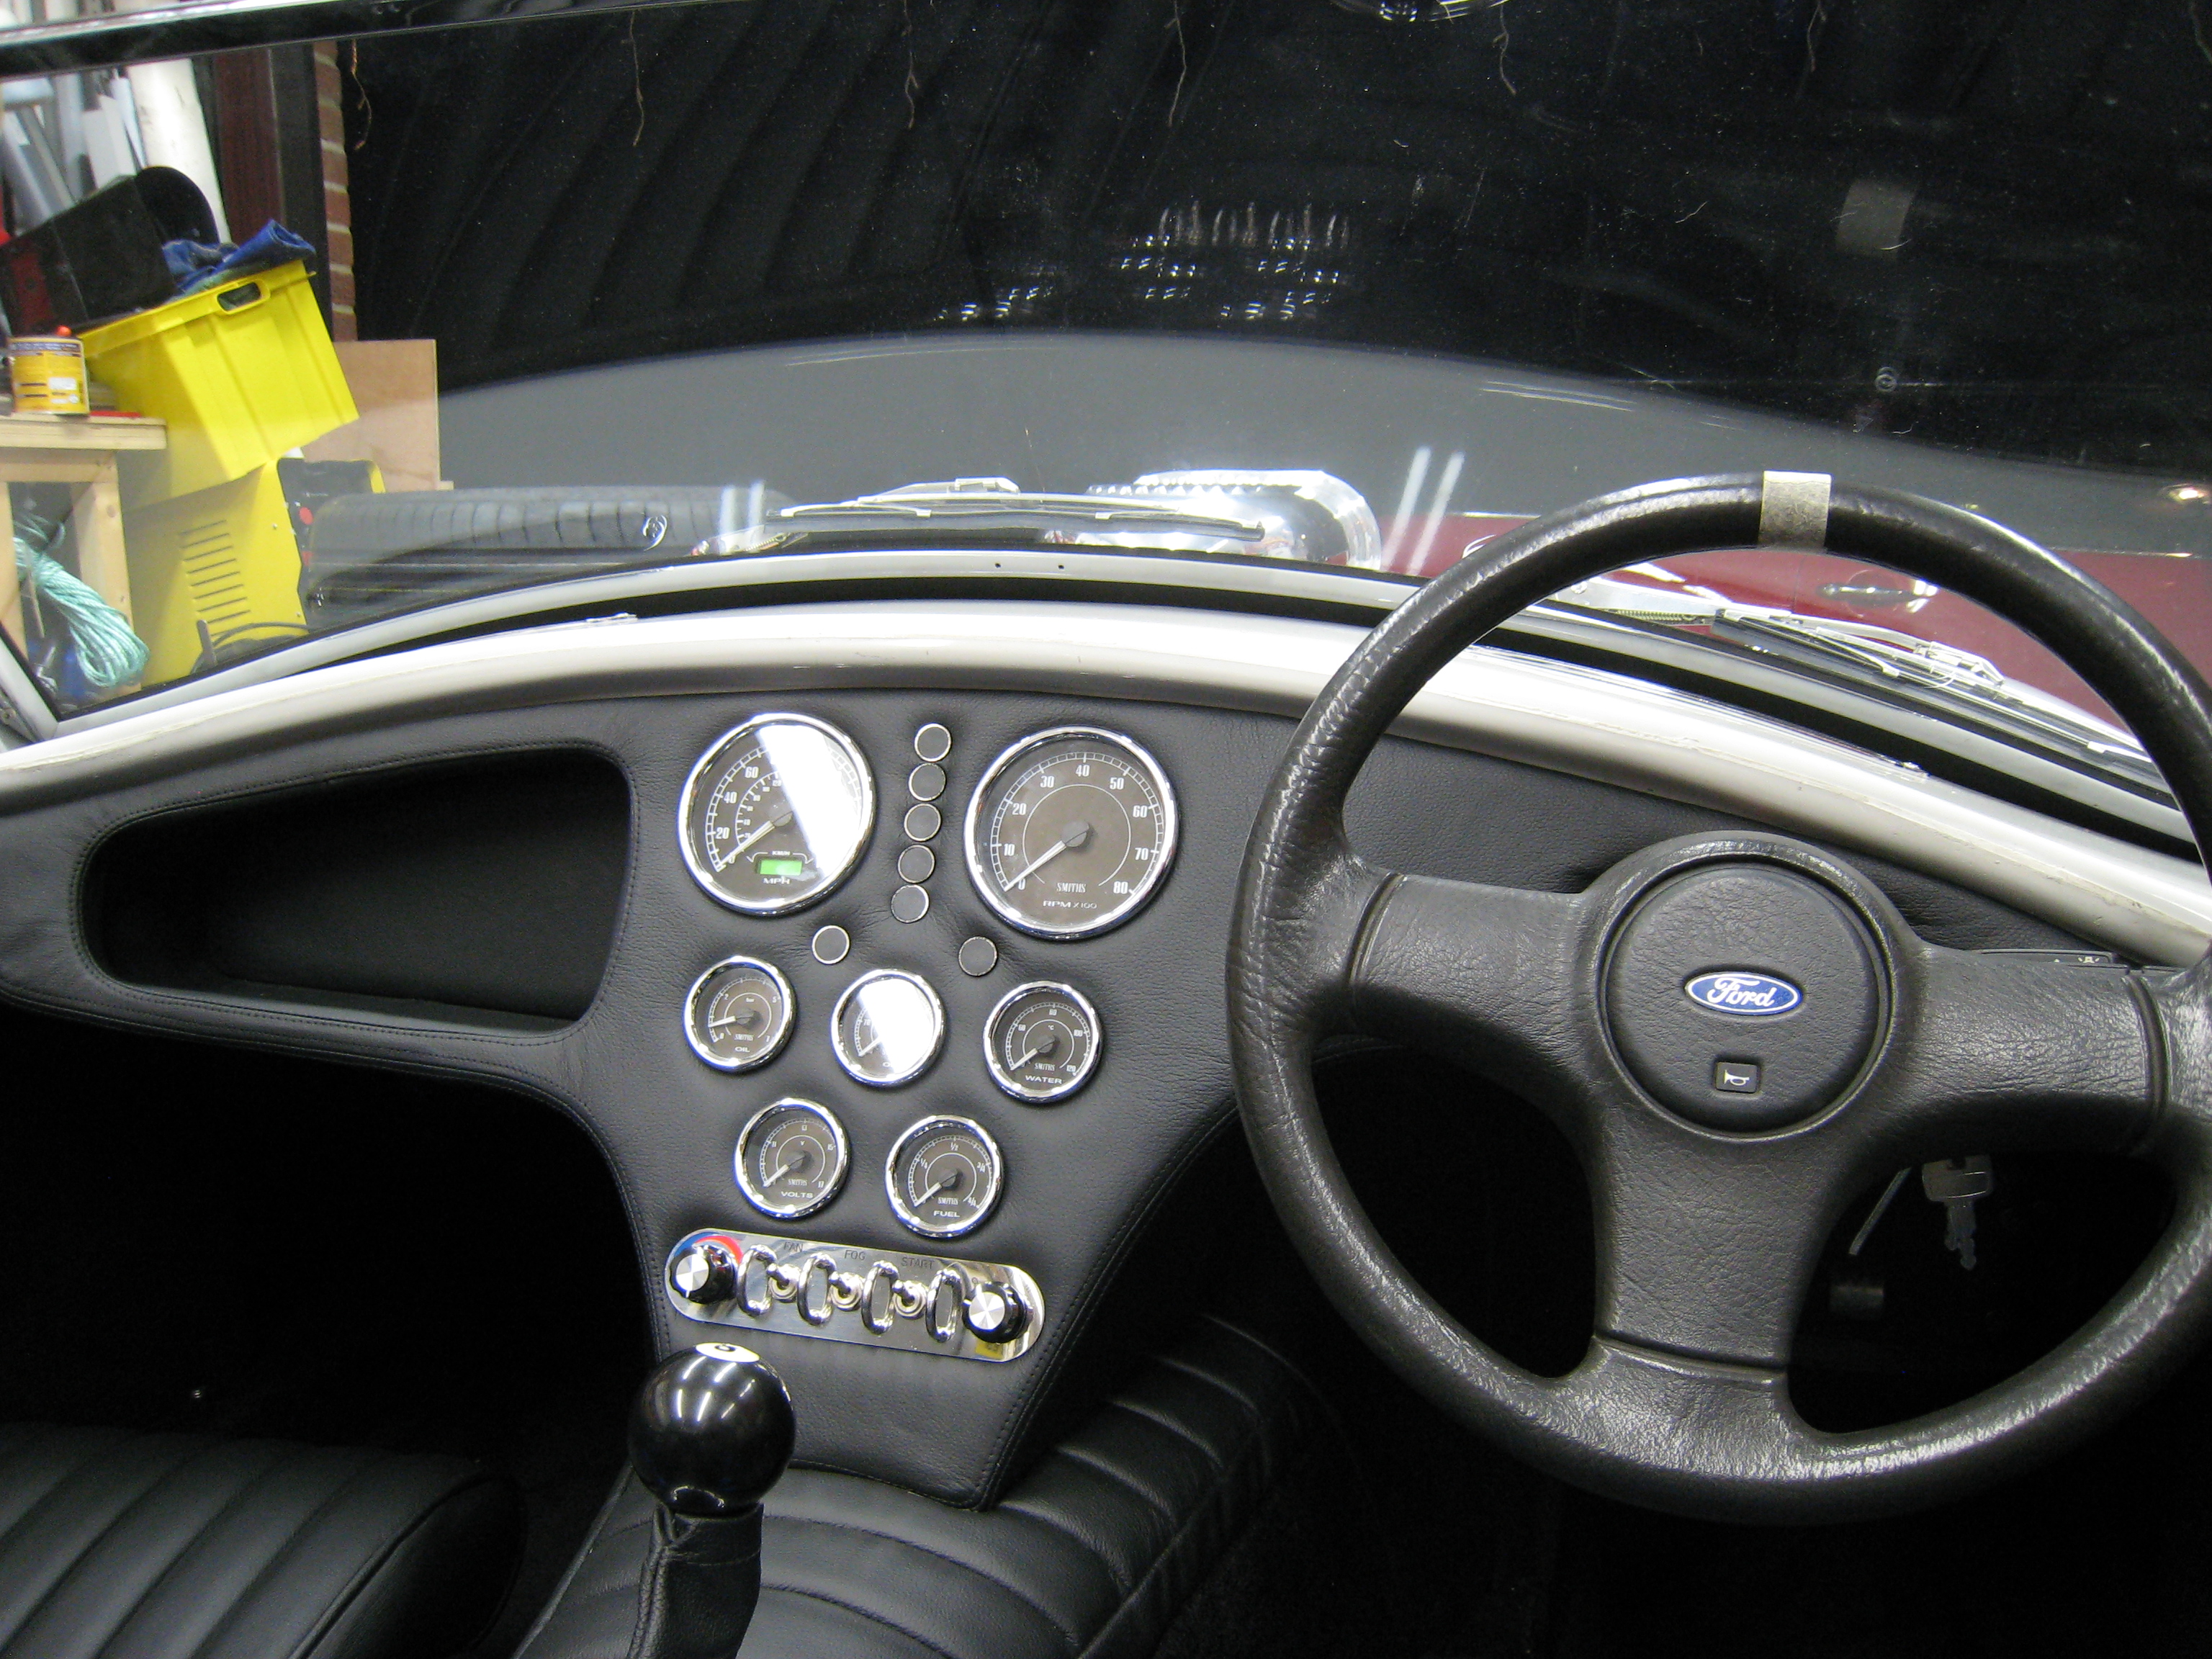
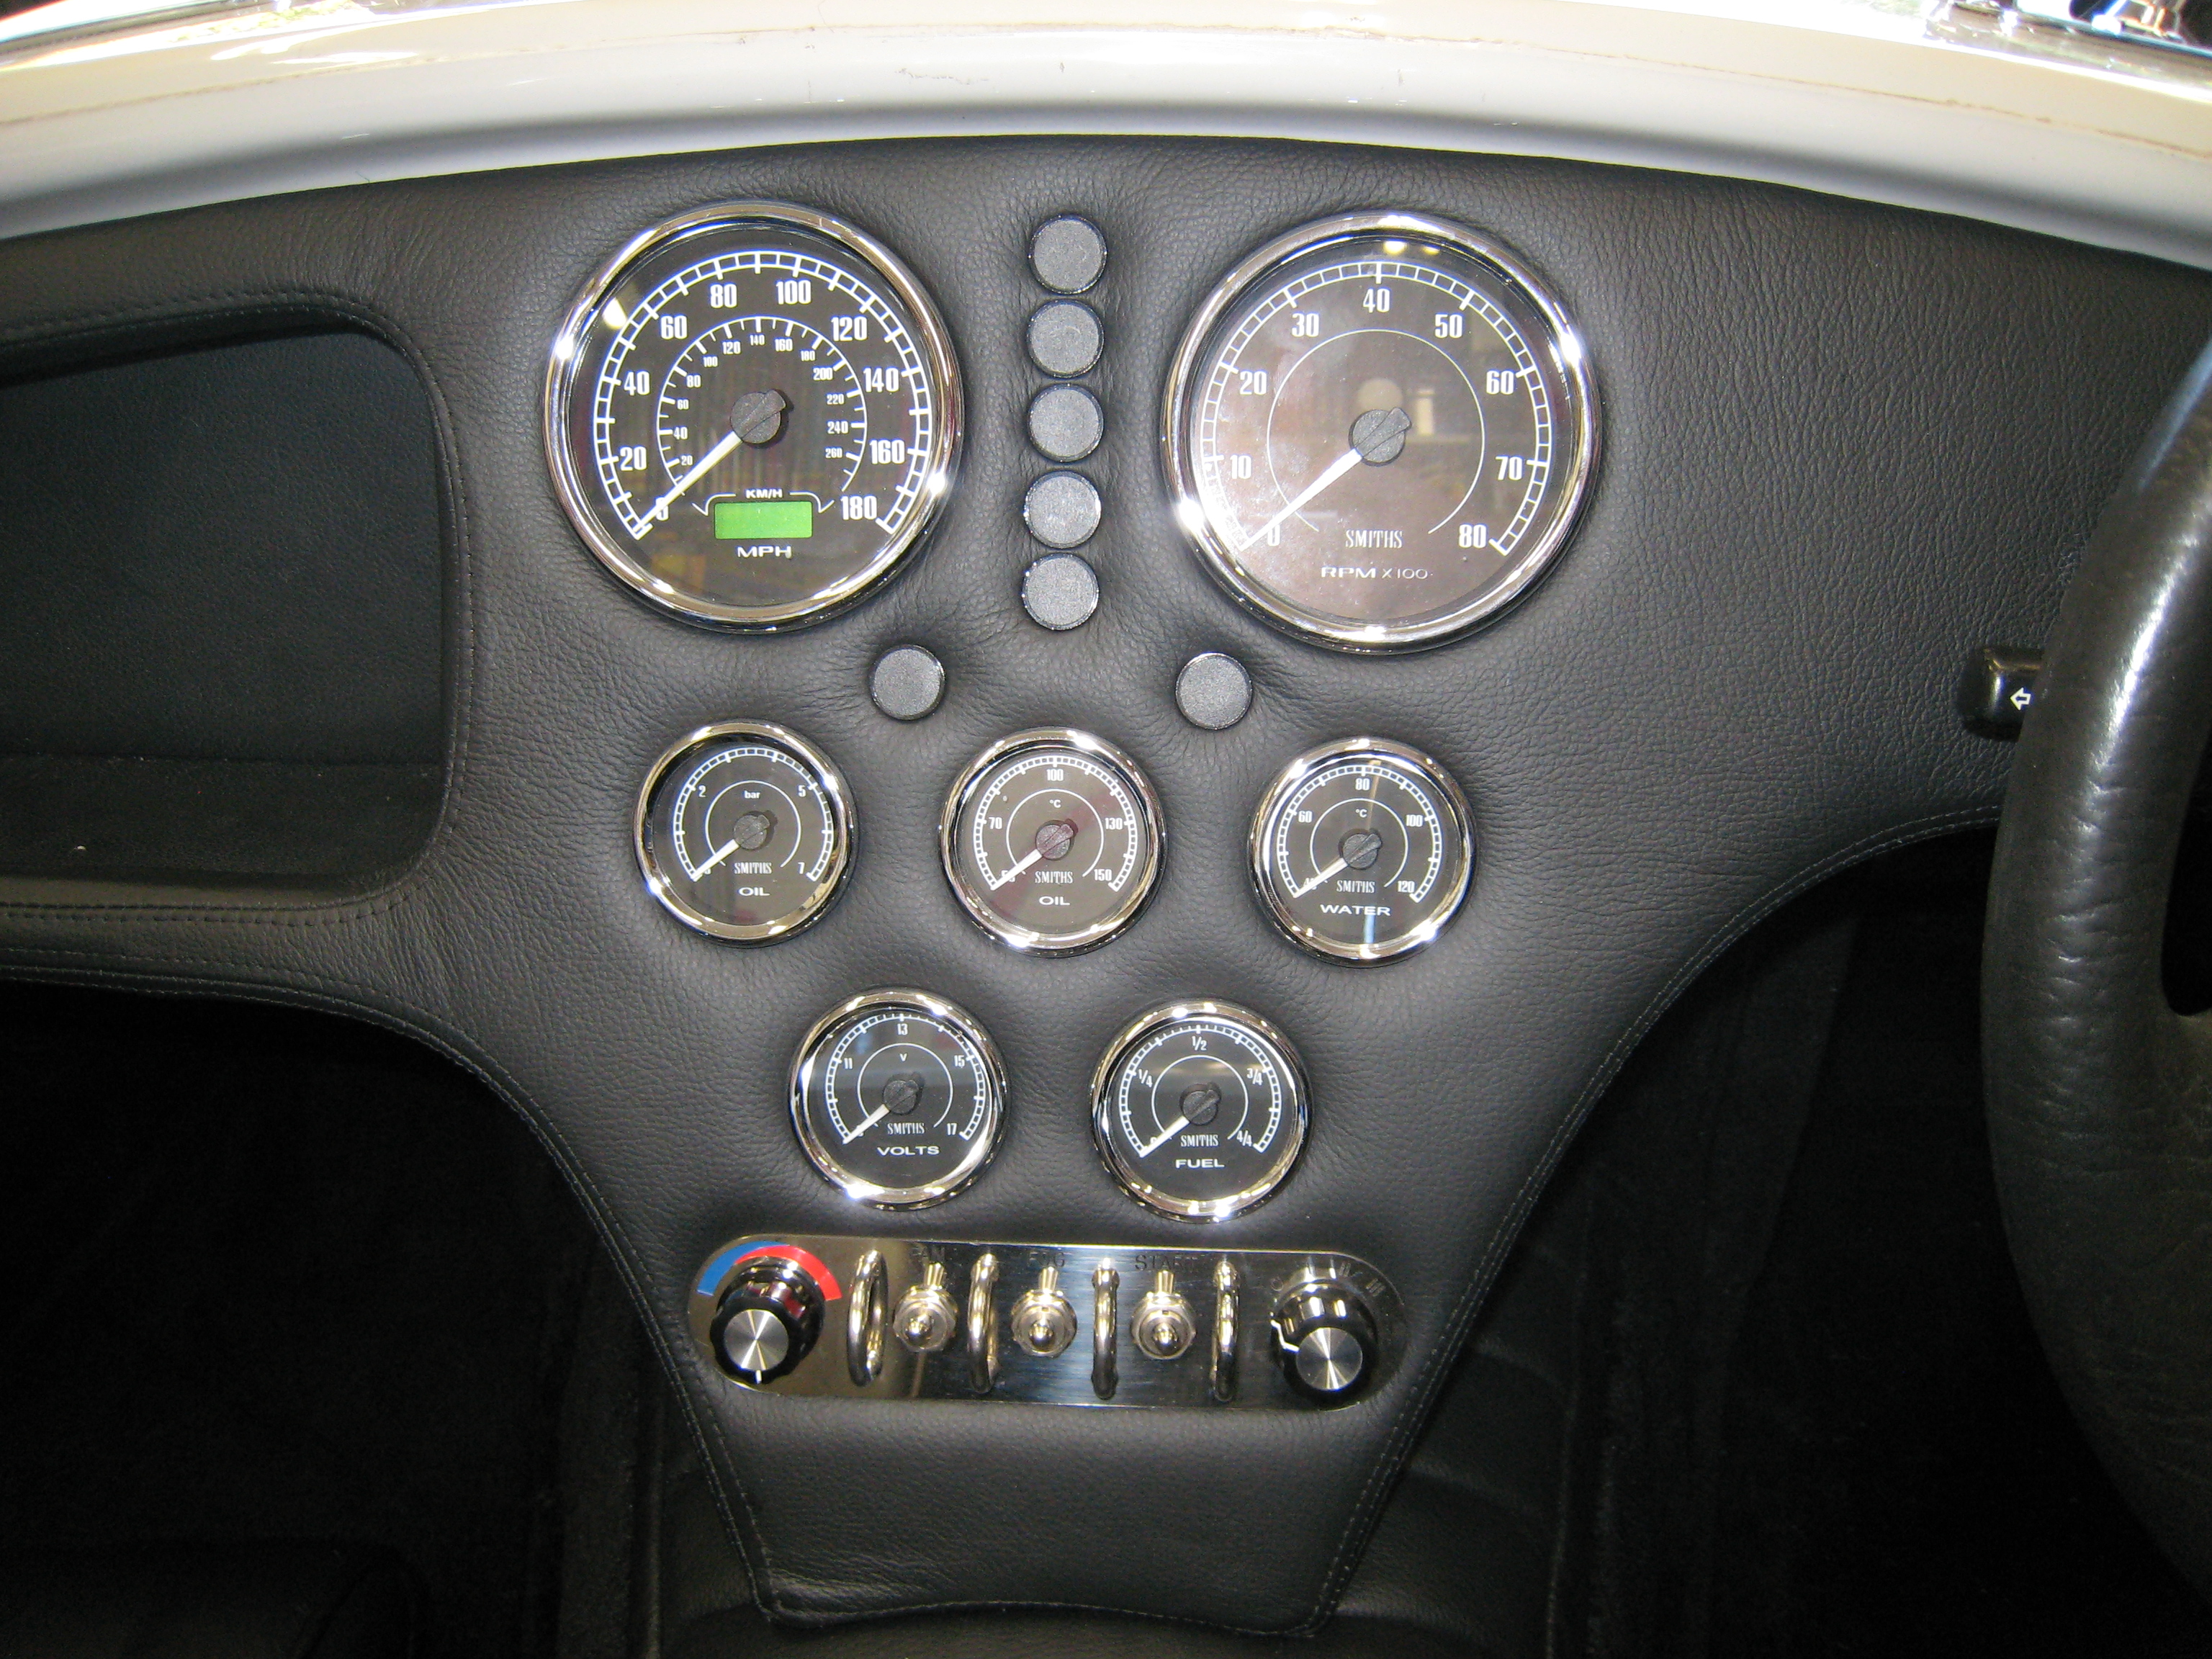
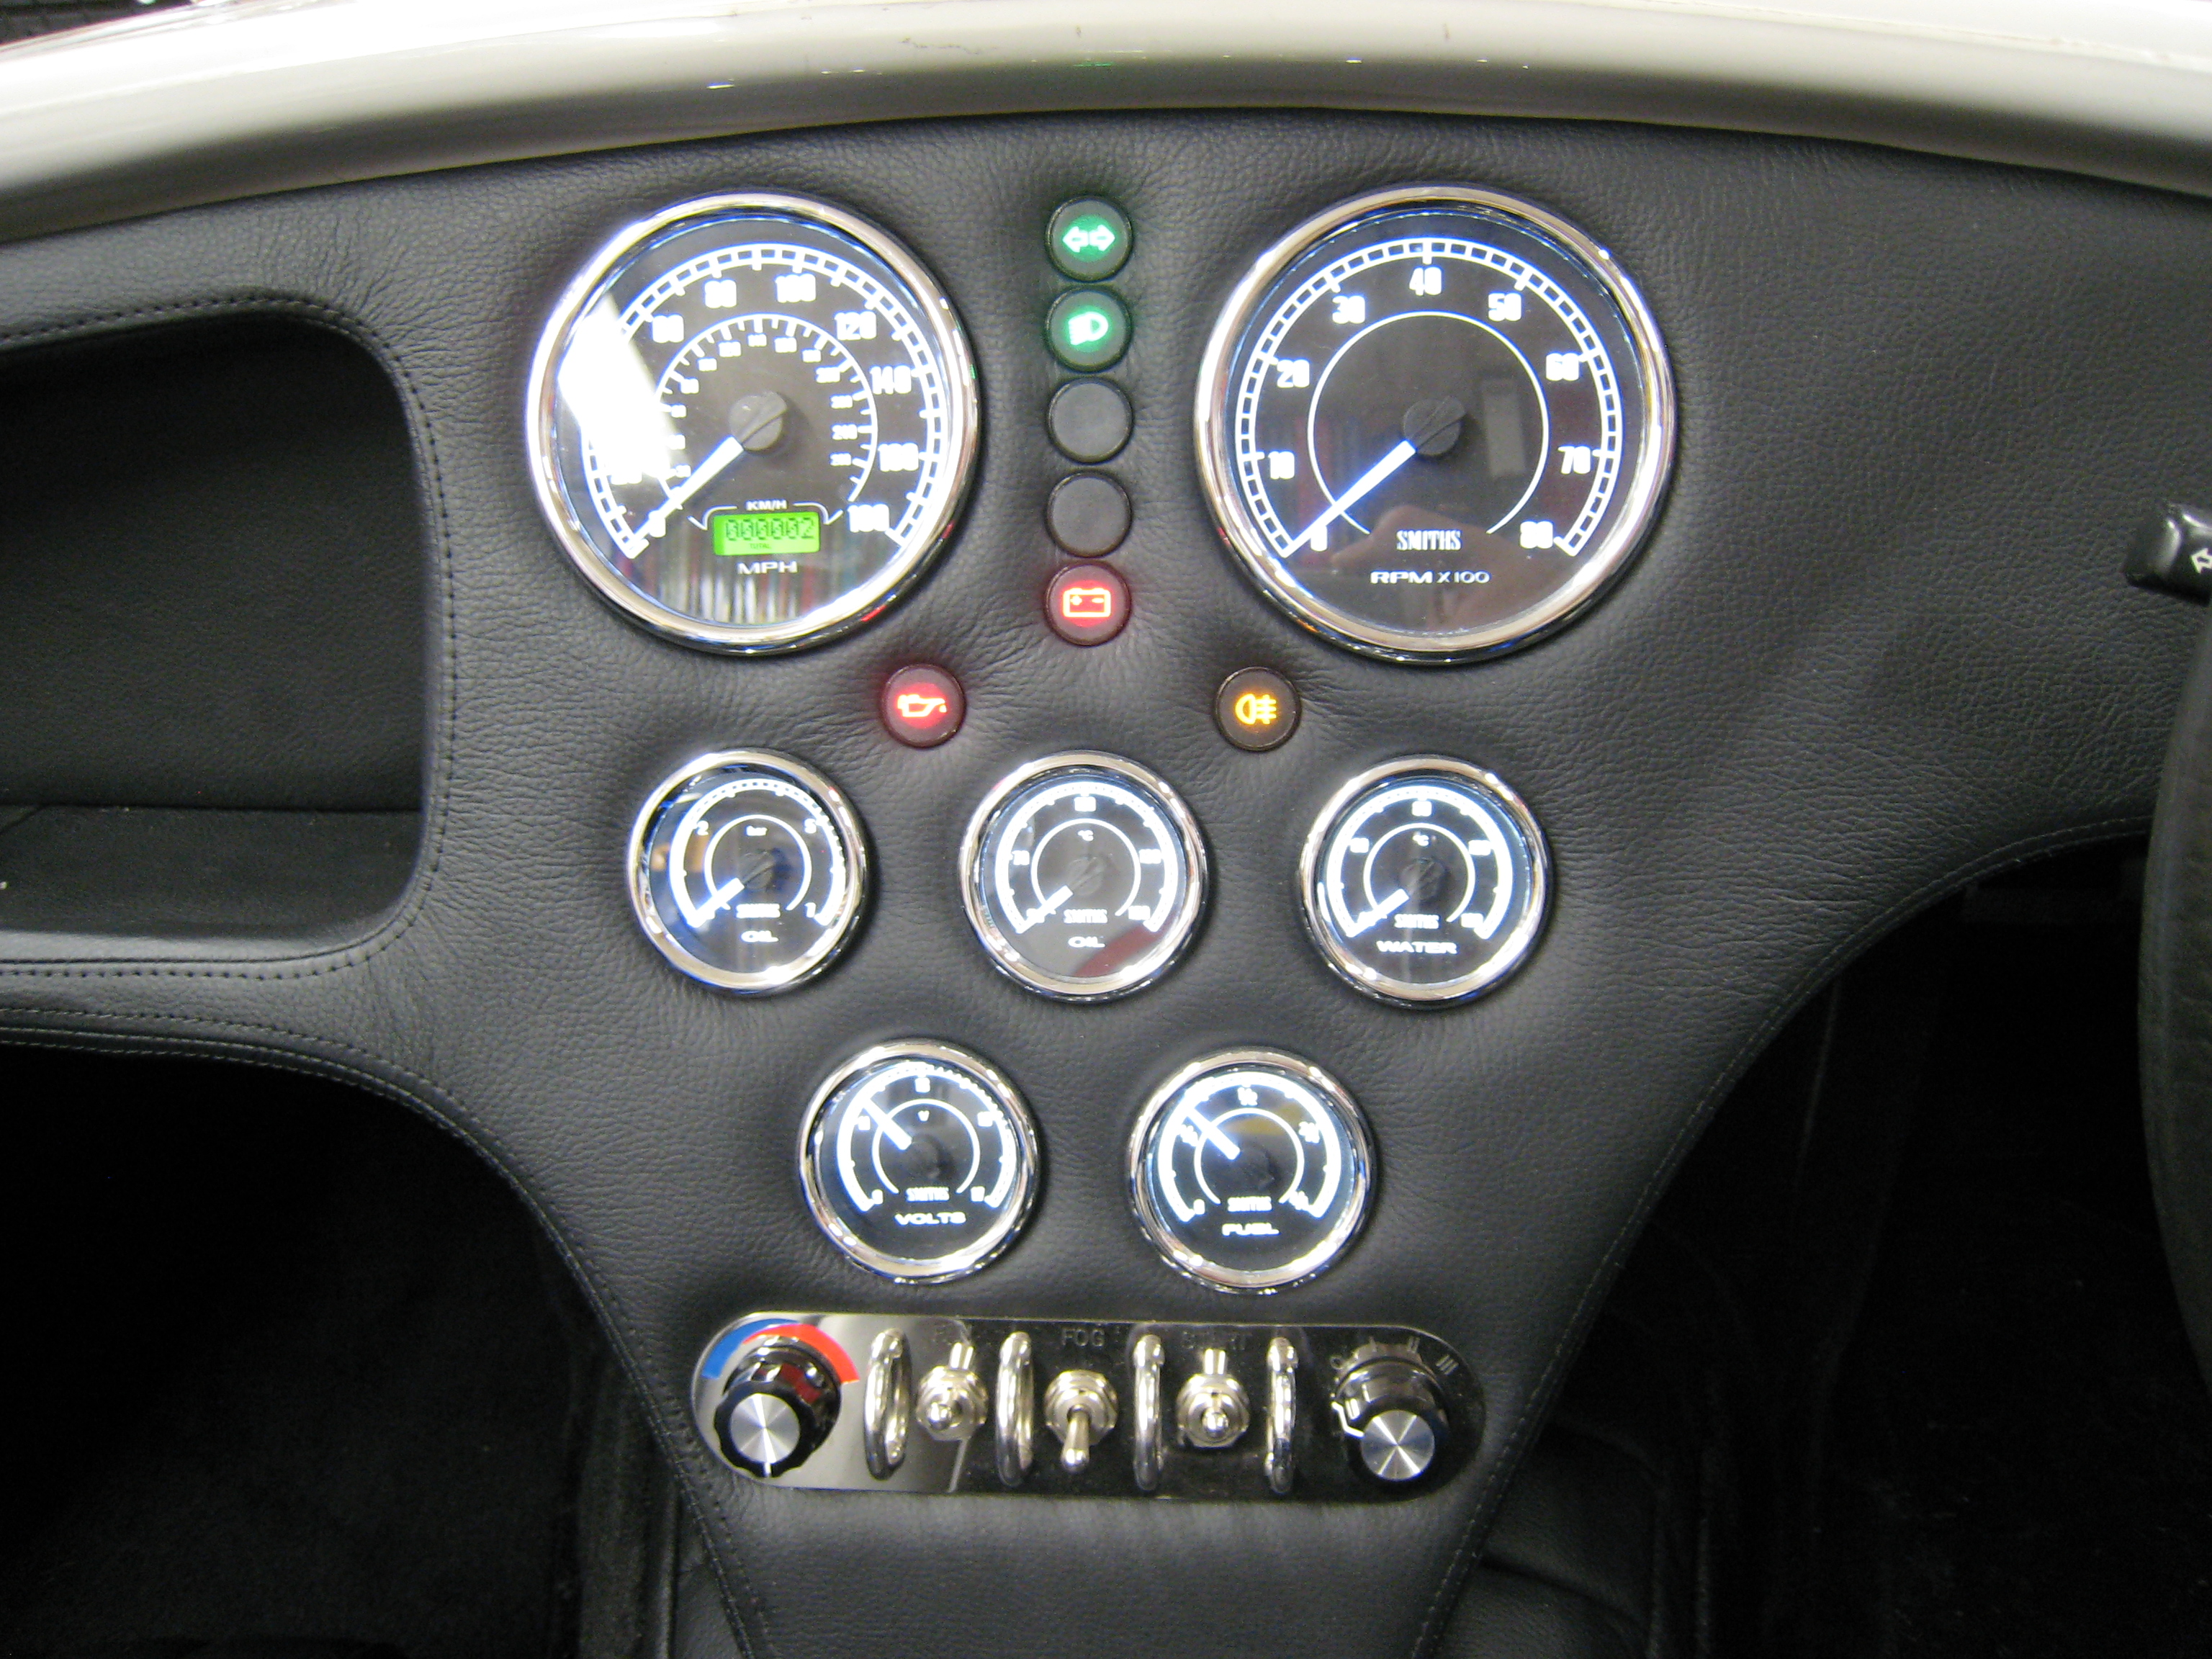
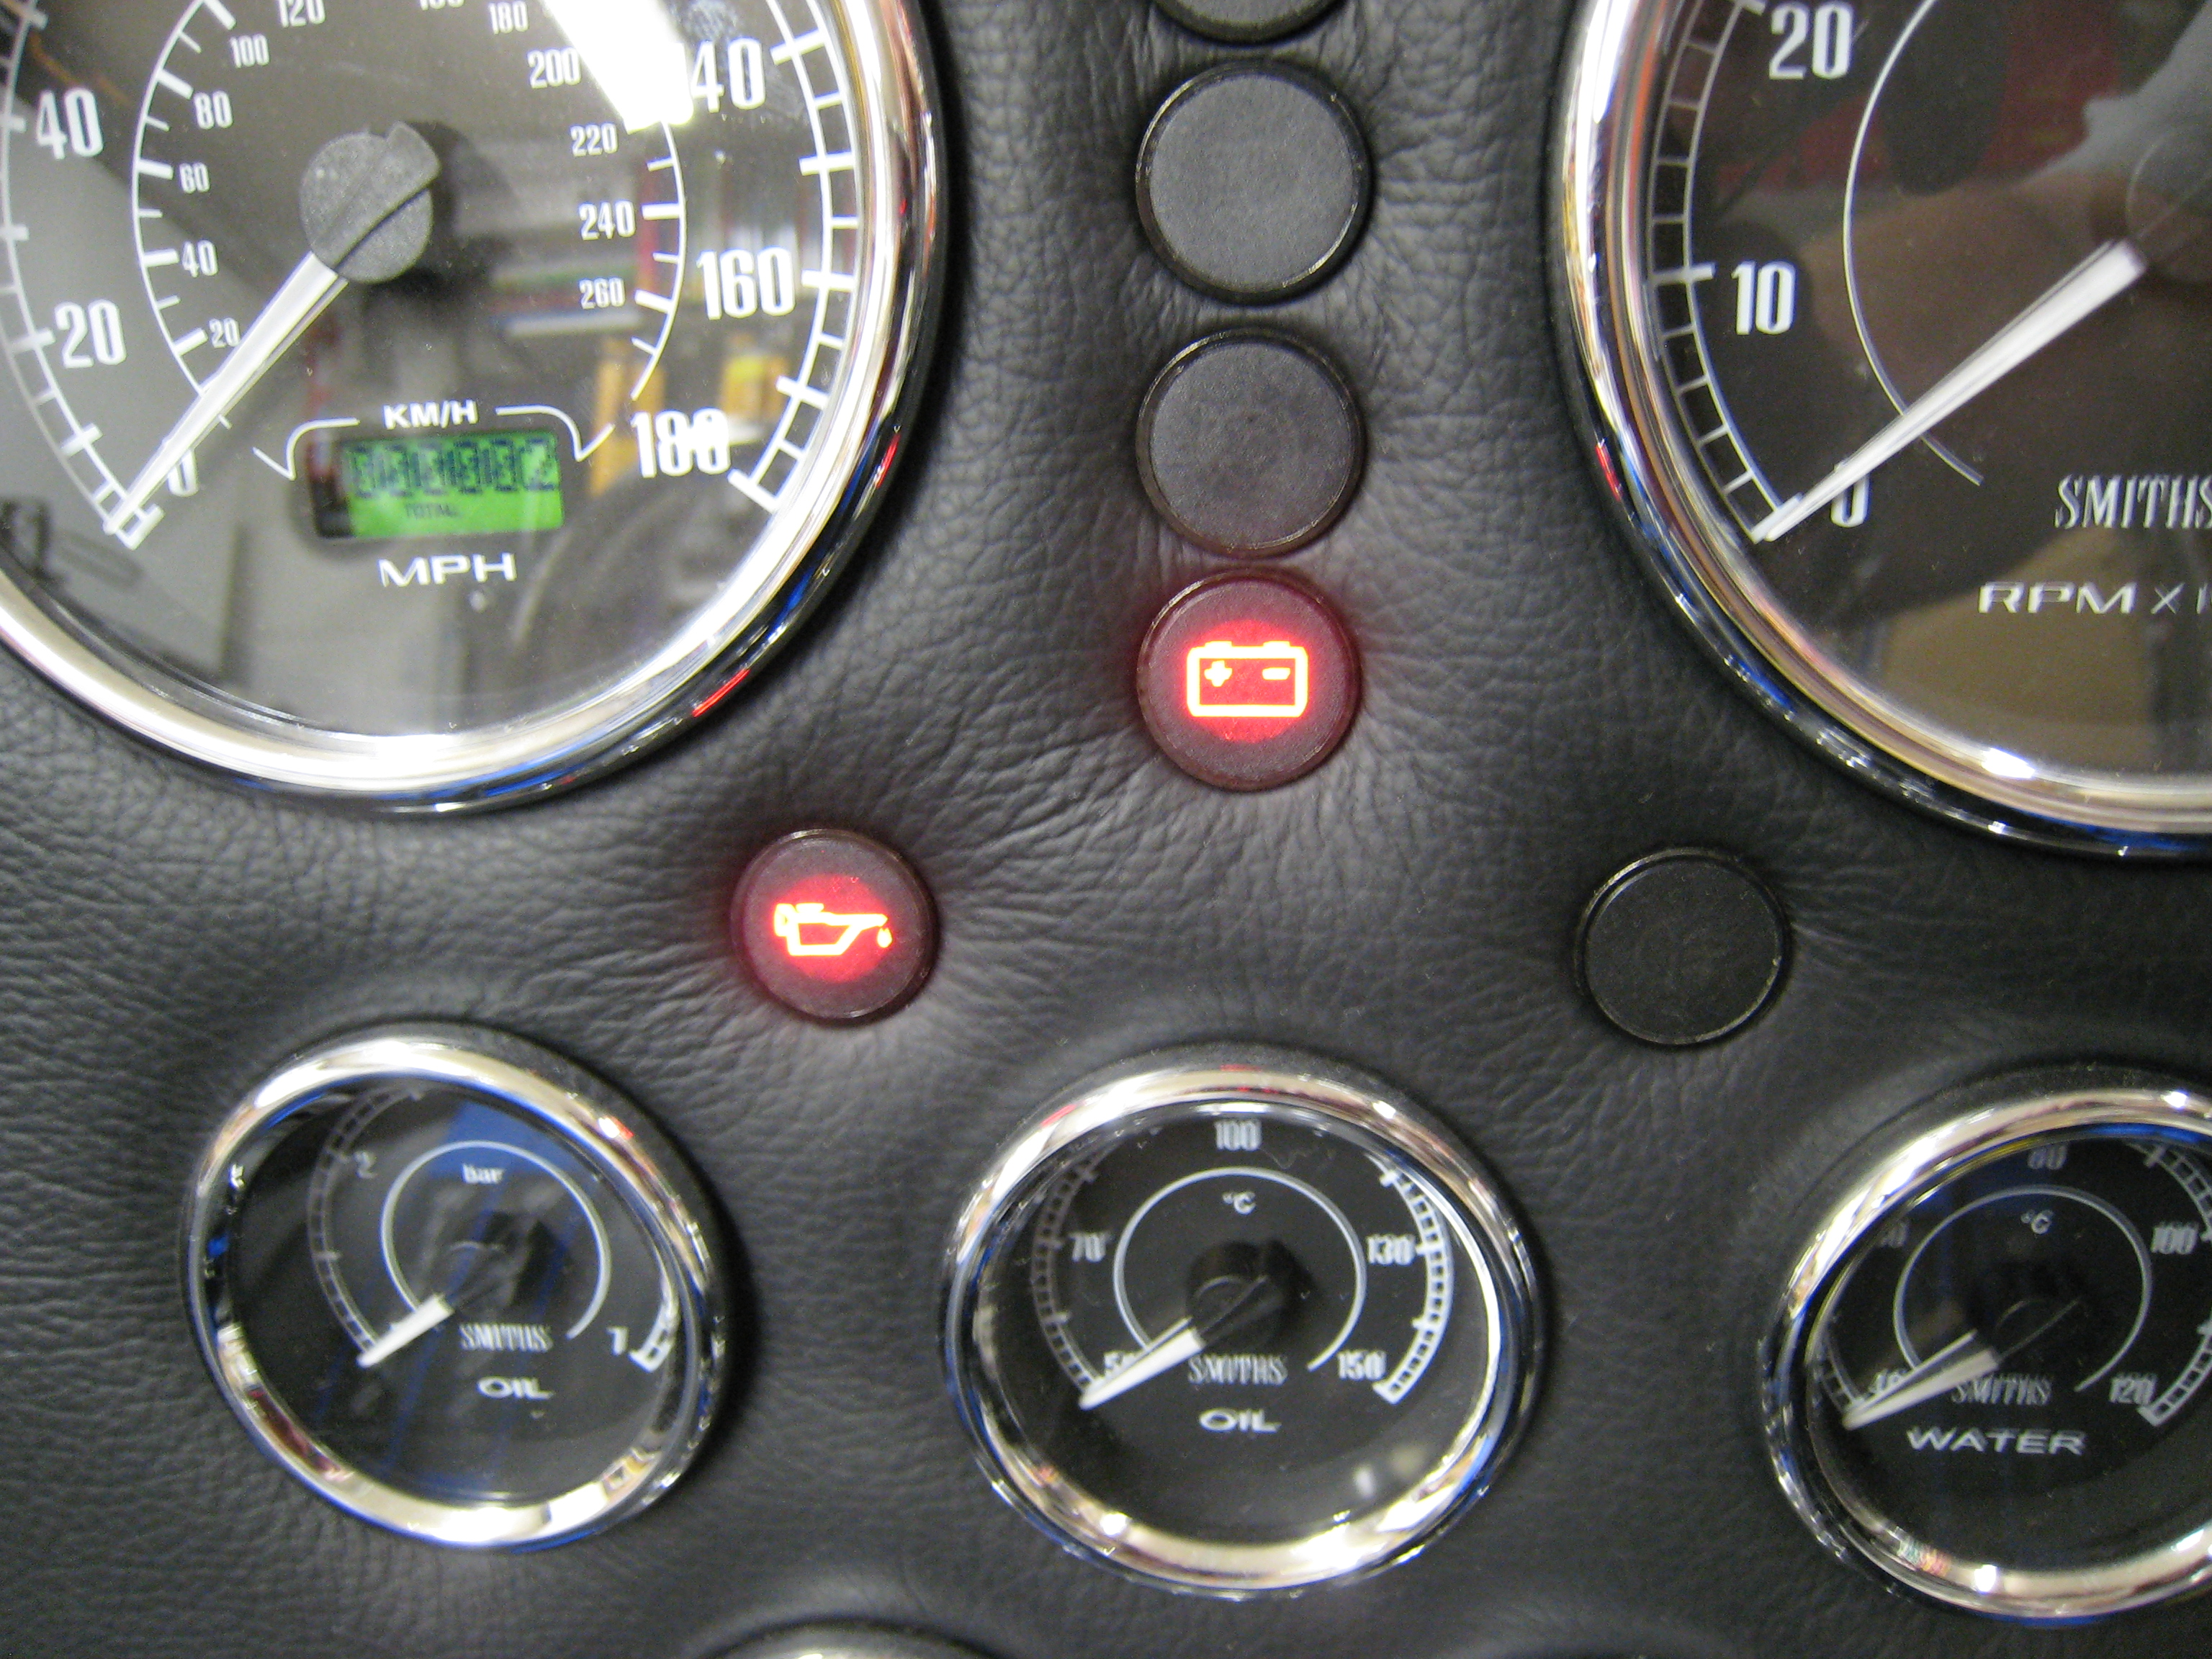
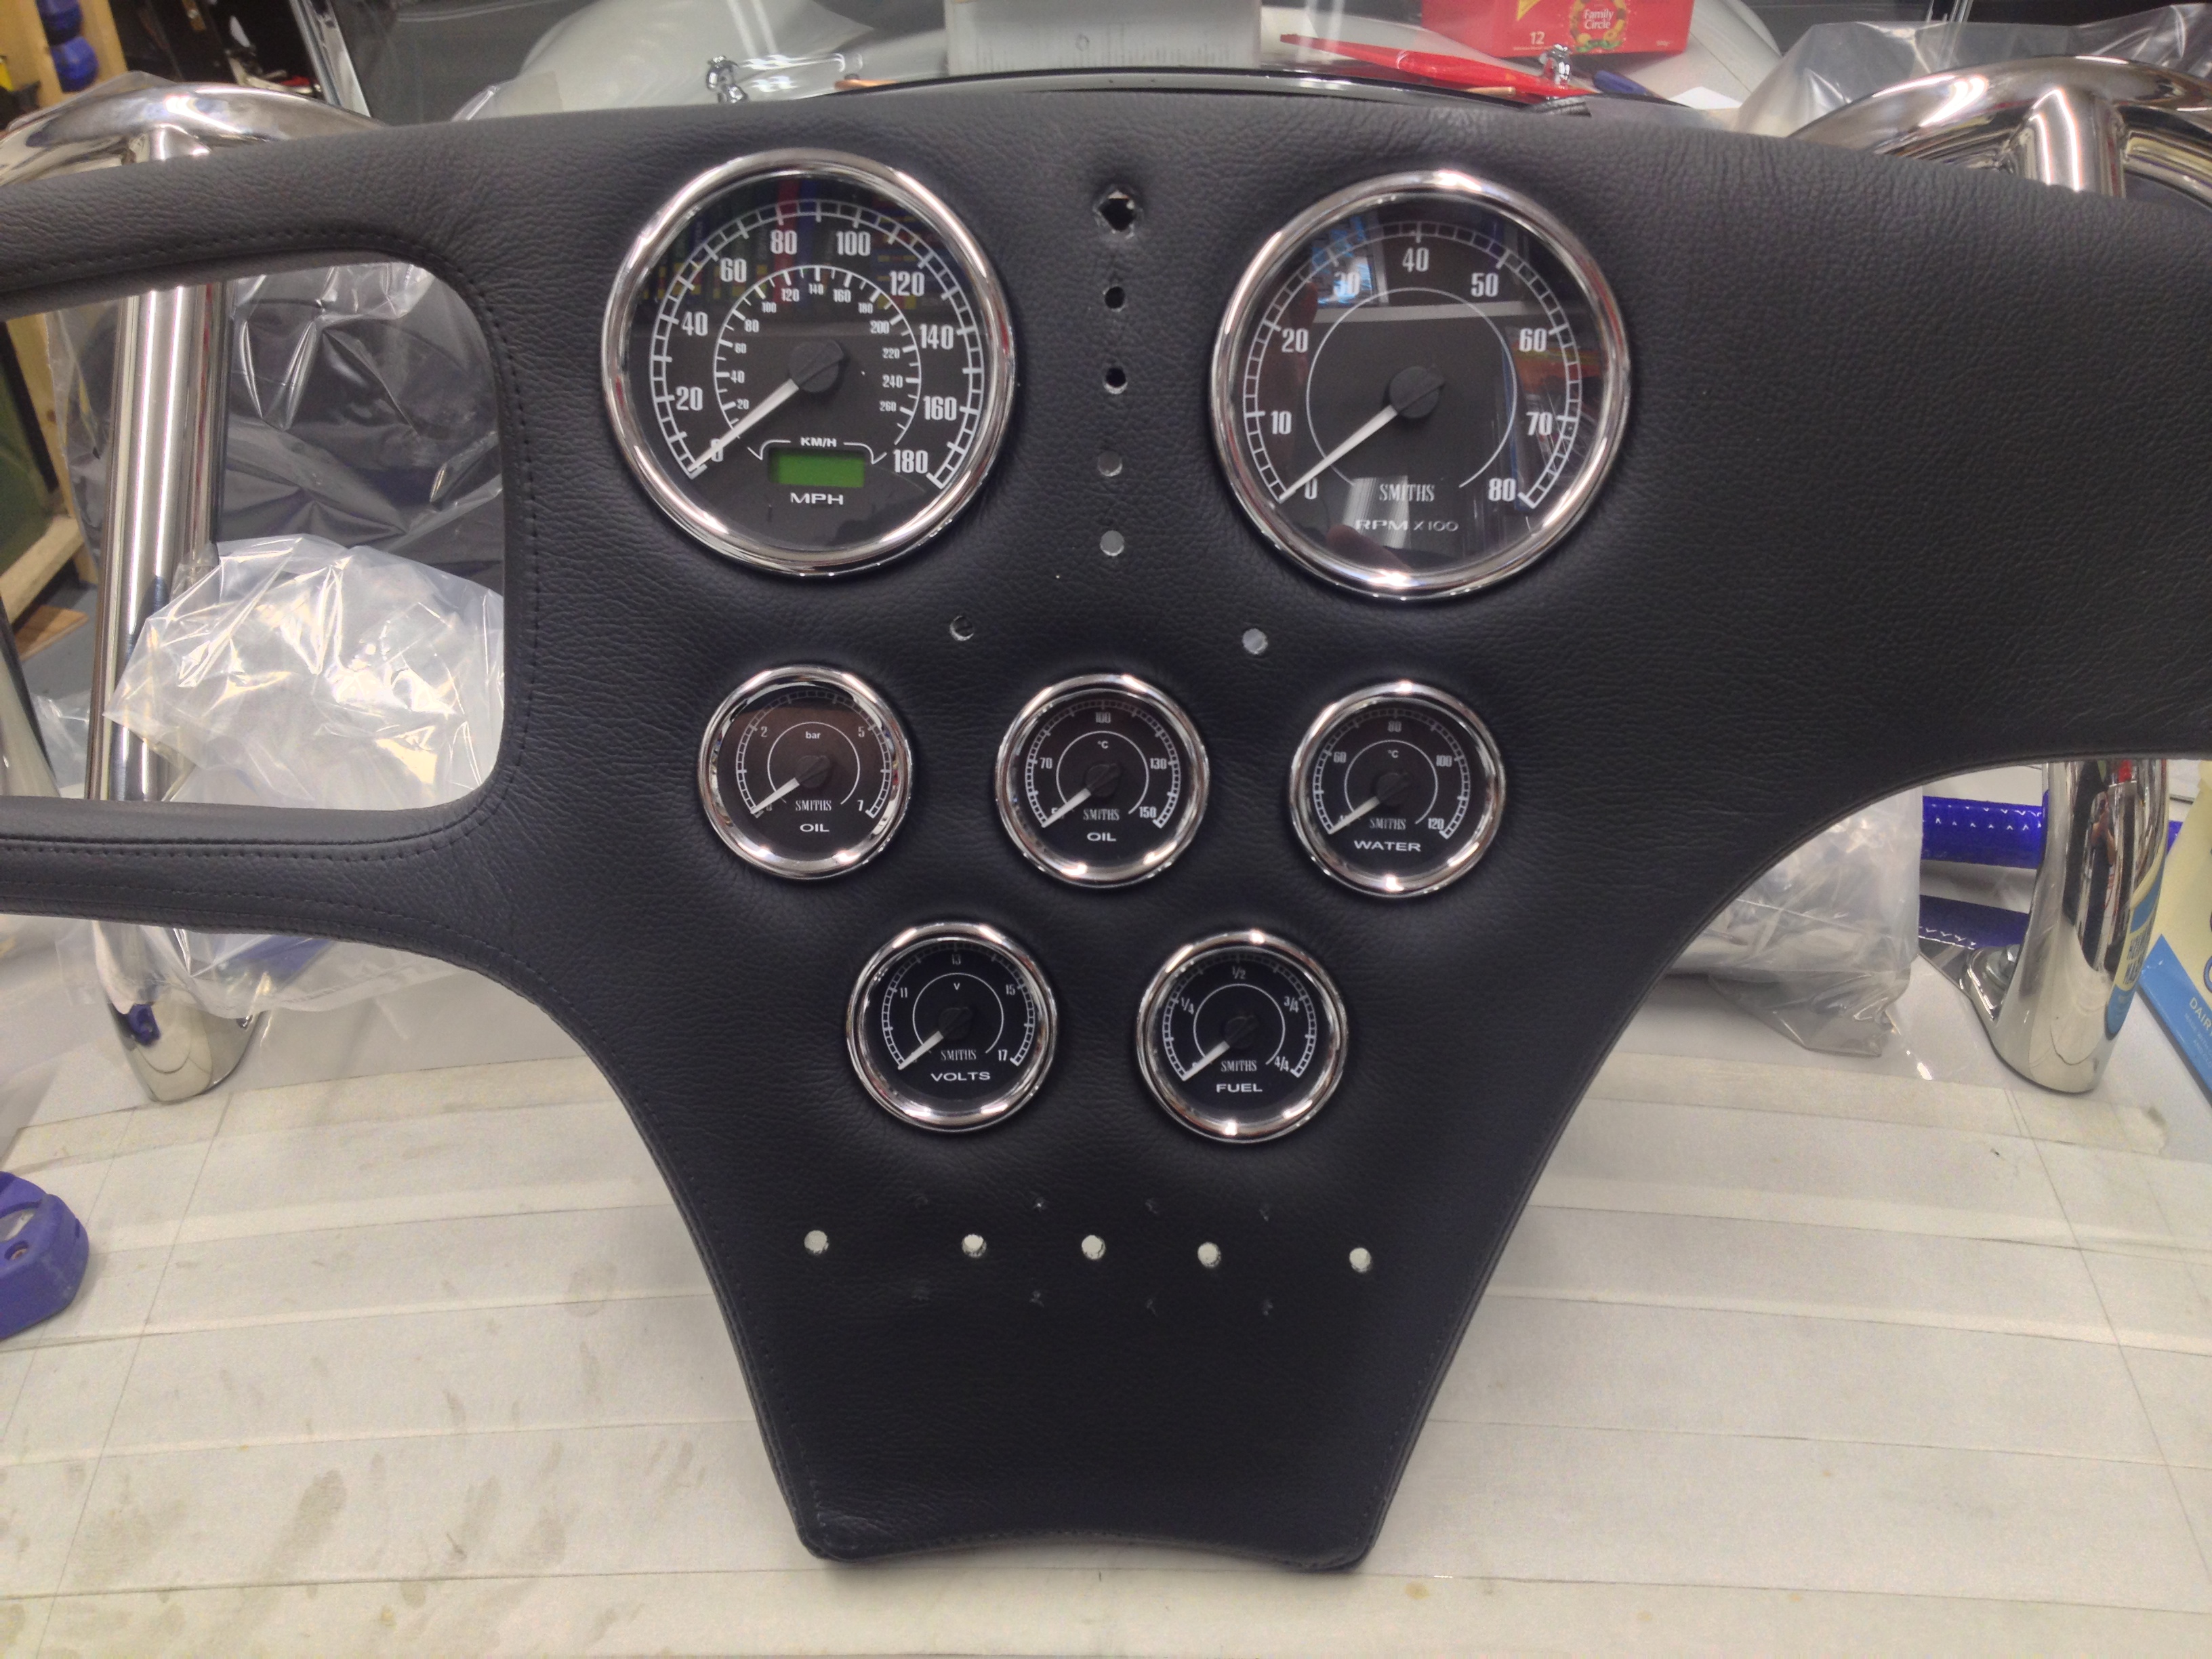
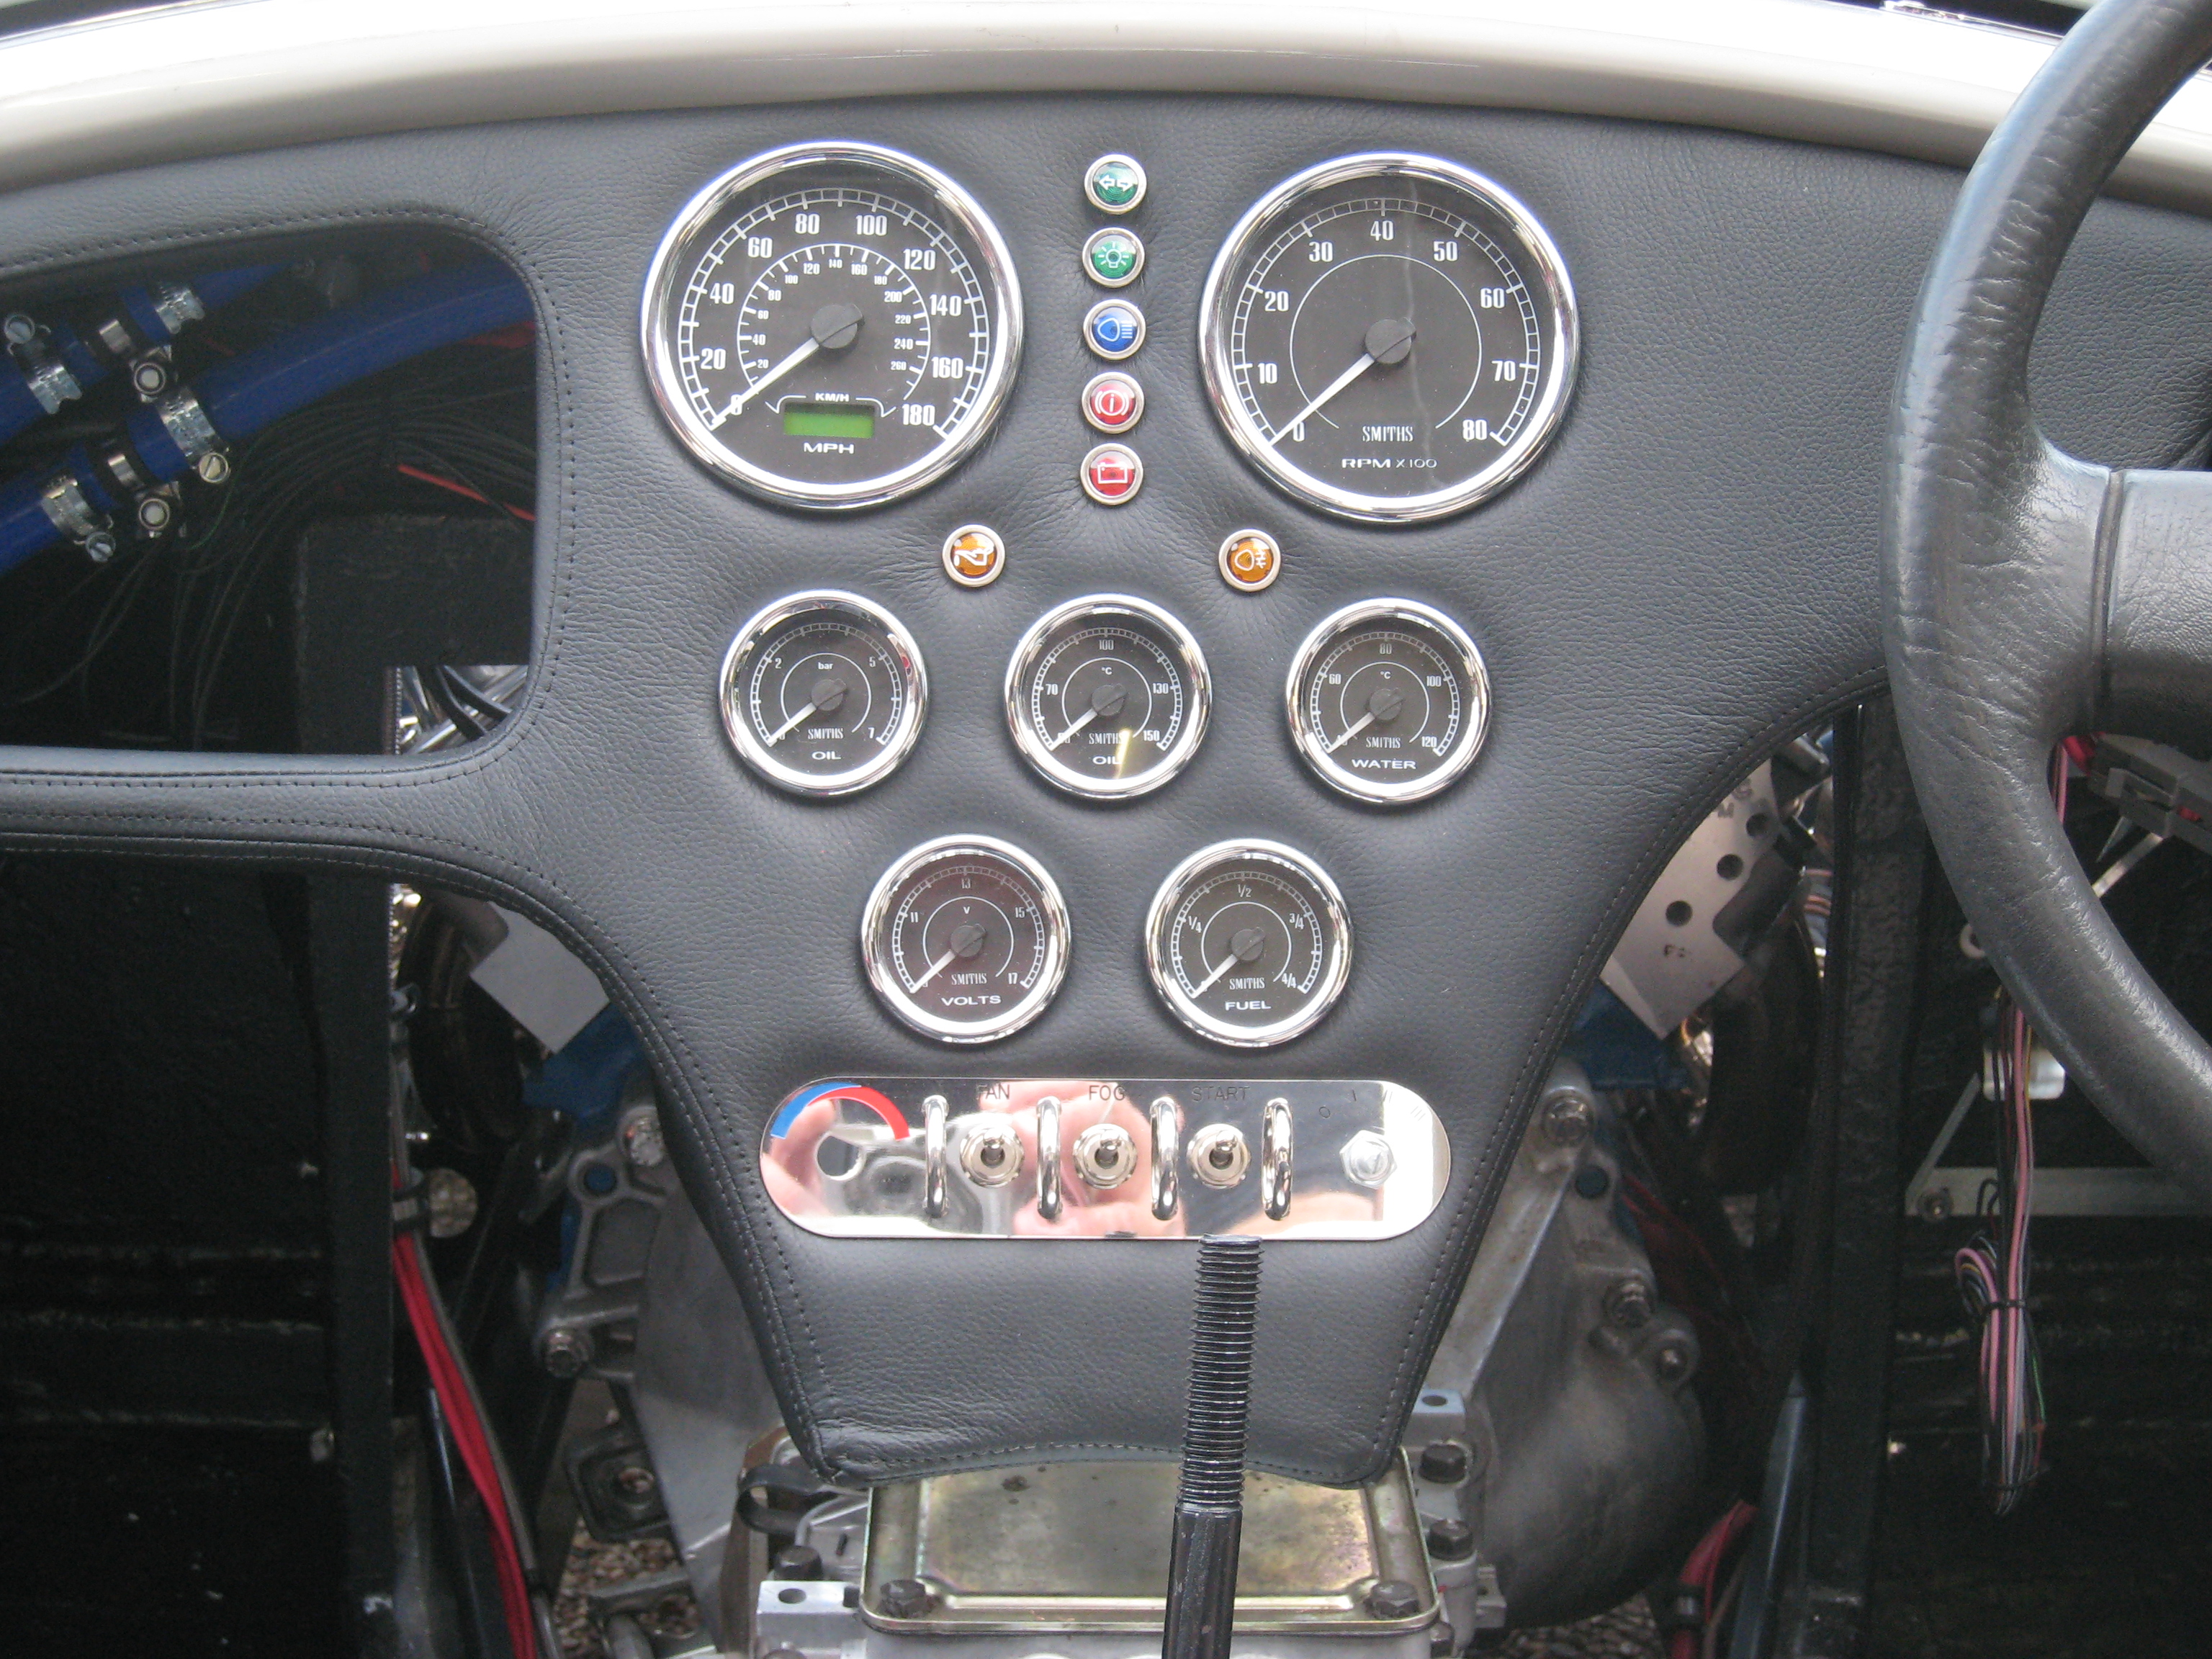
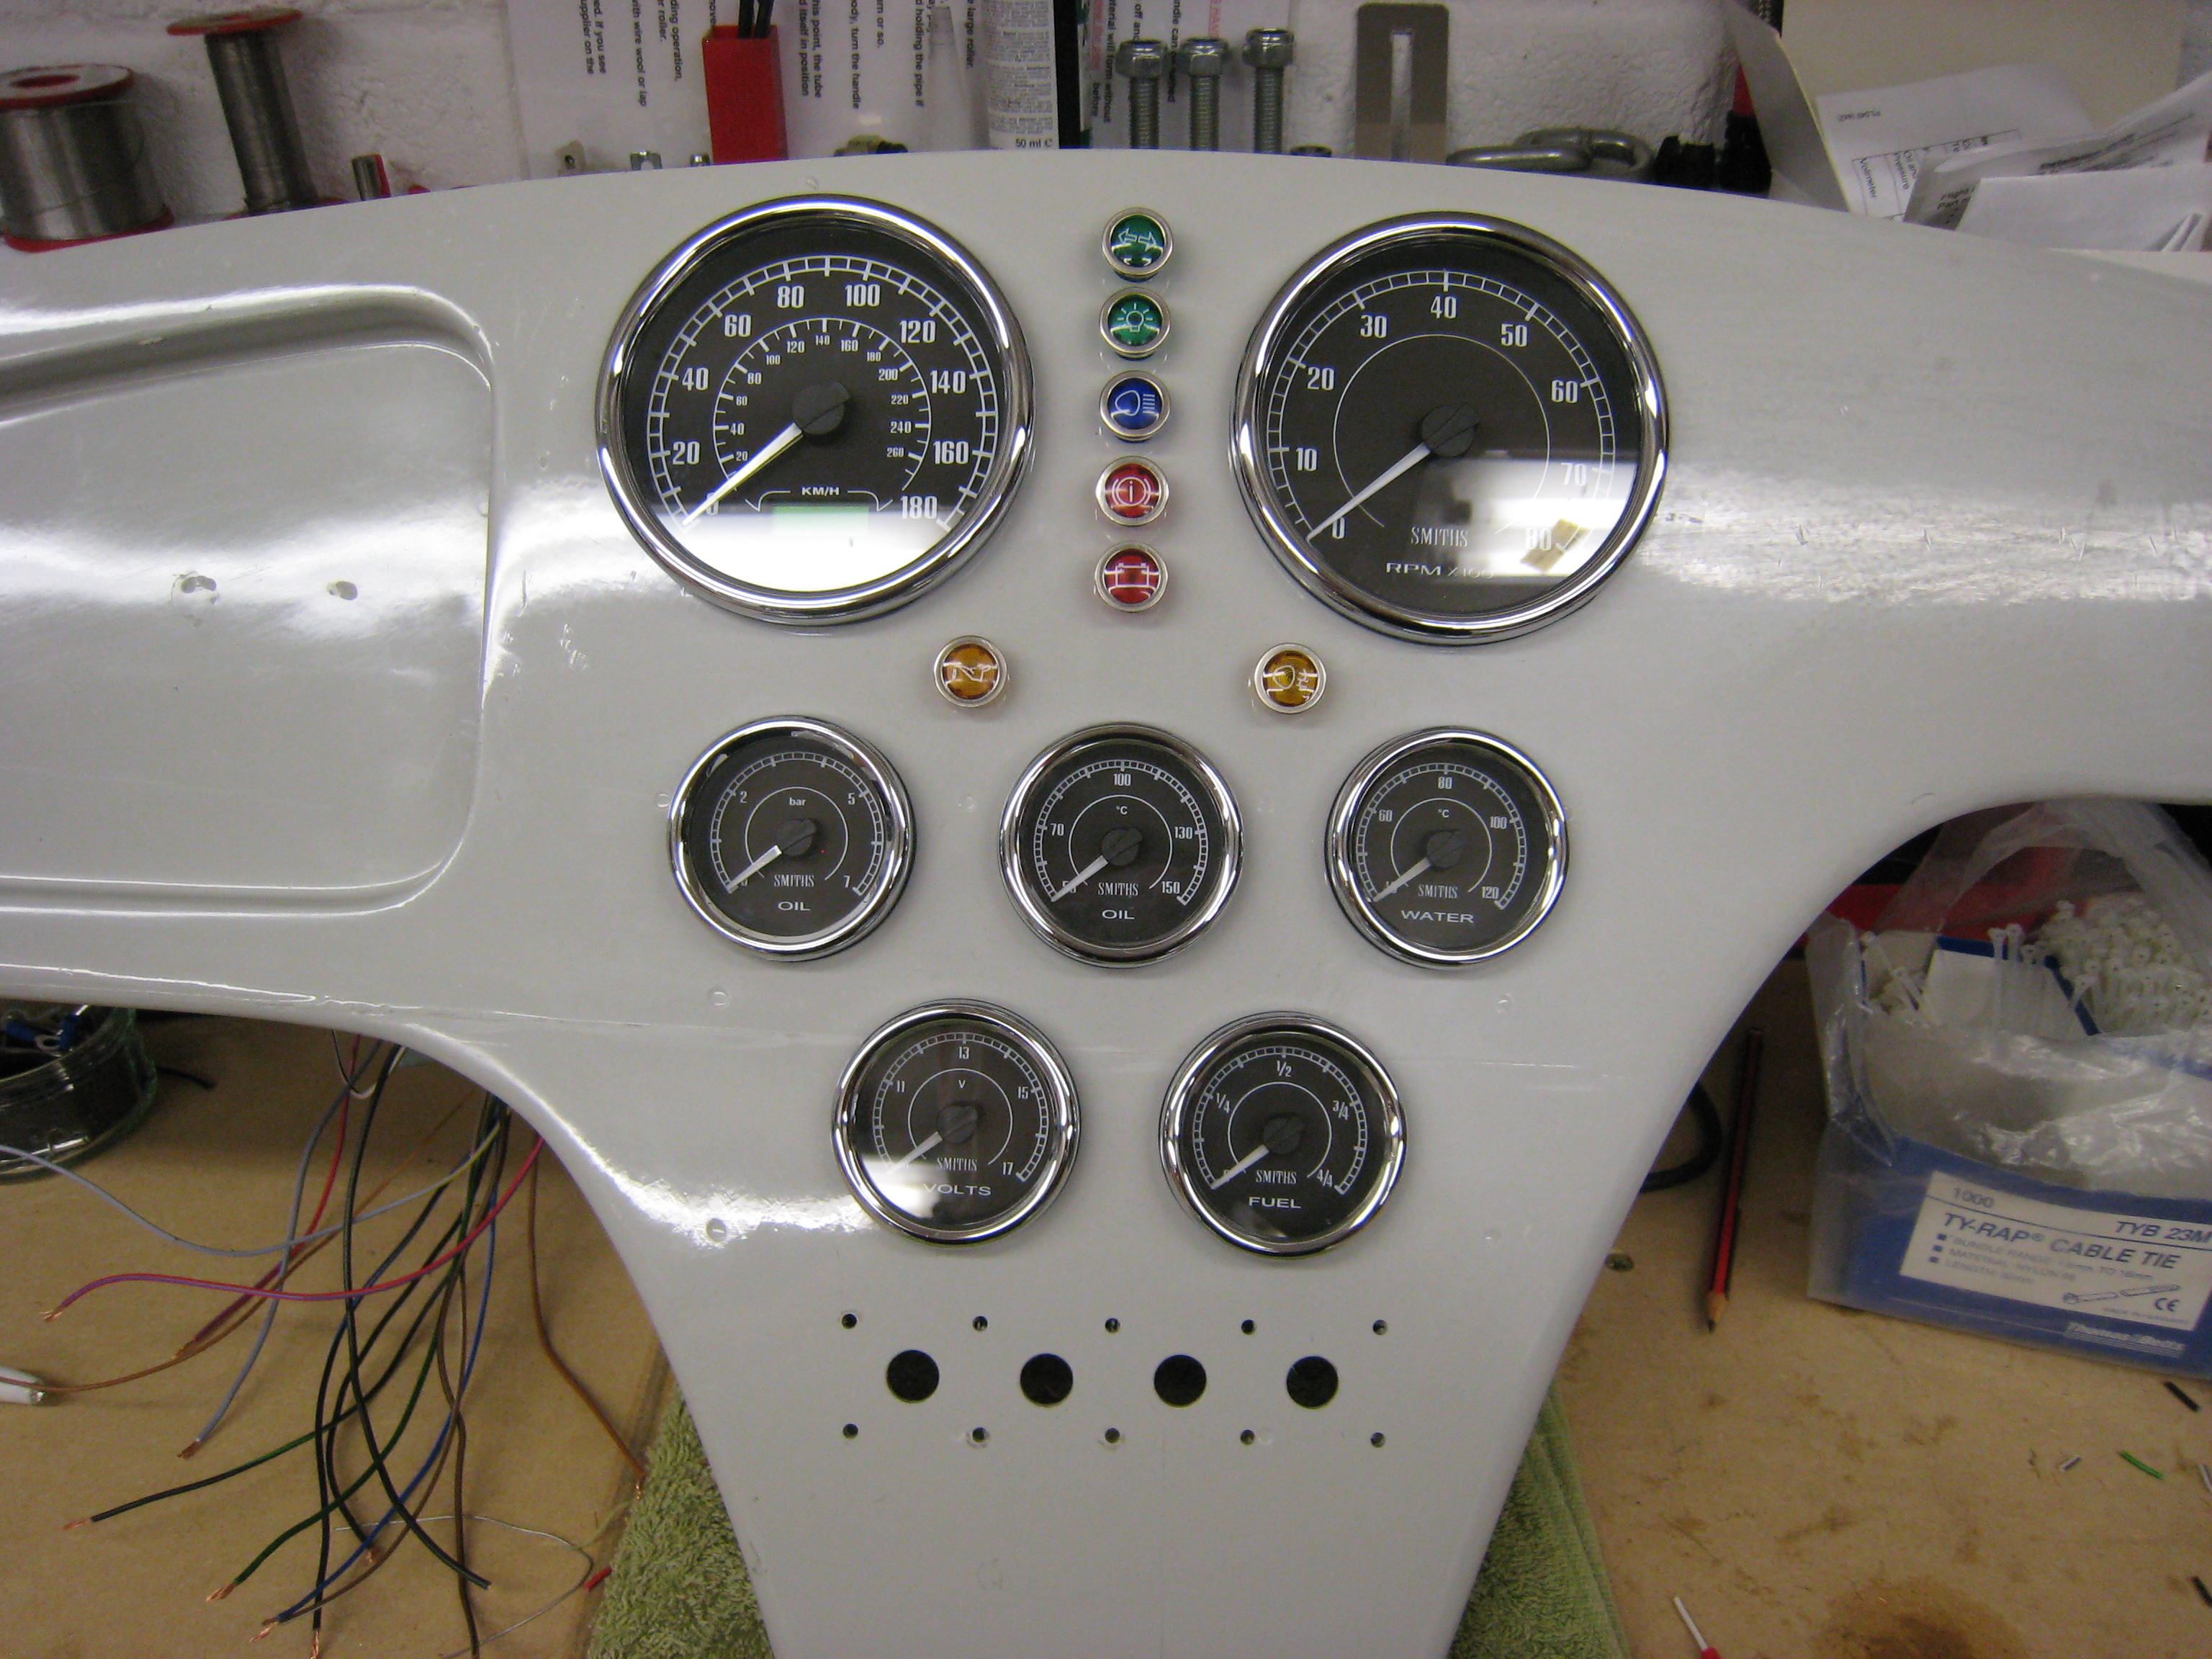
Dash Update
Was never really happy with the original look of the dash, the gauges are fine but I felt the lamps let it down, then I had an email from
Car Builder Solutions
showing some new very cool LED type lamps. So I bought a set and fitted them, fairly straight forward apart from the indicator on the Sierra use the DC voltage in
either orientation depending on which side is switched, not a problem with a bulb but no good for LED. A quick trip to Maplin had me in possession of a small bridge
rectifier which worked a treat. I think the finished look is much better. Note the knobs on the heater/fan are for IVA compliance
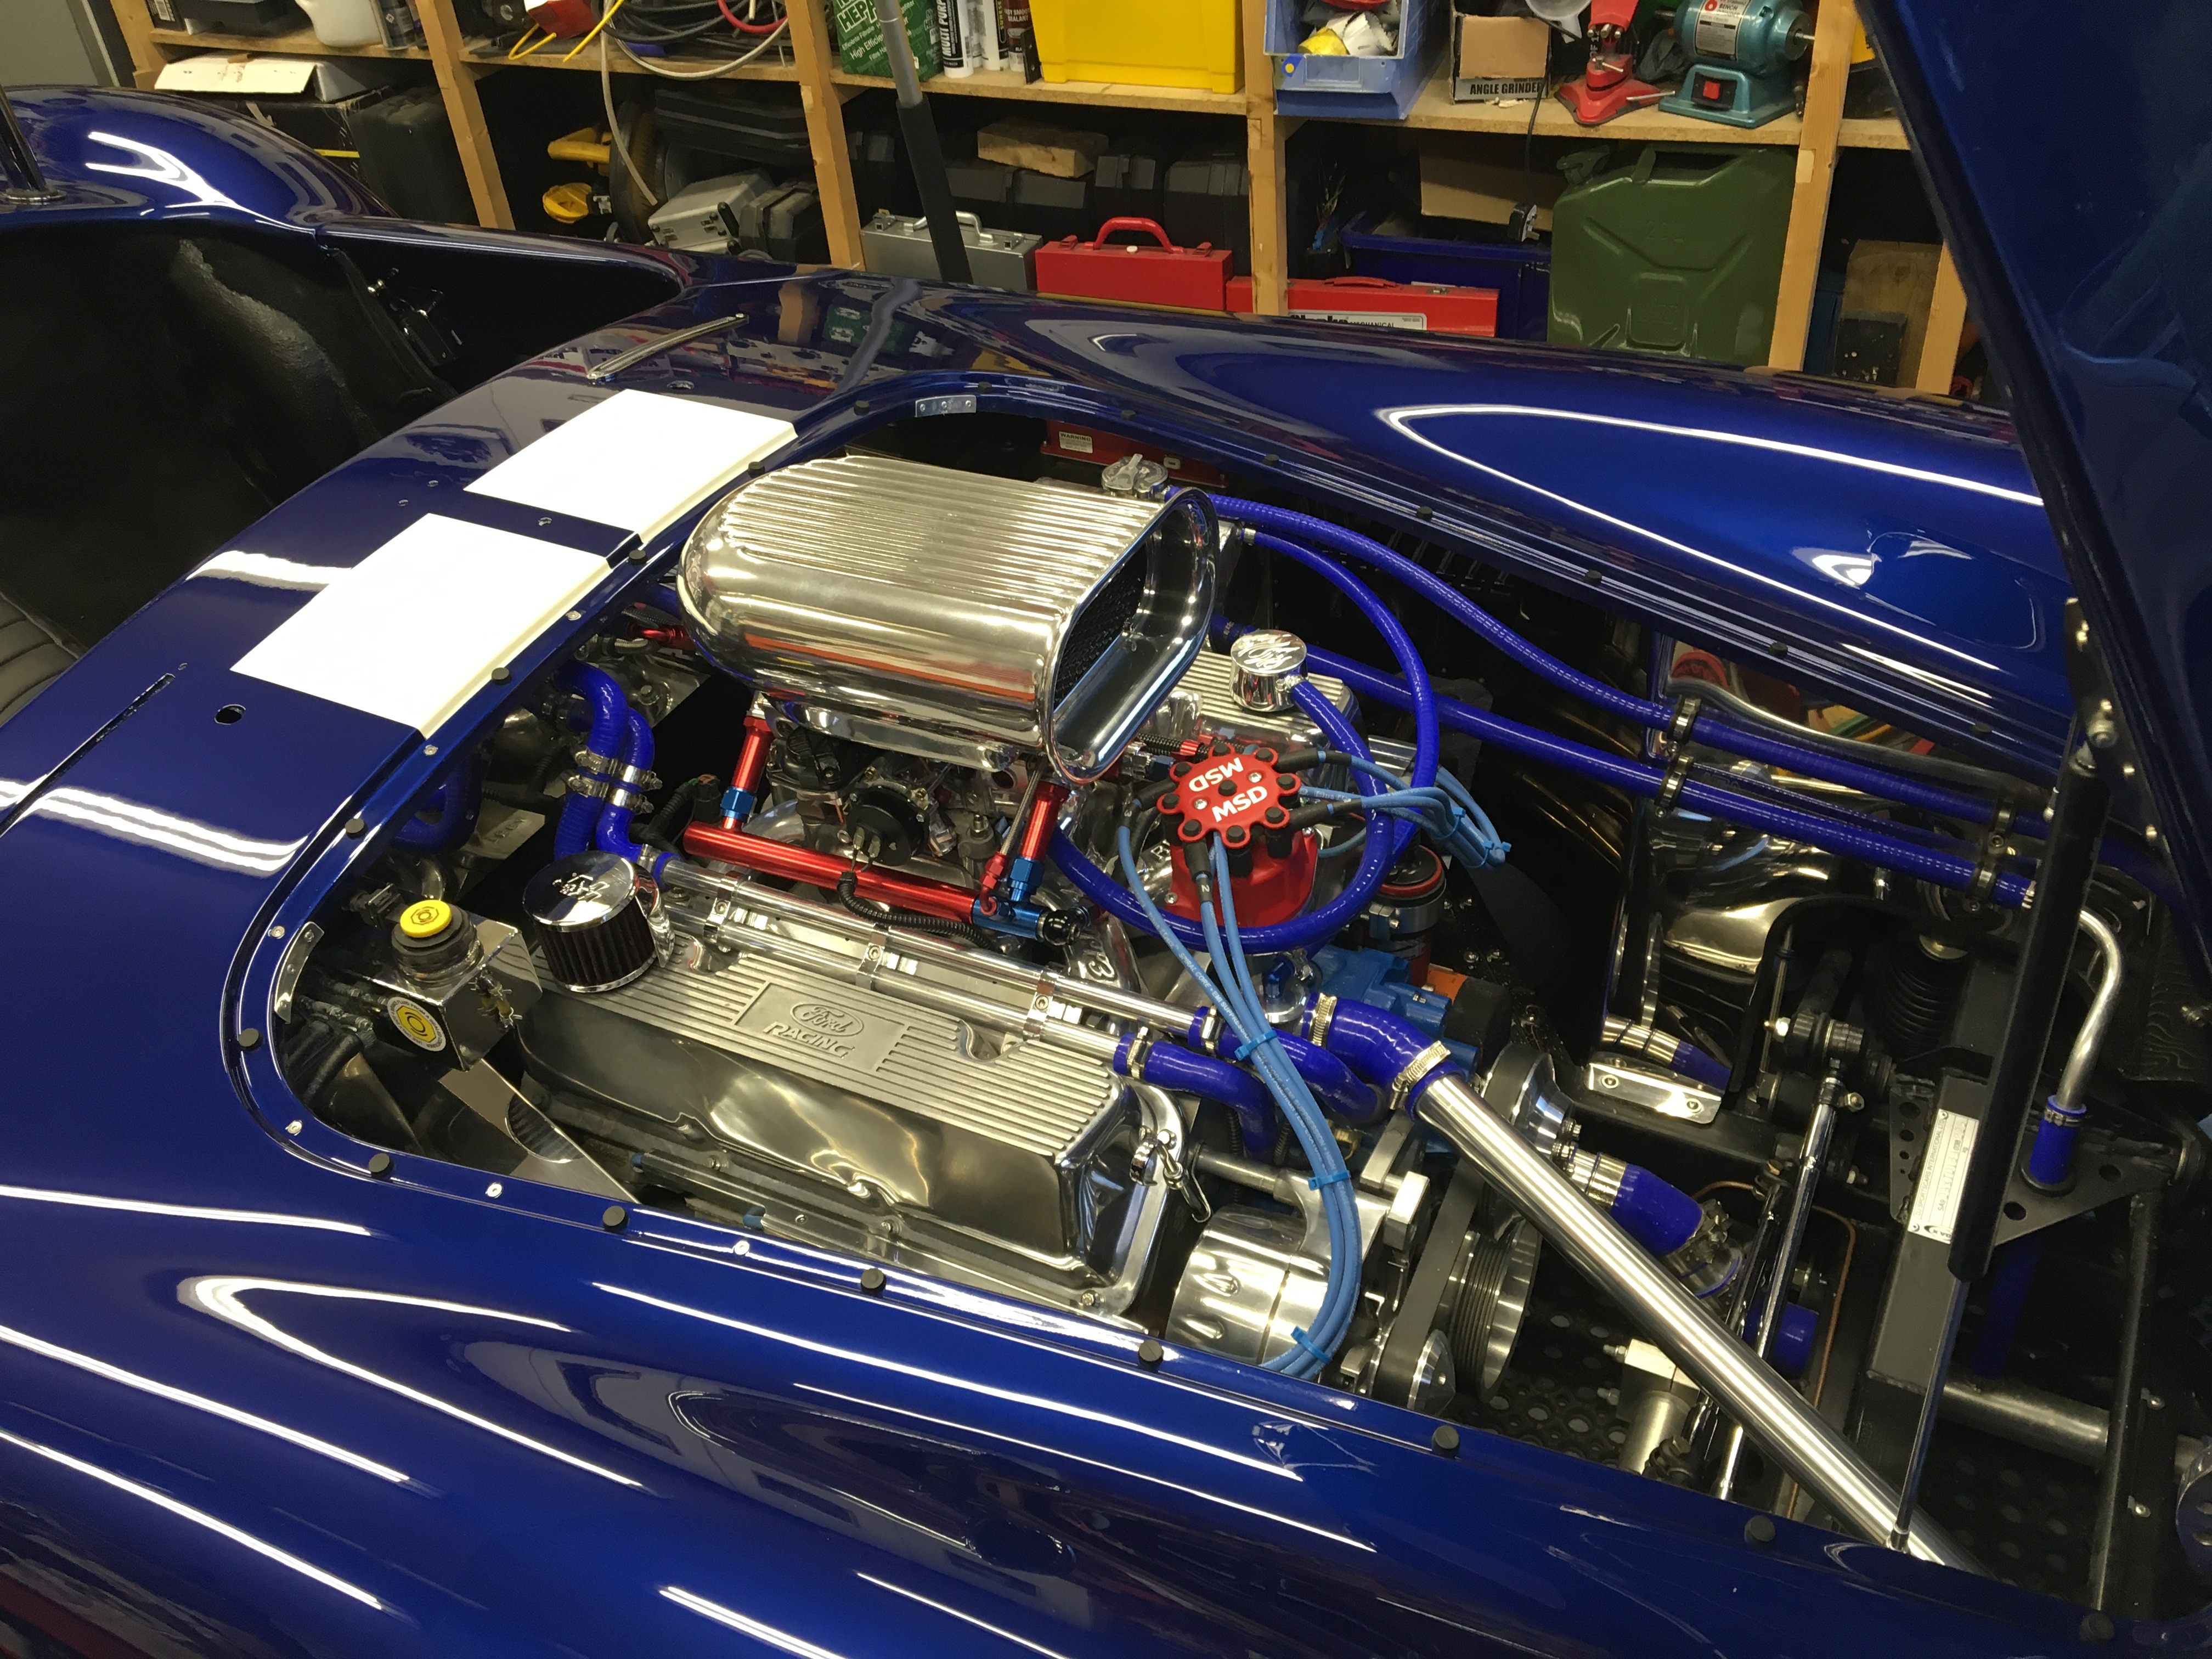
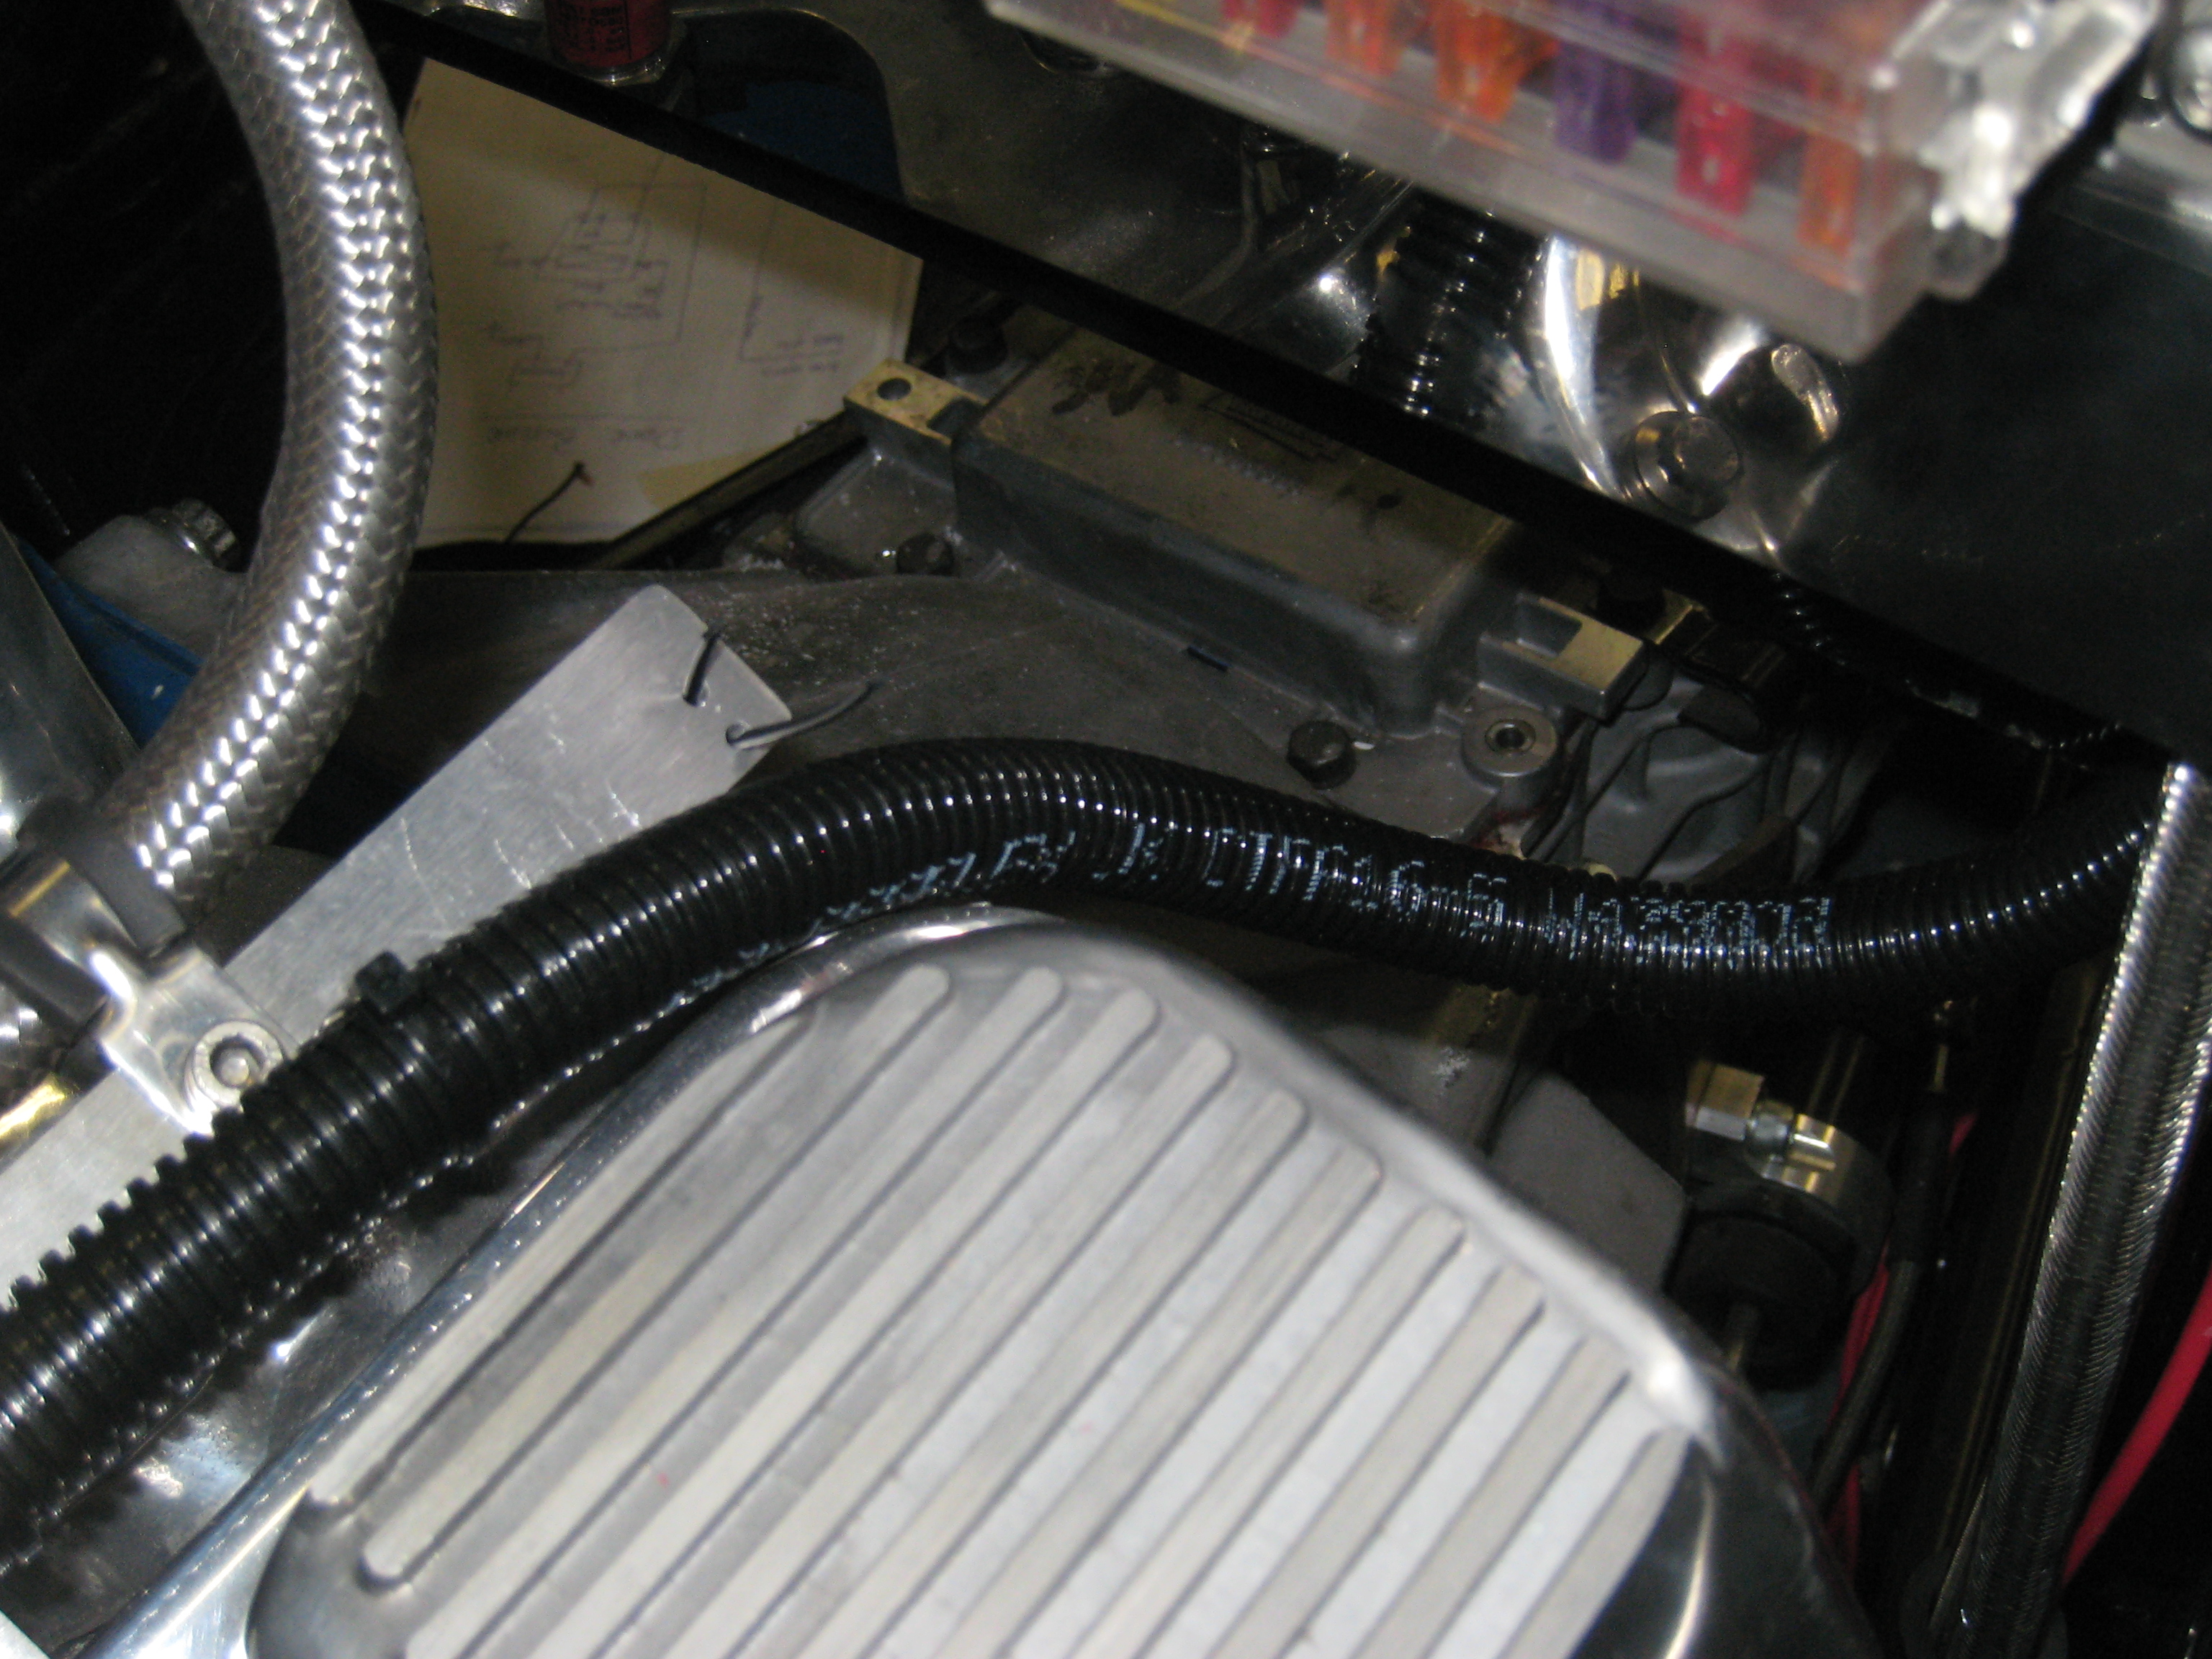
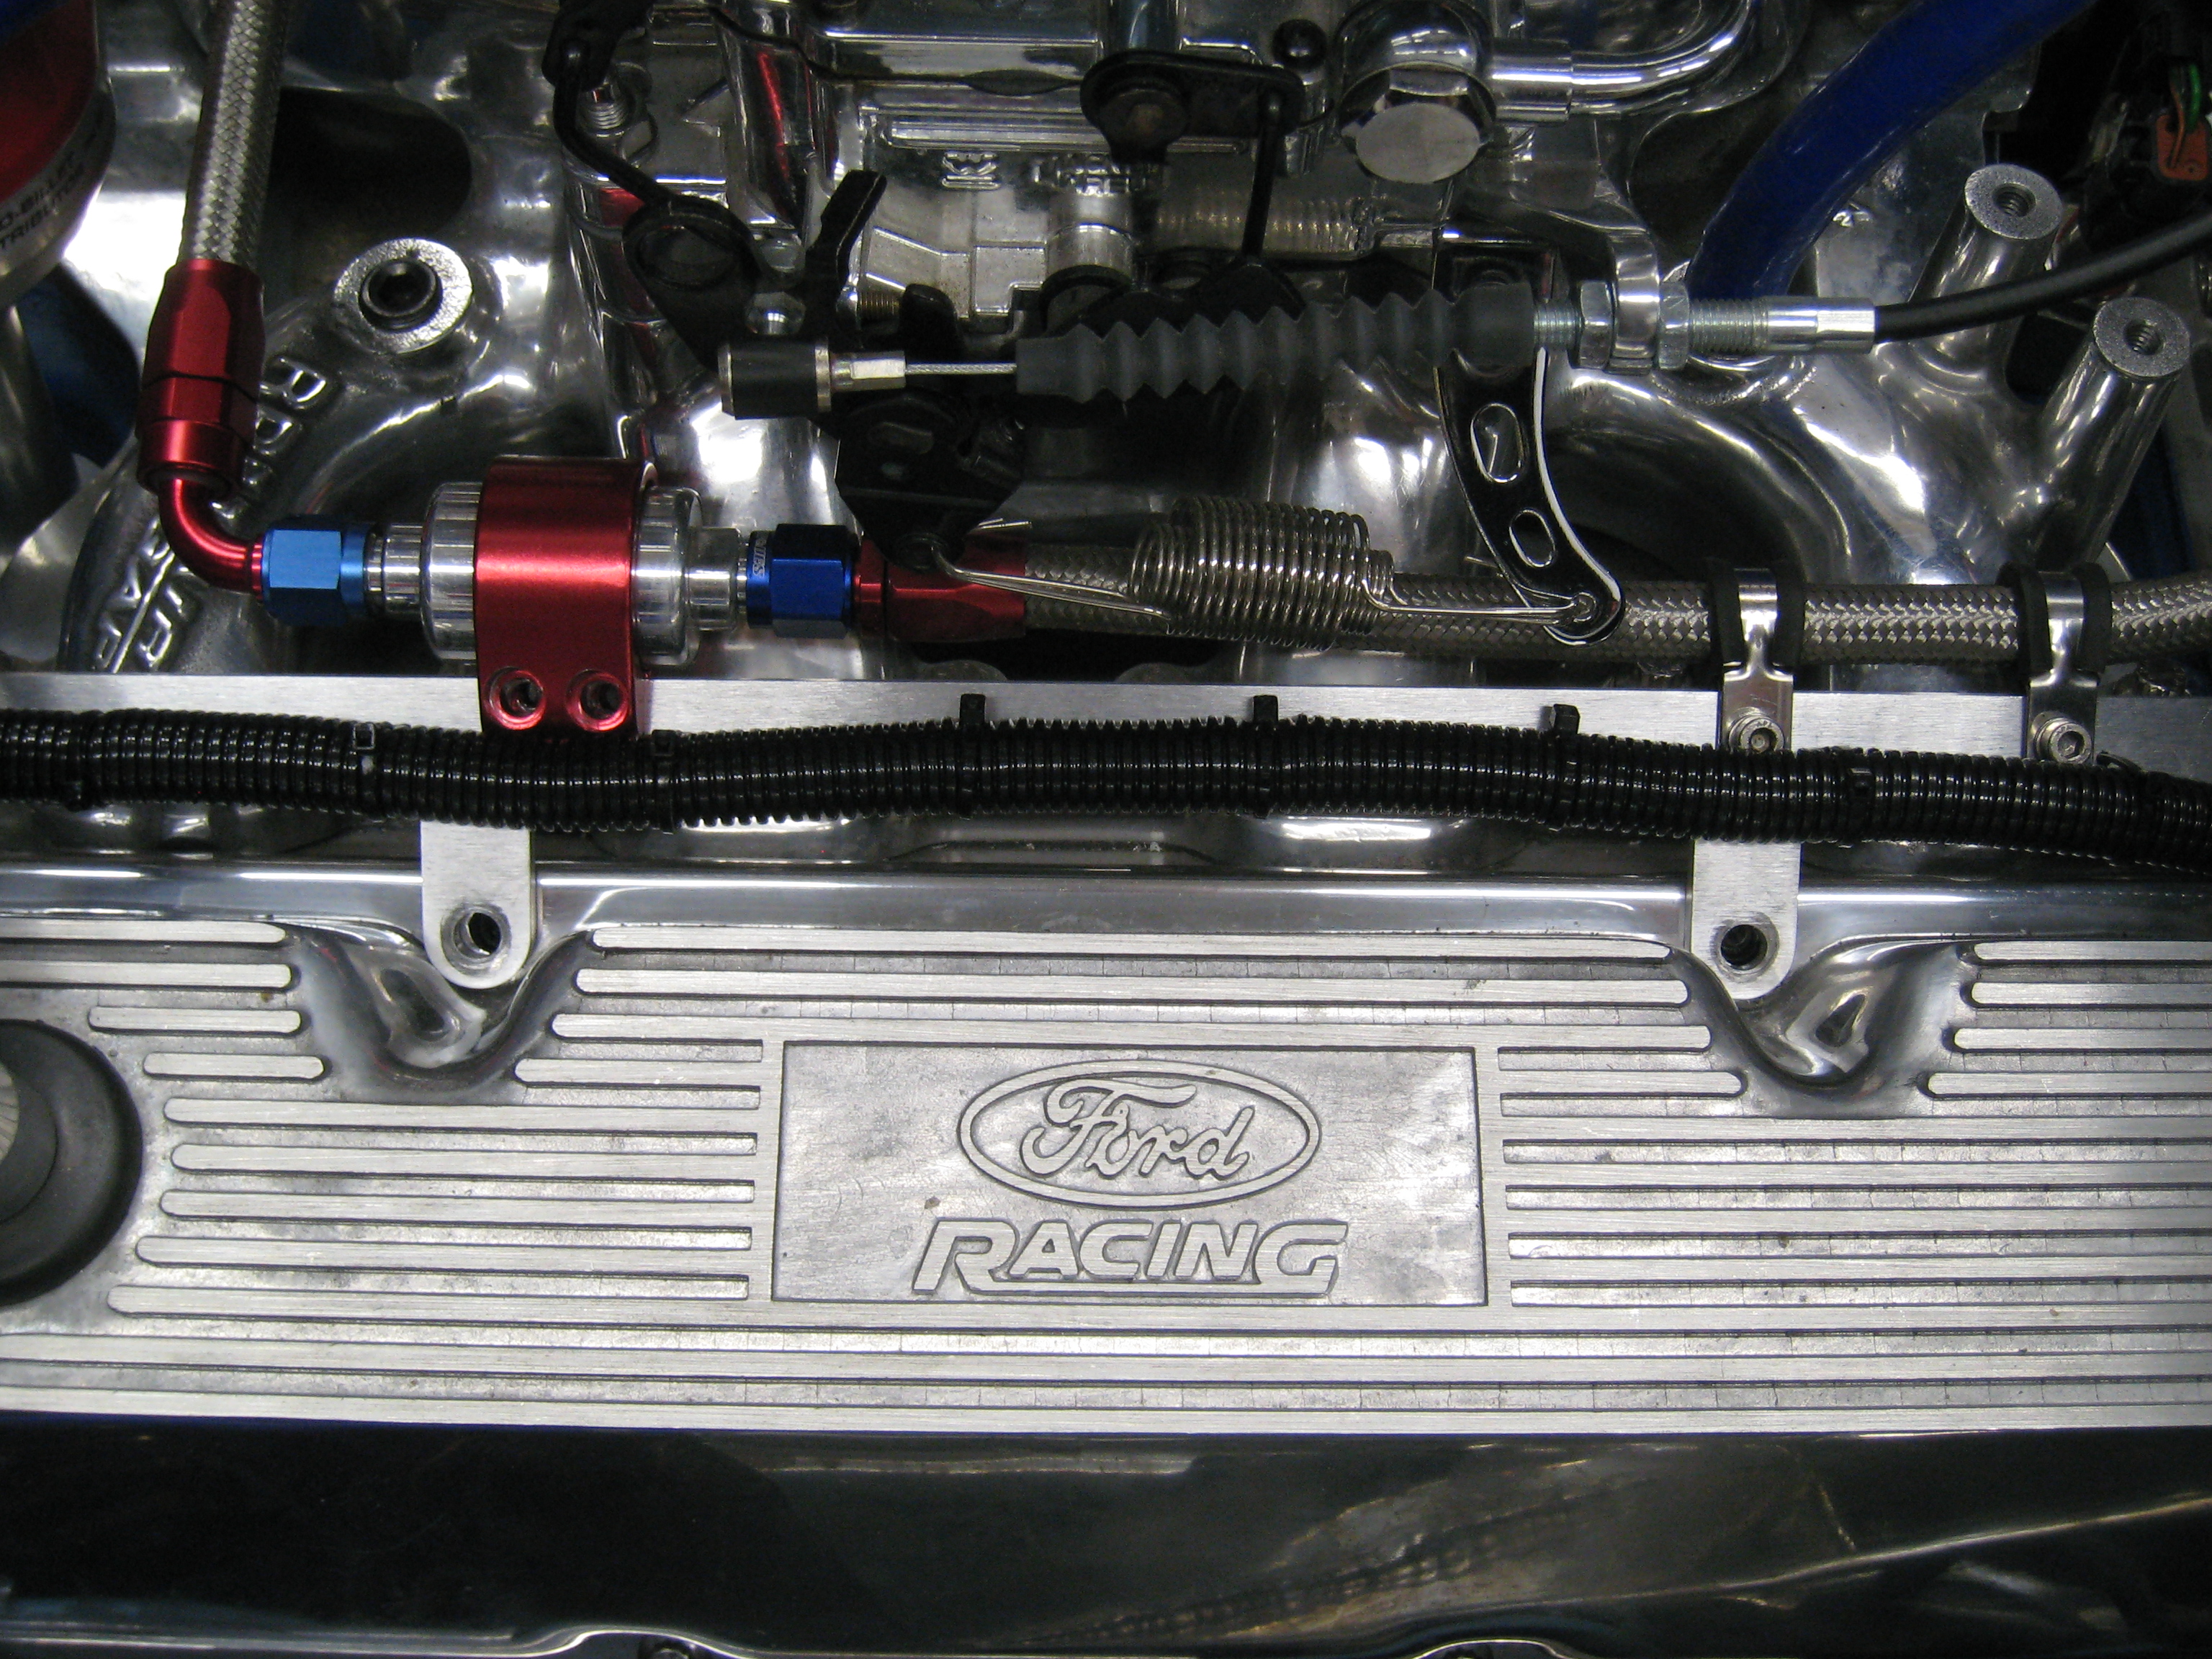
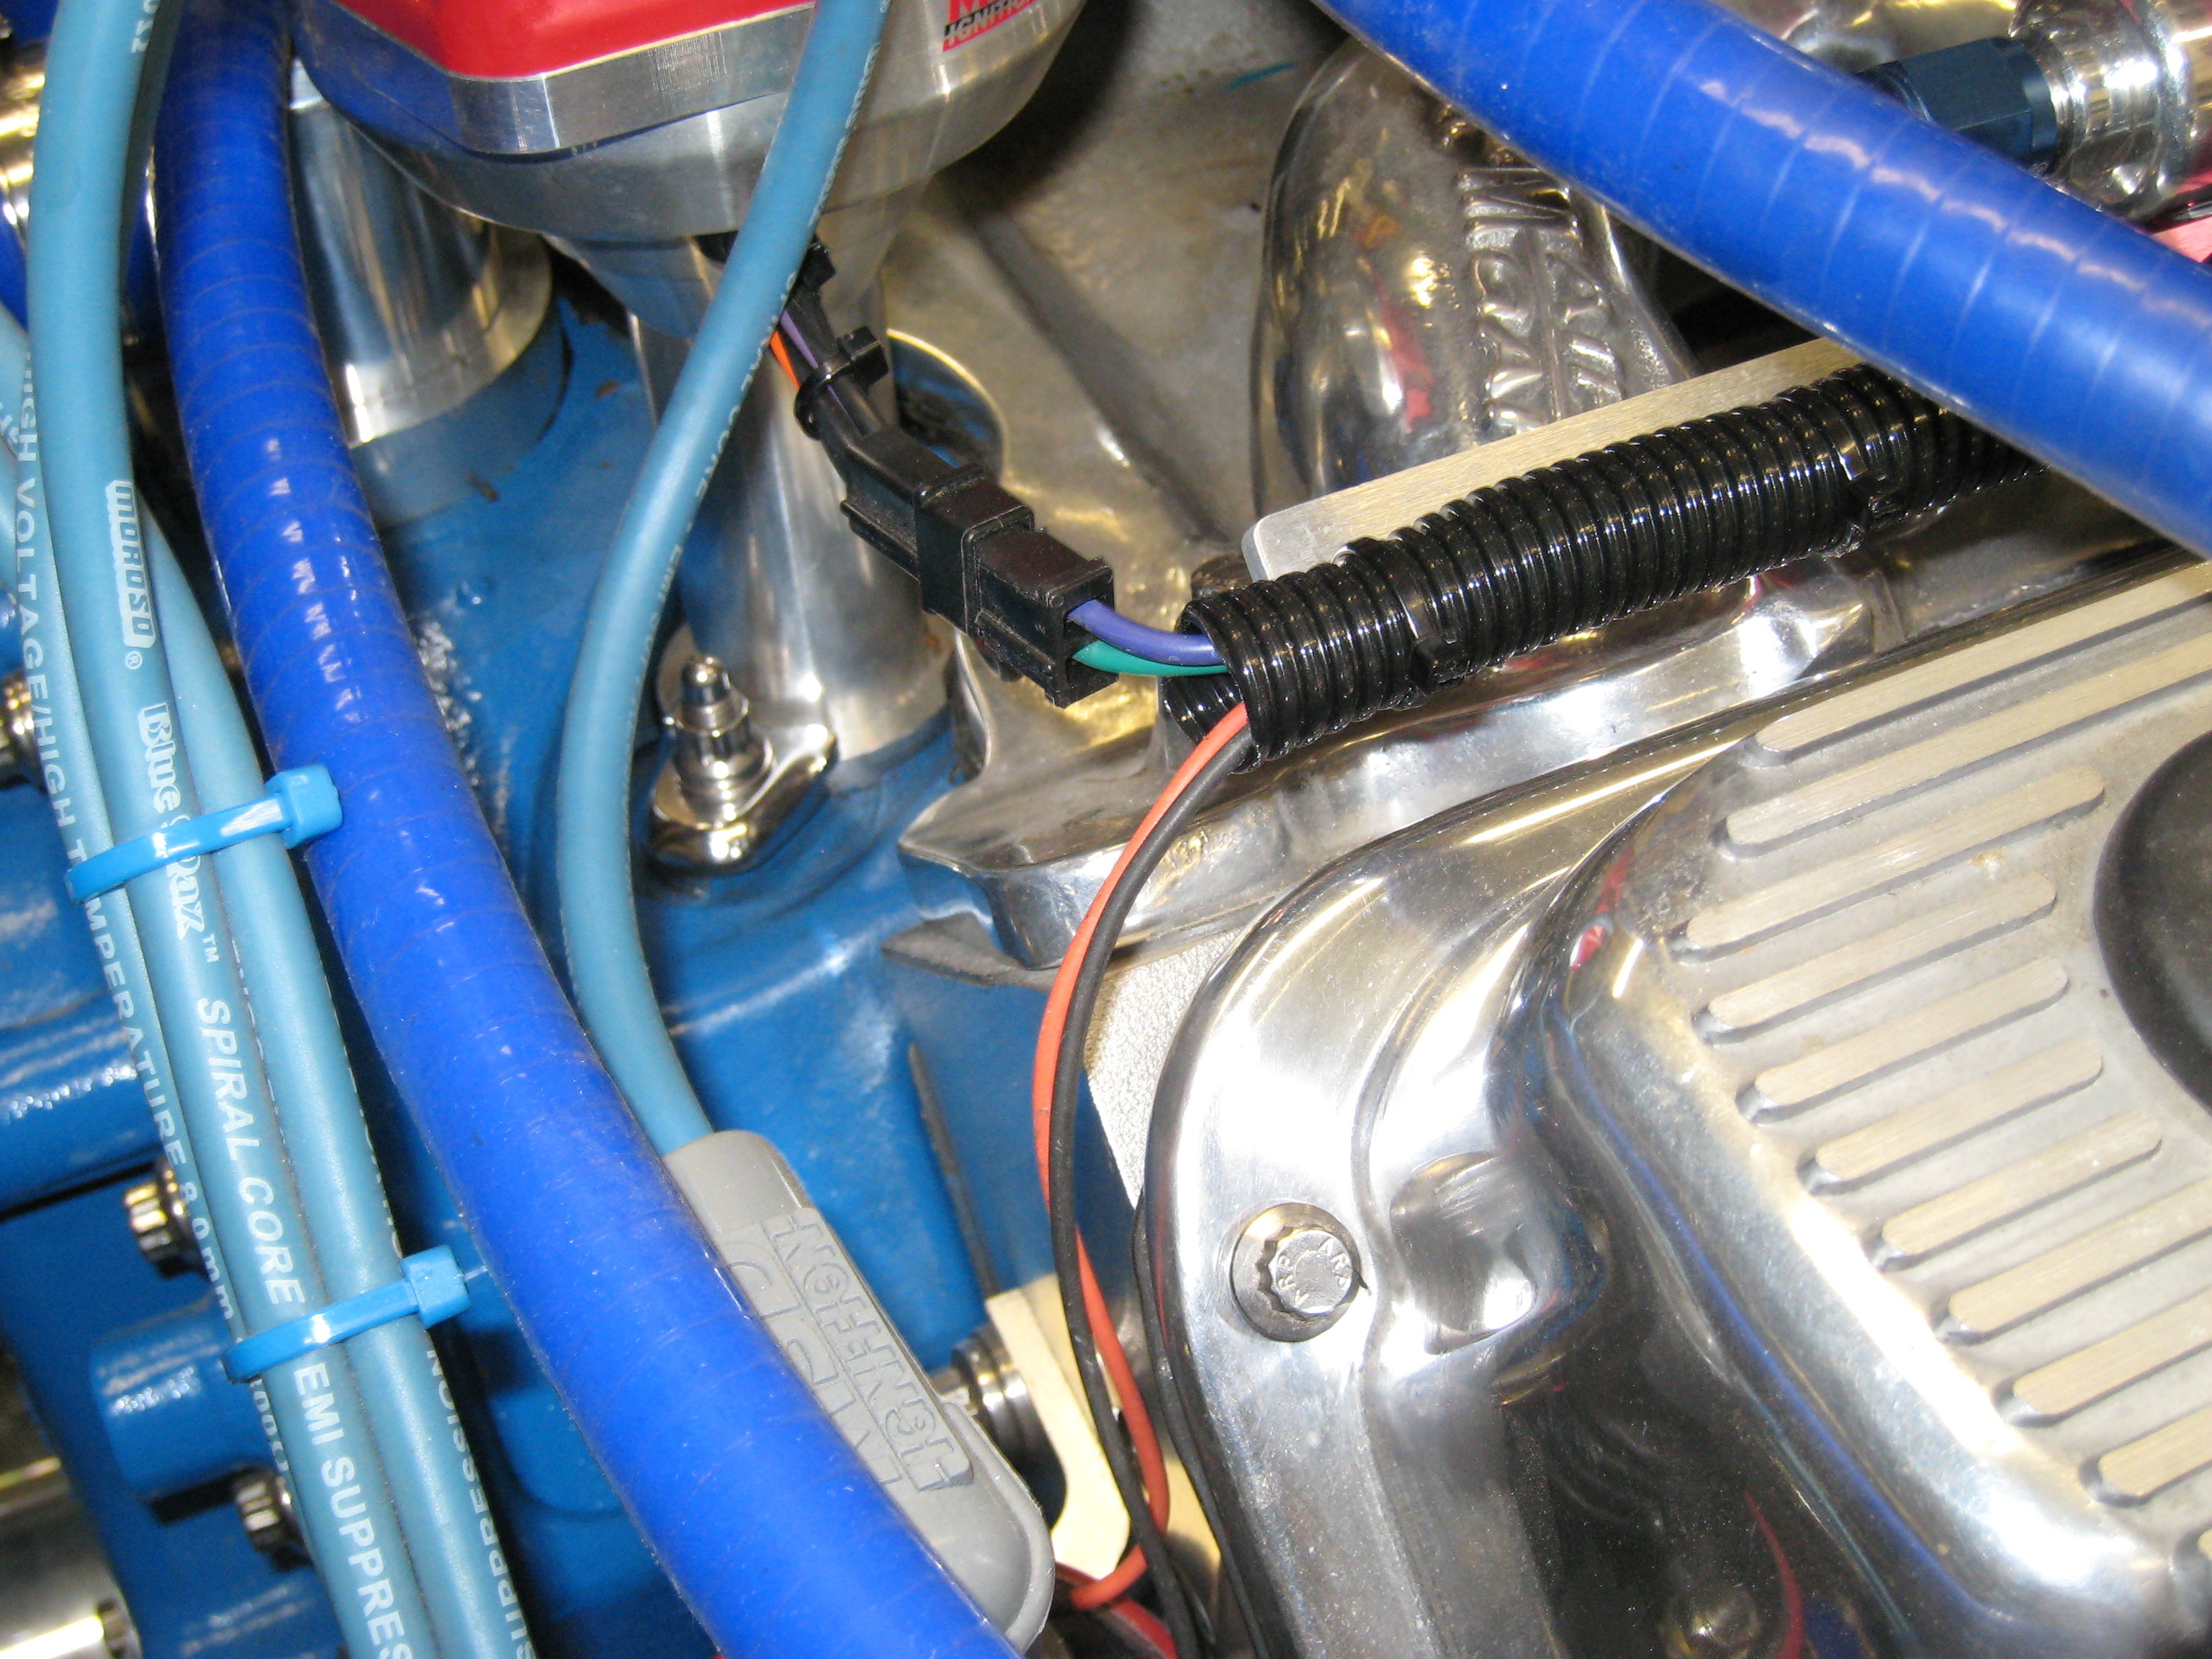
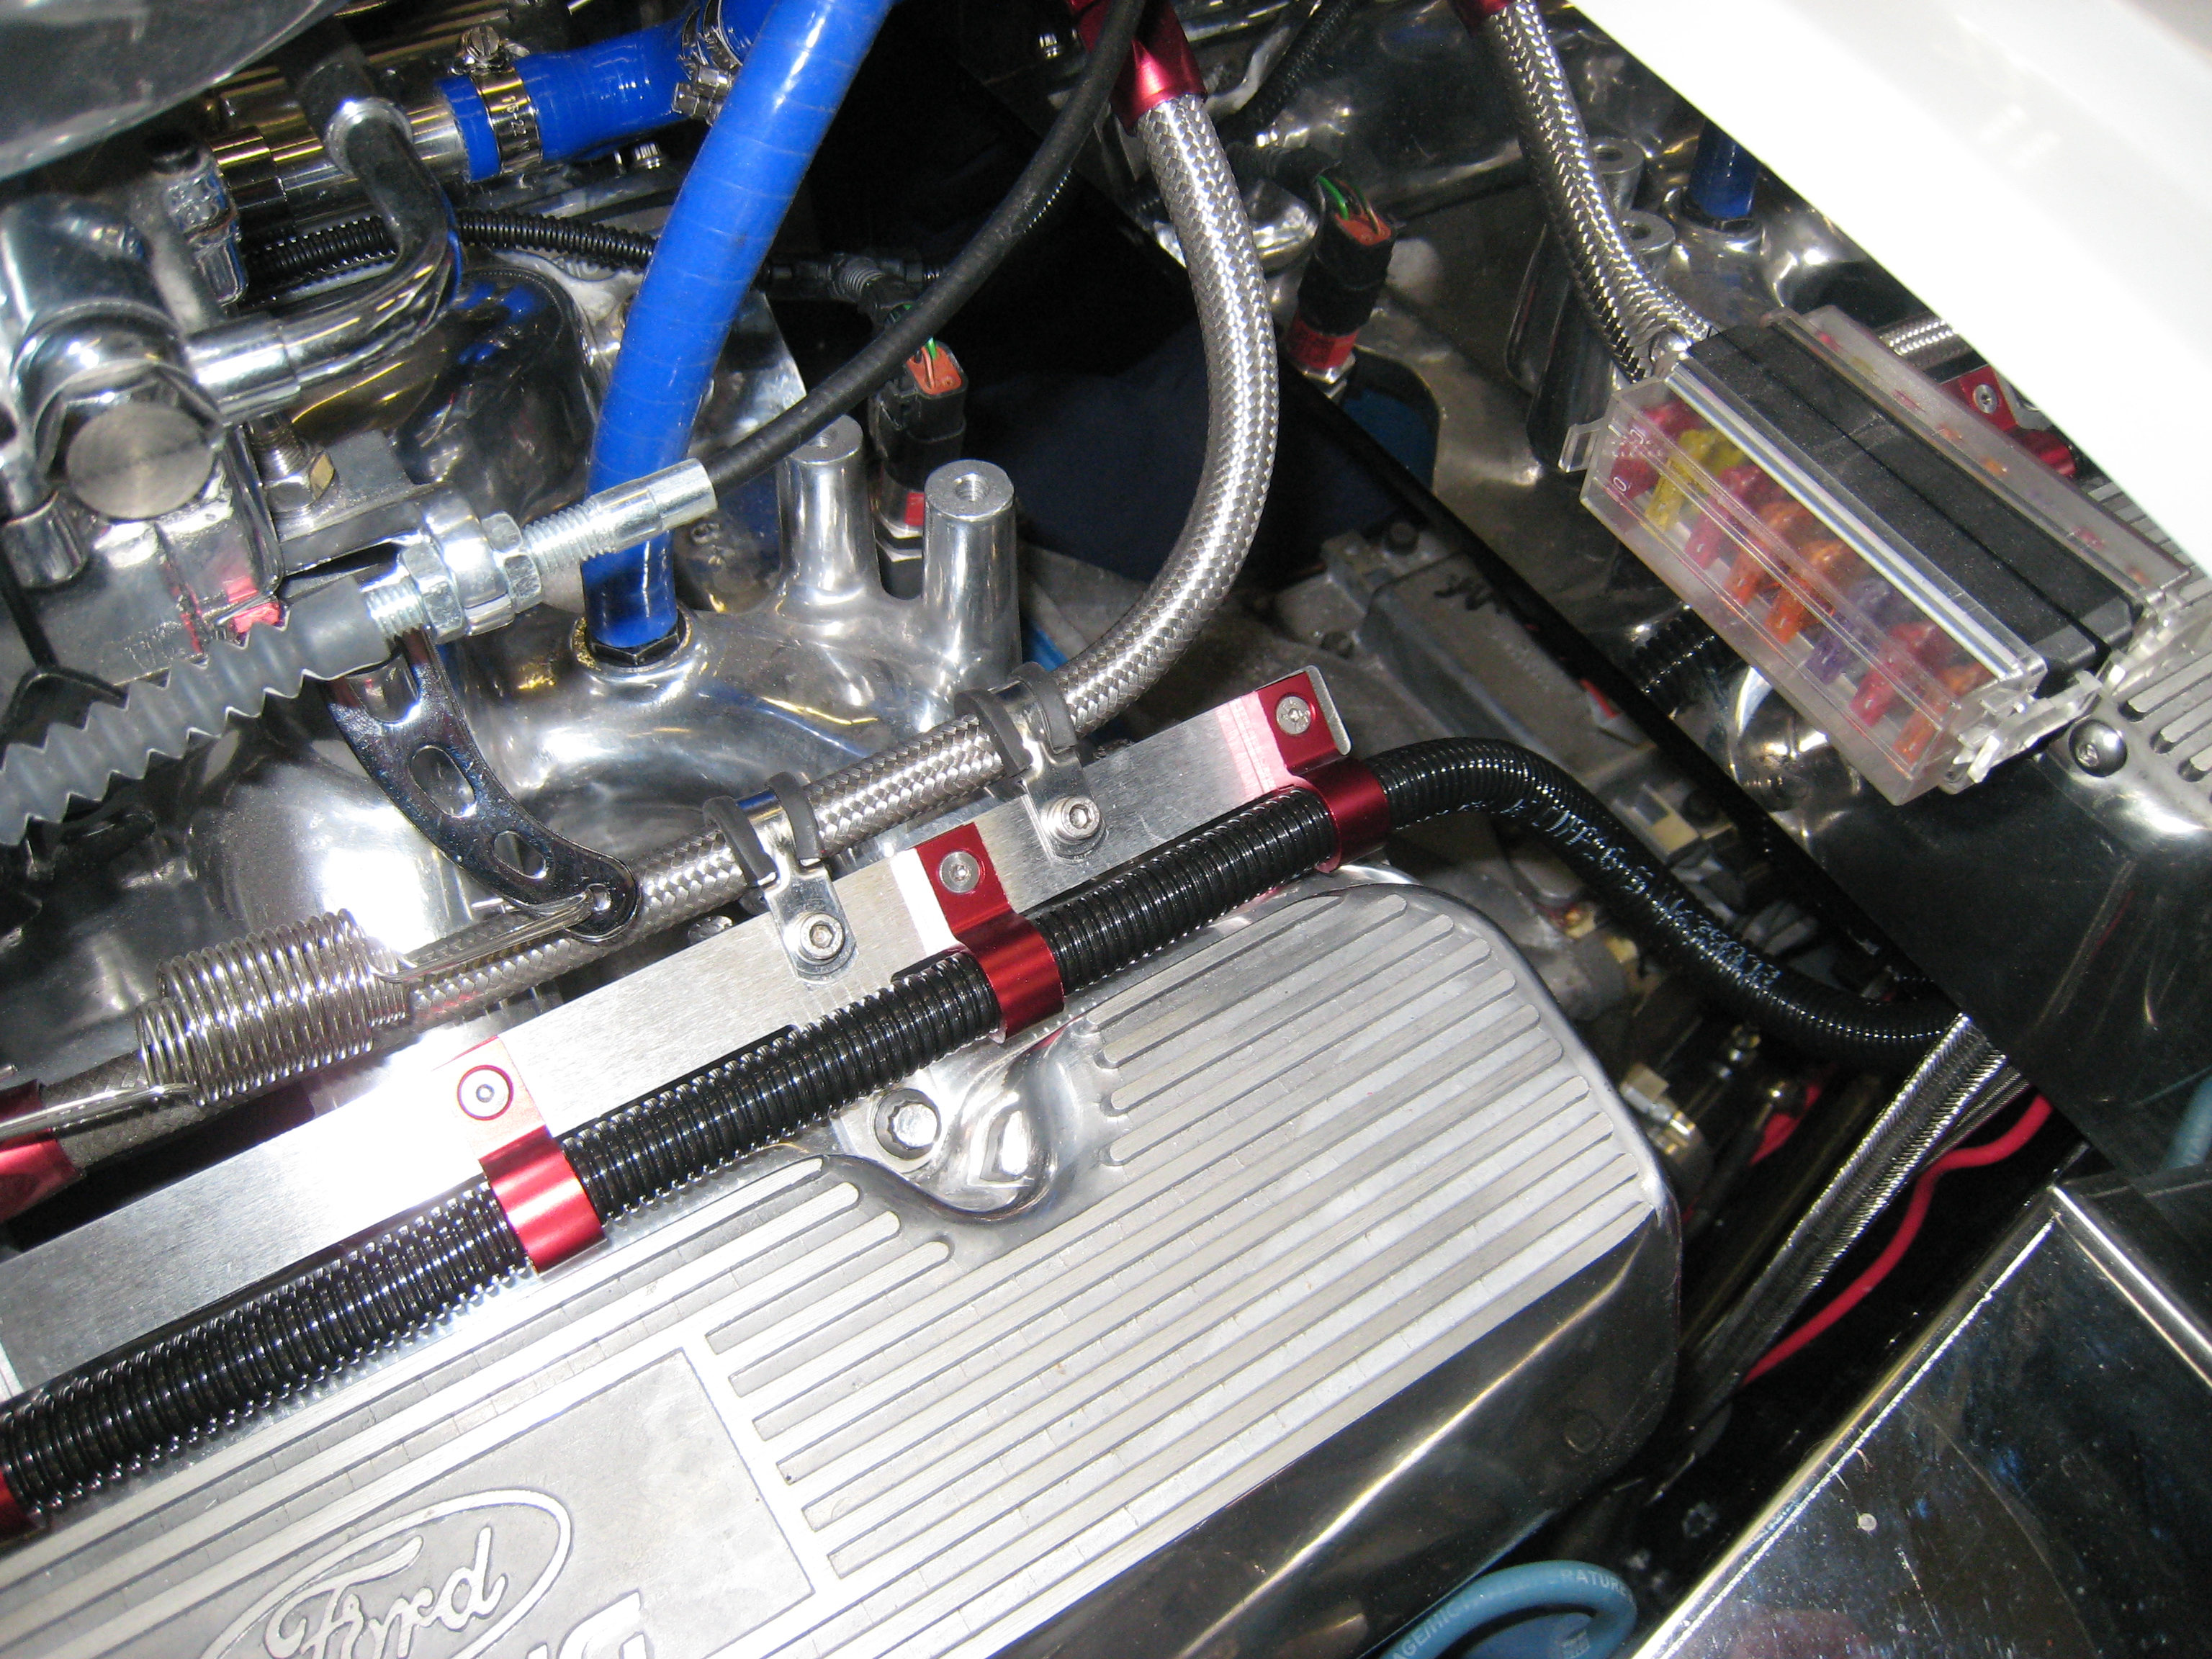
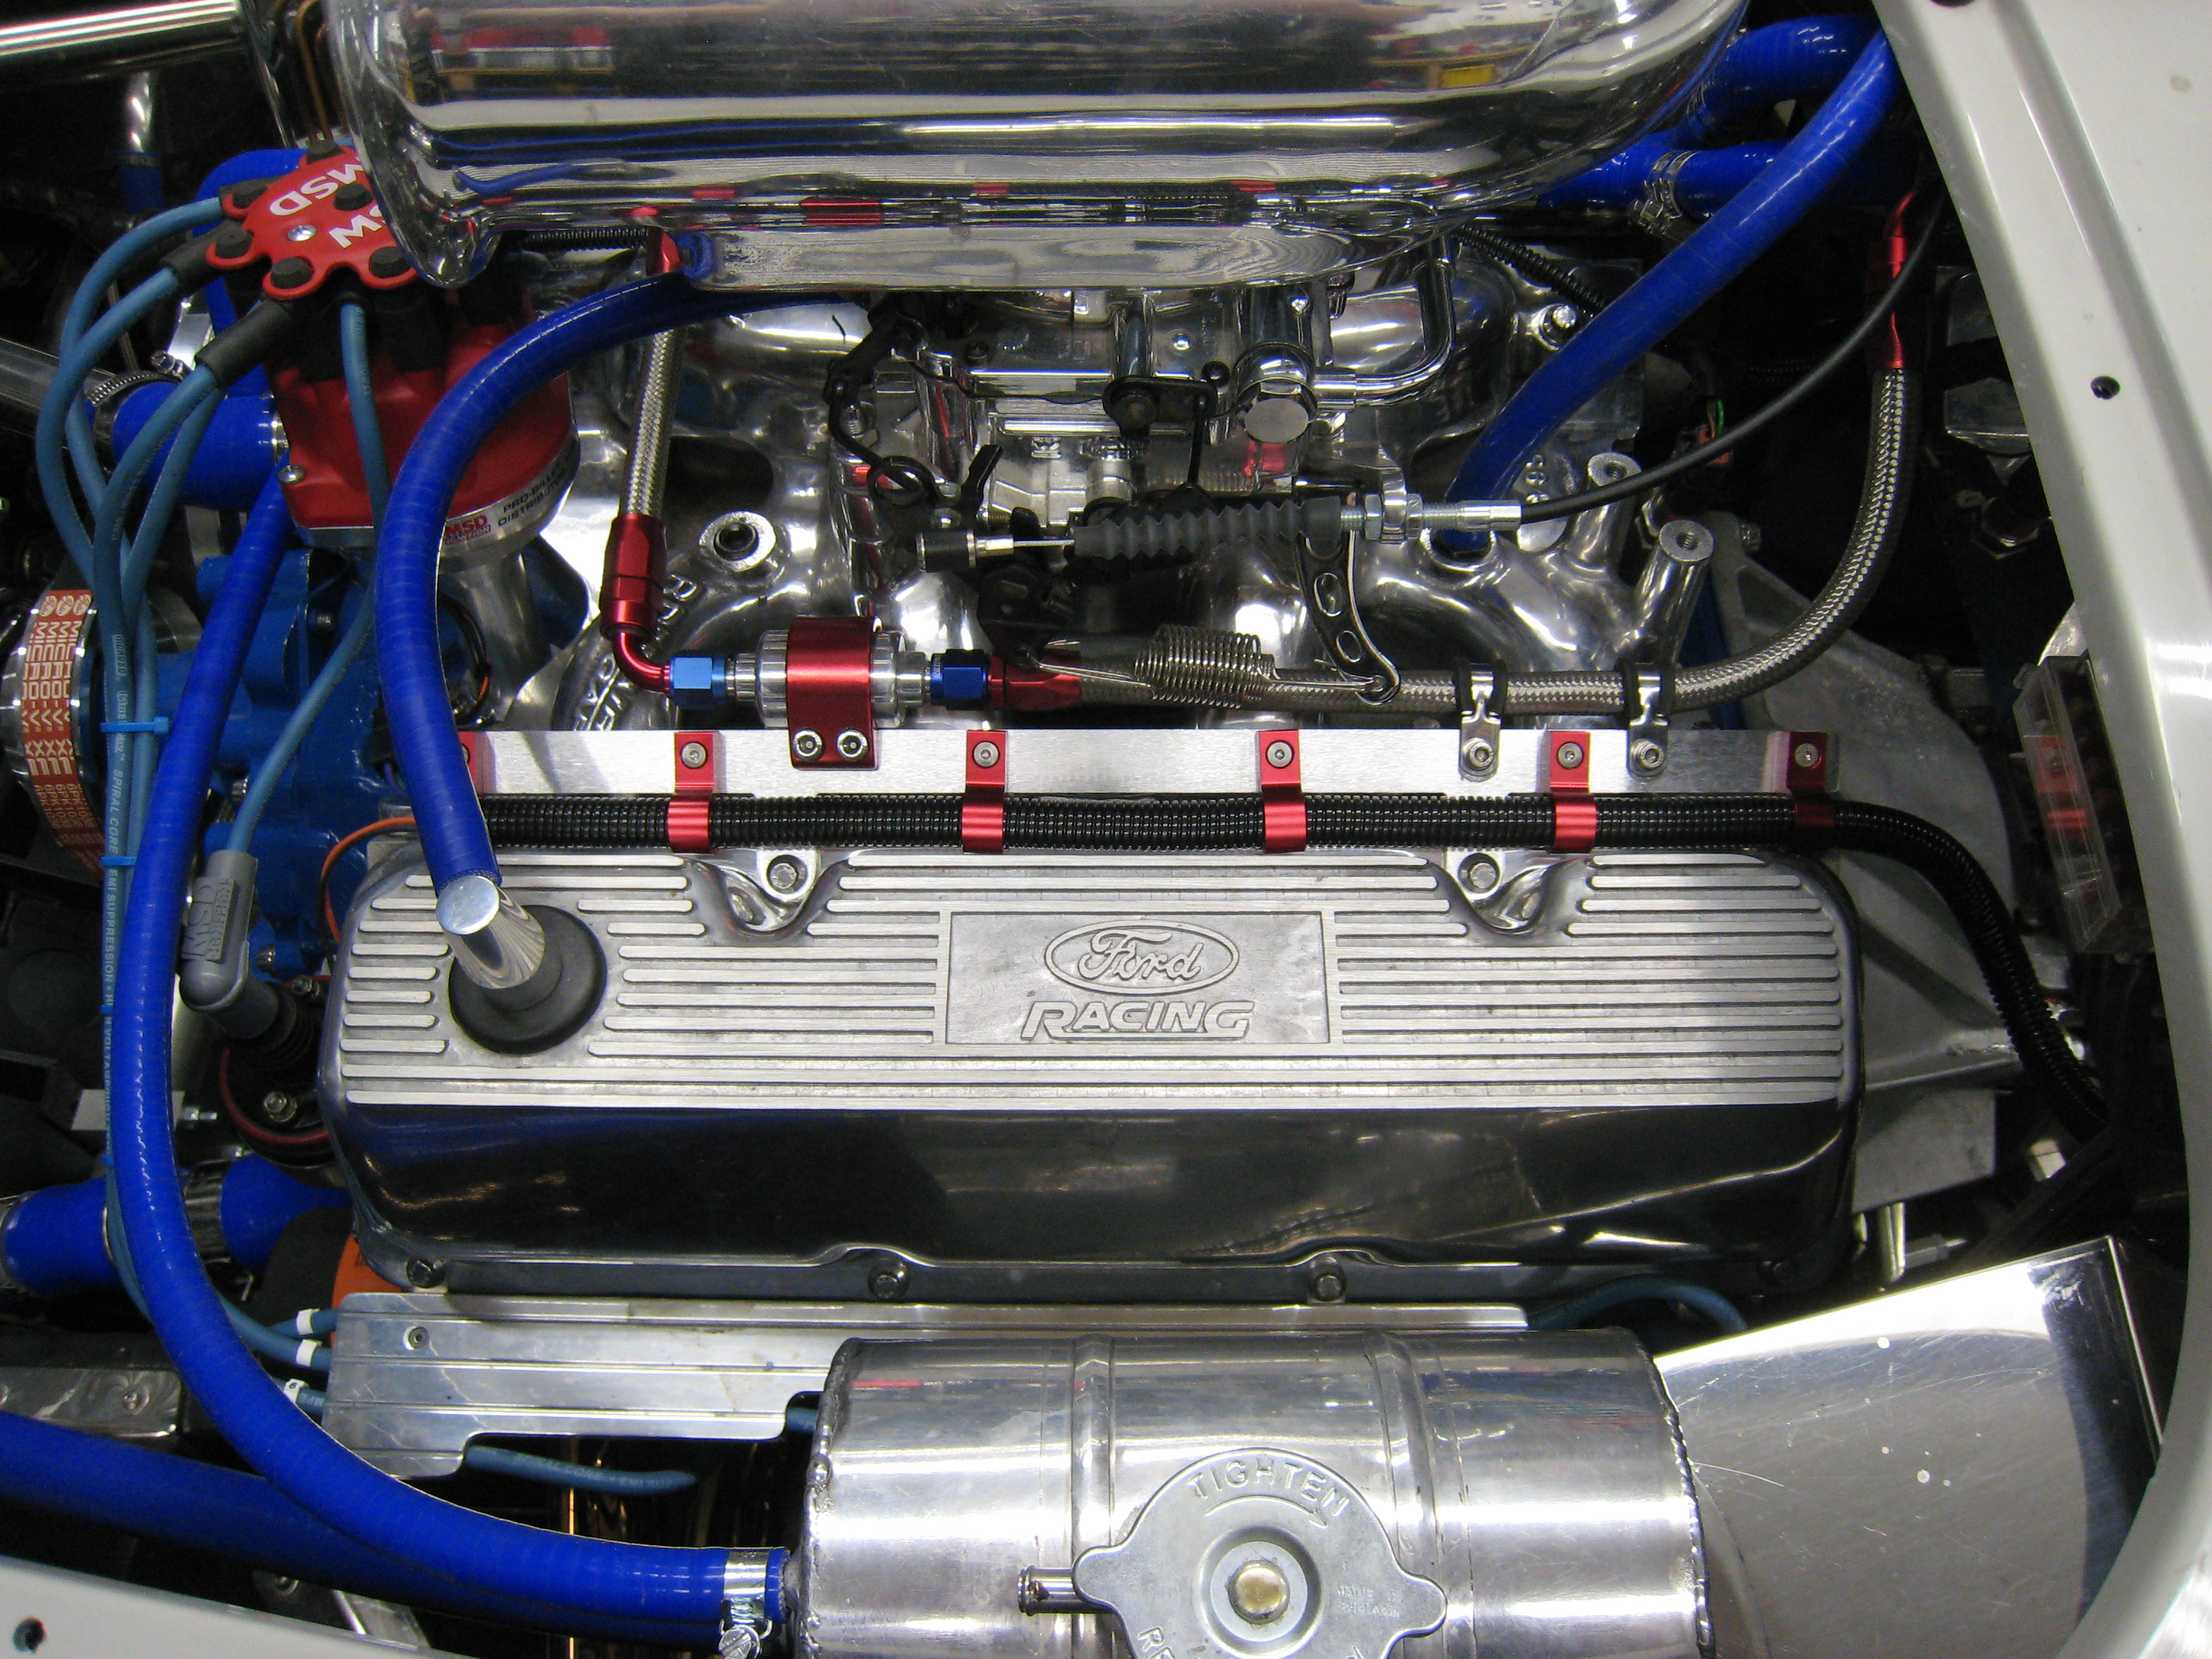
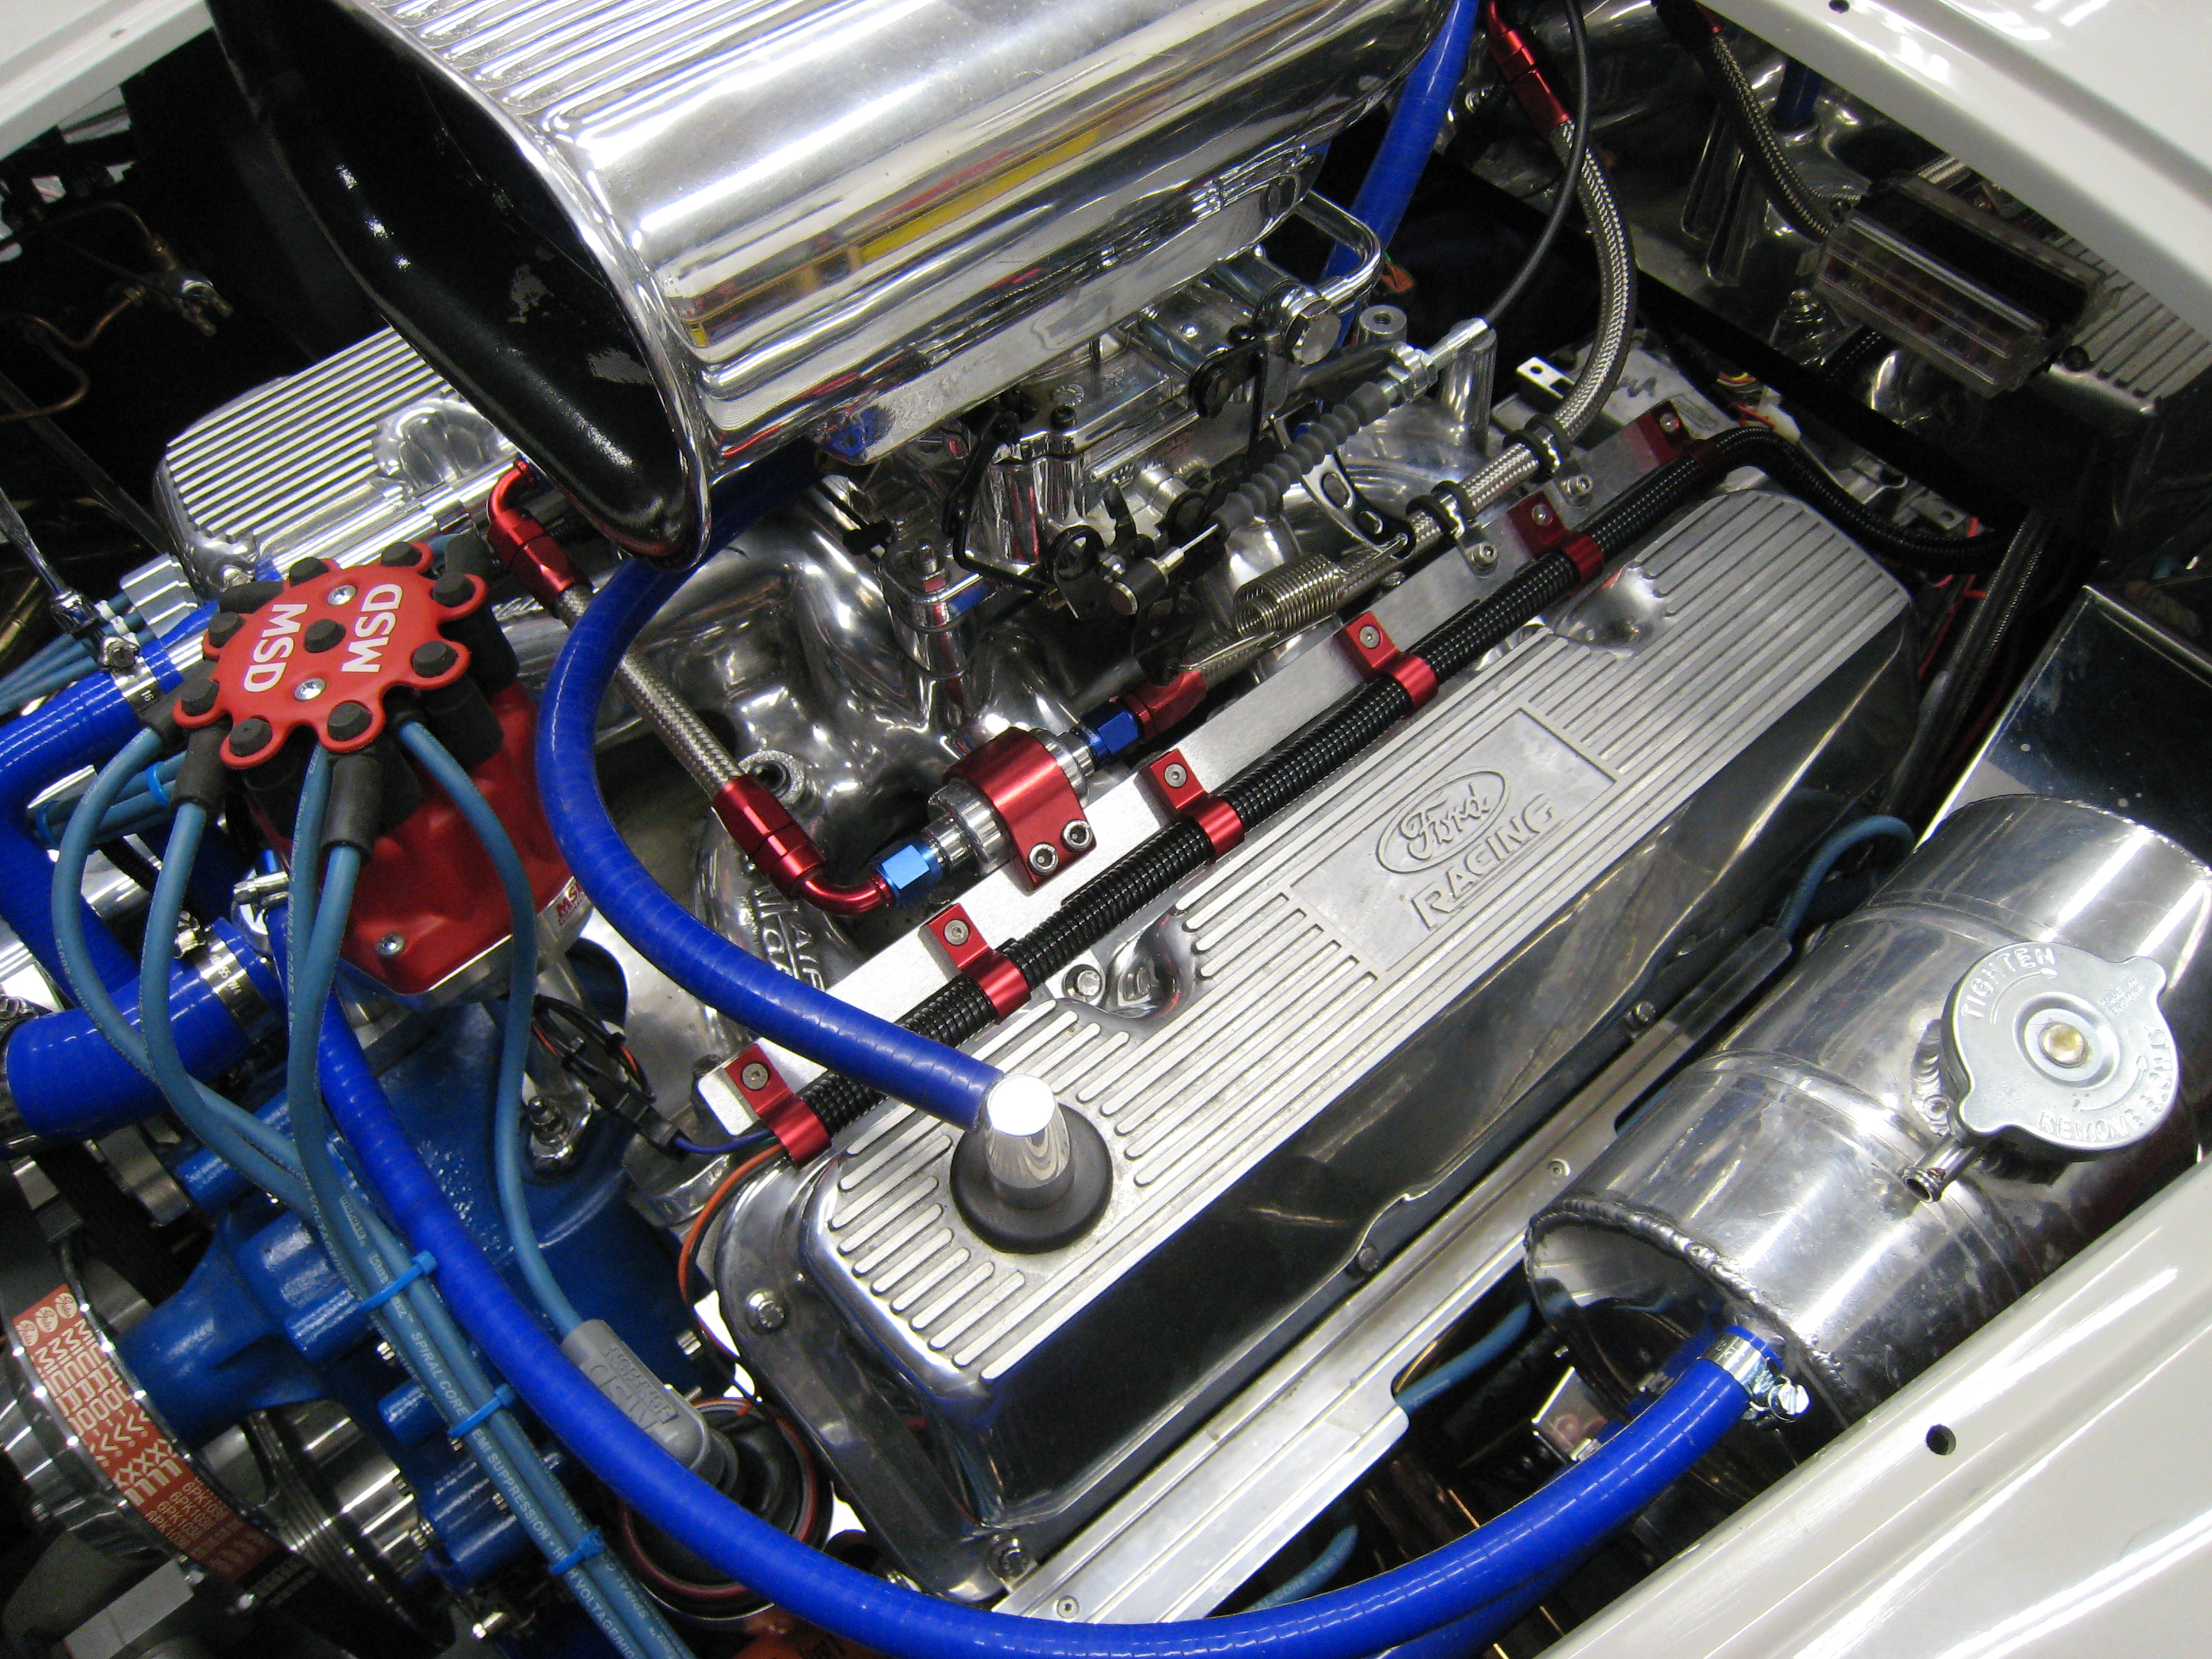
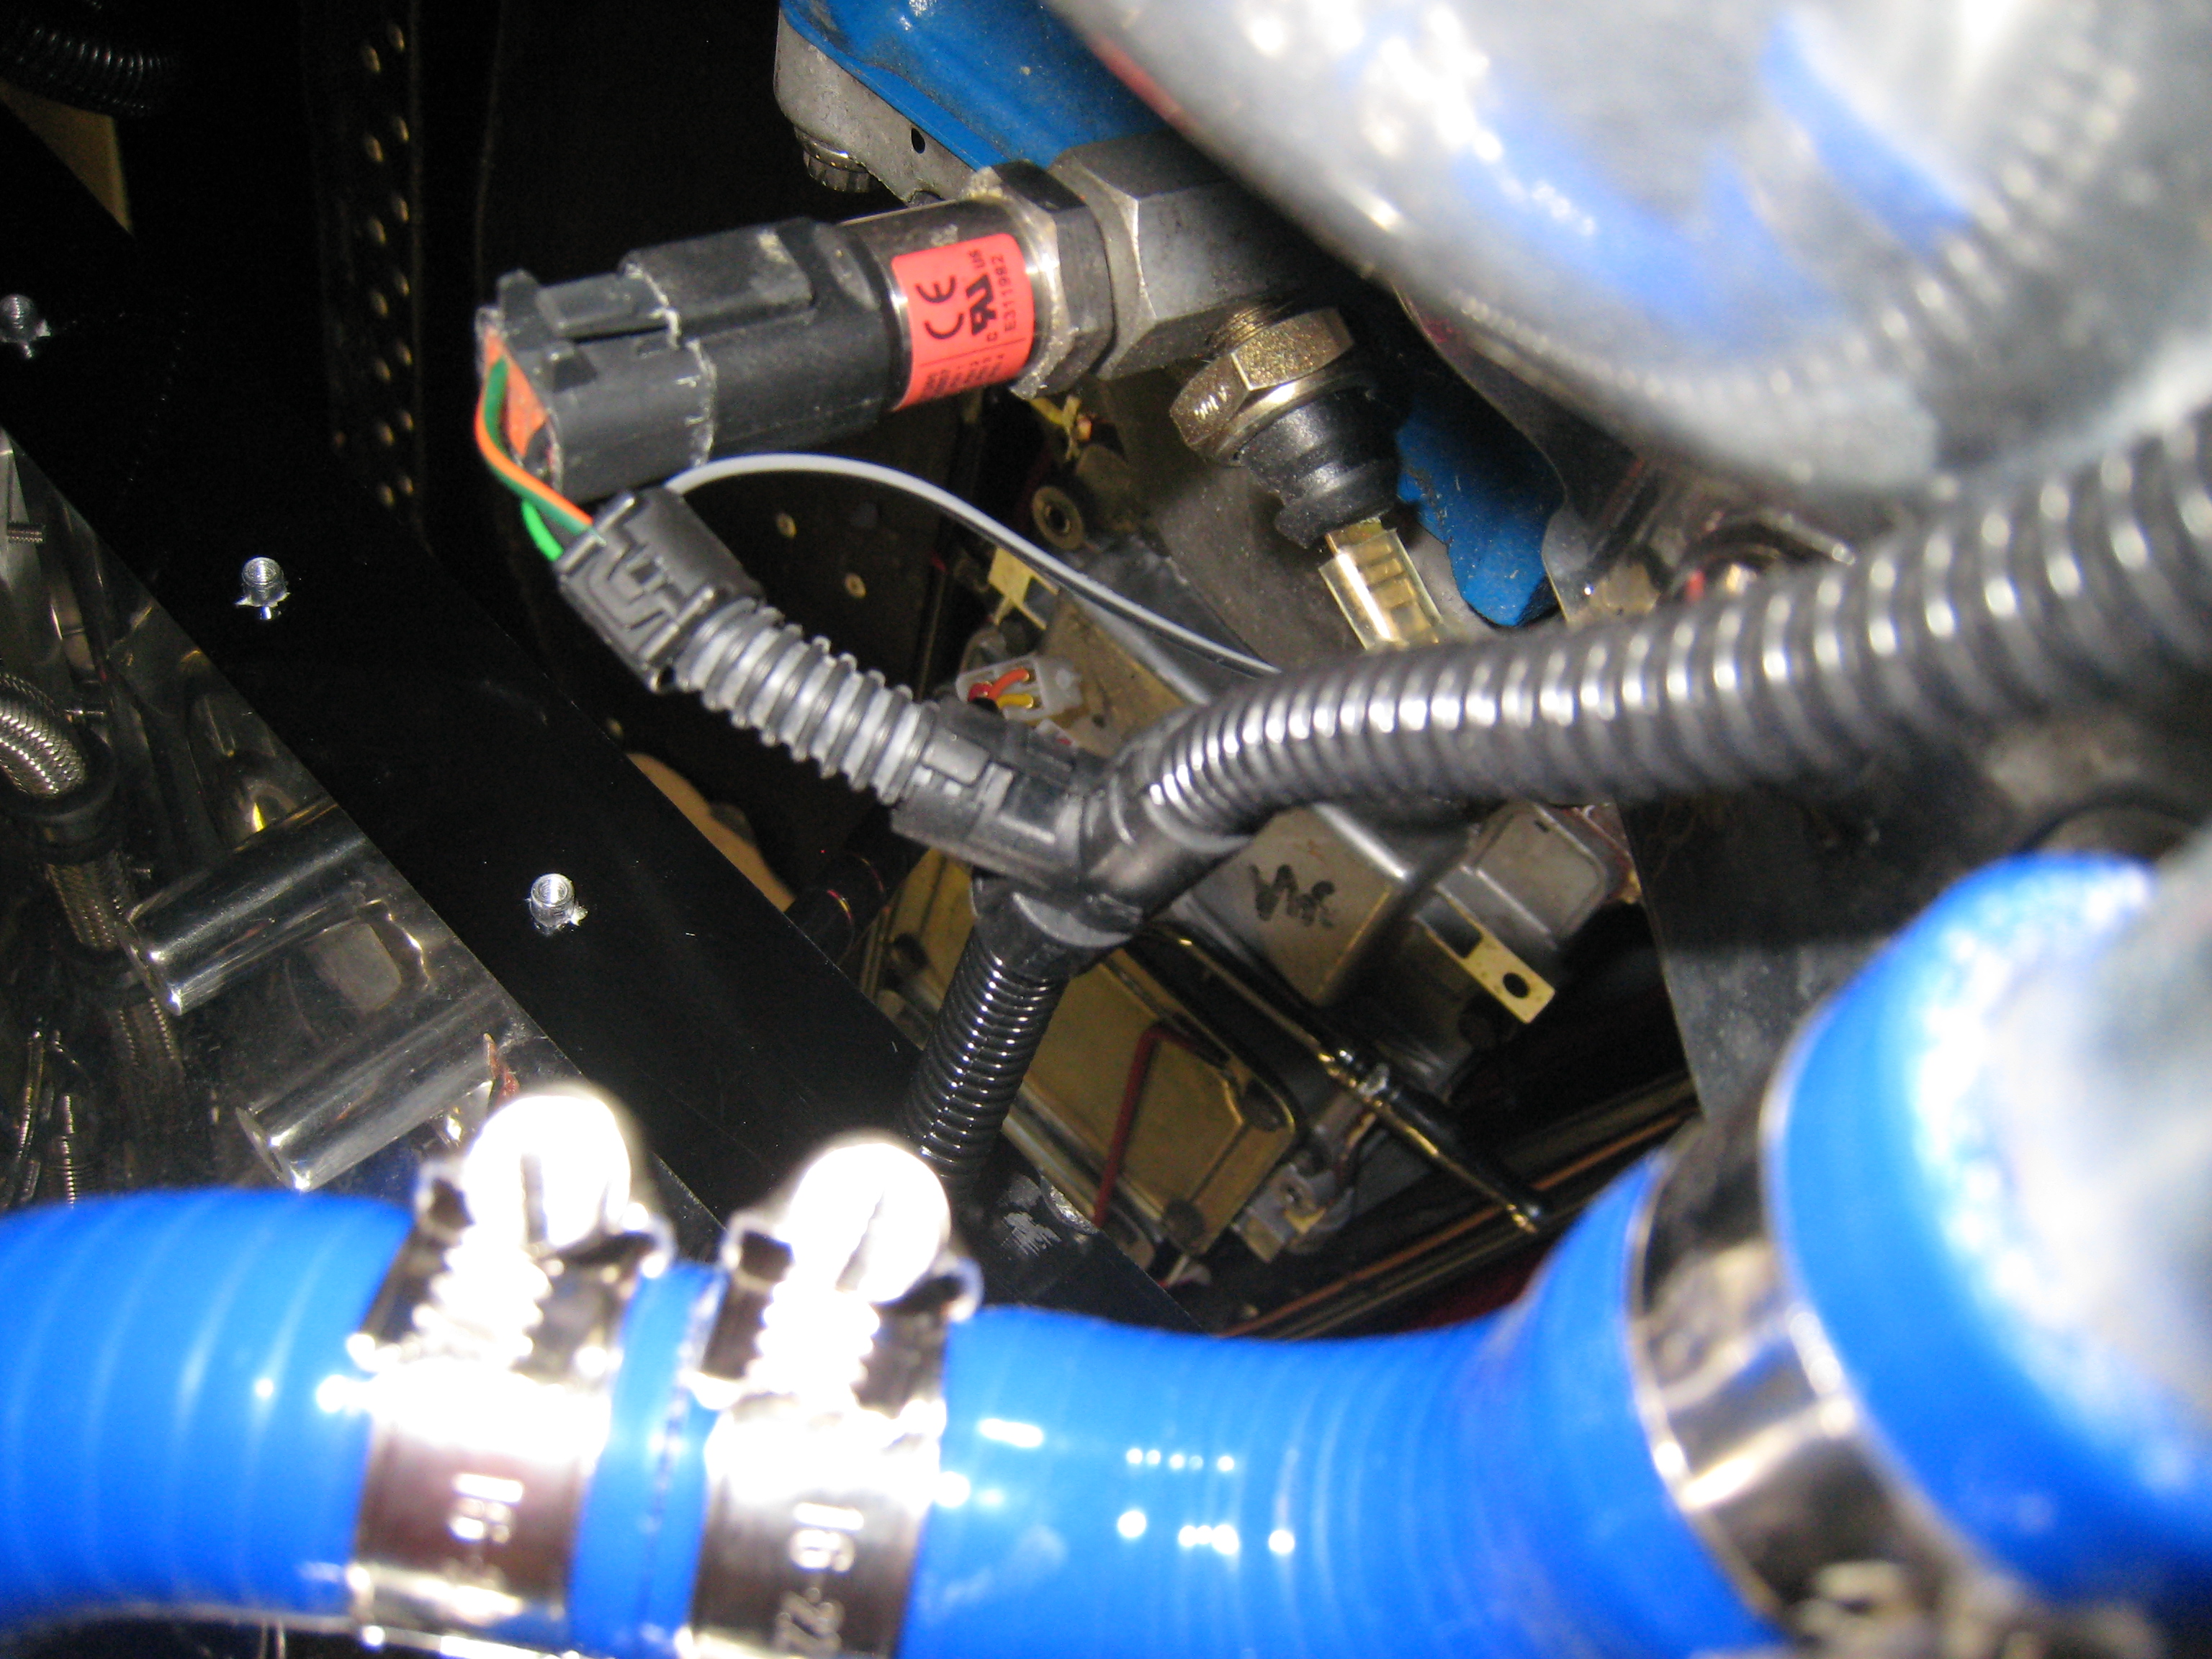
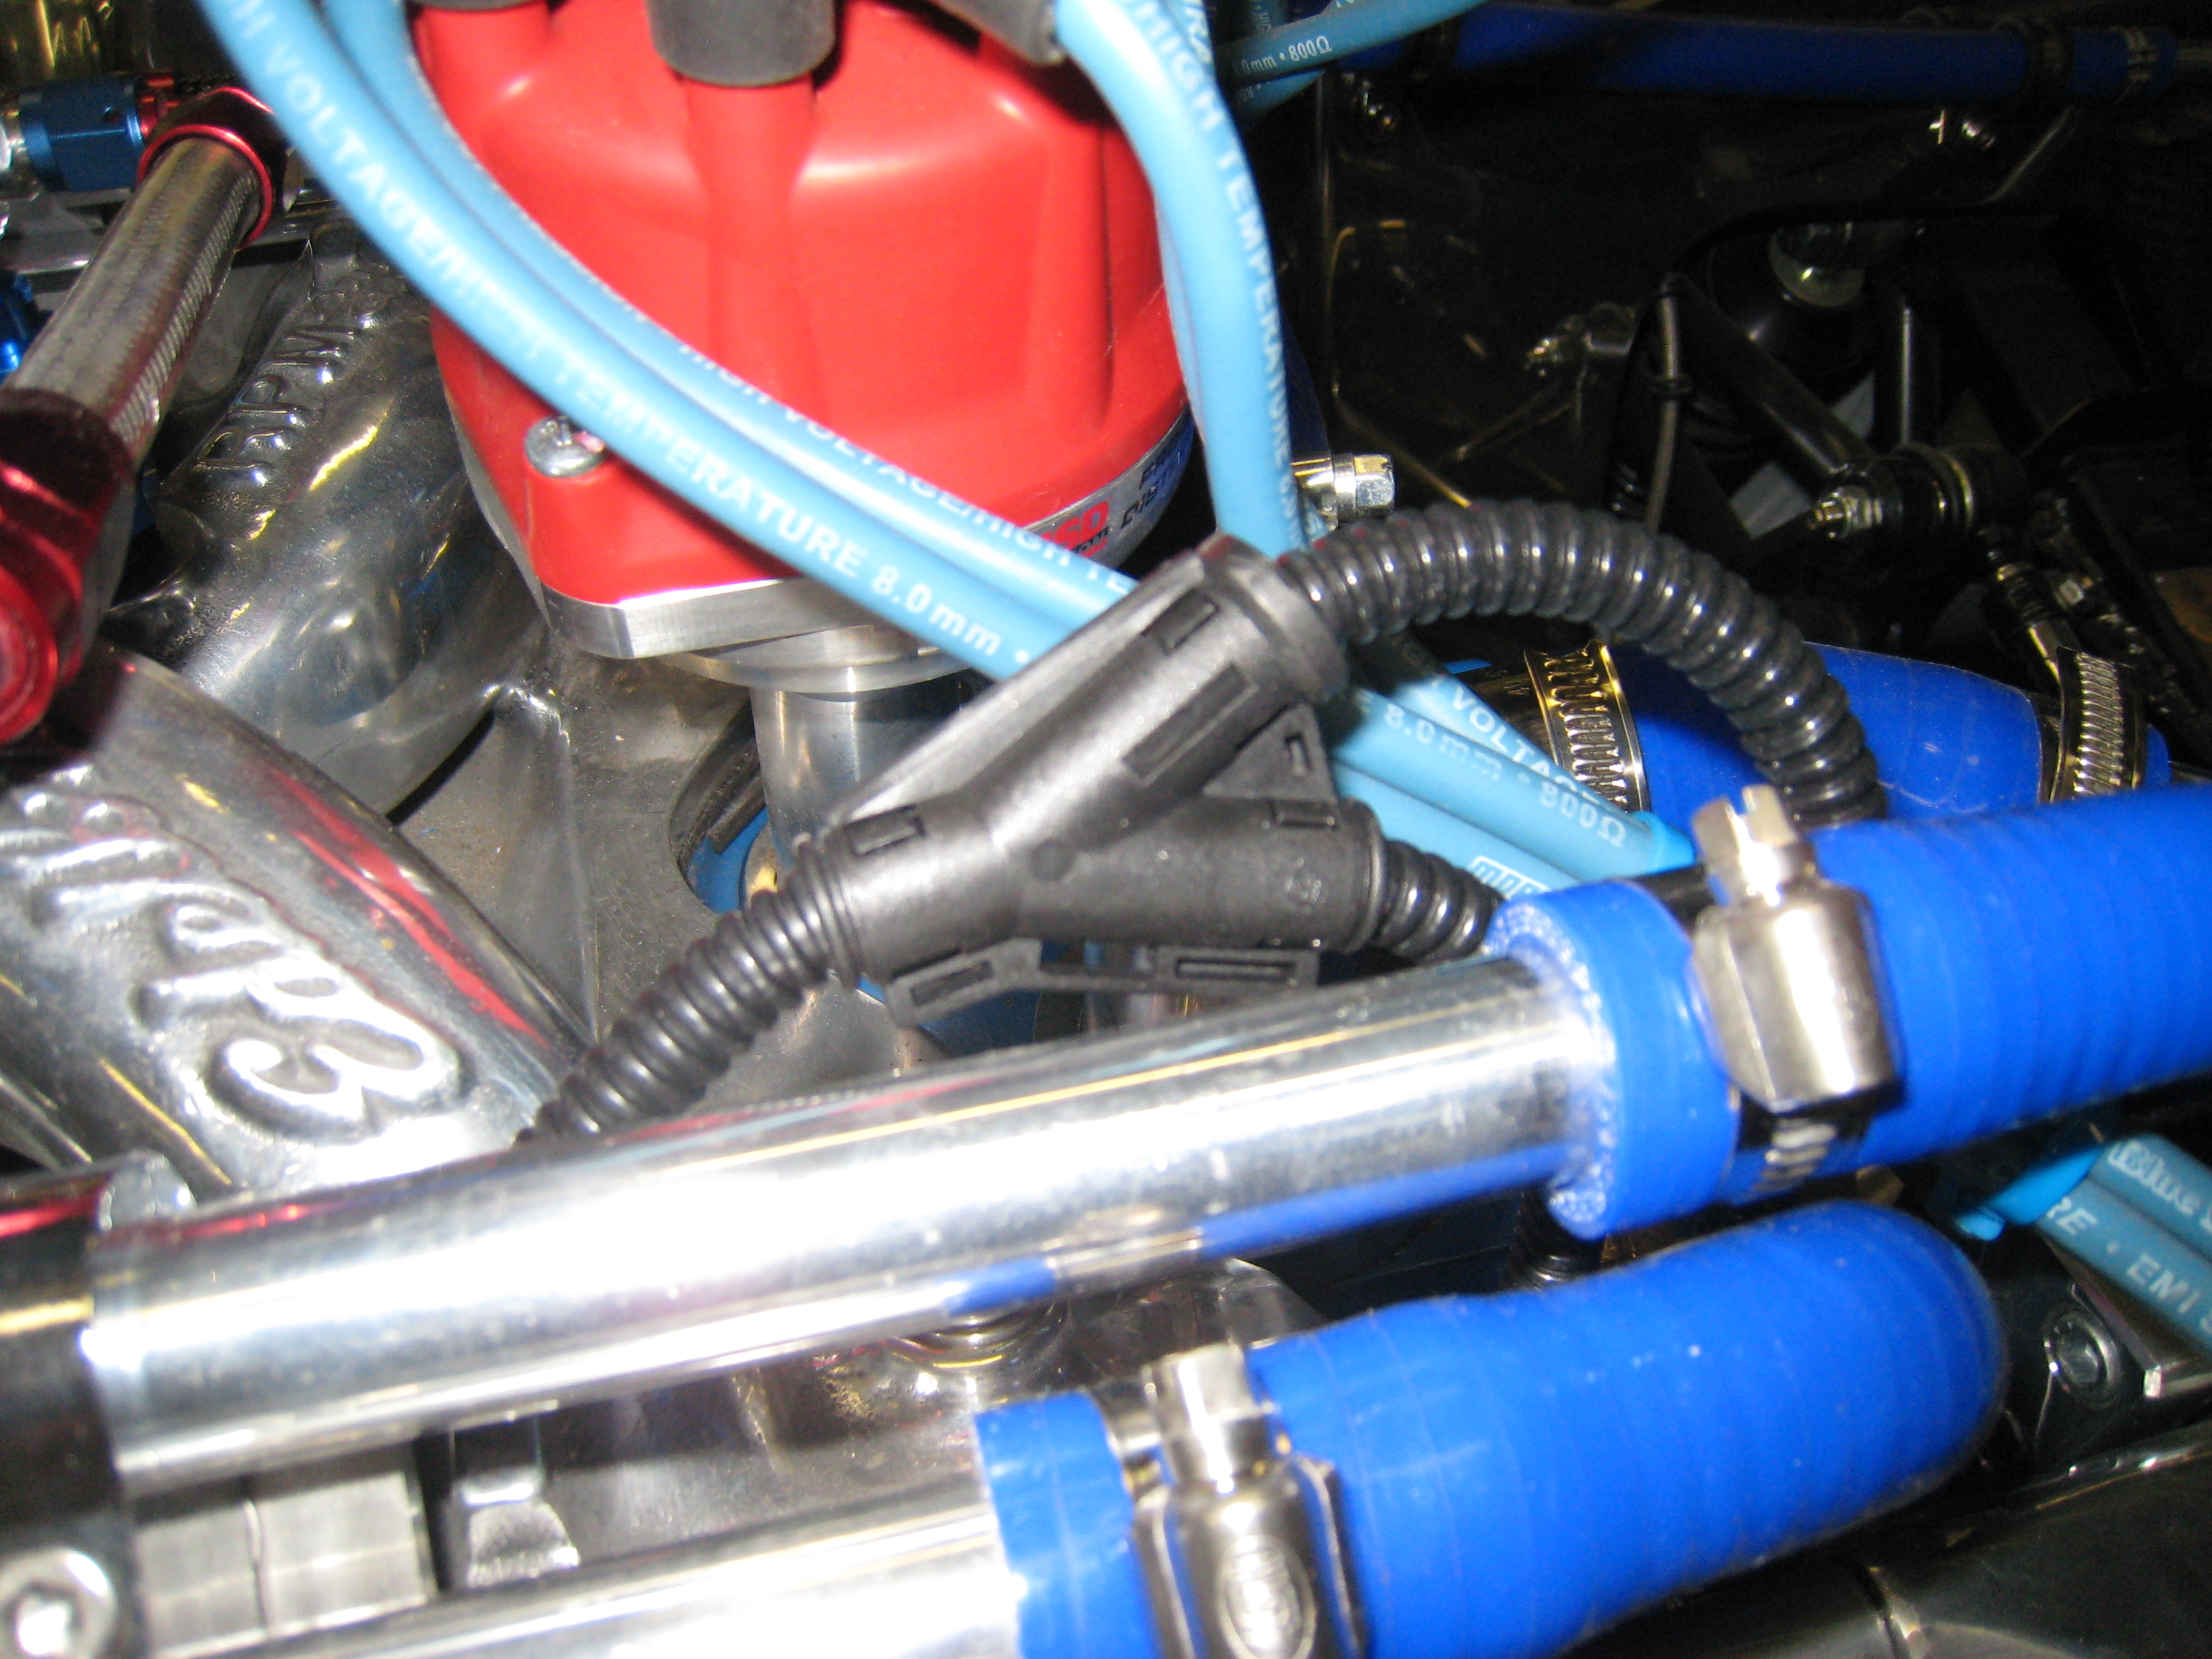
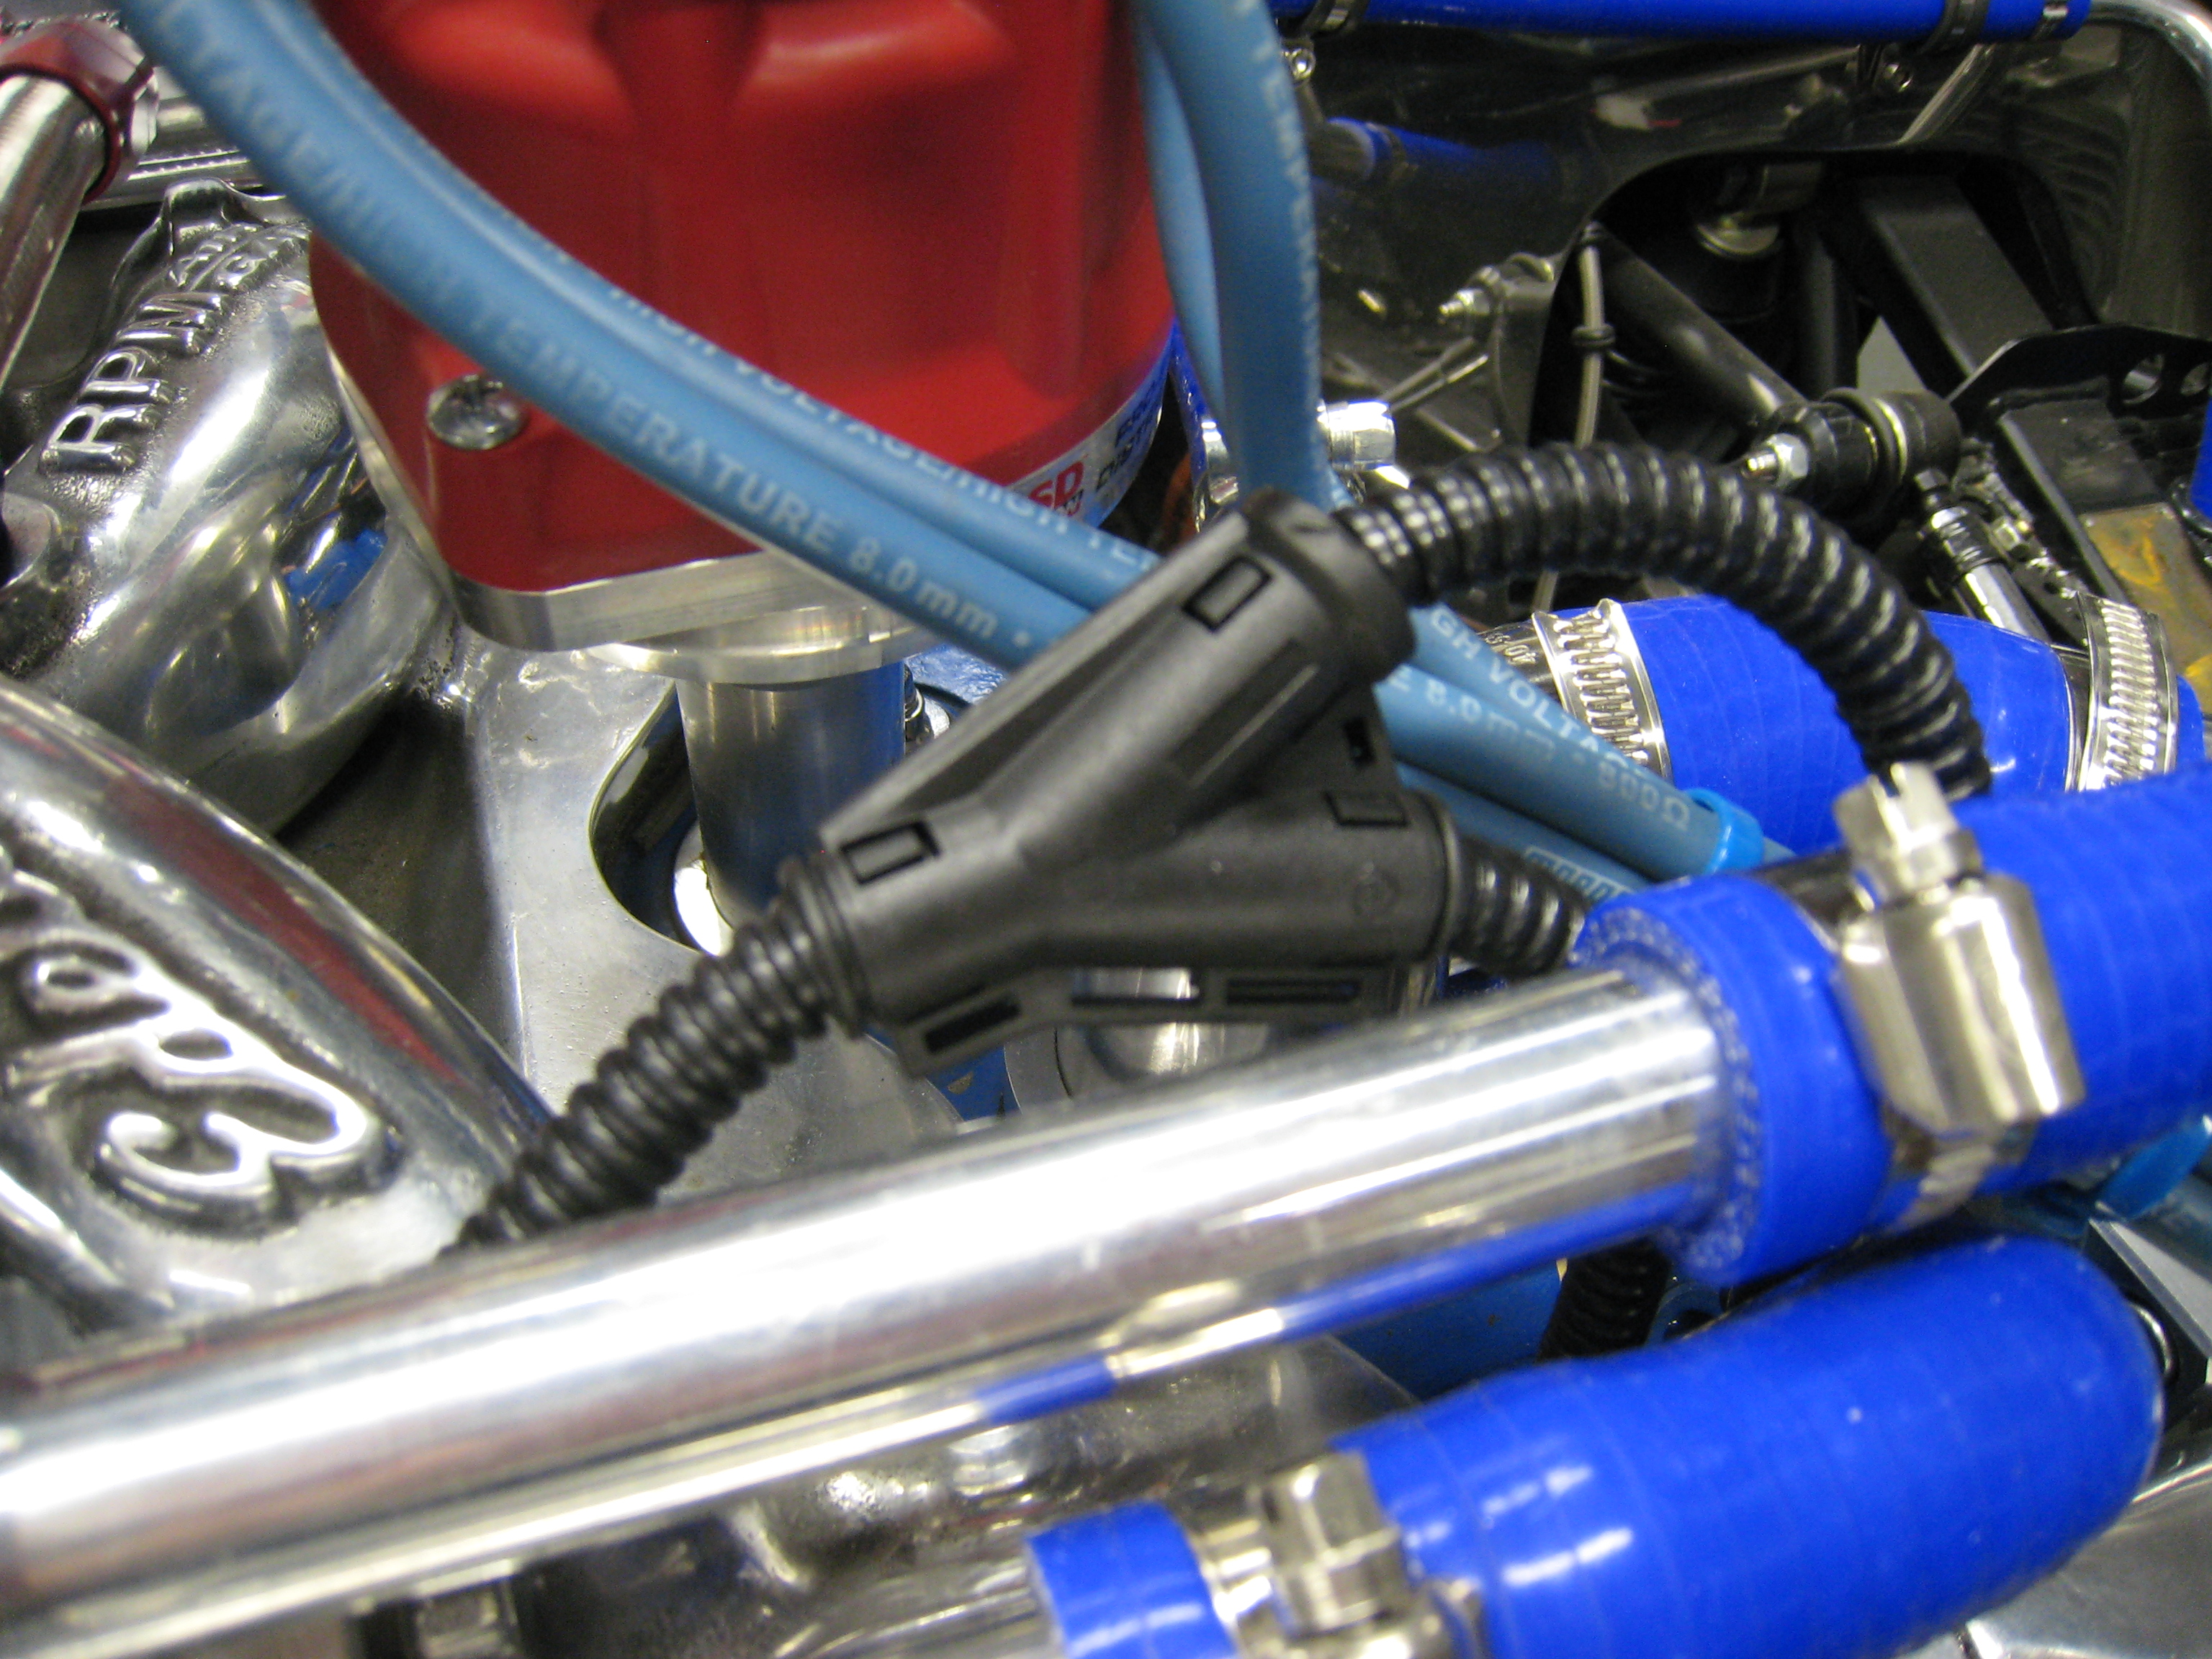
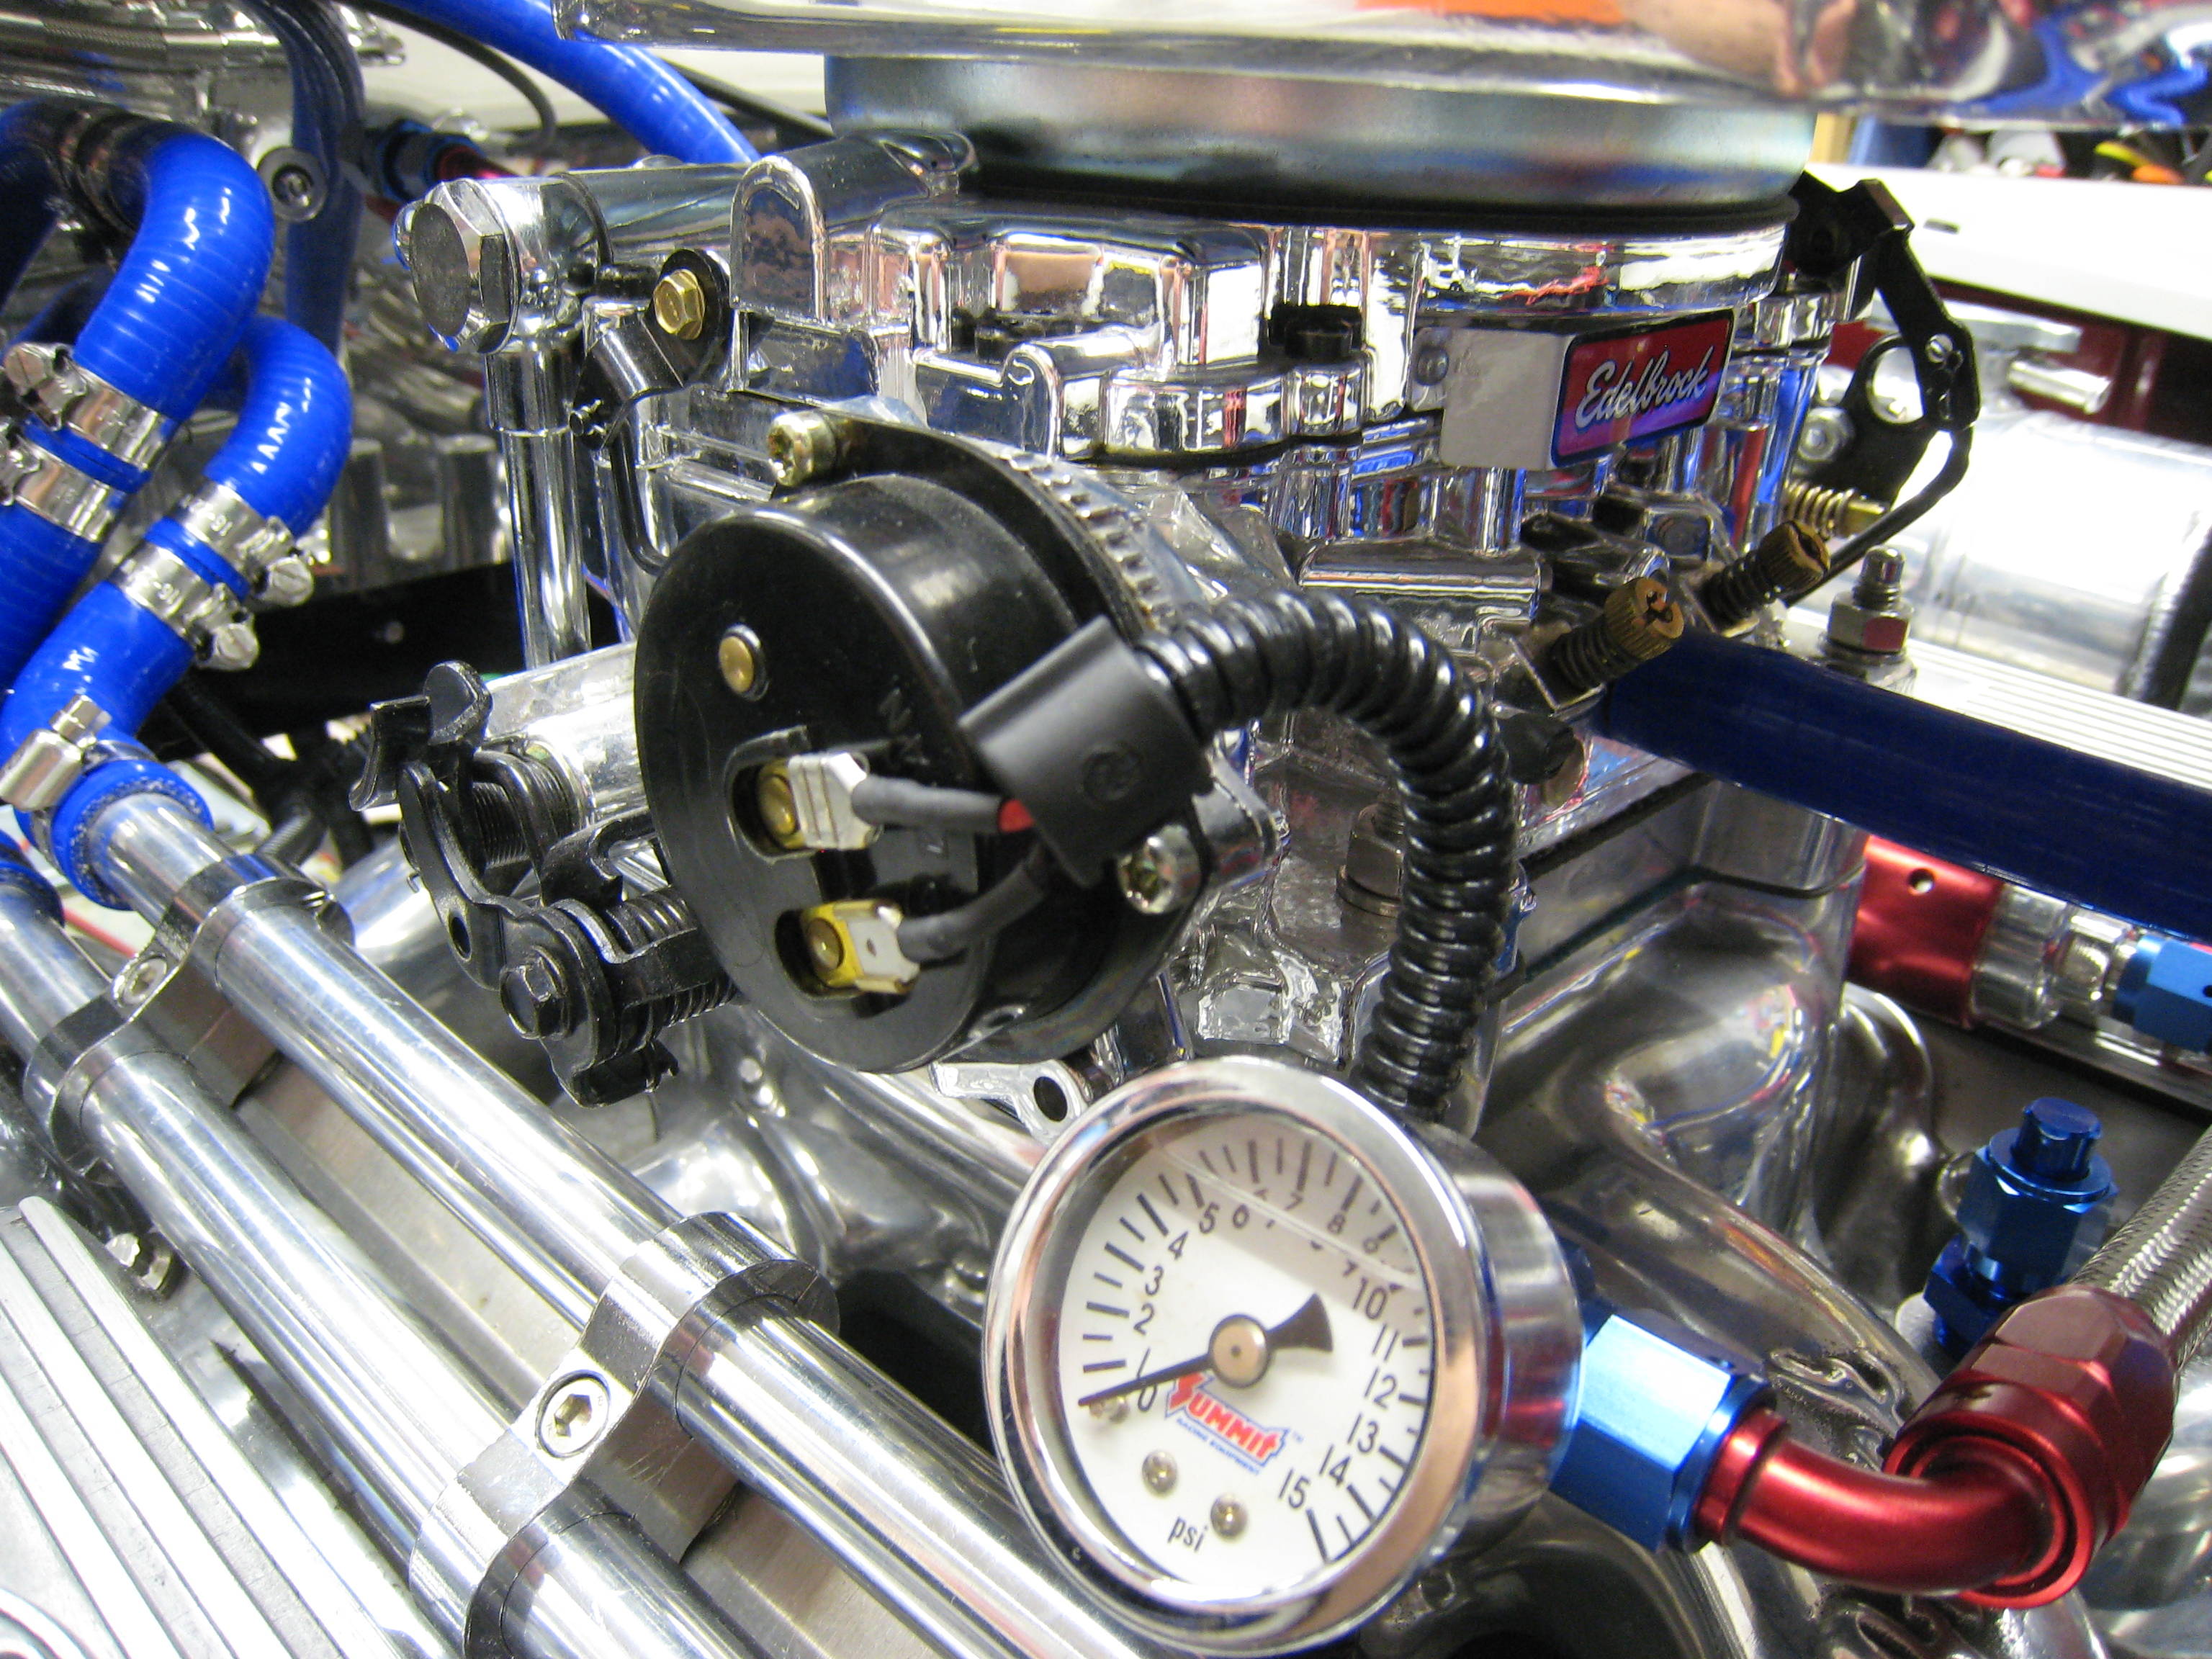
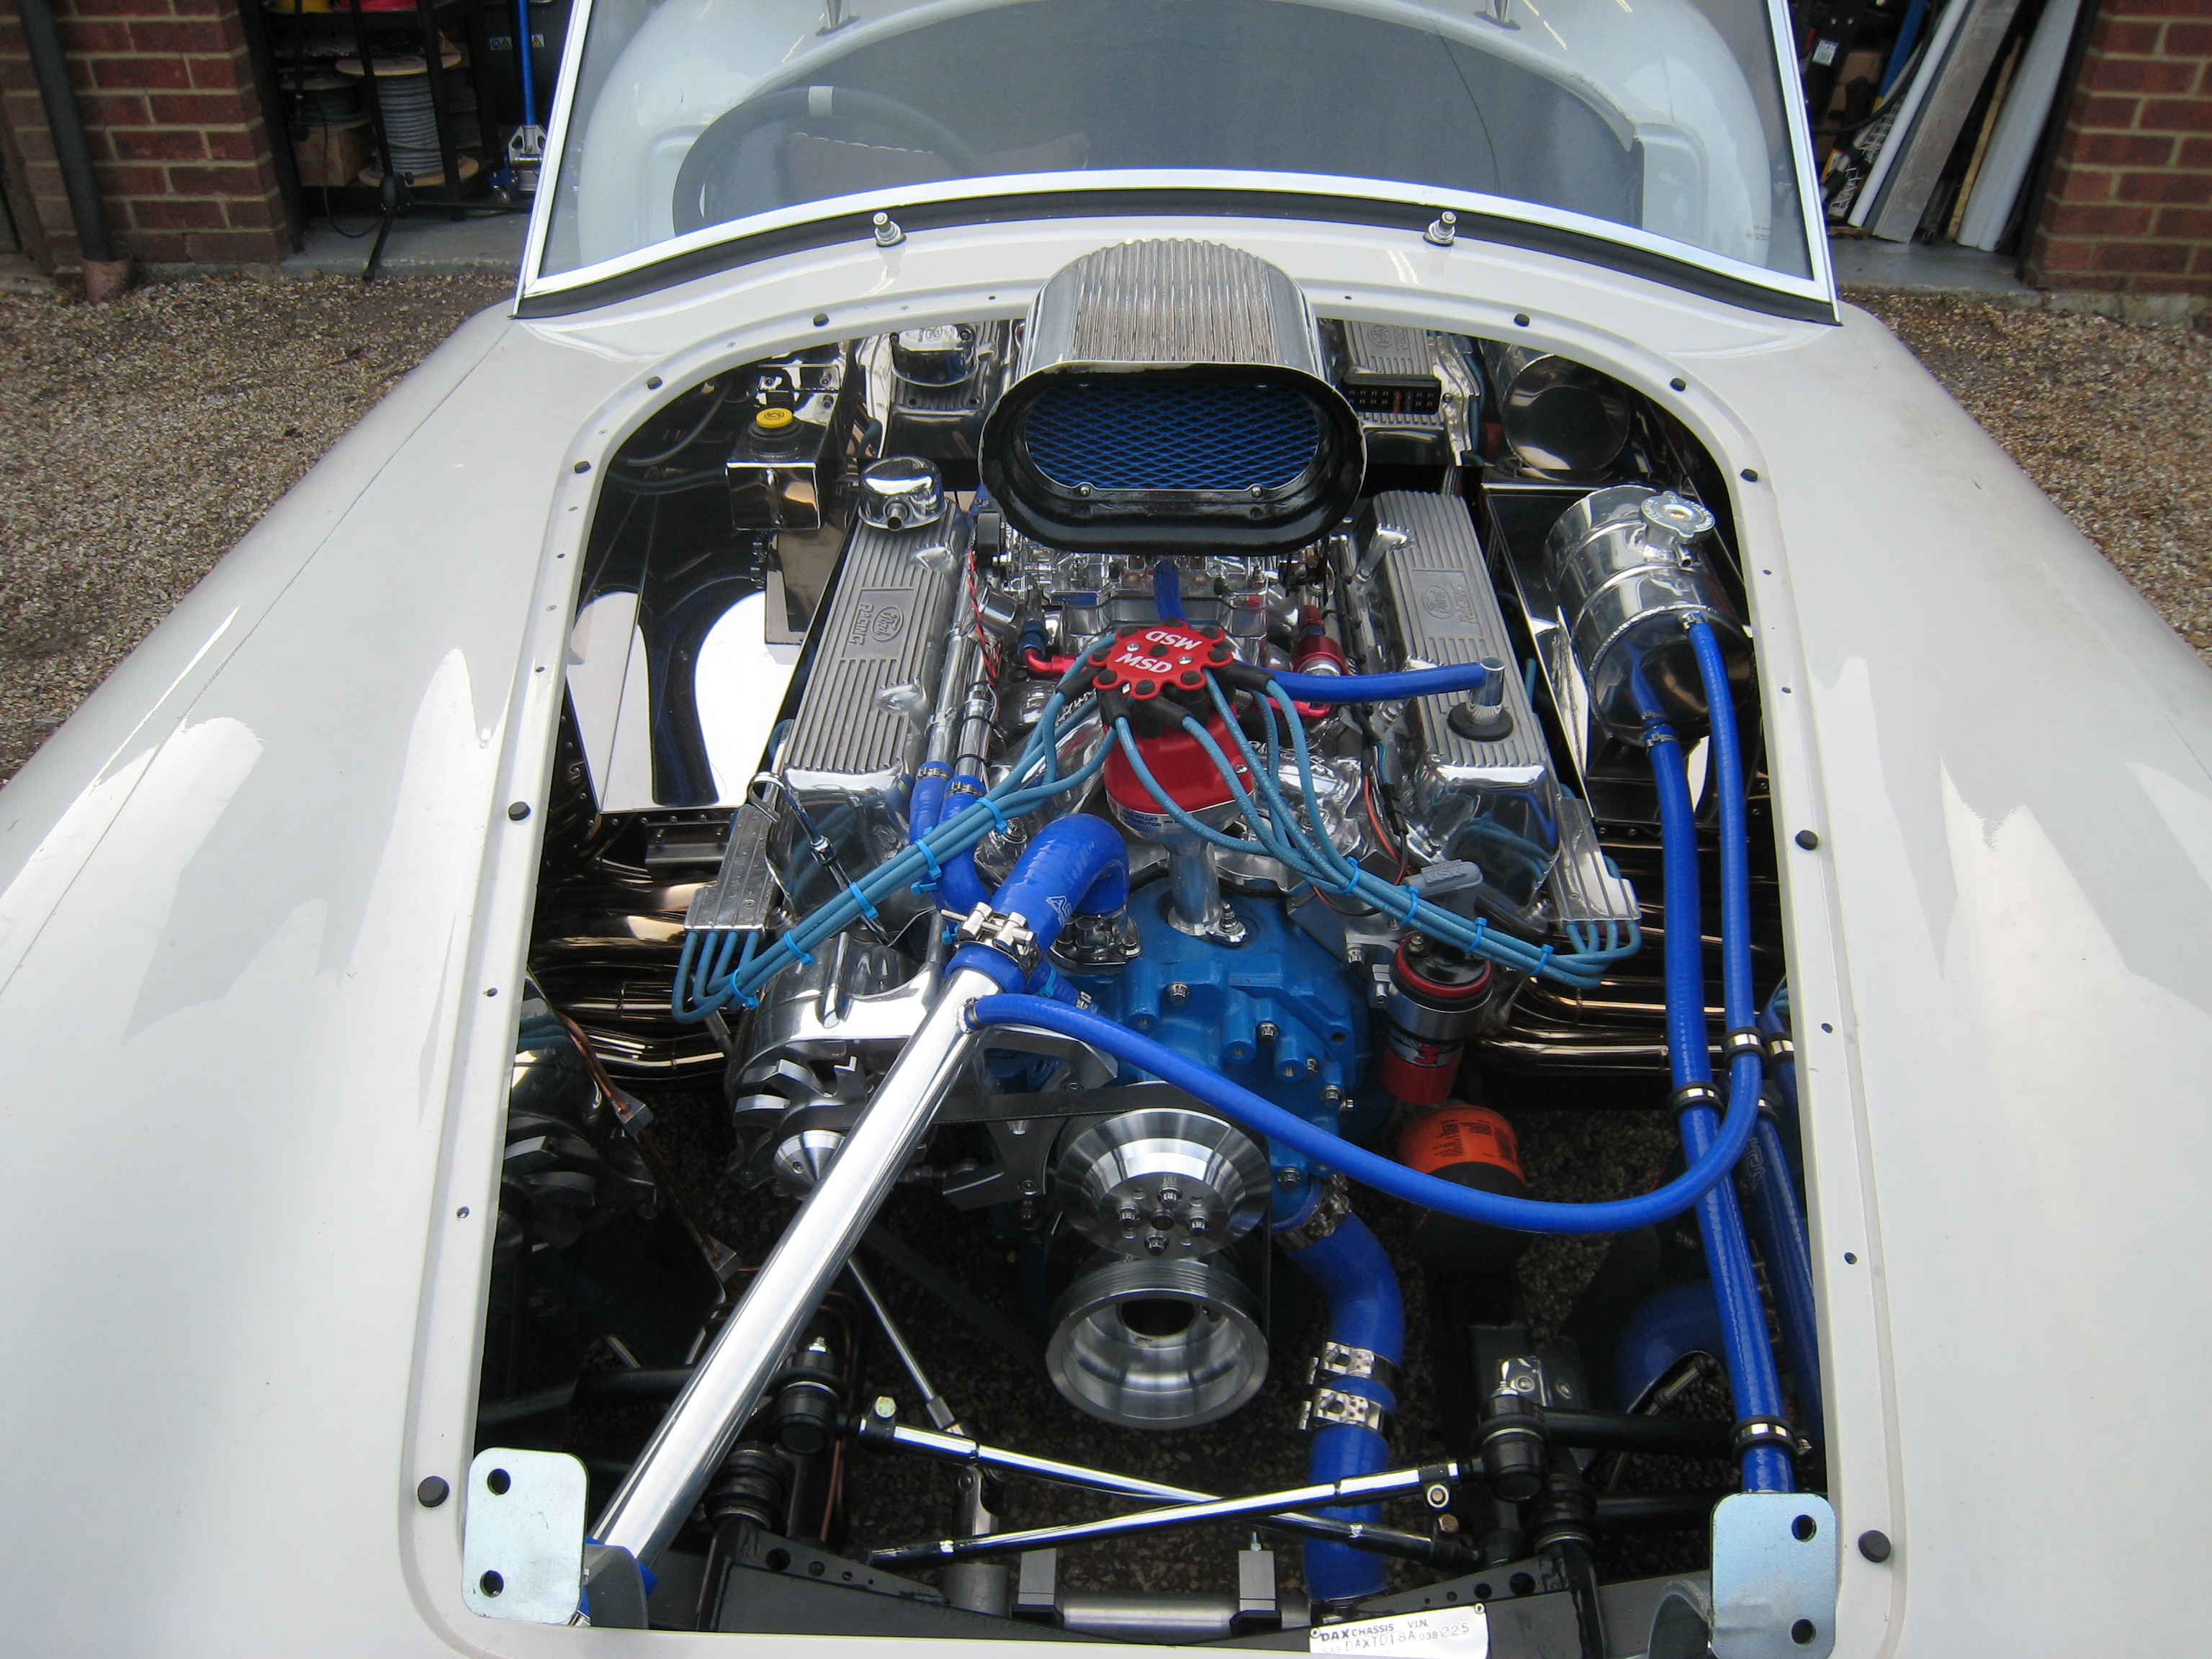
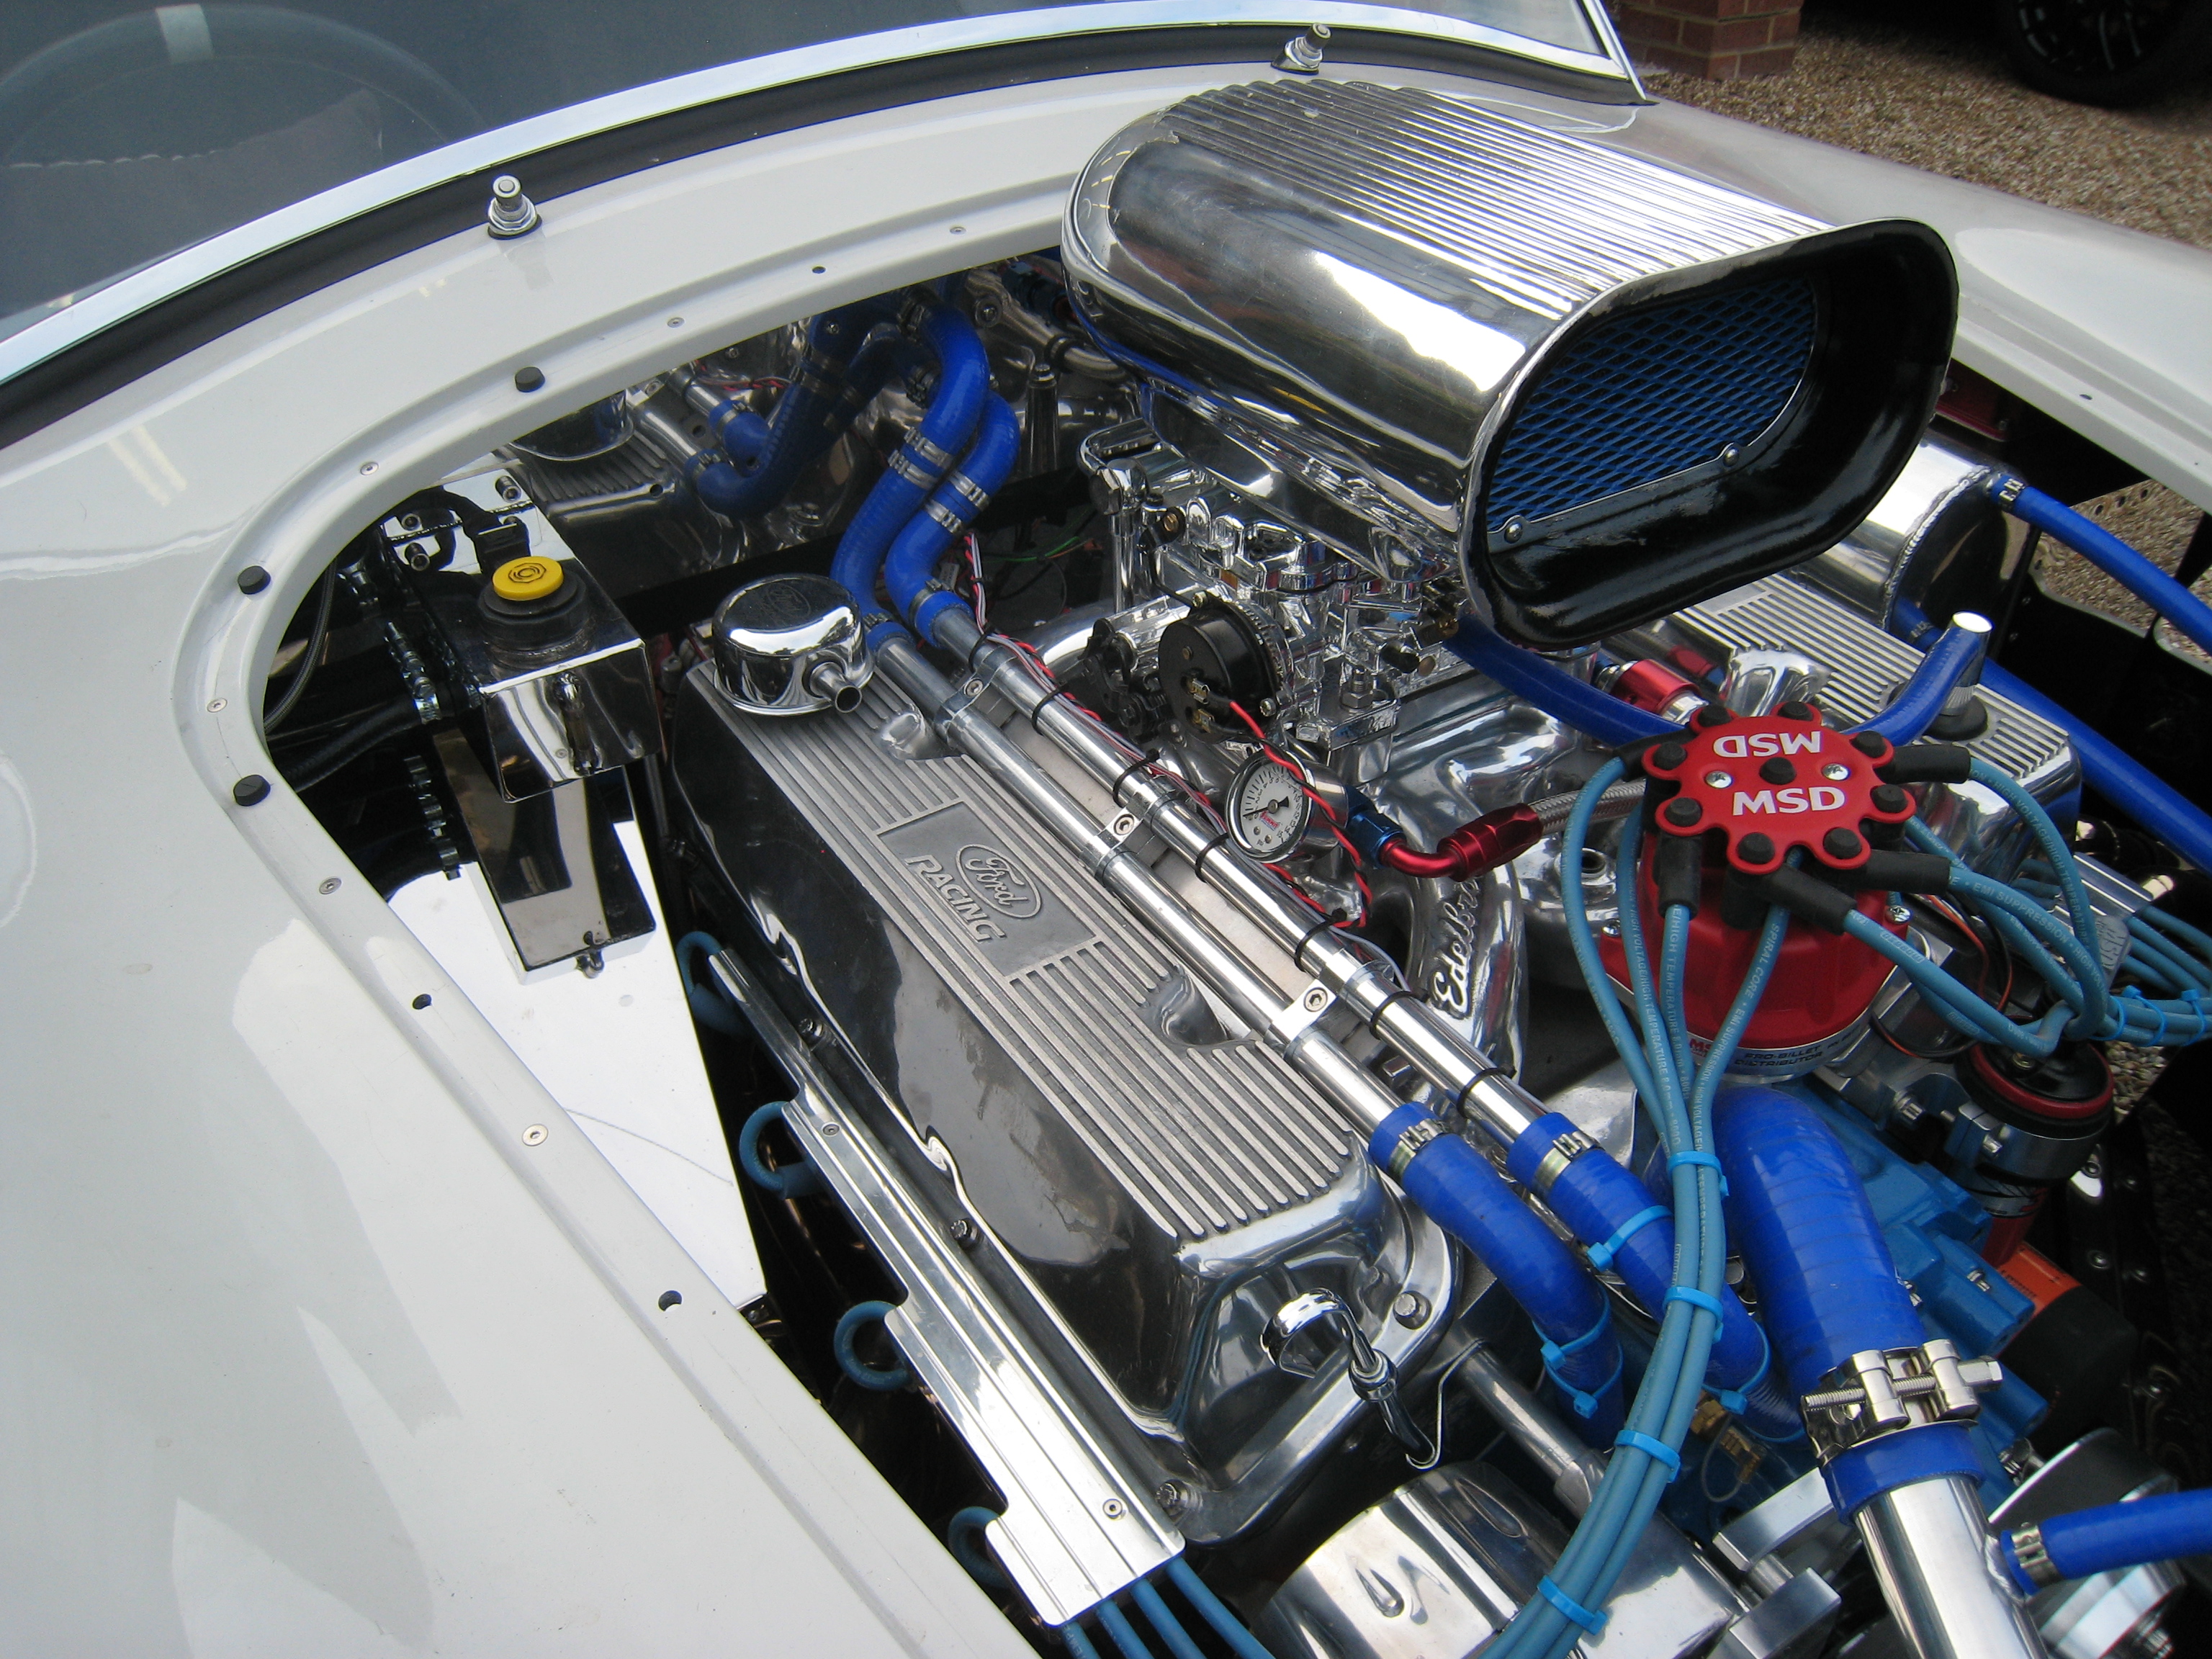
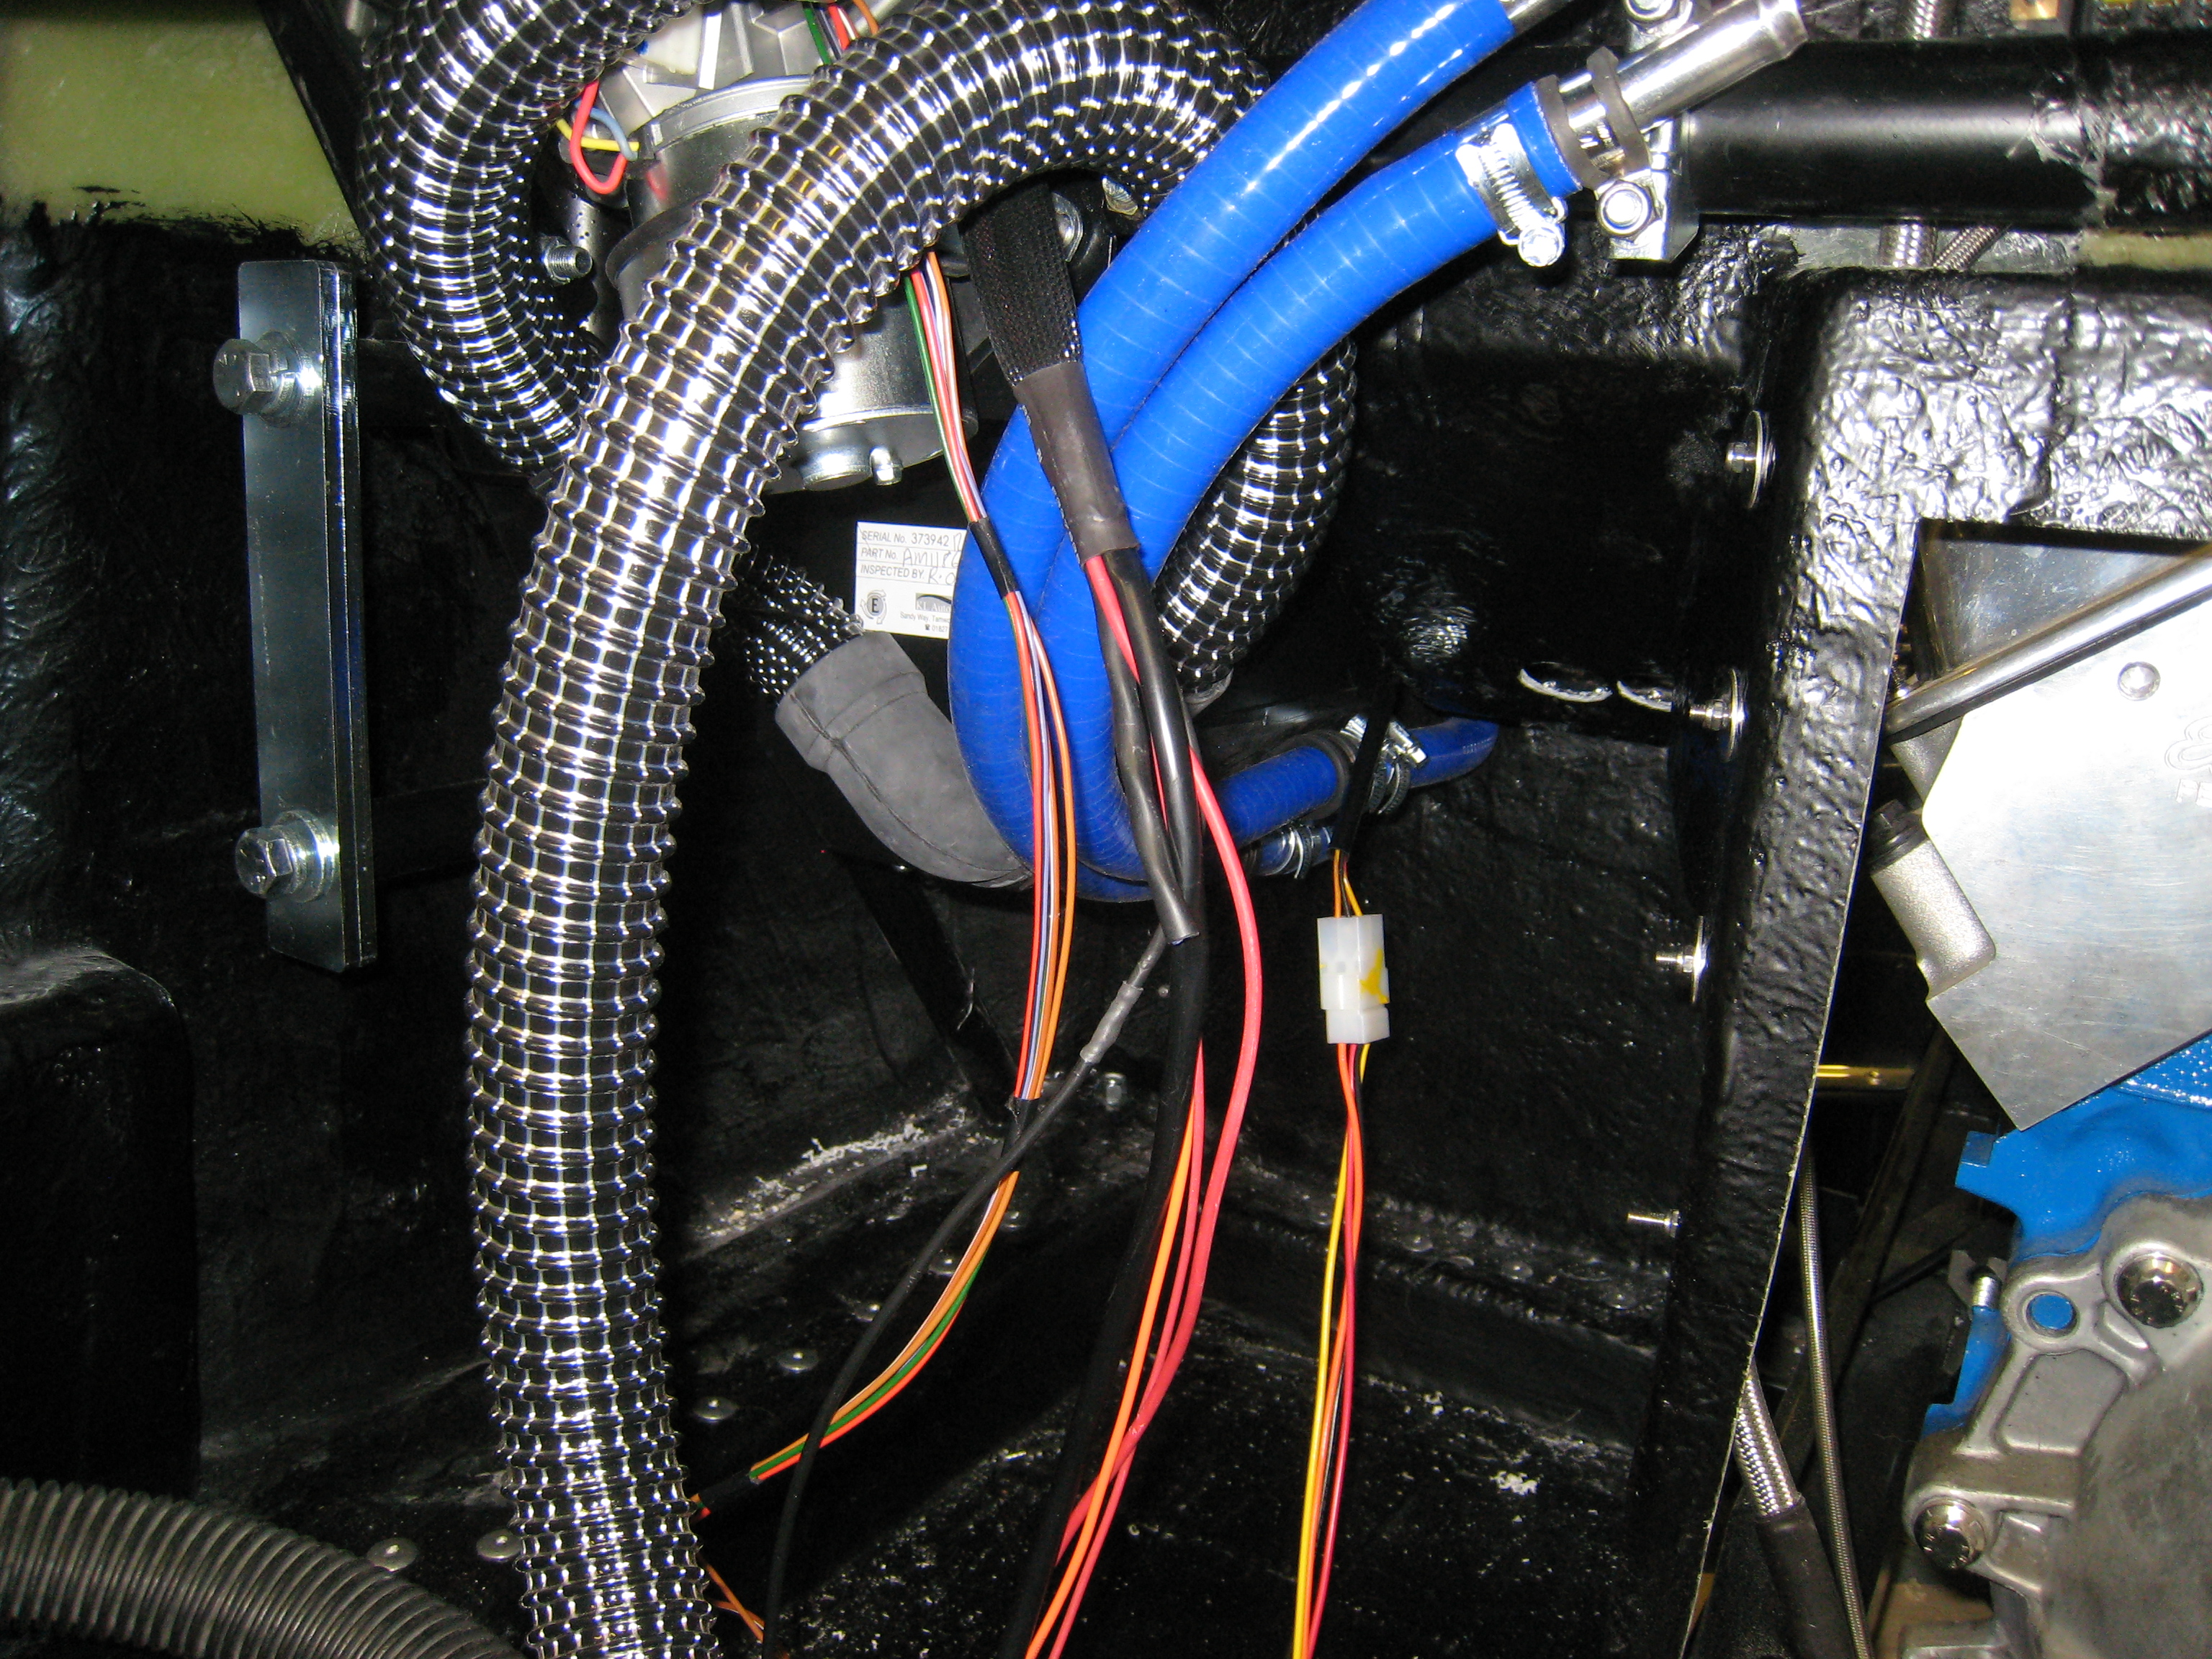
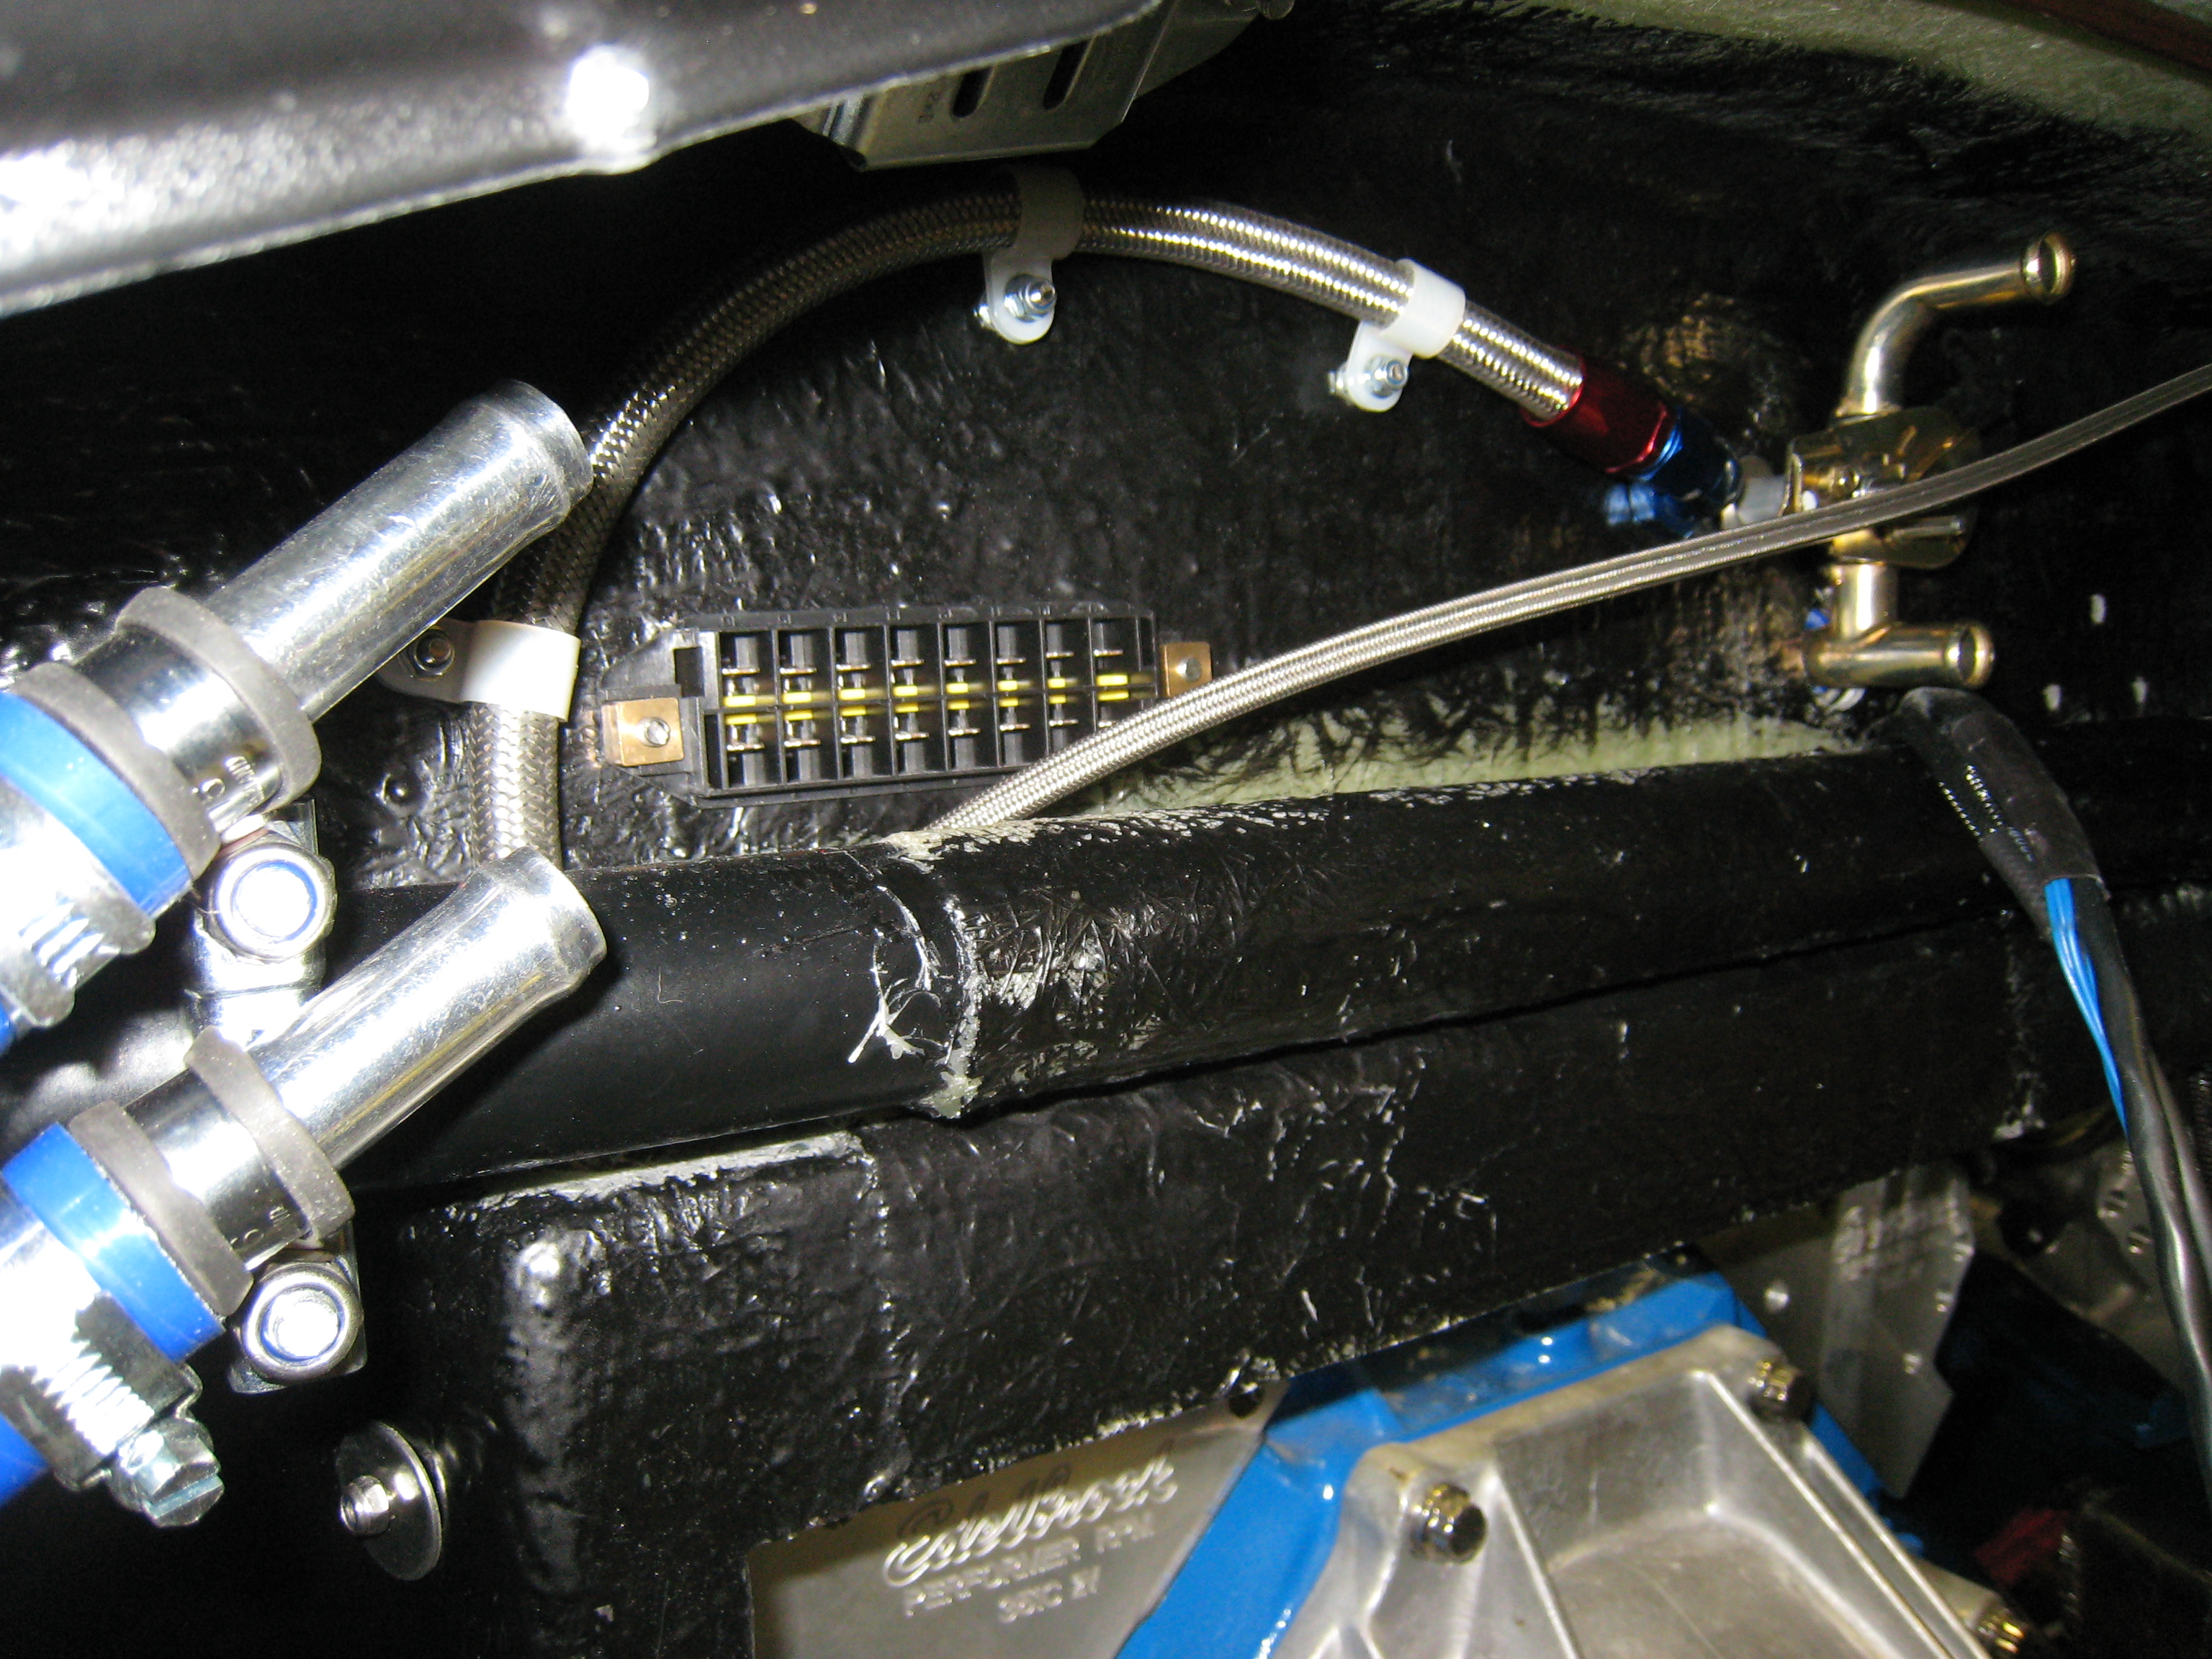
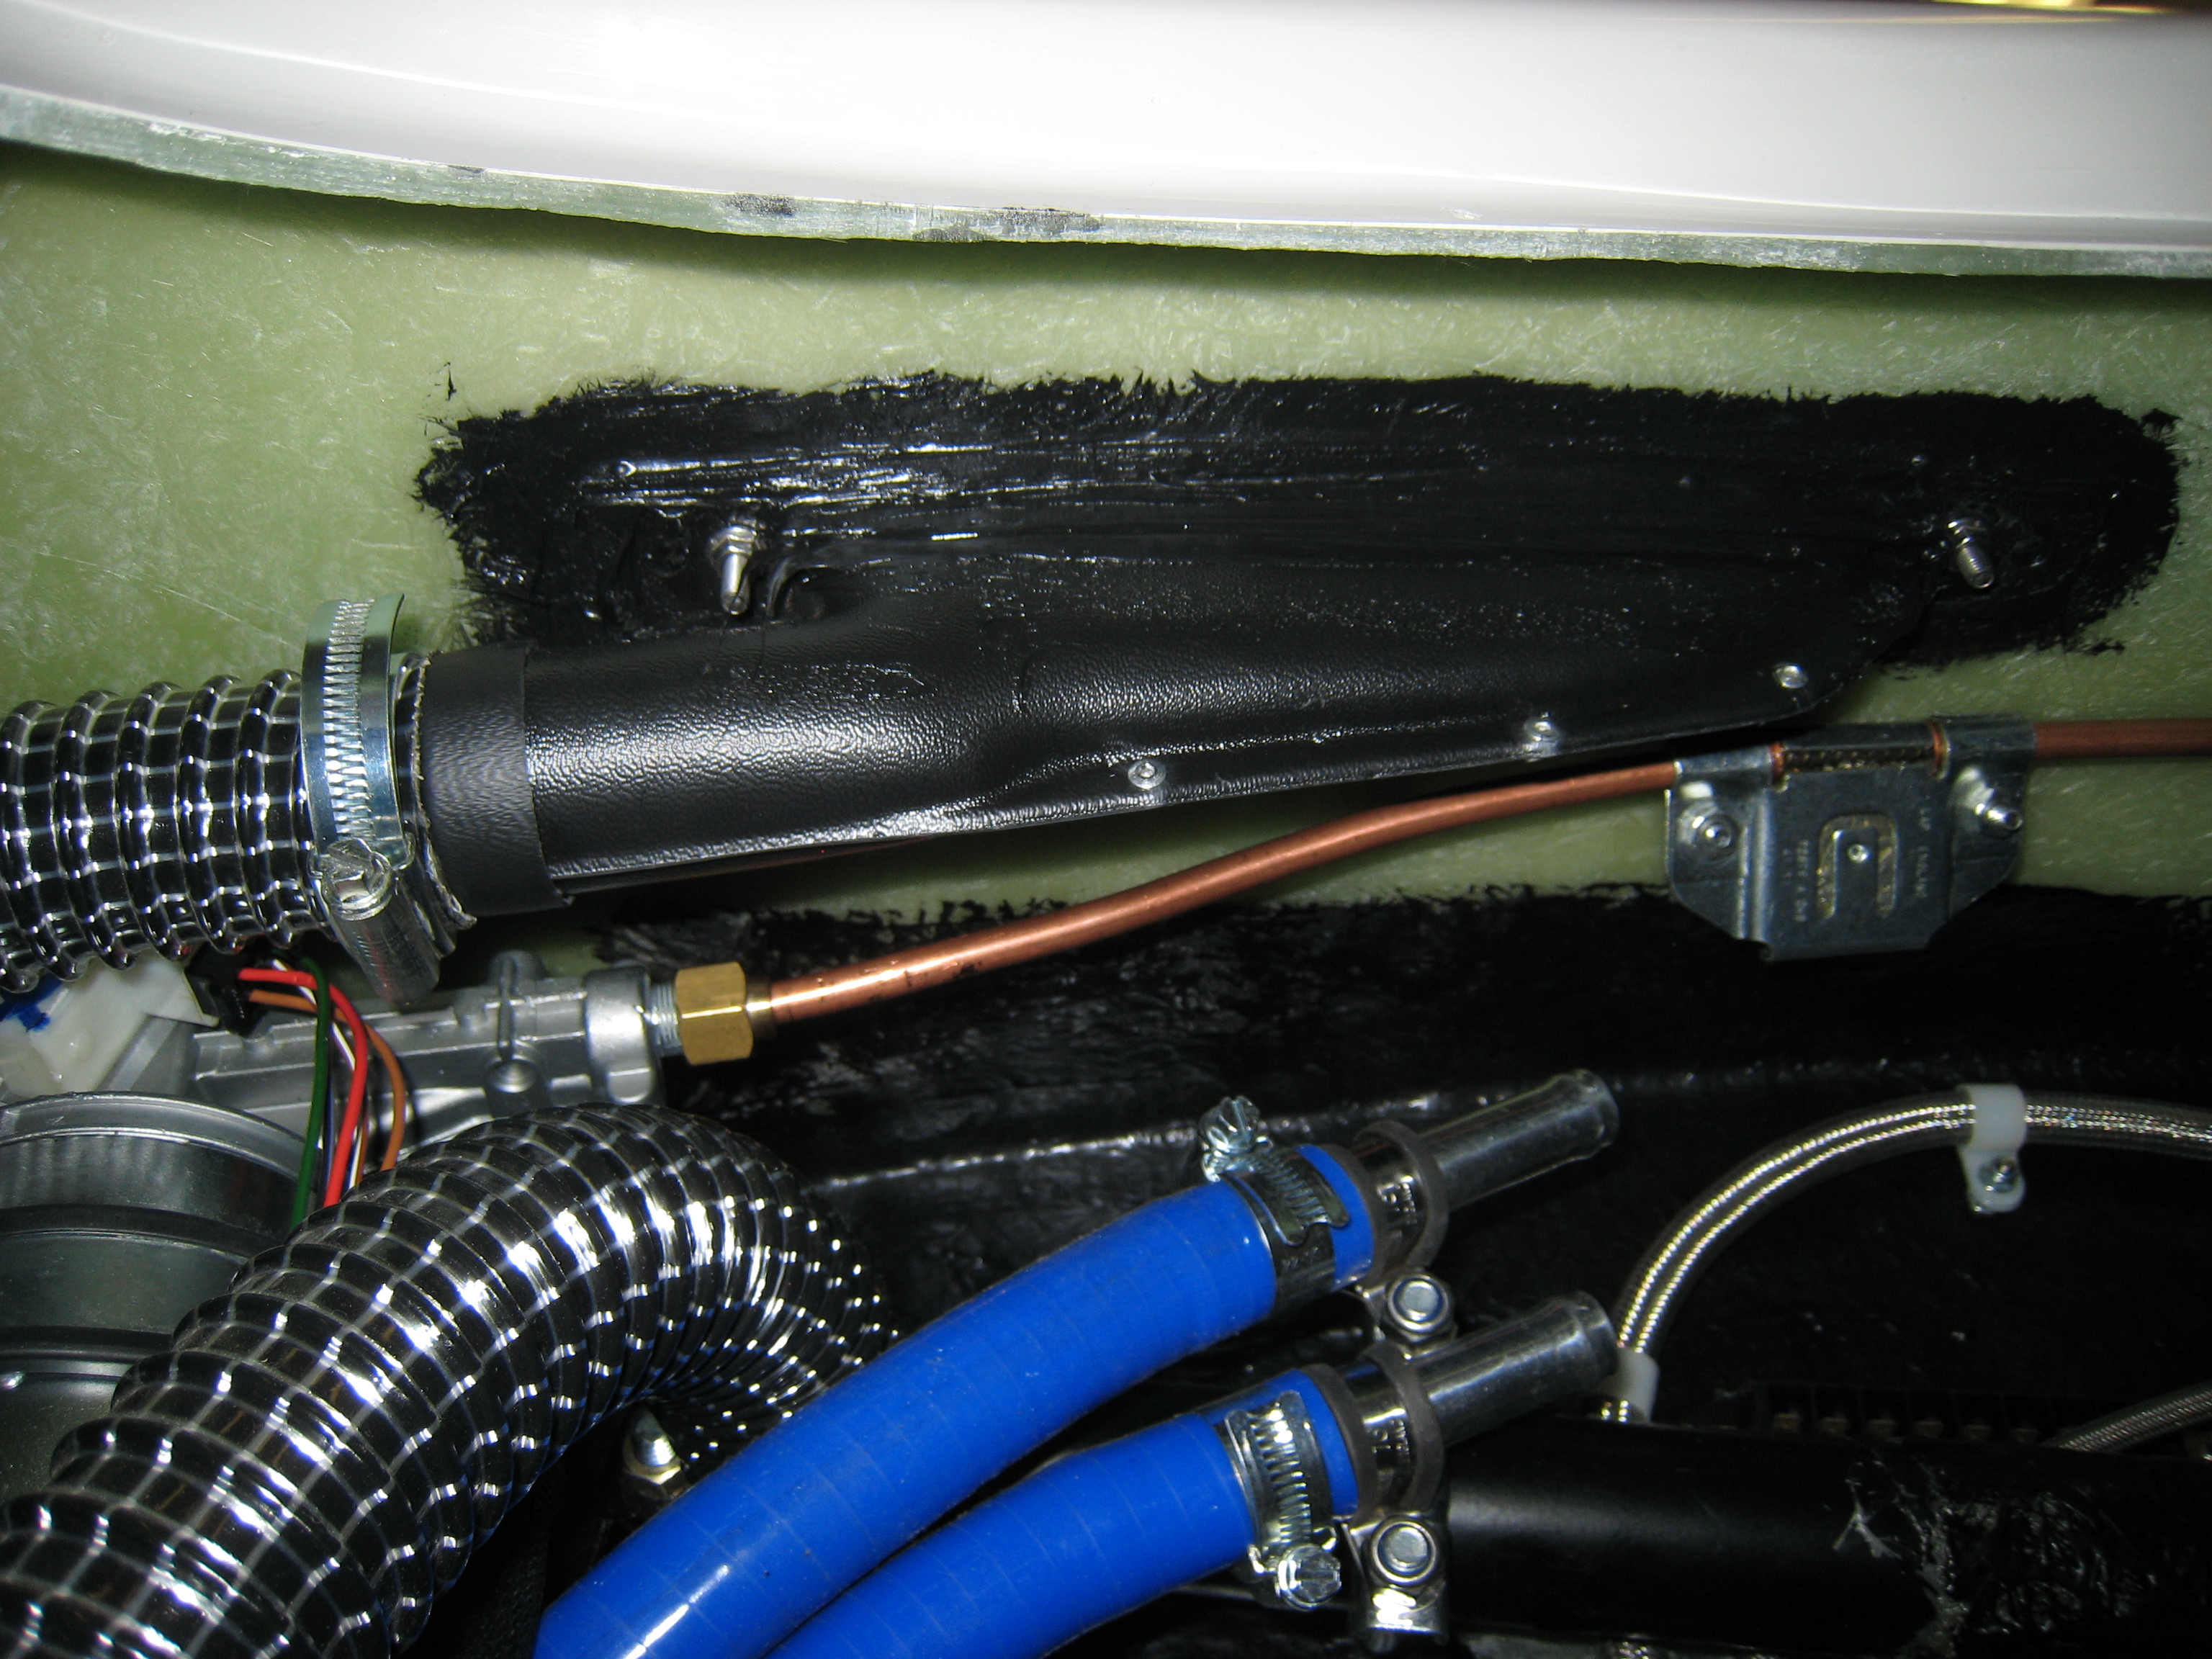
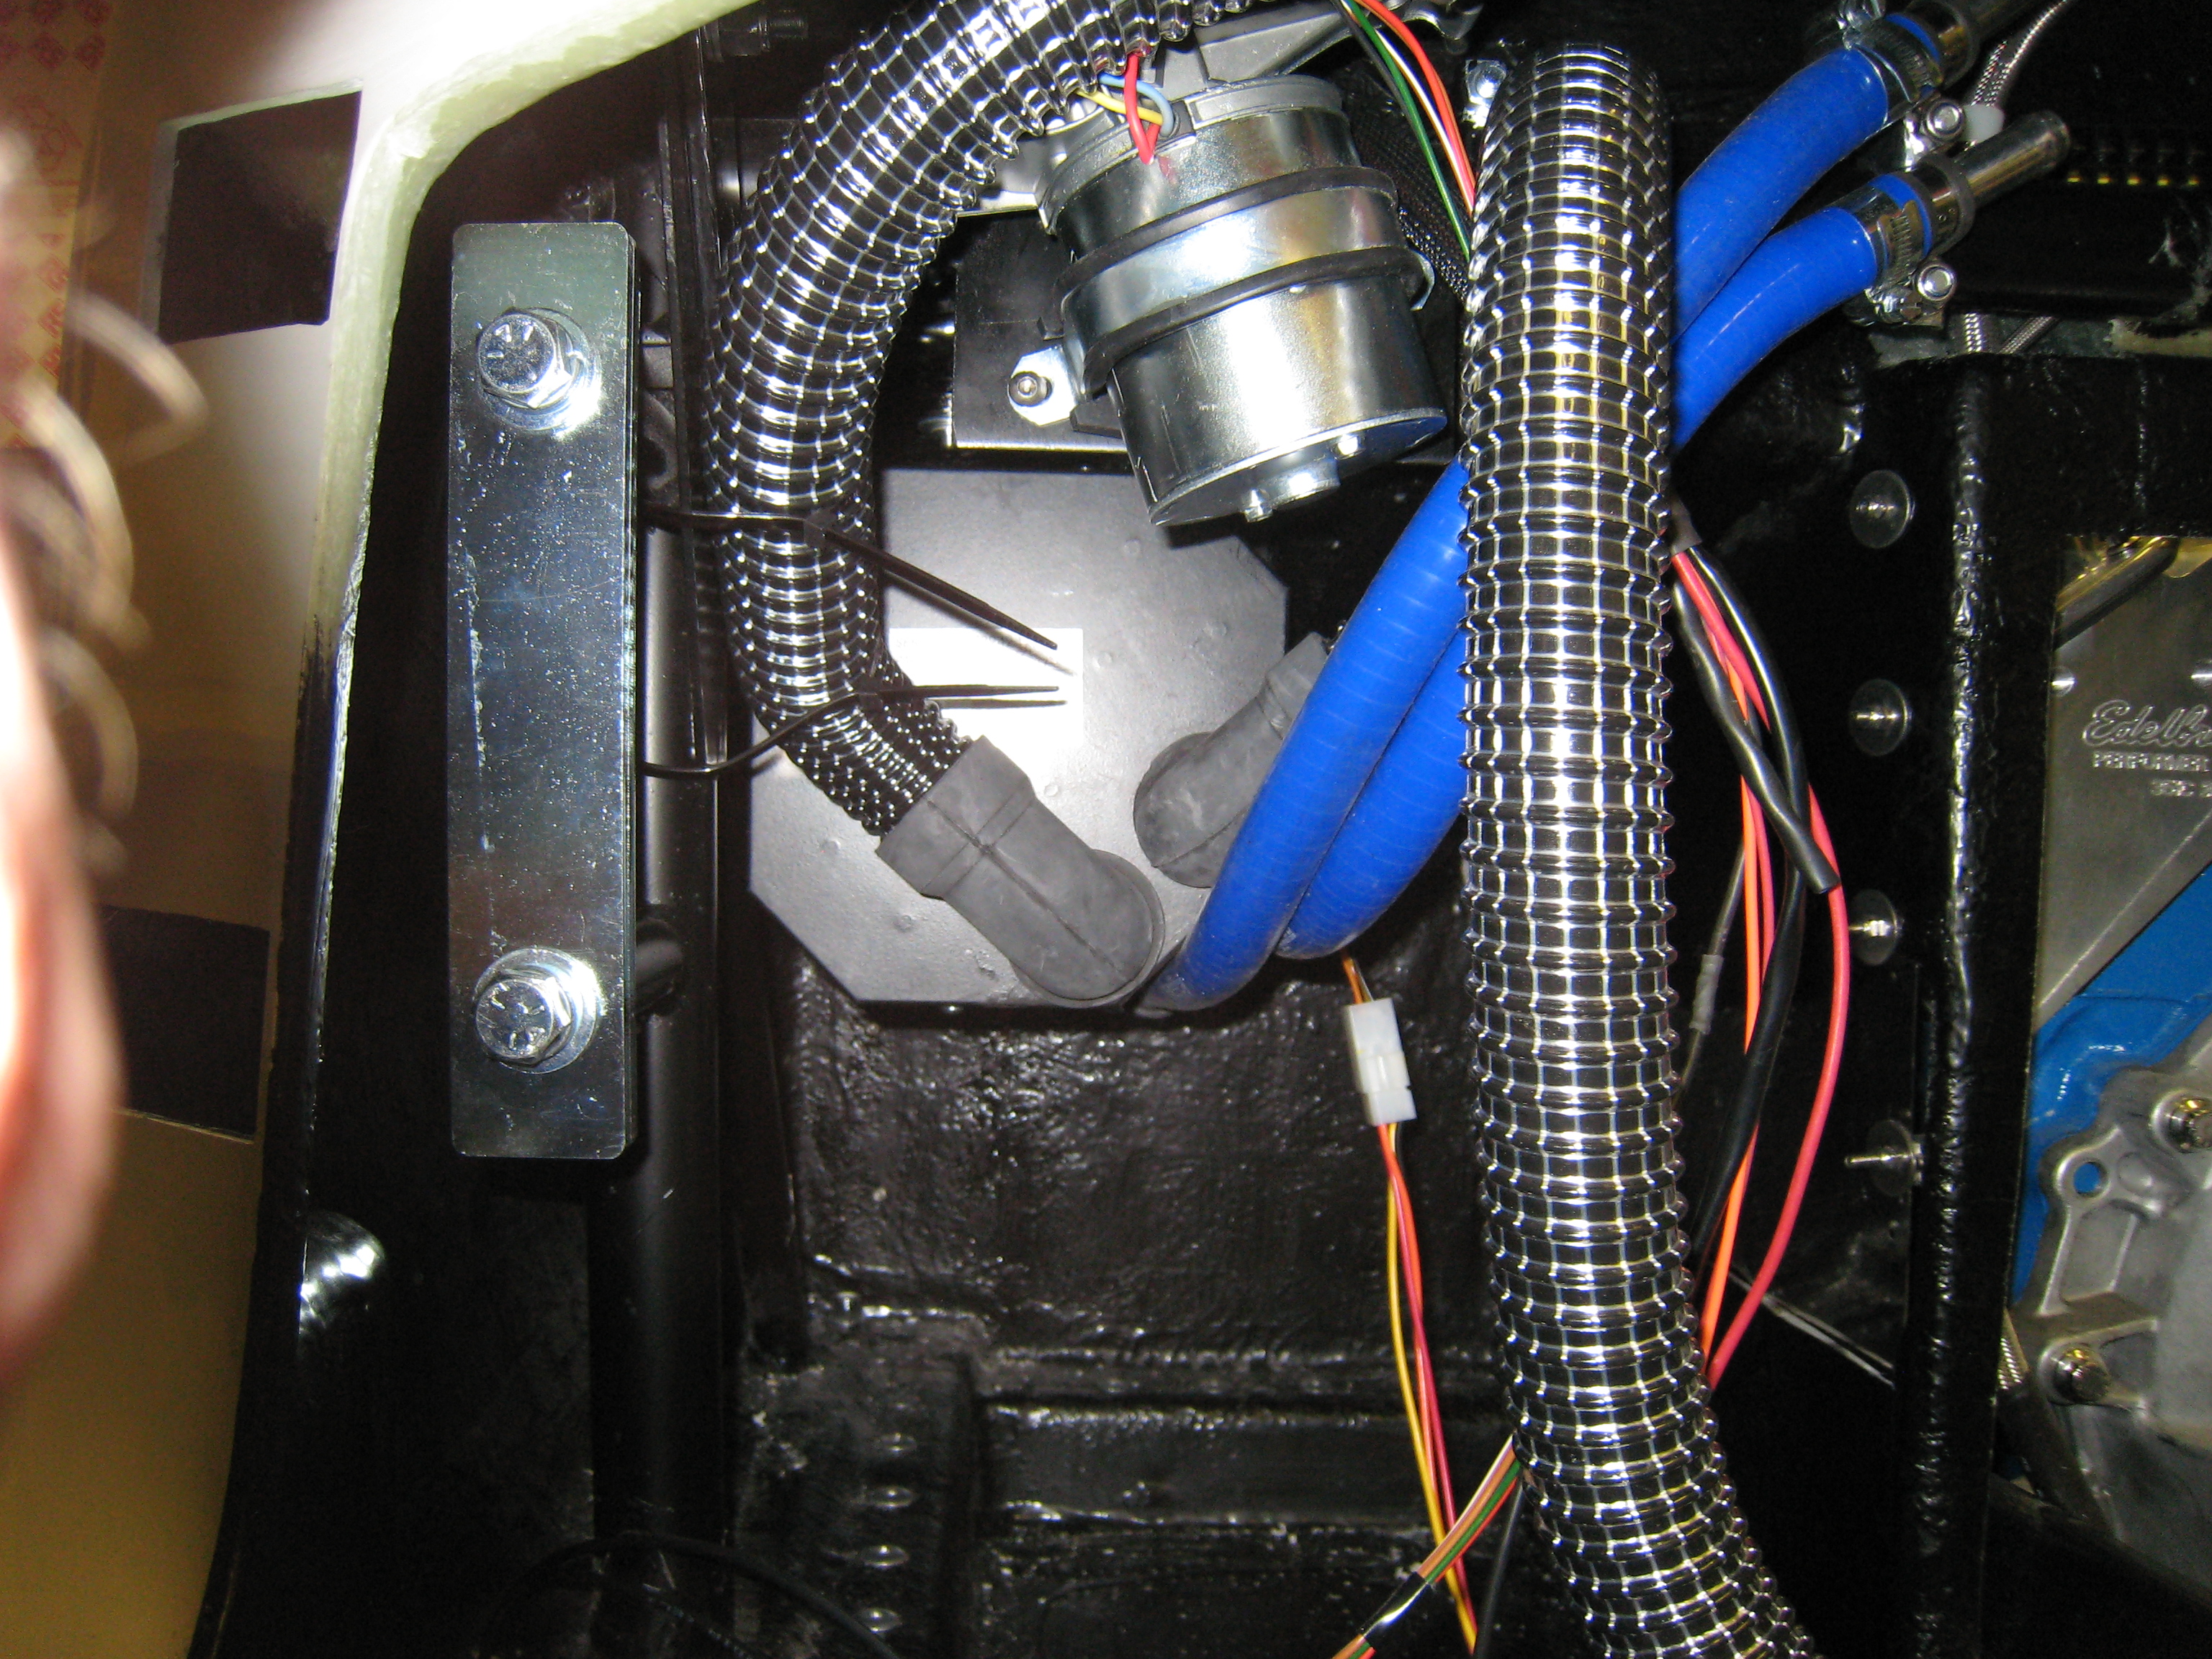
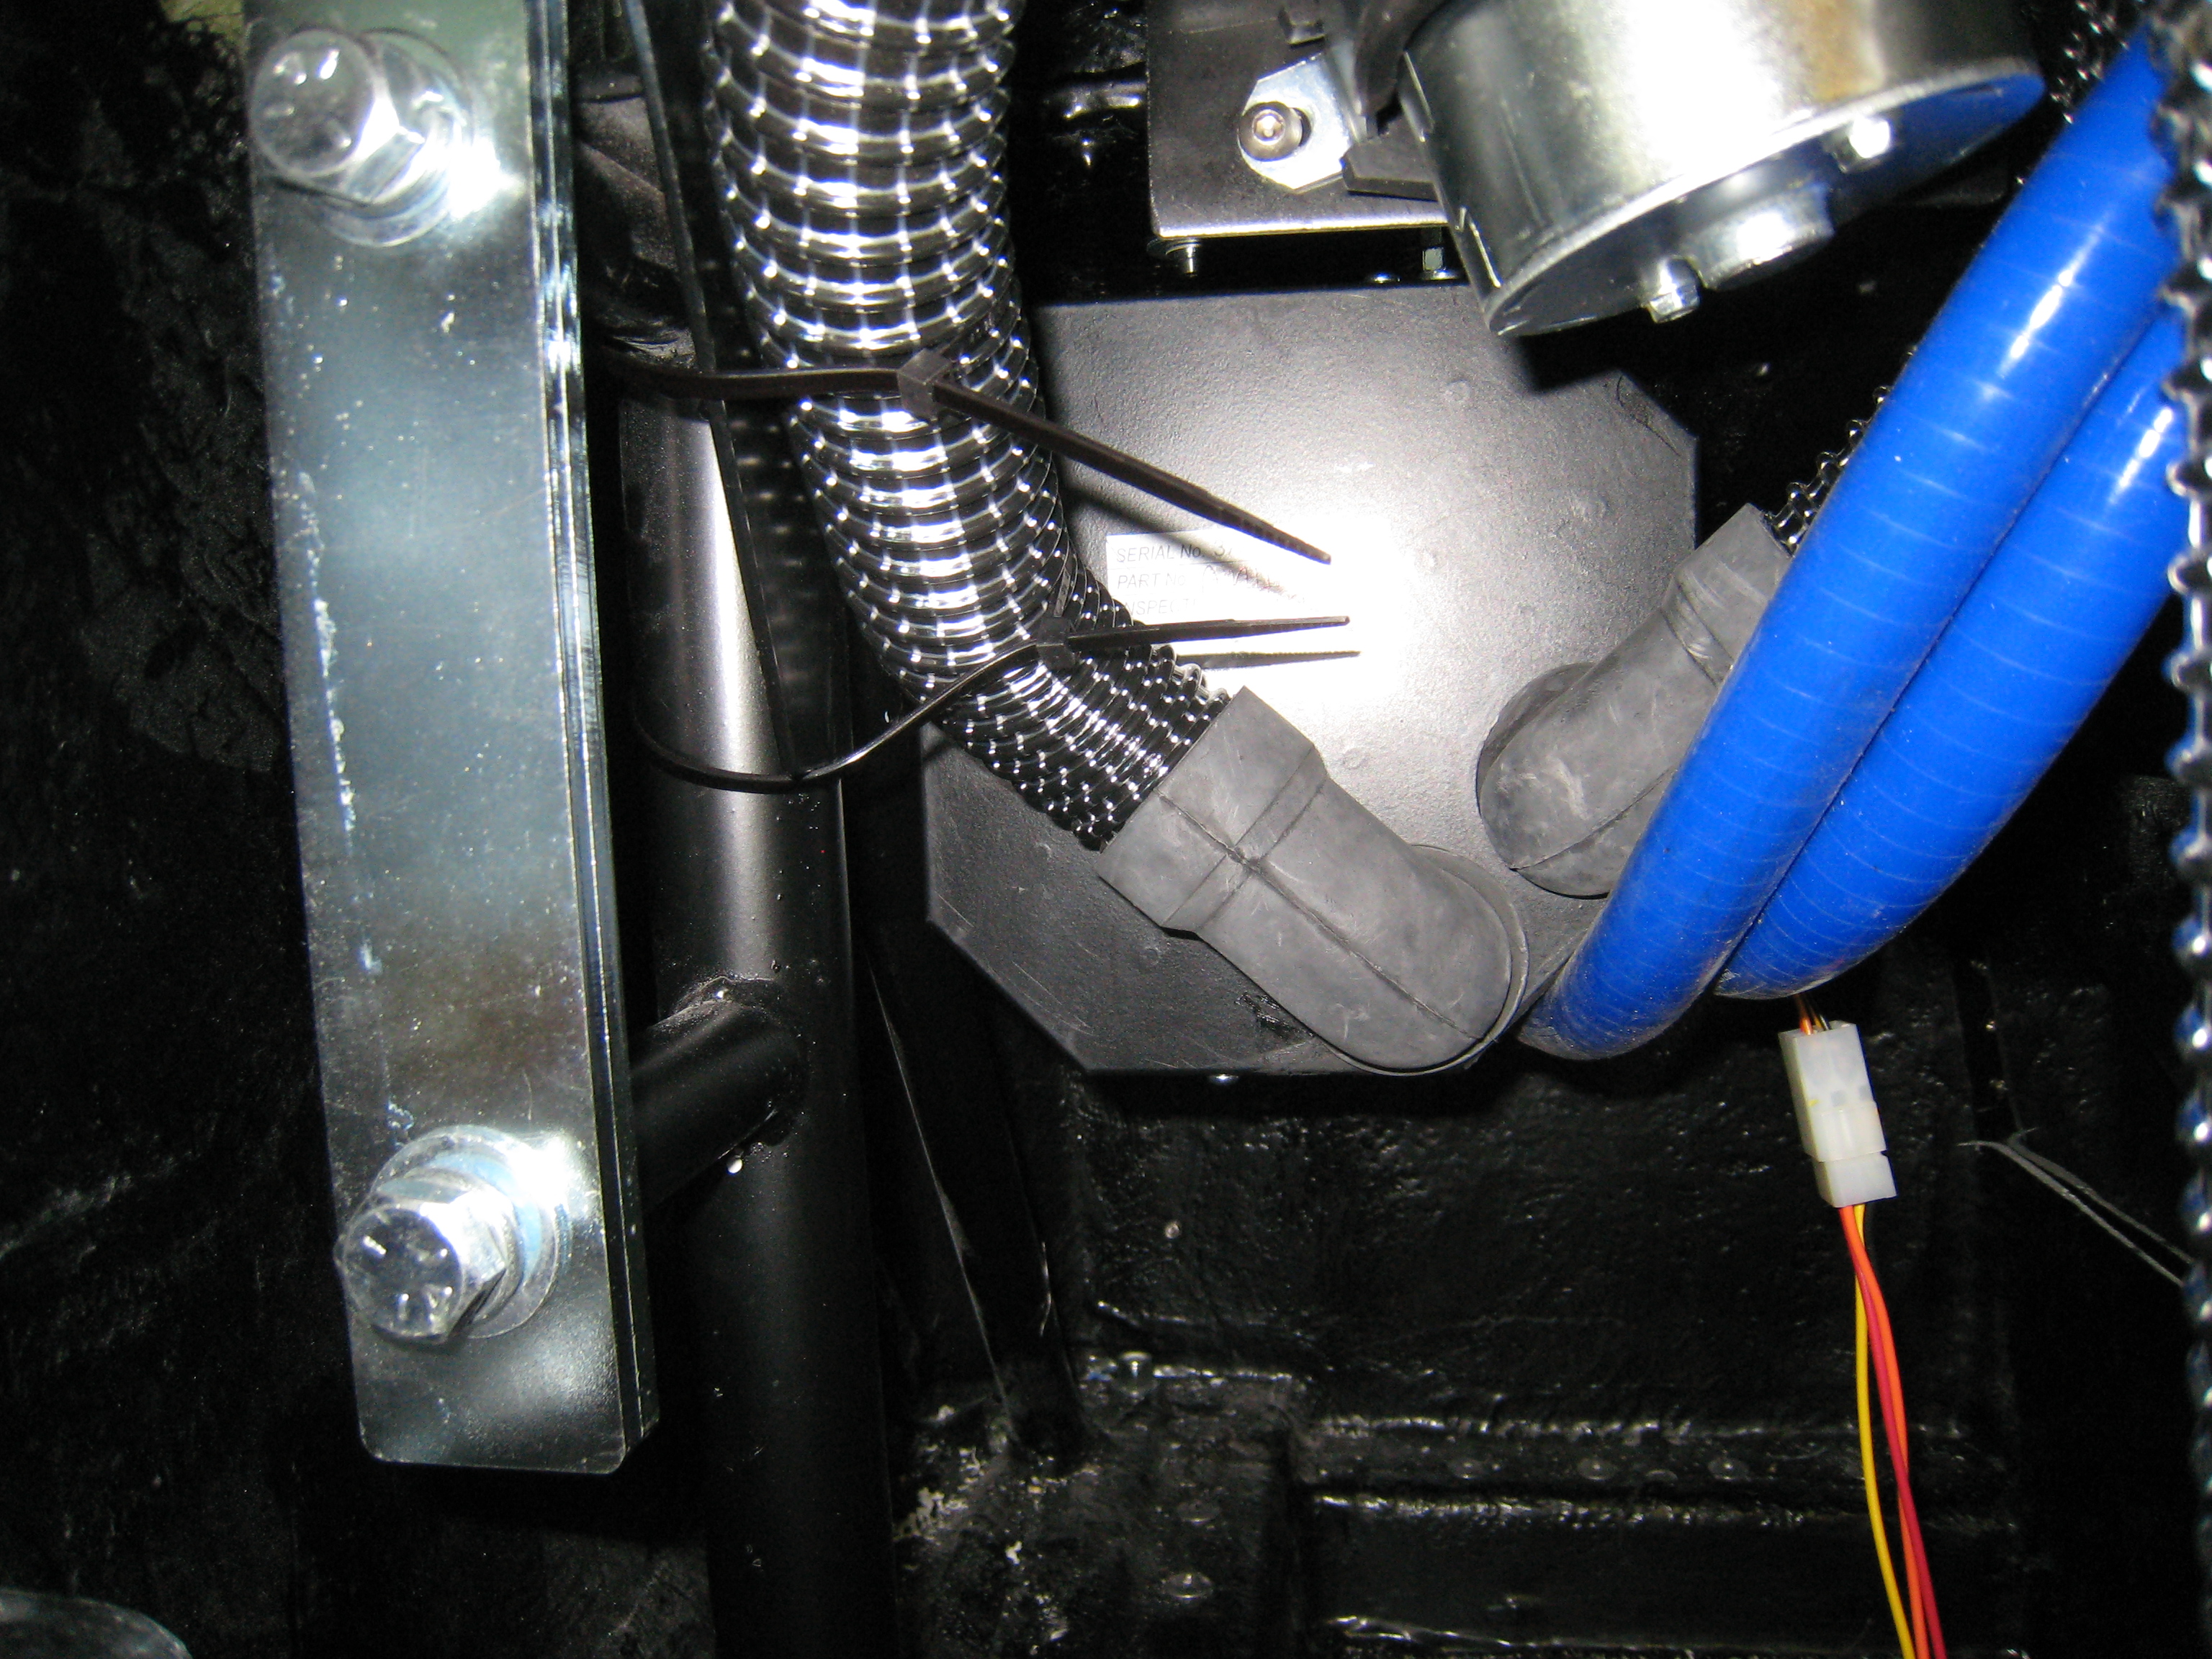
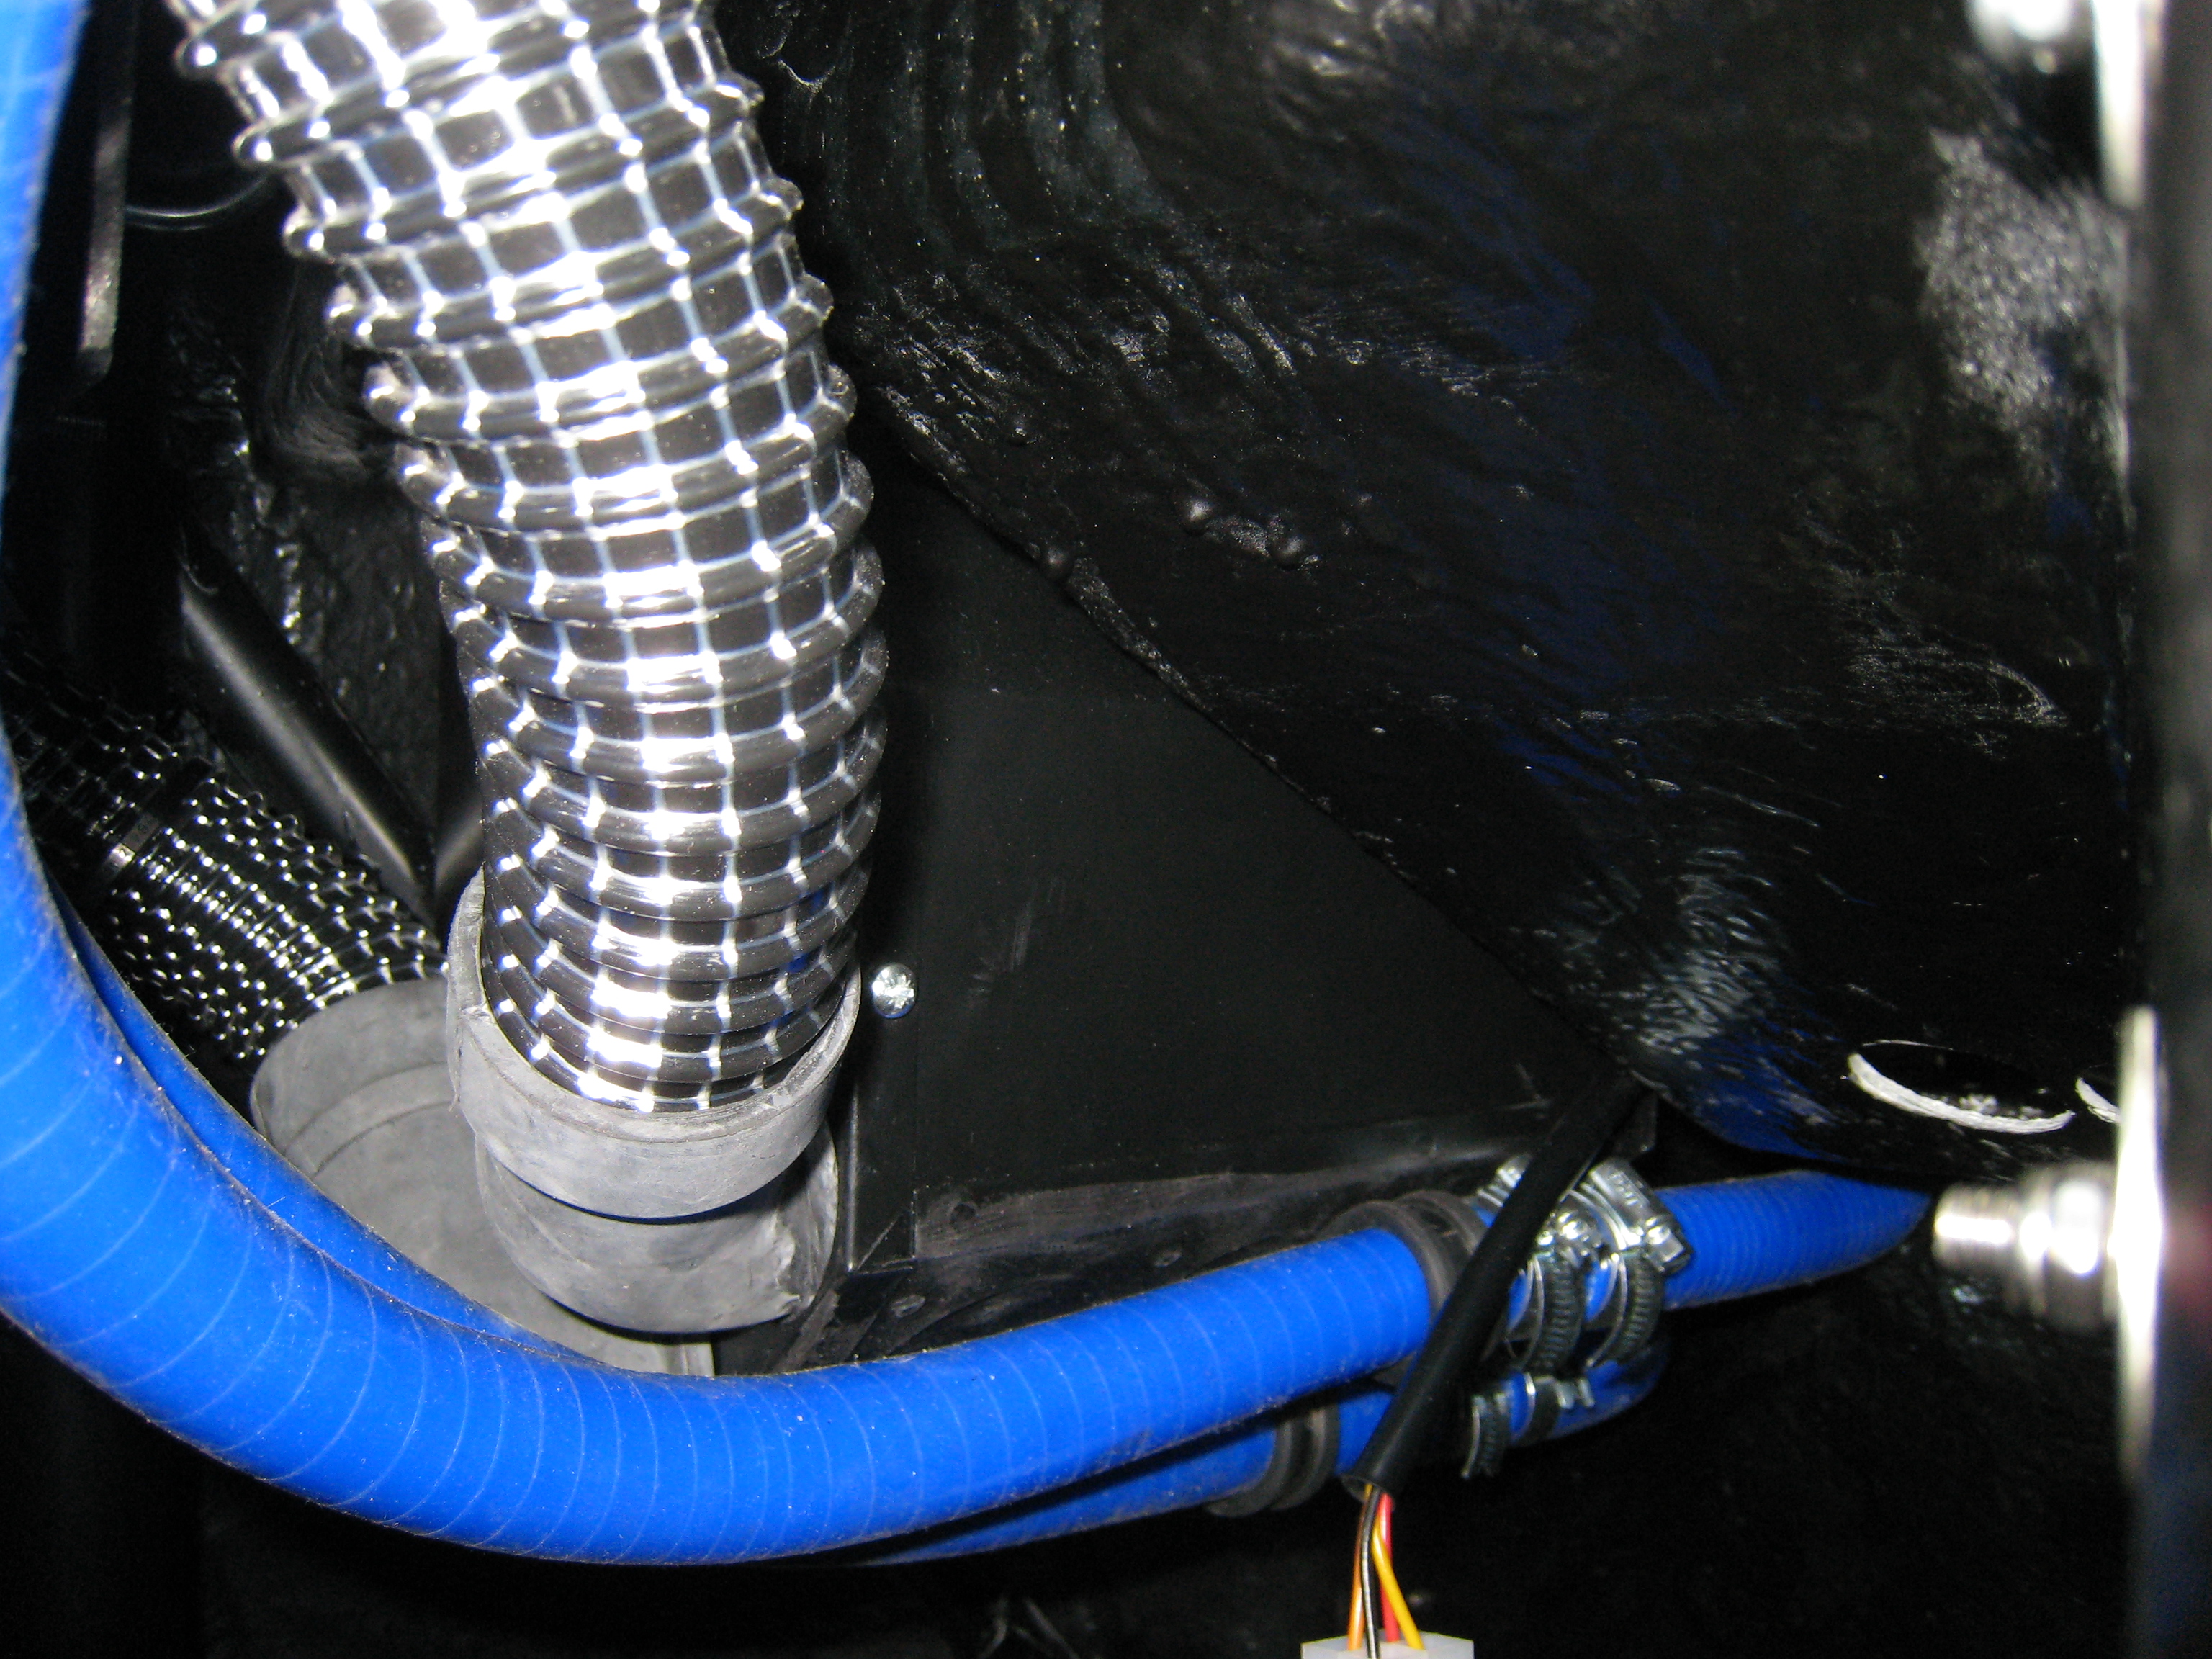
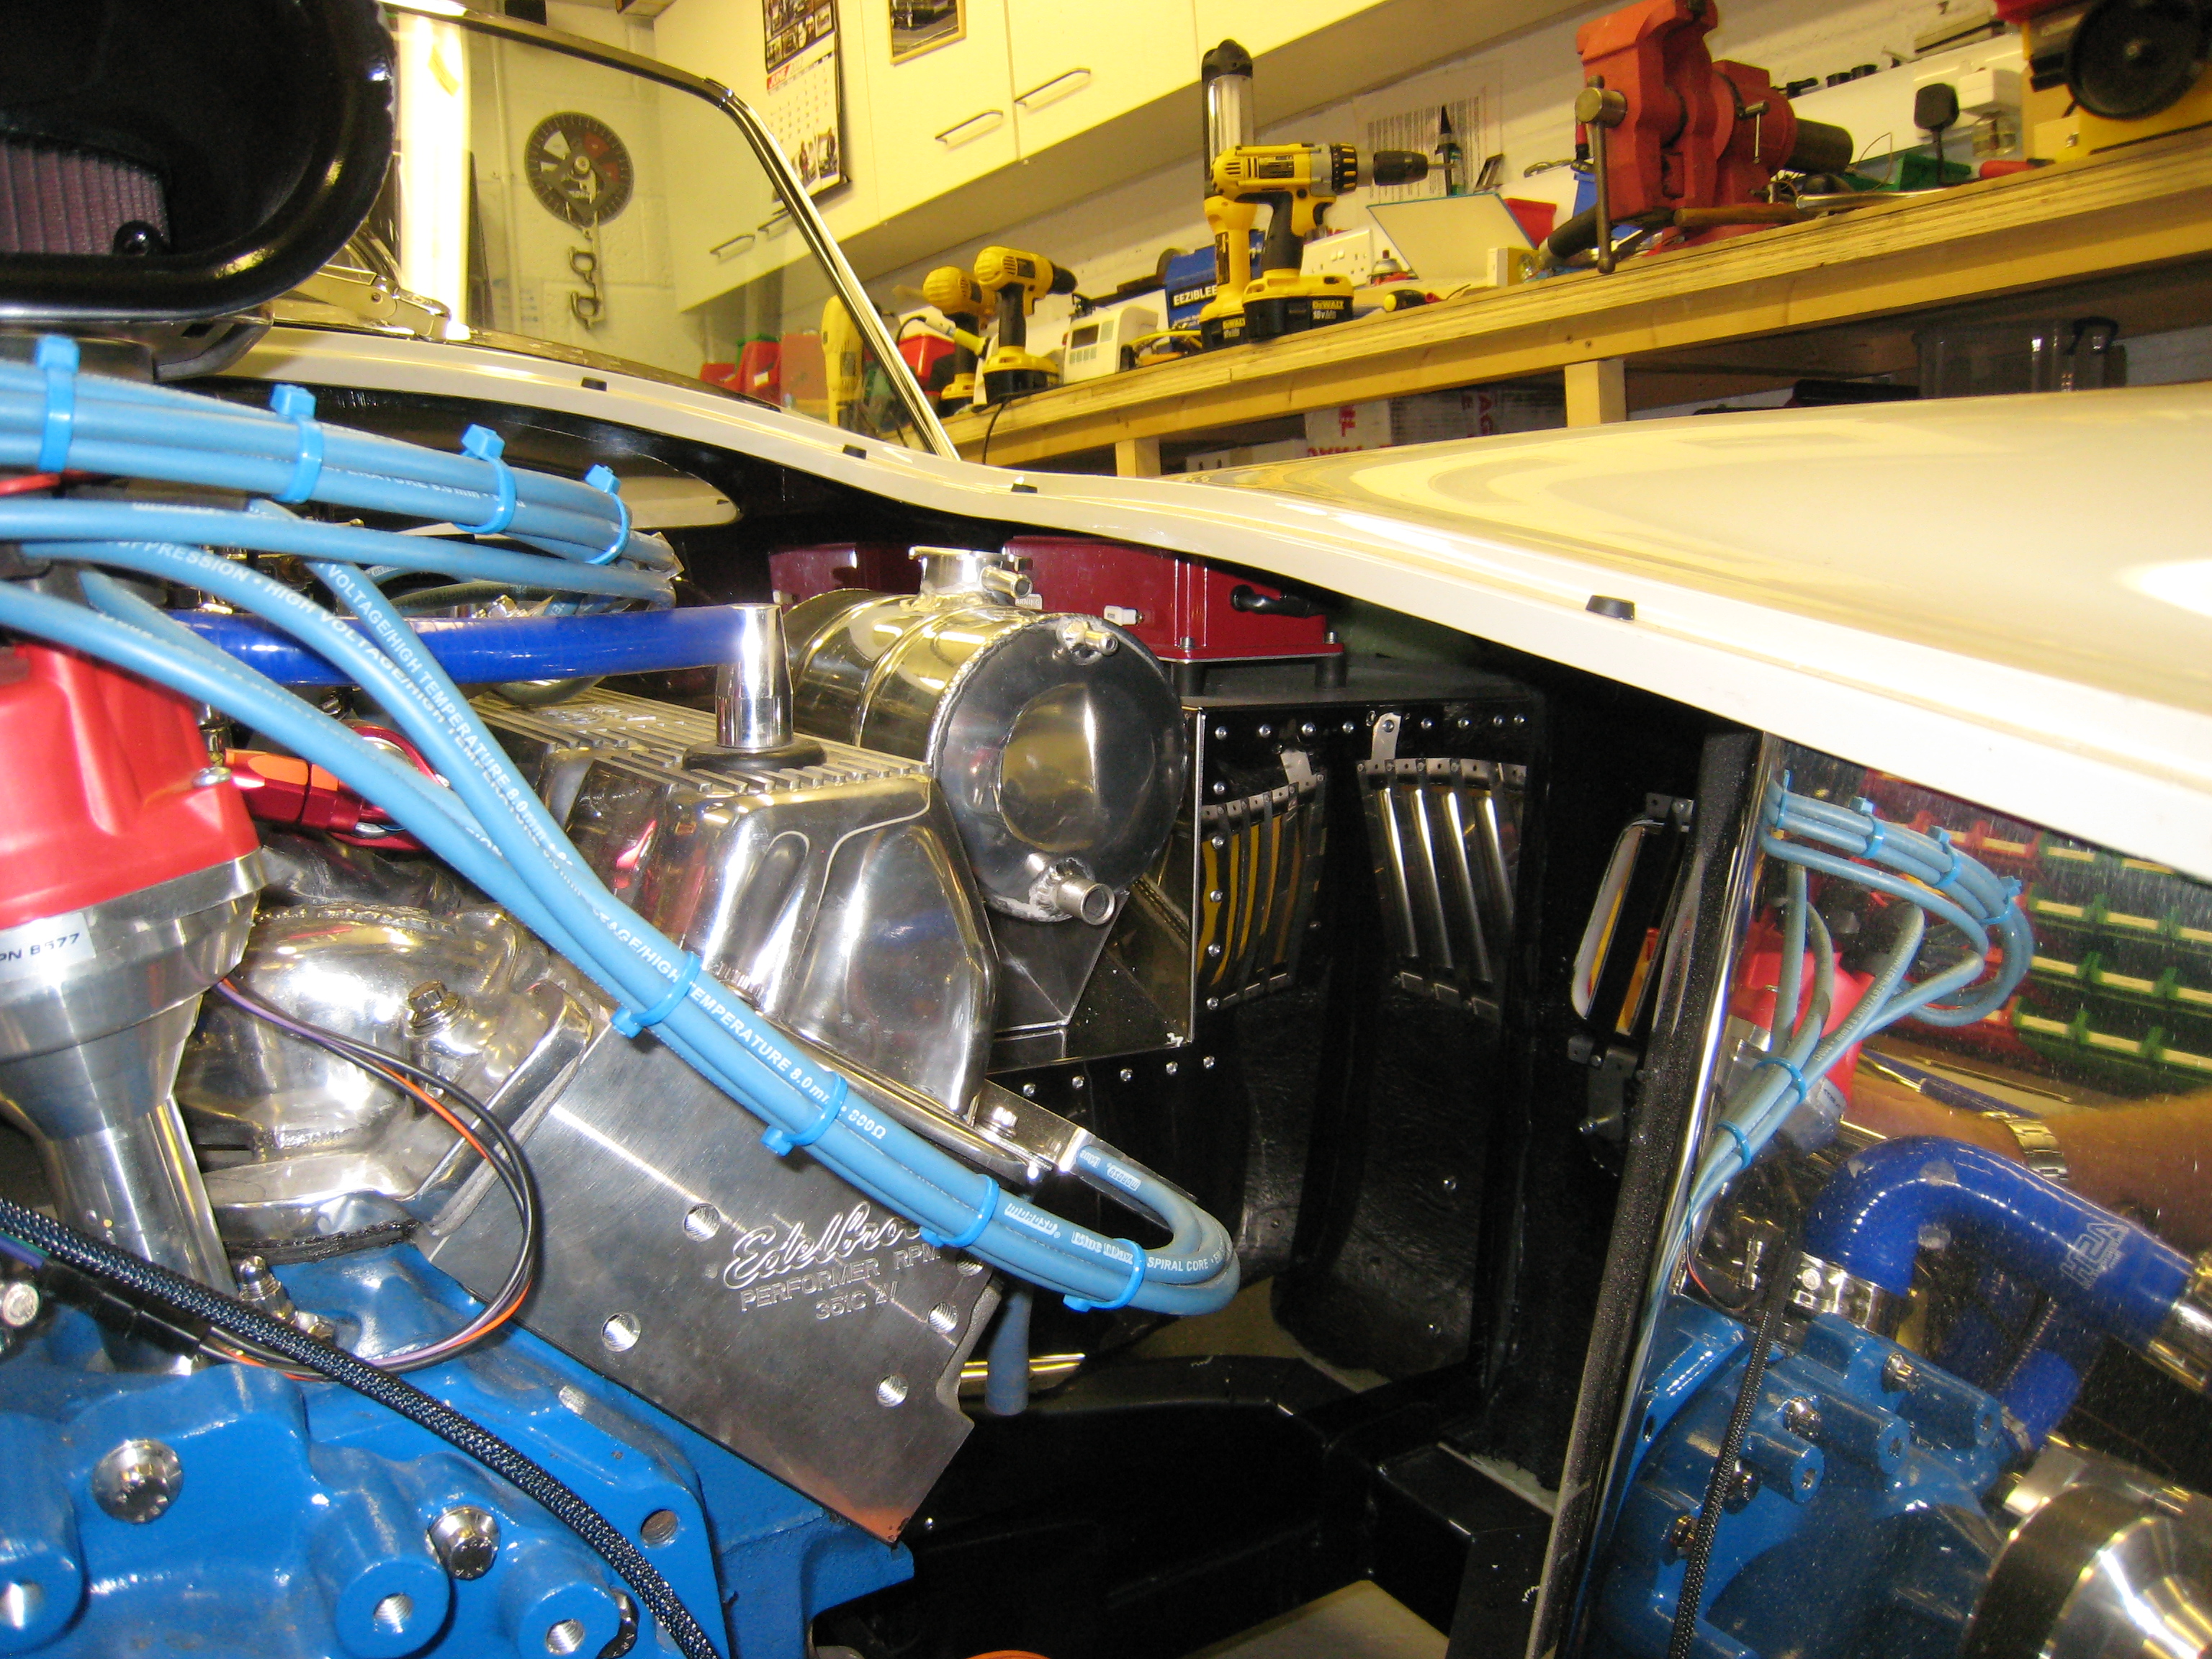
Engine Bay Wiring
Finally finished the engine bay wiring to a level I was happy with, took a couple of iterations to get it right, but I'm
now happy with the way it looks. A lot of the conduit was recovered from scrap yards and simply cleaned up, this
does make for a very neat installation. The top row of pictures shows the initial installation which was ok but not
as neat as the final solutions shwon in the bottom row of pictures.

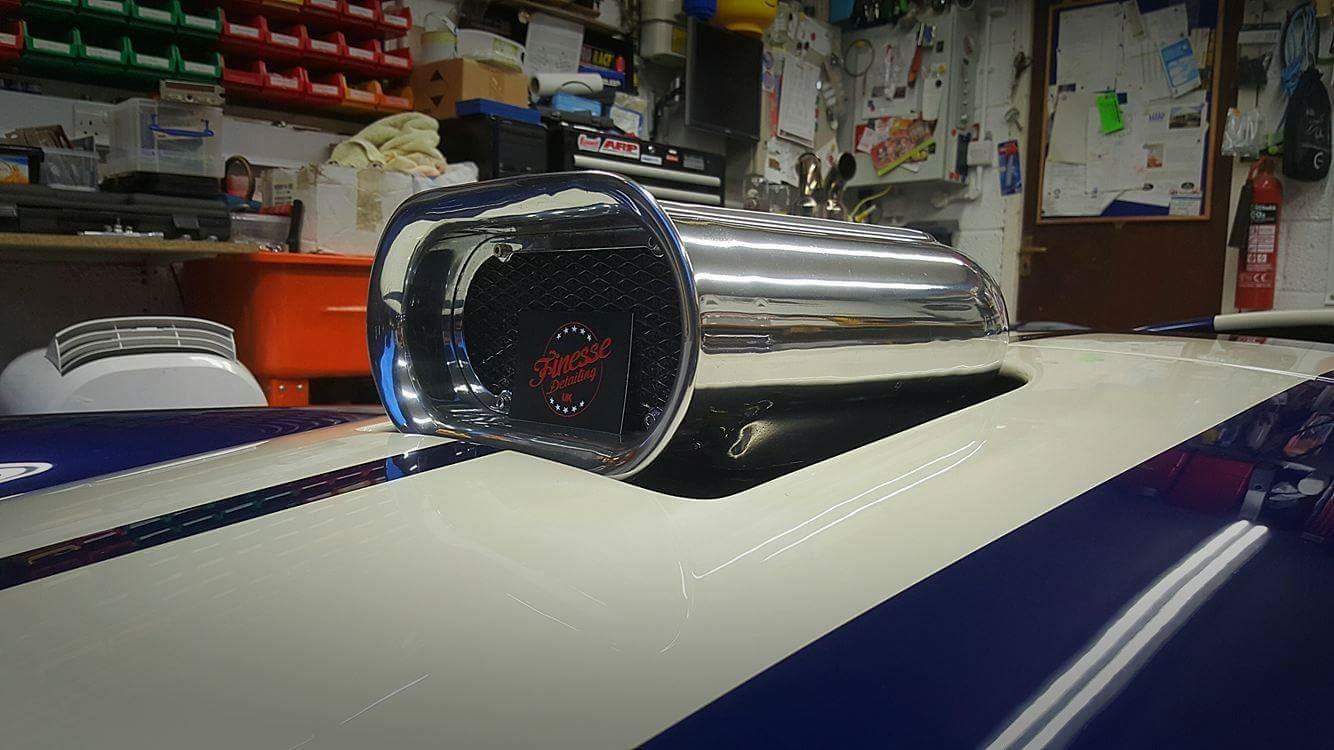
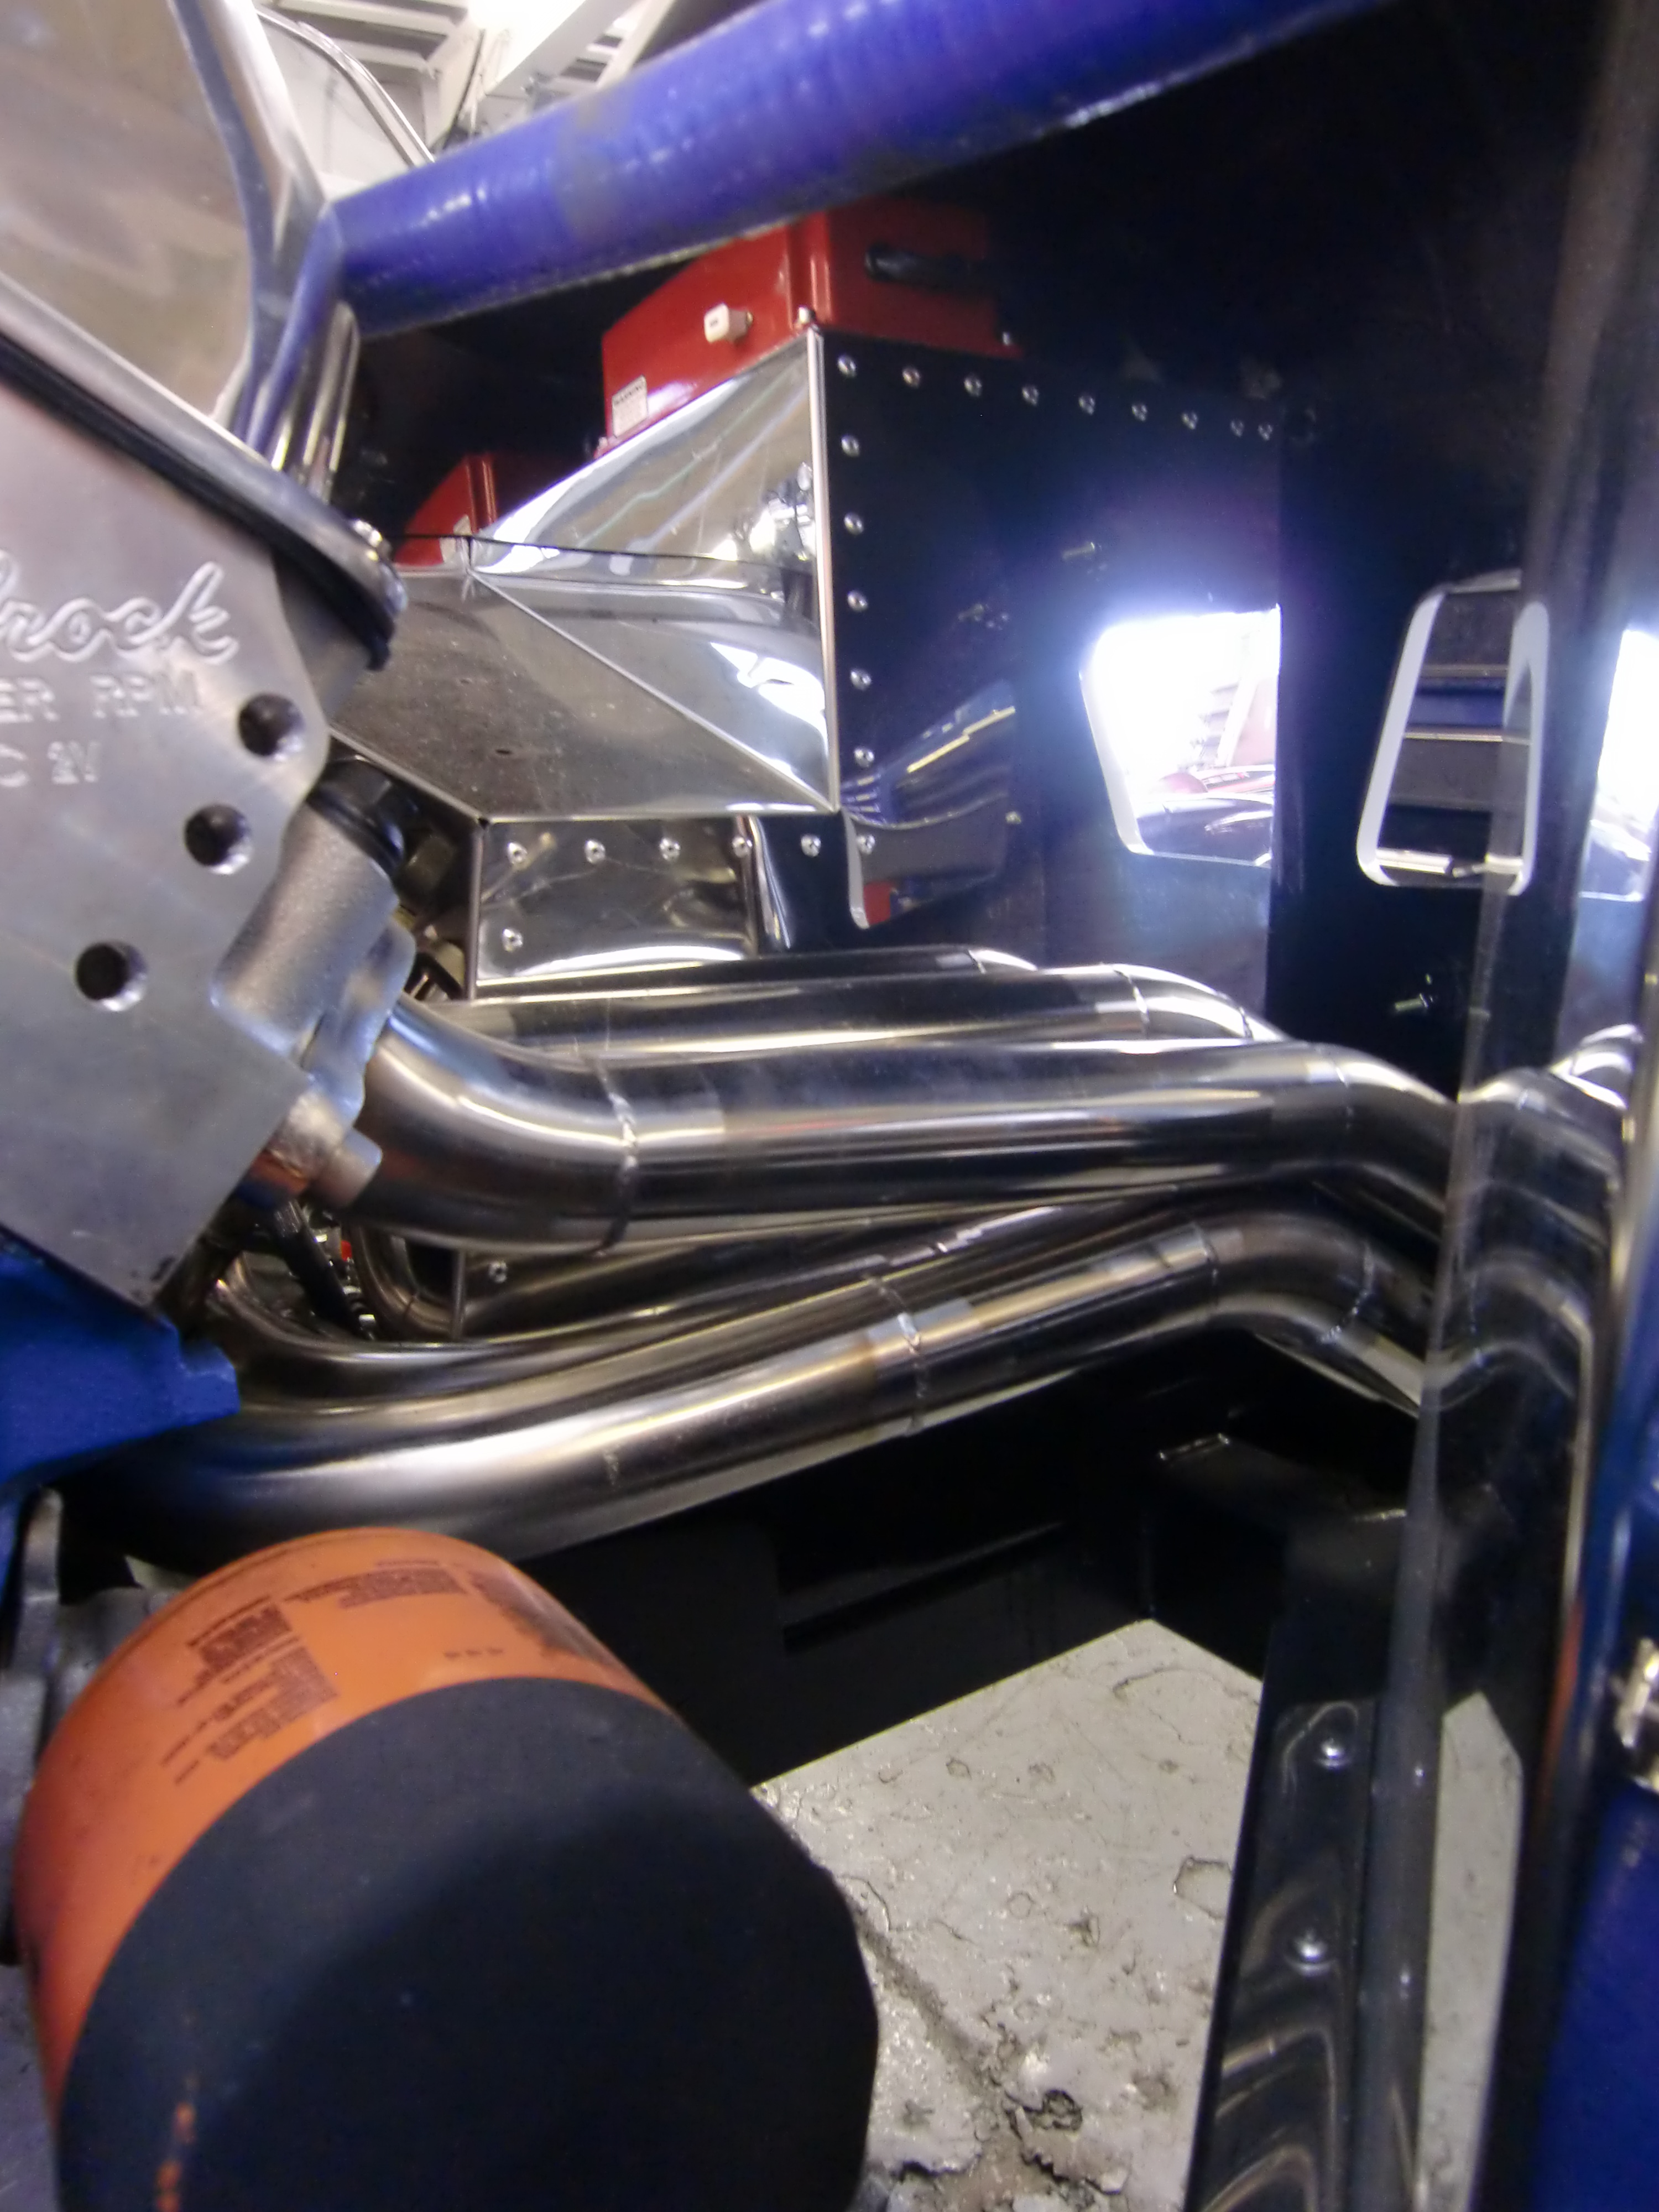
Sound Check
Now that I have the car back and it has a nice shiny set of side pipes, I thought I'd let it show how much noise it can make !
do.
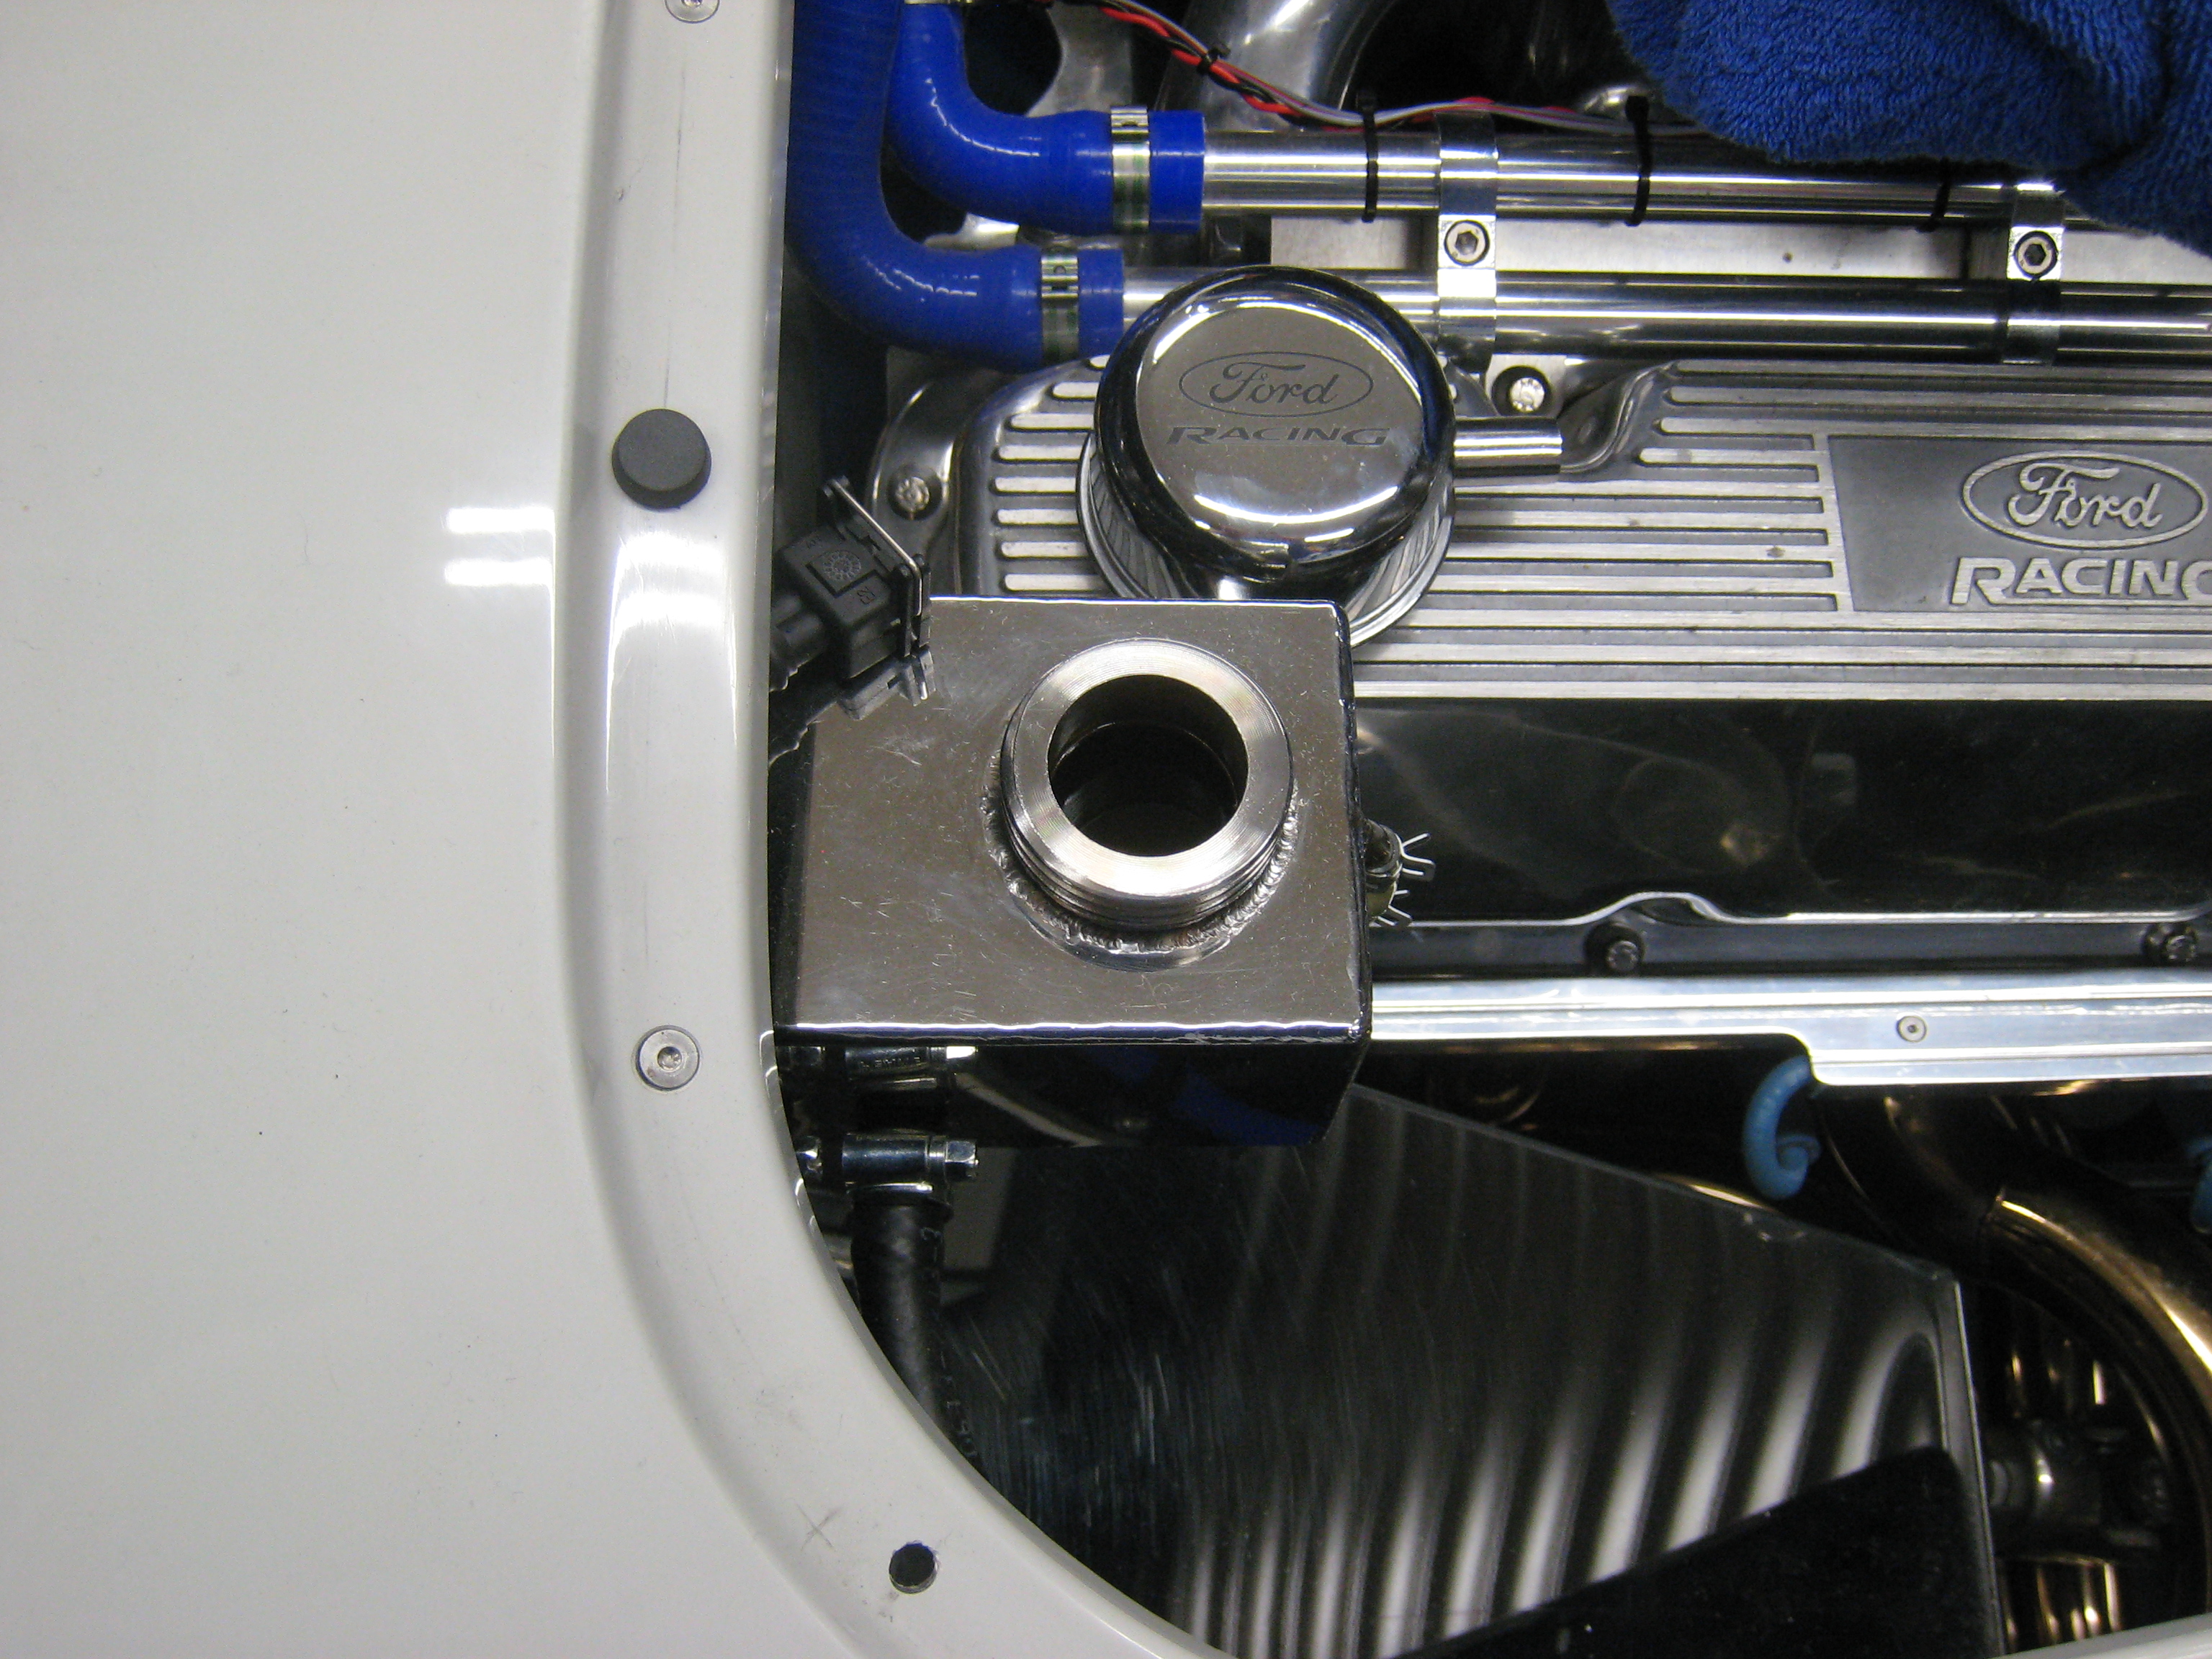
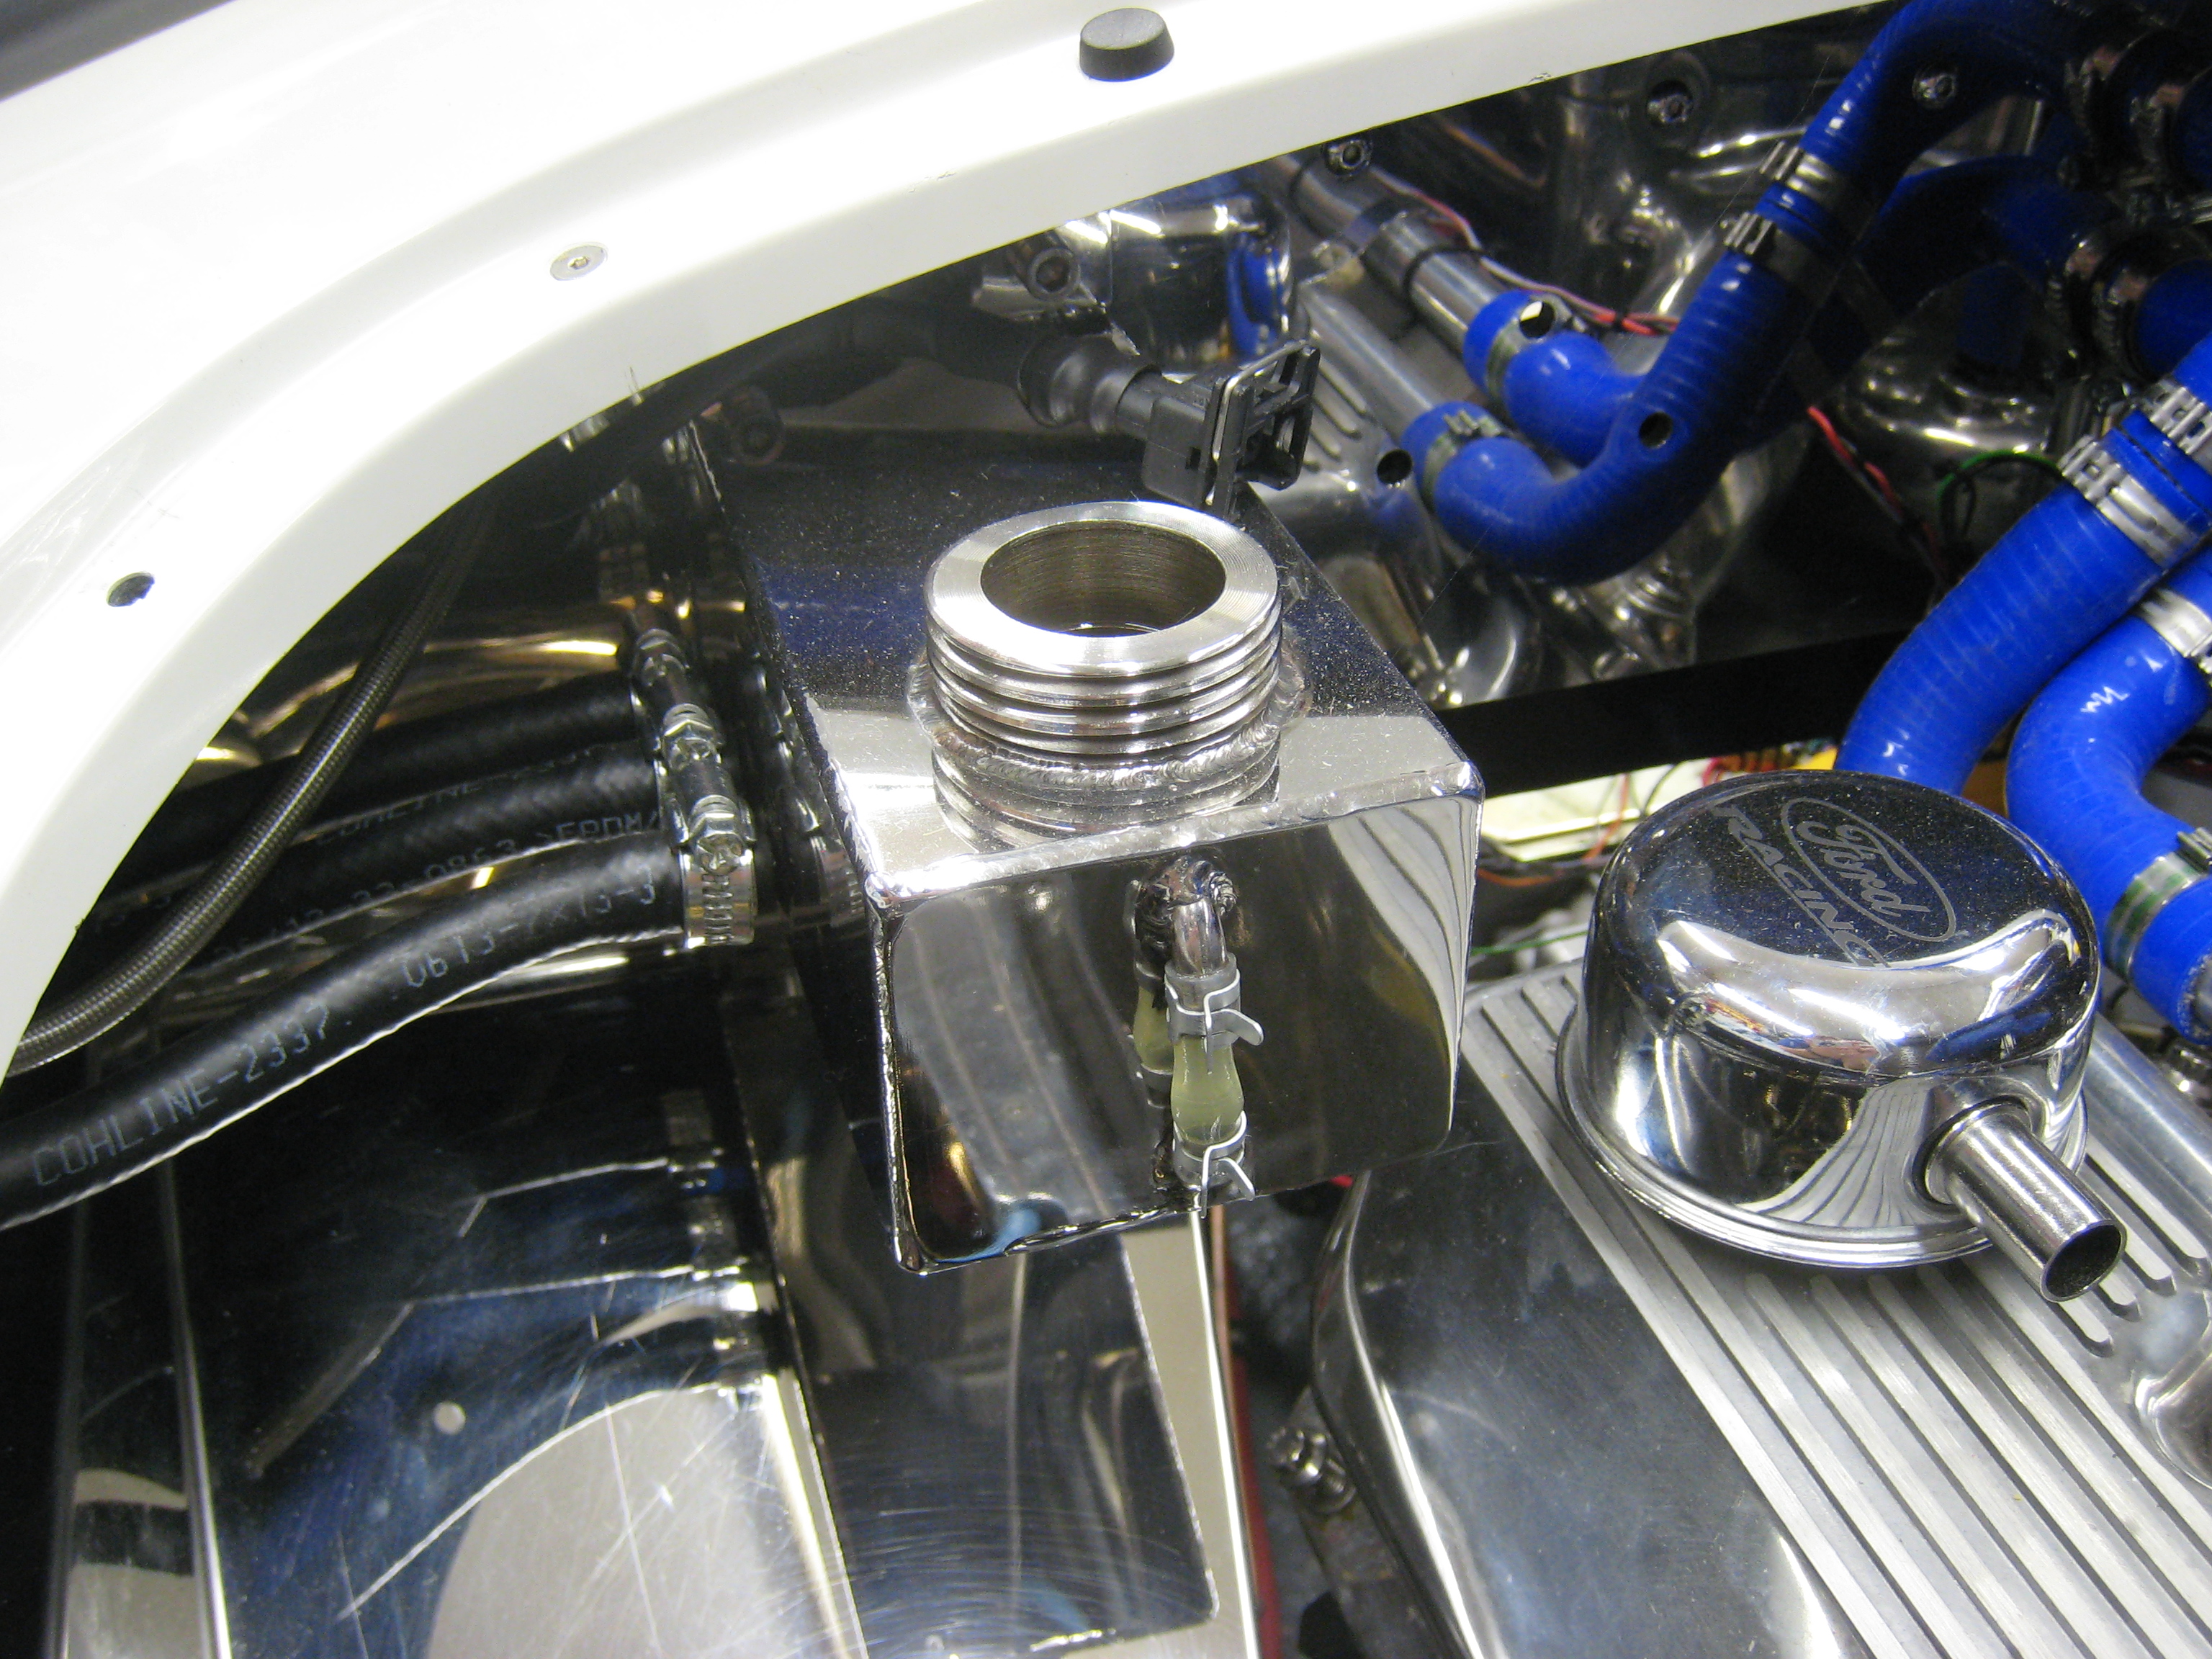
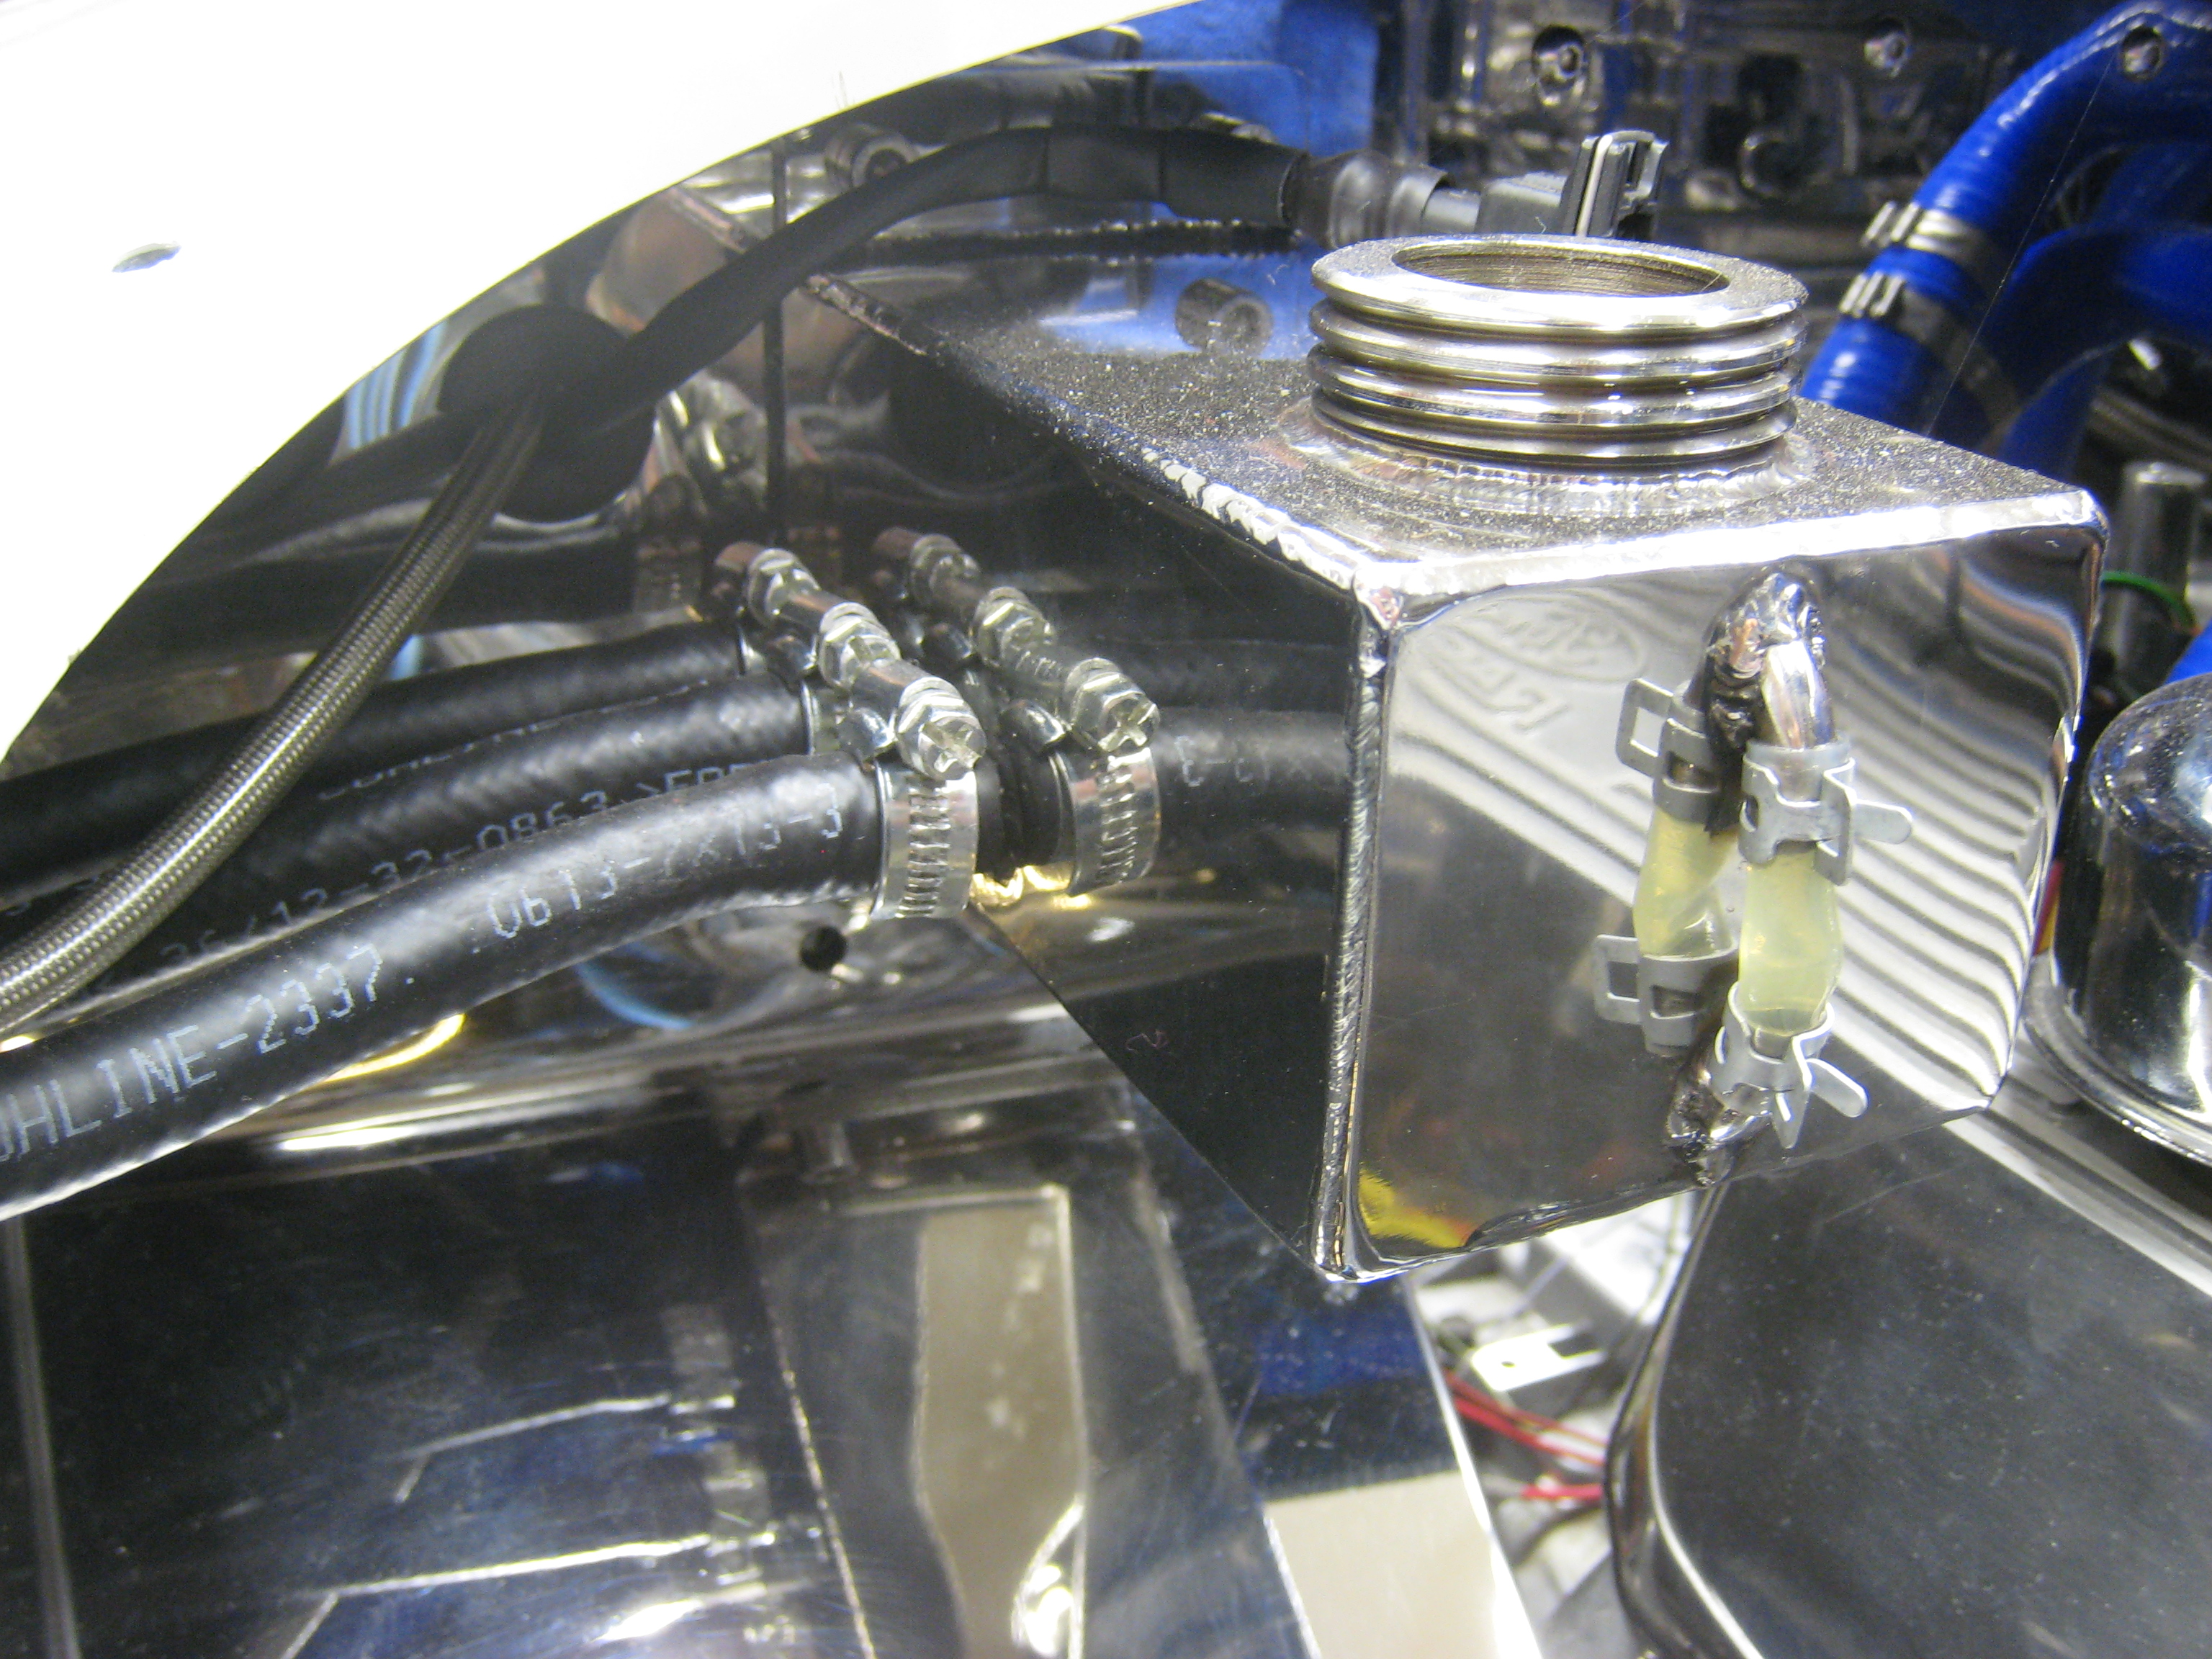
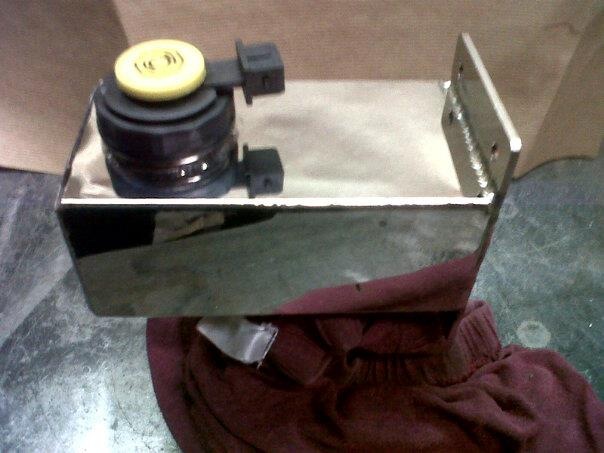
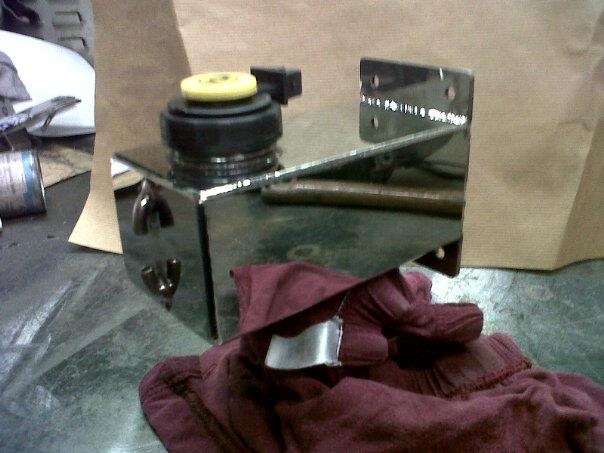
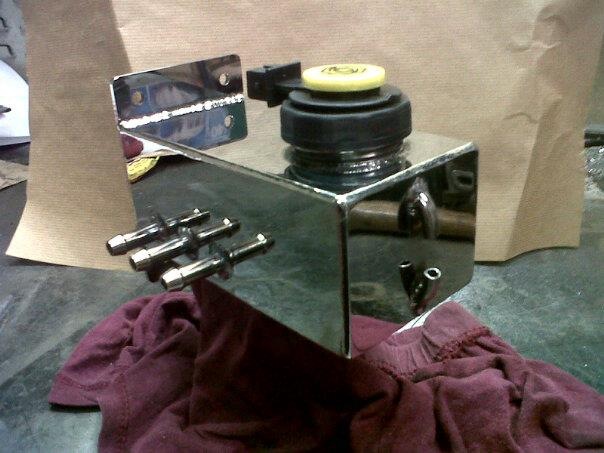
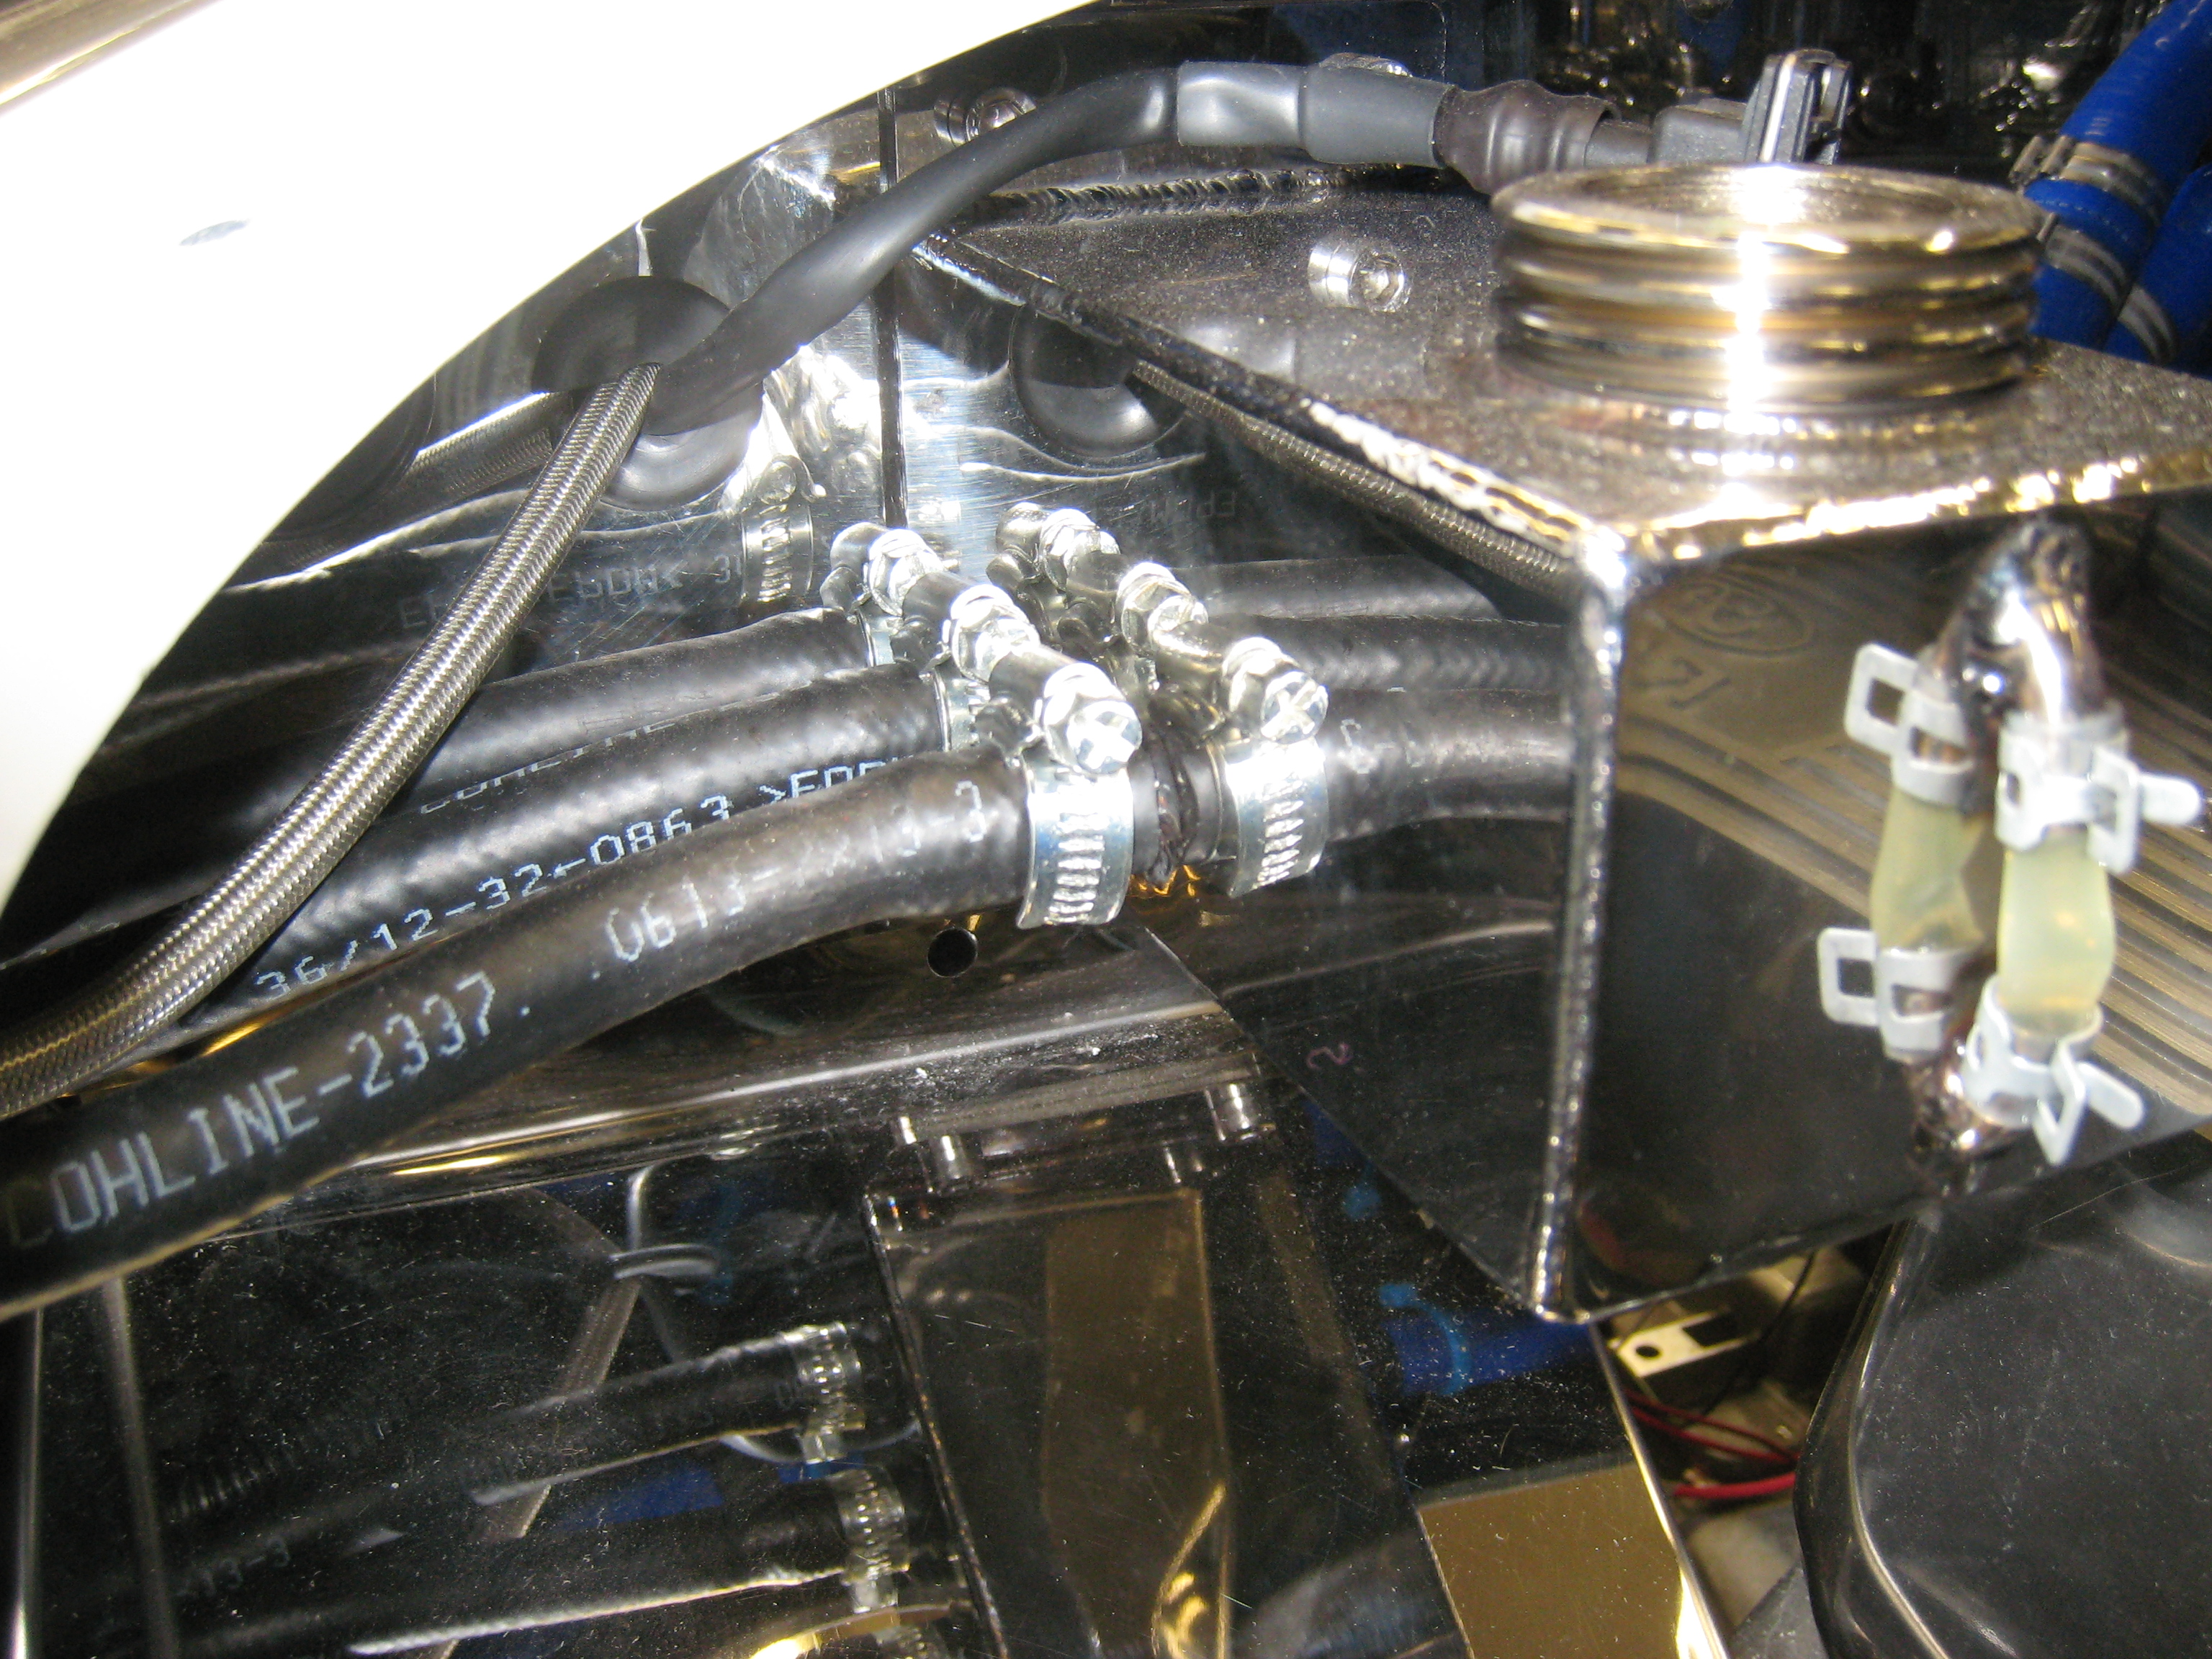
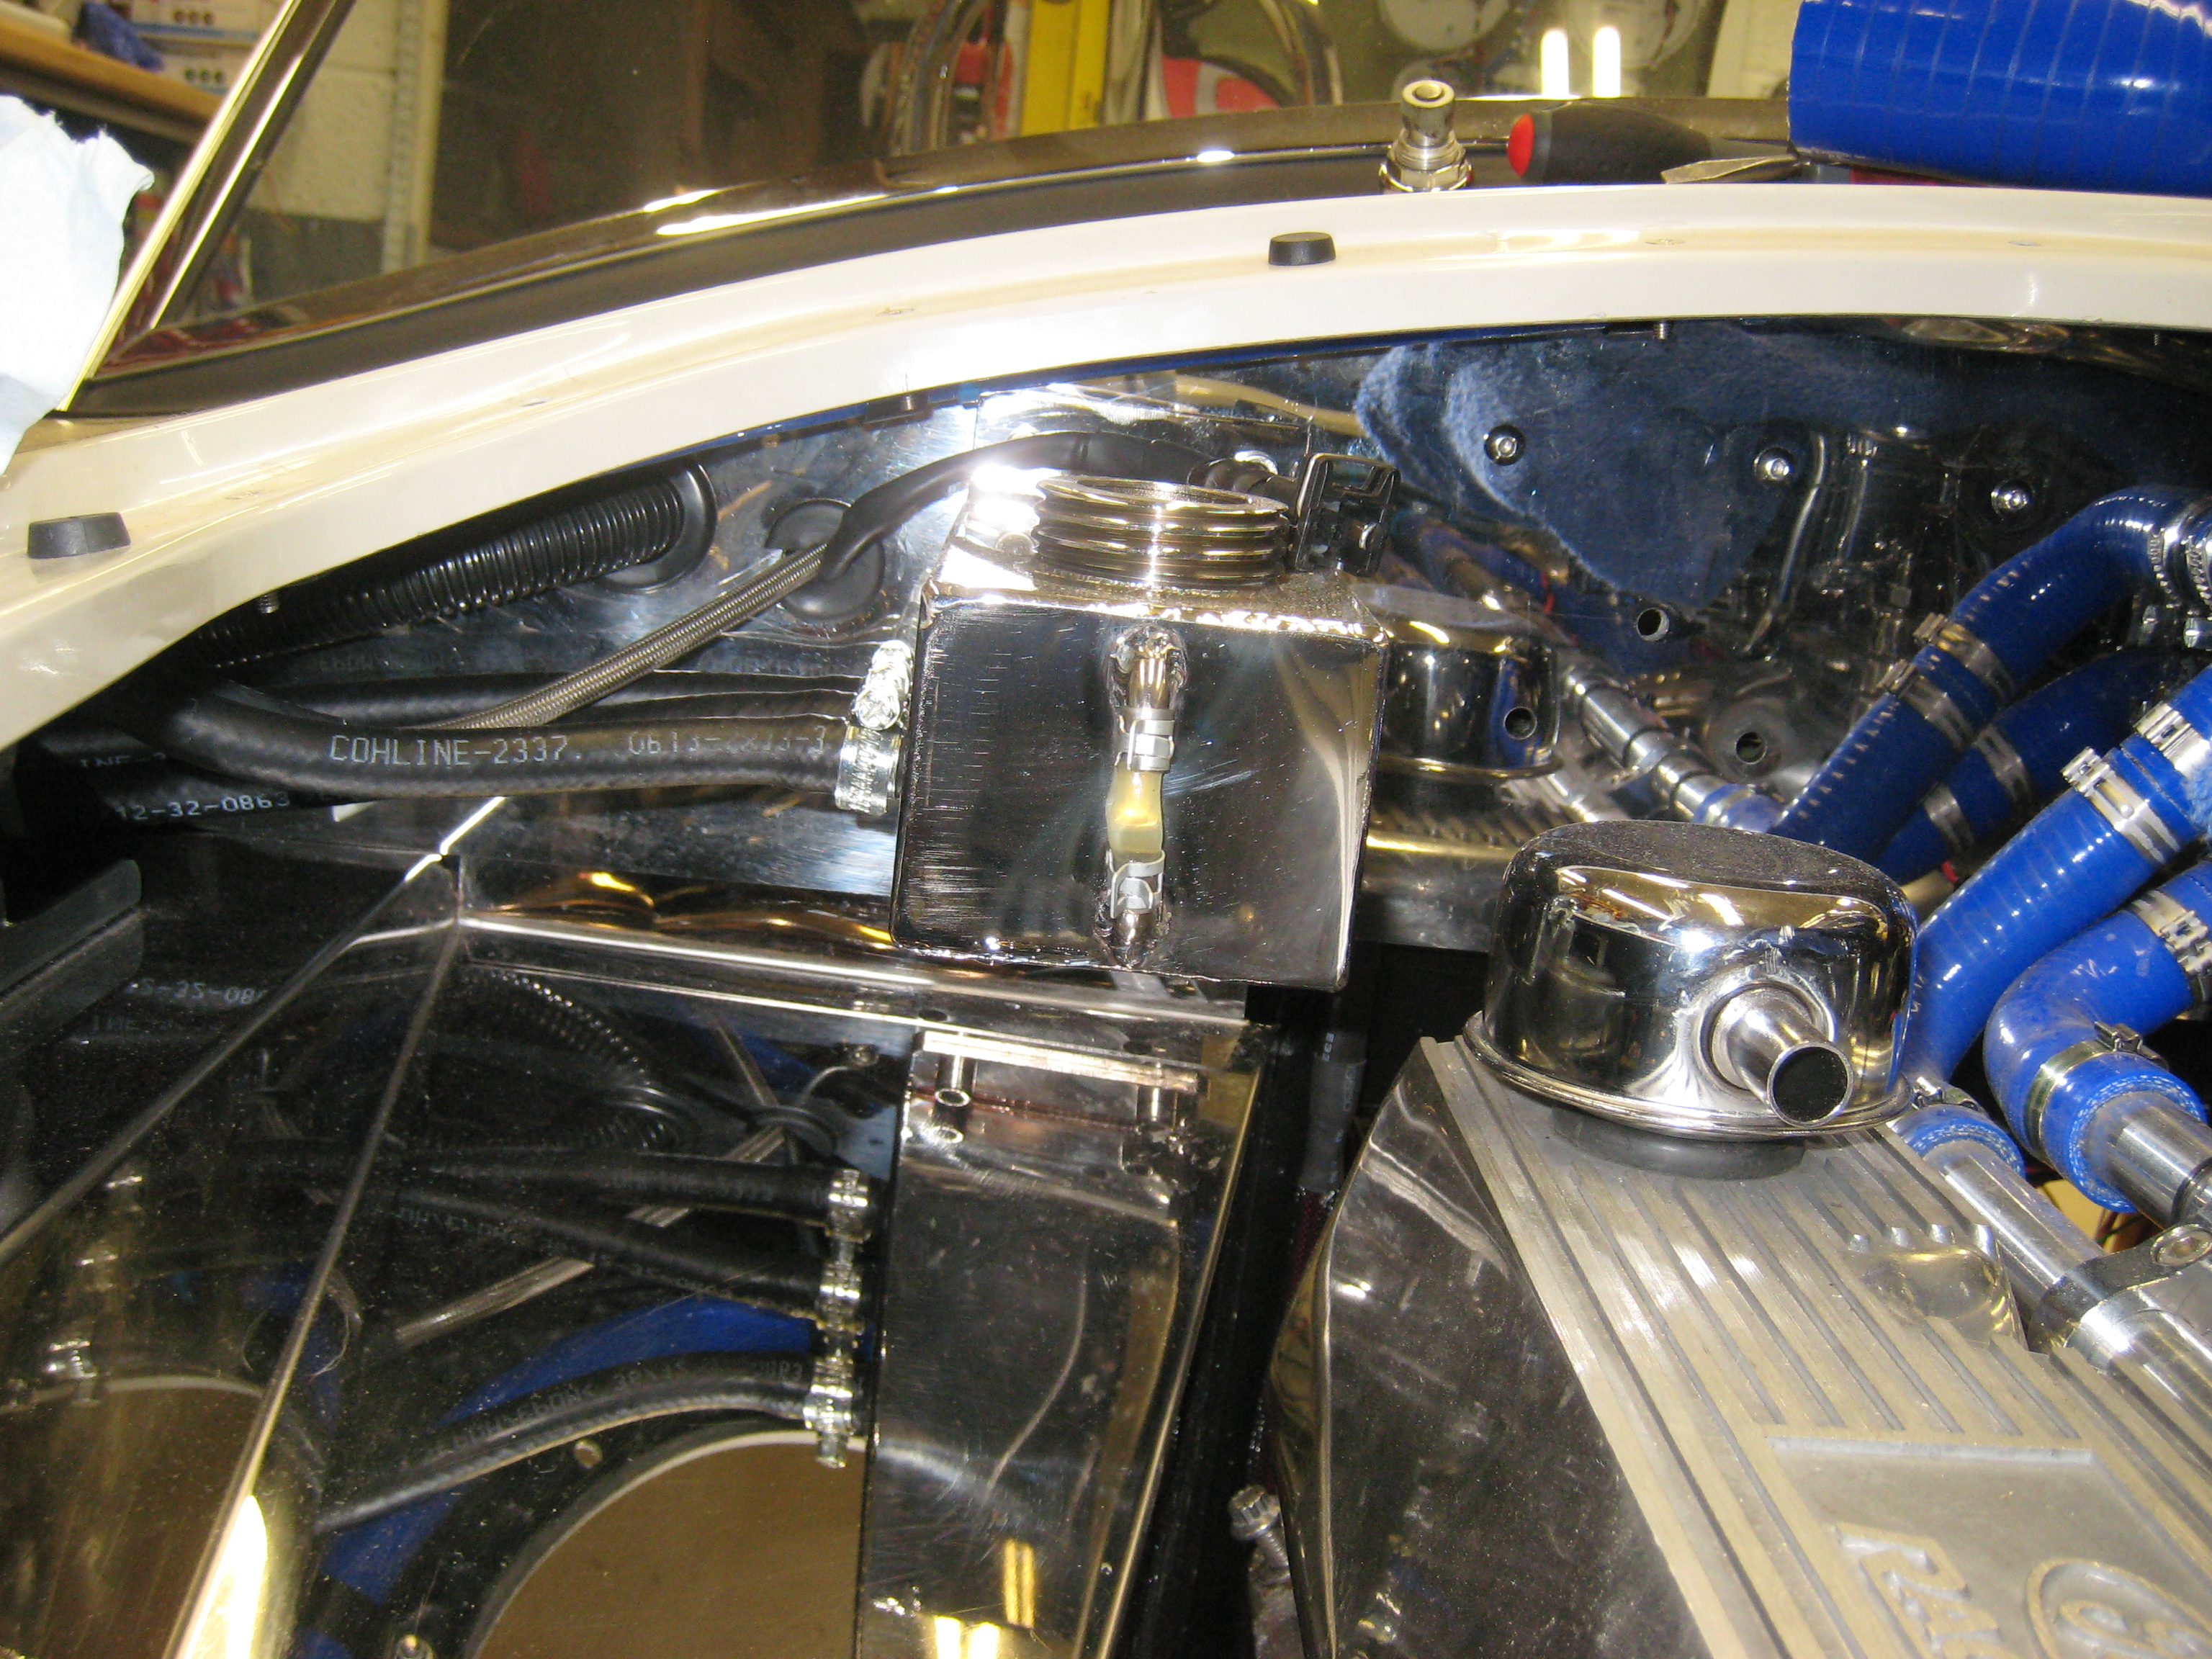
Brake Reservoir
Another job which was completed while the car was away was the brake and clutch fluid reservoir, I
wasn’t happy with the Dax supplied plastic offering, so I had once made for me by Ian Fowler of
flash customs.
flash customs. I think its a much better fit and look.
Interior
While waiting for the return of the car I was able to pay a visit to
Interiors Seating in Mansfield and hand them
my dashboard, which they then covered for me in black leather. I also collected the seats and carpet
set, which comes as a huge kit of parts, fairly daunting but I guess once some of the larger pieces are
in the remaining will fall into place (I Hope).

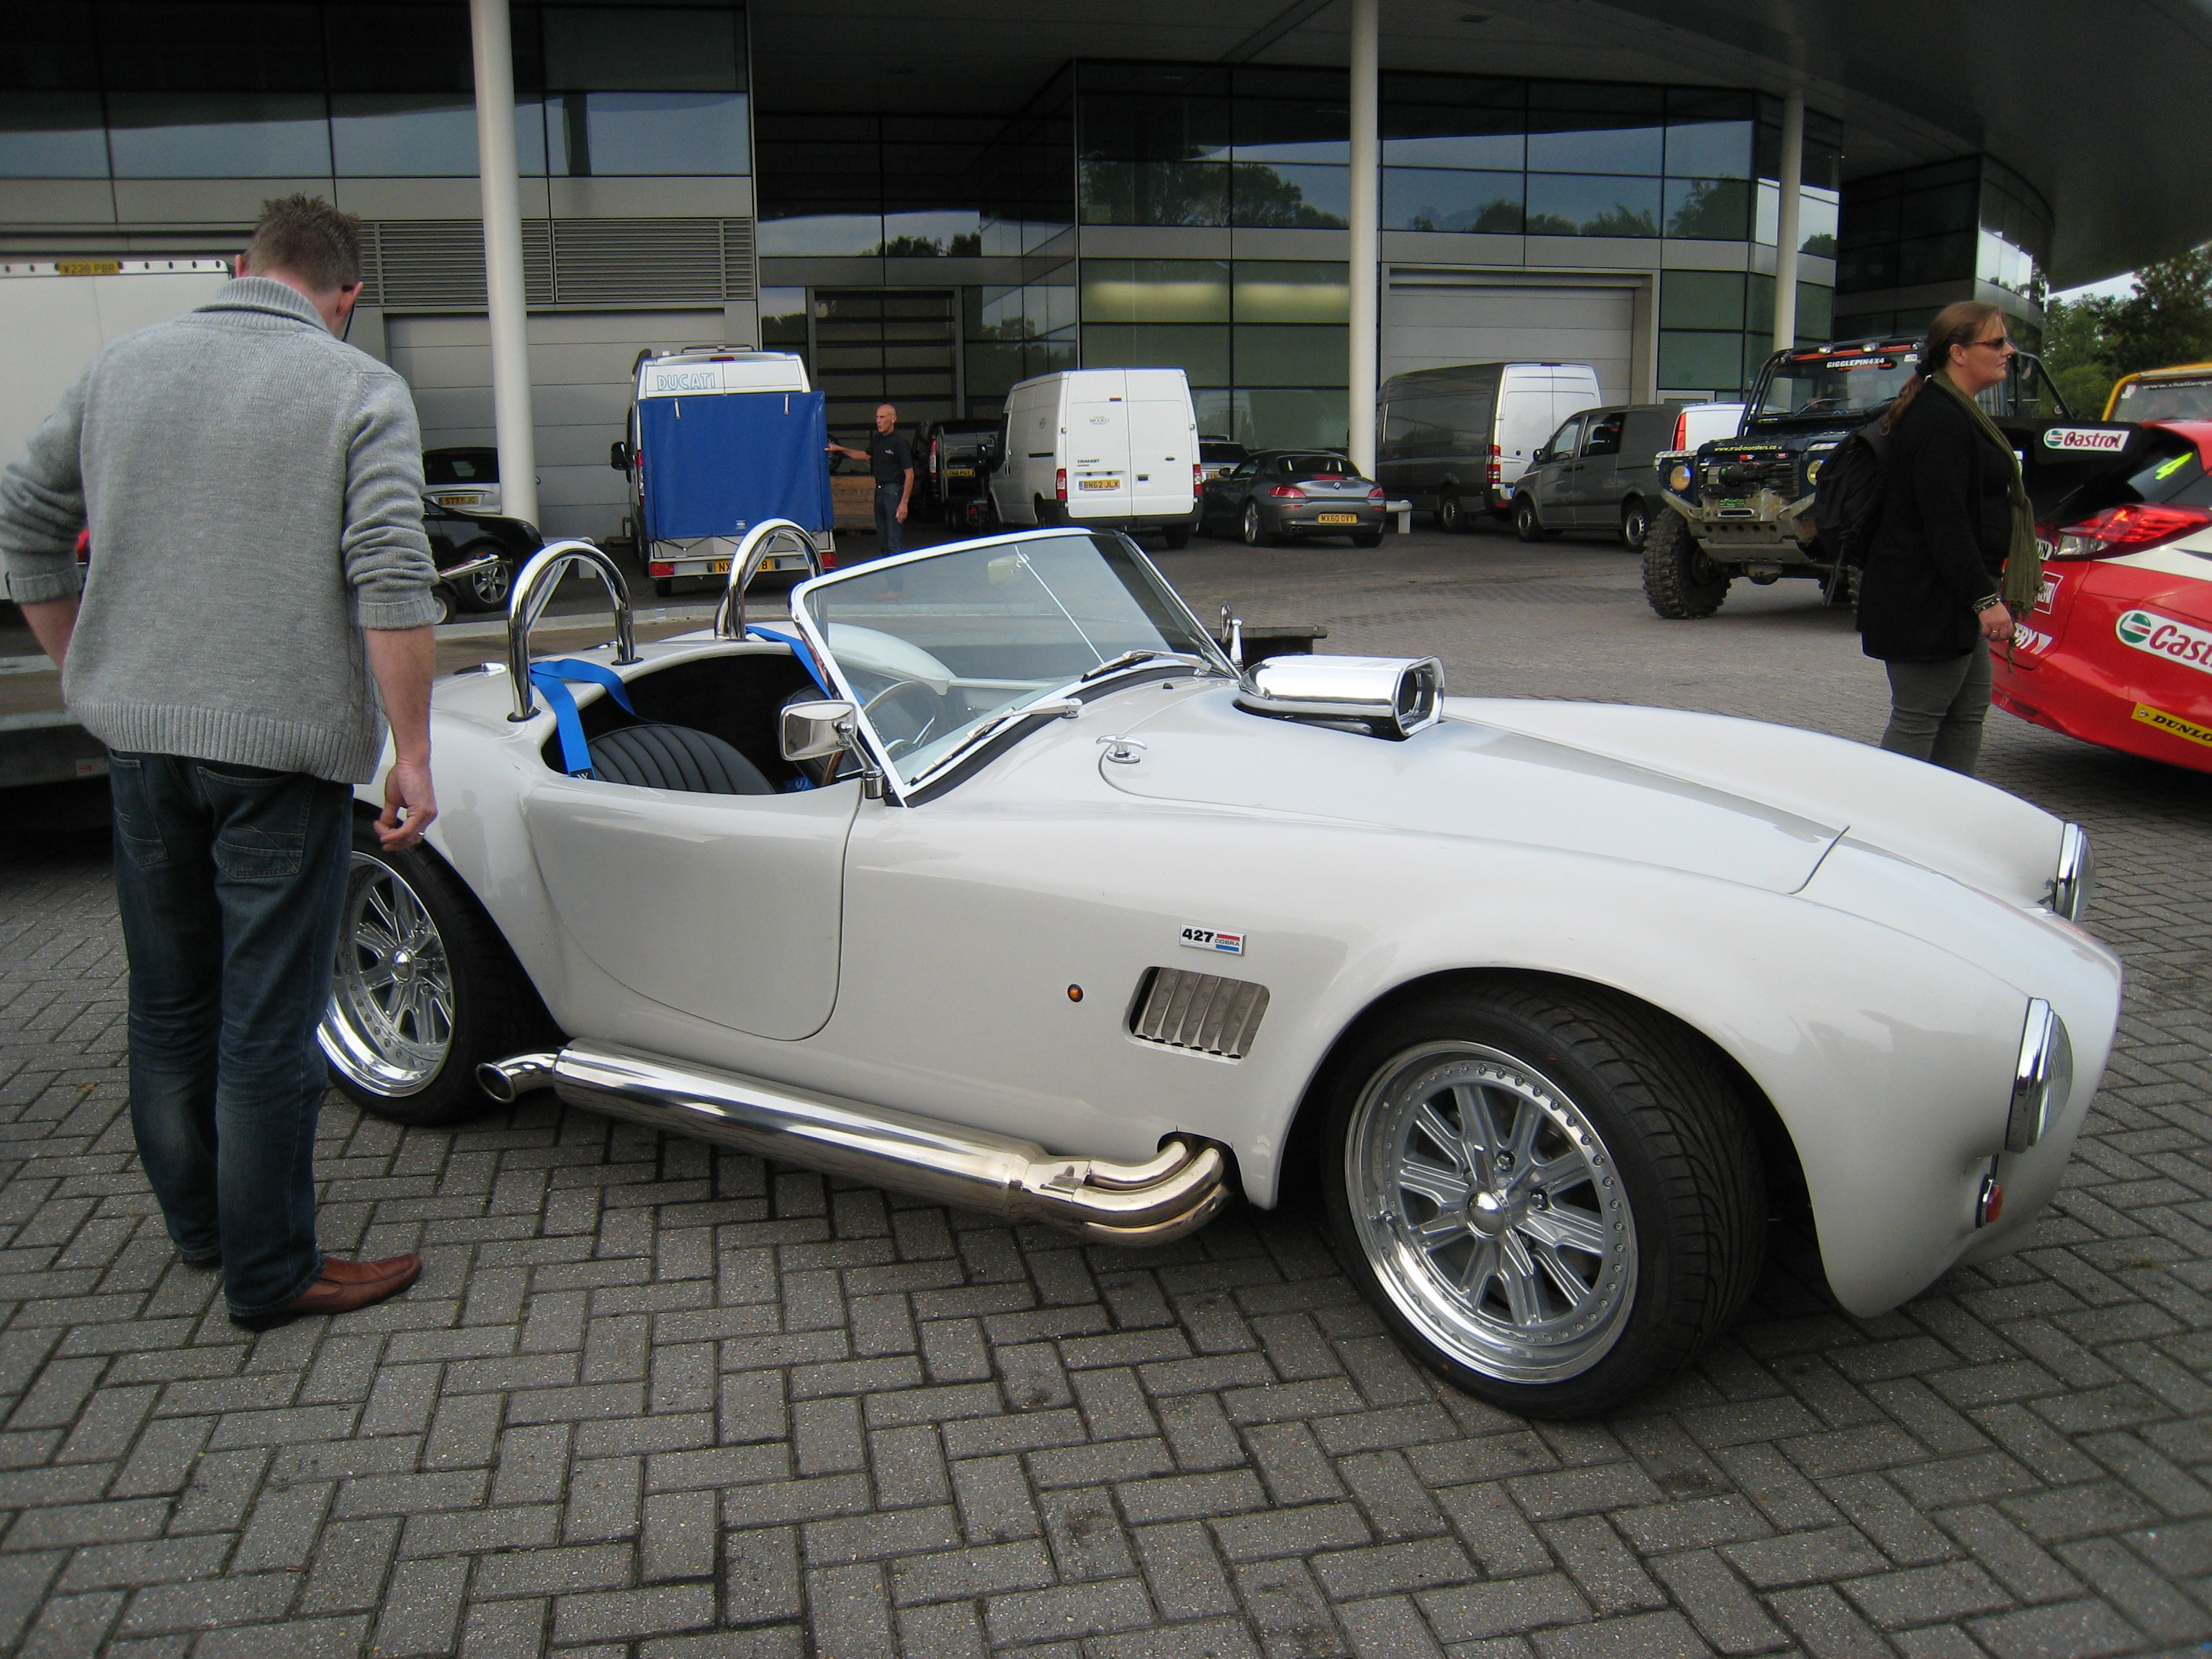
Return
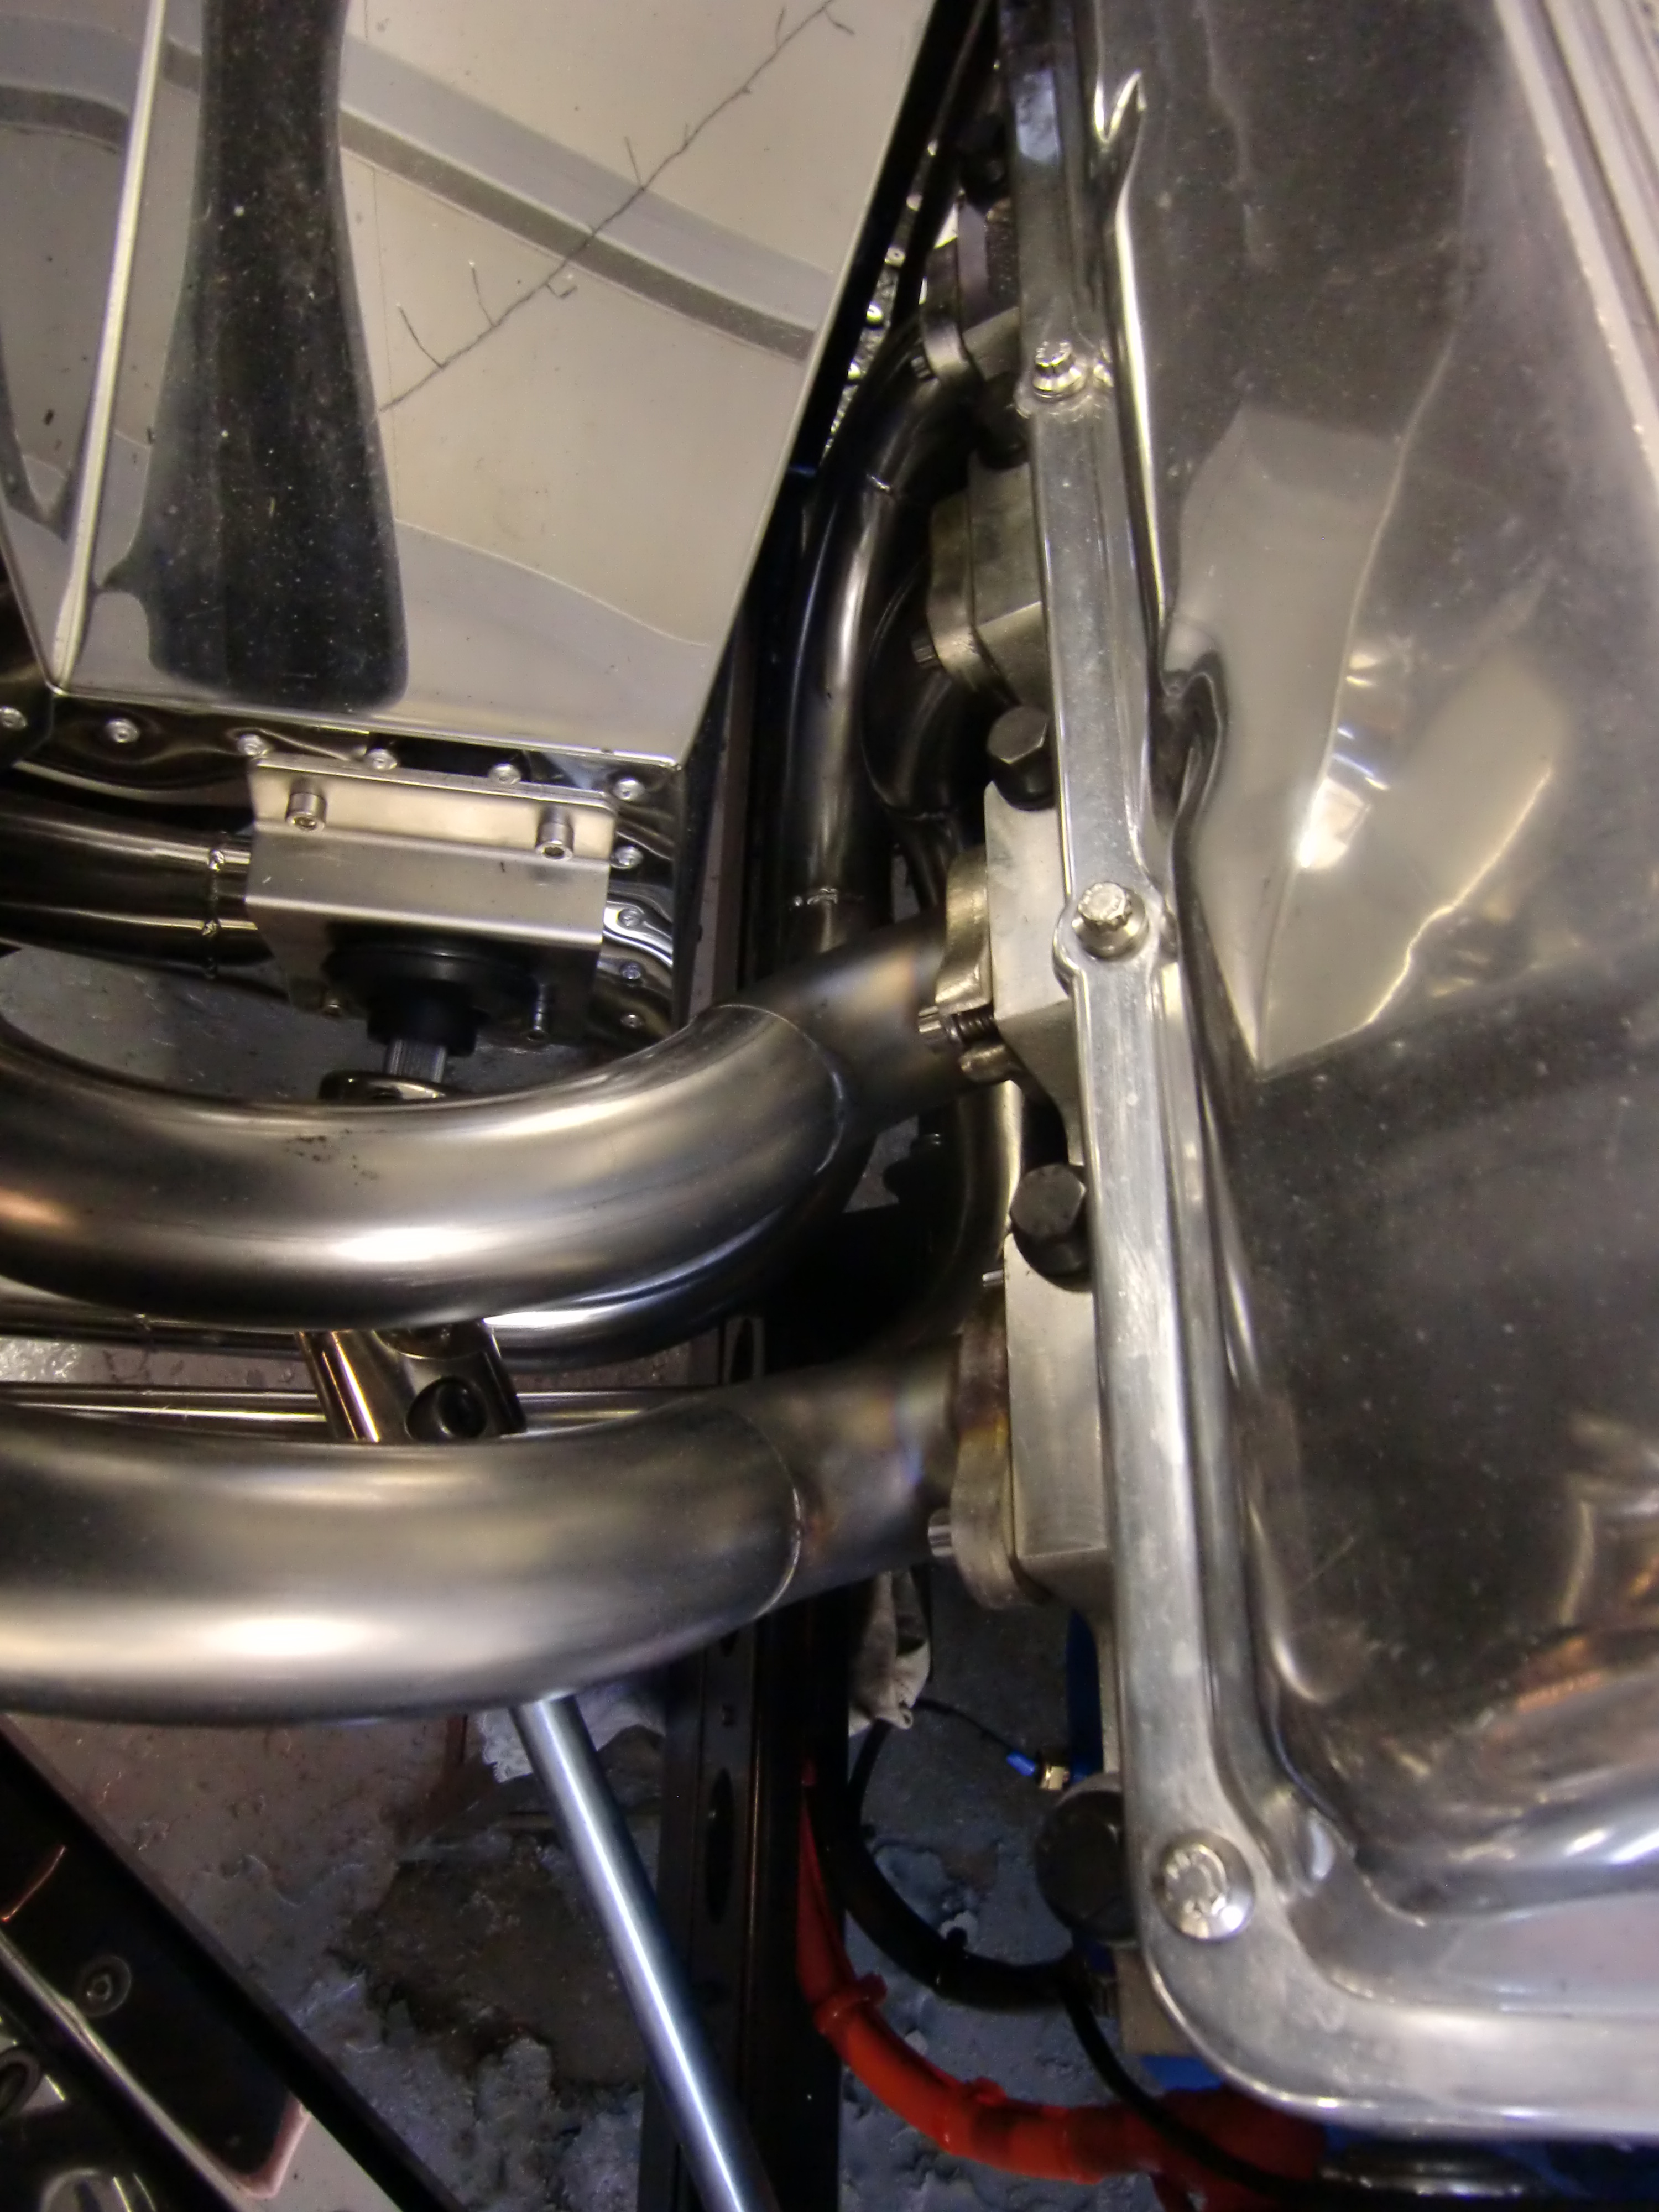
Finally got the car back from Dax after almost 5 months !!! Having said that the finished exhaust
is looking good and I think a fair few people may have seen it while it was there over the 2013 Easter Open day.
Exhaust Update
A few update pictures thanks to Andrew at Dax, looks like it’s a tight as I thought but I'm impressed with
the fit so far. Hard to tell where some of them are I know - unless you know the car.
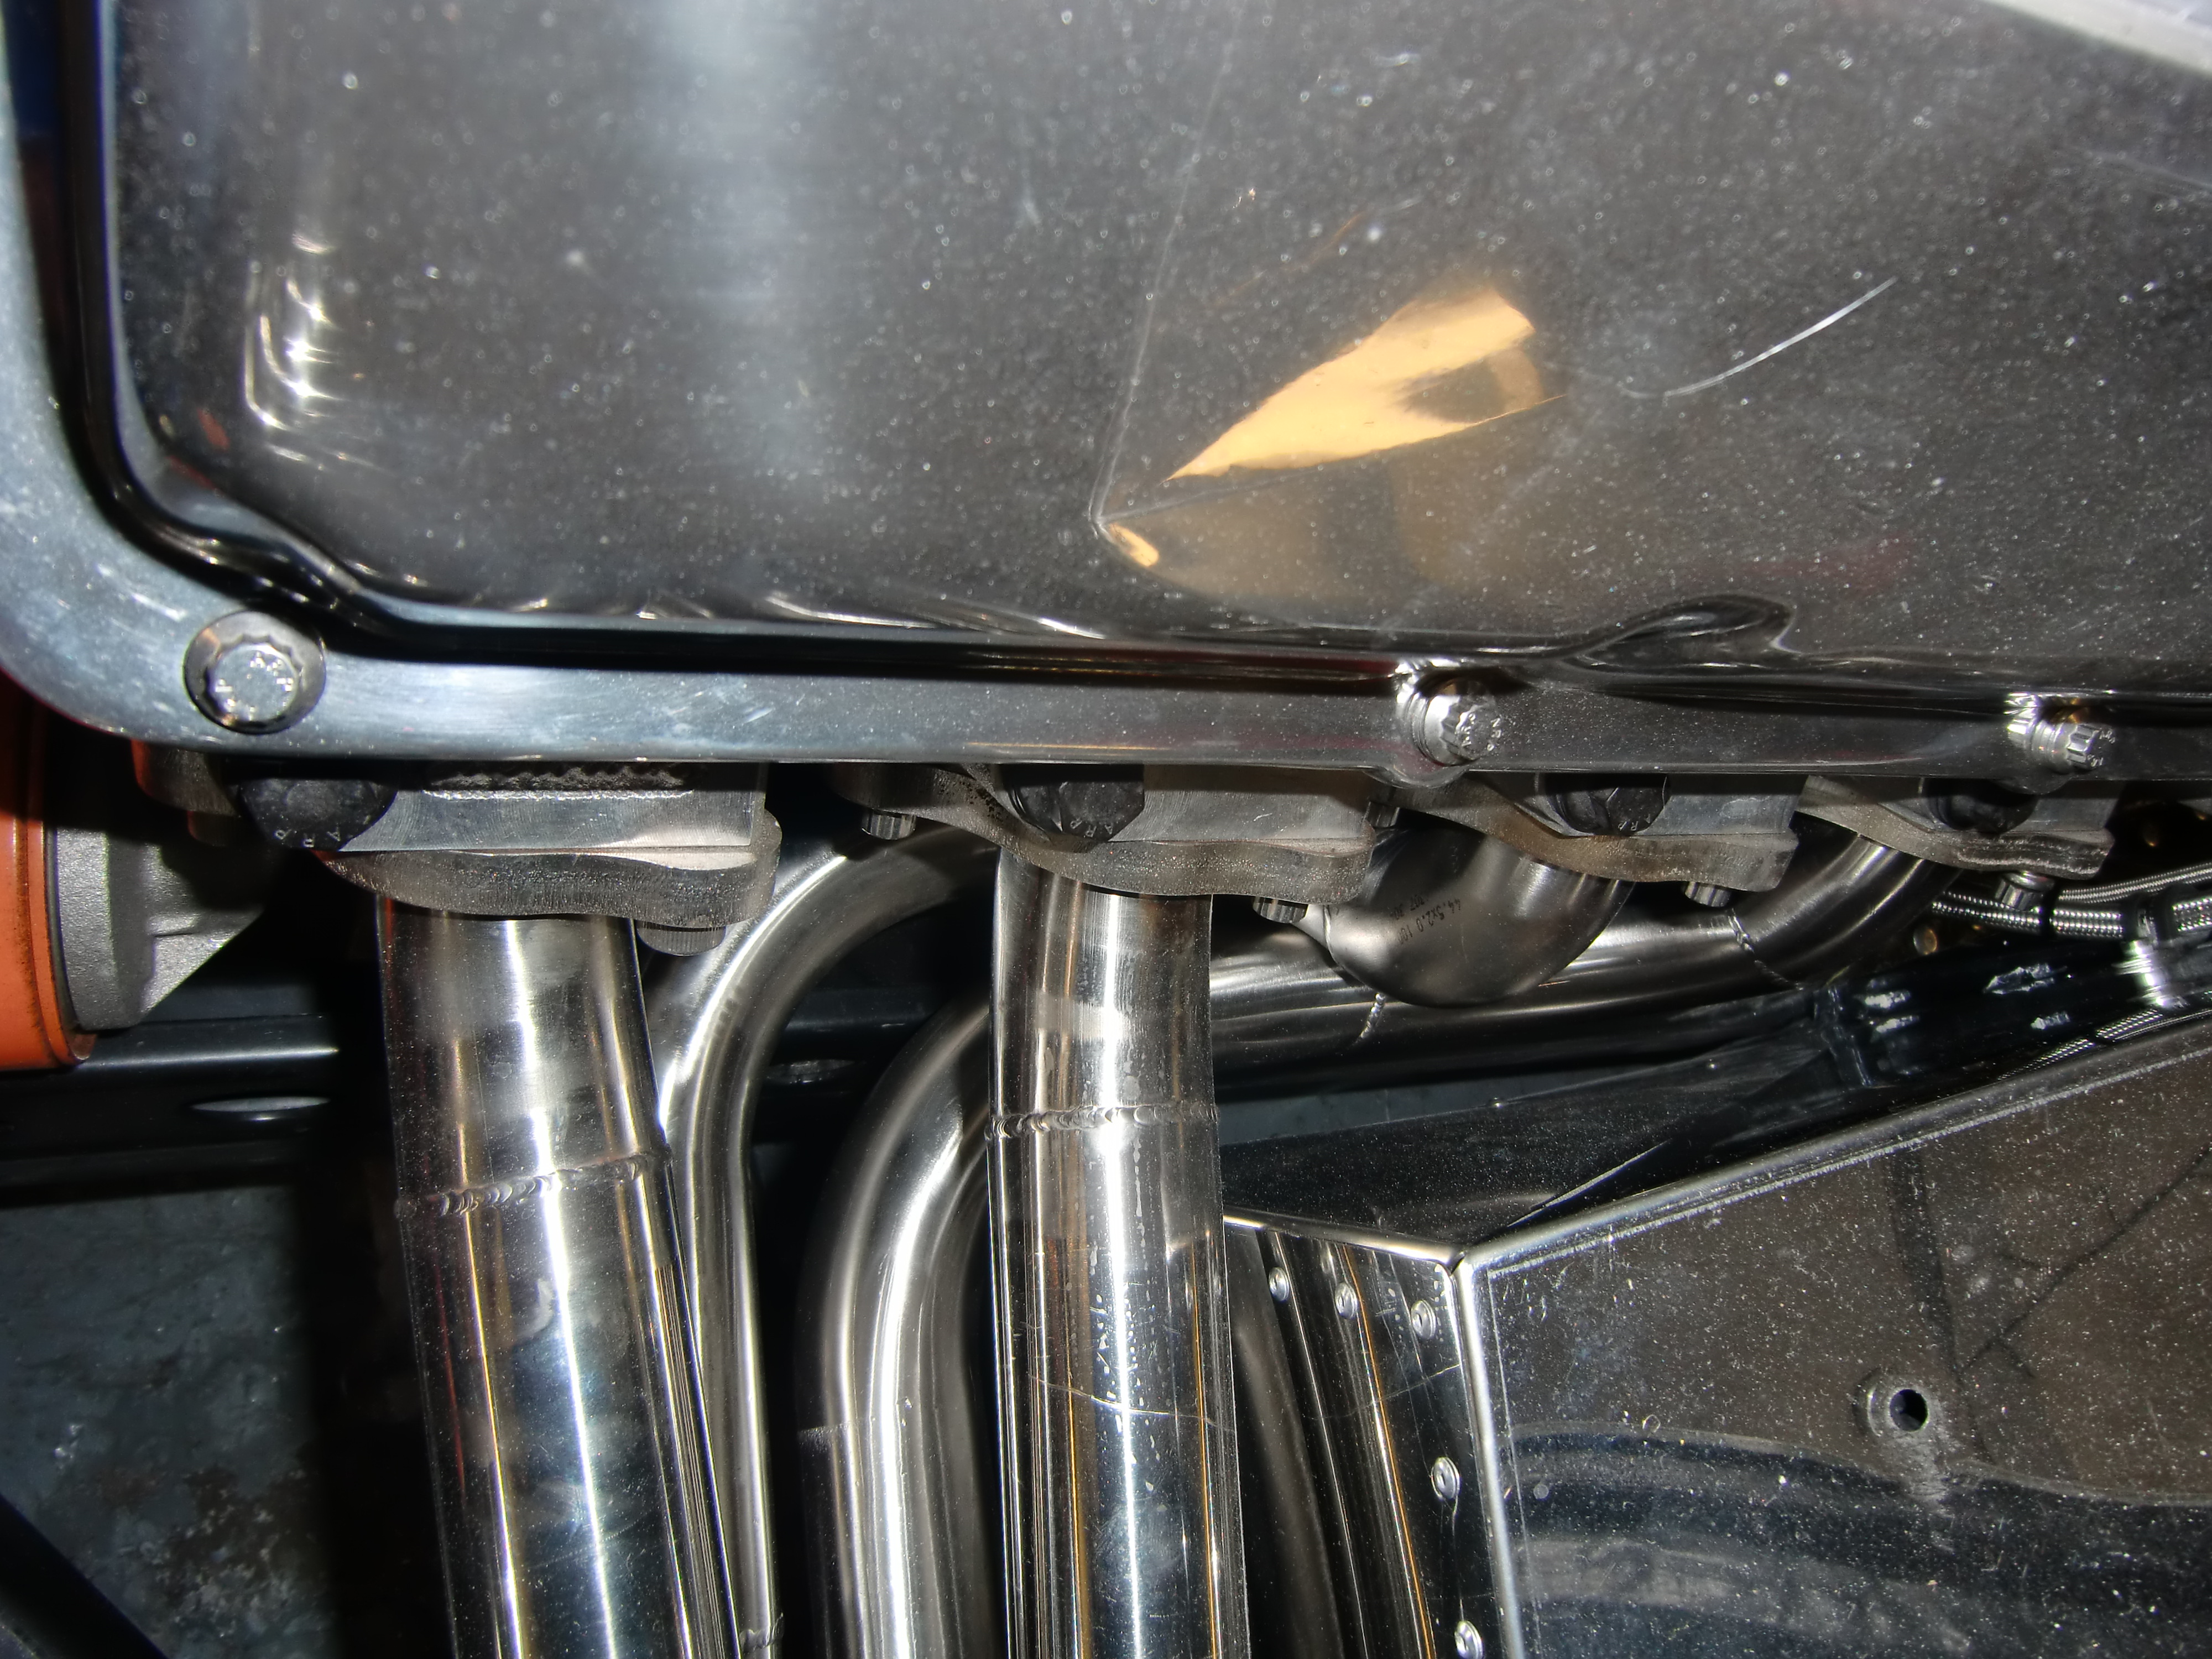
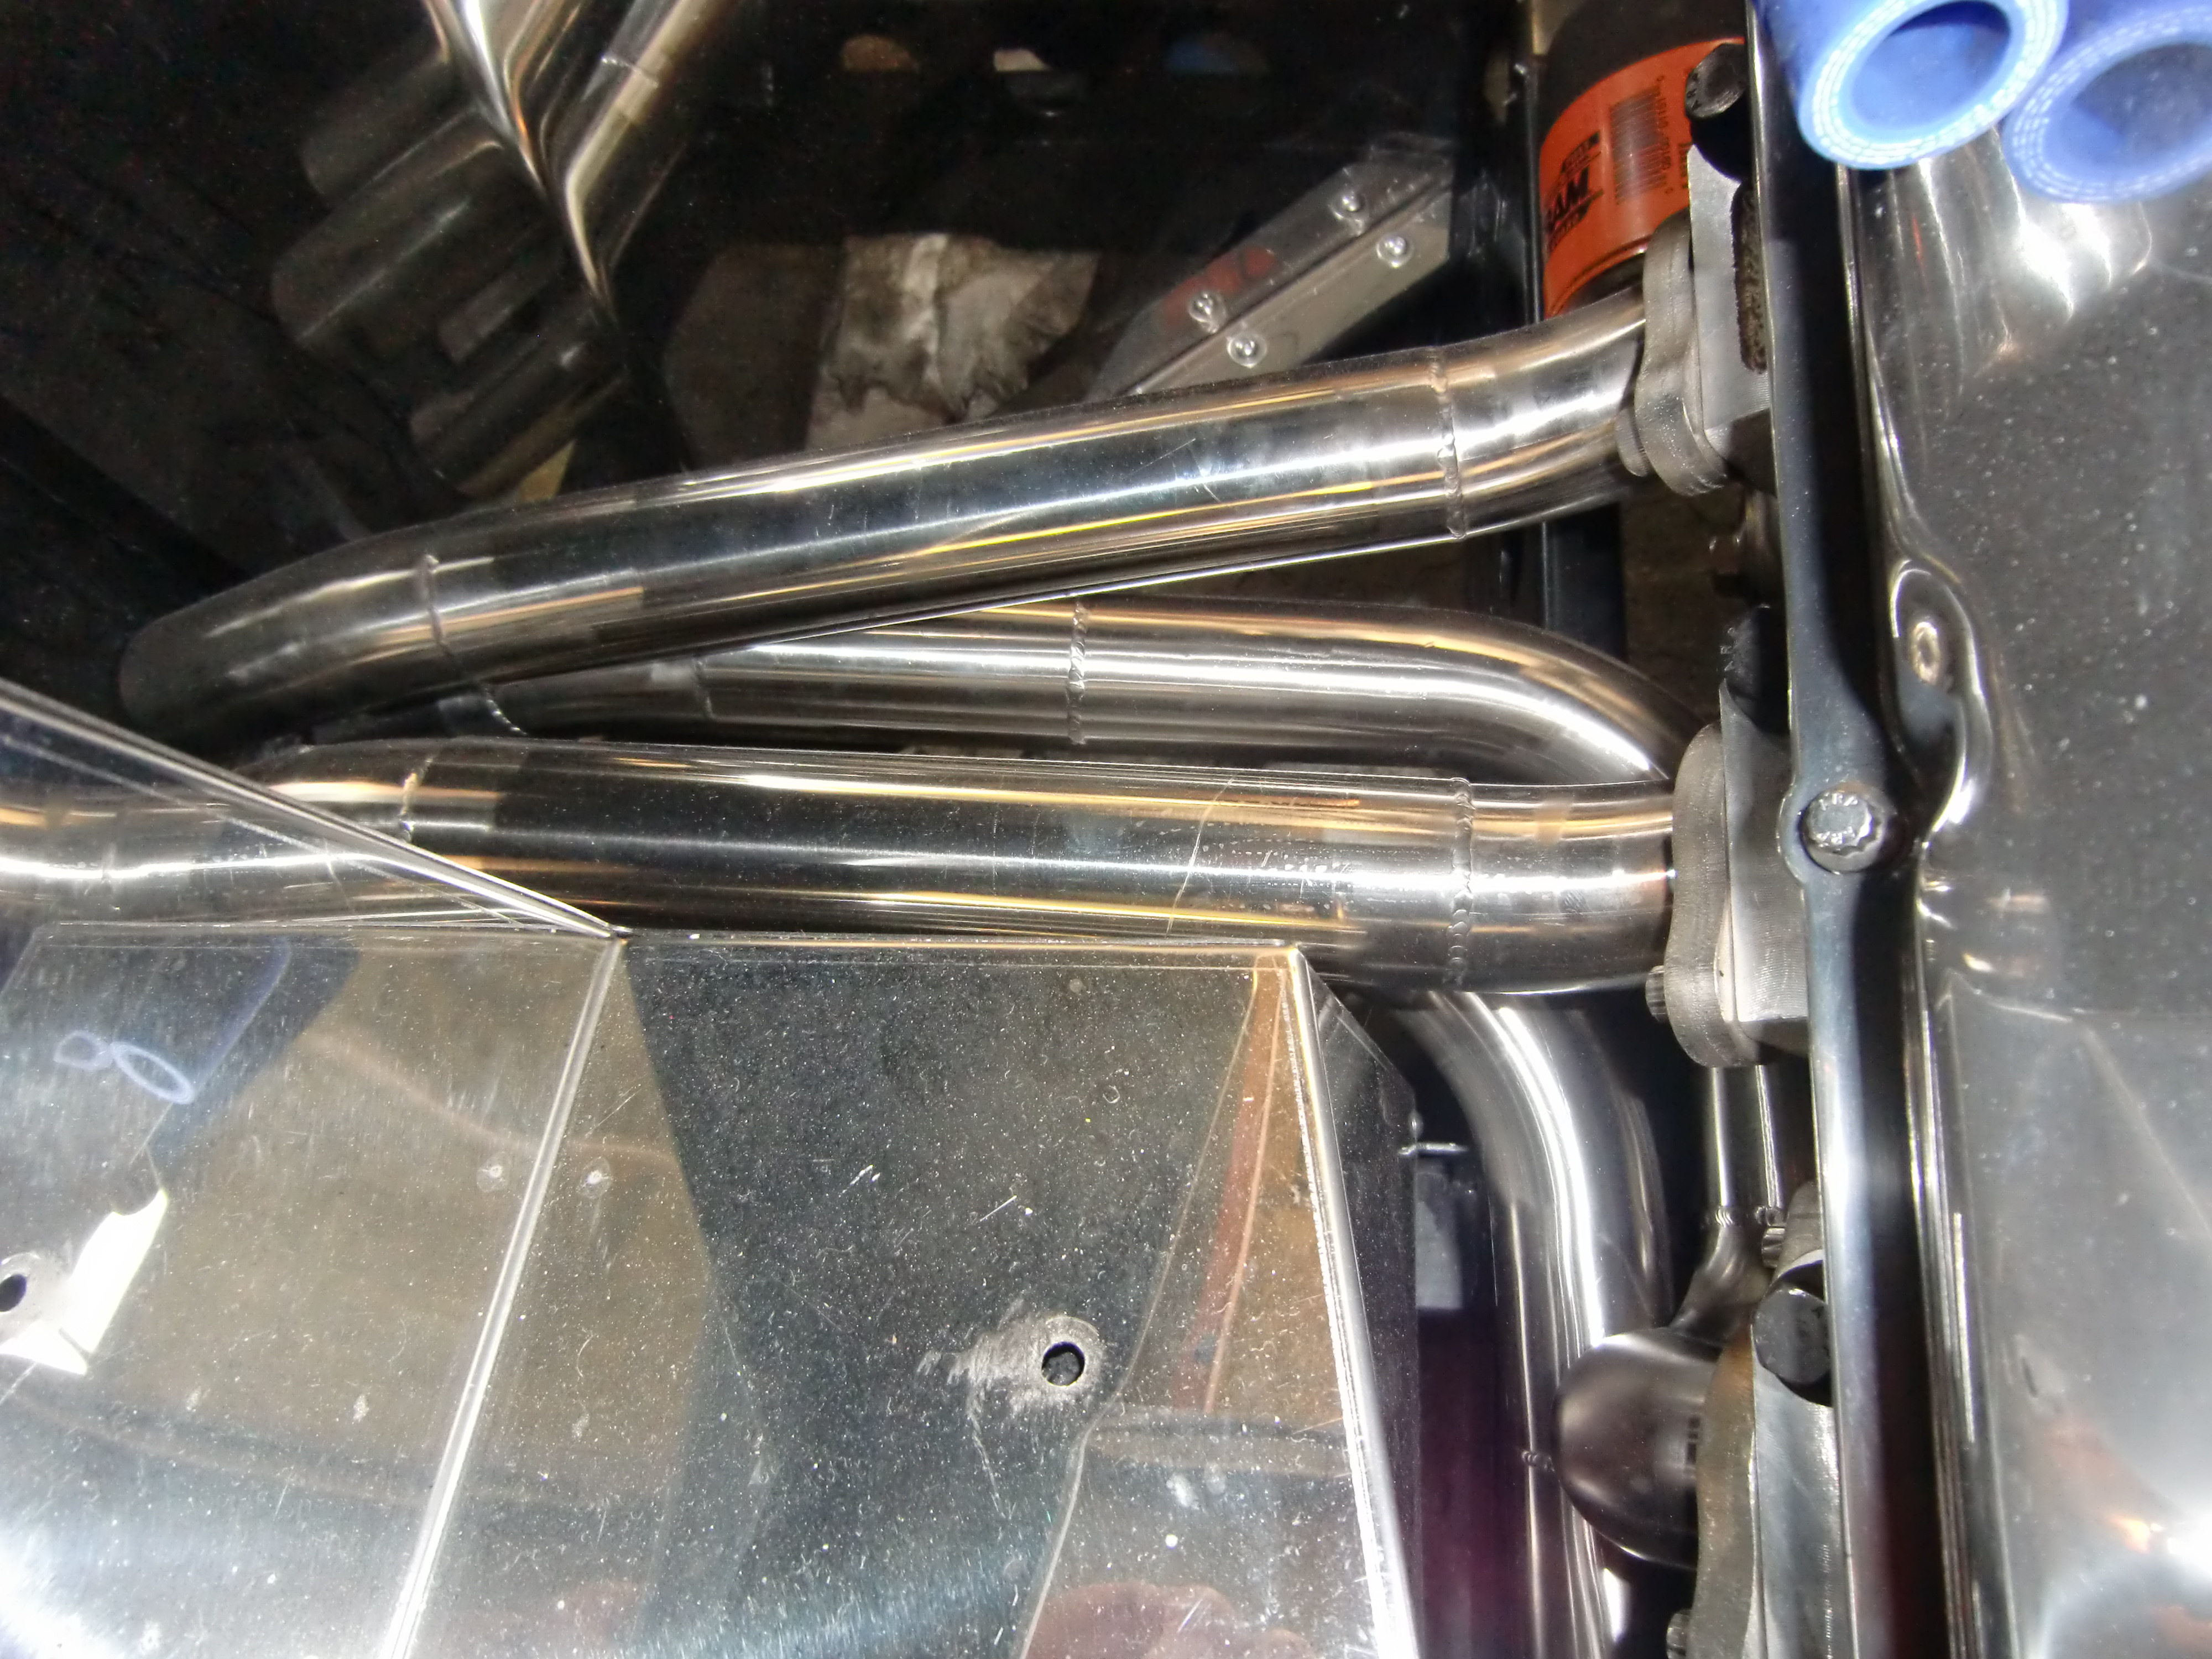
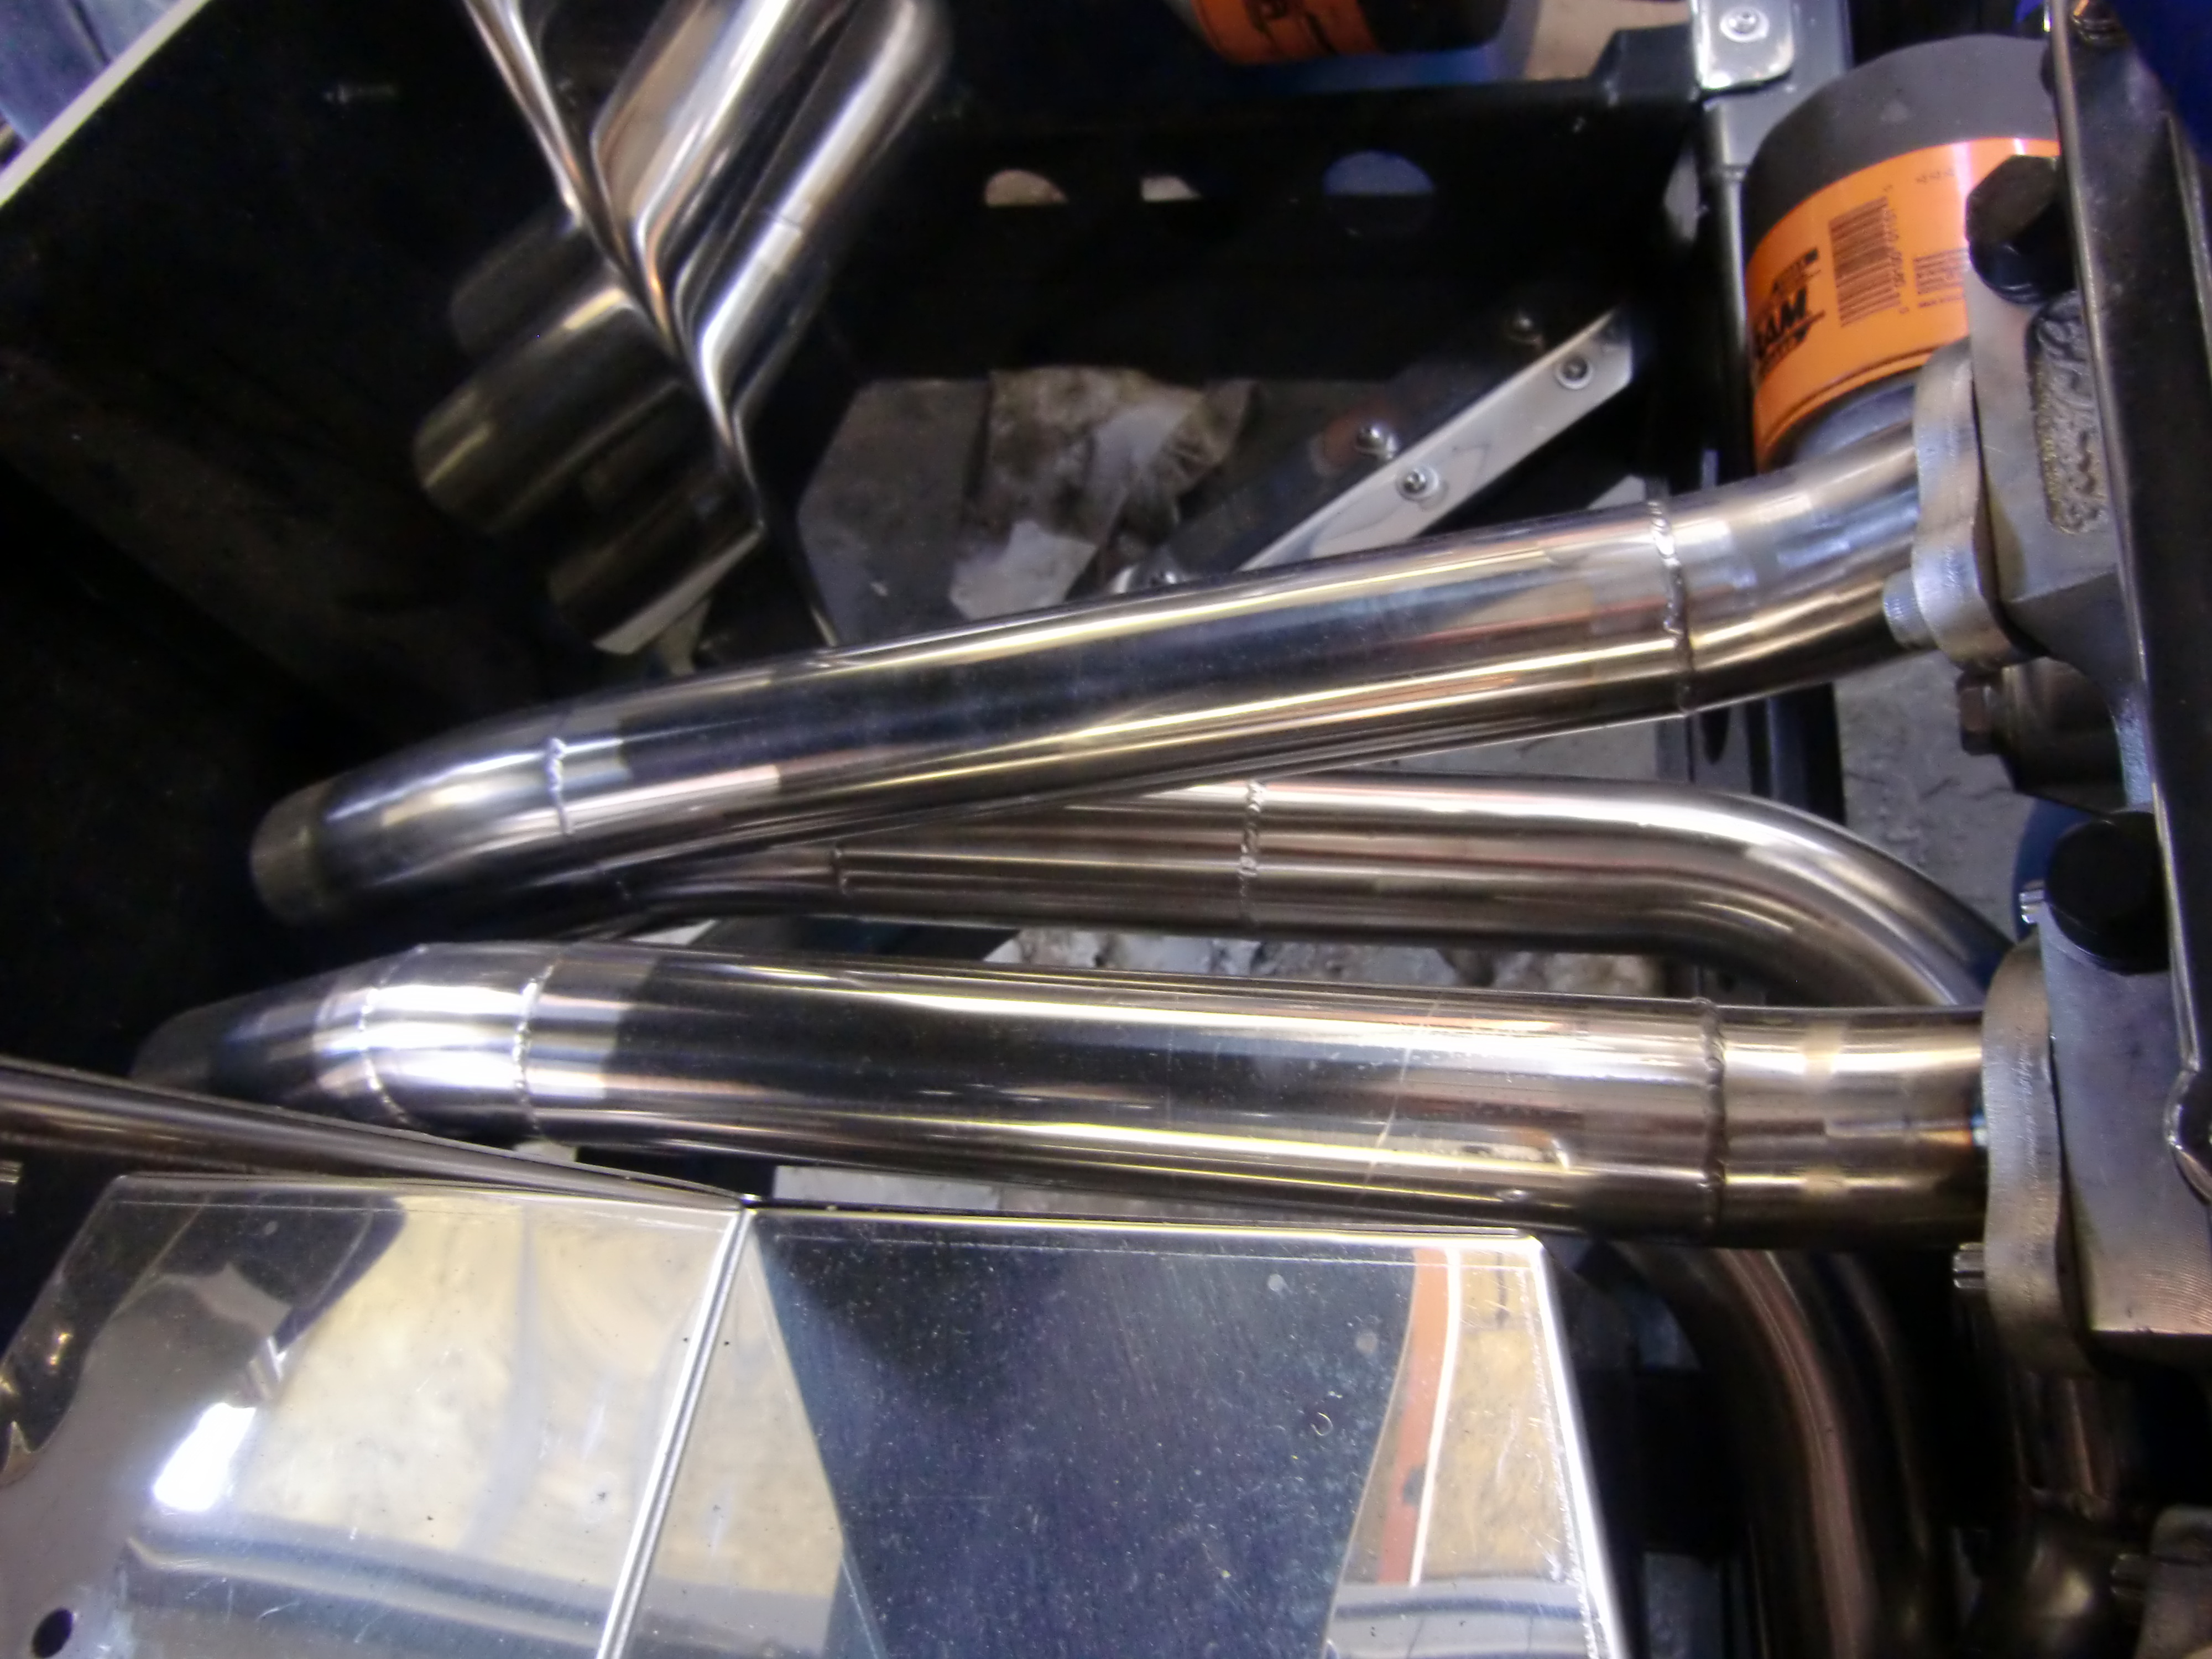
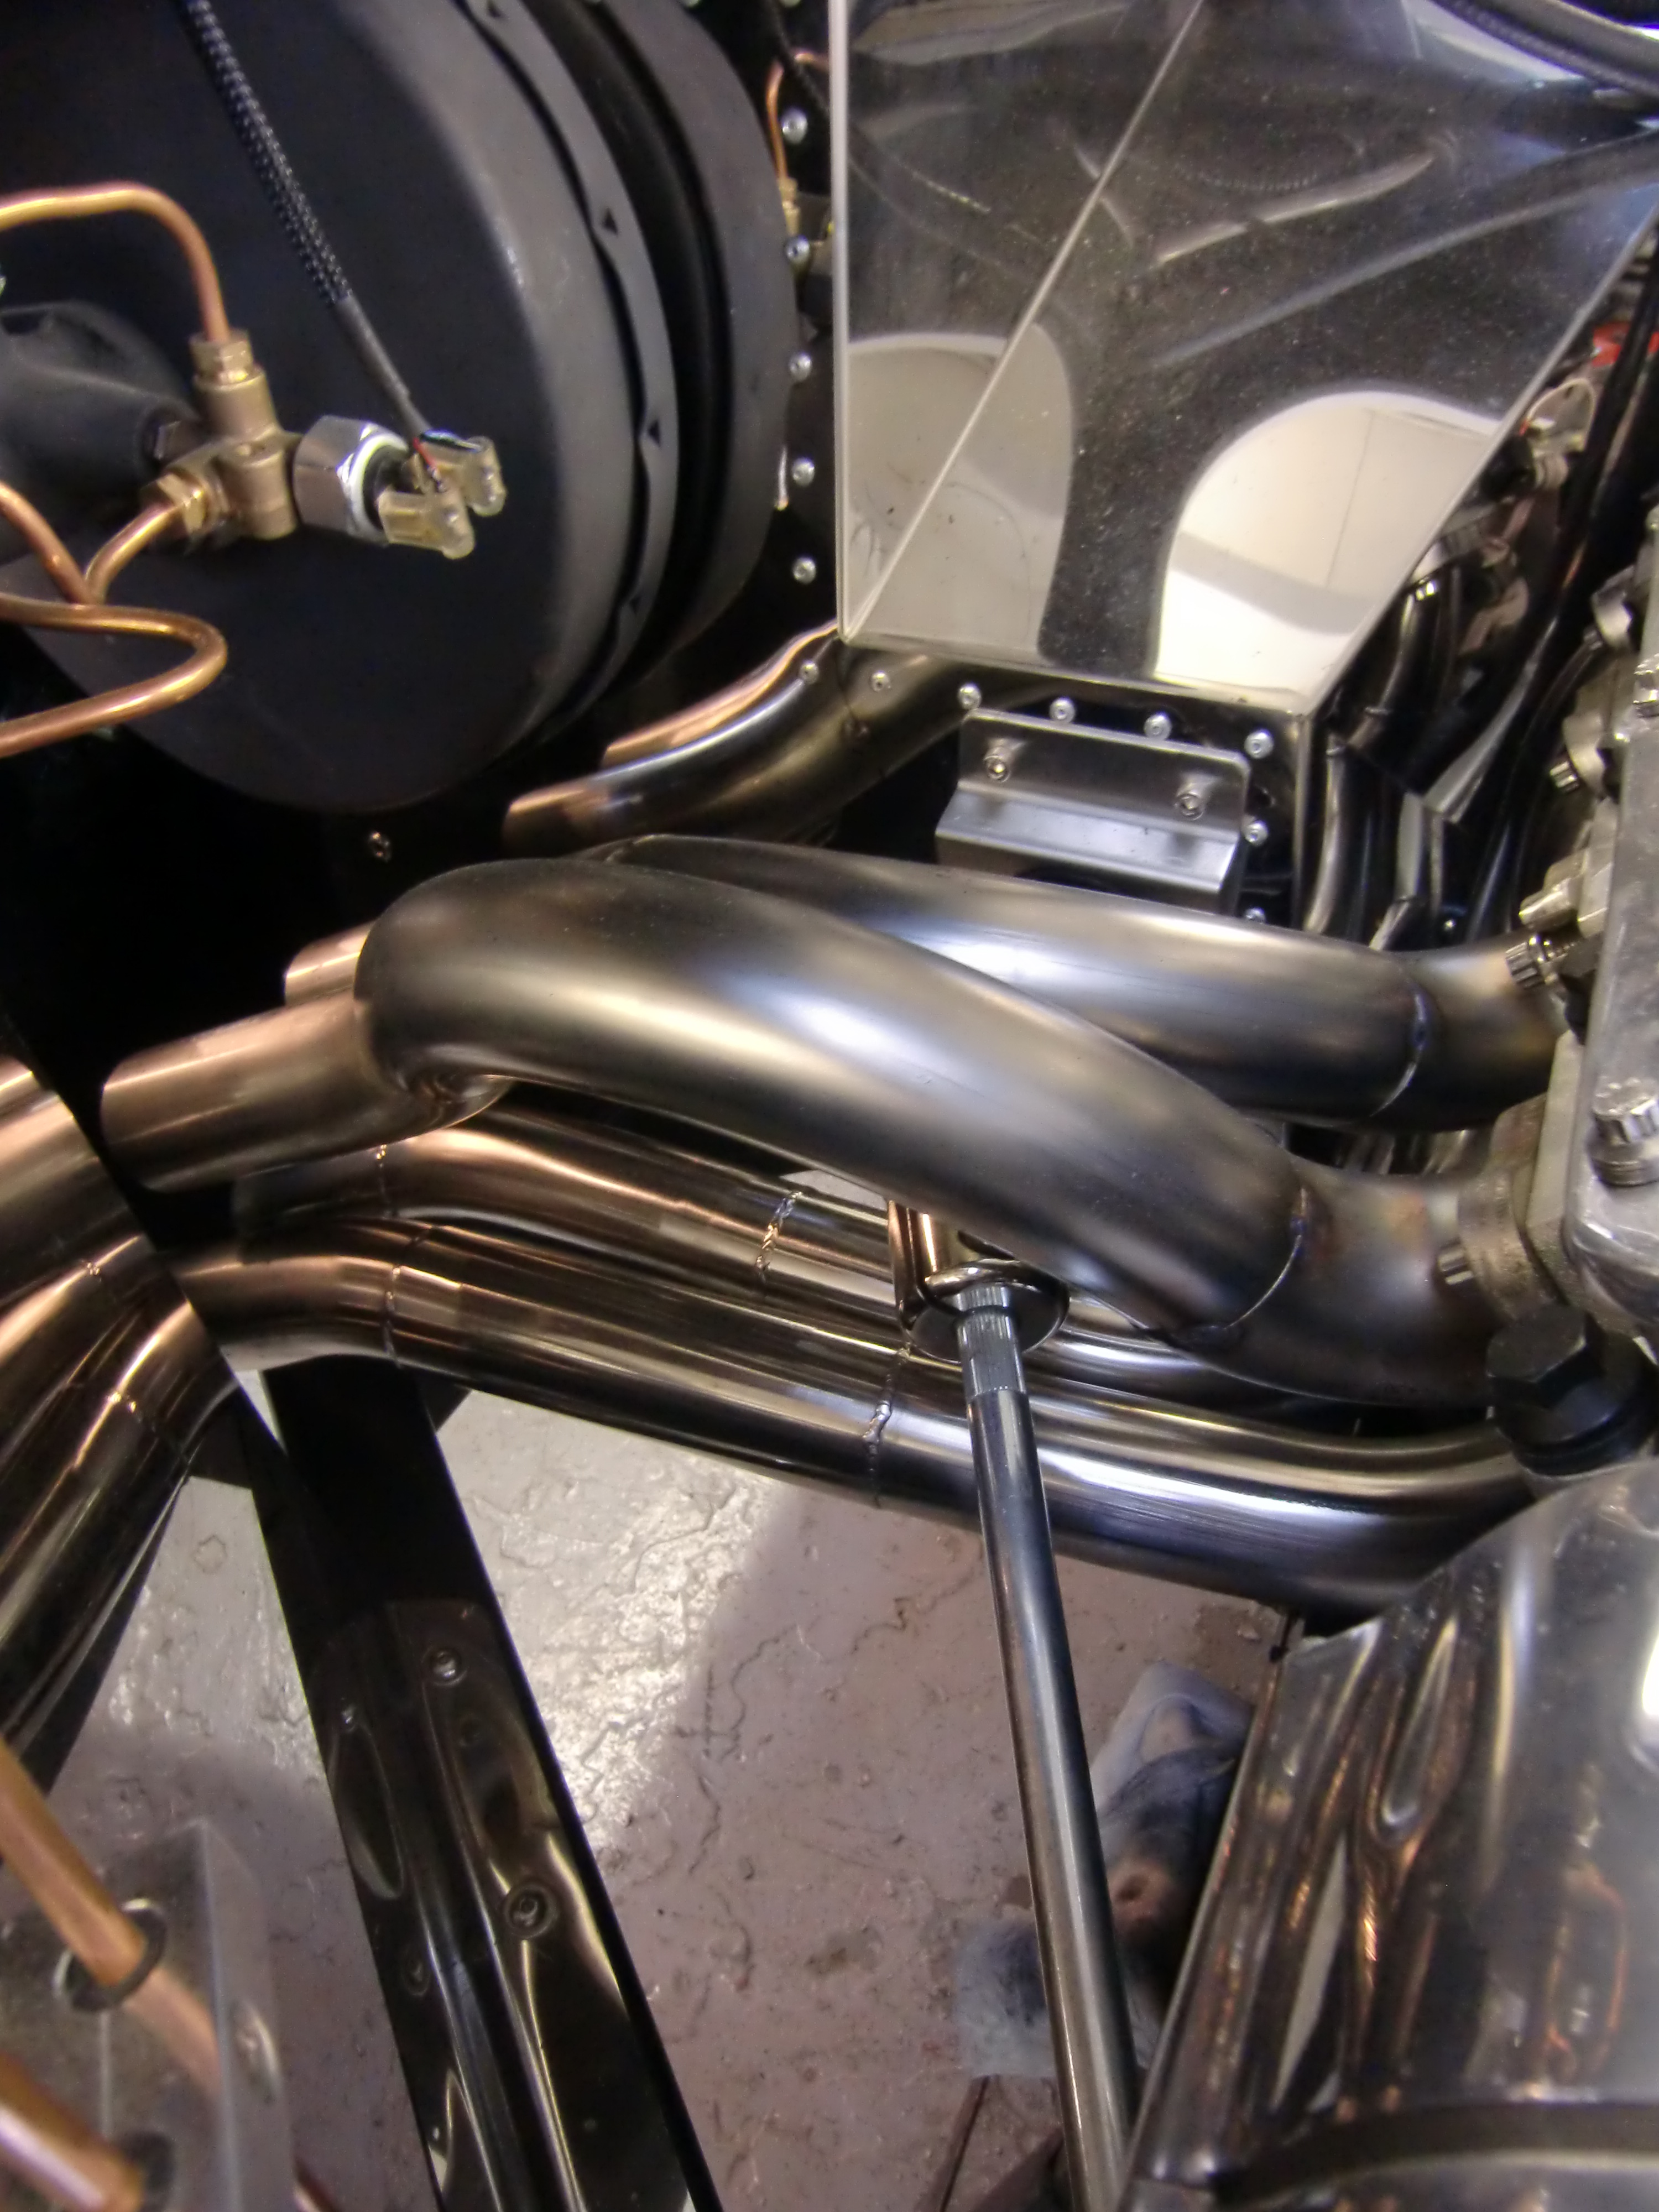
Looking forward to seeing the finished product.
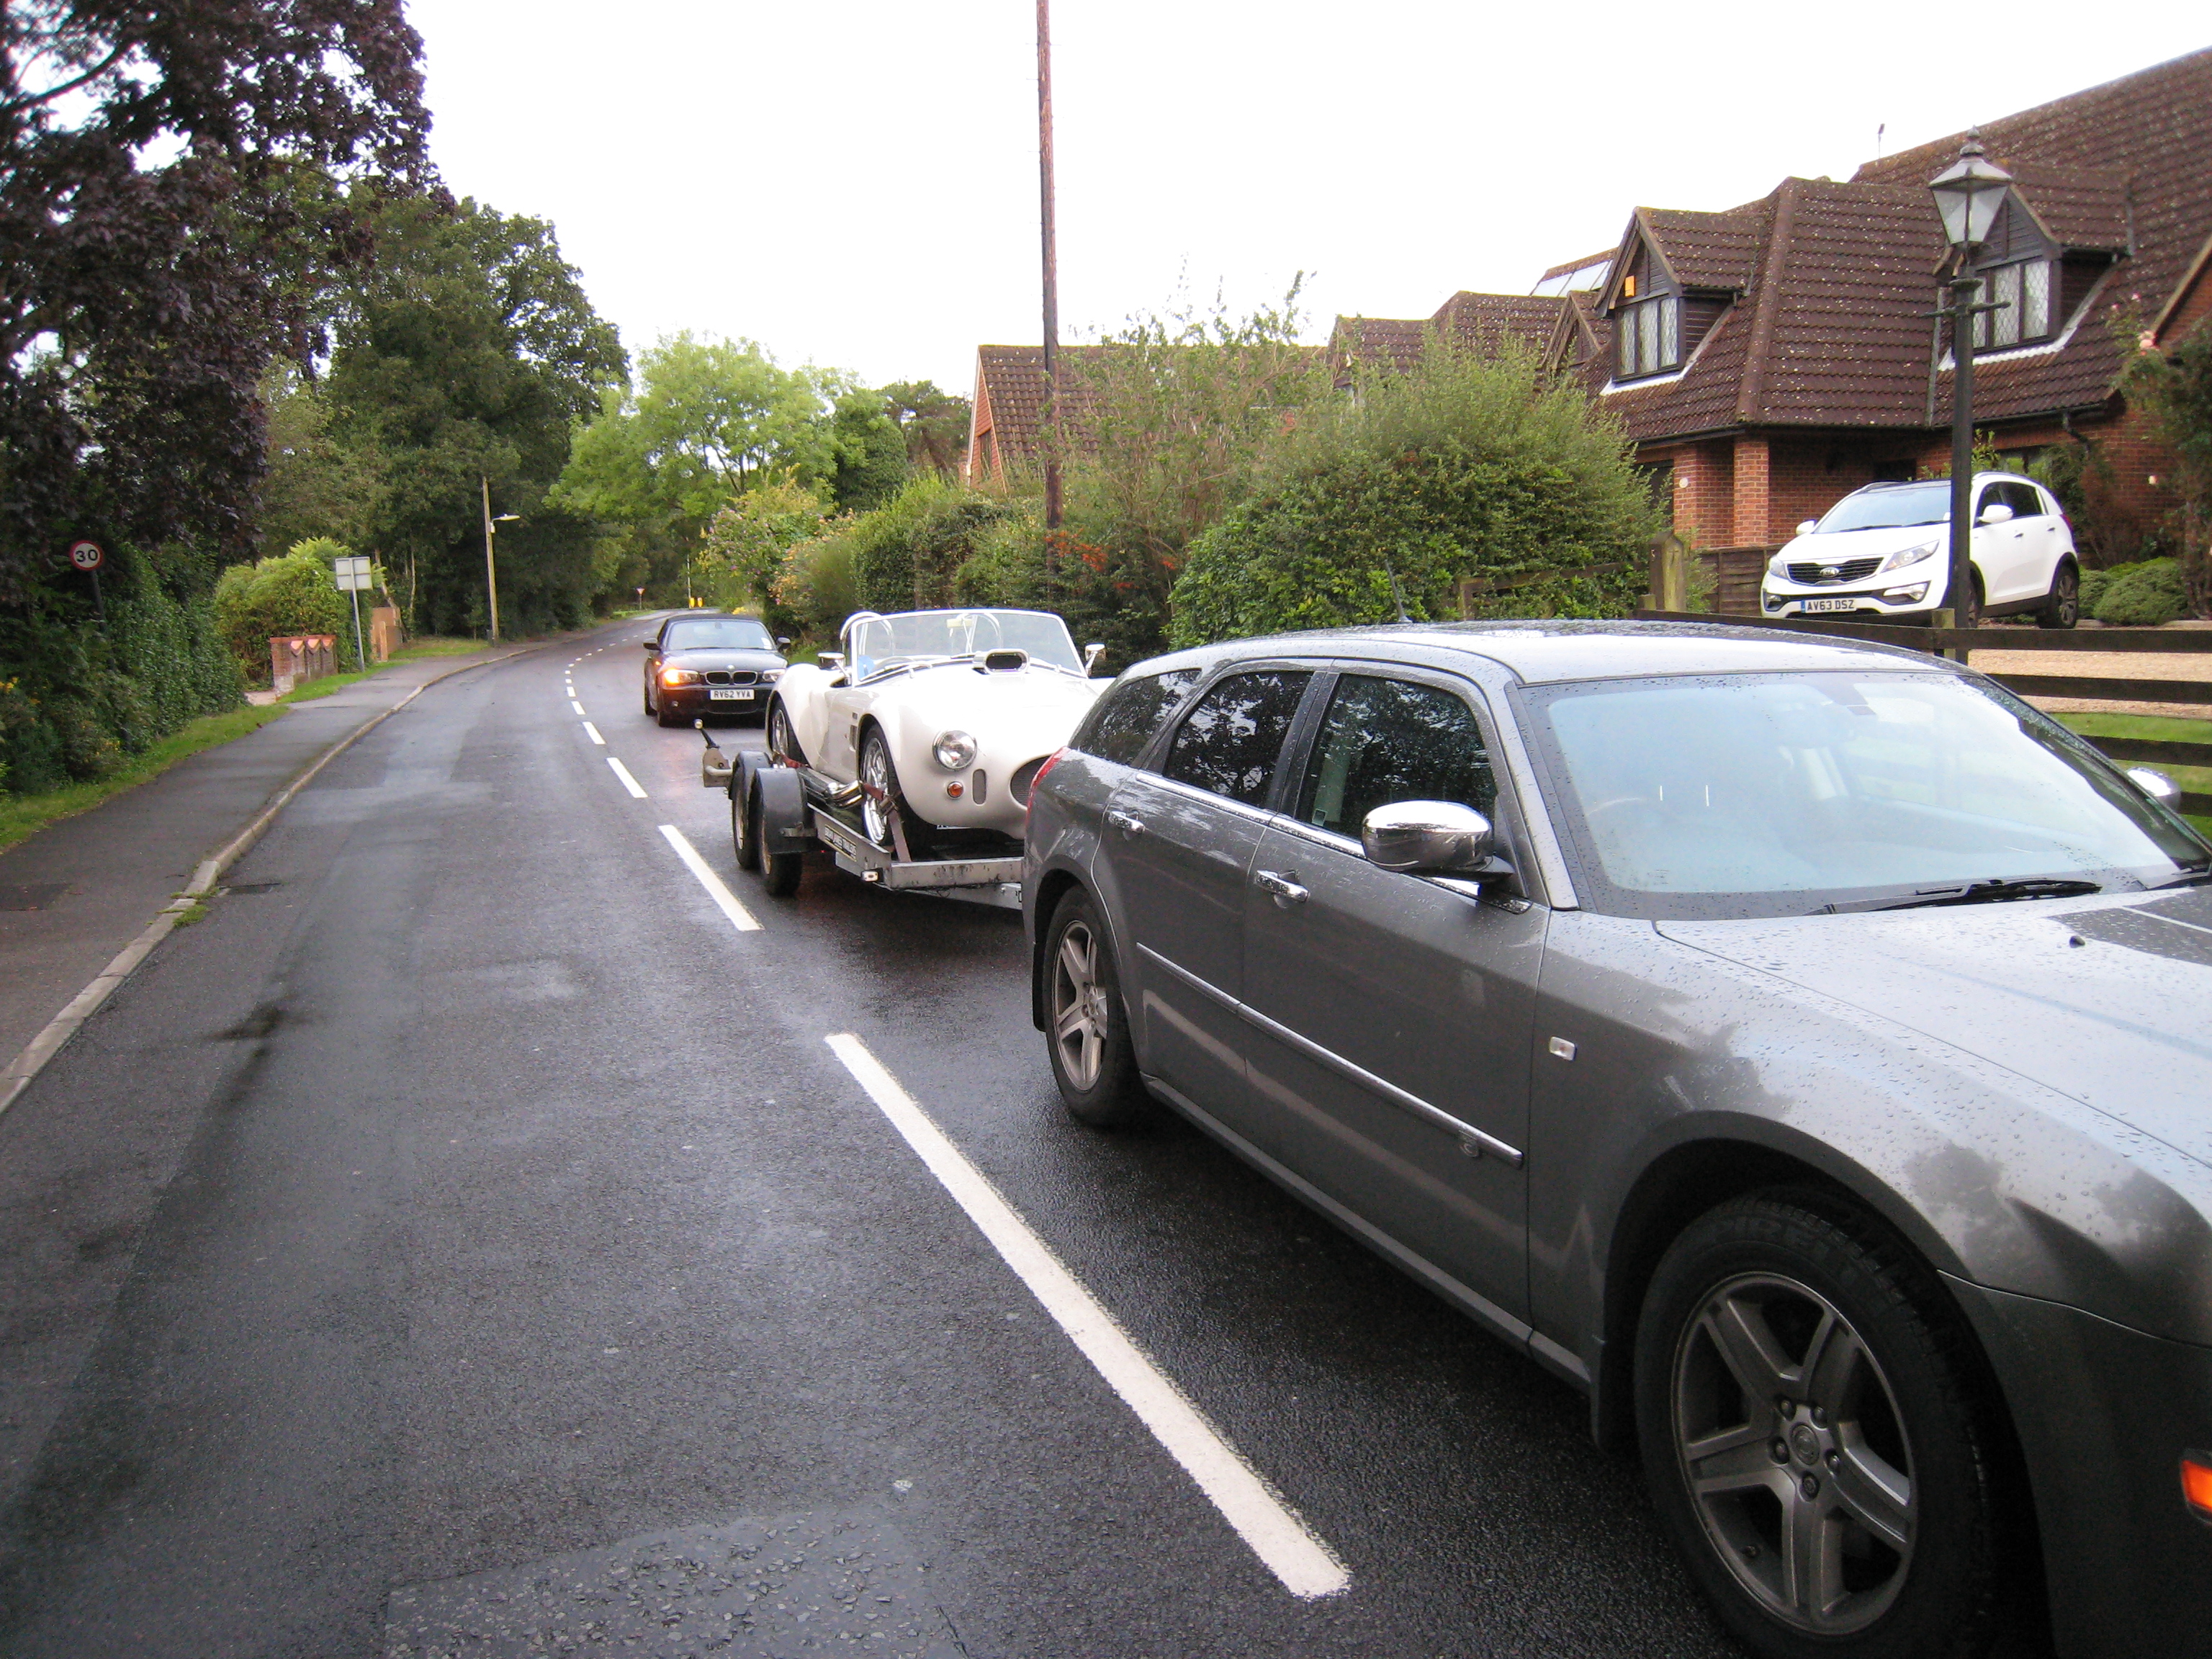
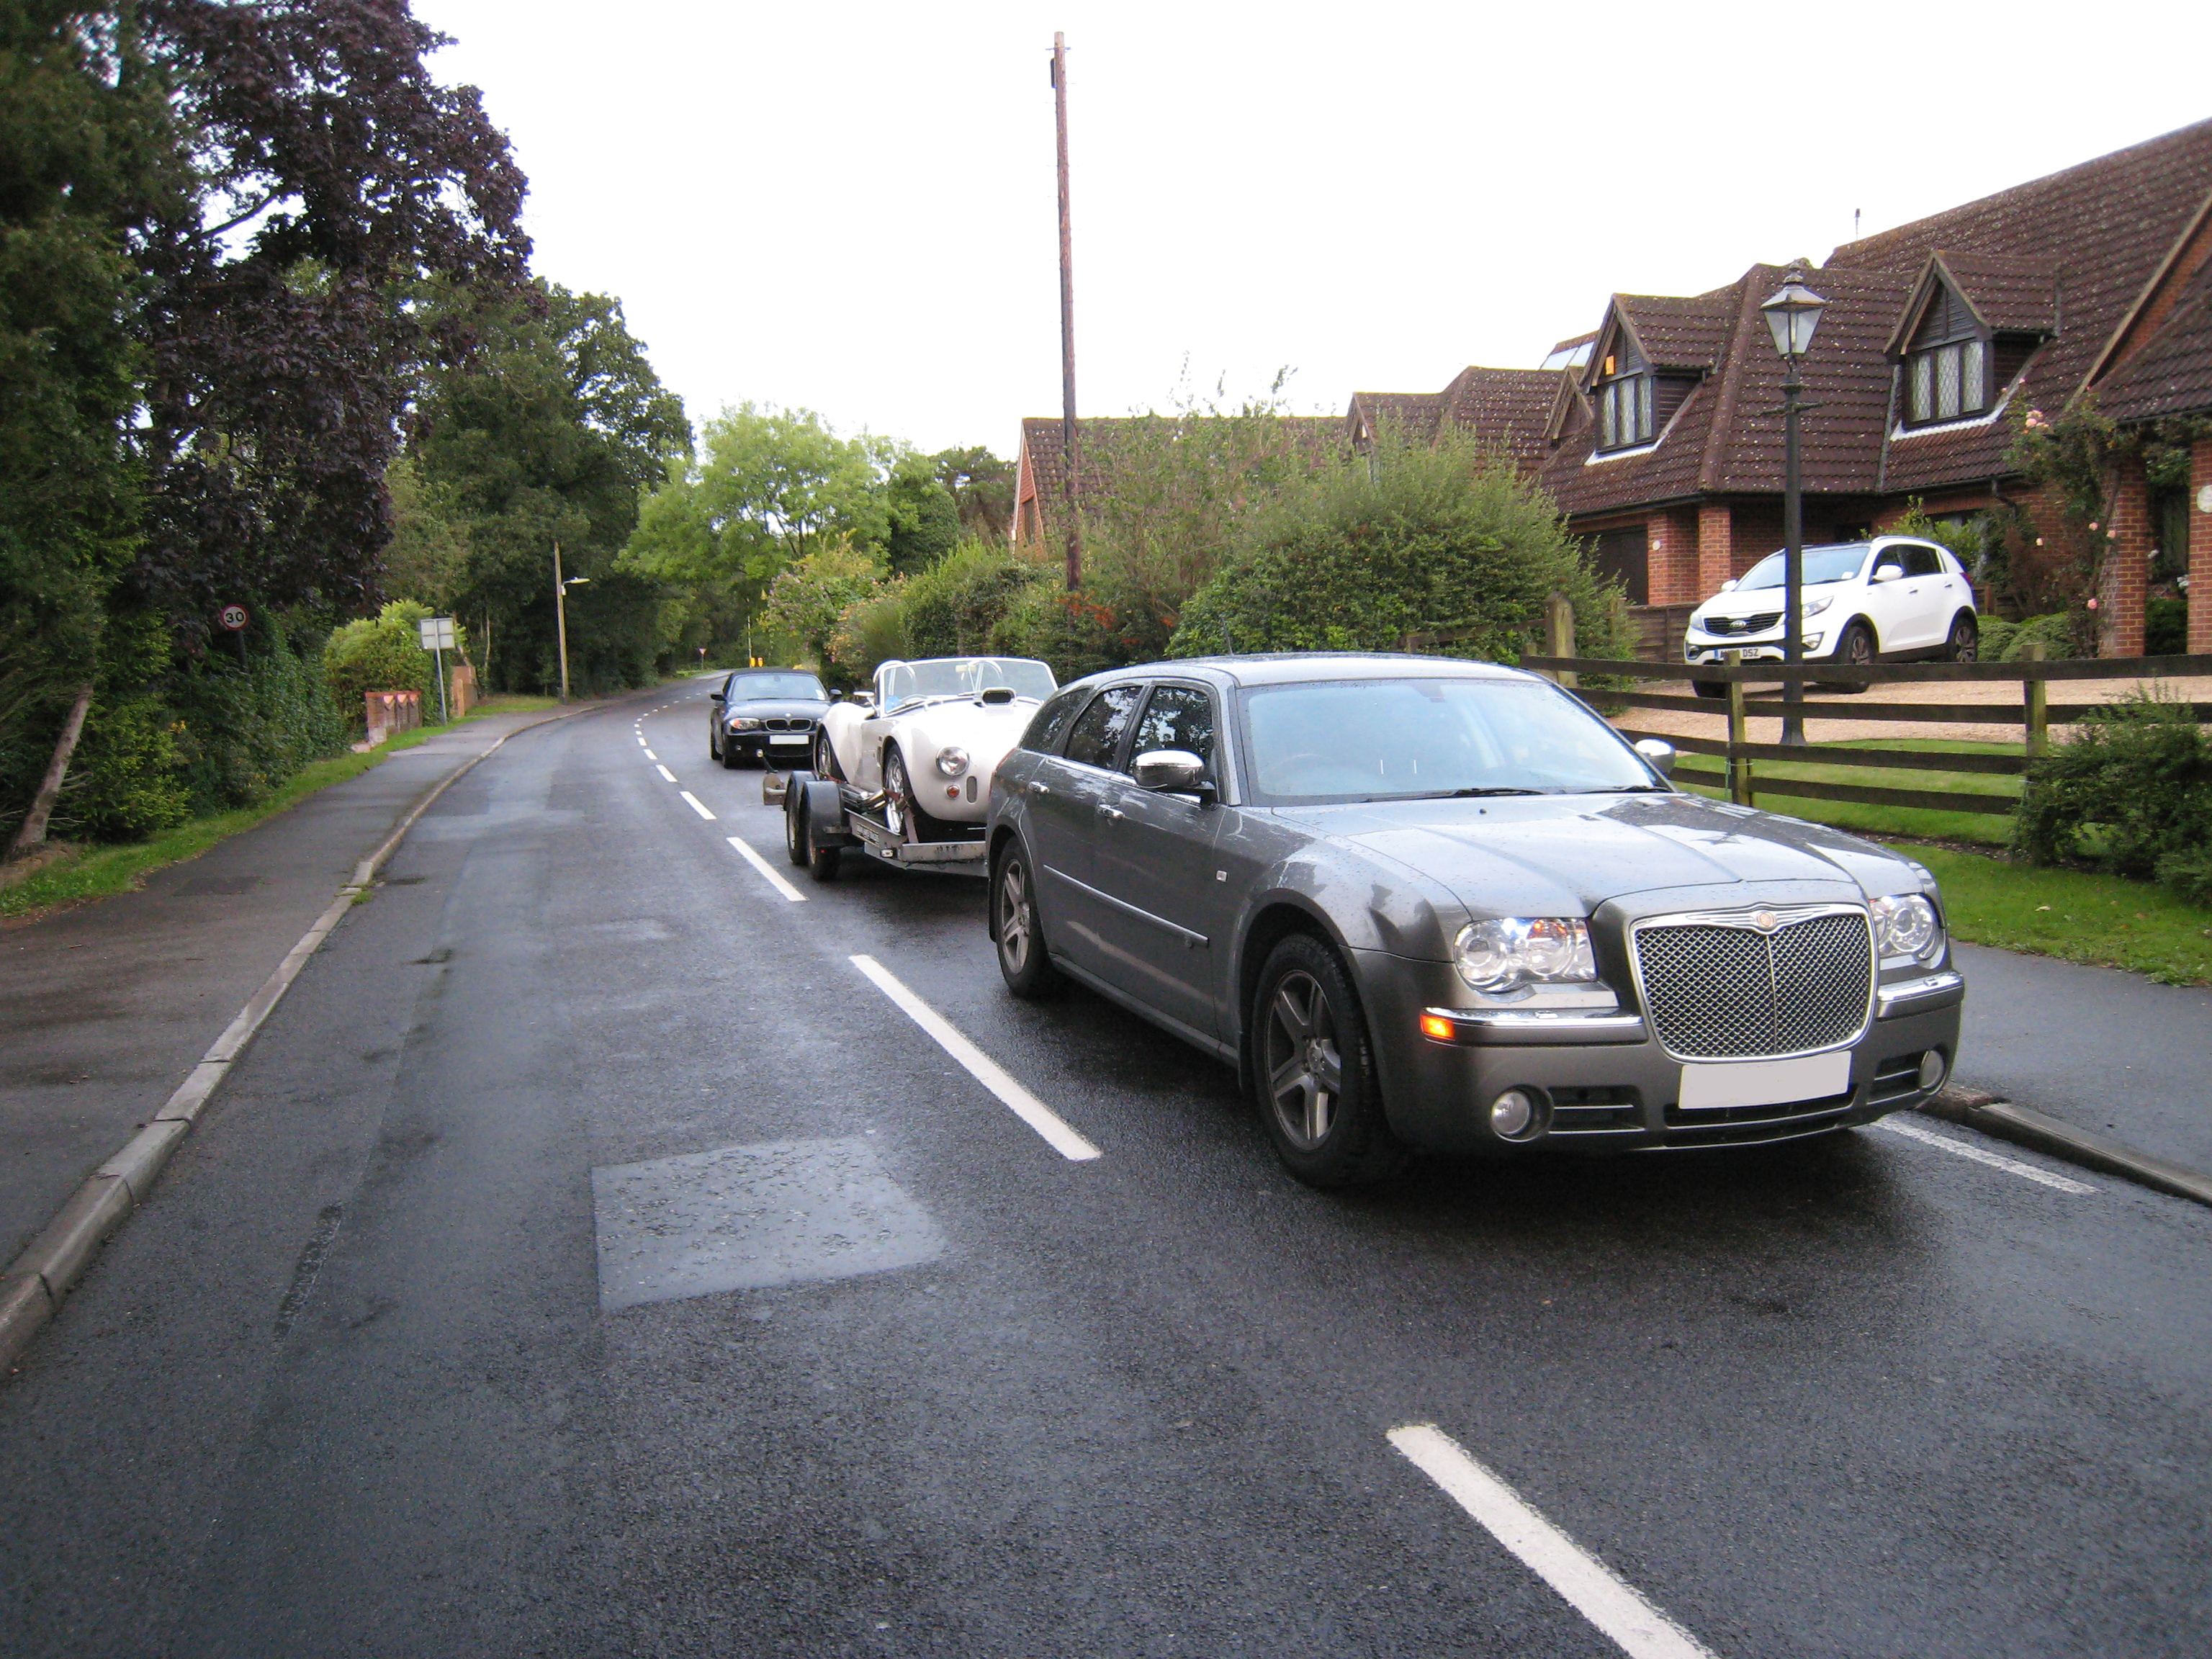
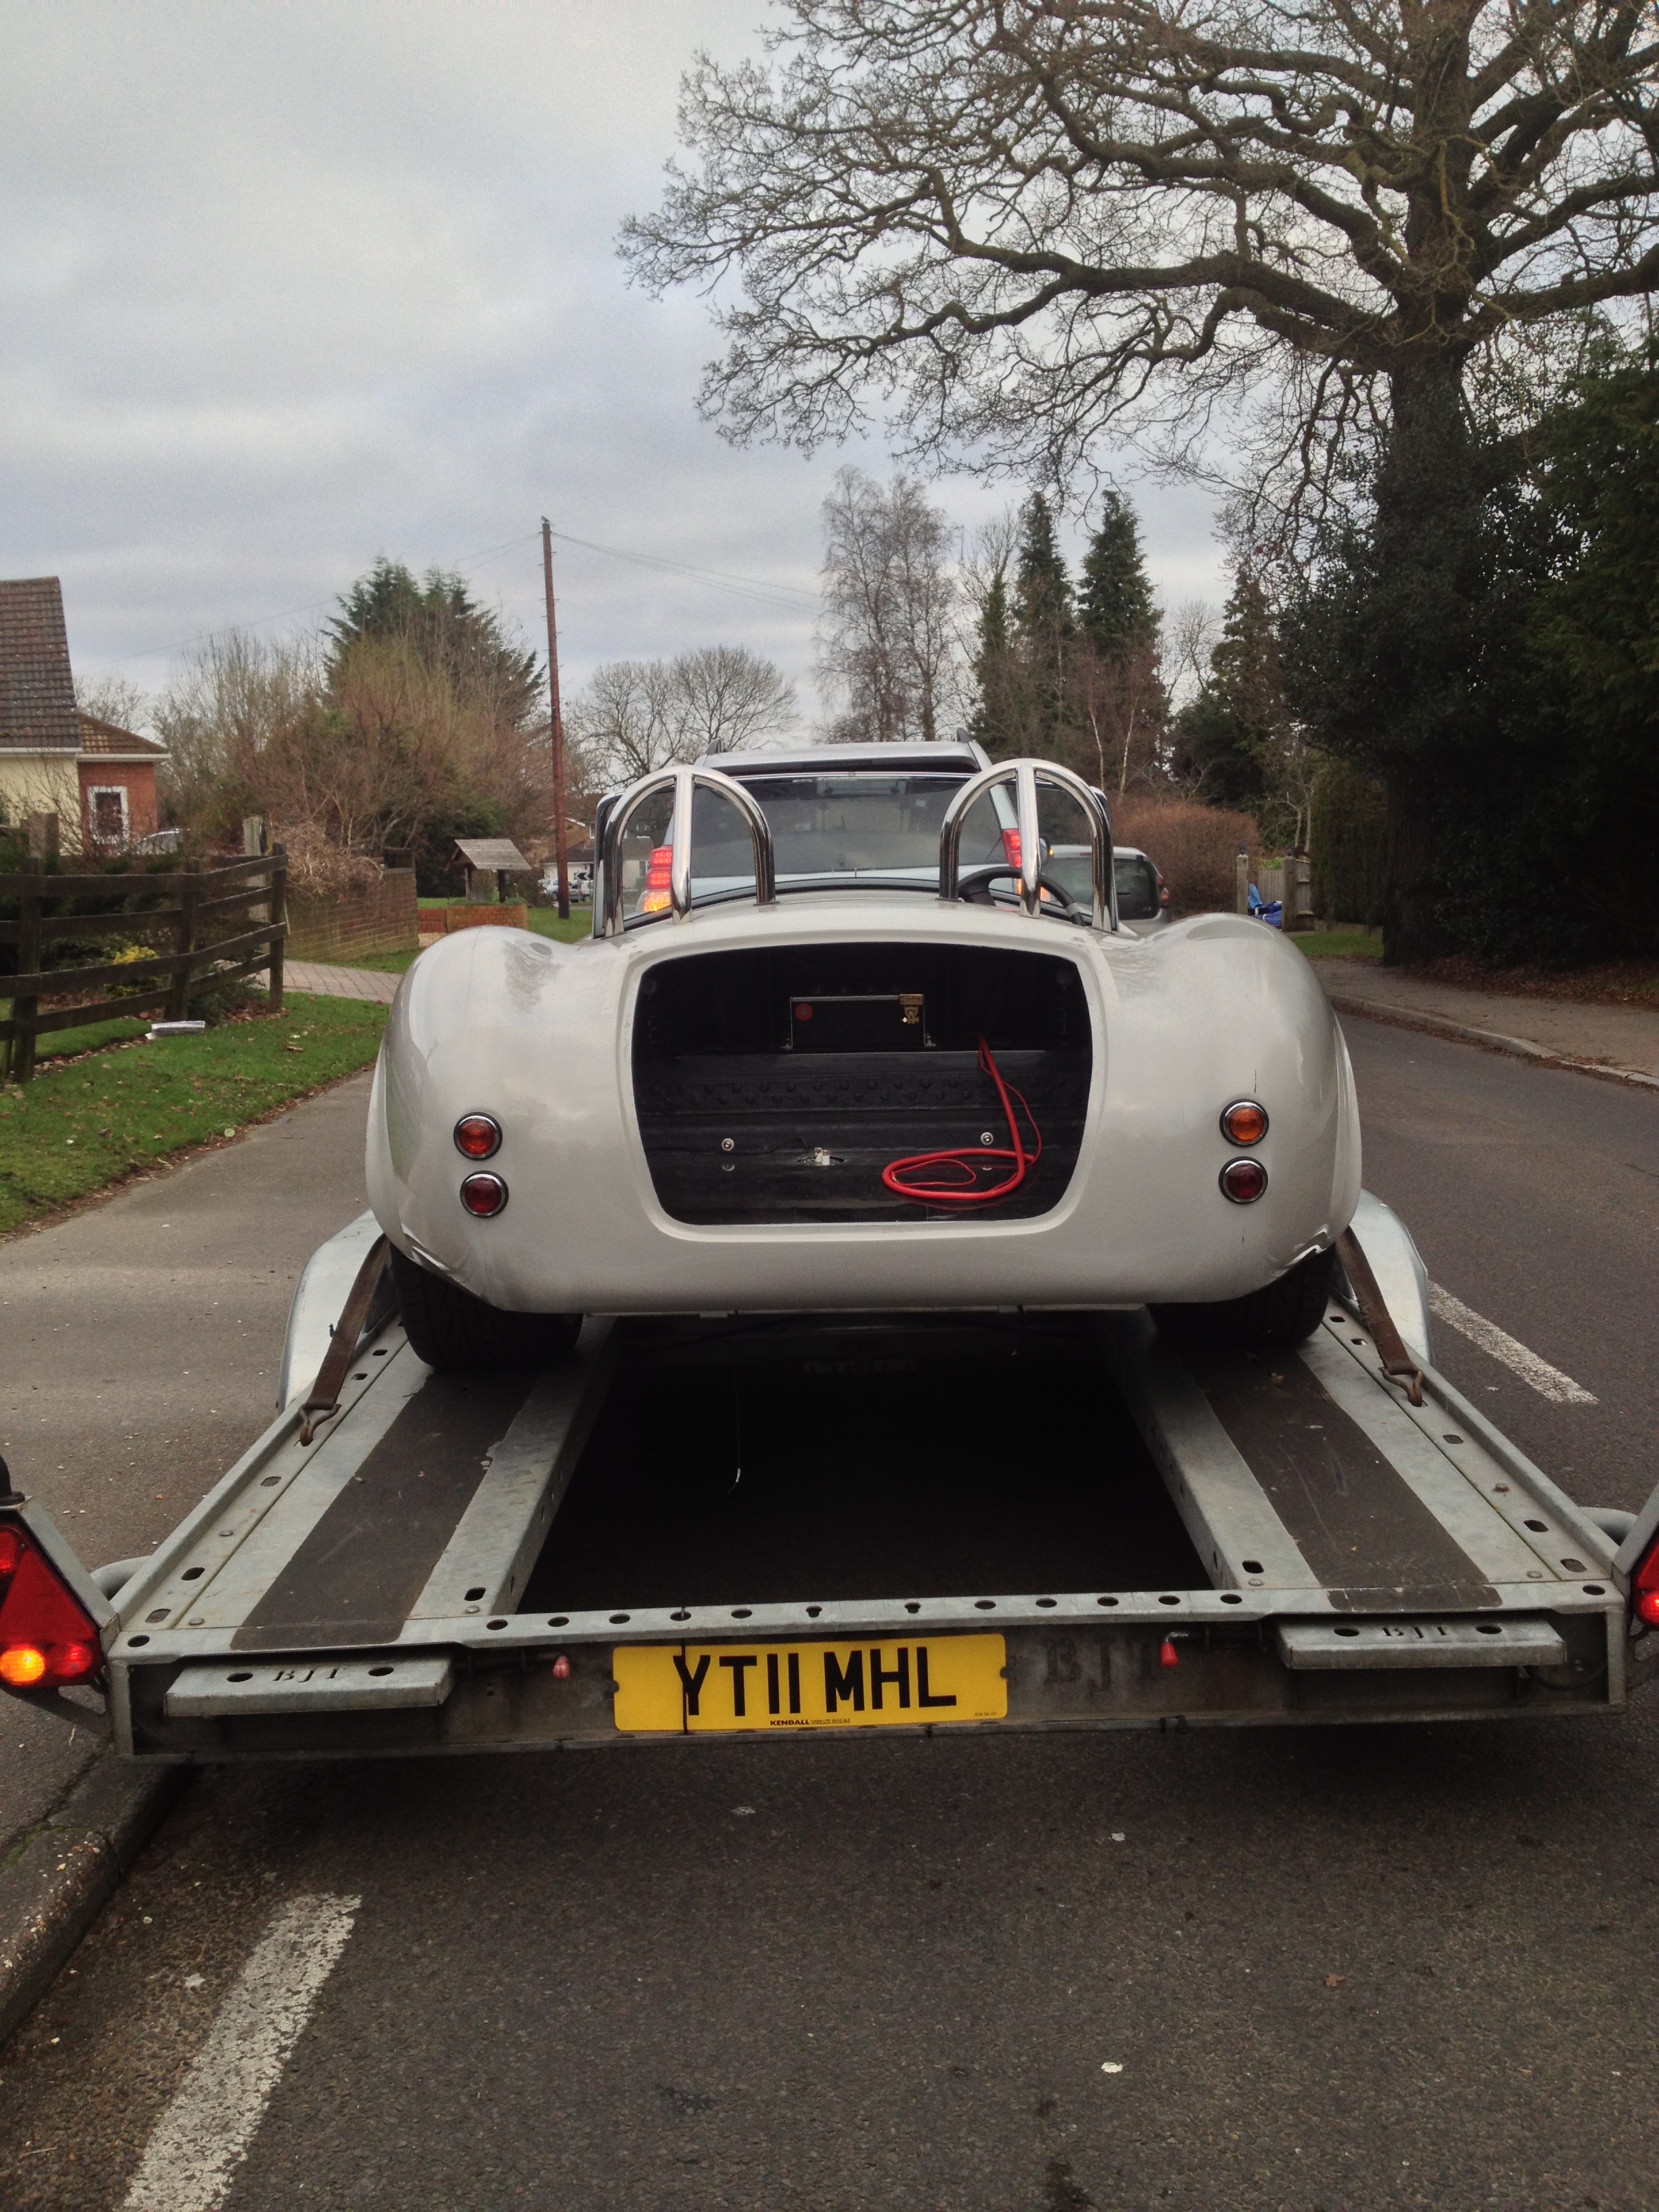
Off She Goes - 4th Jan 2013
On the trailer and away....
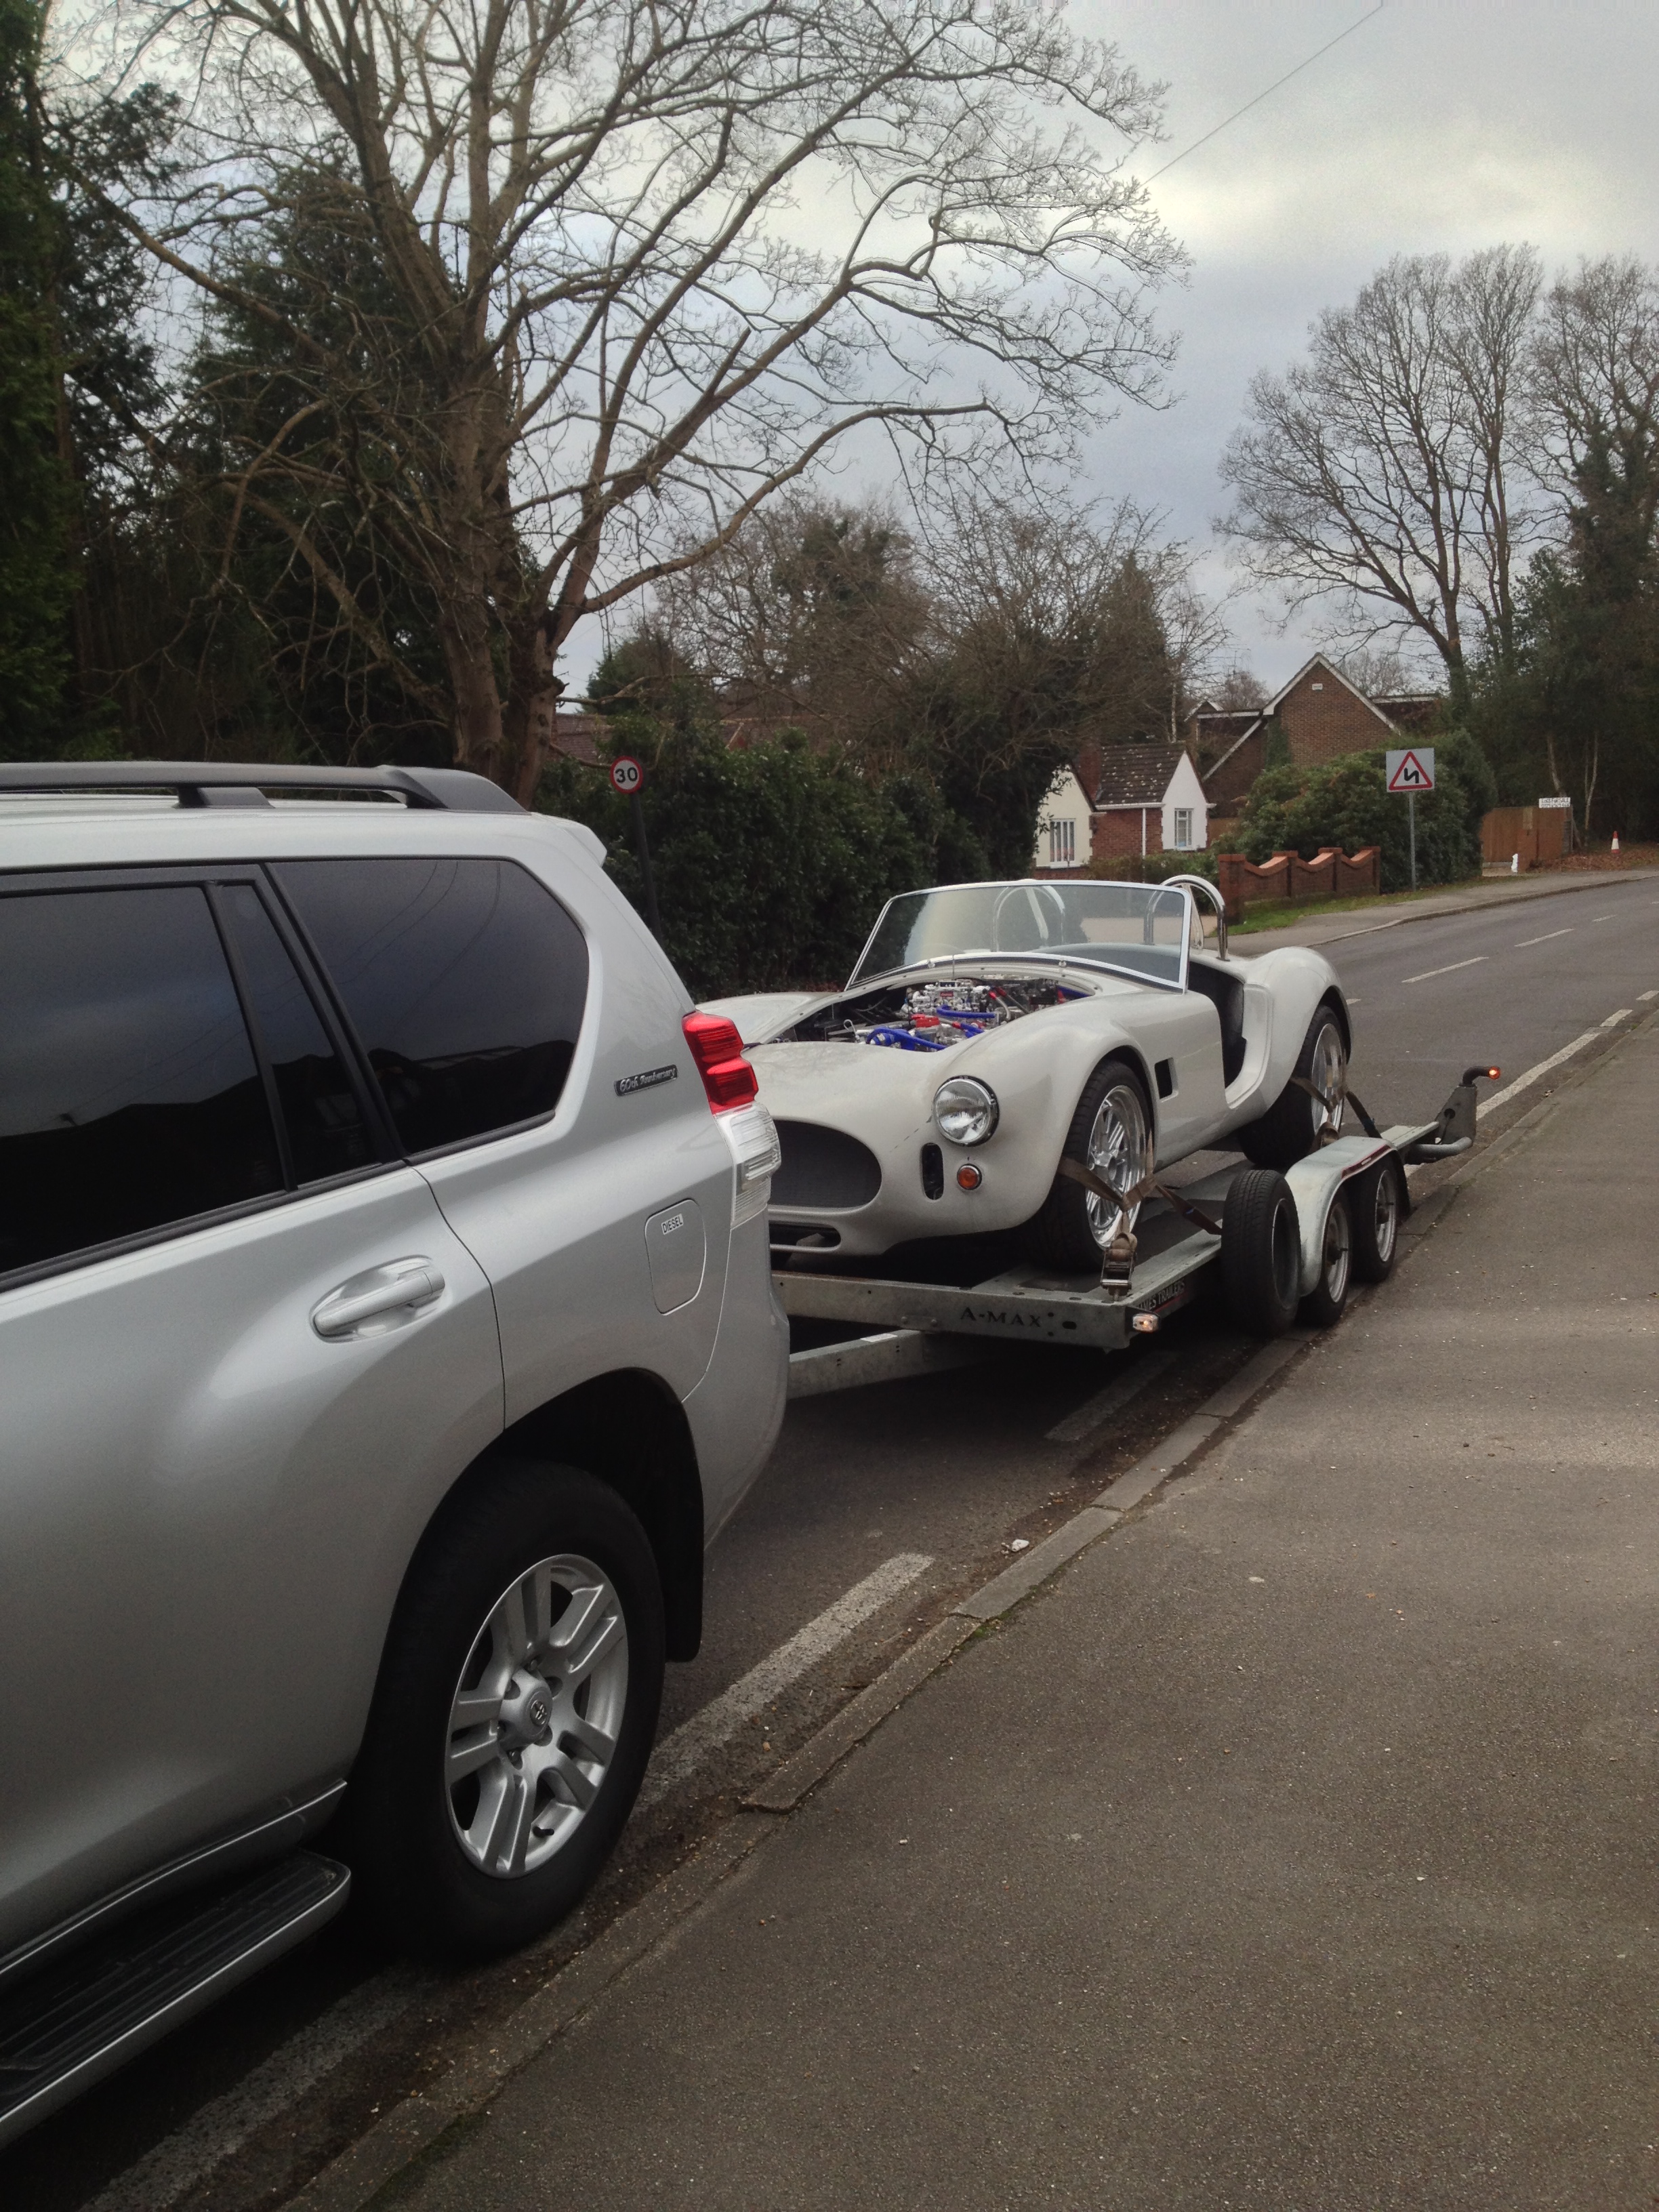
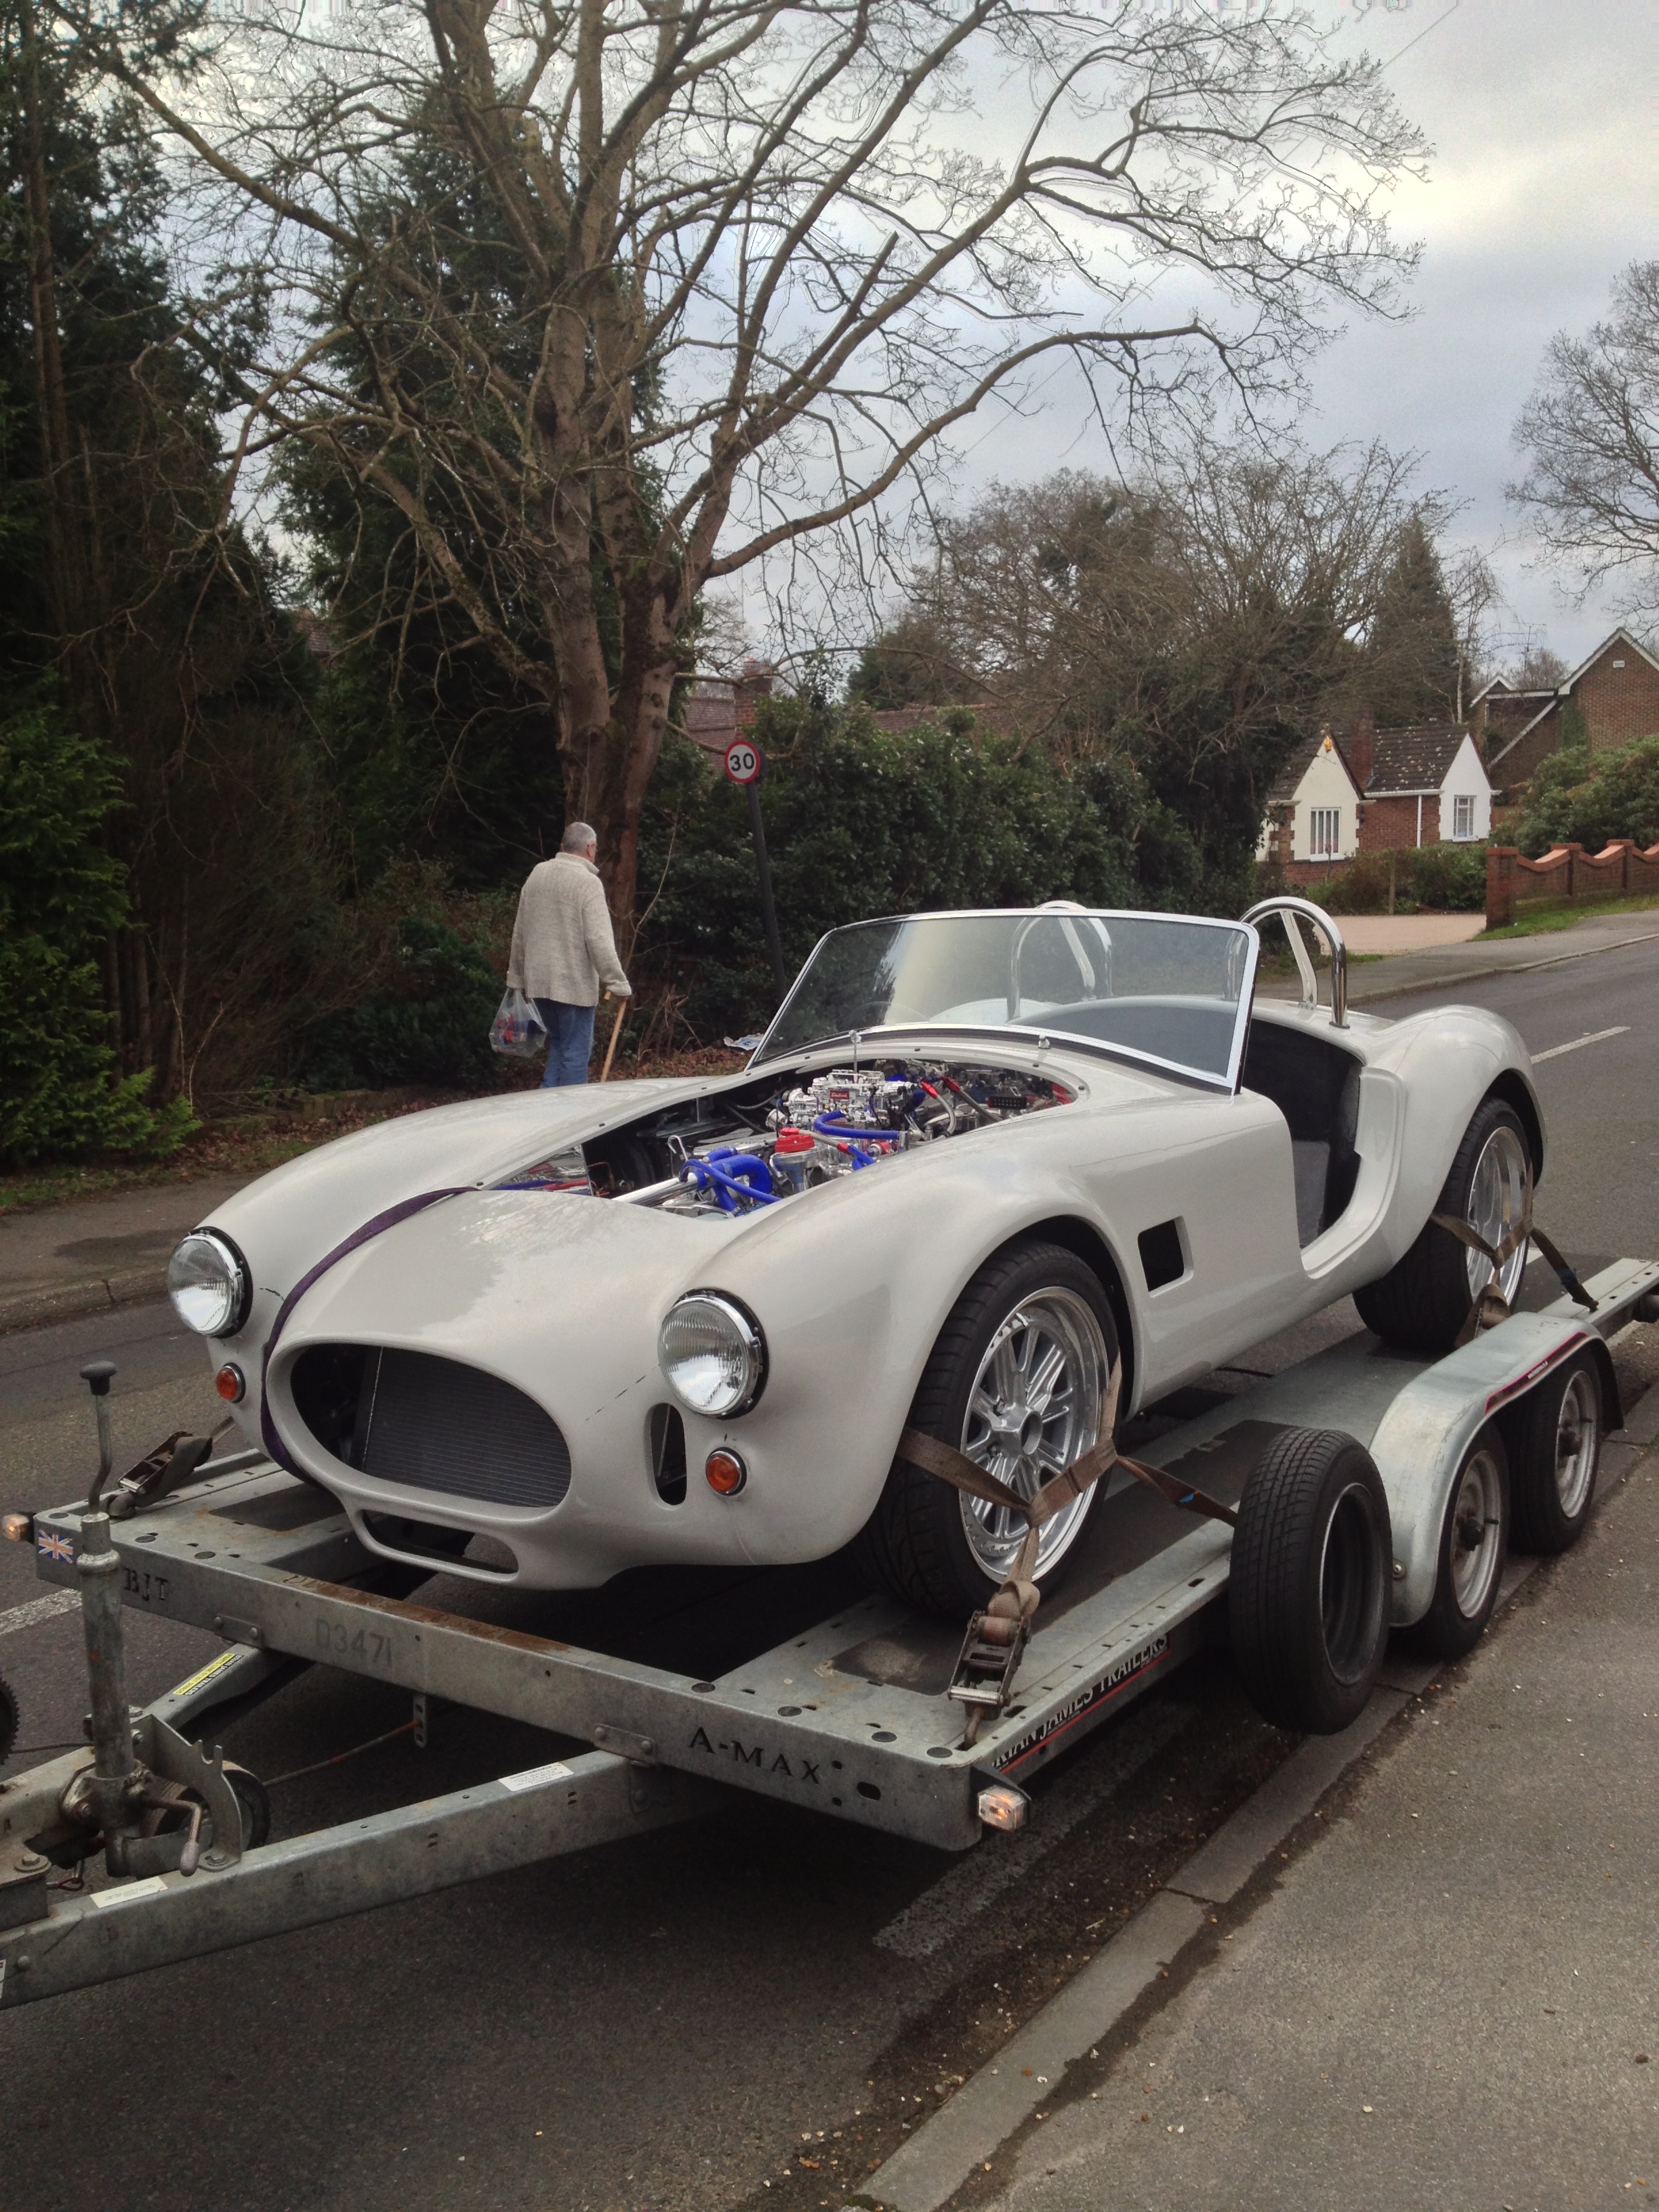
Trip back to Dax...
Preparation is also under way to get the car ready for a trip back to the Dax factory to have its exhaust
fabricated and fitted, As I've chosen the 351 Cleveland lump it’s not a very common engine and its very
tight to say the least in the engine bay, so rather than order one from Dax and hope that its fits (if it
didn’t I have no way to modify it) I thought it would be easier to give them the car so they can make it
fit perfectly...well that the plan anyway, watch this space to find out how it goes, if it does go well,
then with a little bit more wiring I should be able to fire her up !
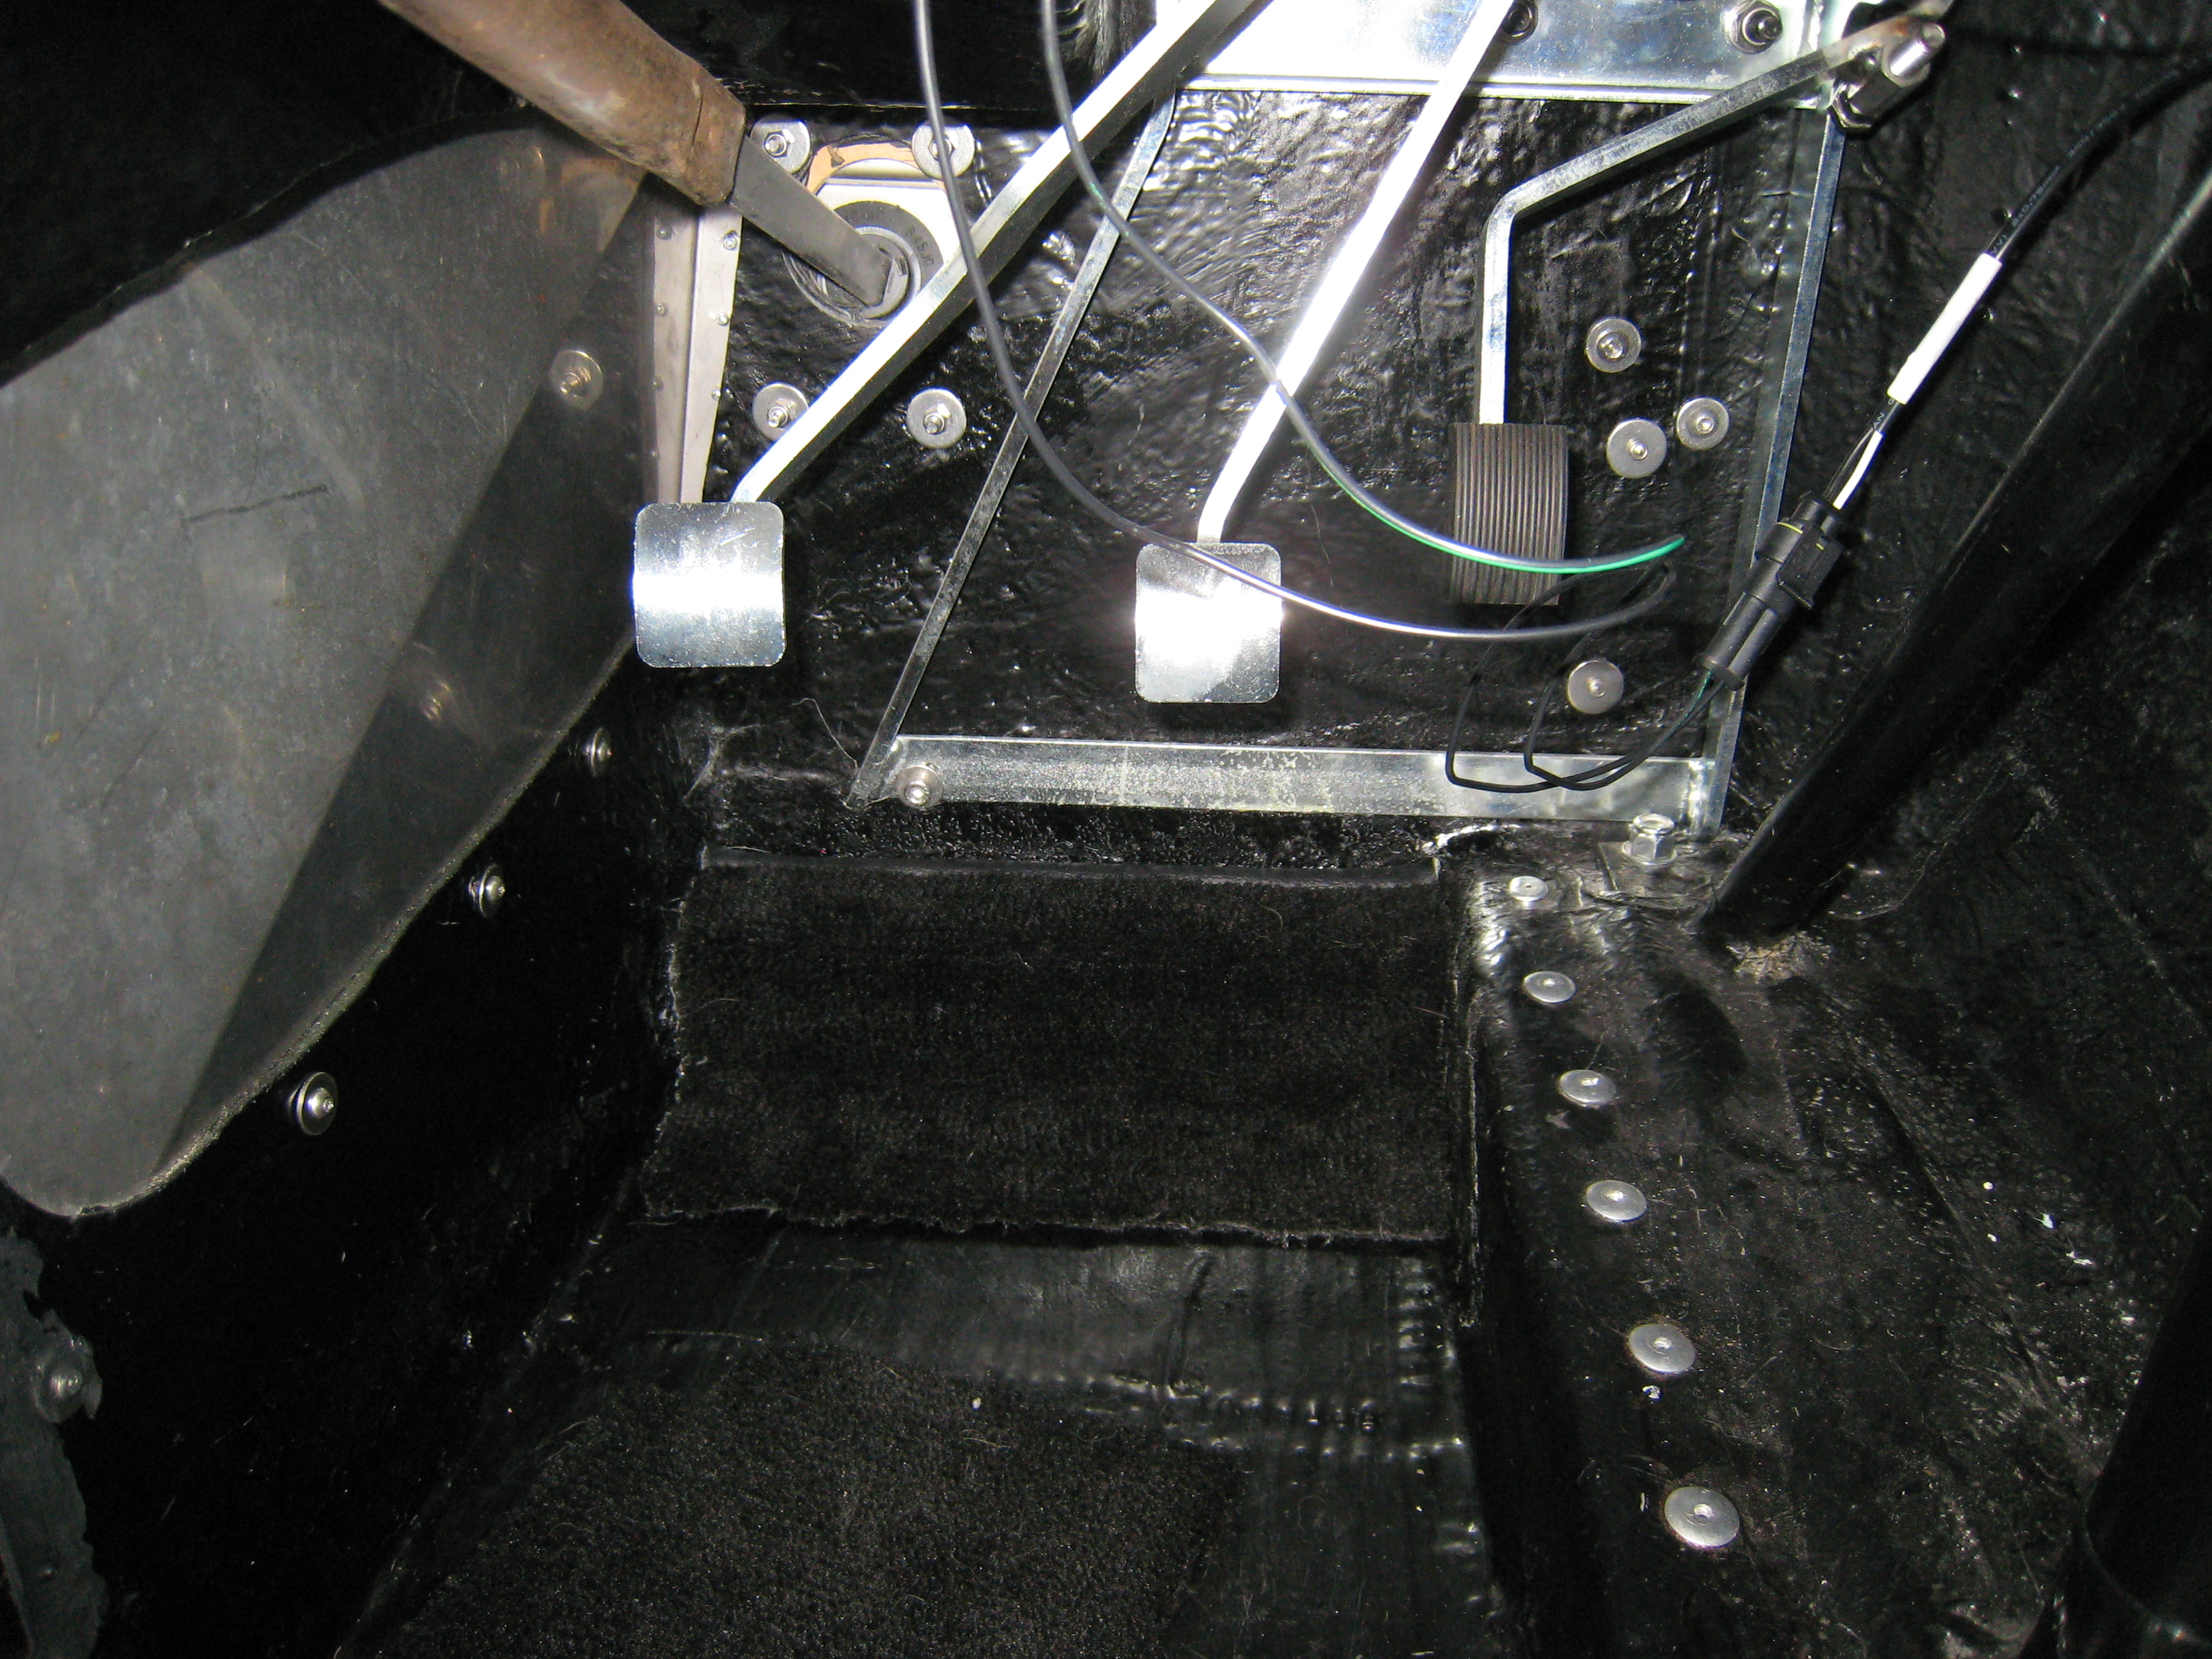
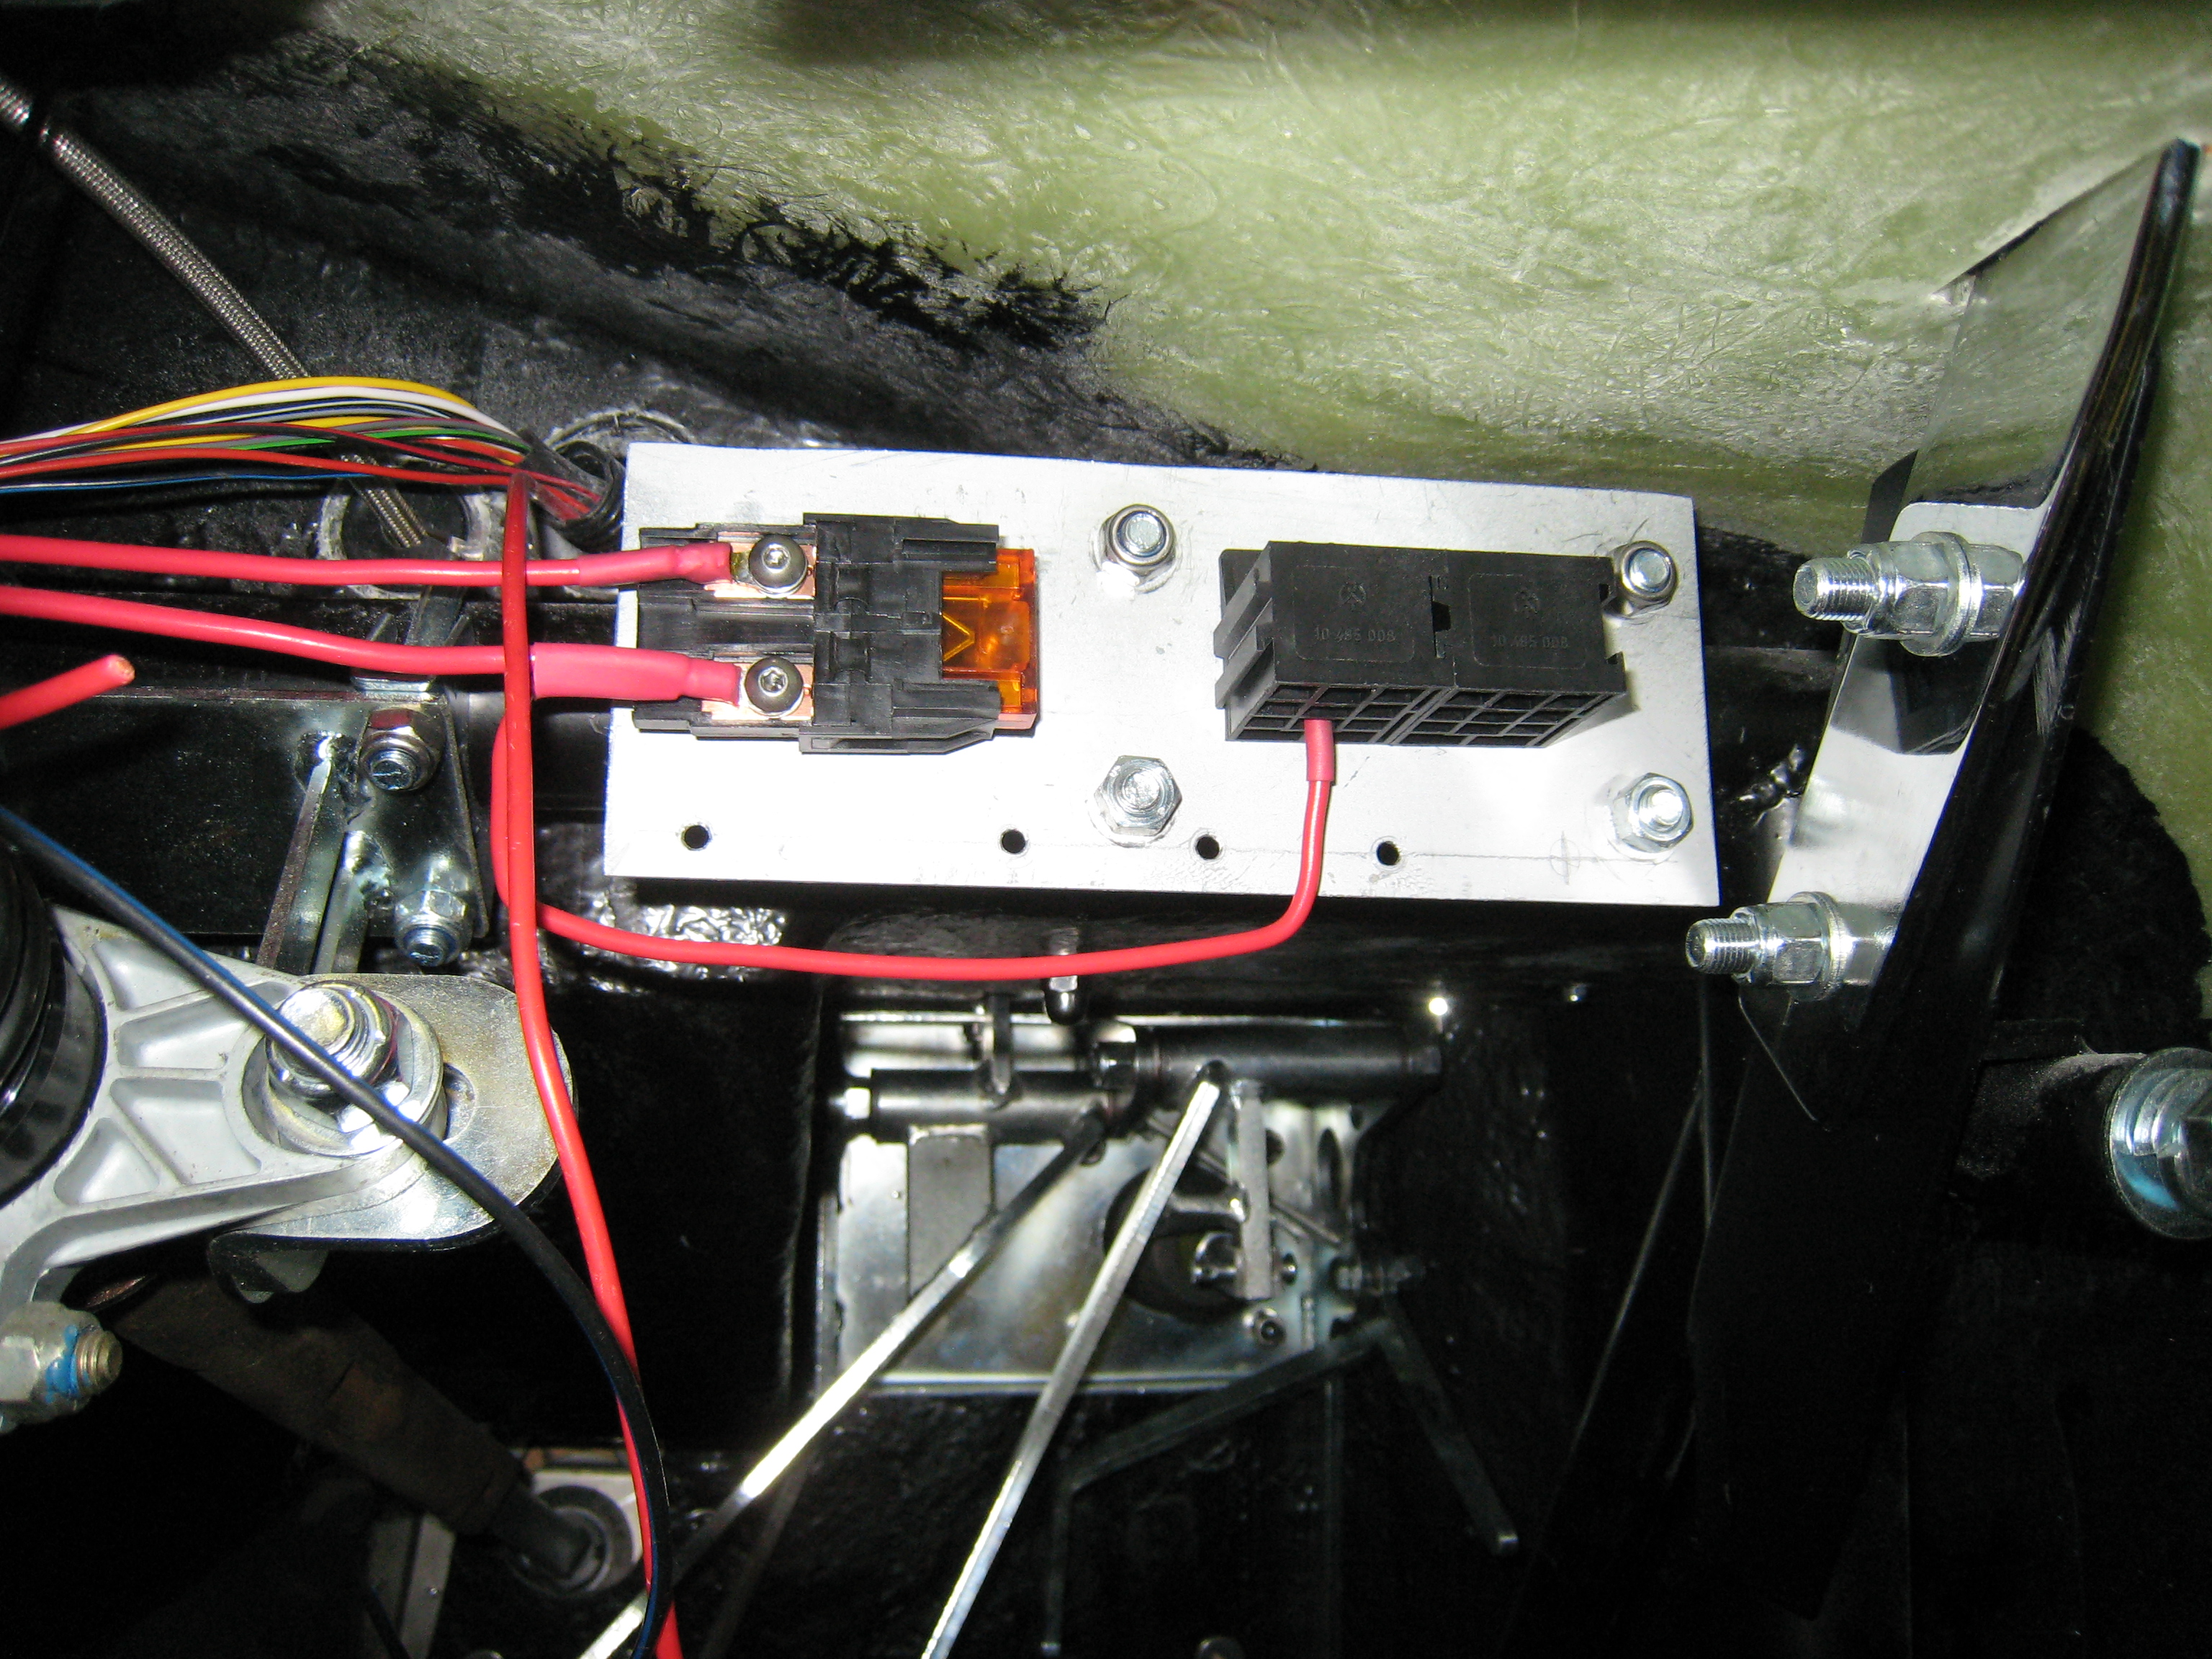
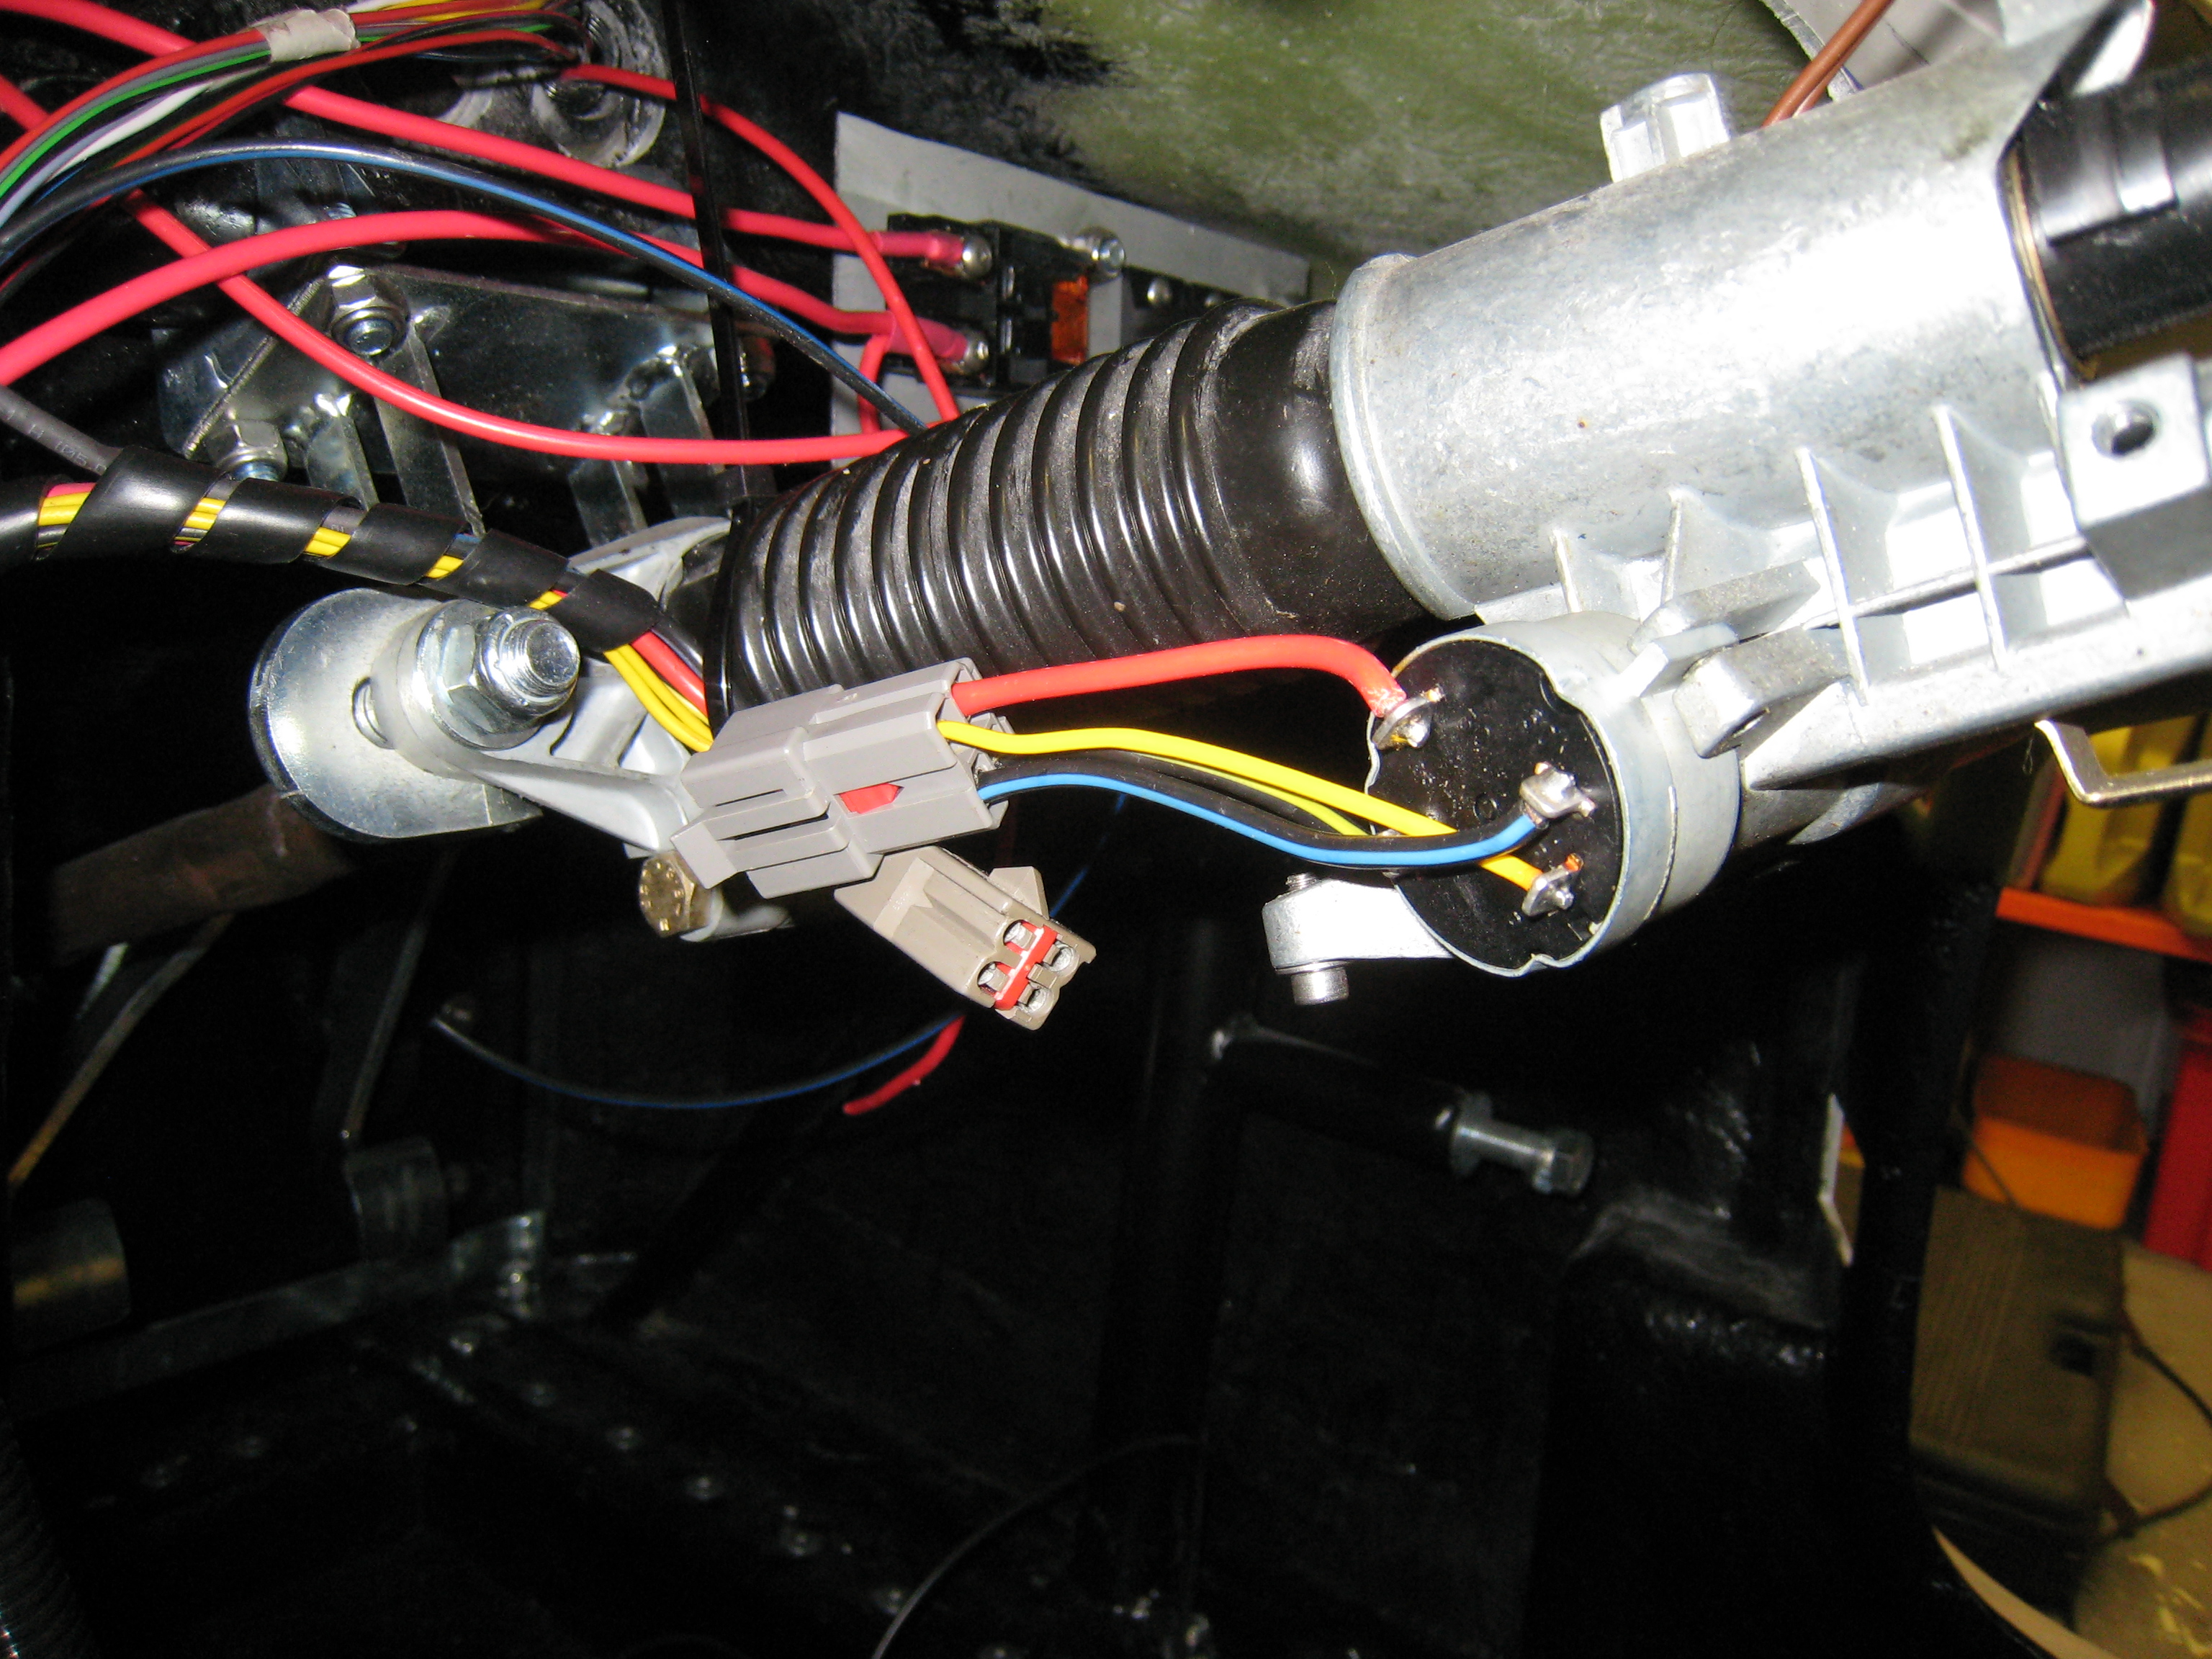
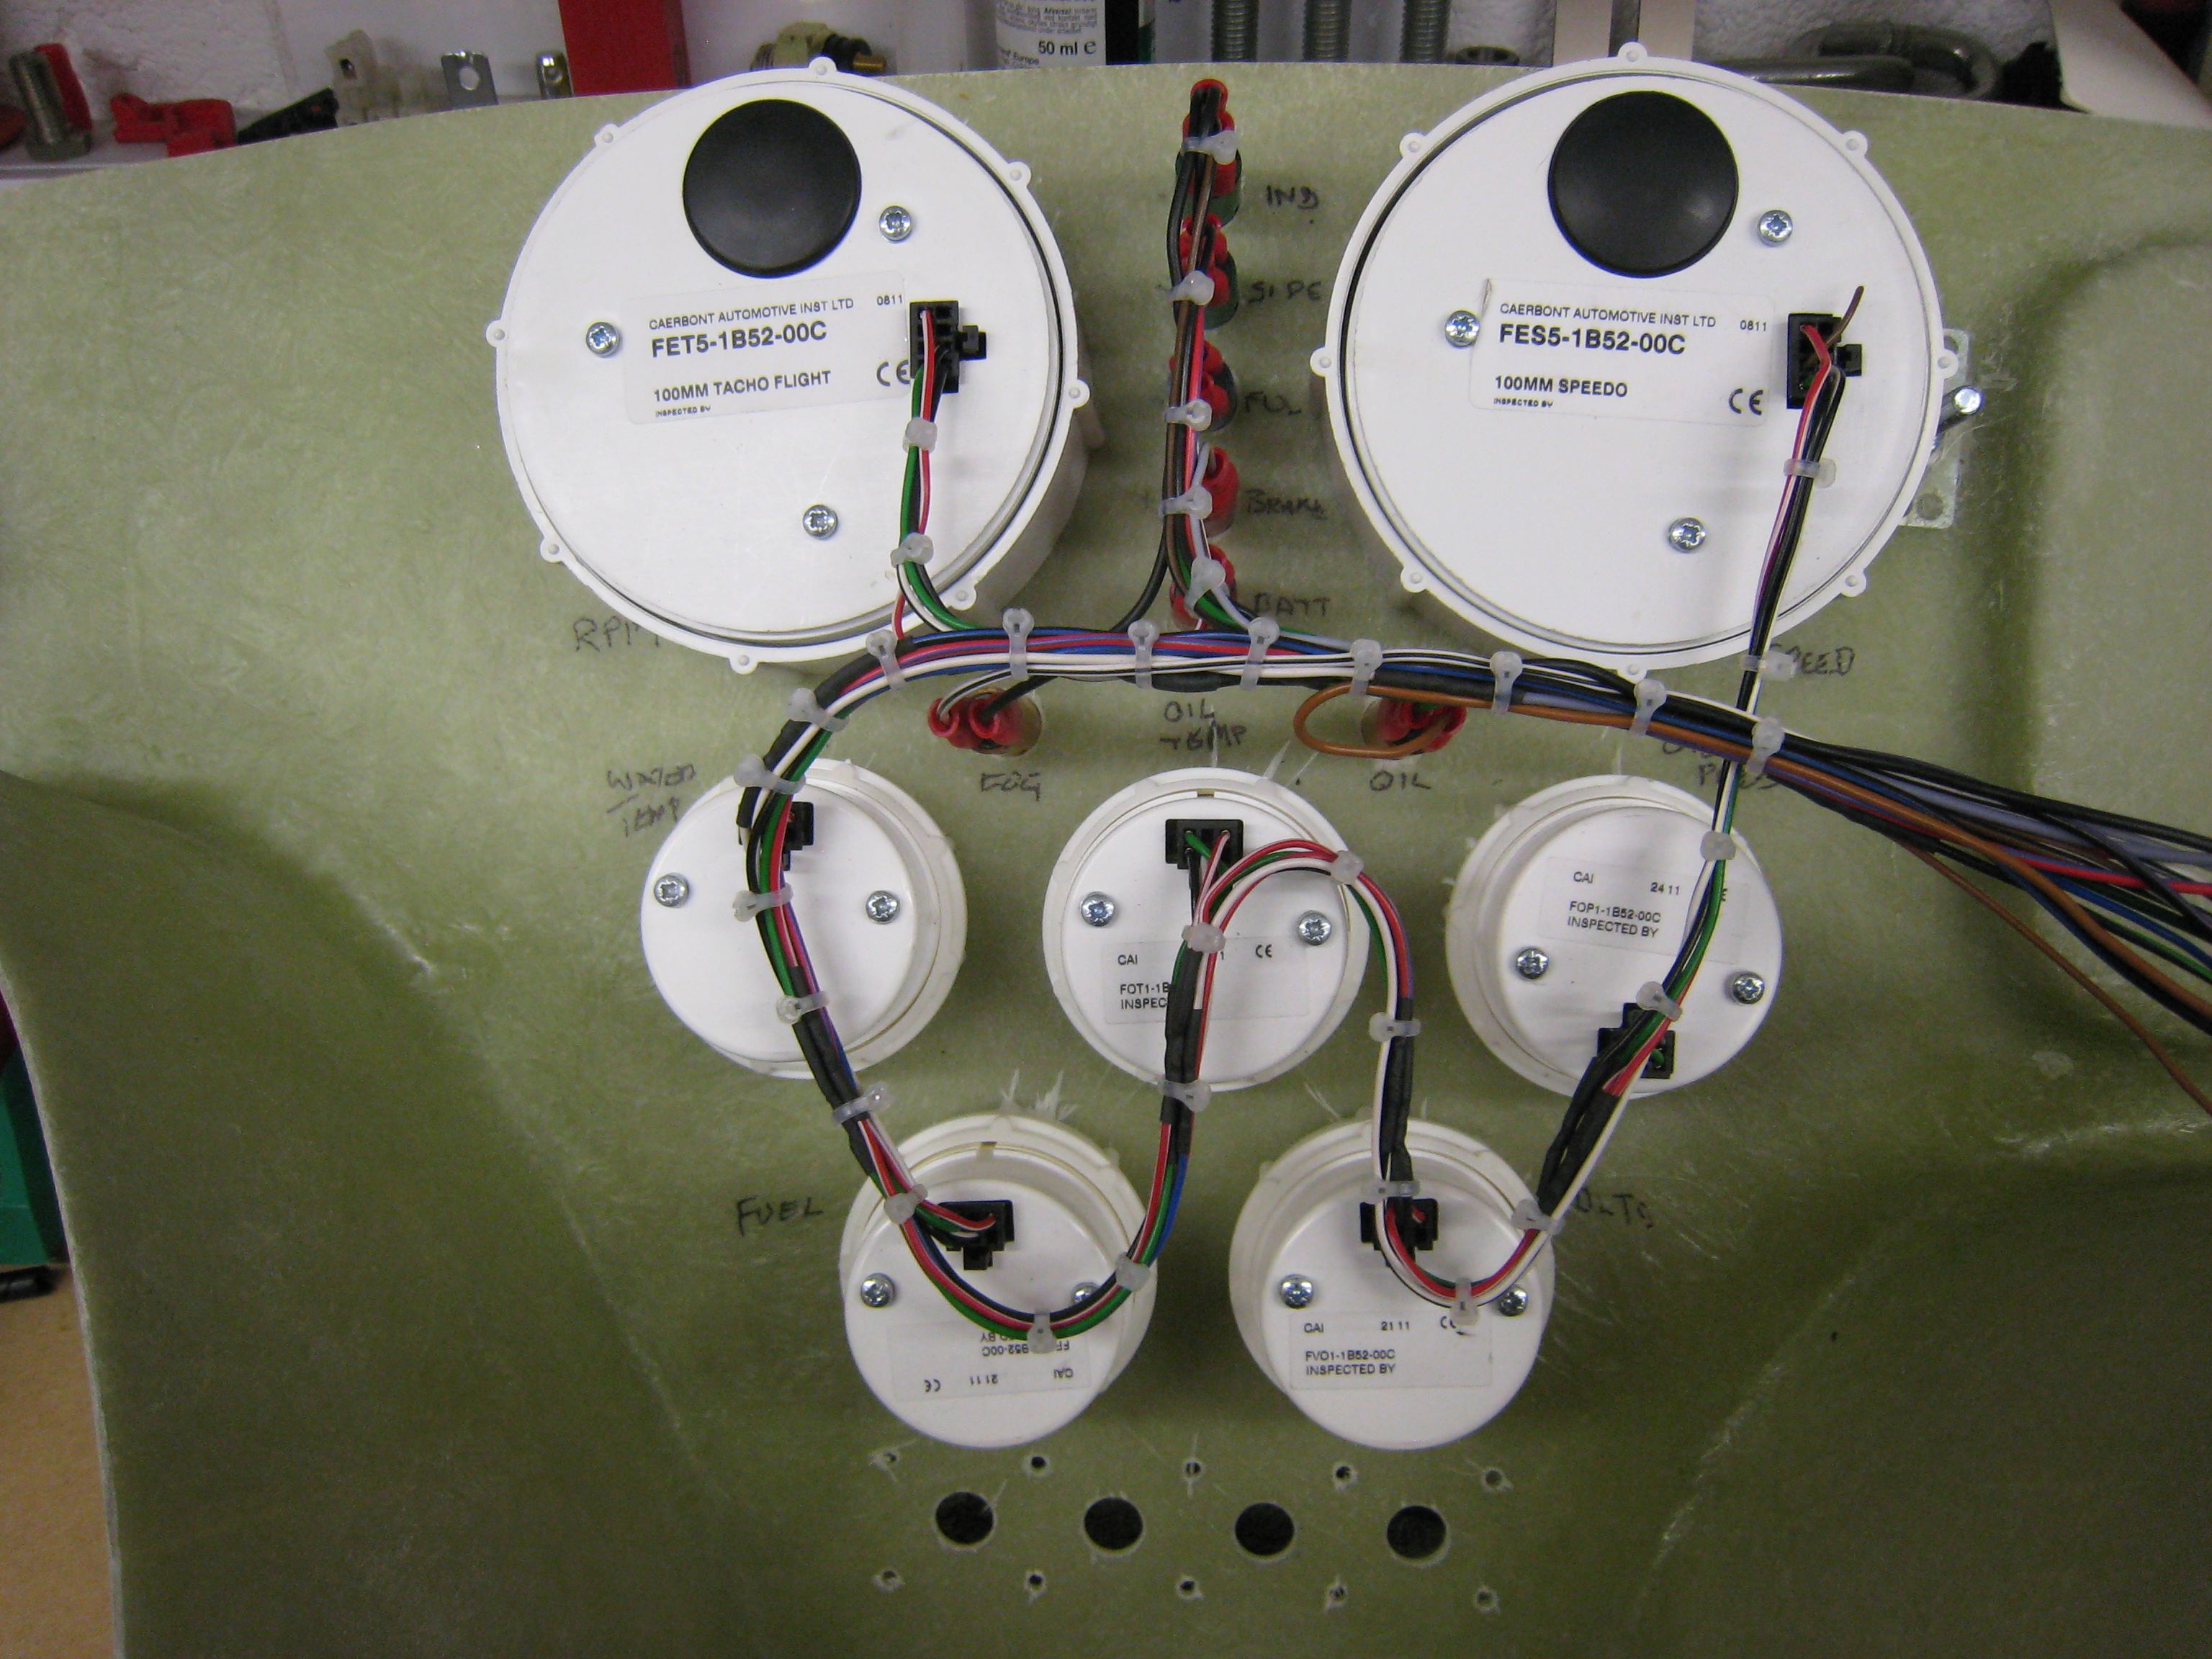
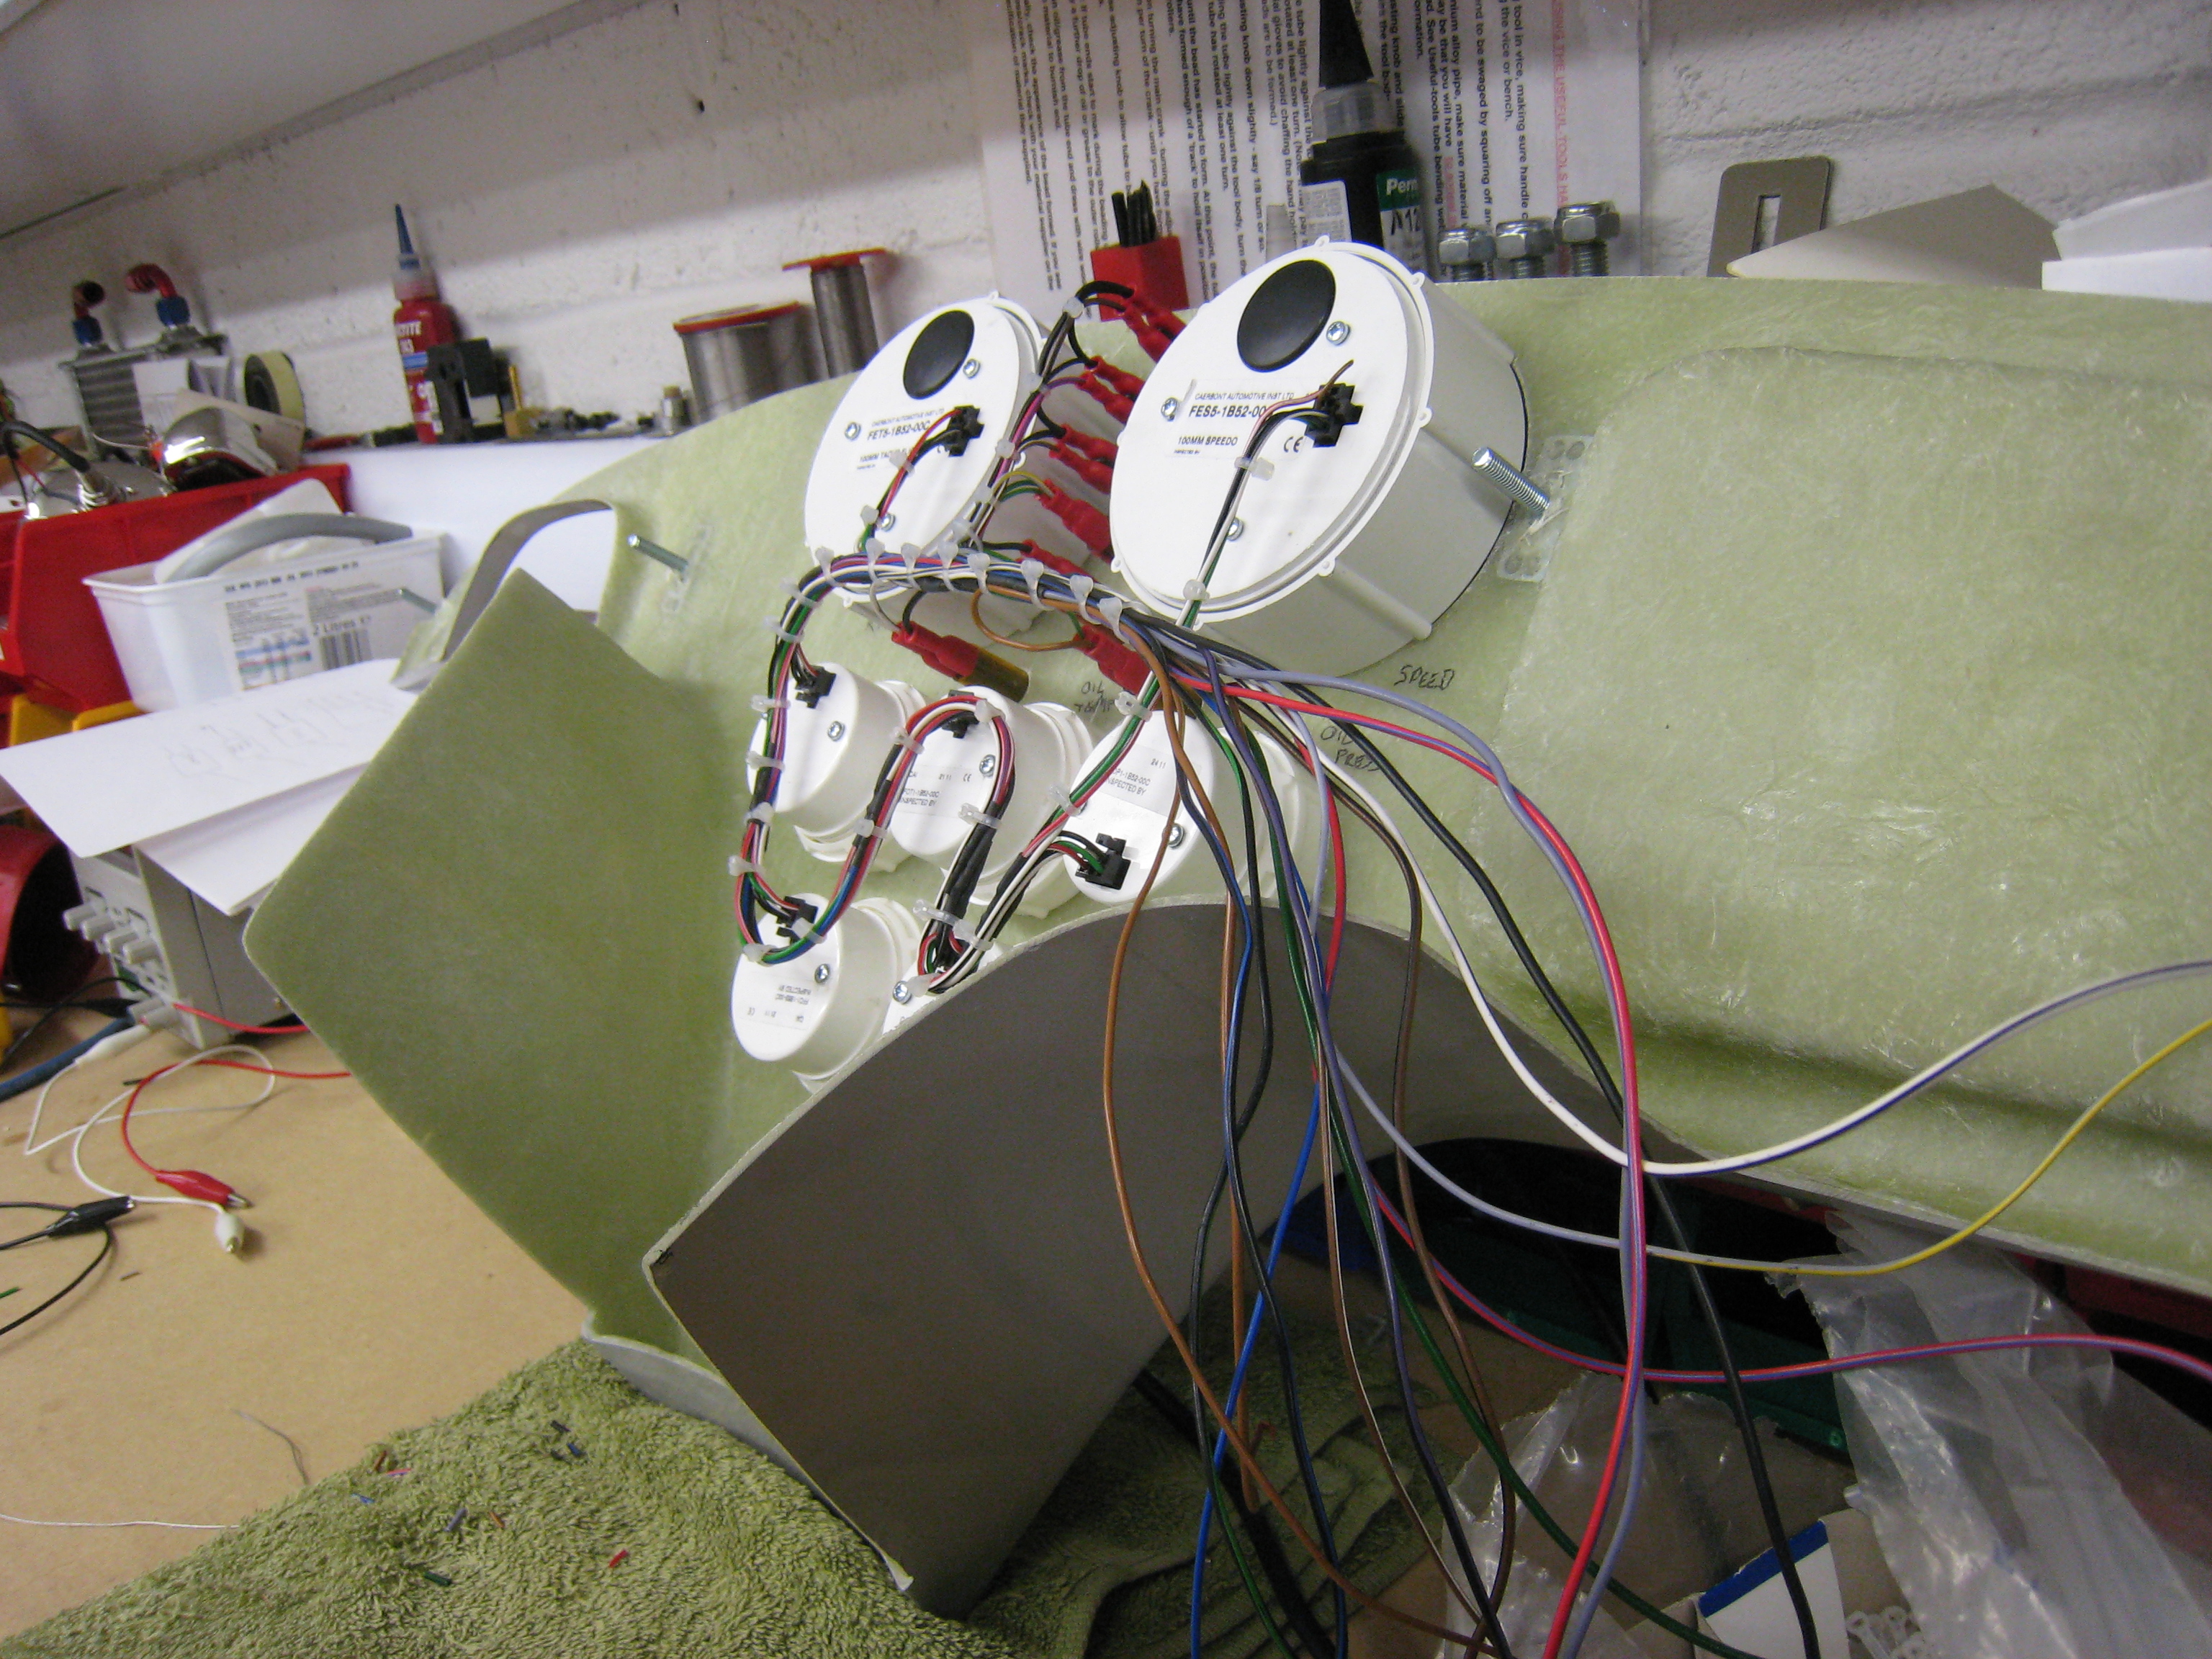
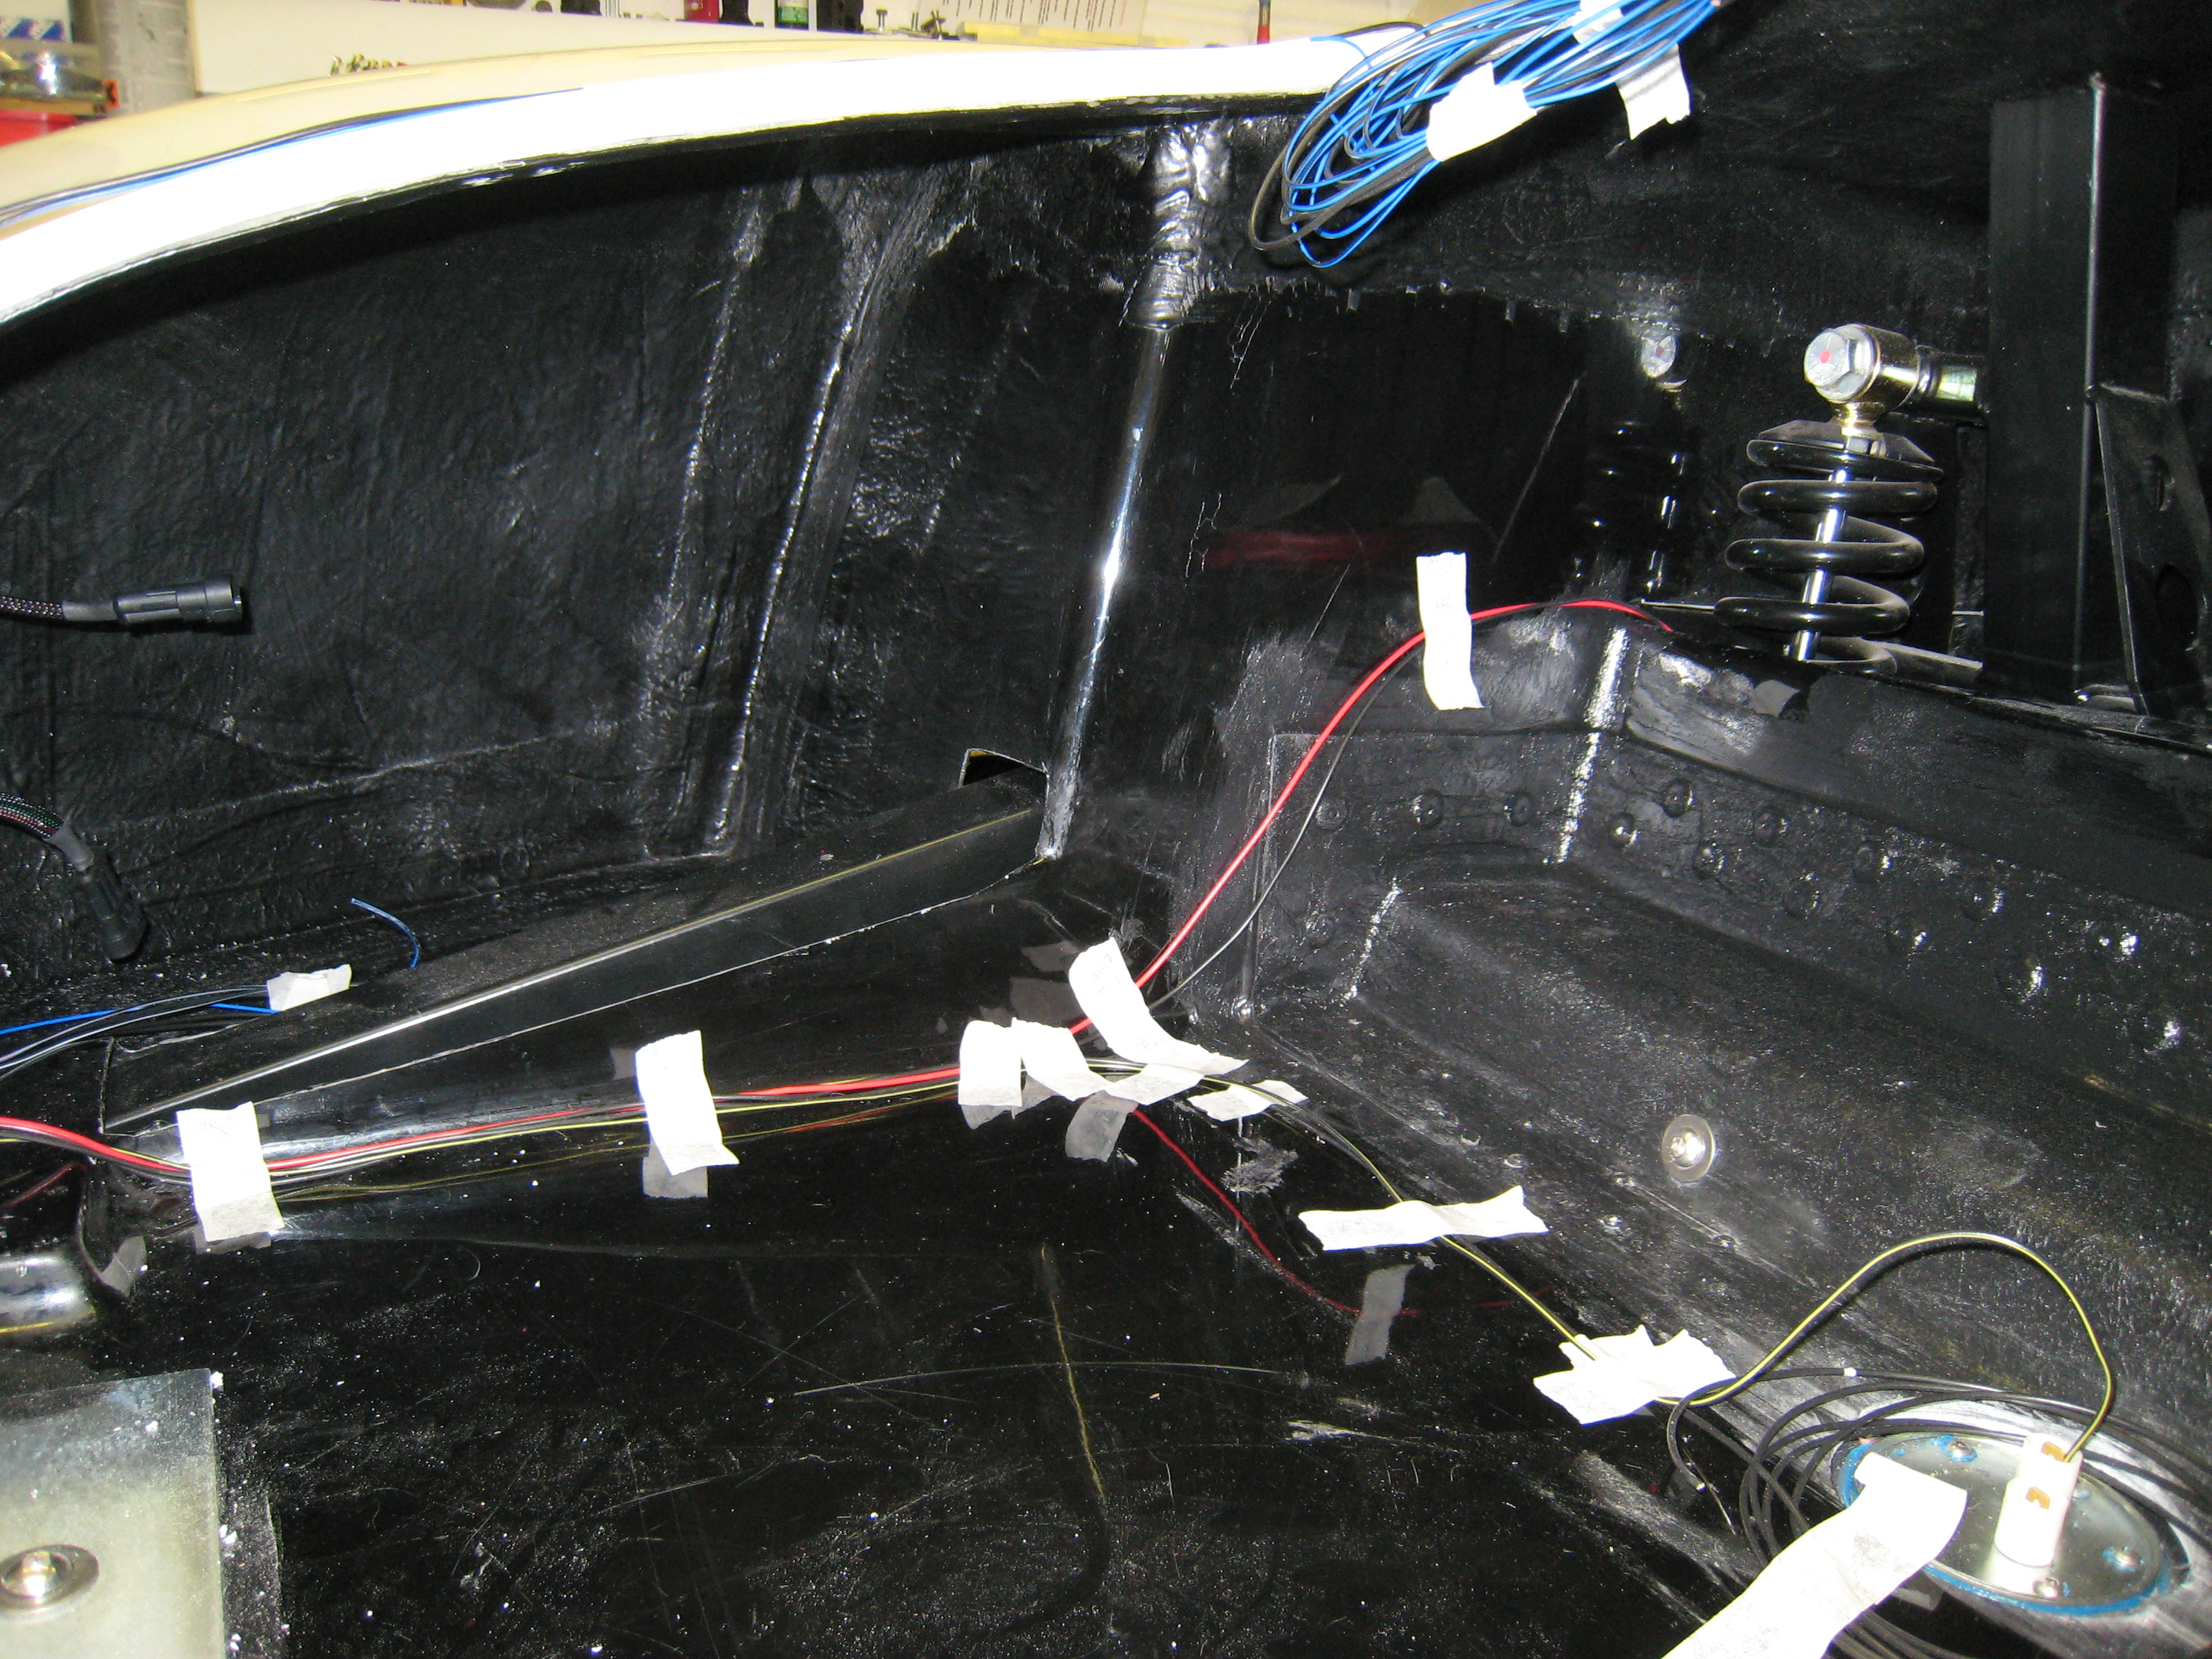
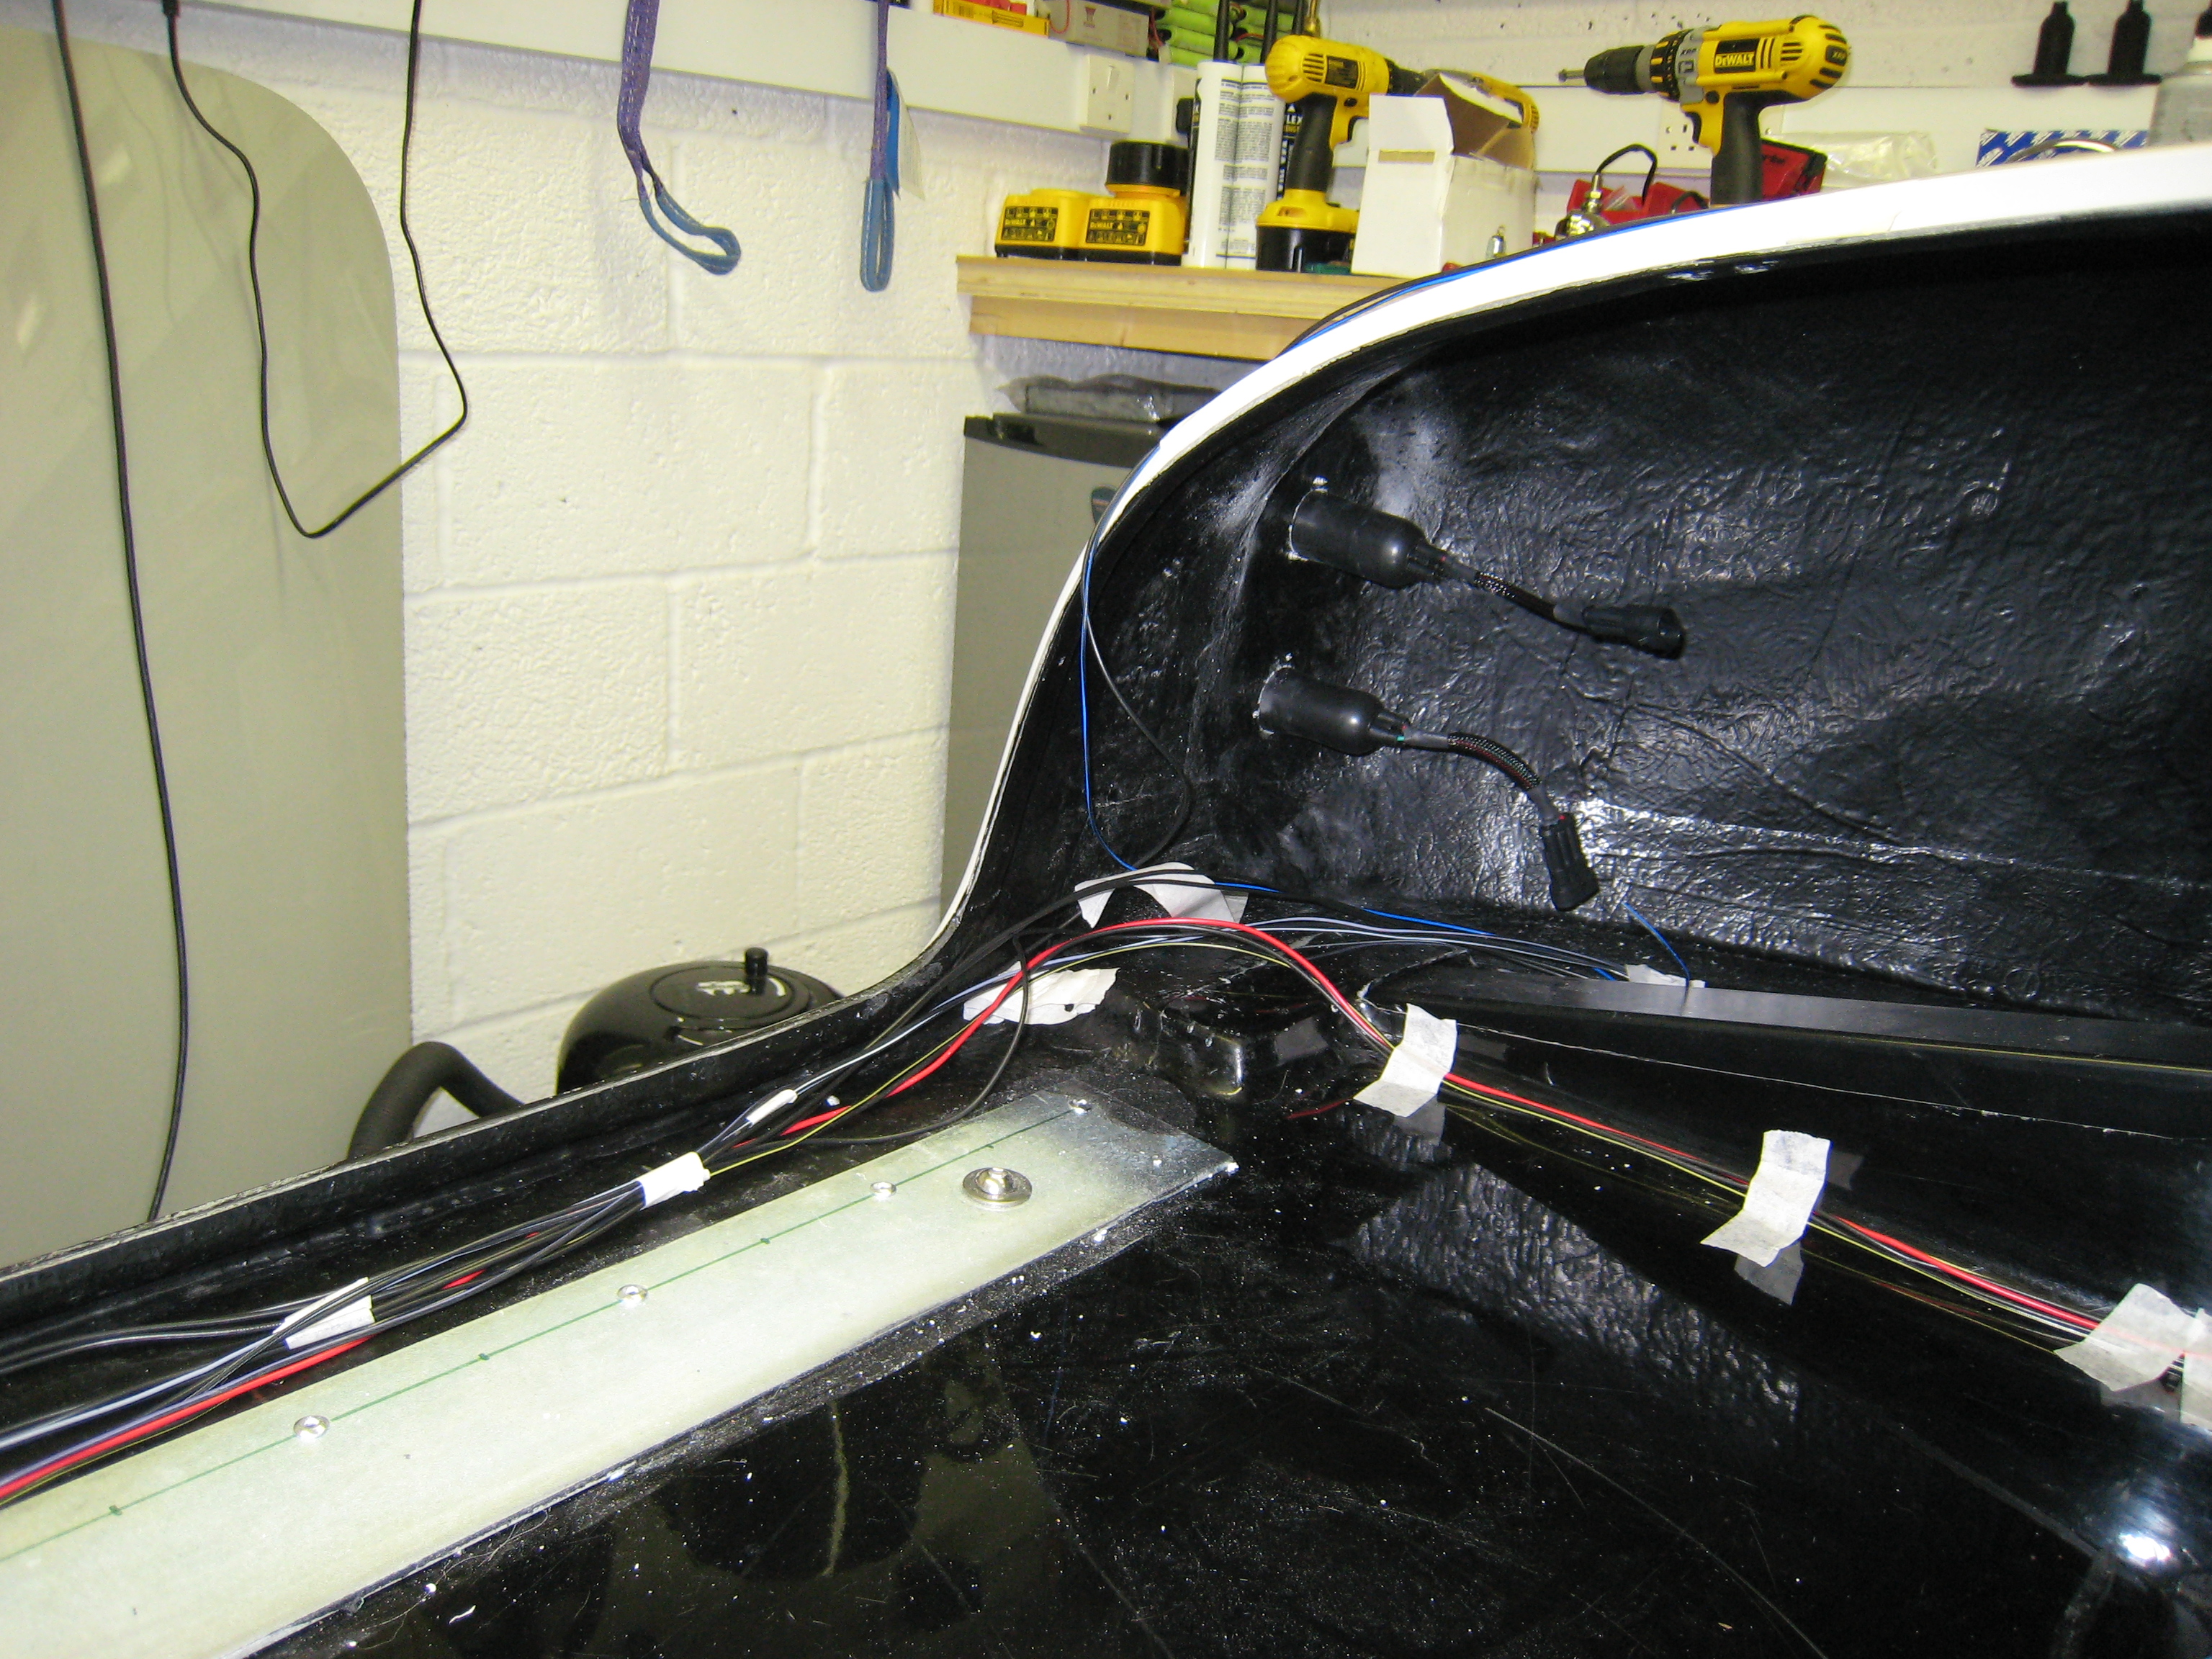
Cockpit Wiring
Made a start on the wiring, and have all the wires from the rest of the car now arriving at the back of
the dash board, this looks a mess but in time will be neatly put away. The main feed into the cockpit is
via a feed cable from the back of the starter motor, this then comes up to a plate with the master fuse
and 2 relays for the high power circuits - these being the cooling fan and the starter motor.
Also made a start on the dashboard wiring, hooked up all the gauges and loomed them together into
a single connection. Needs a bit more work on the lower switches but its getting there.
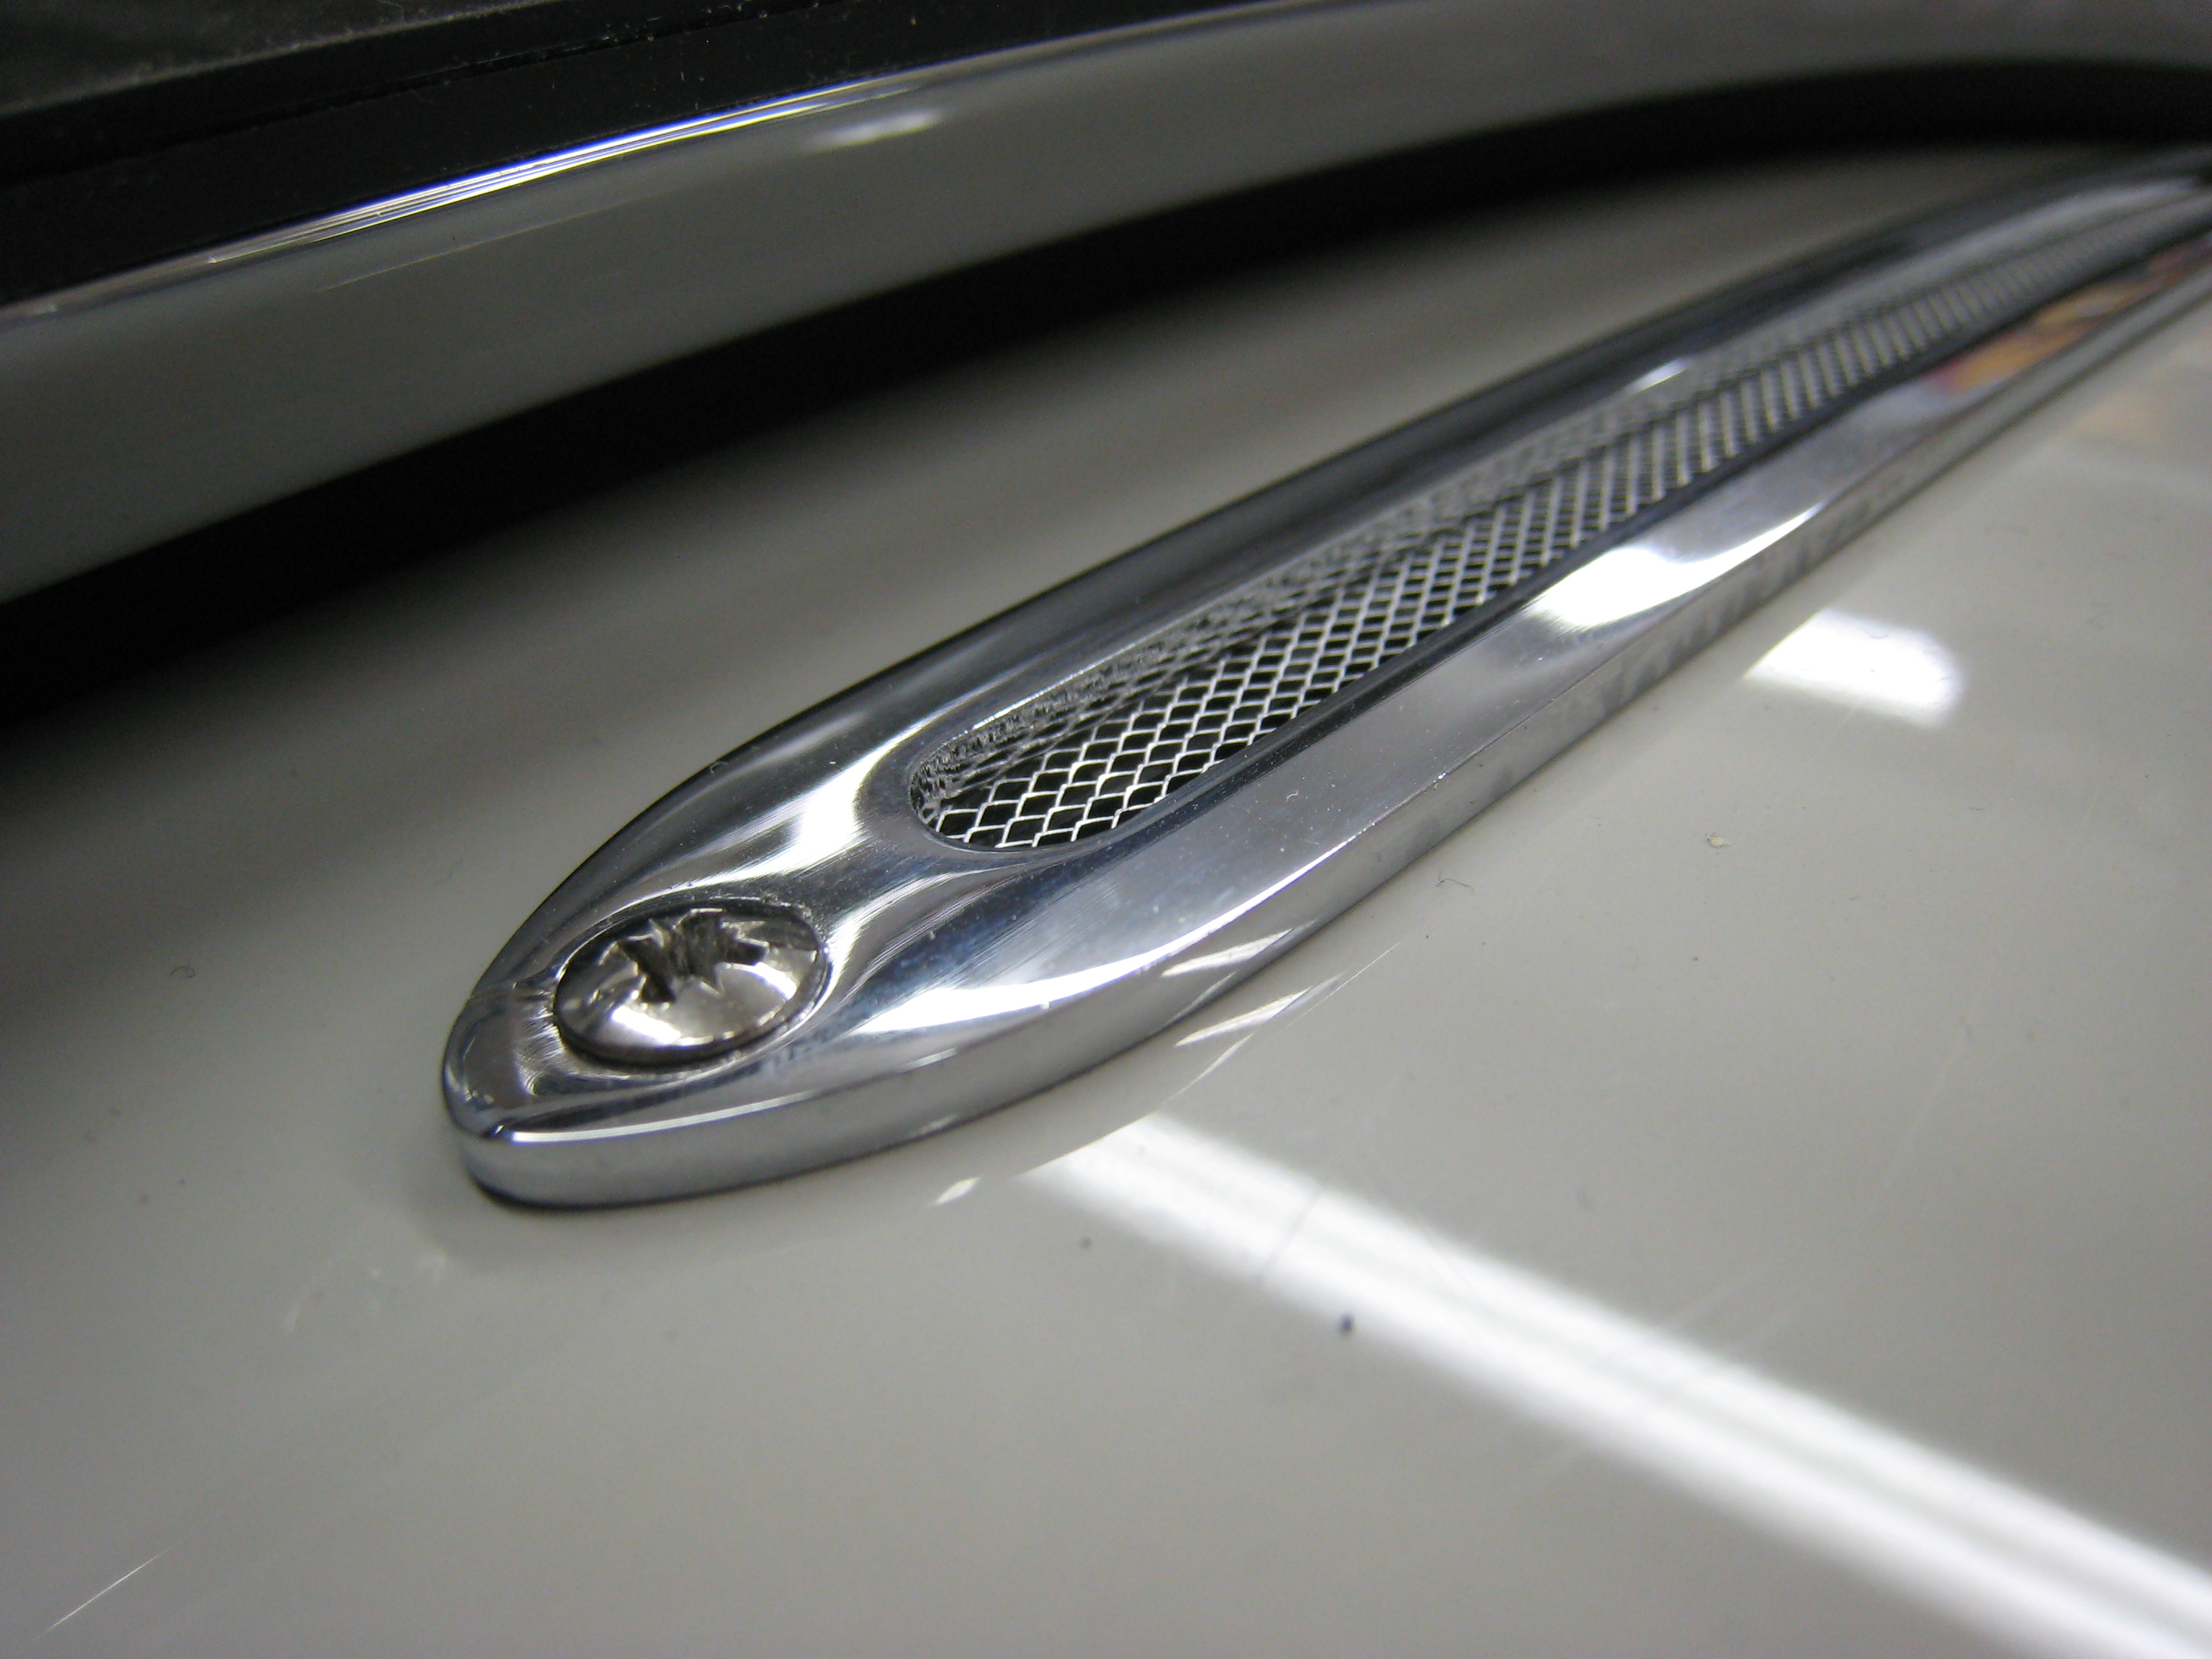
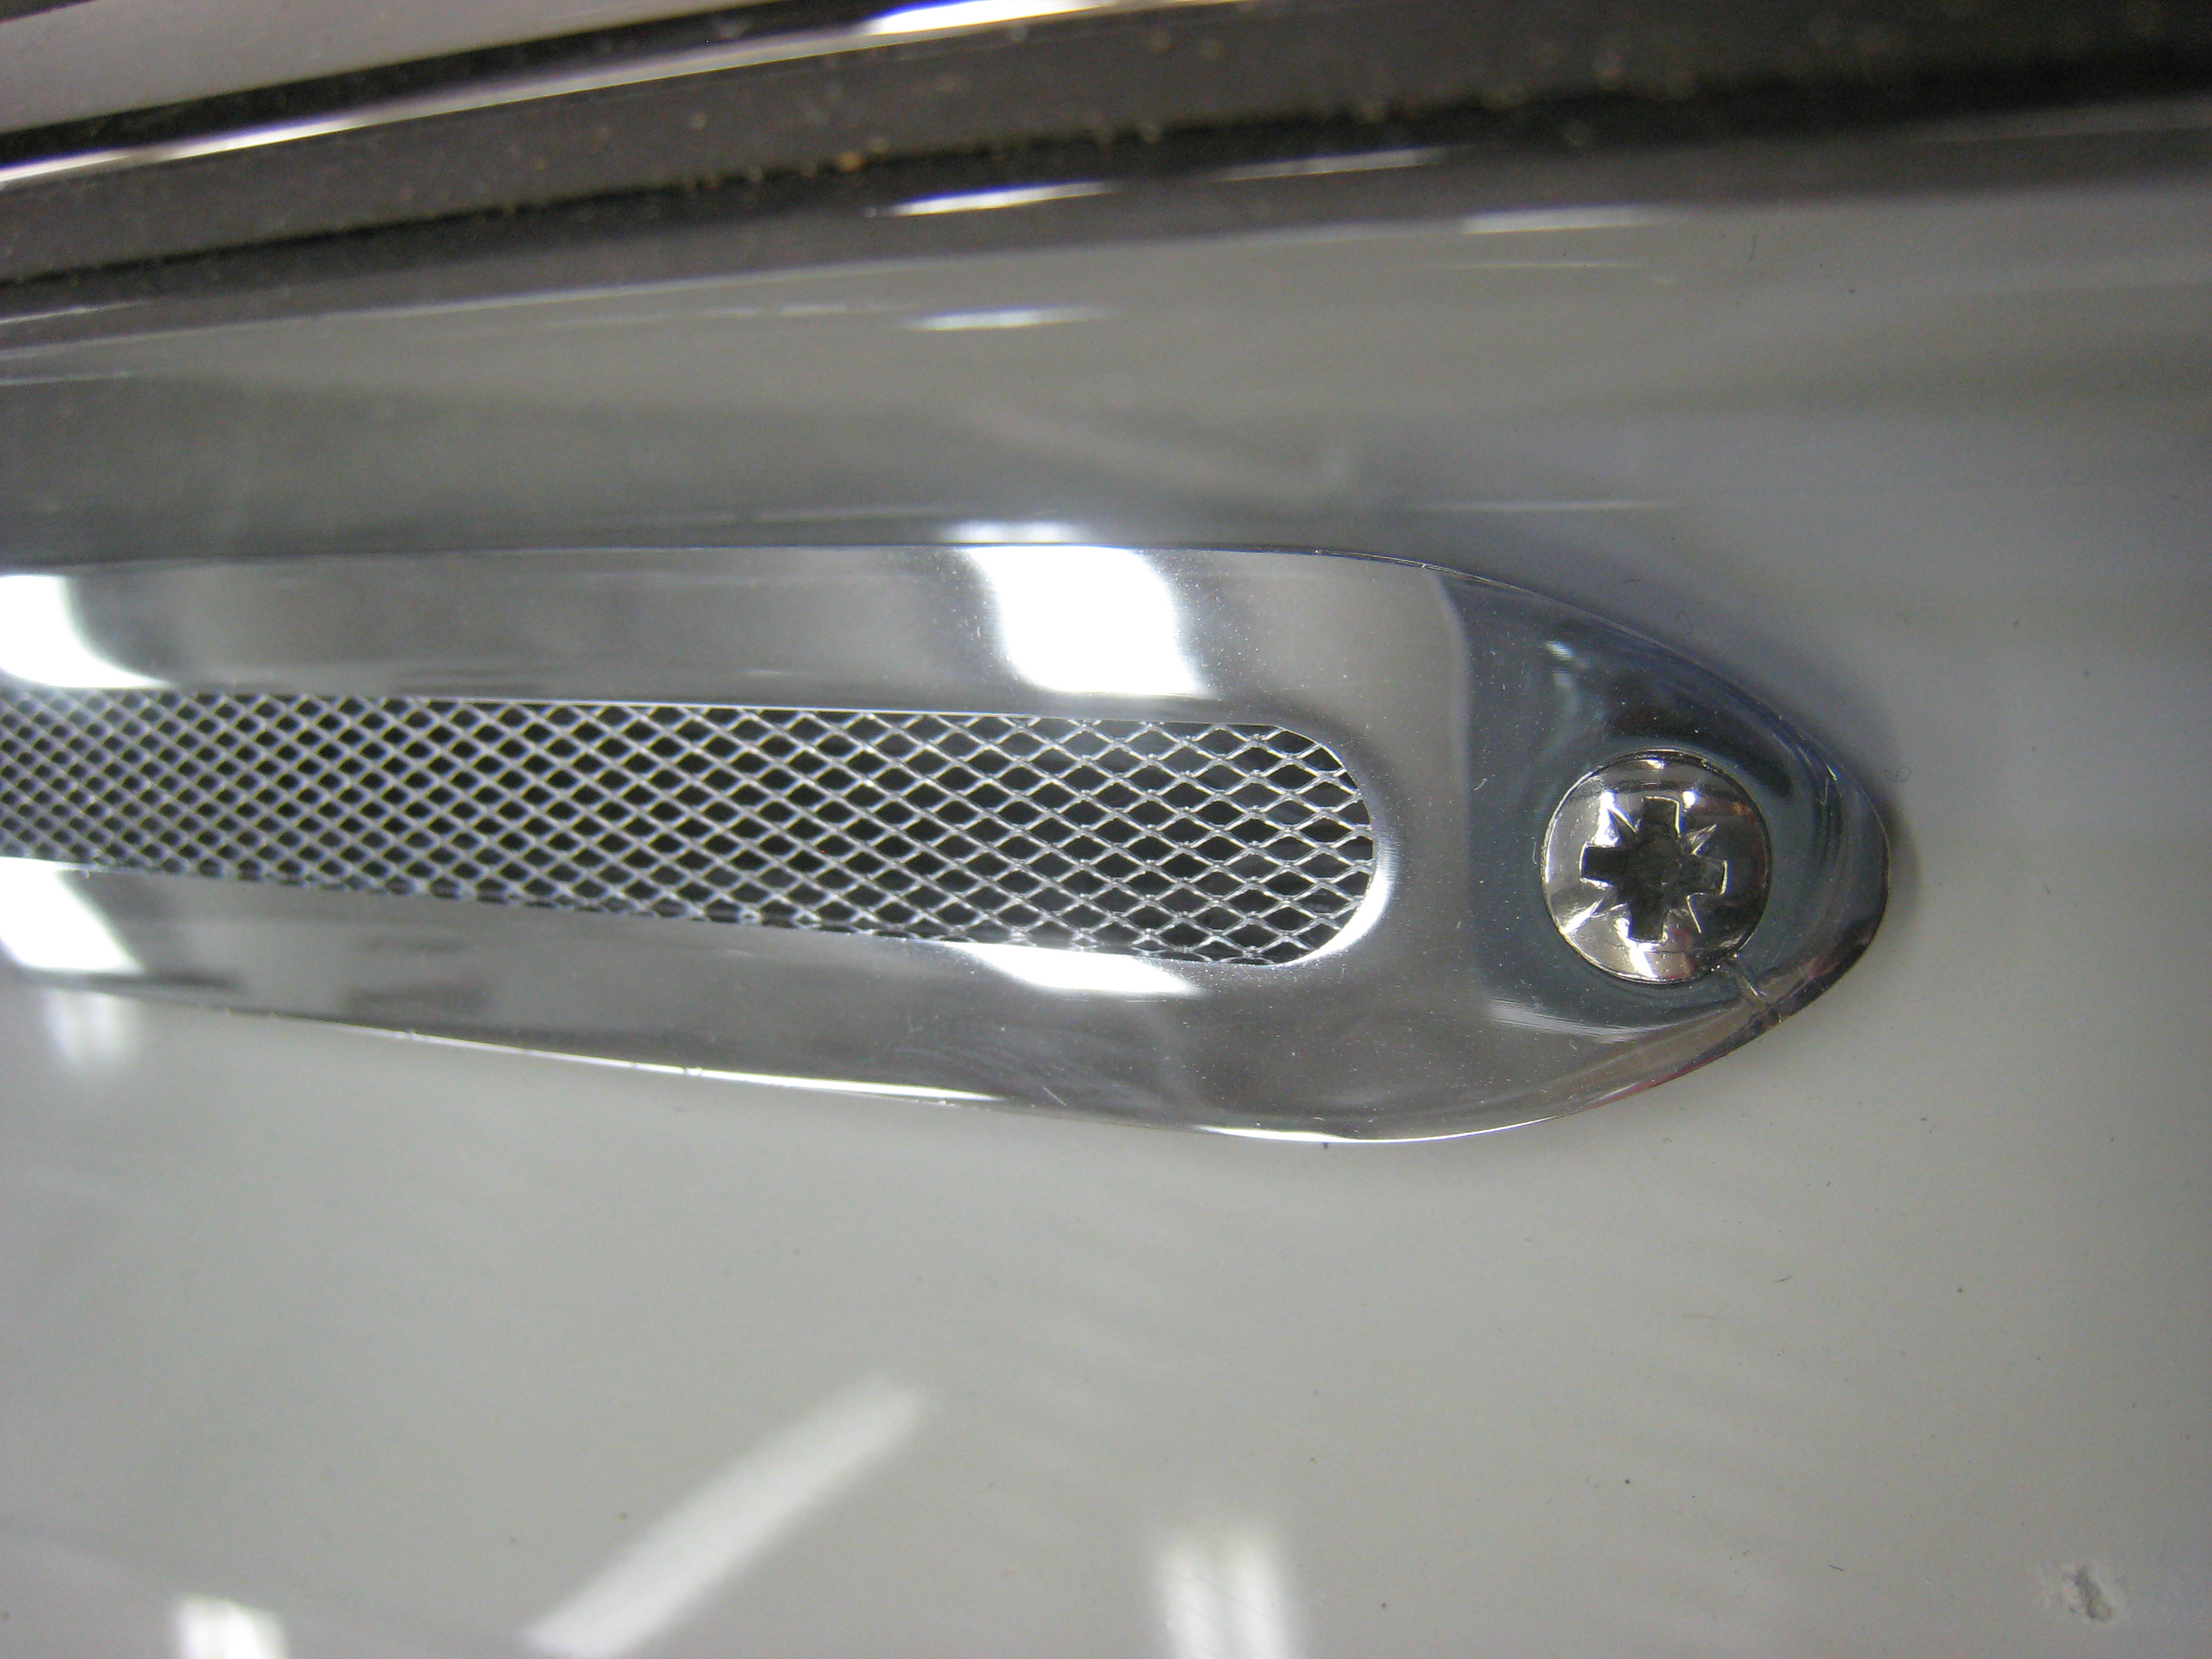
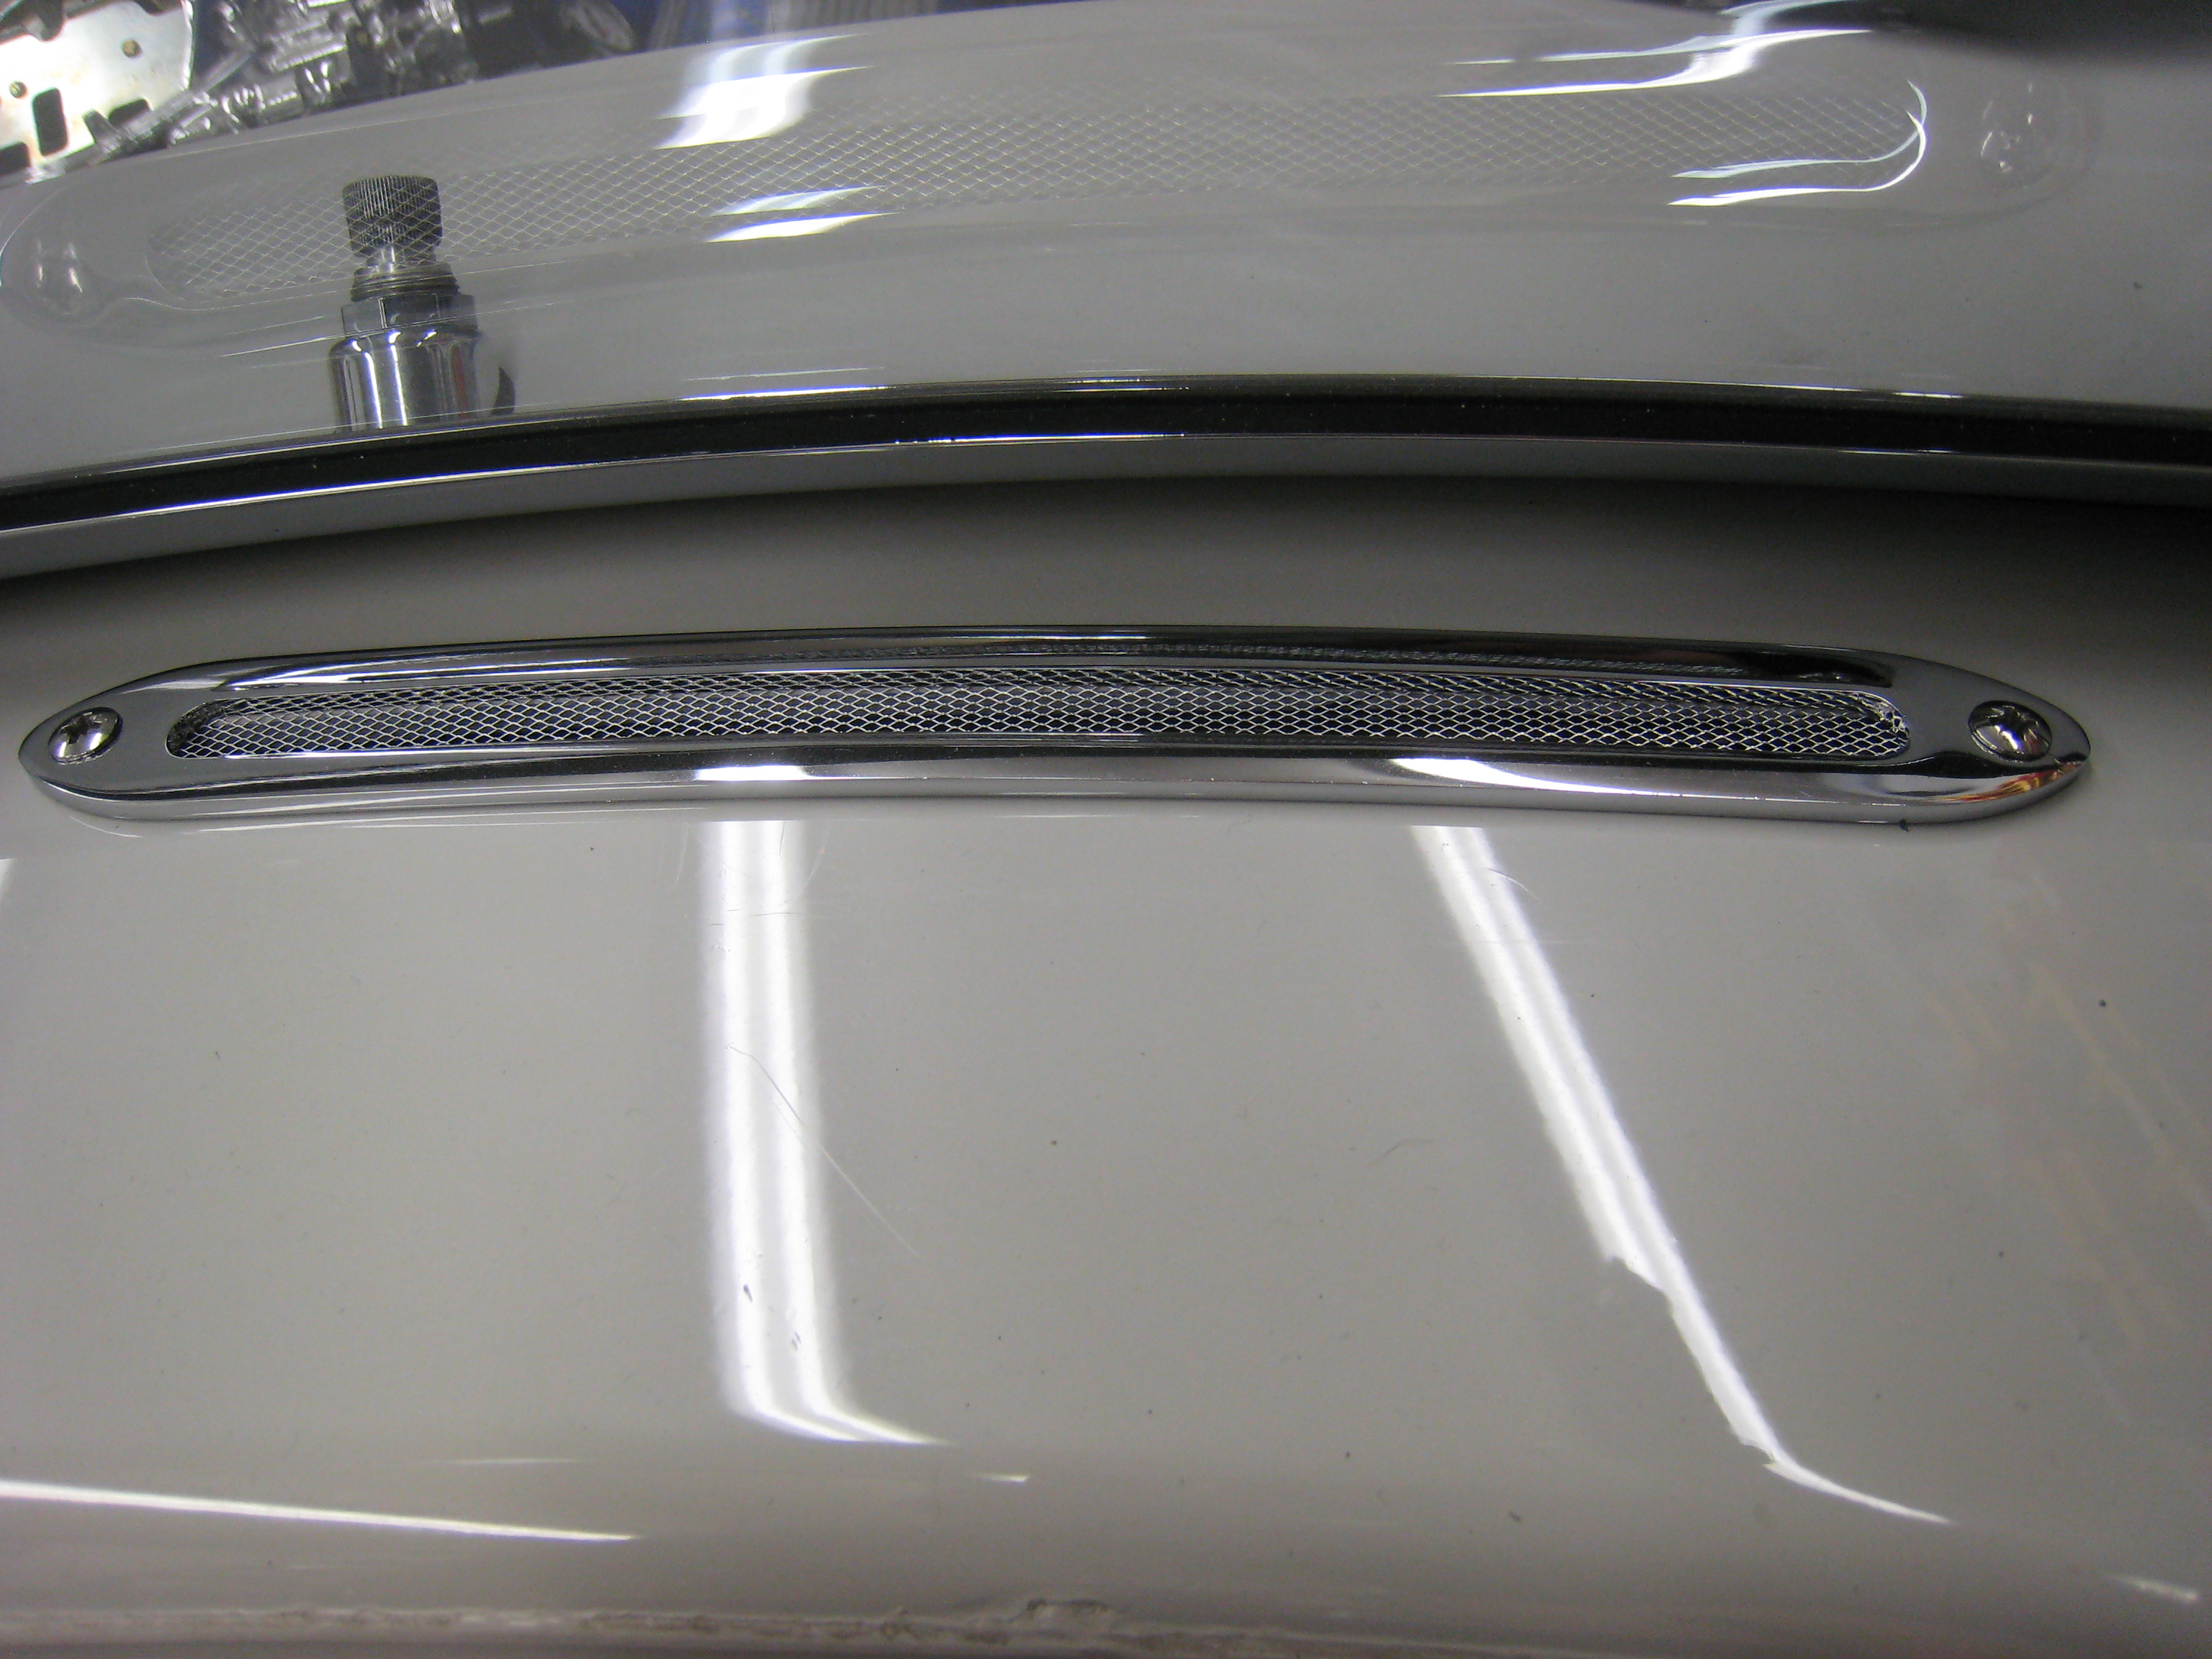
Demister Vents
Once the heater matrix was done, I turned my attention to the demister vents themselves, now what I've seen on
other kits is the fibre glass showing through the cut outs, this I don’t like so I've borrowed an idea I saw
at Stoneleigh on a Westfield last year. The idea is to fit a very fine mesh over the body but under the vent
plate so as to hide the fibre glass.
The next stage was to fit the demist vent chambers below the vent holes, the Dax supplied units are
OK but needed a little TLC before fitment as the way they are held together with a bit of Wurth is not really
very good. So a few small rivets later and all seems ok. These were then bolted to the Vent top plates and
covered in Wurth and left to dry for a couple of days. The end result looks good in my opinion and also has
quite a good flow of air up the screen when connected to the blower - but I’ll have to wait and see what
the IVA examiner thinks, if its not enough then the fine mesh can be easily removed.

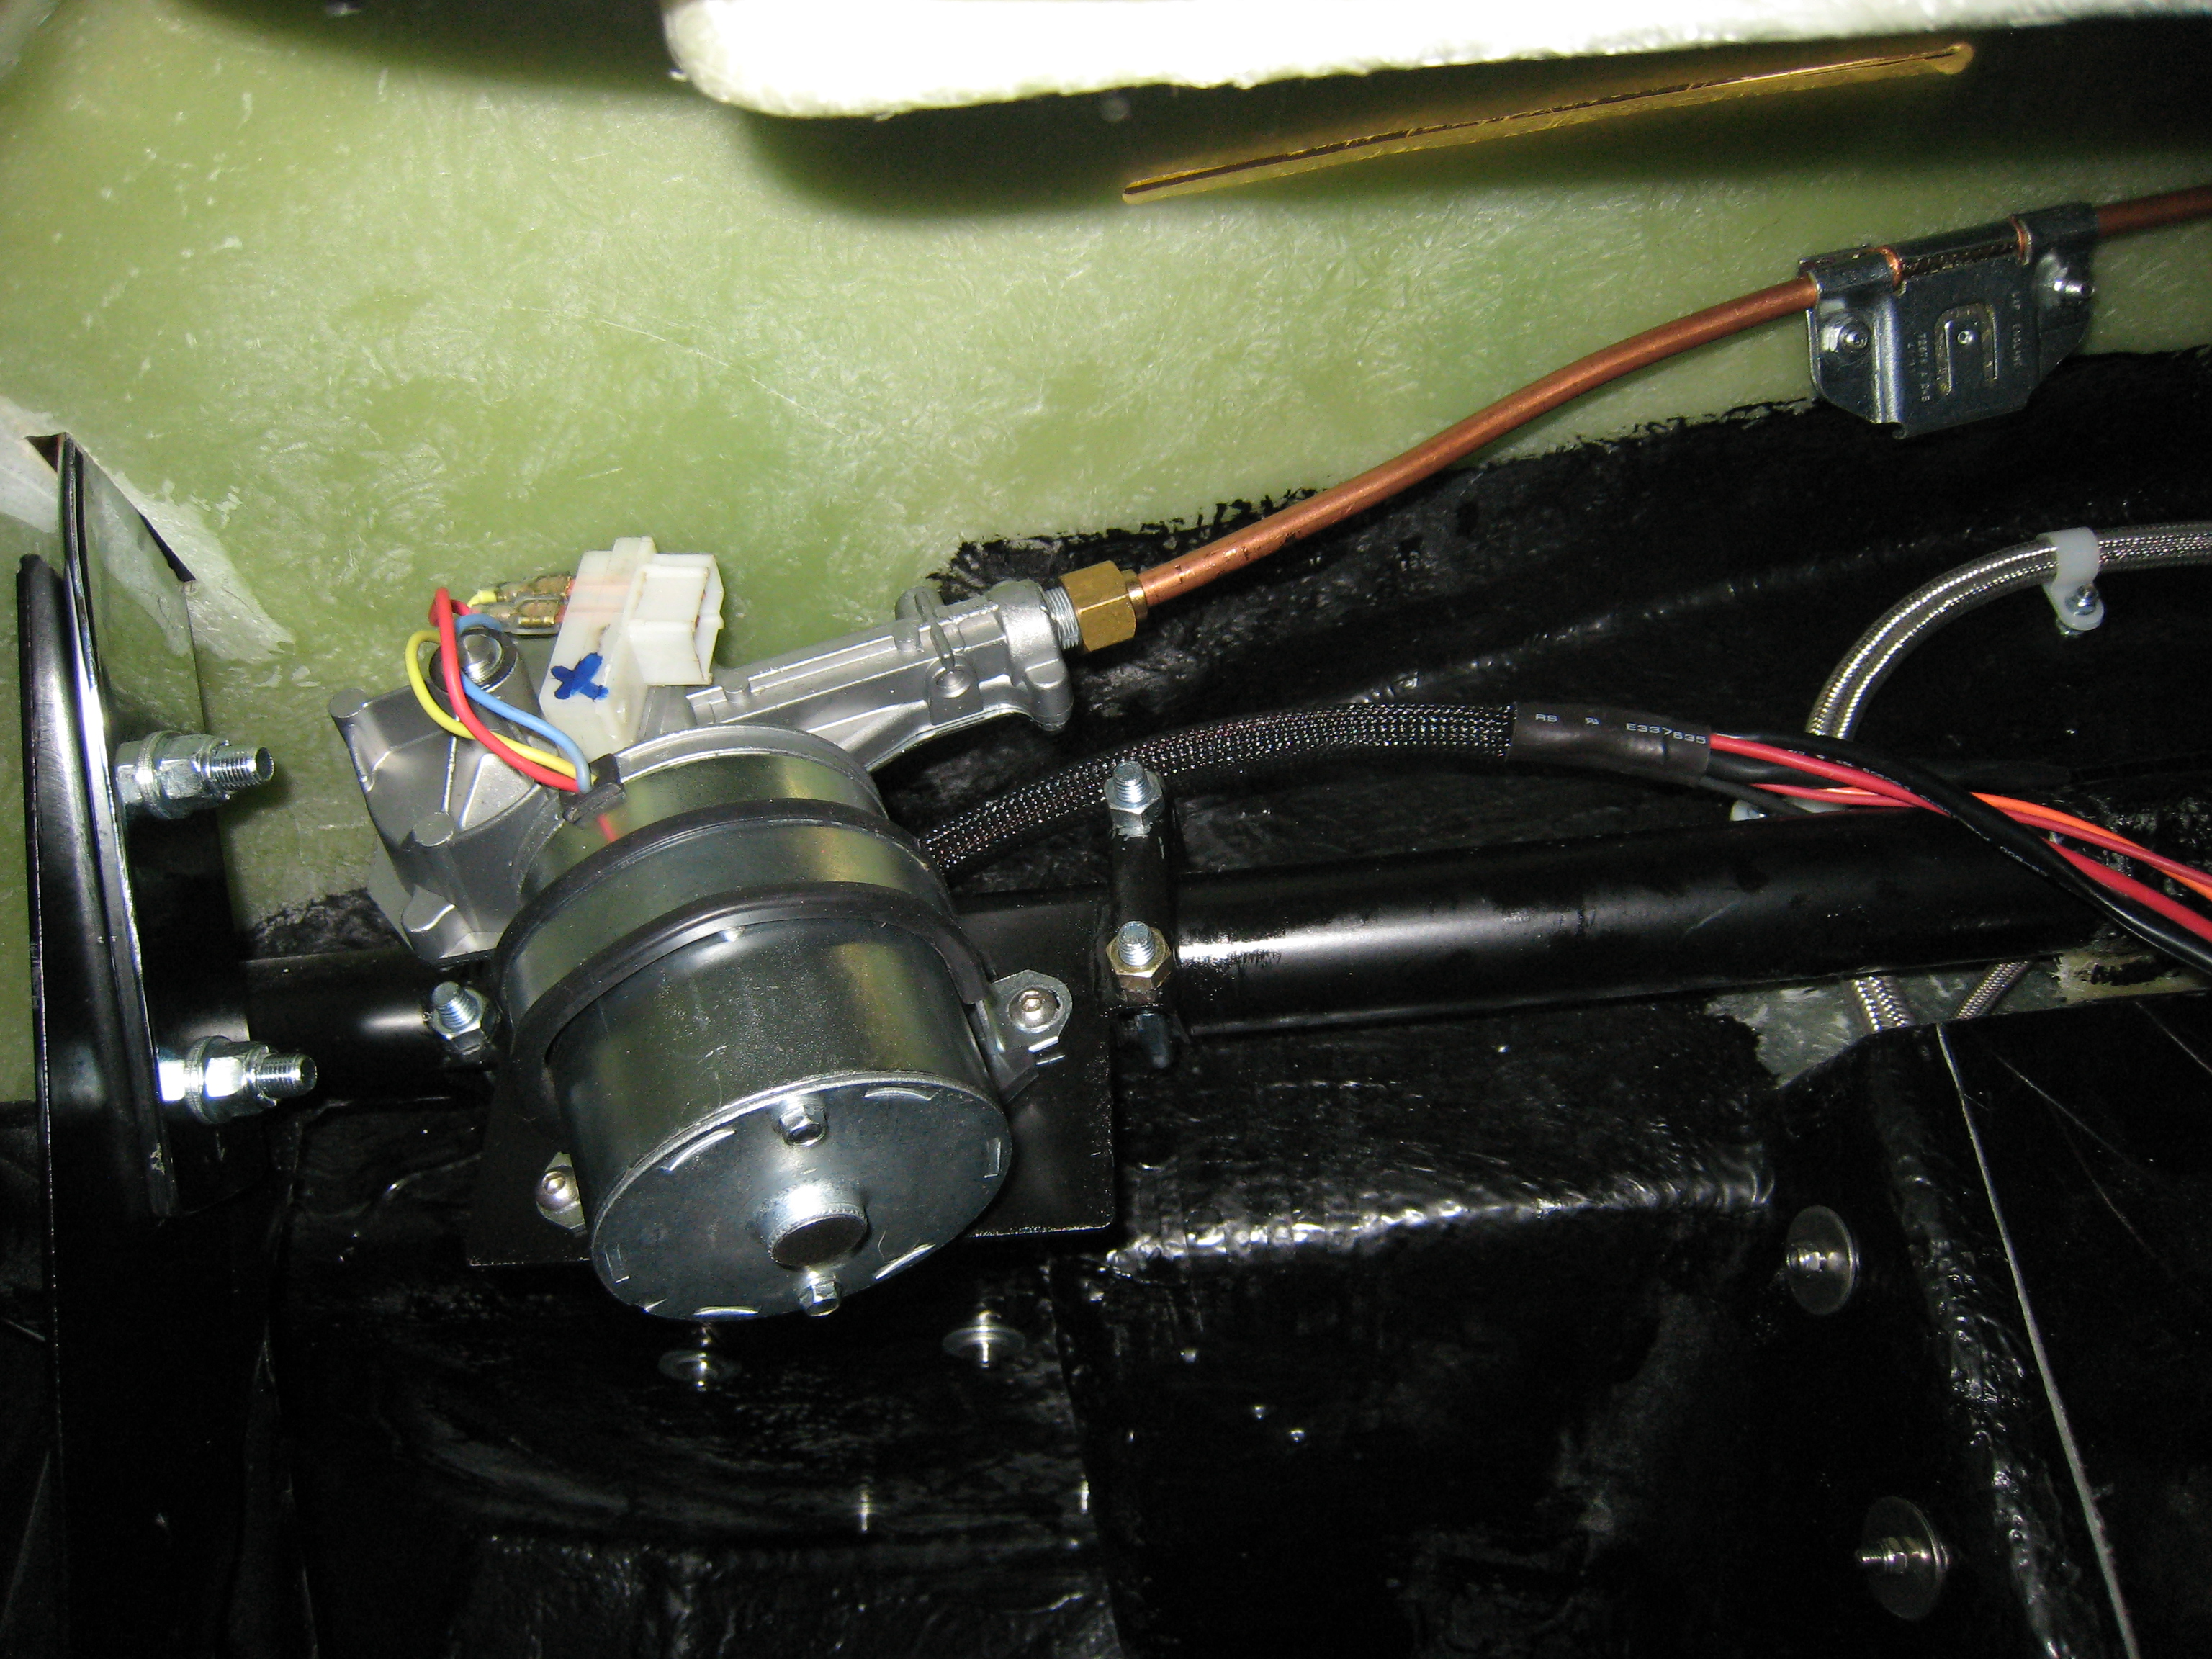
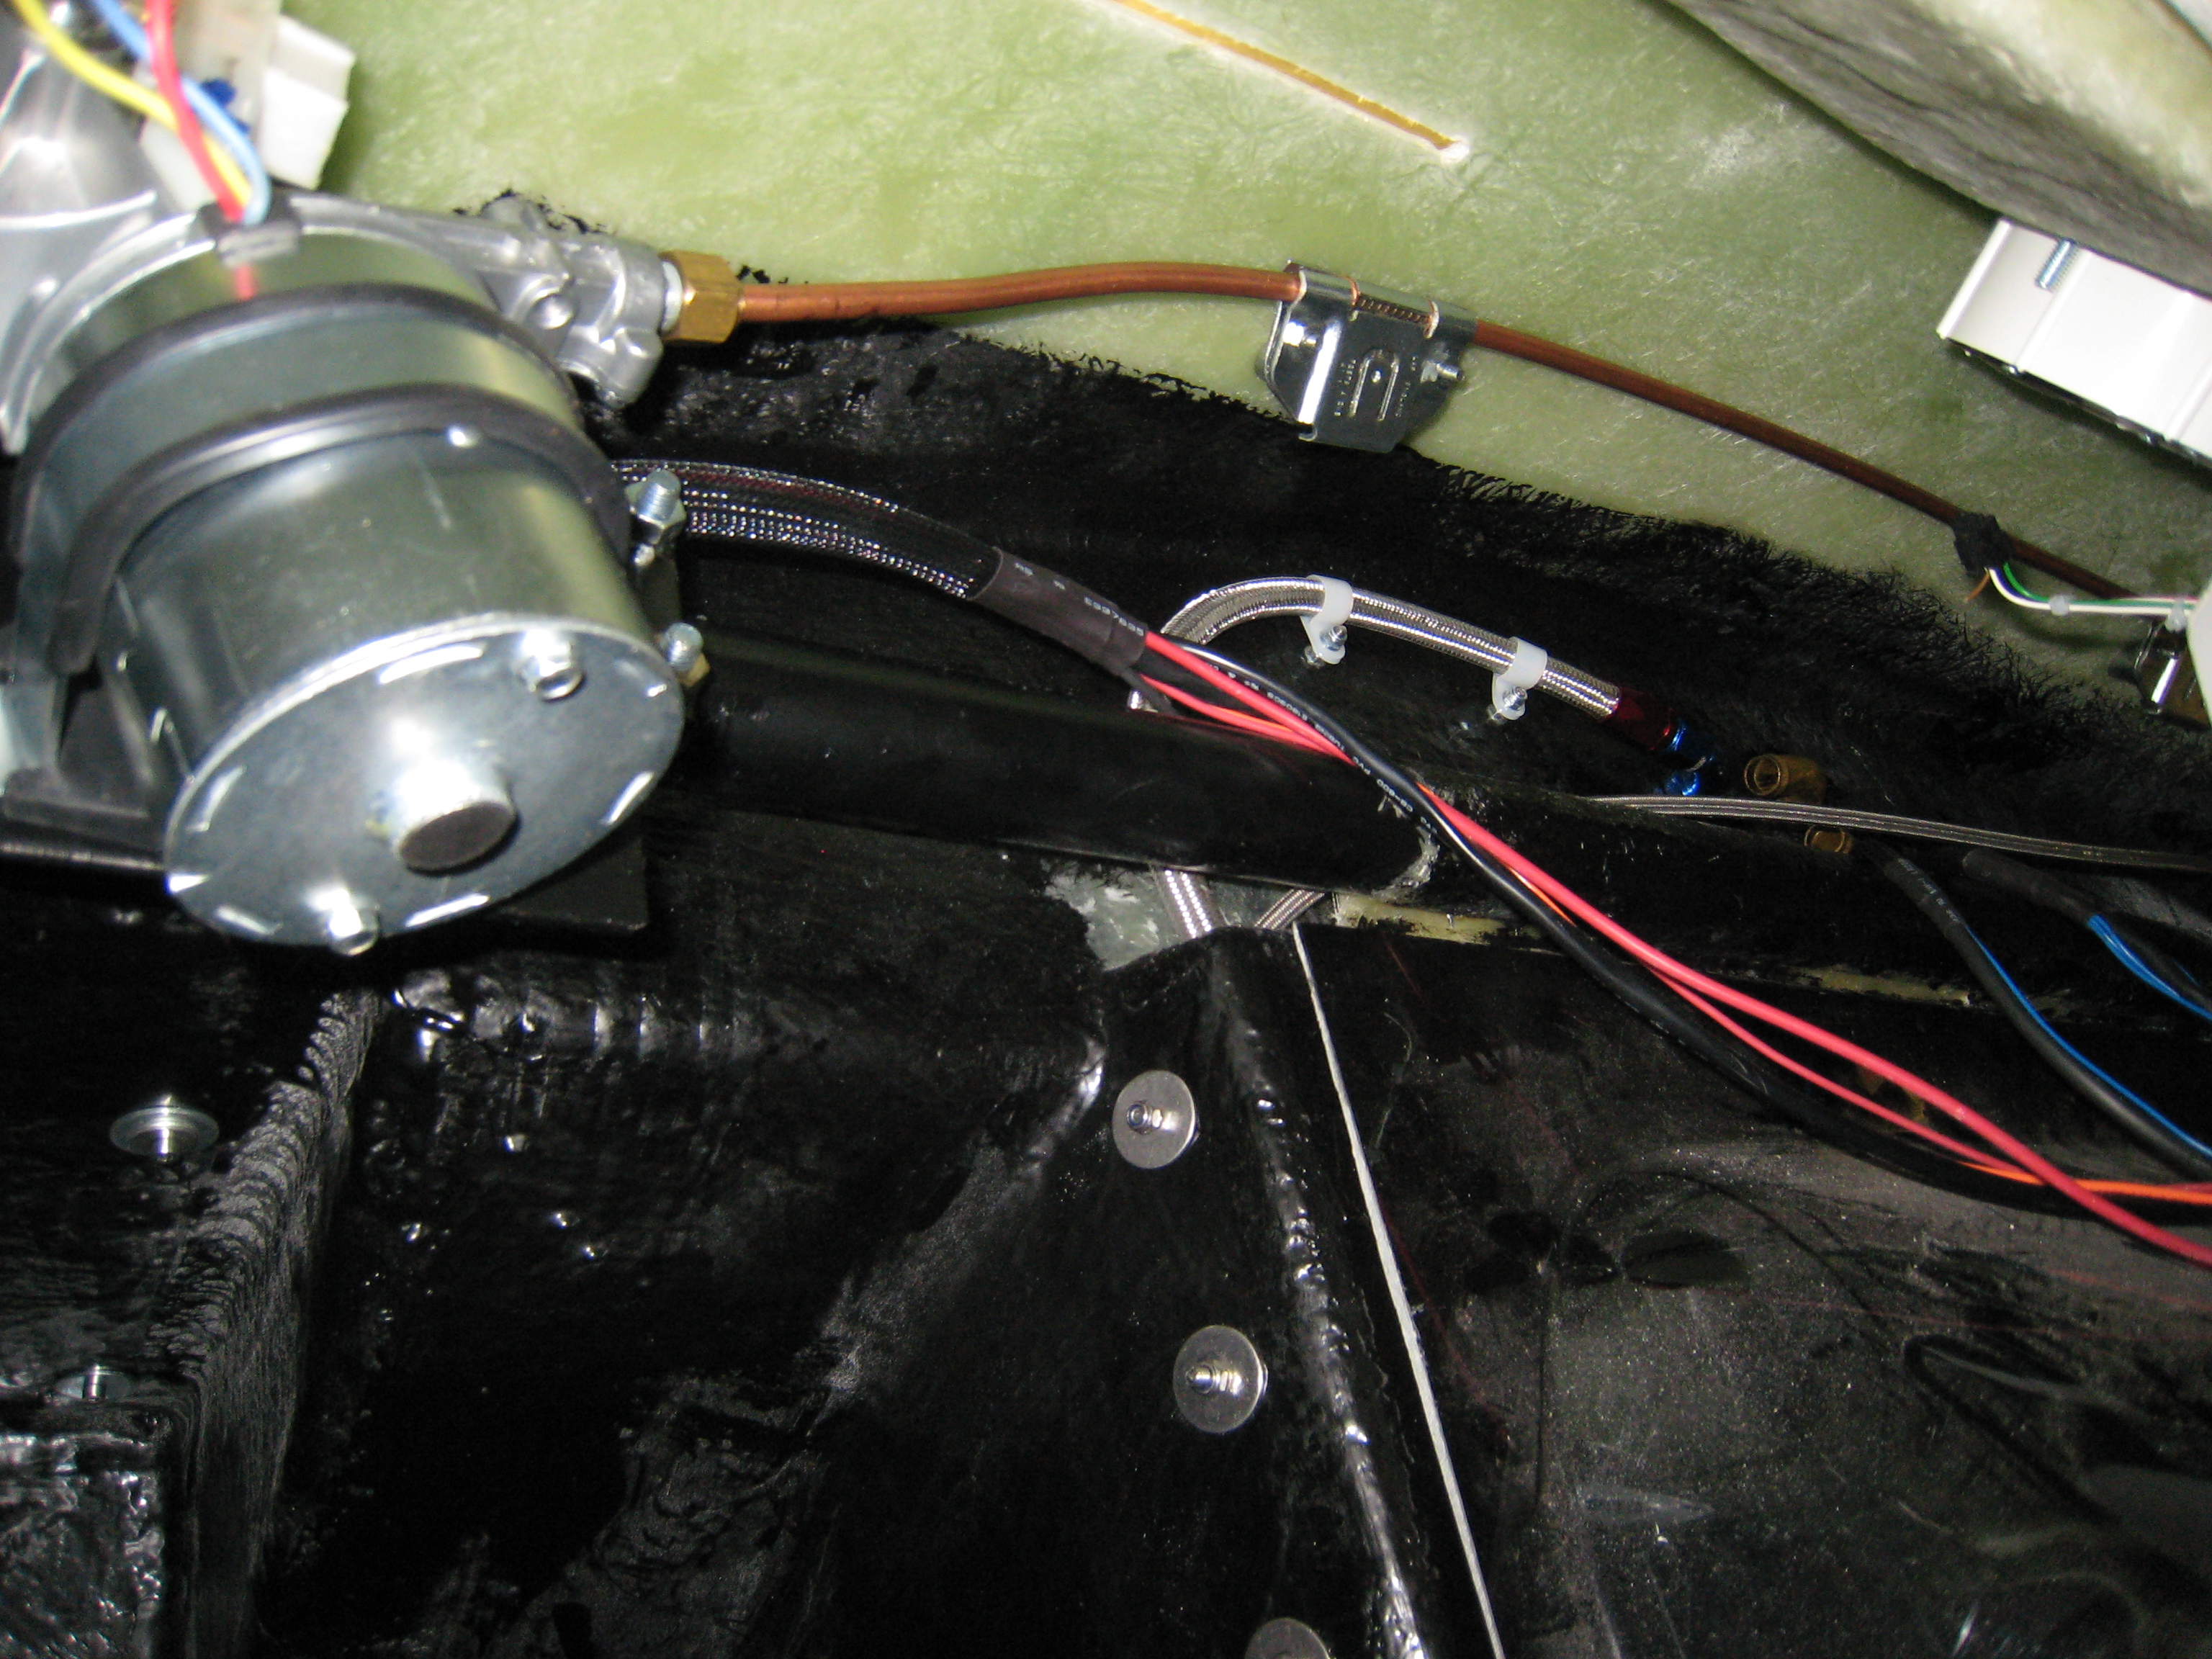
Heater Matrix
This is quite a large unit as supplied by Dax, prior to fitting we blanked off all but two of the outlets
(I'll find out later if this was a good idea or not). In order to mount it we had to remove the MSD ignition unit
and drop bolts through to pick up on the long nuts we fitted to the top of the unit.
So with a bit of effort we
were able to squeeze it under the passenger side foot well. We then ran the 16mm feed and return hose from
the bulkhead through a control valve to the heater unit.
Its not too clear from the pictures i think but the unit fits very snugly into the gap above the passenger’s feet.
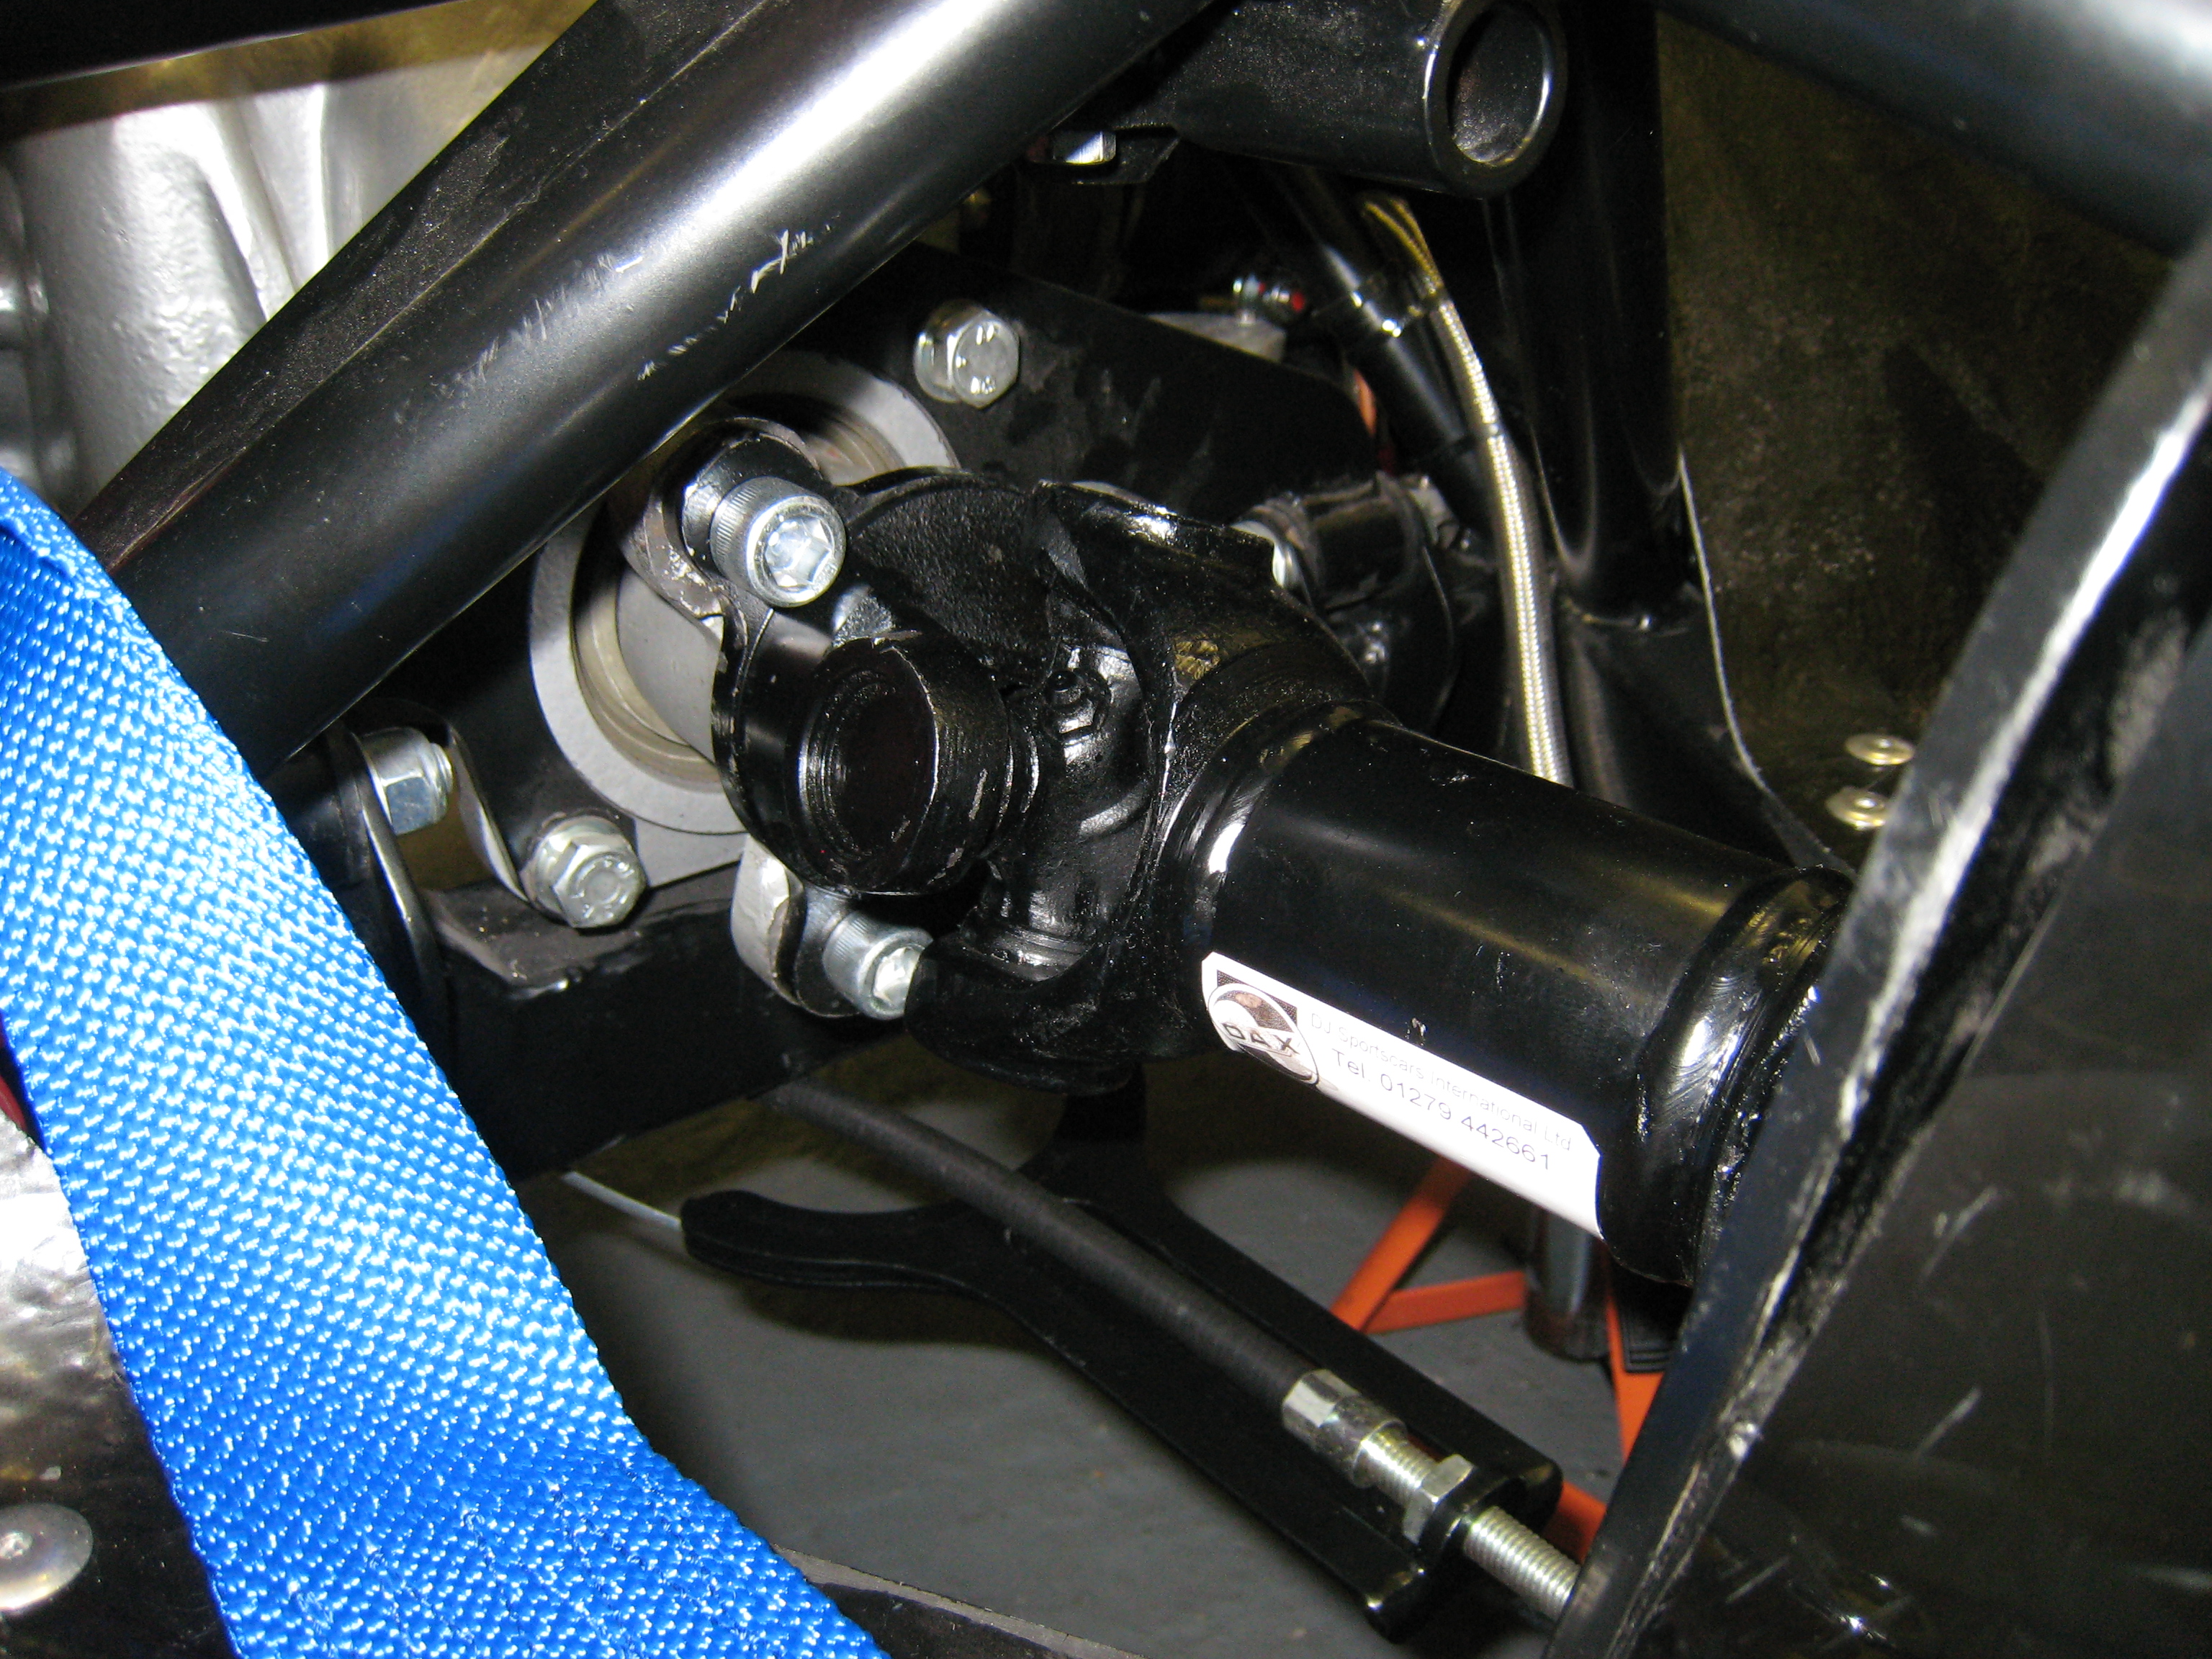
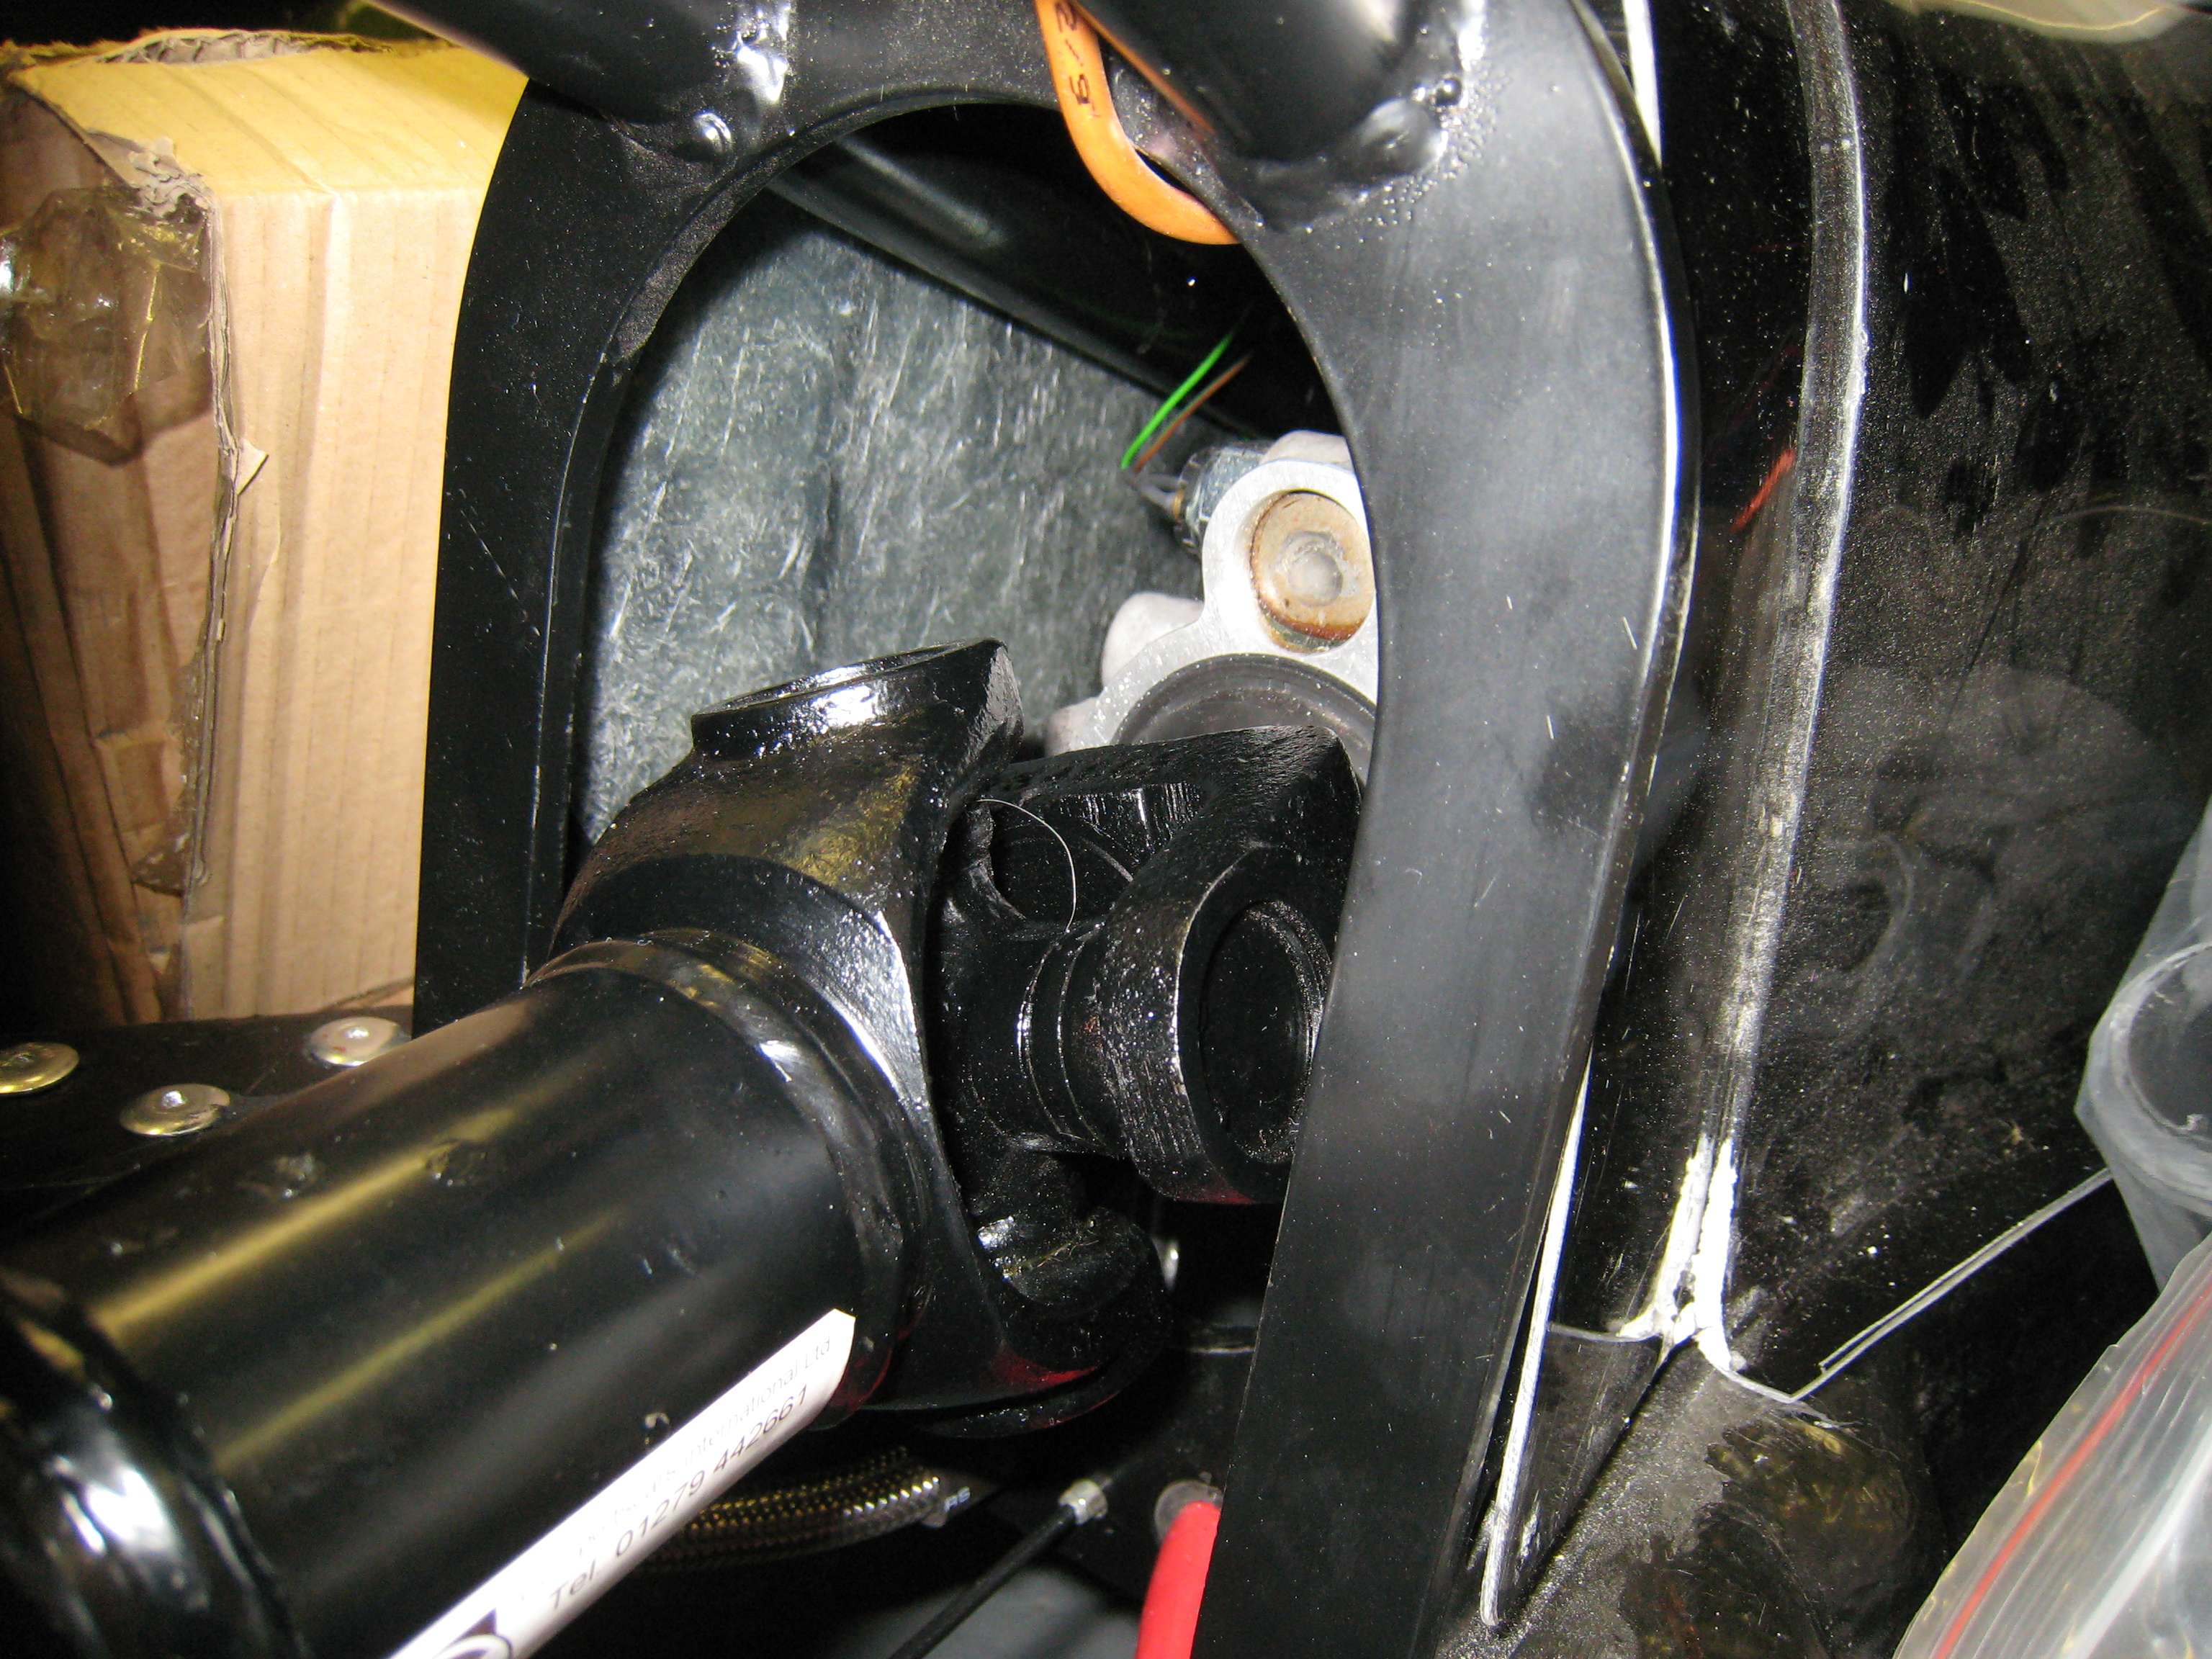
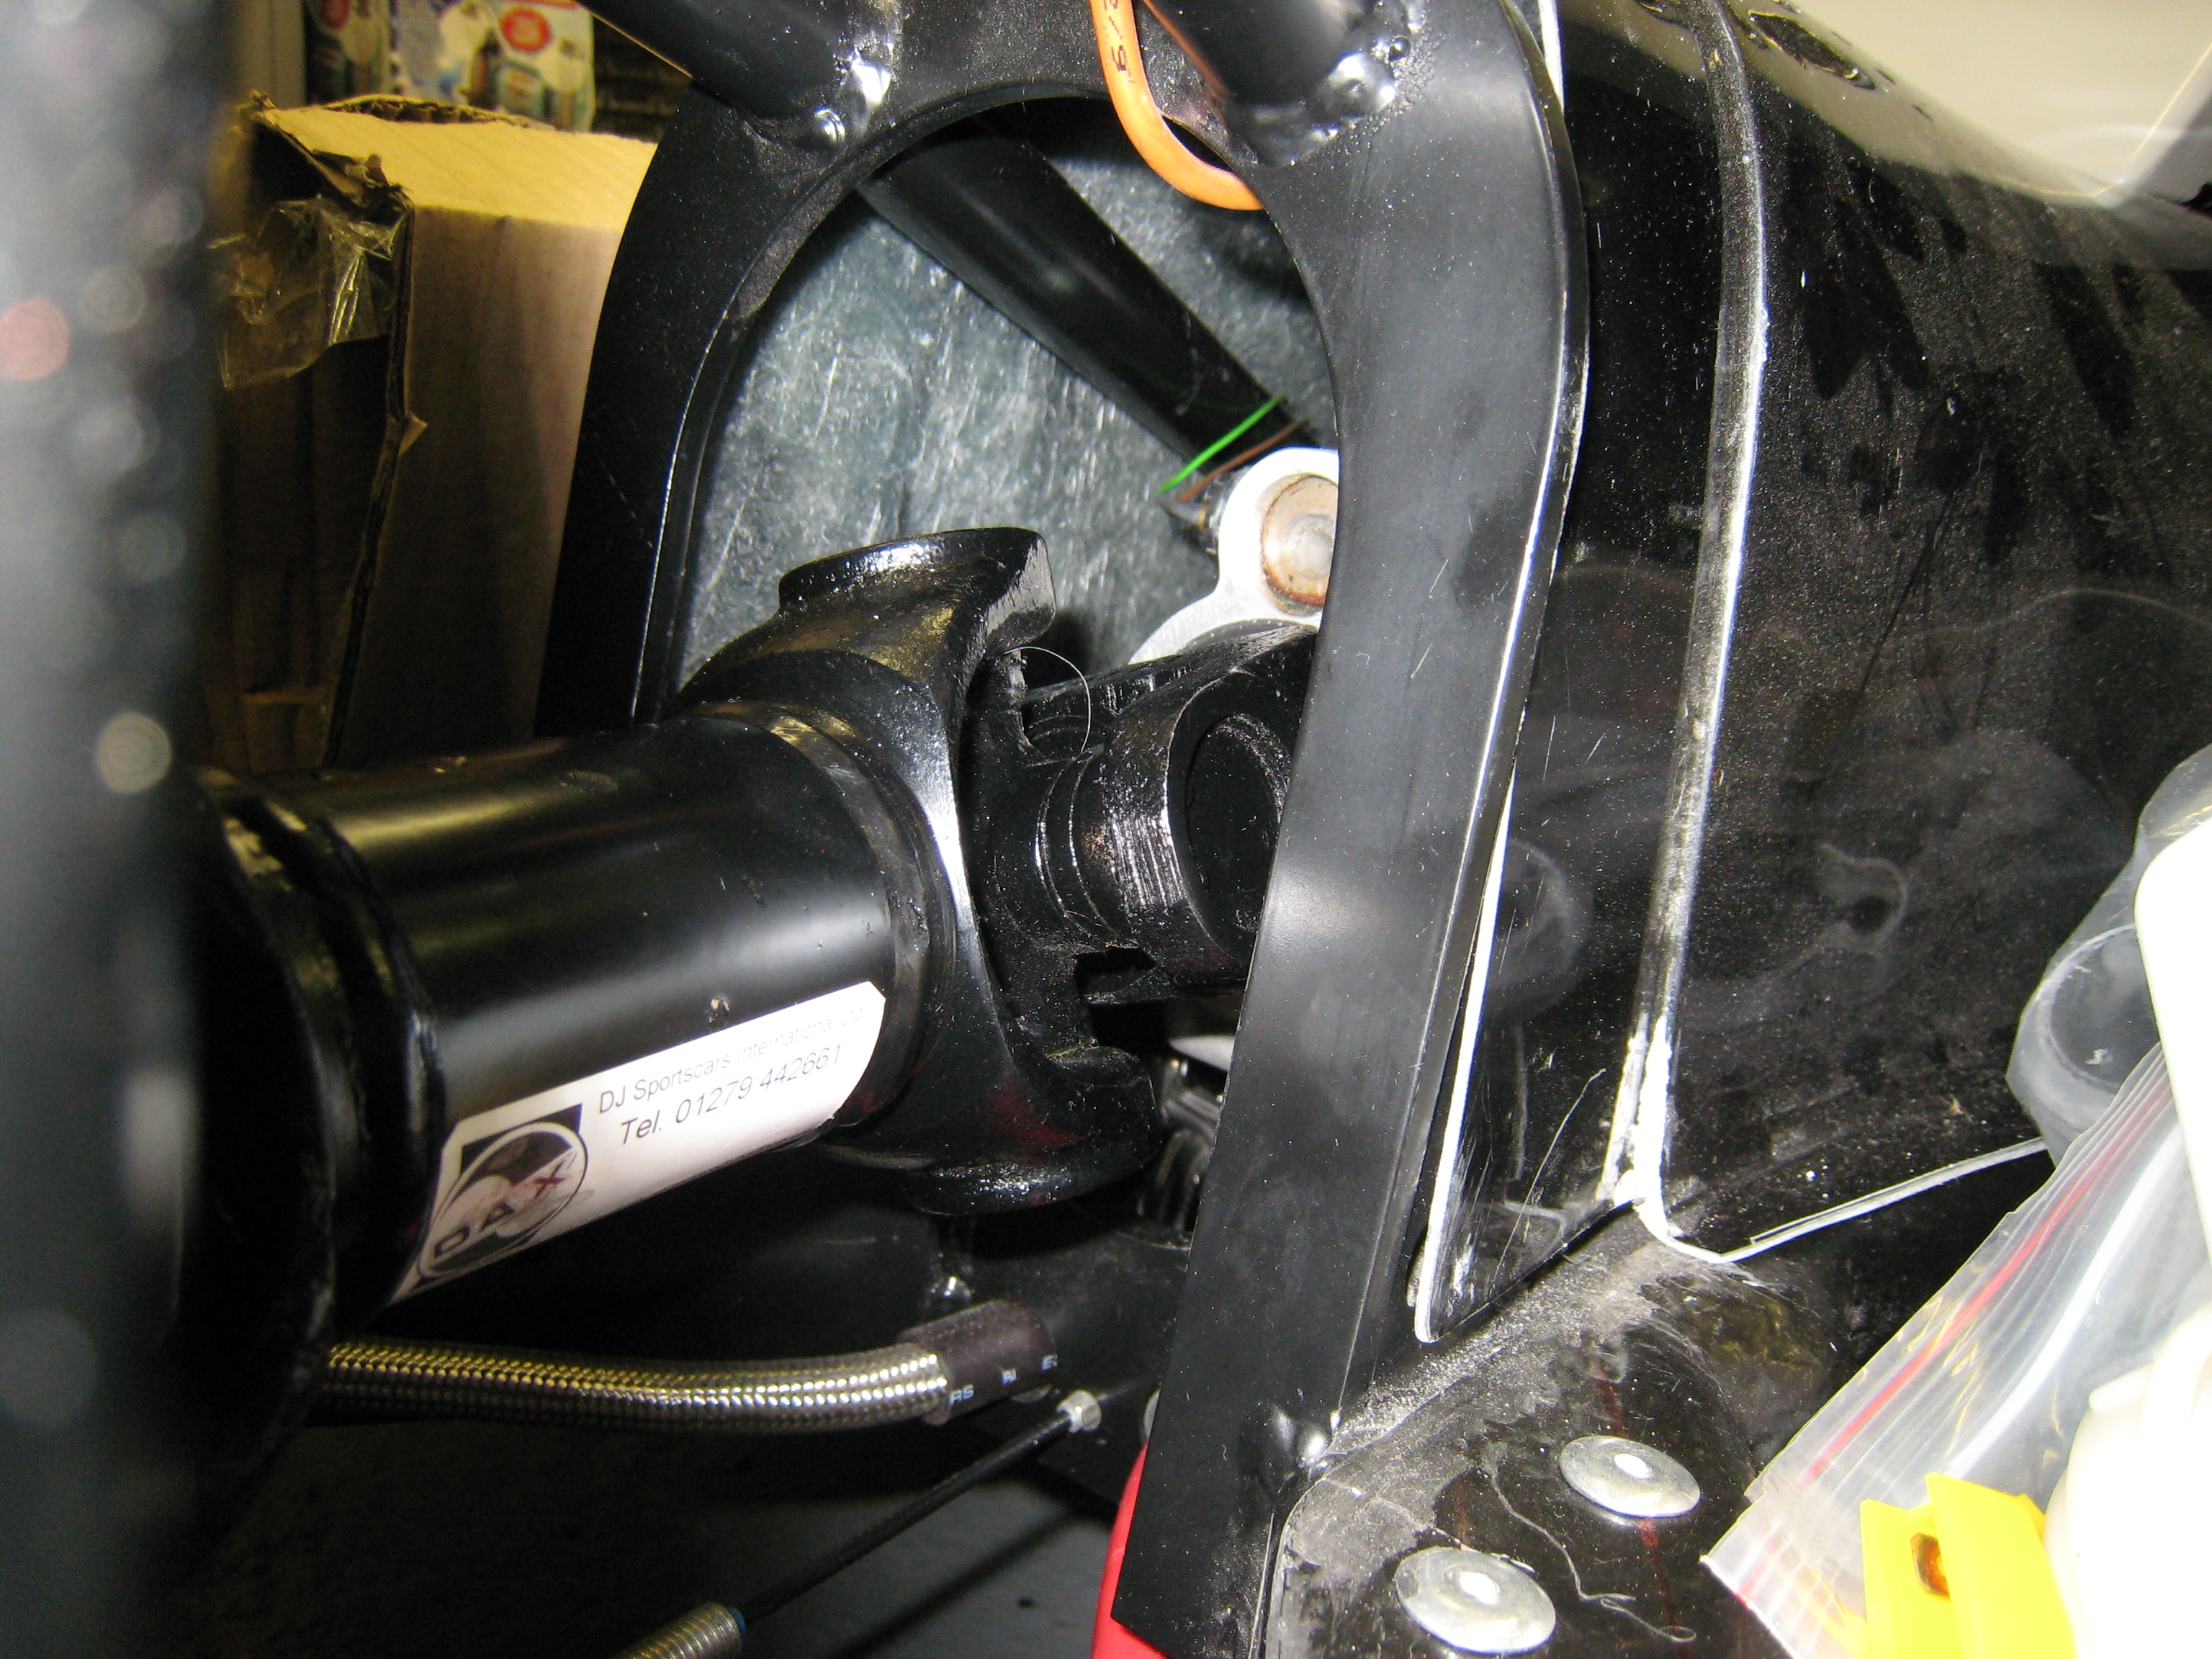
PROP SHAFT !!!!!
31st August 2012.....The day the 3rd prop arrived and it fits !
So now I can get on with the back end of the car, fit the prop, connect the handbrake and adjust, check
all bolts are tigh and get the car back on the ground and off the axel stands its been on for the last
4 months.
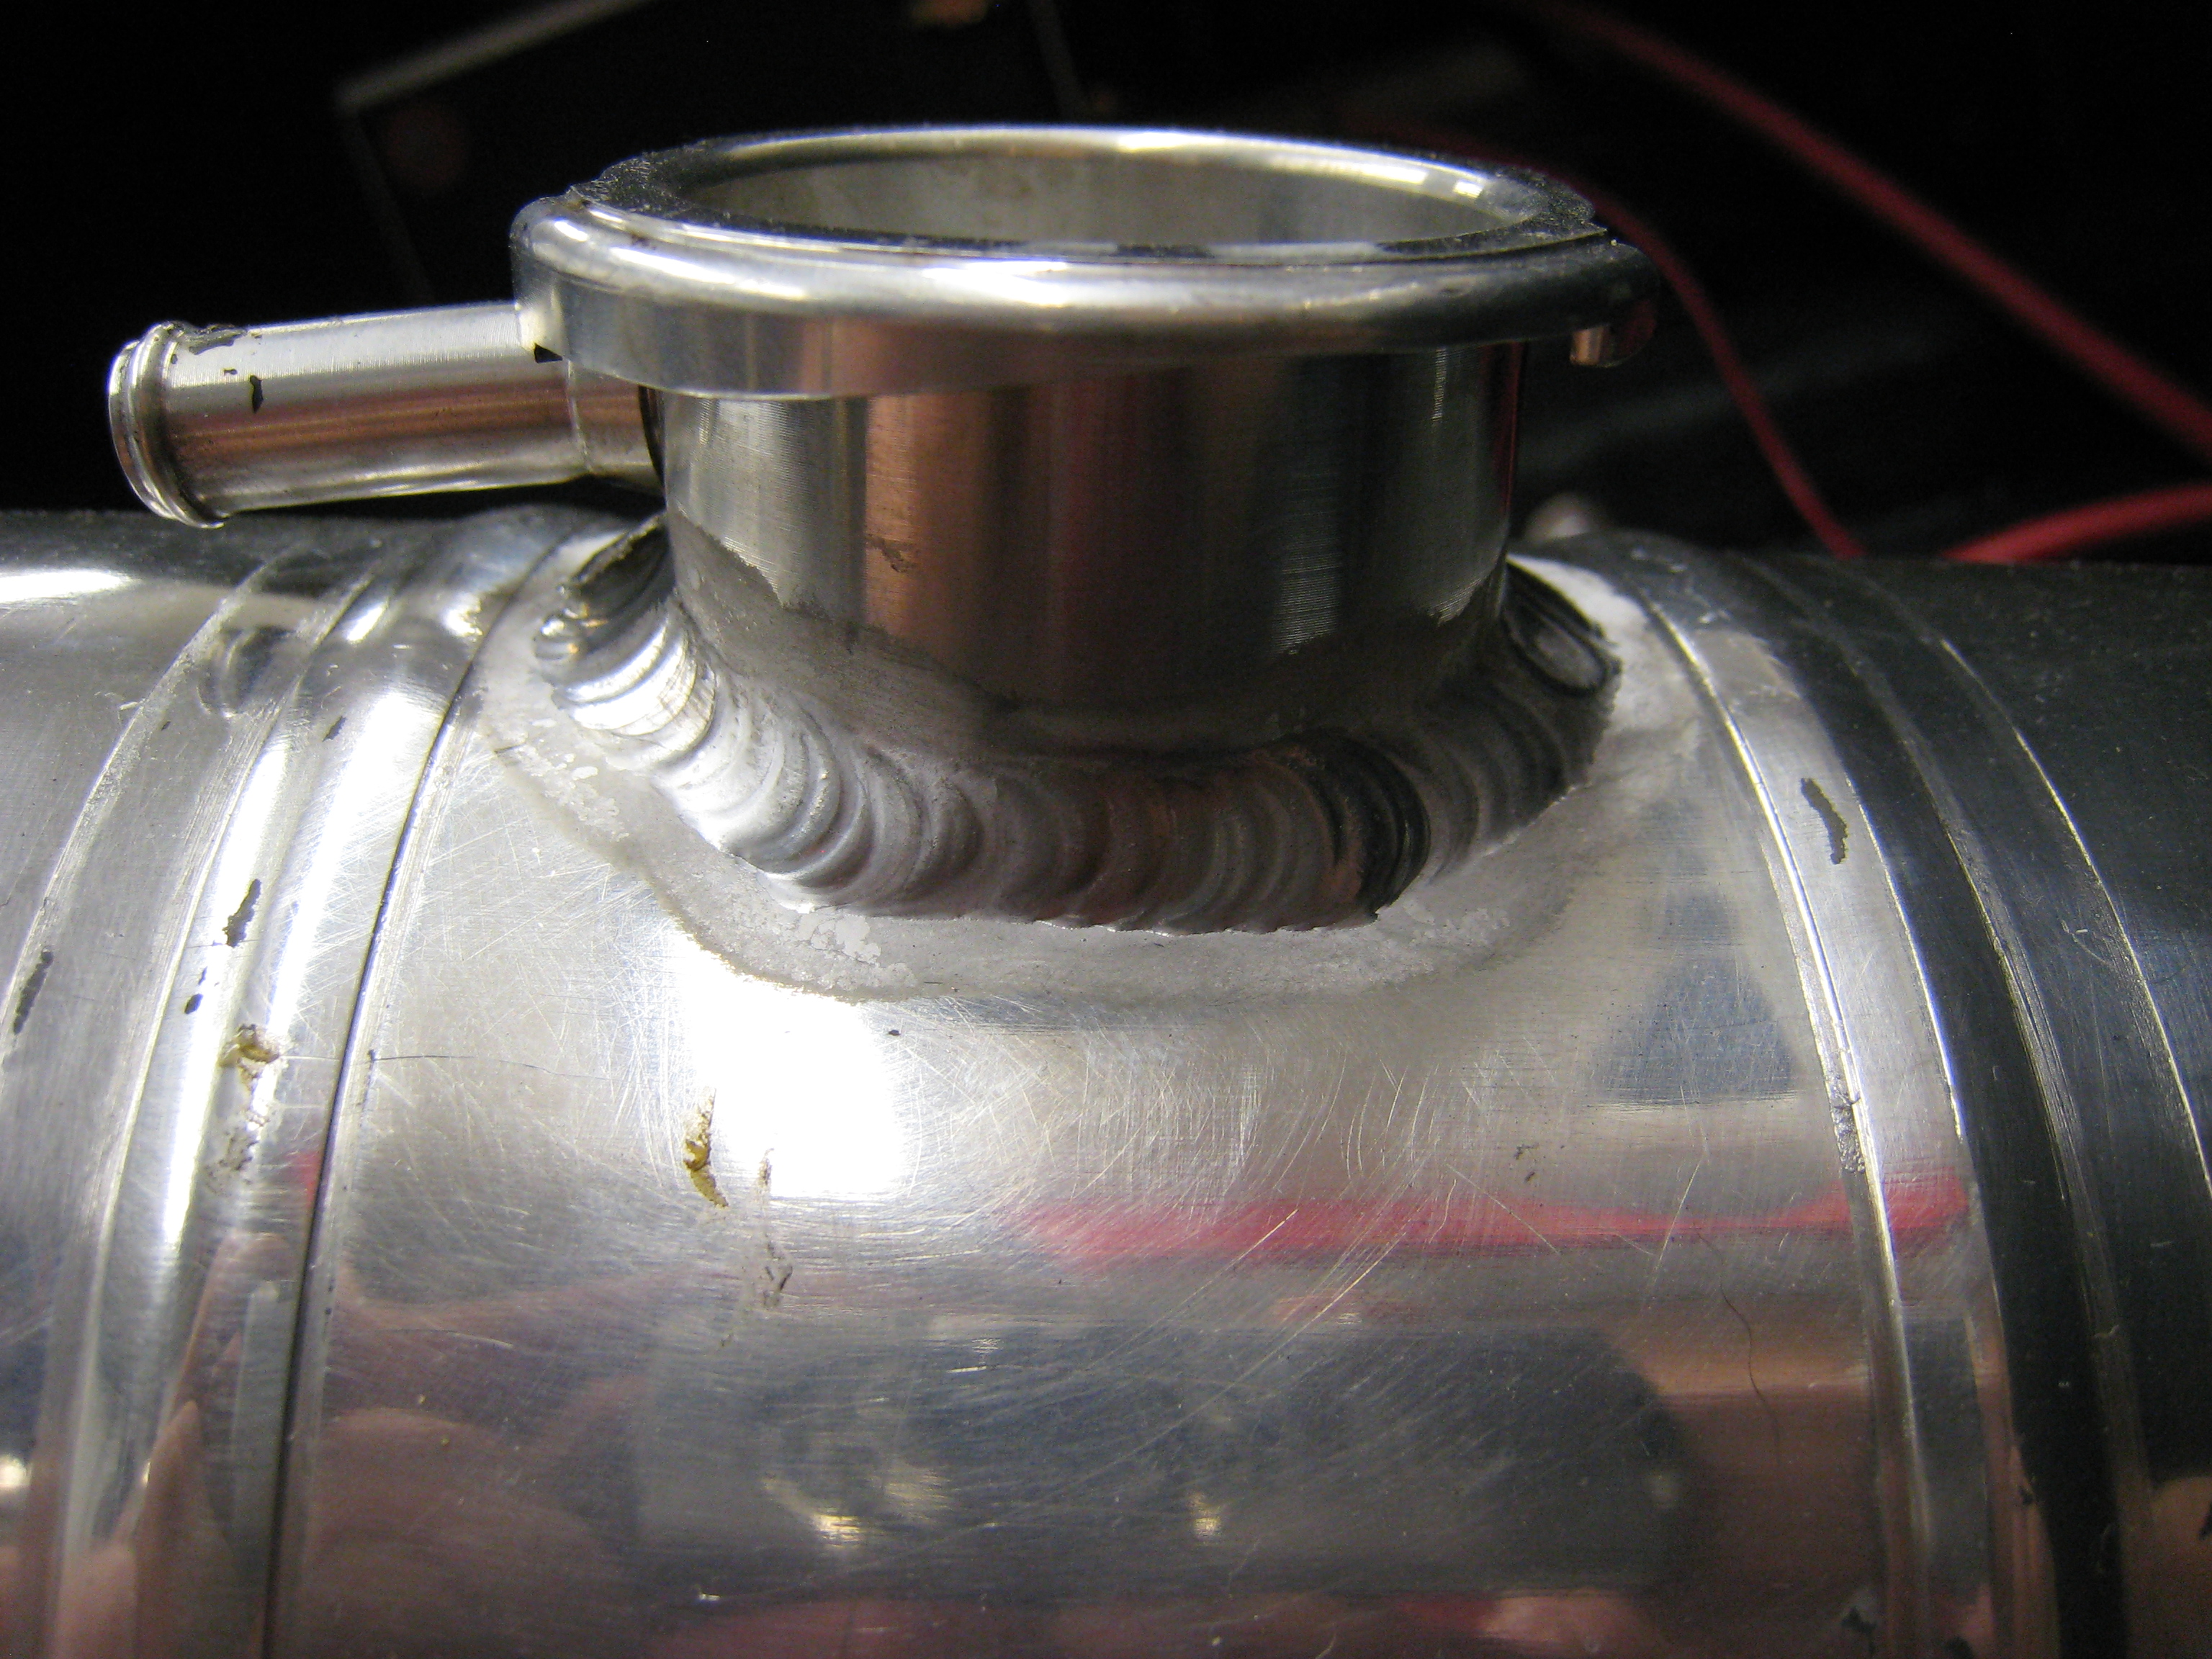
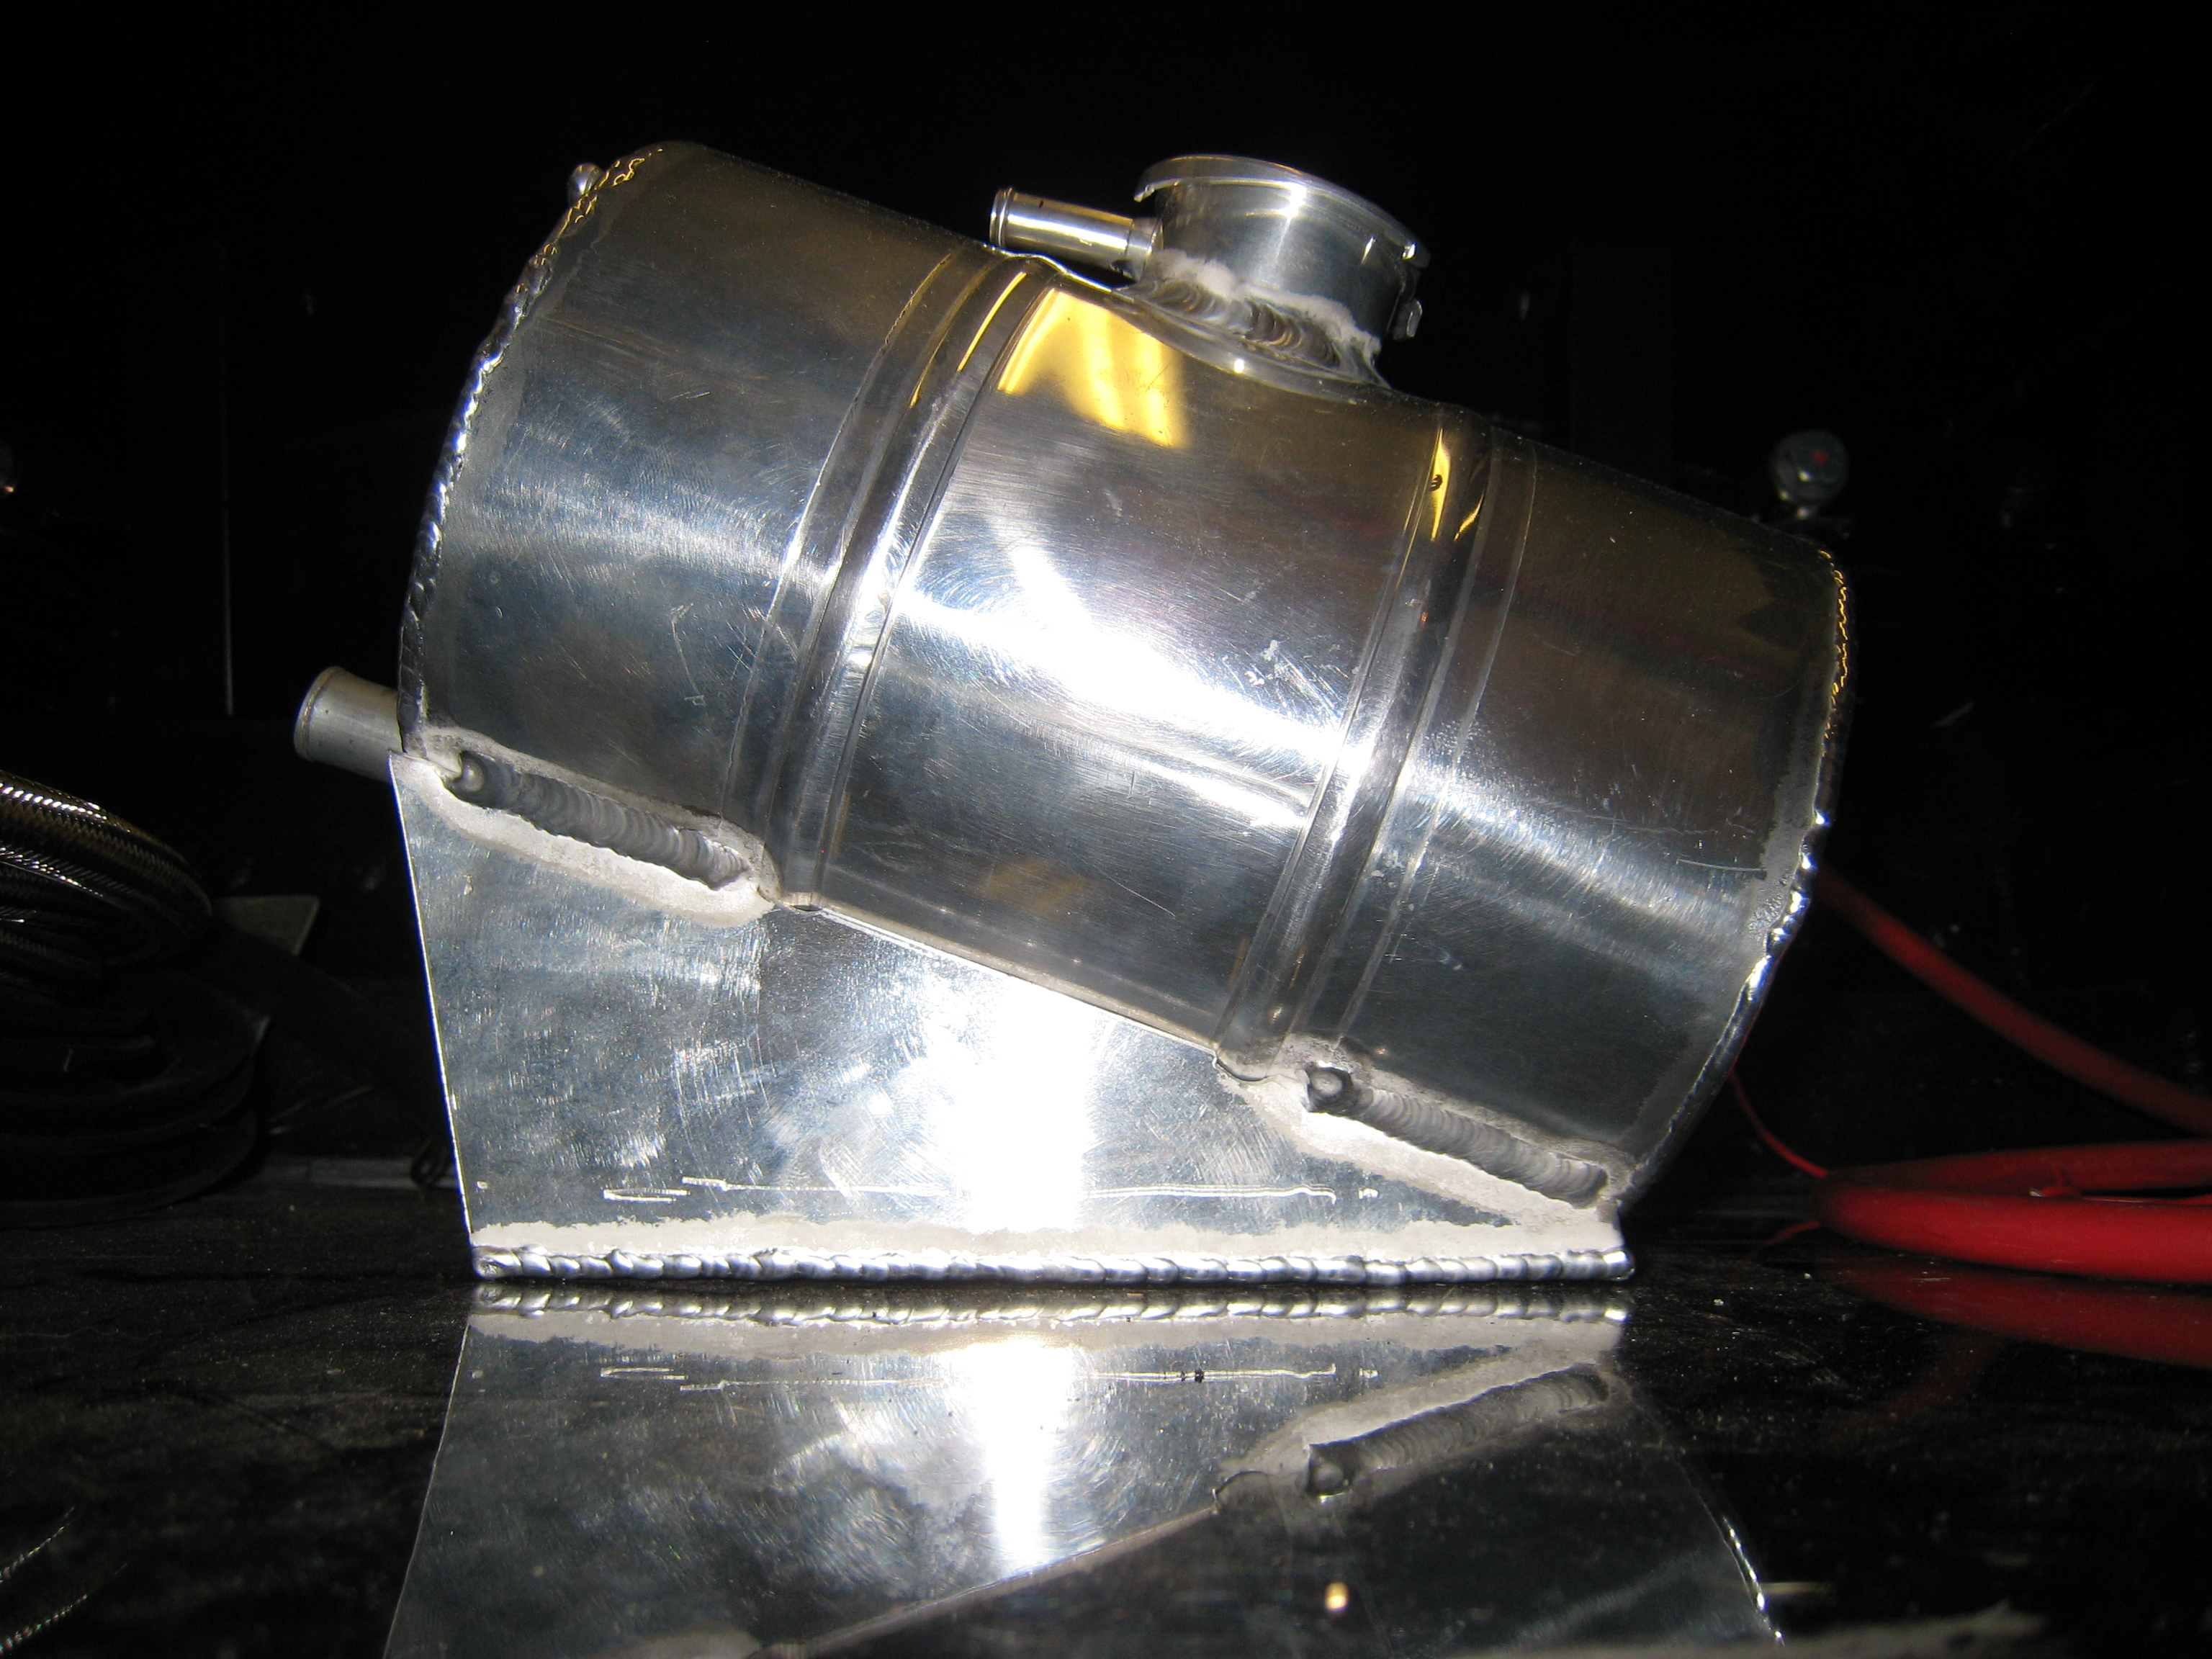
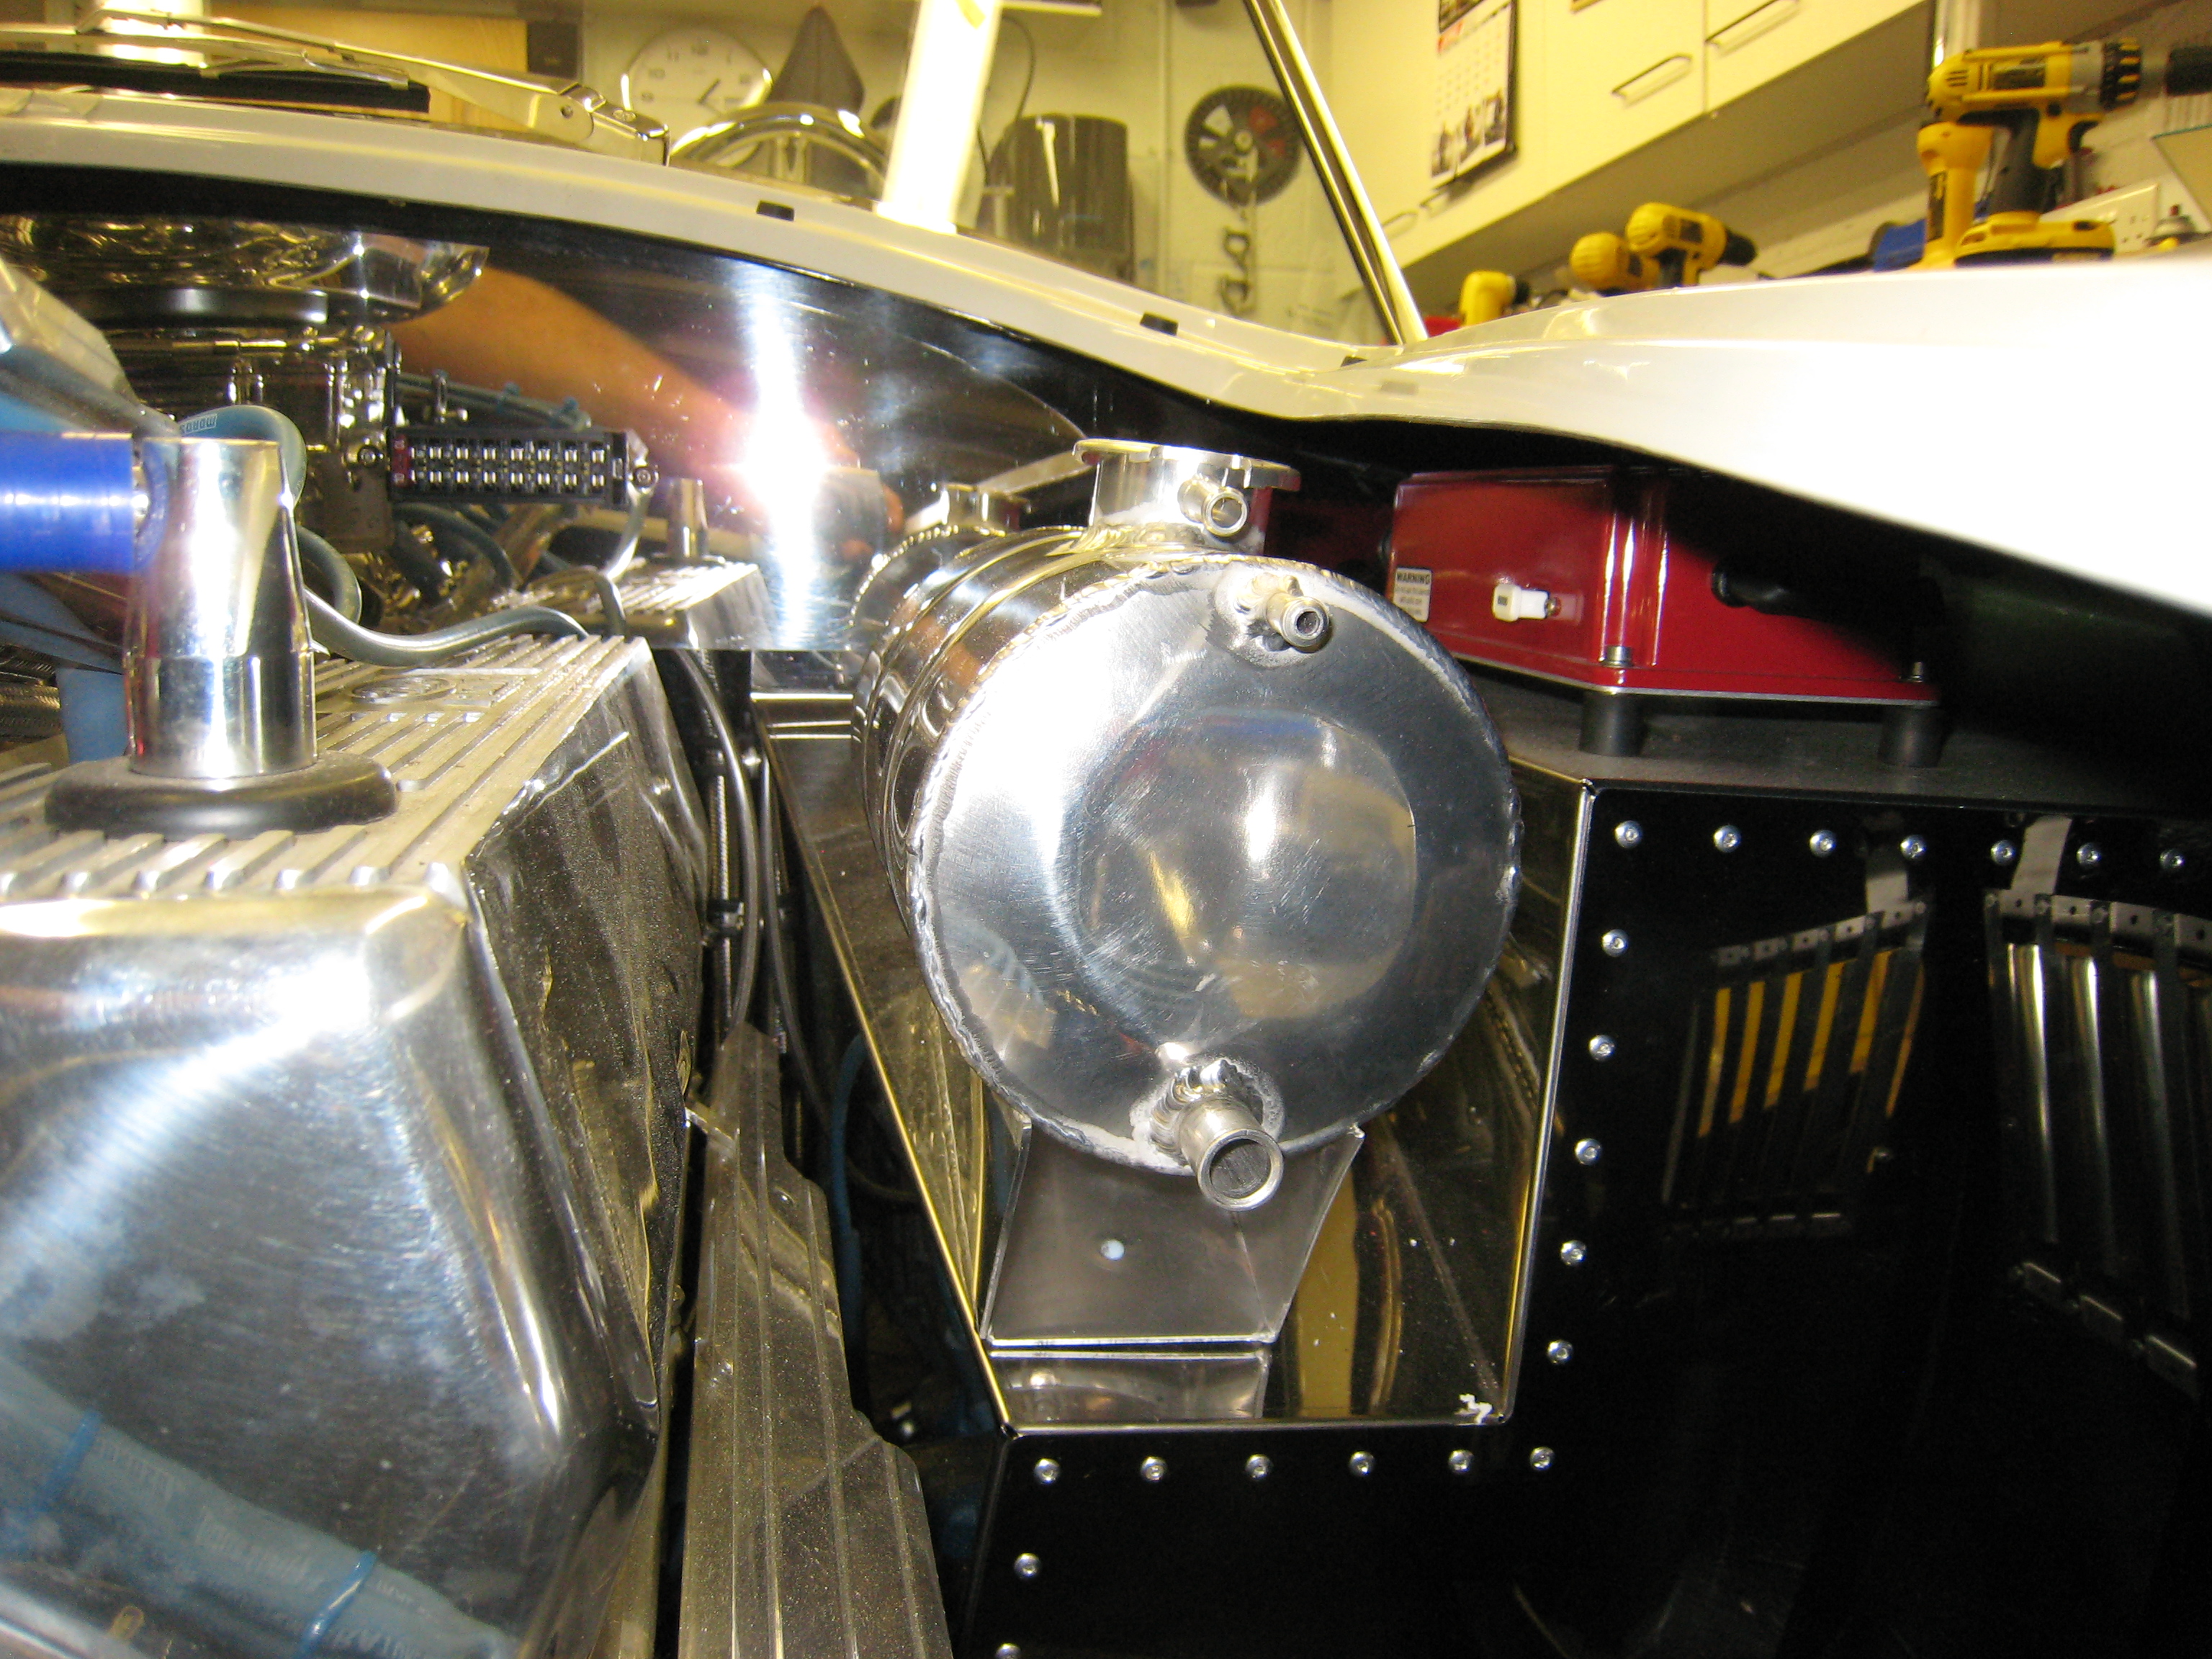
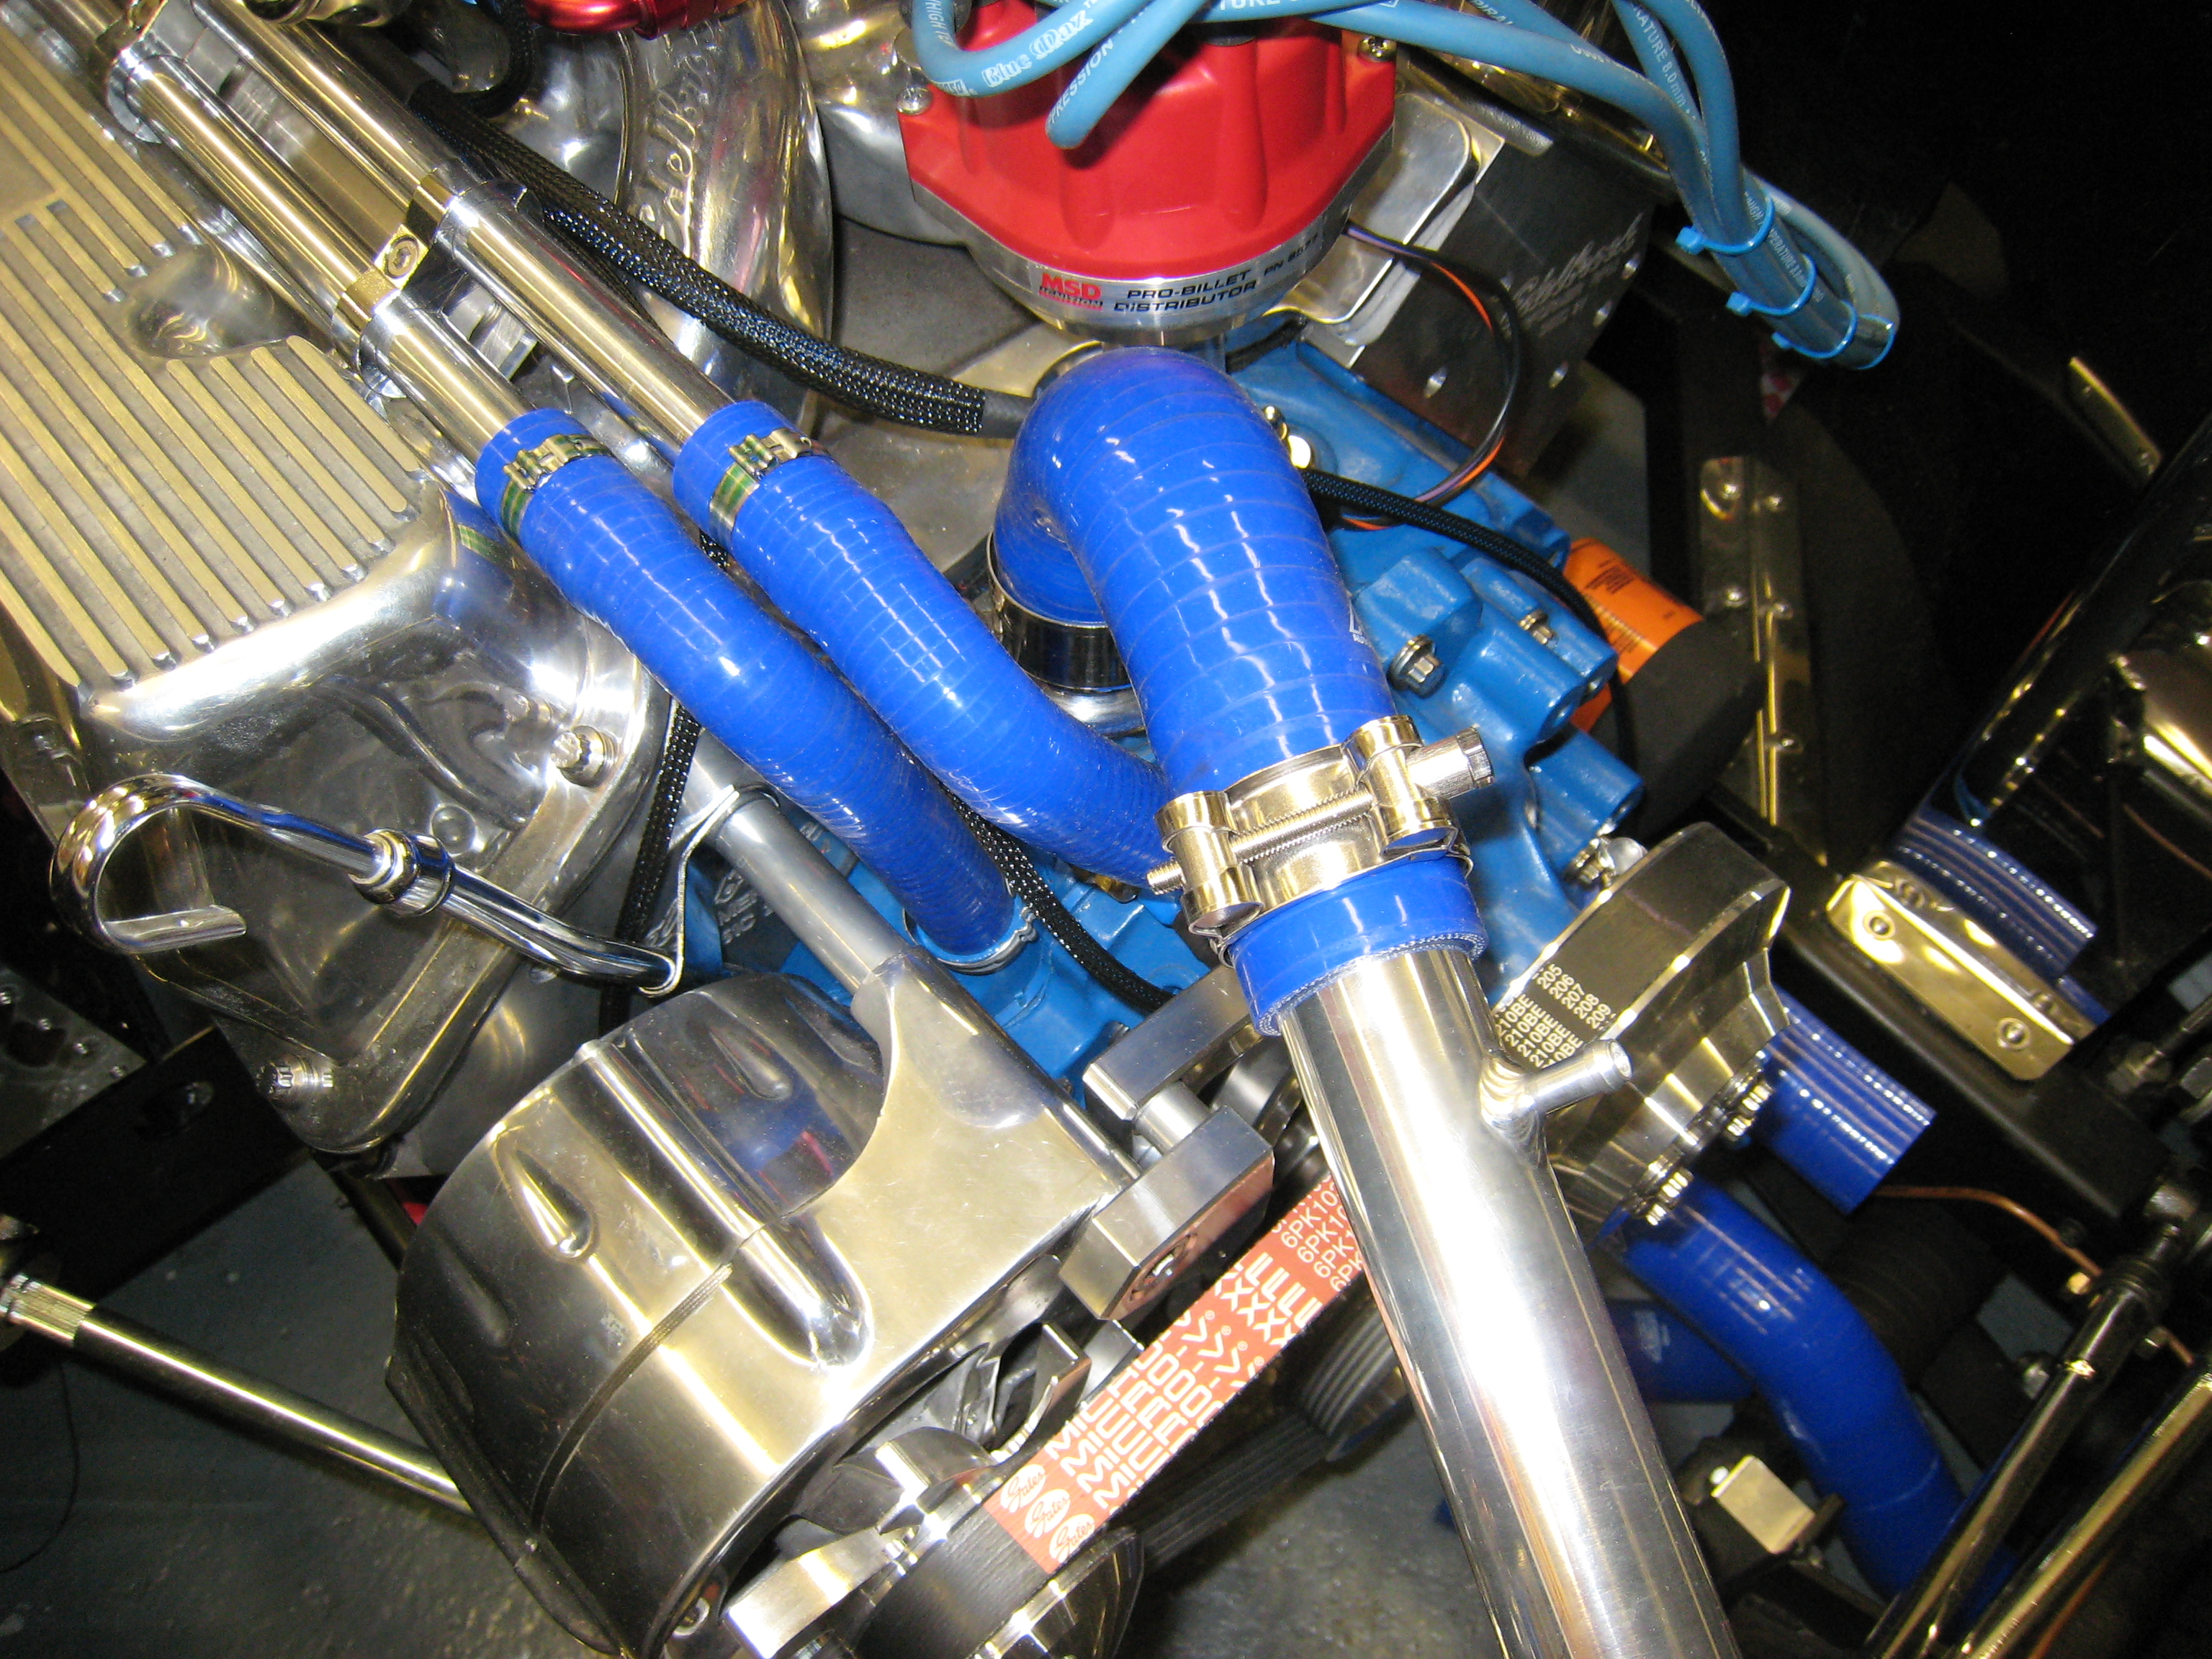
Header Tank
The header tank supplied by dax probably fits their engine panels really well, I however have fitted stainless
steel ones from Dave Brooks, these look amazing but have a different angle on the incline to the foot well. So
searching round the local area I found a welding company in fleet who I went to visit and were more than happy to
cut and re-weld the angel on the header tank. I also got them to add weld around the filler cap, not for strength
but just to make it look a bit tidier.
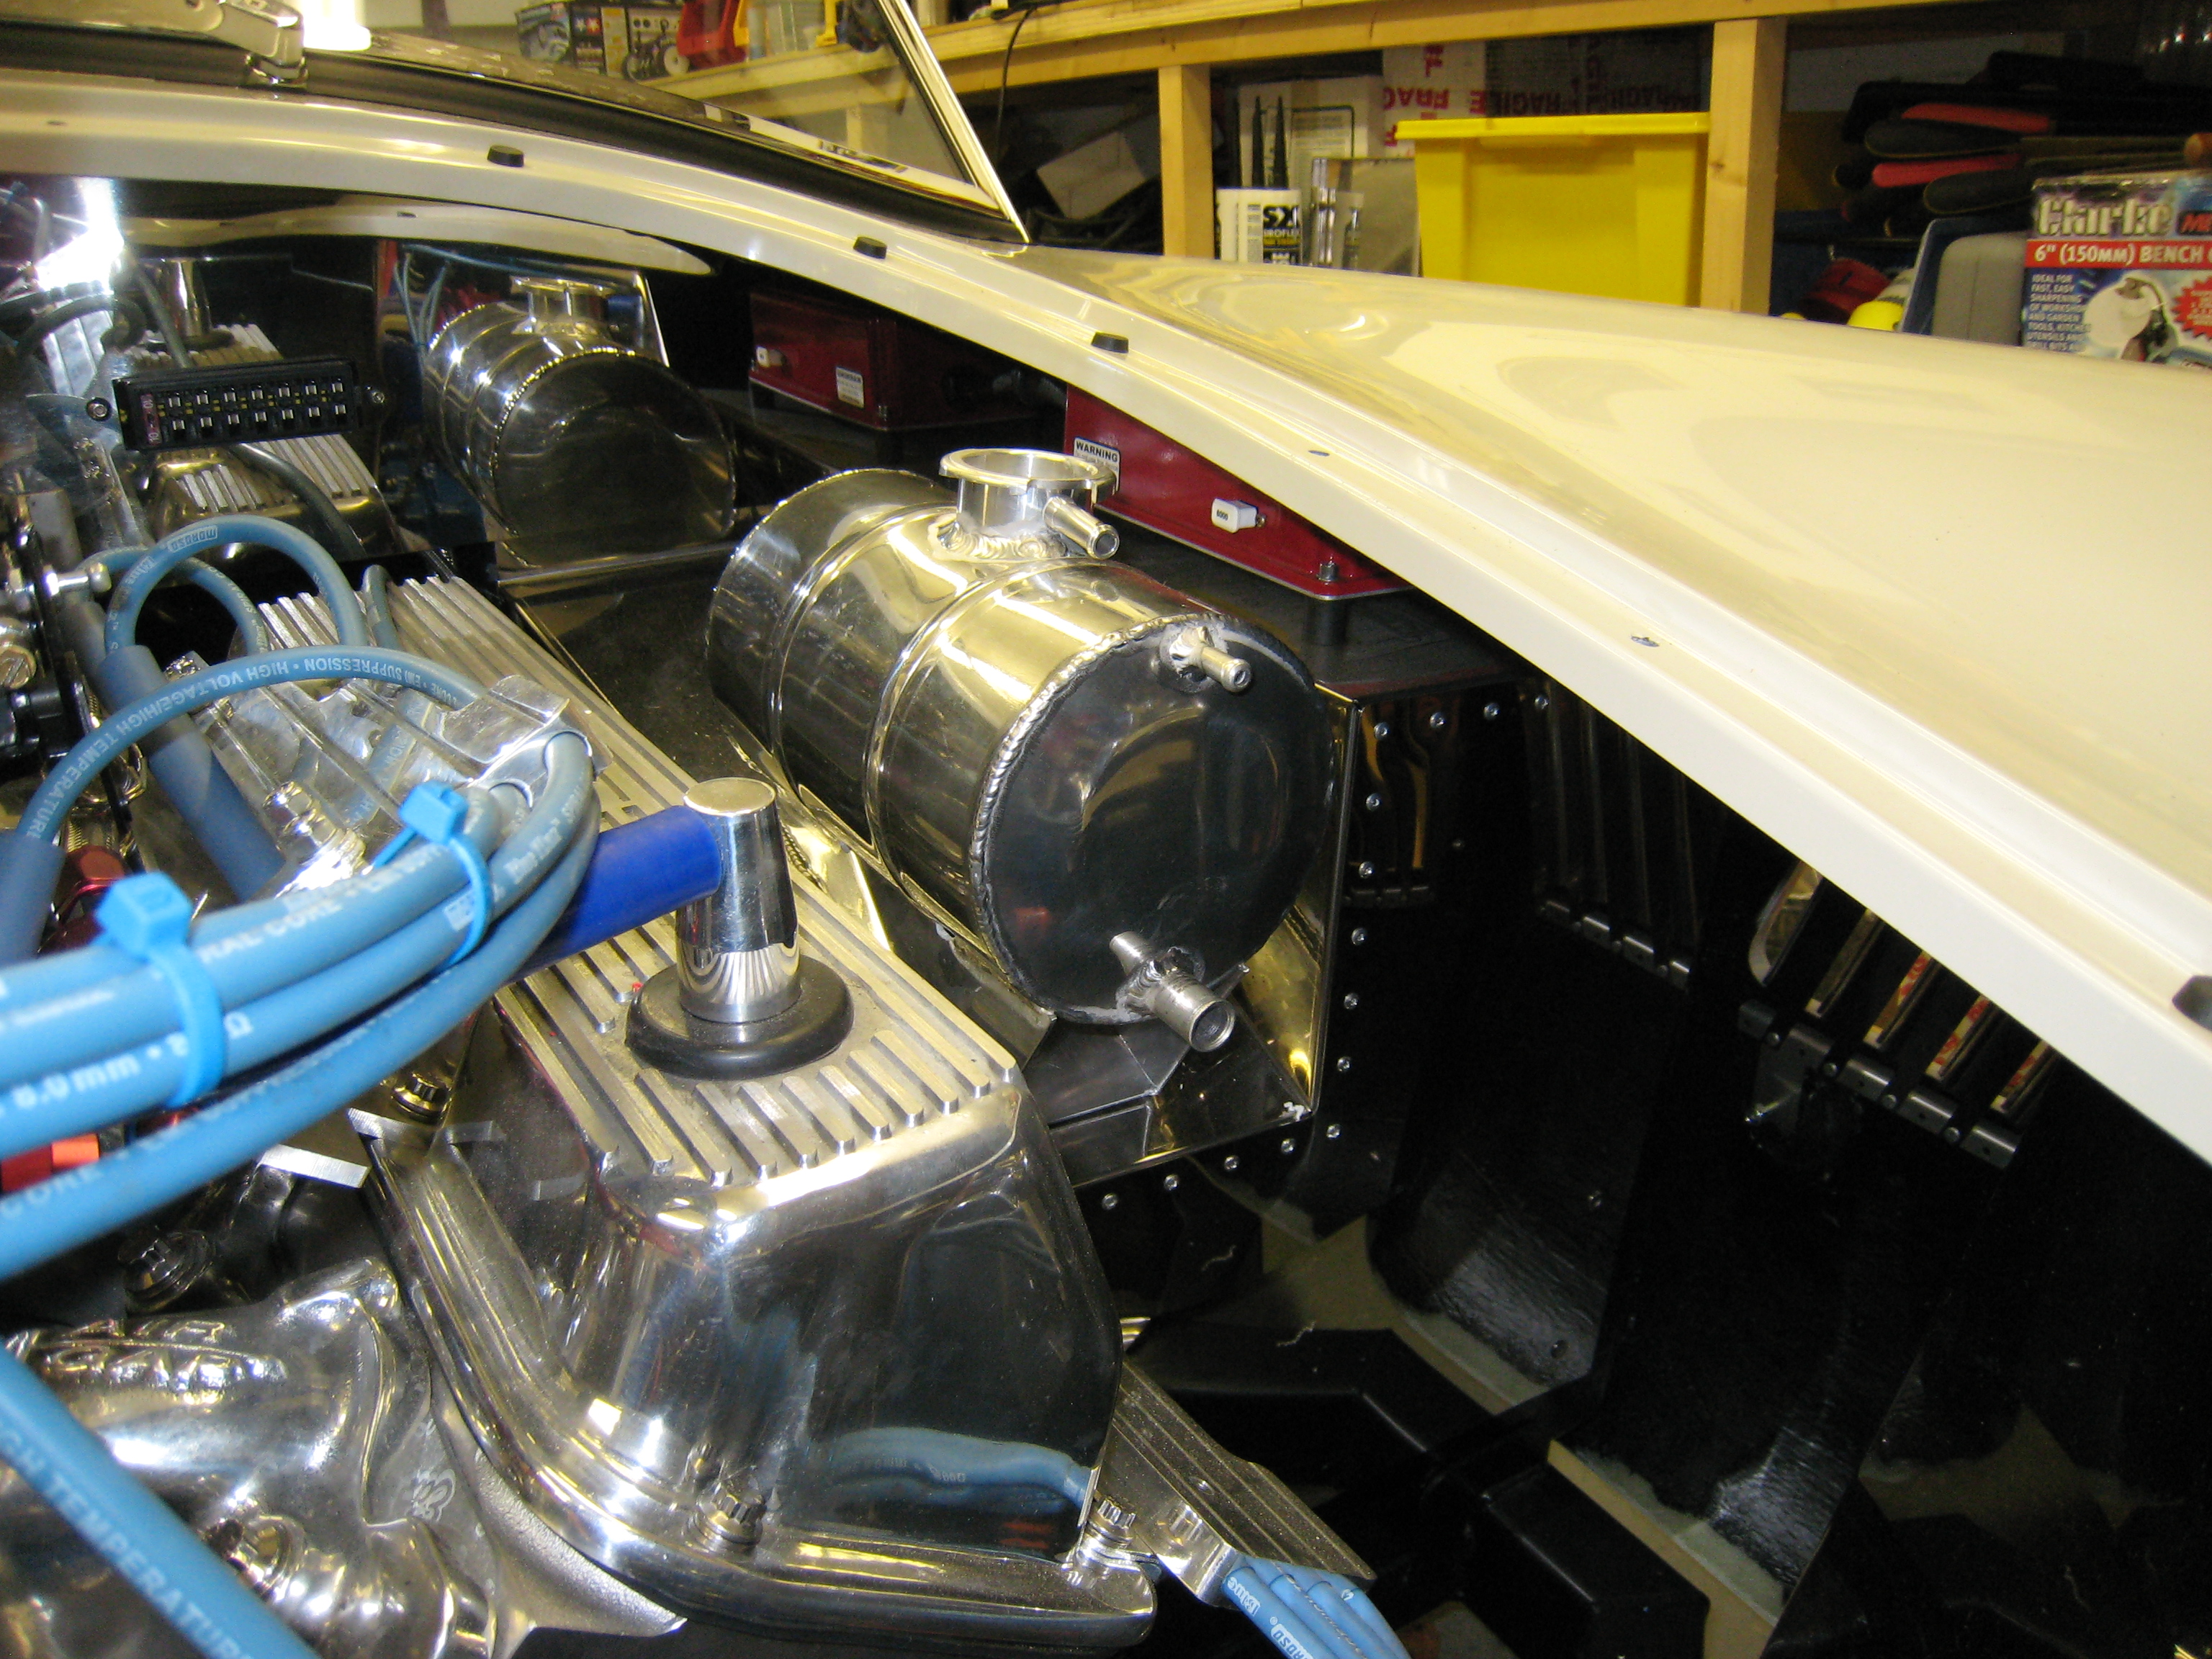
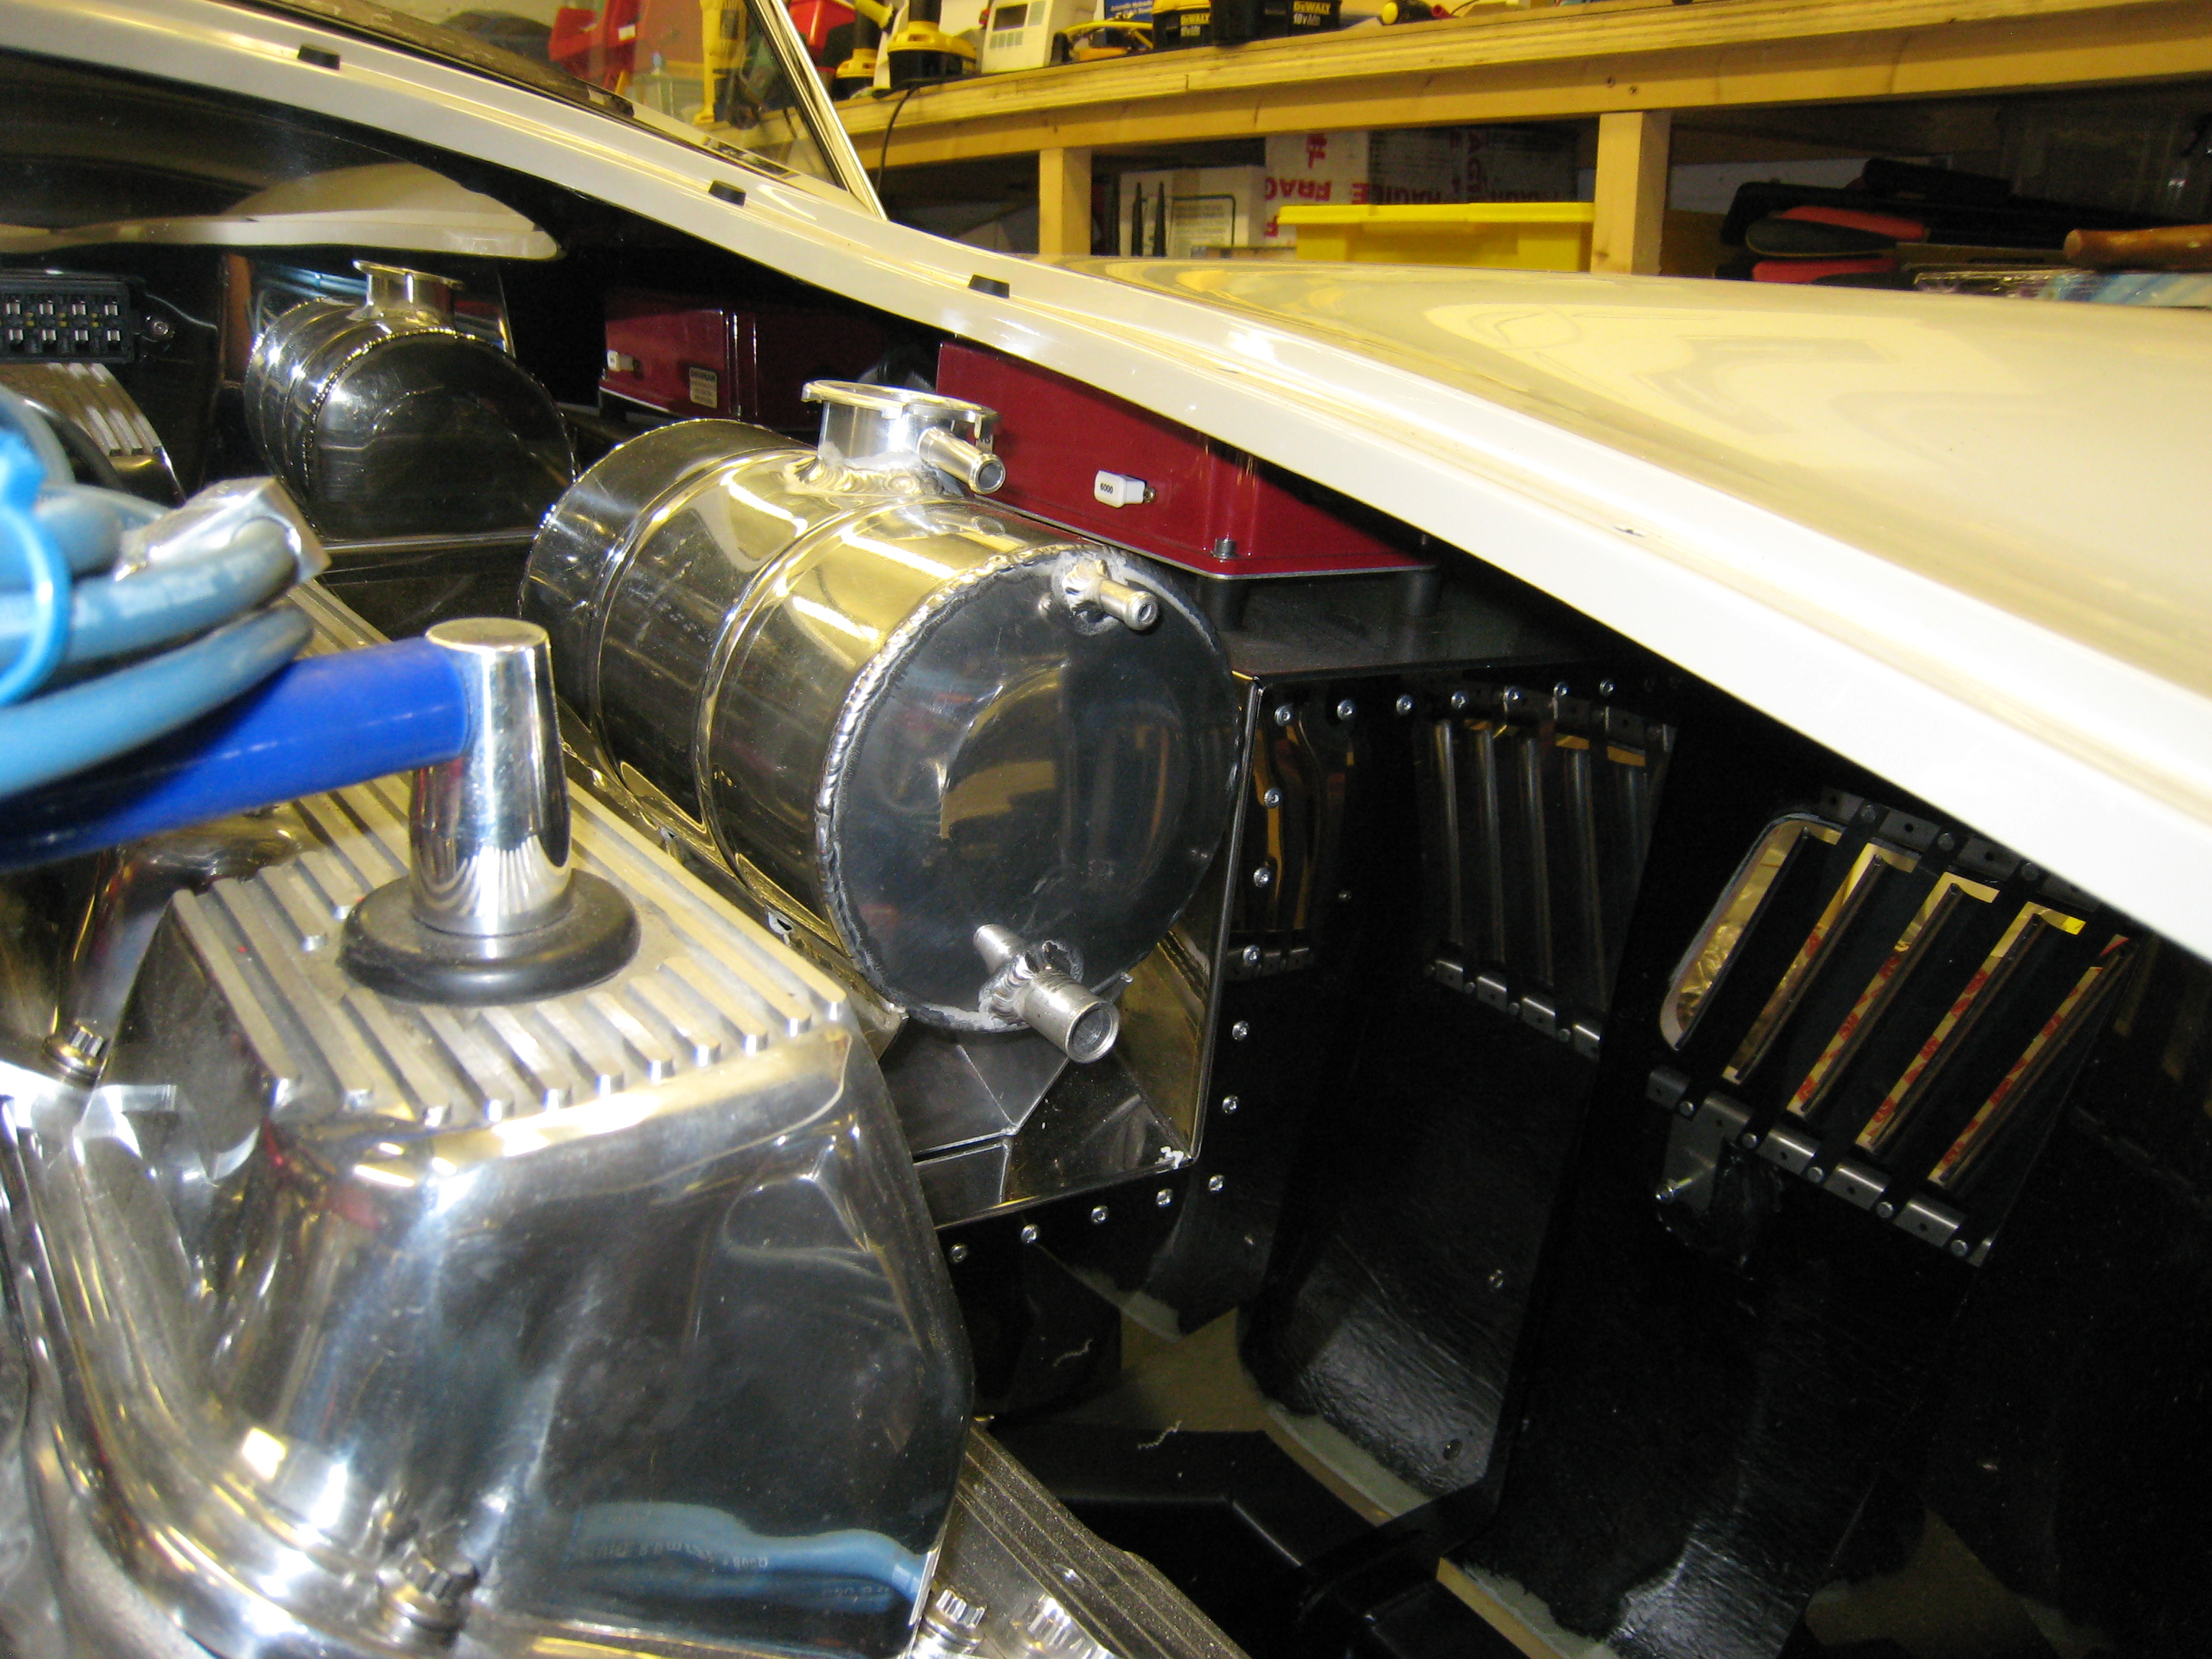
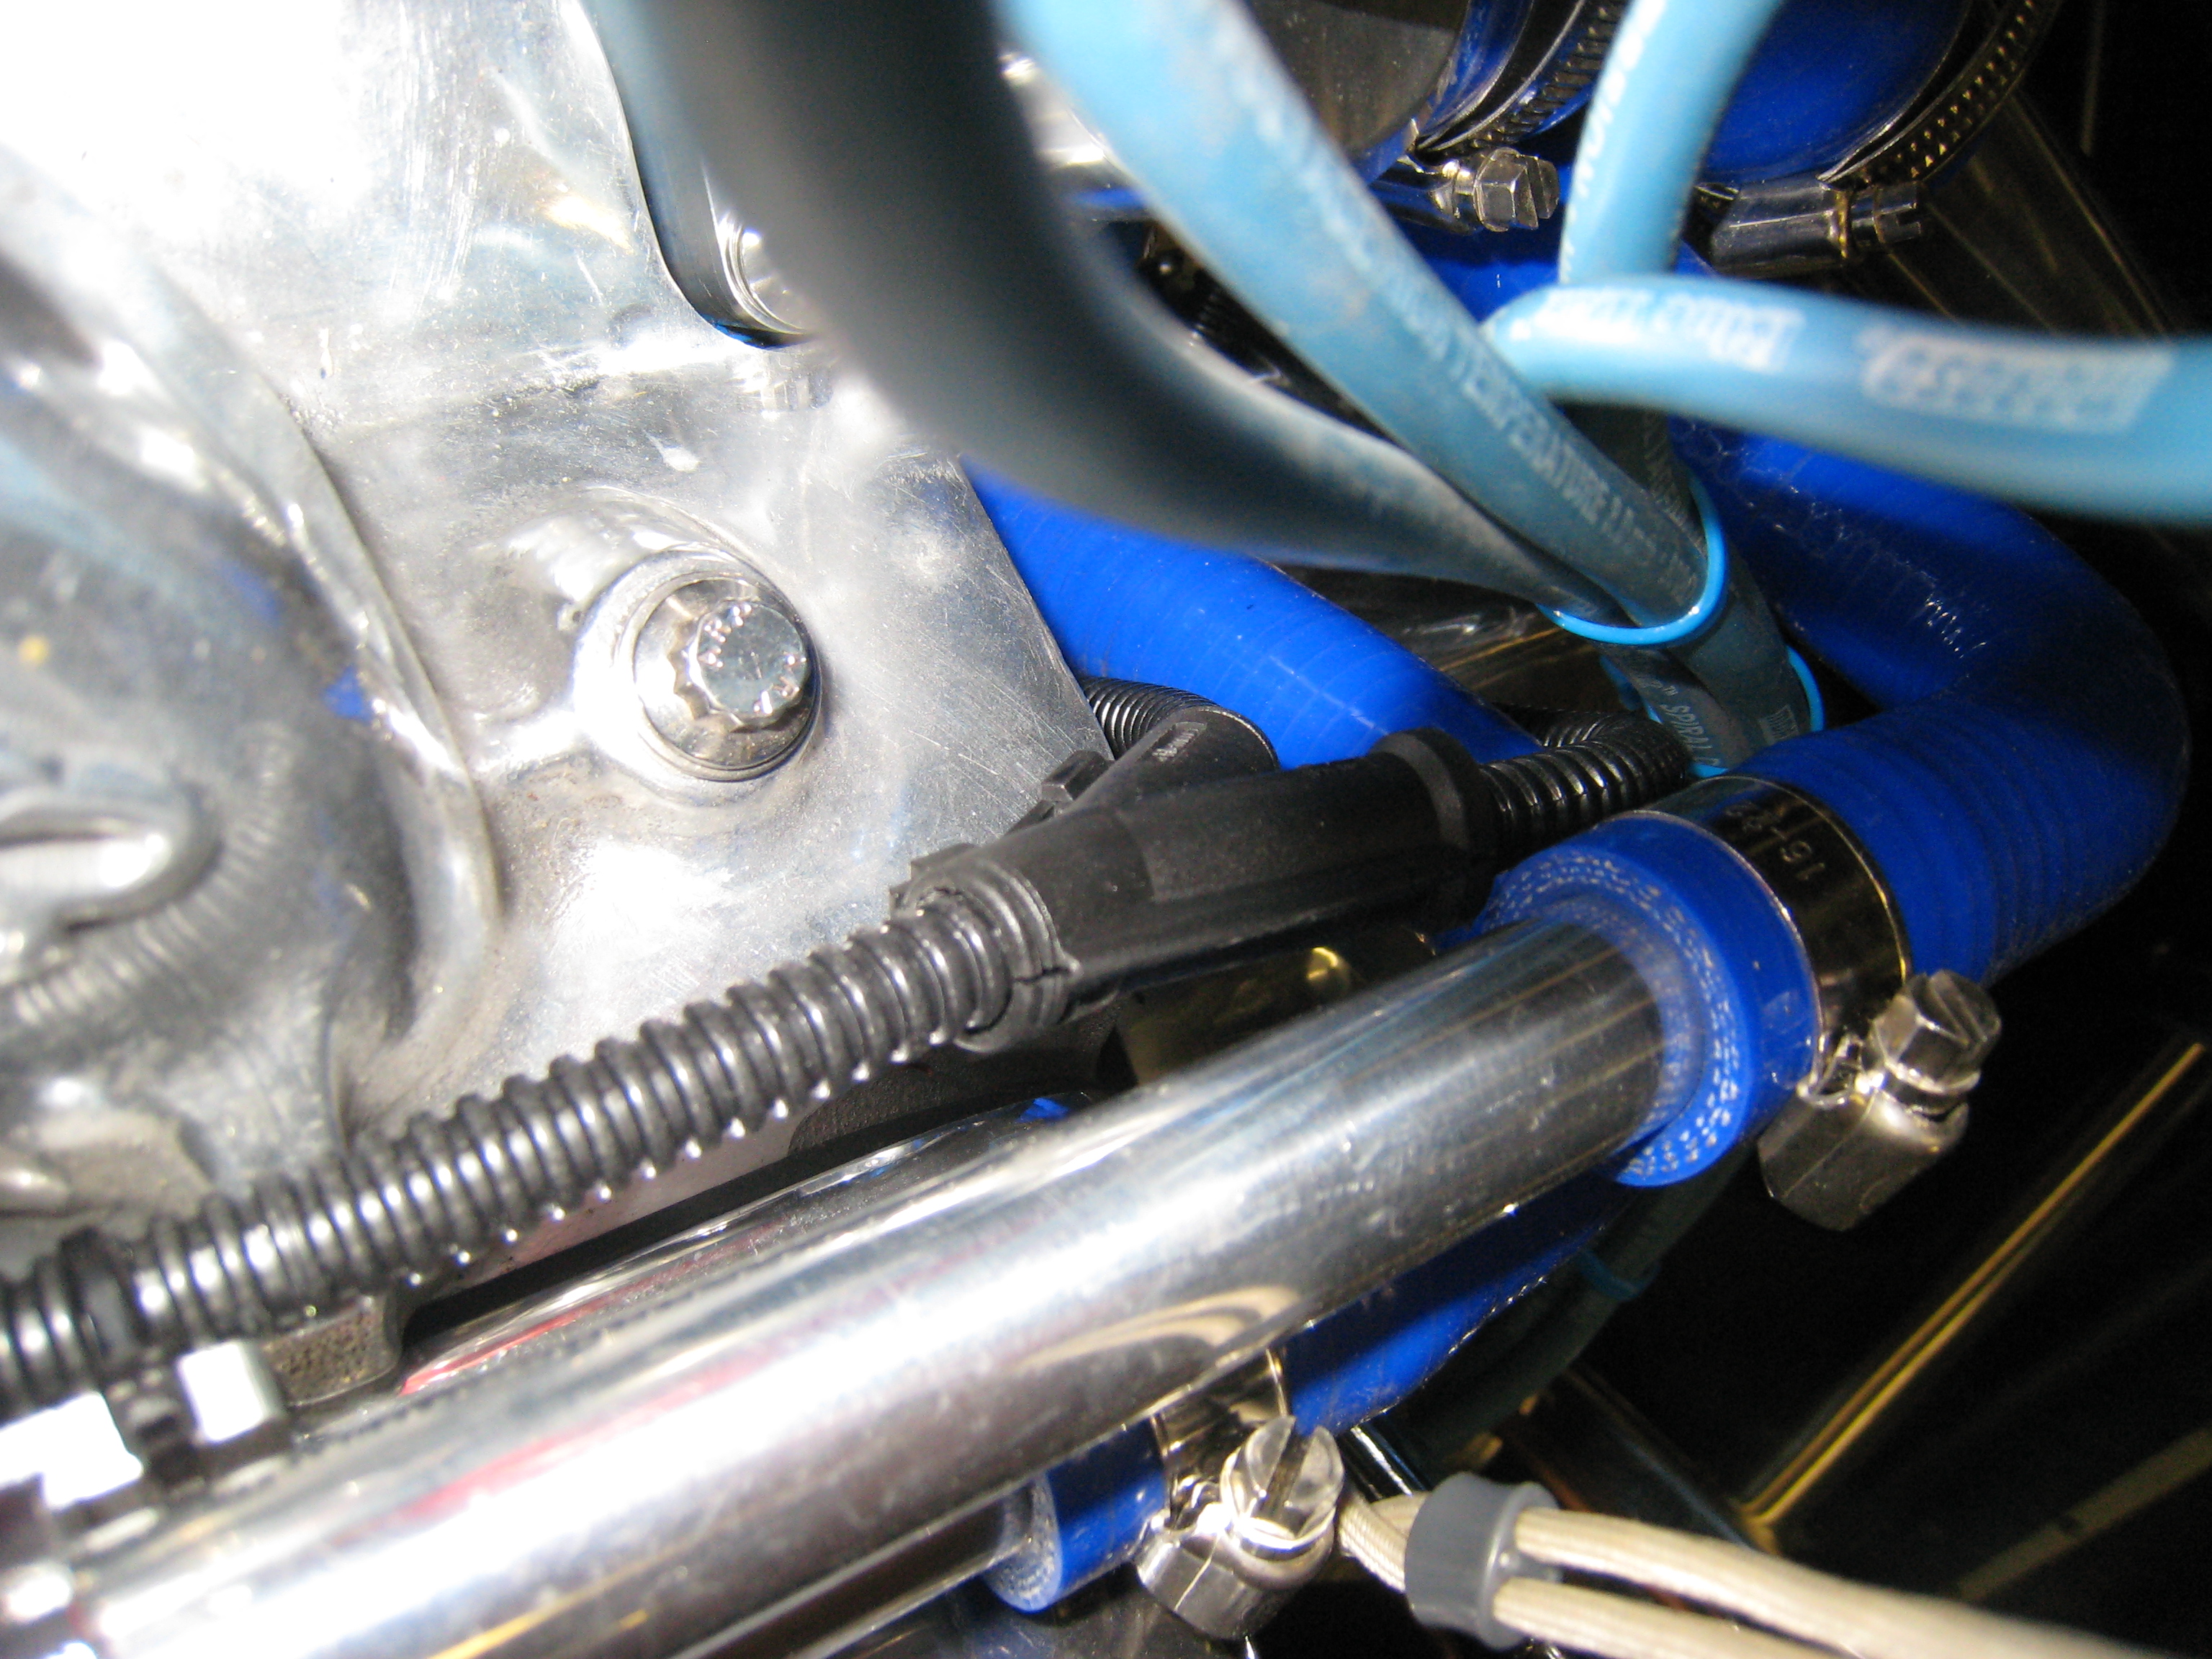
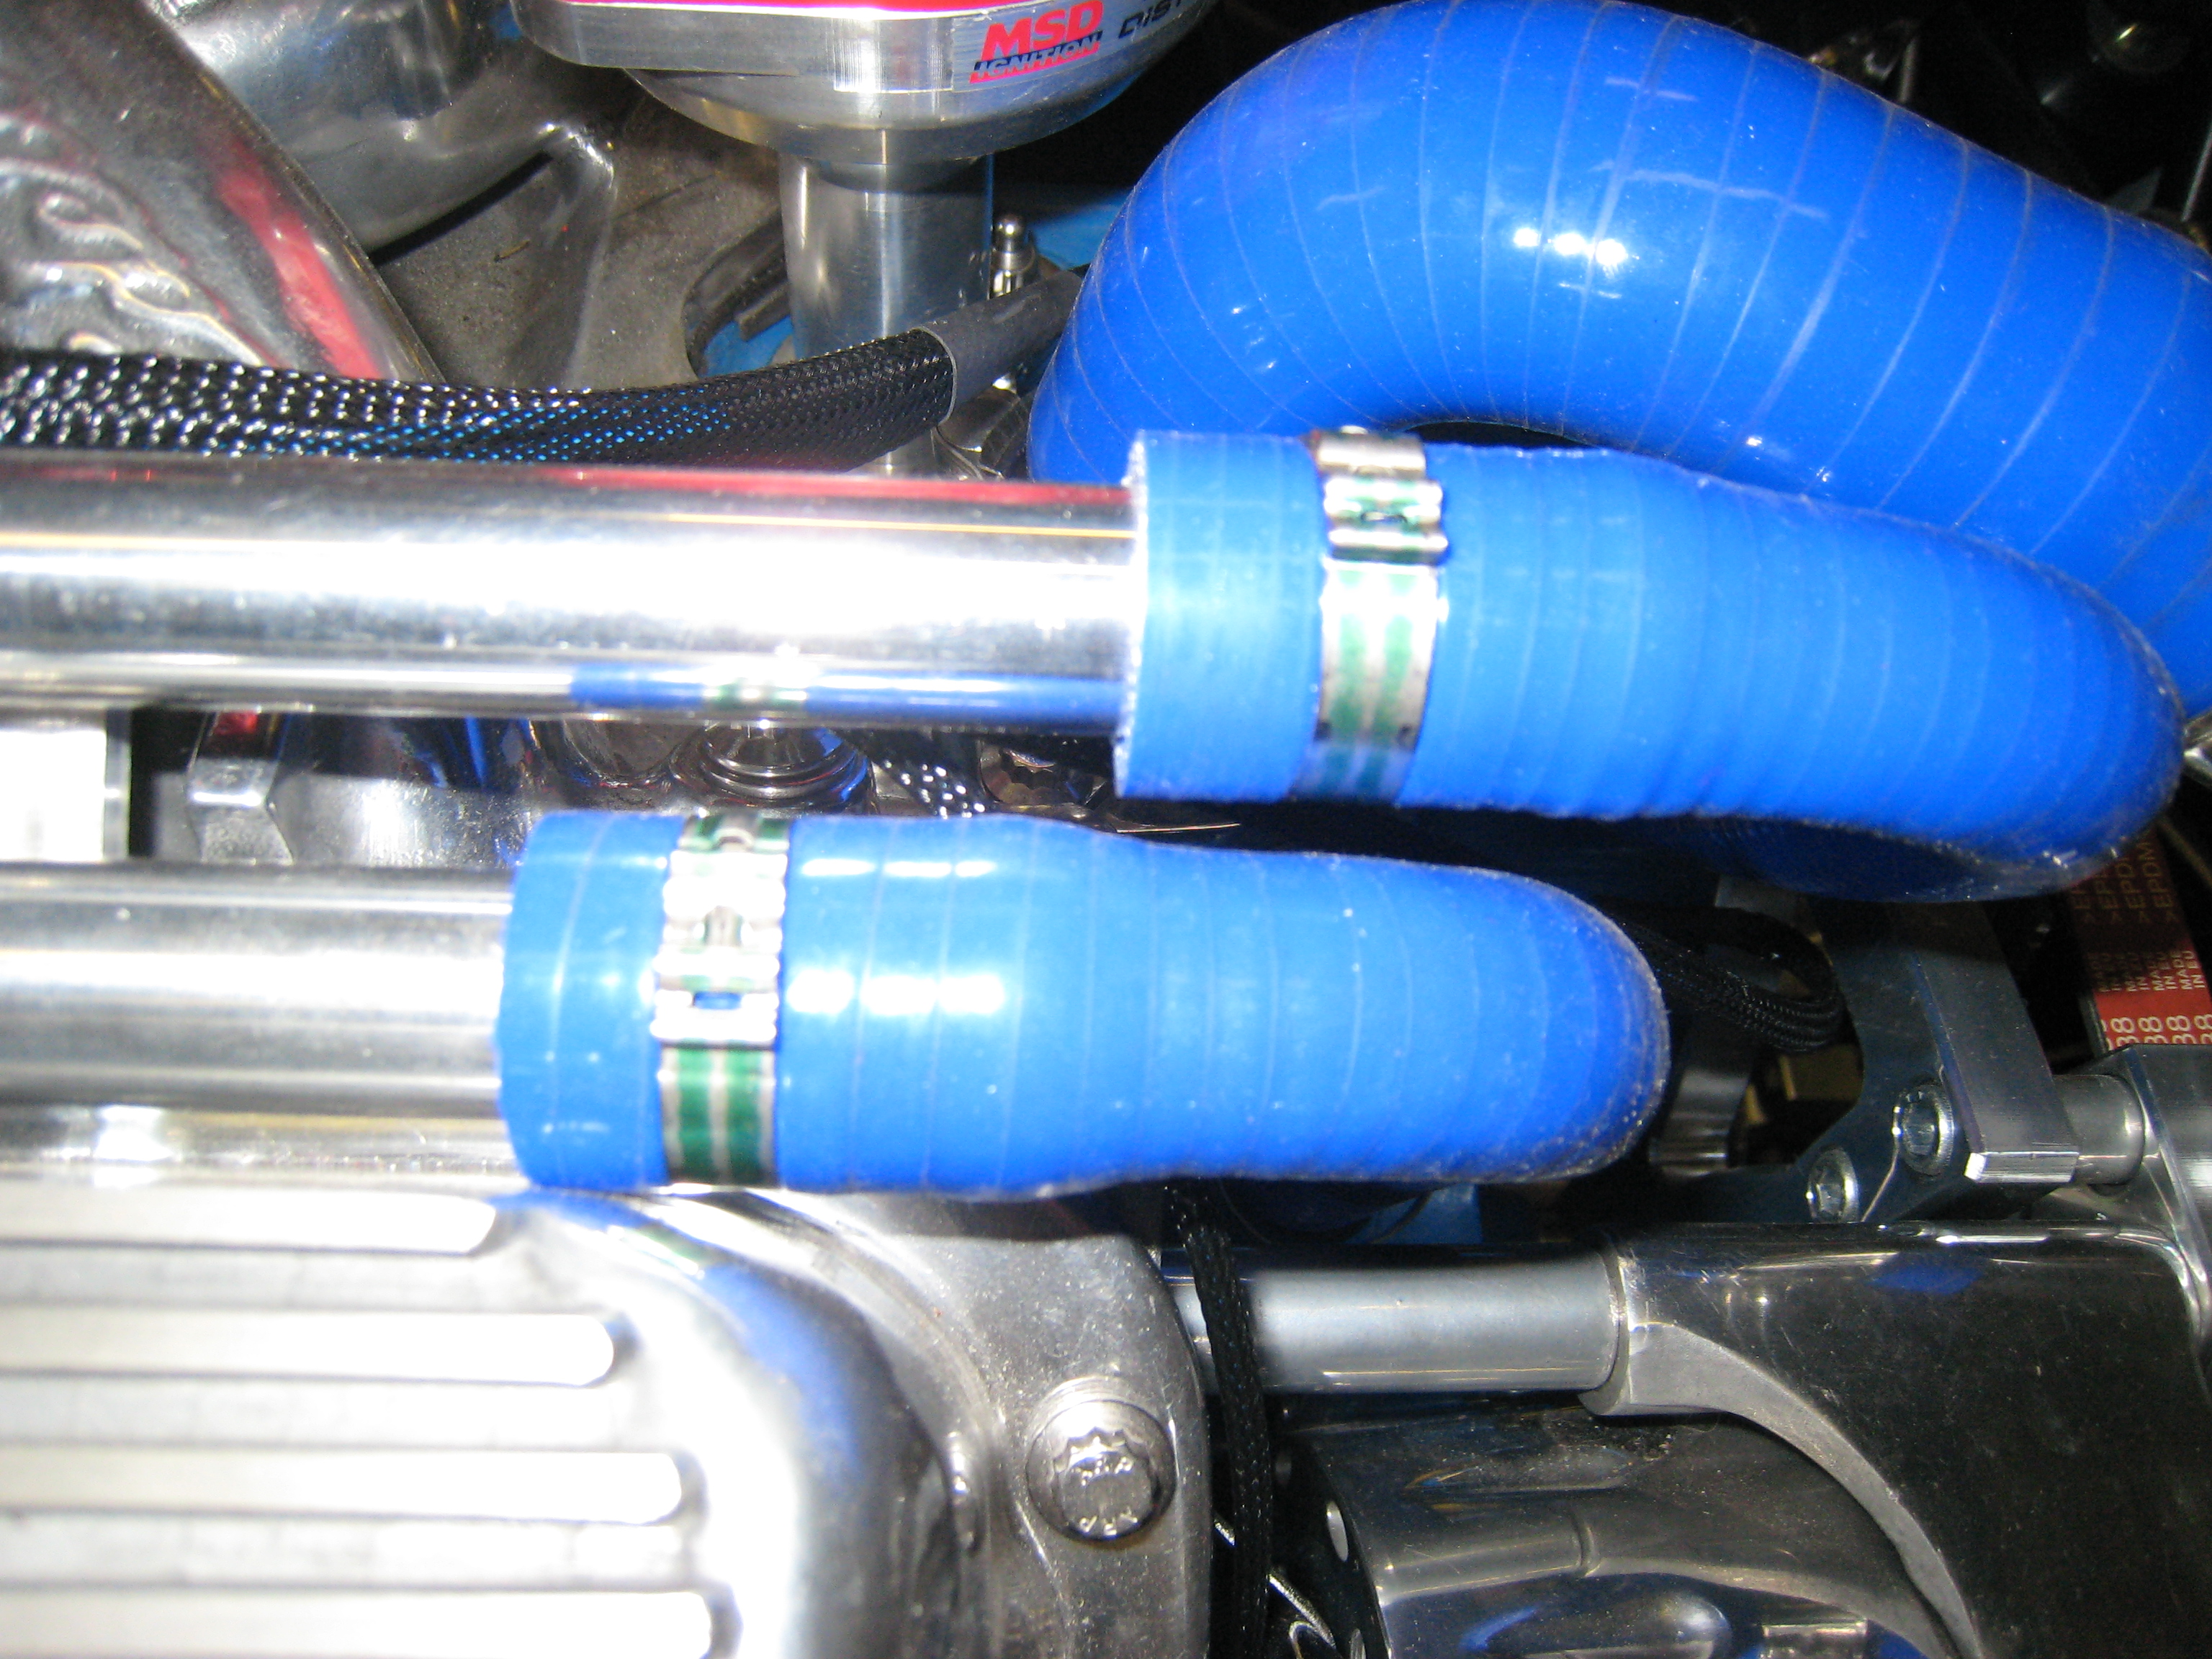
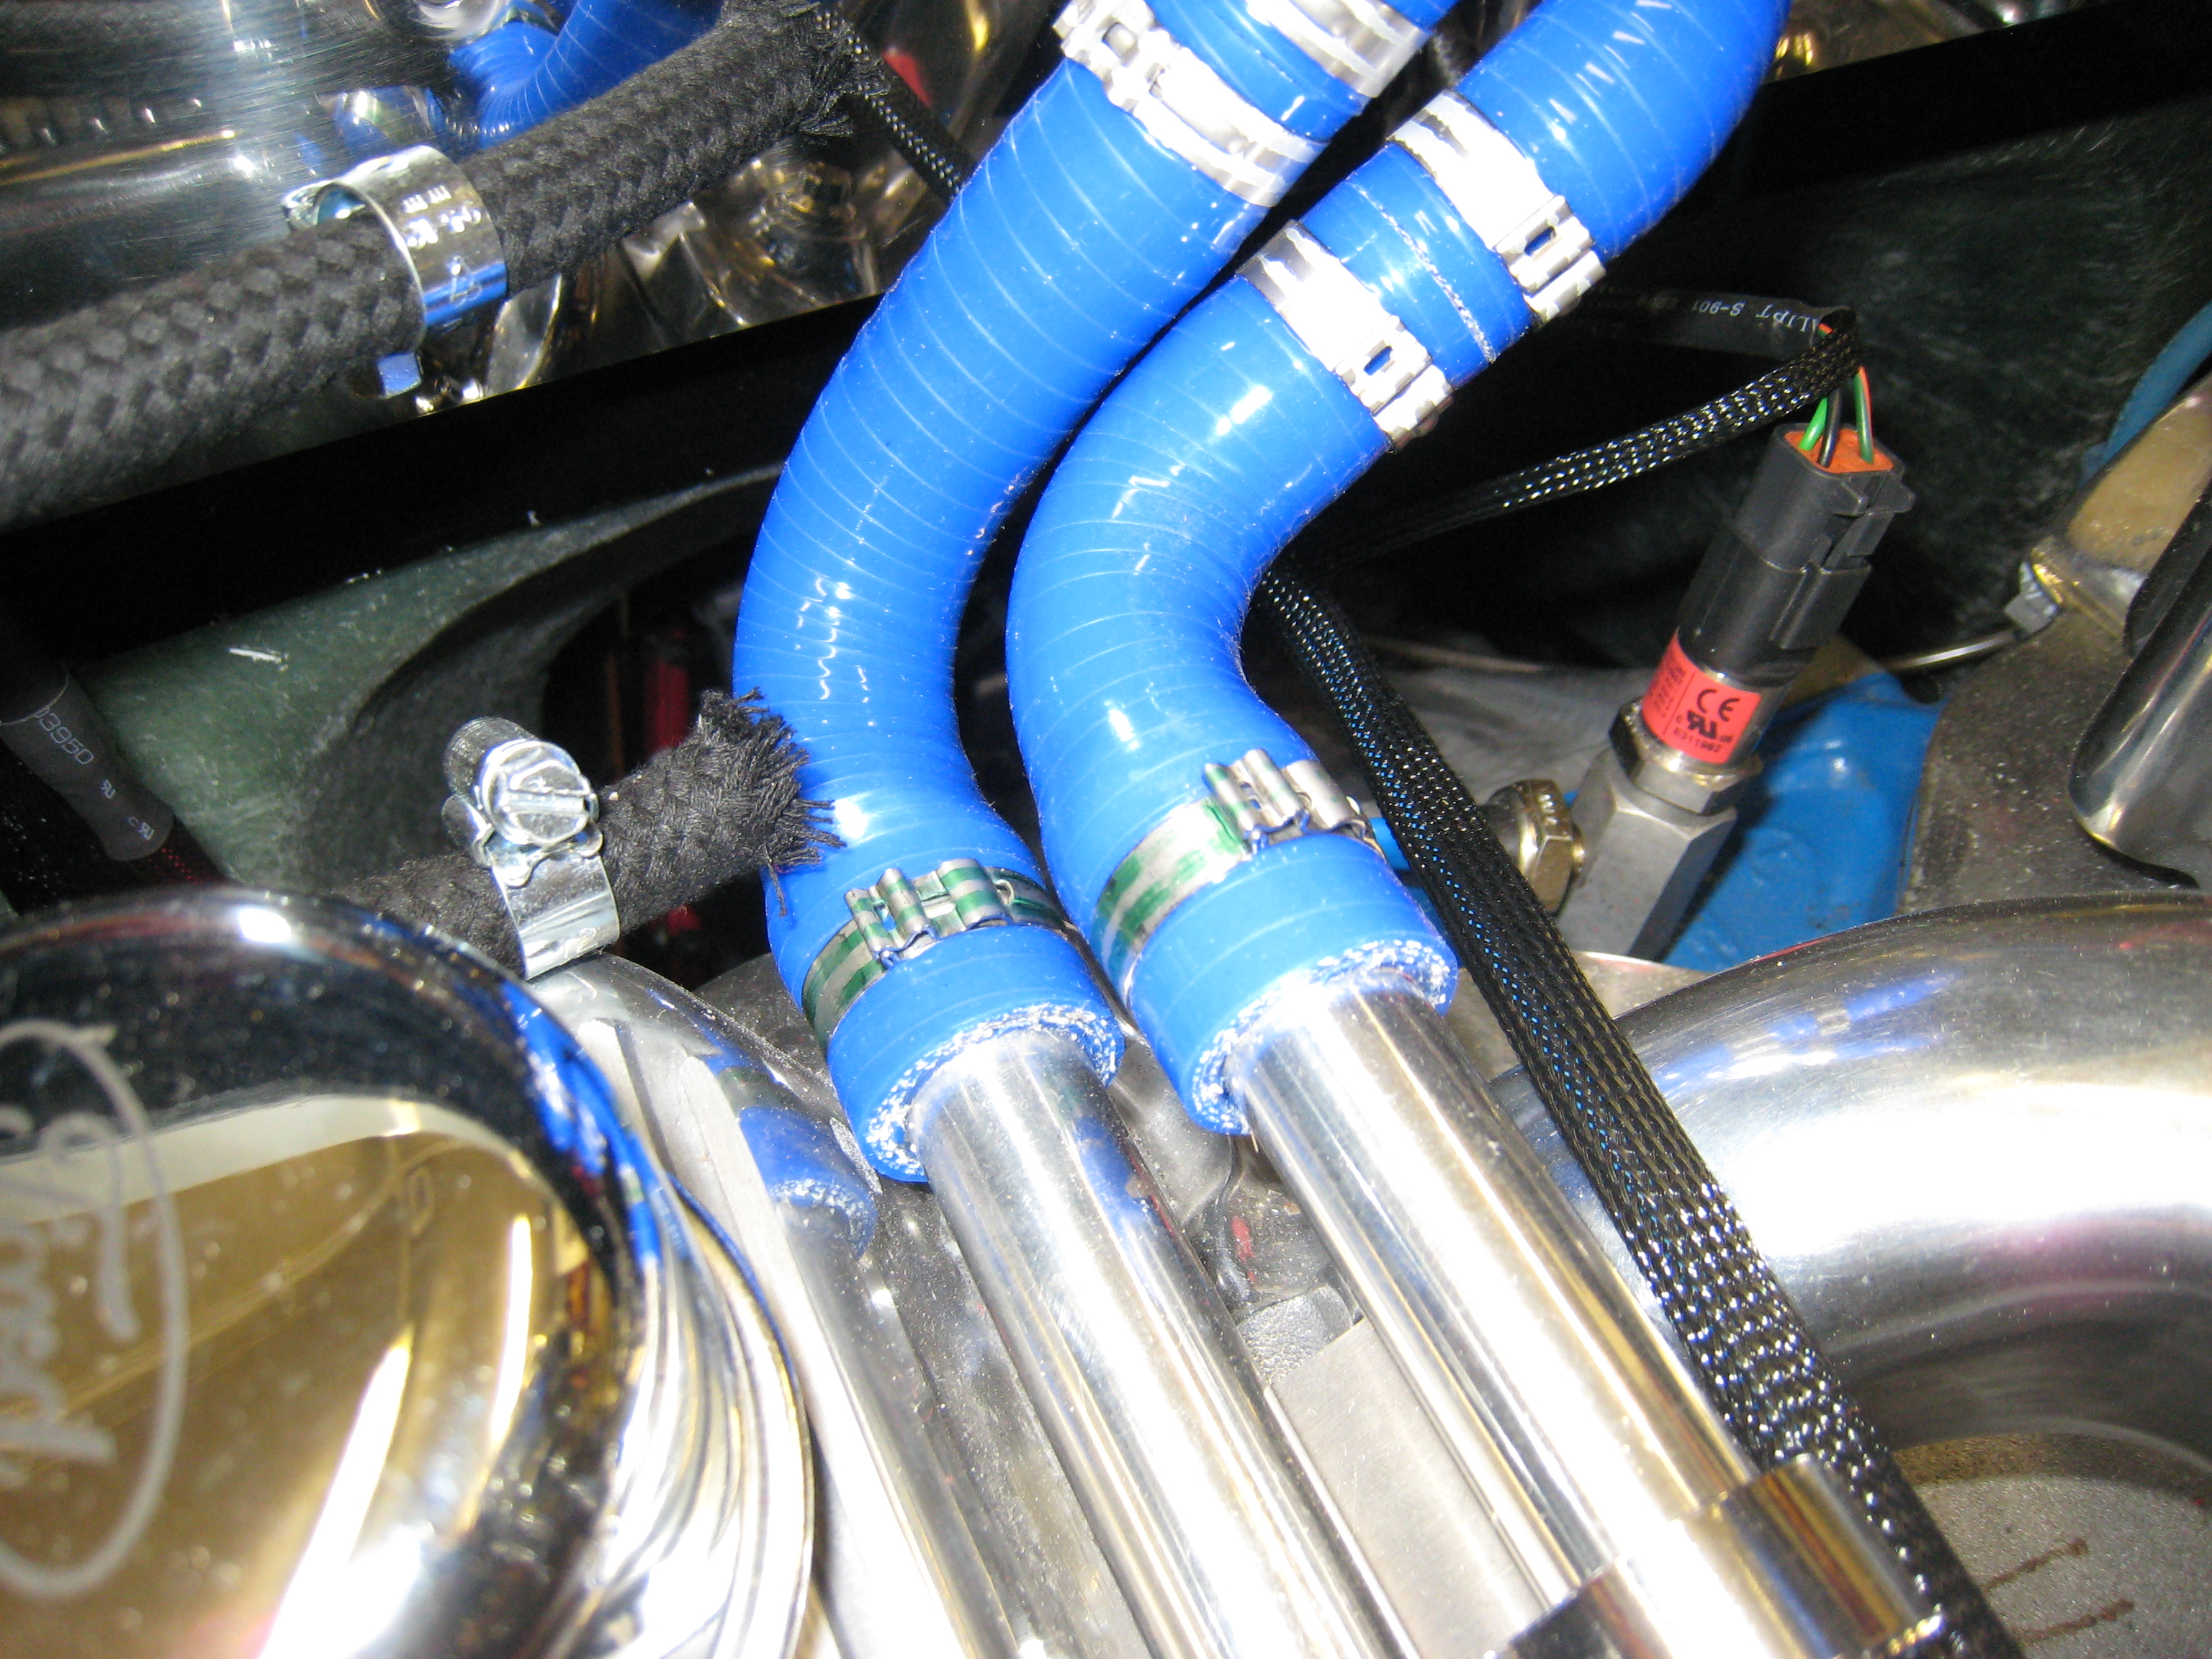
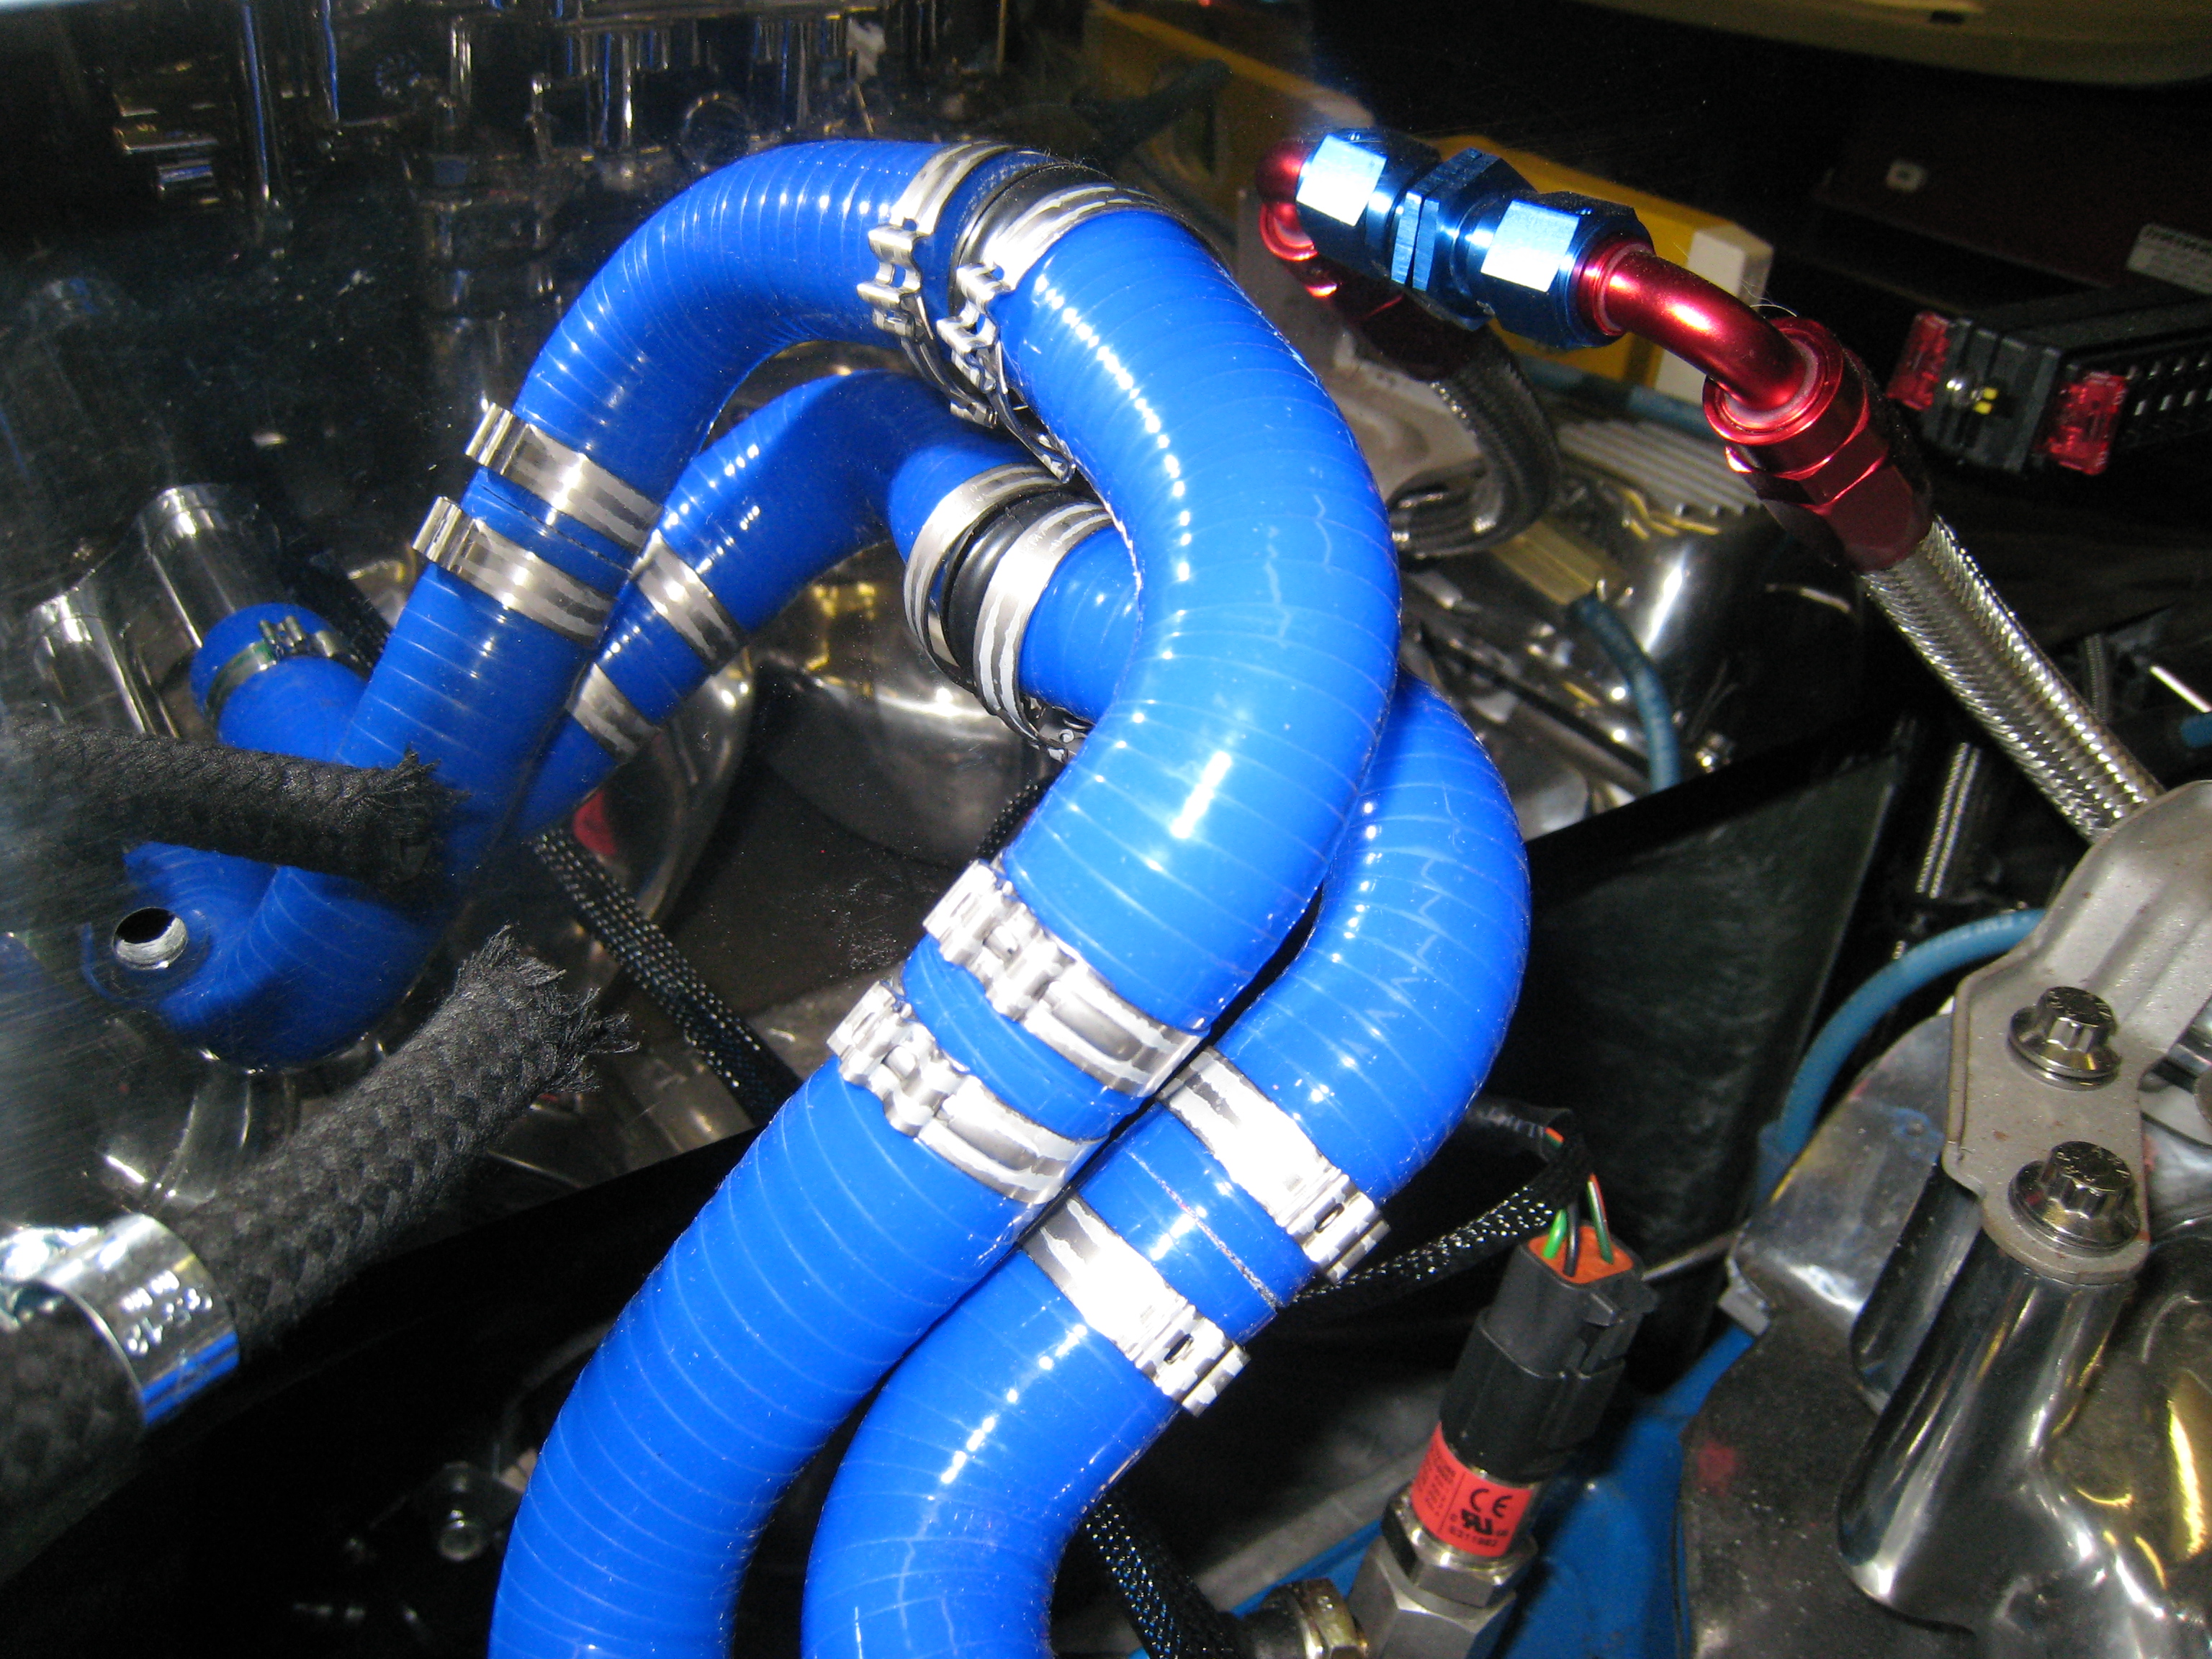
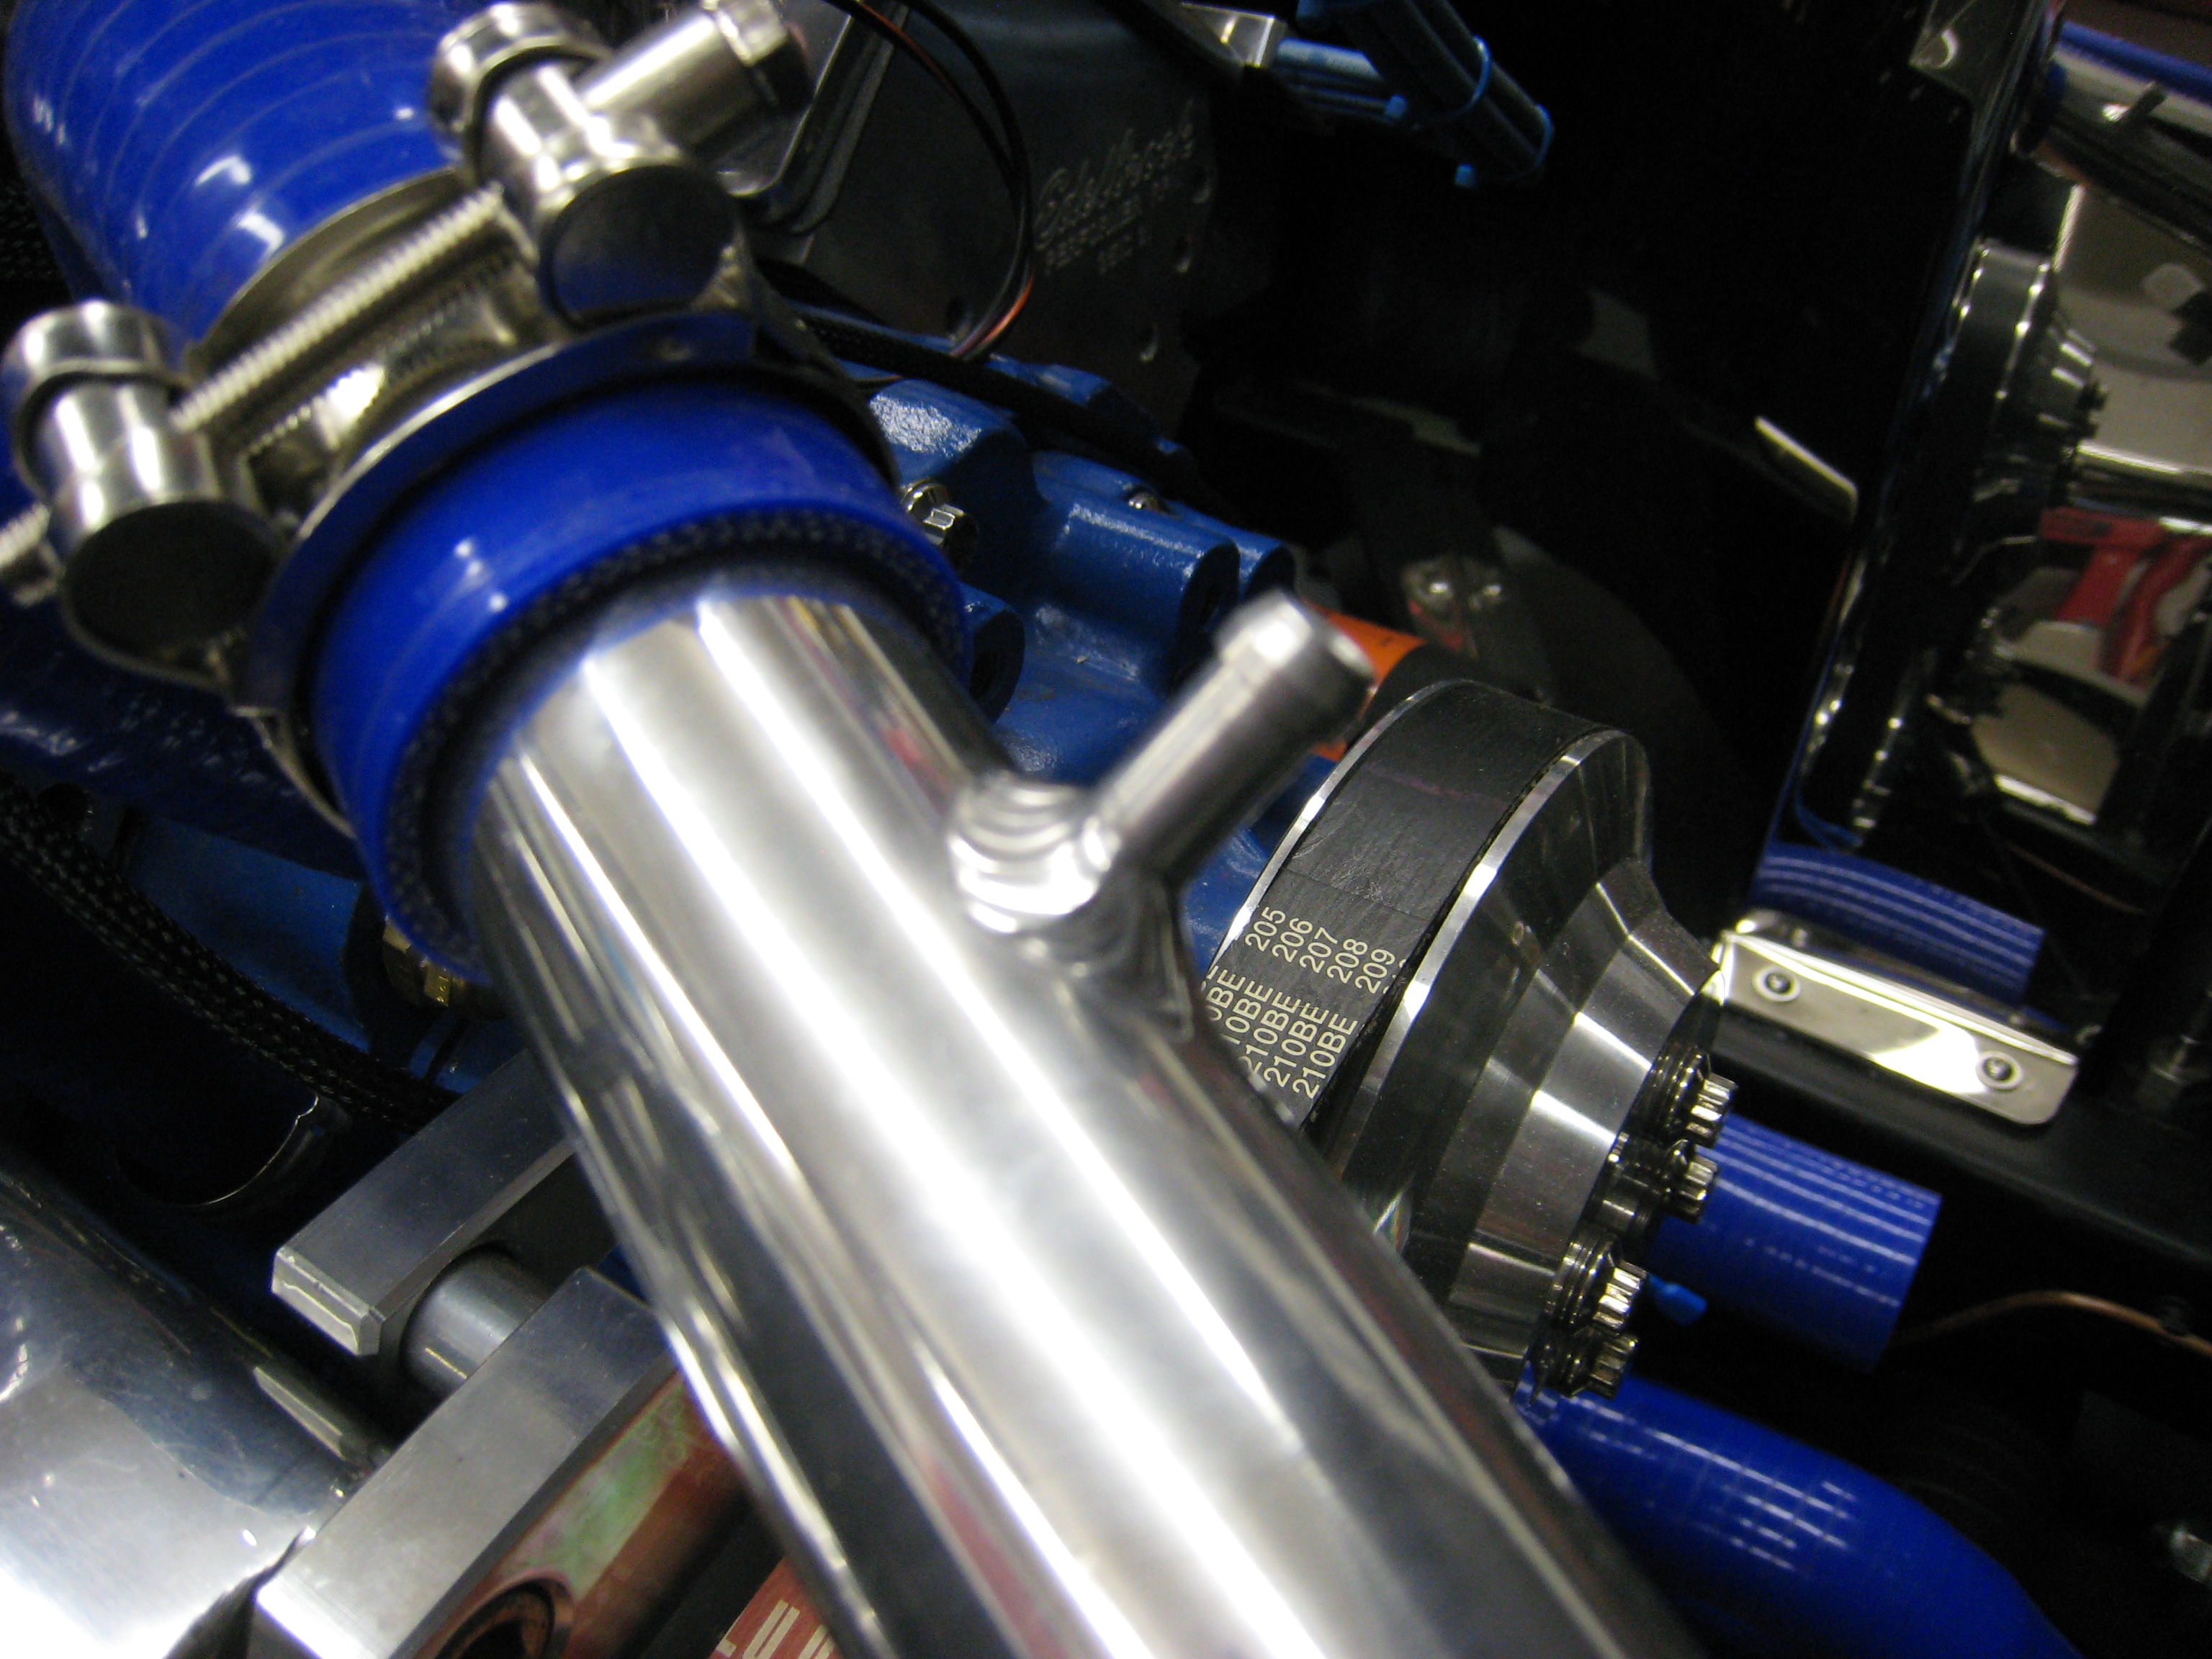
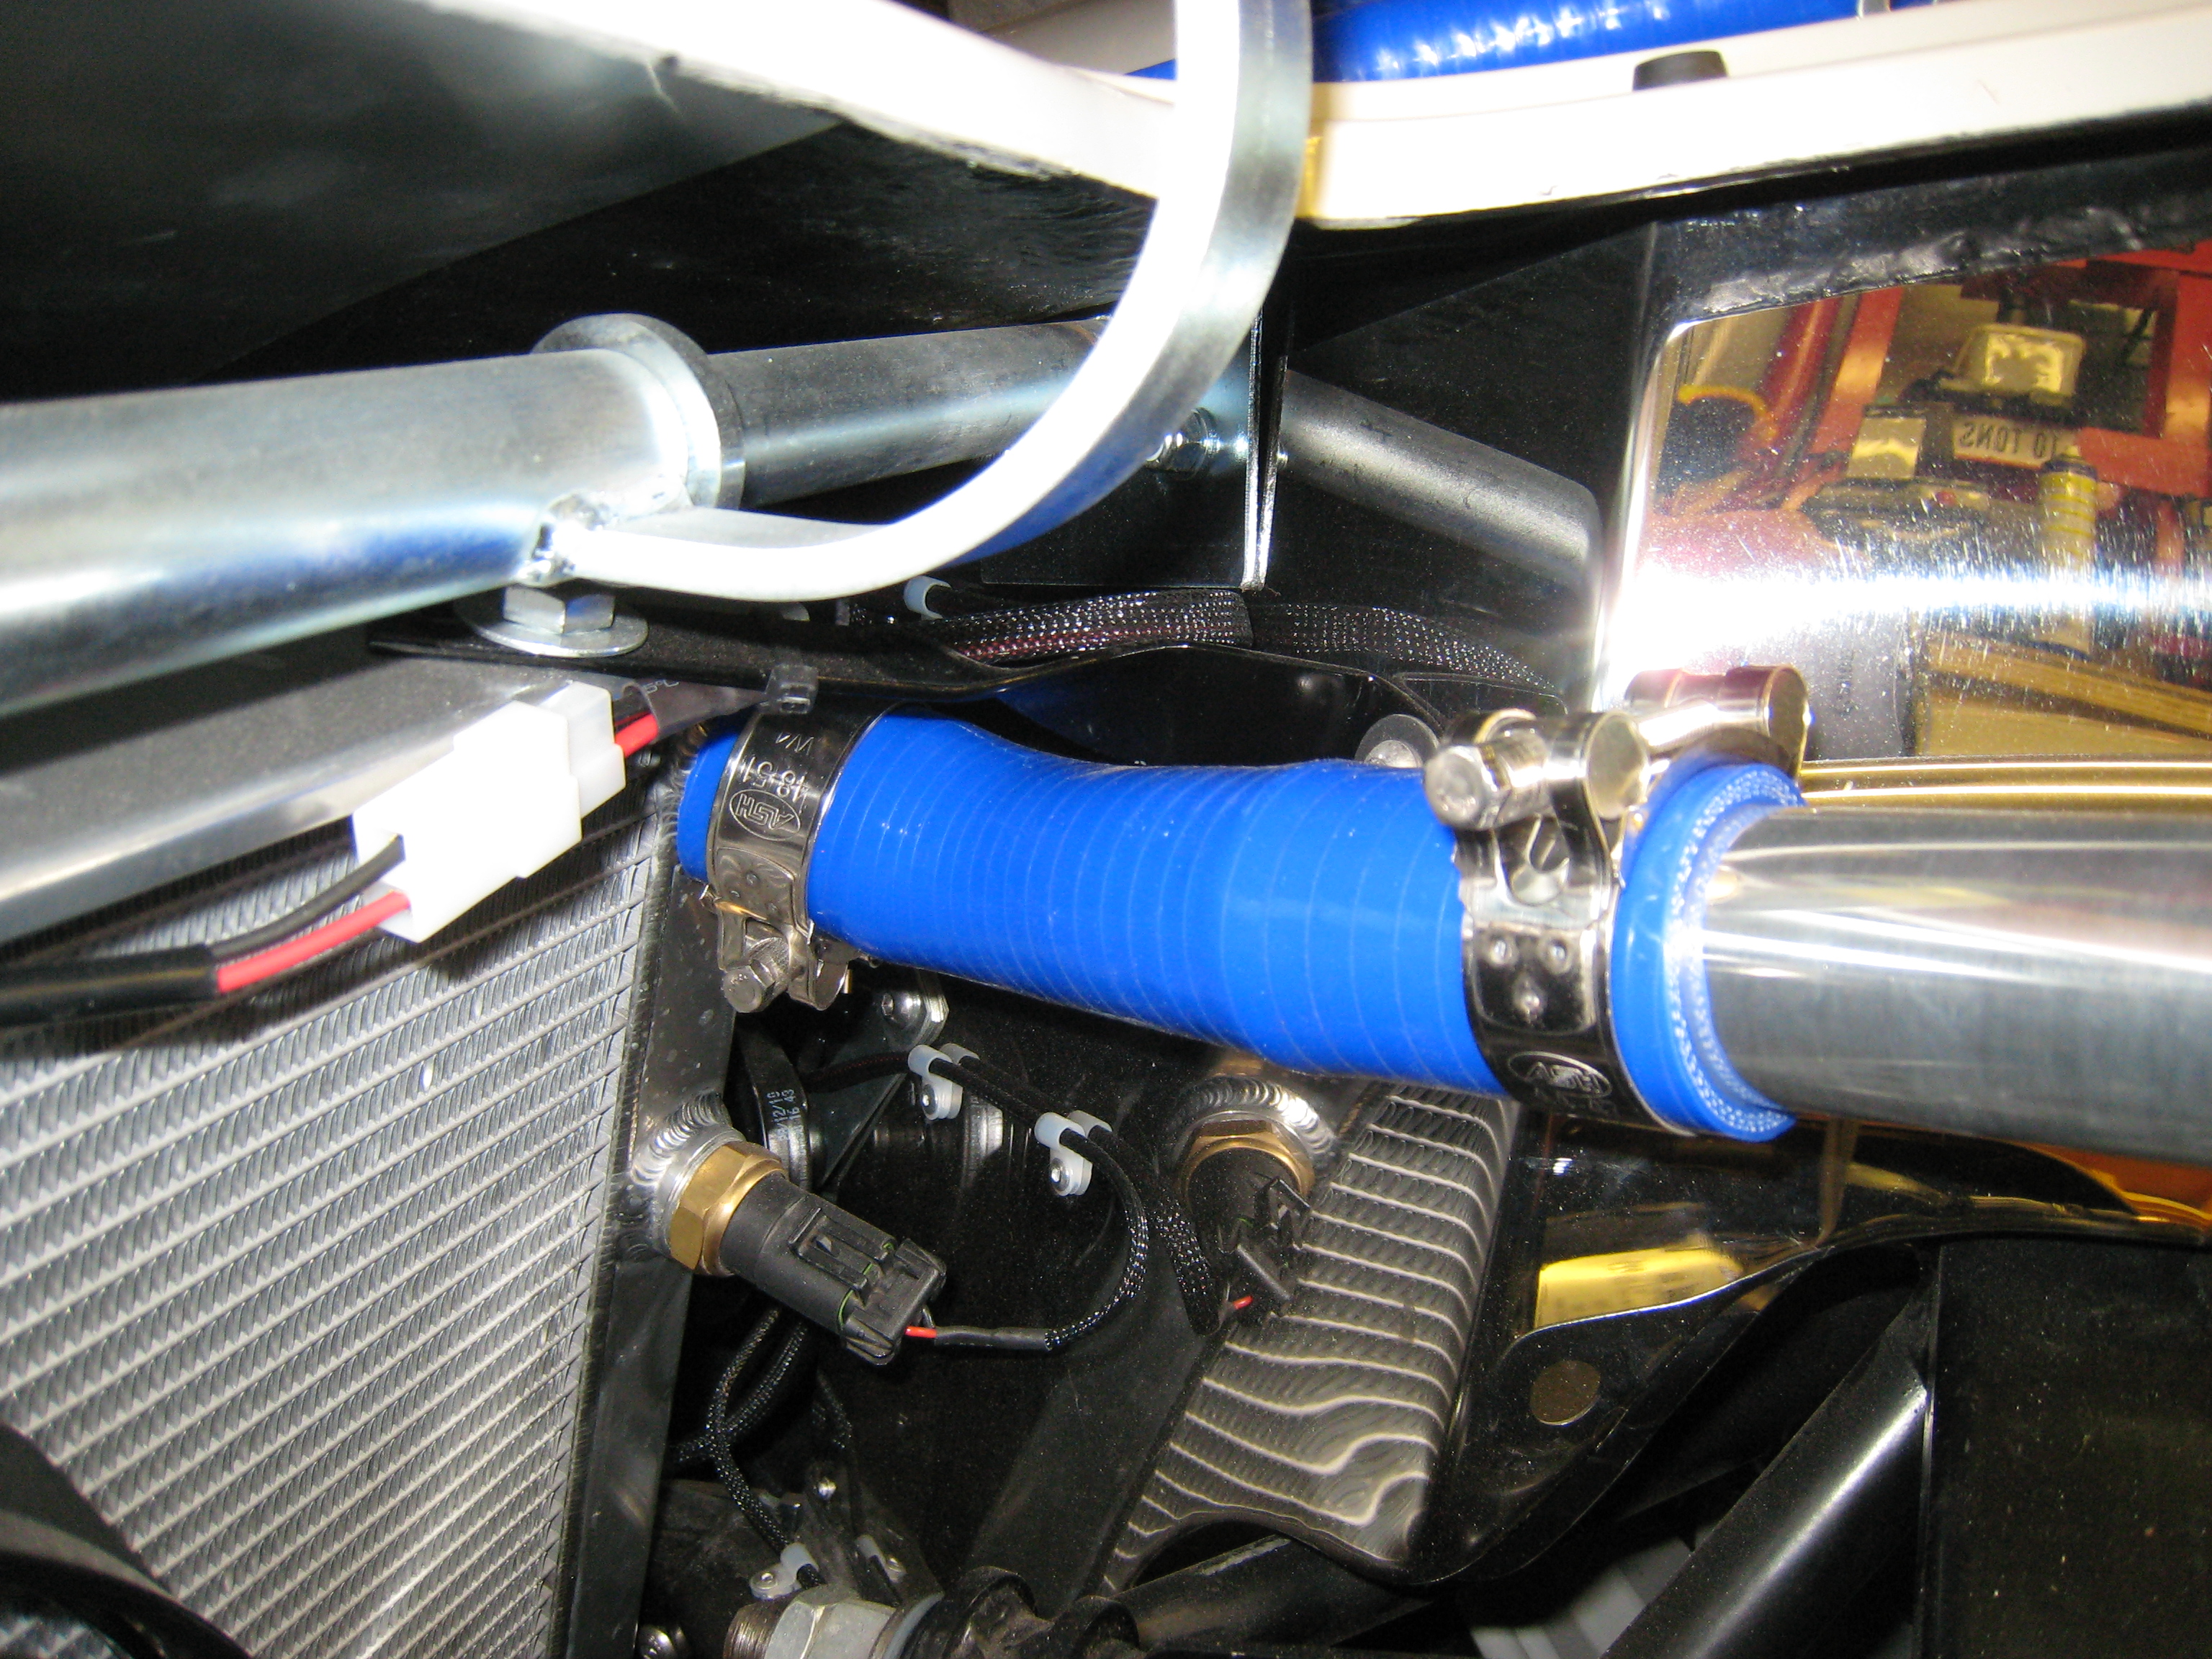
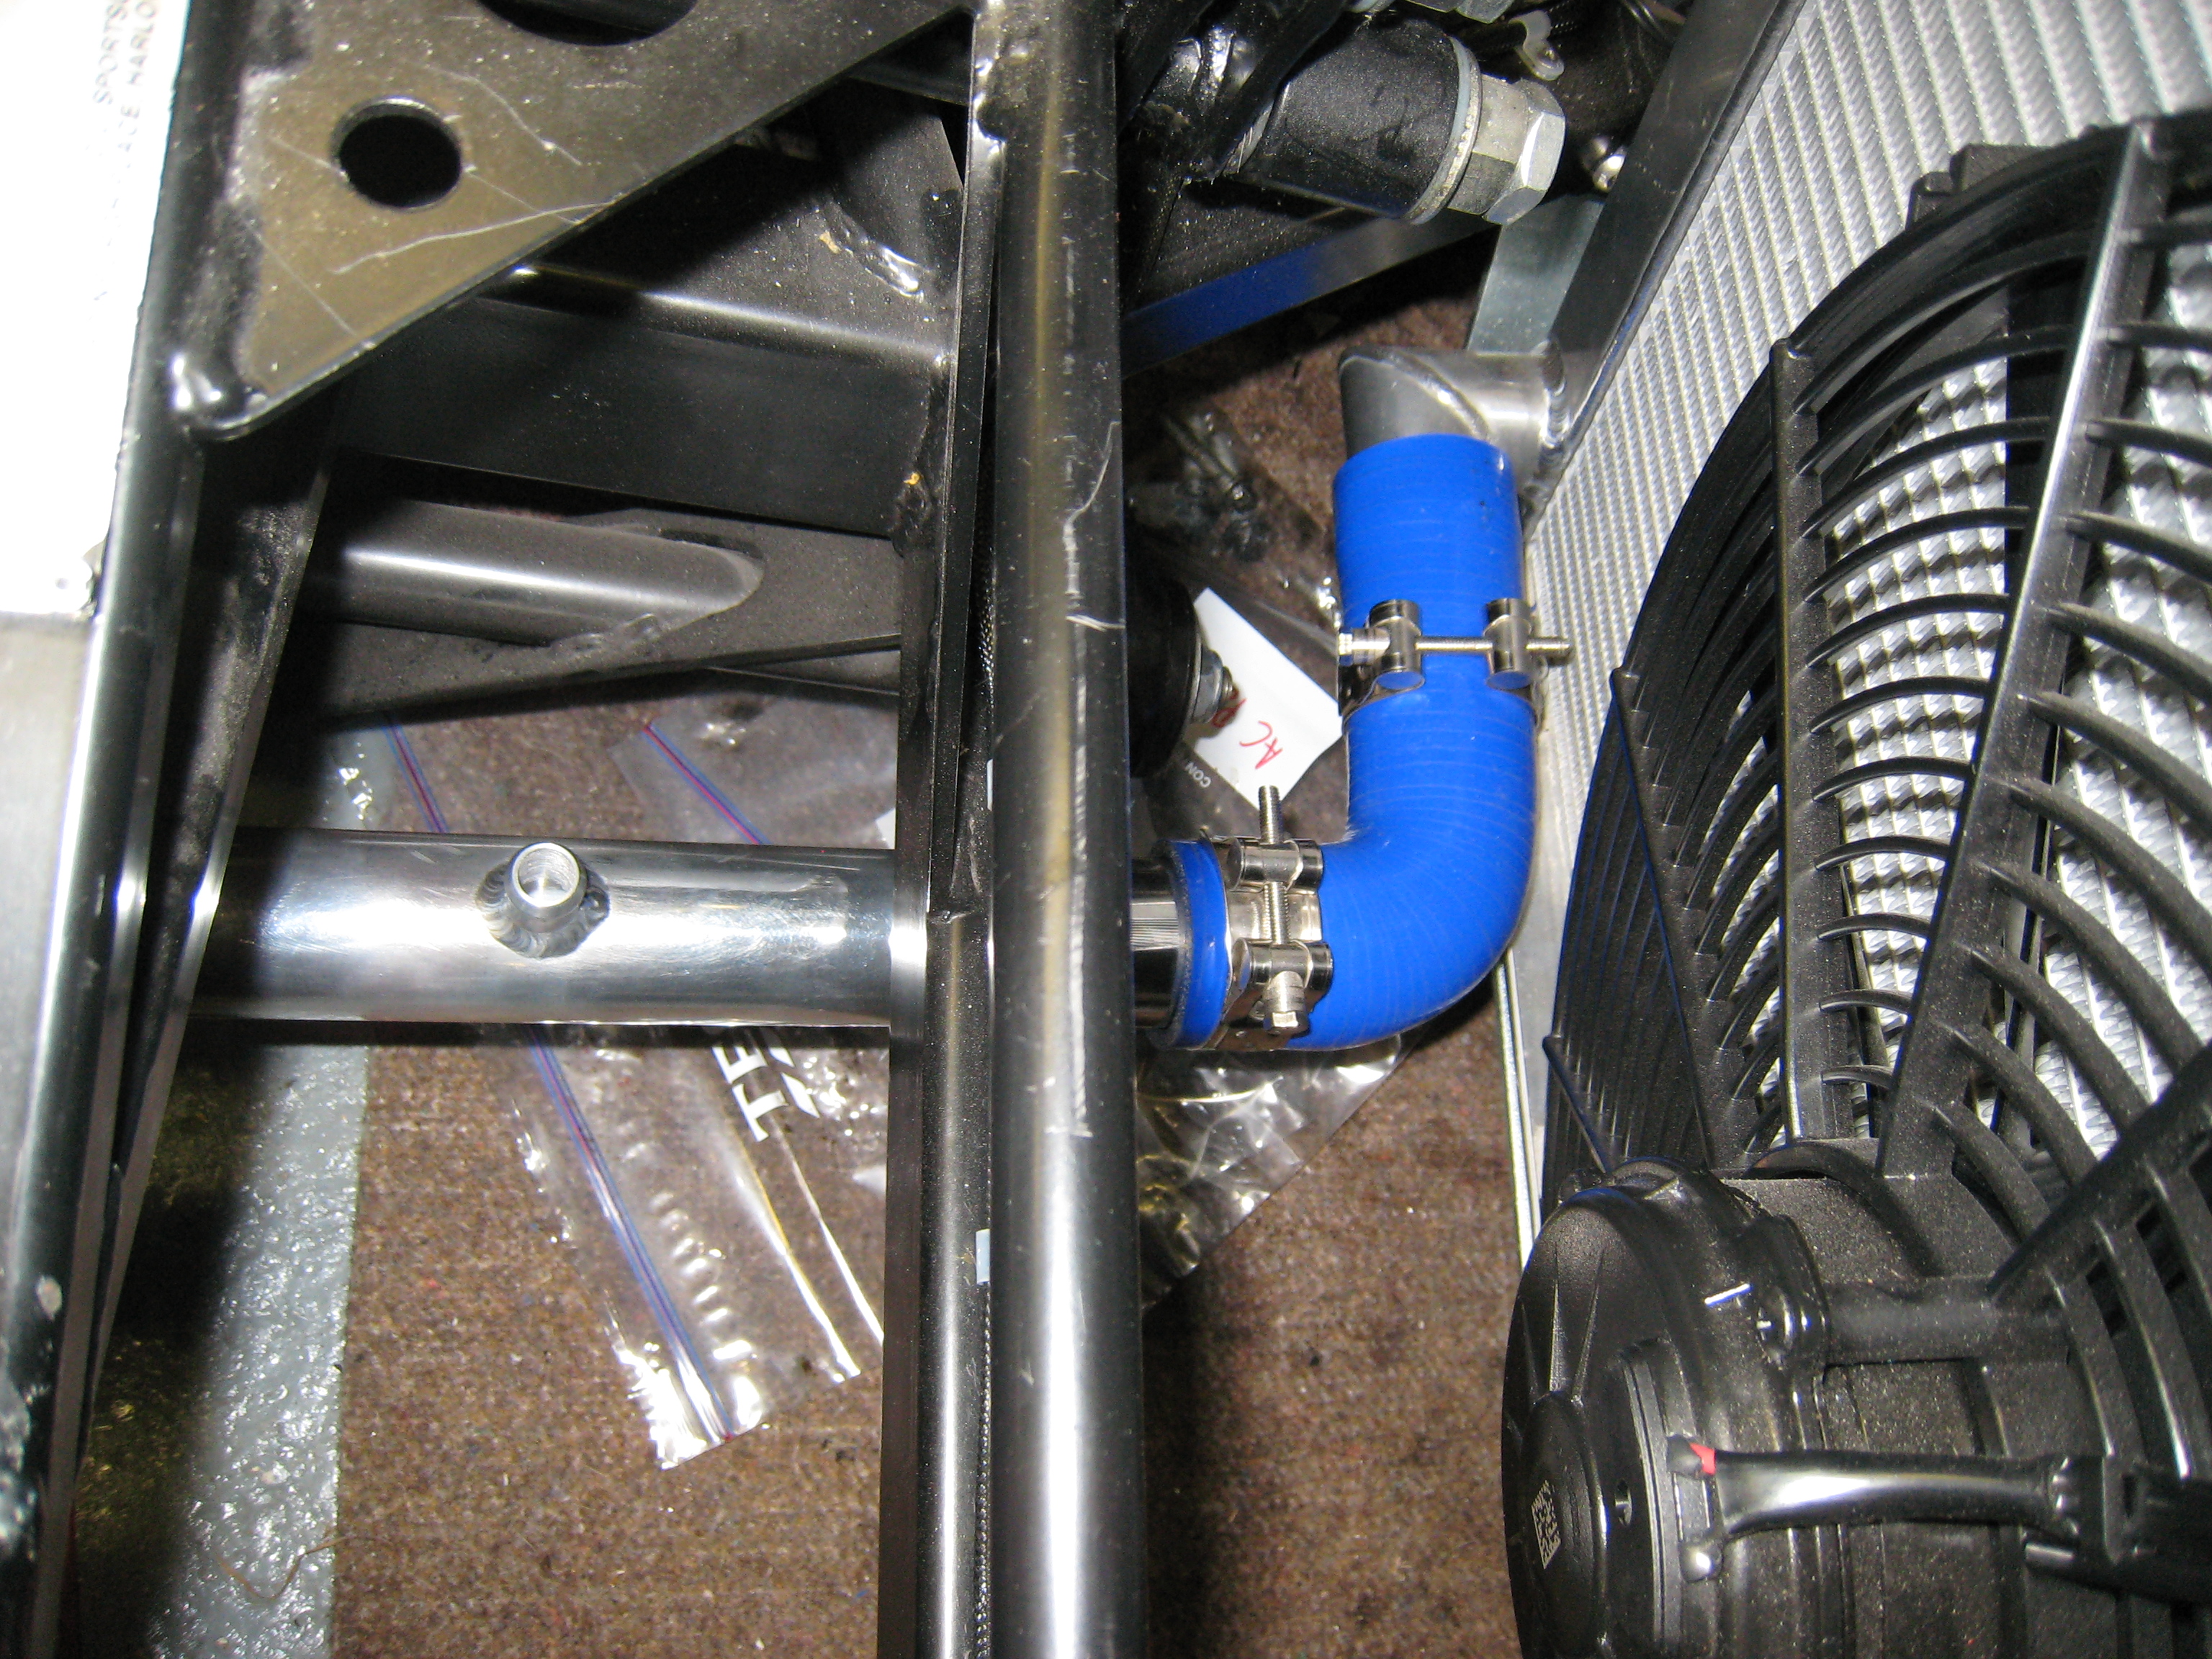
Coolant Plumbing
Having ordered loads of blue silicon hose I set about routing the coolant hoses around the engine bay, I found that
having the opposite layout to the normal Dax radiator made it much neater and you can see how the bottom hose has a
pretty straight route to the rad. For both the top and bottom hoses I had the header tank connections welded to the
aluminium connection pipe, which I think makes for a much neater appearance. I also finally found some low profile hose
clips which I am happy with so was able to make the connections across the engine and into the firewall.
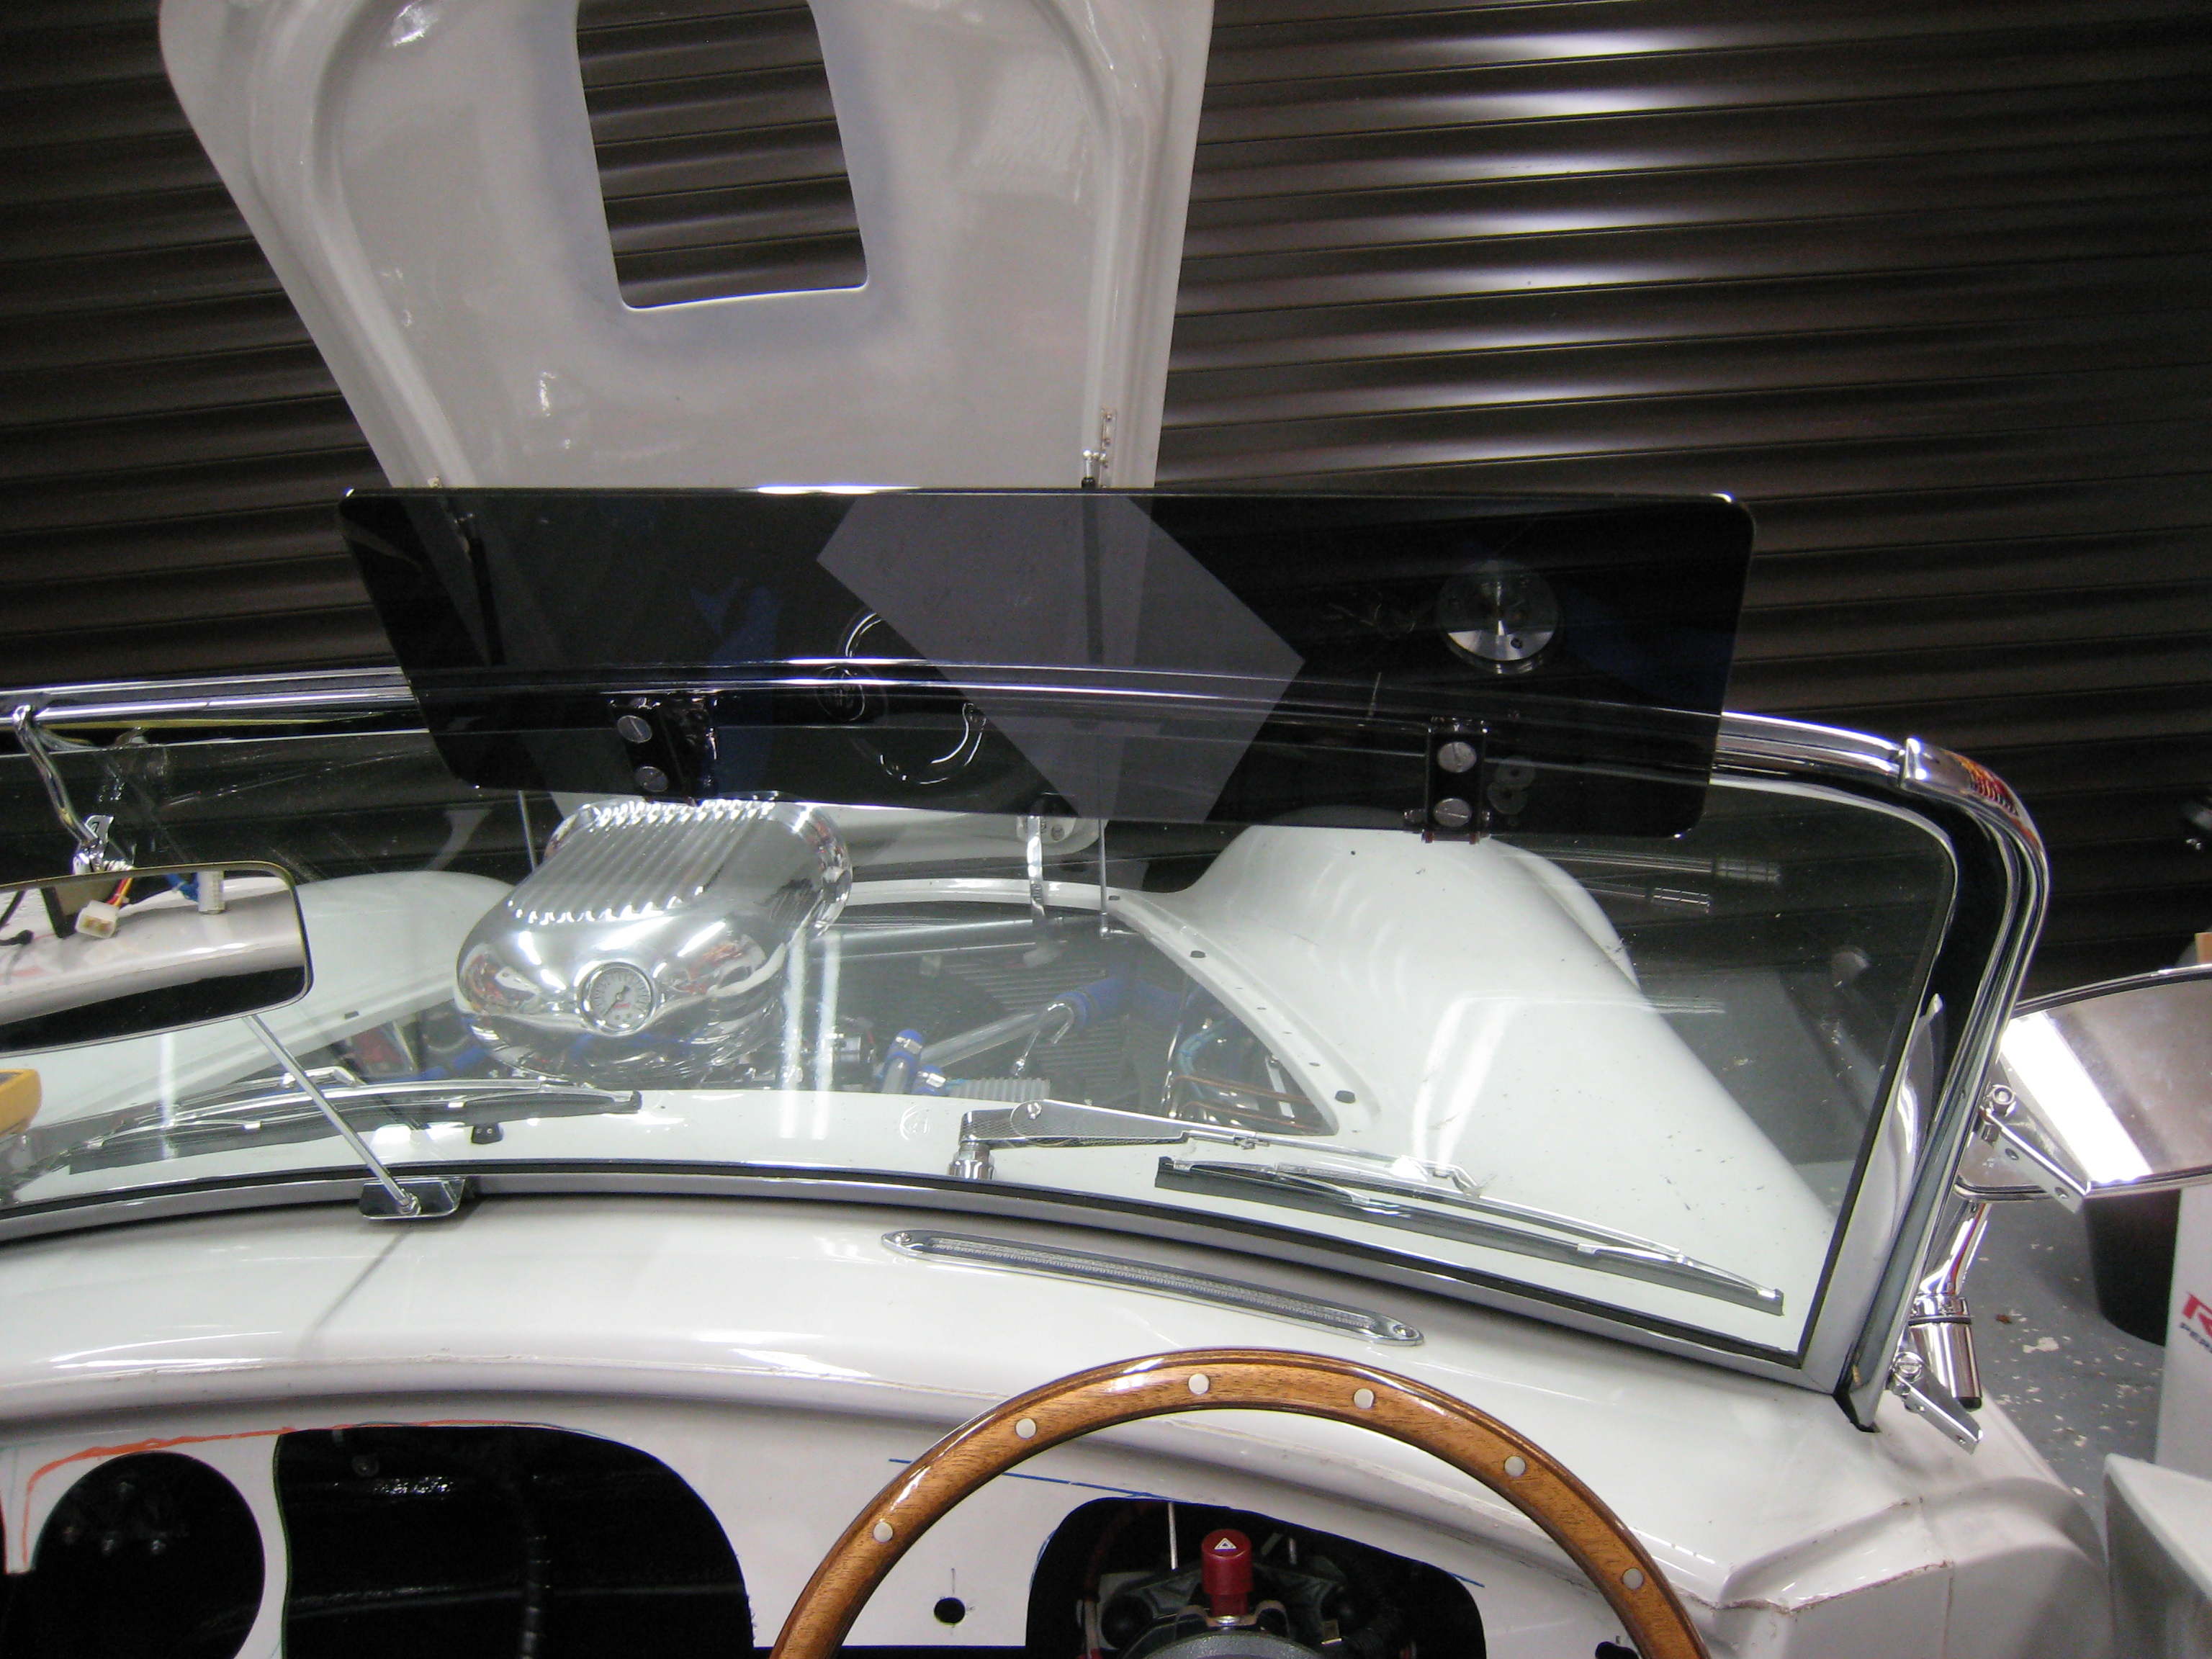
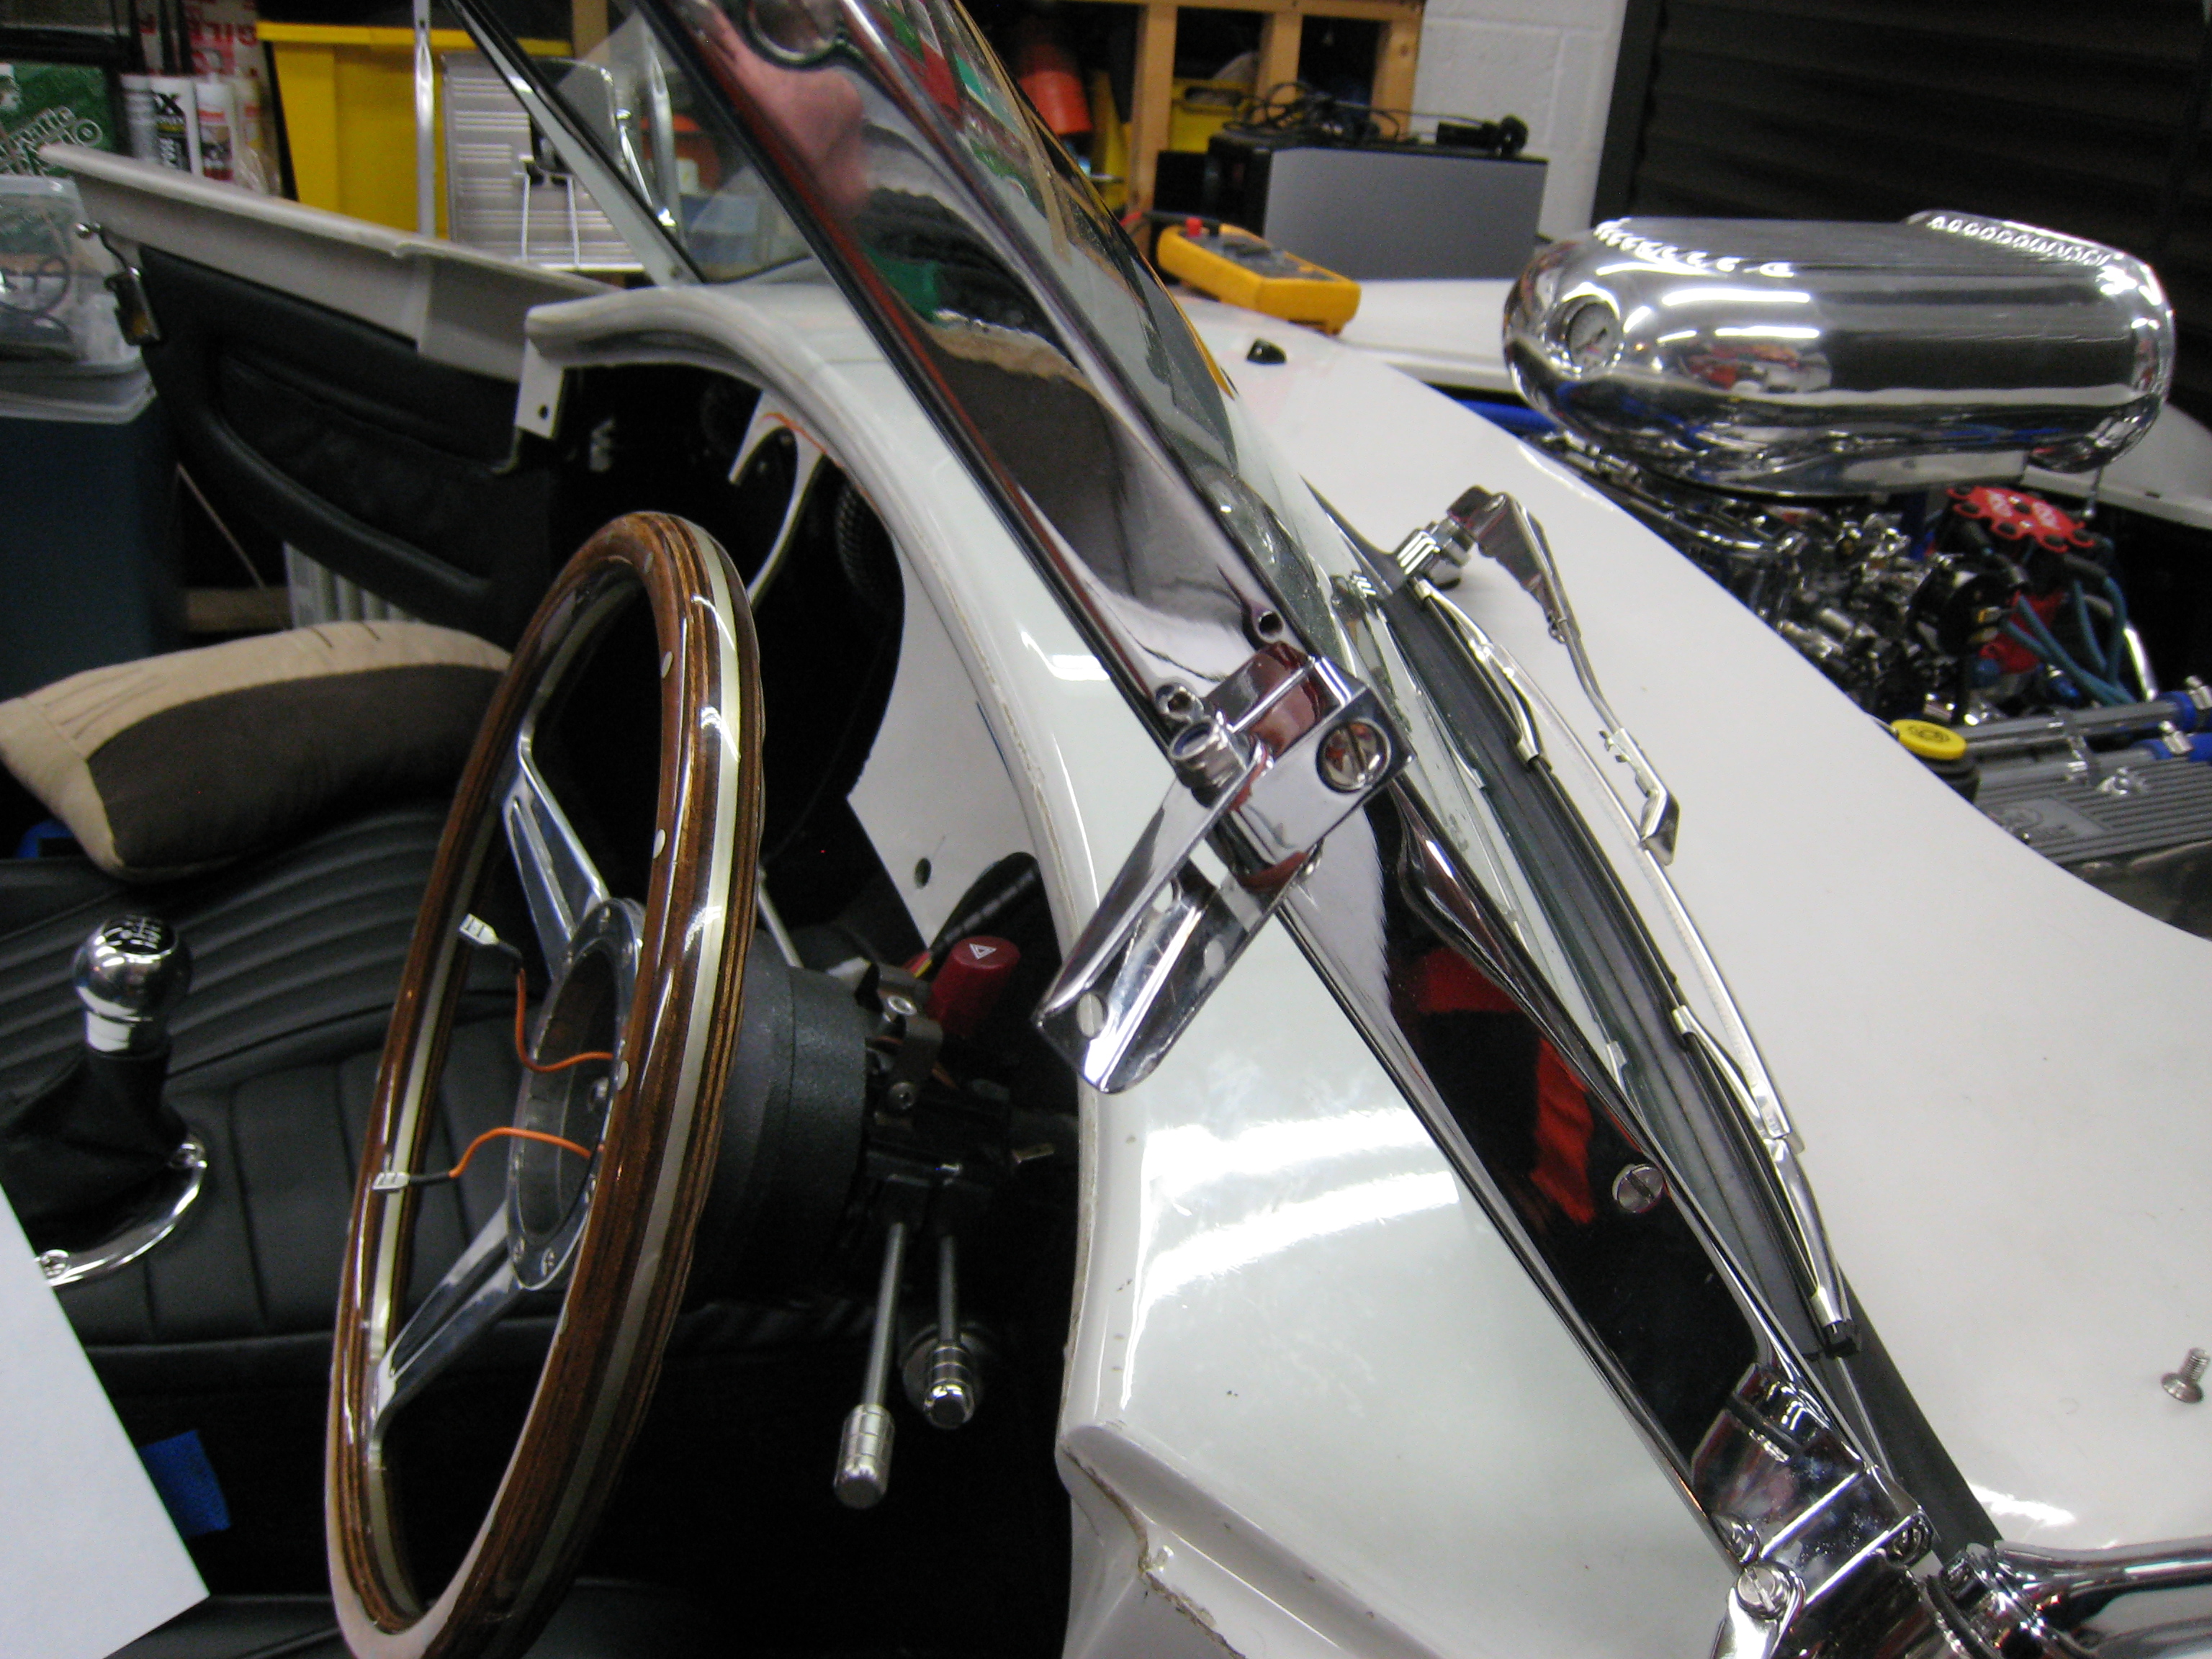
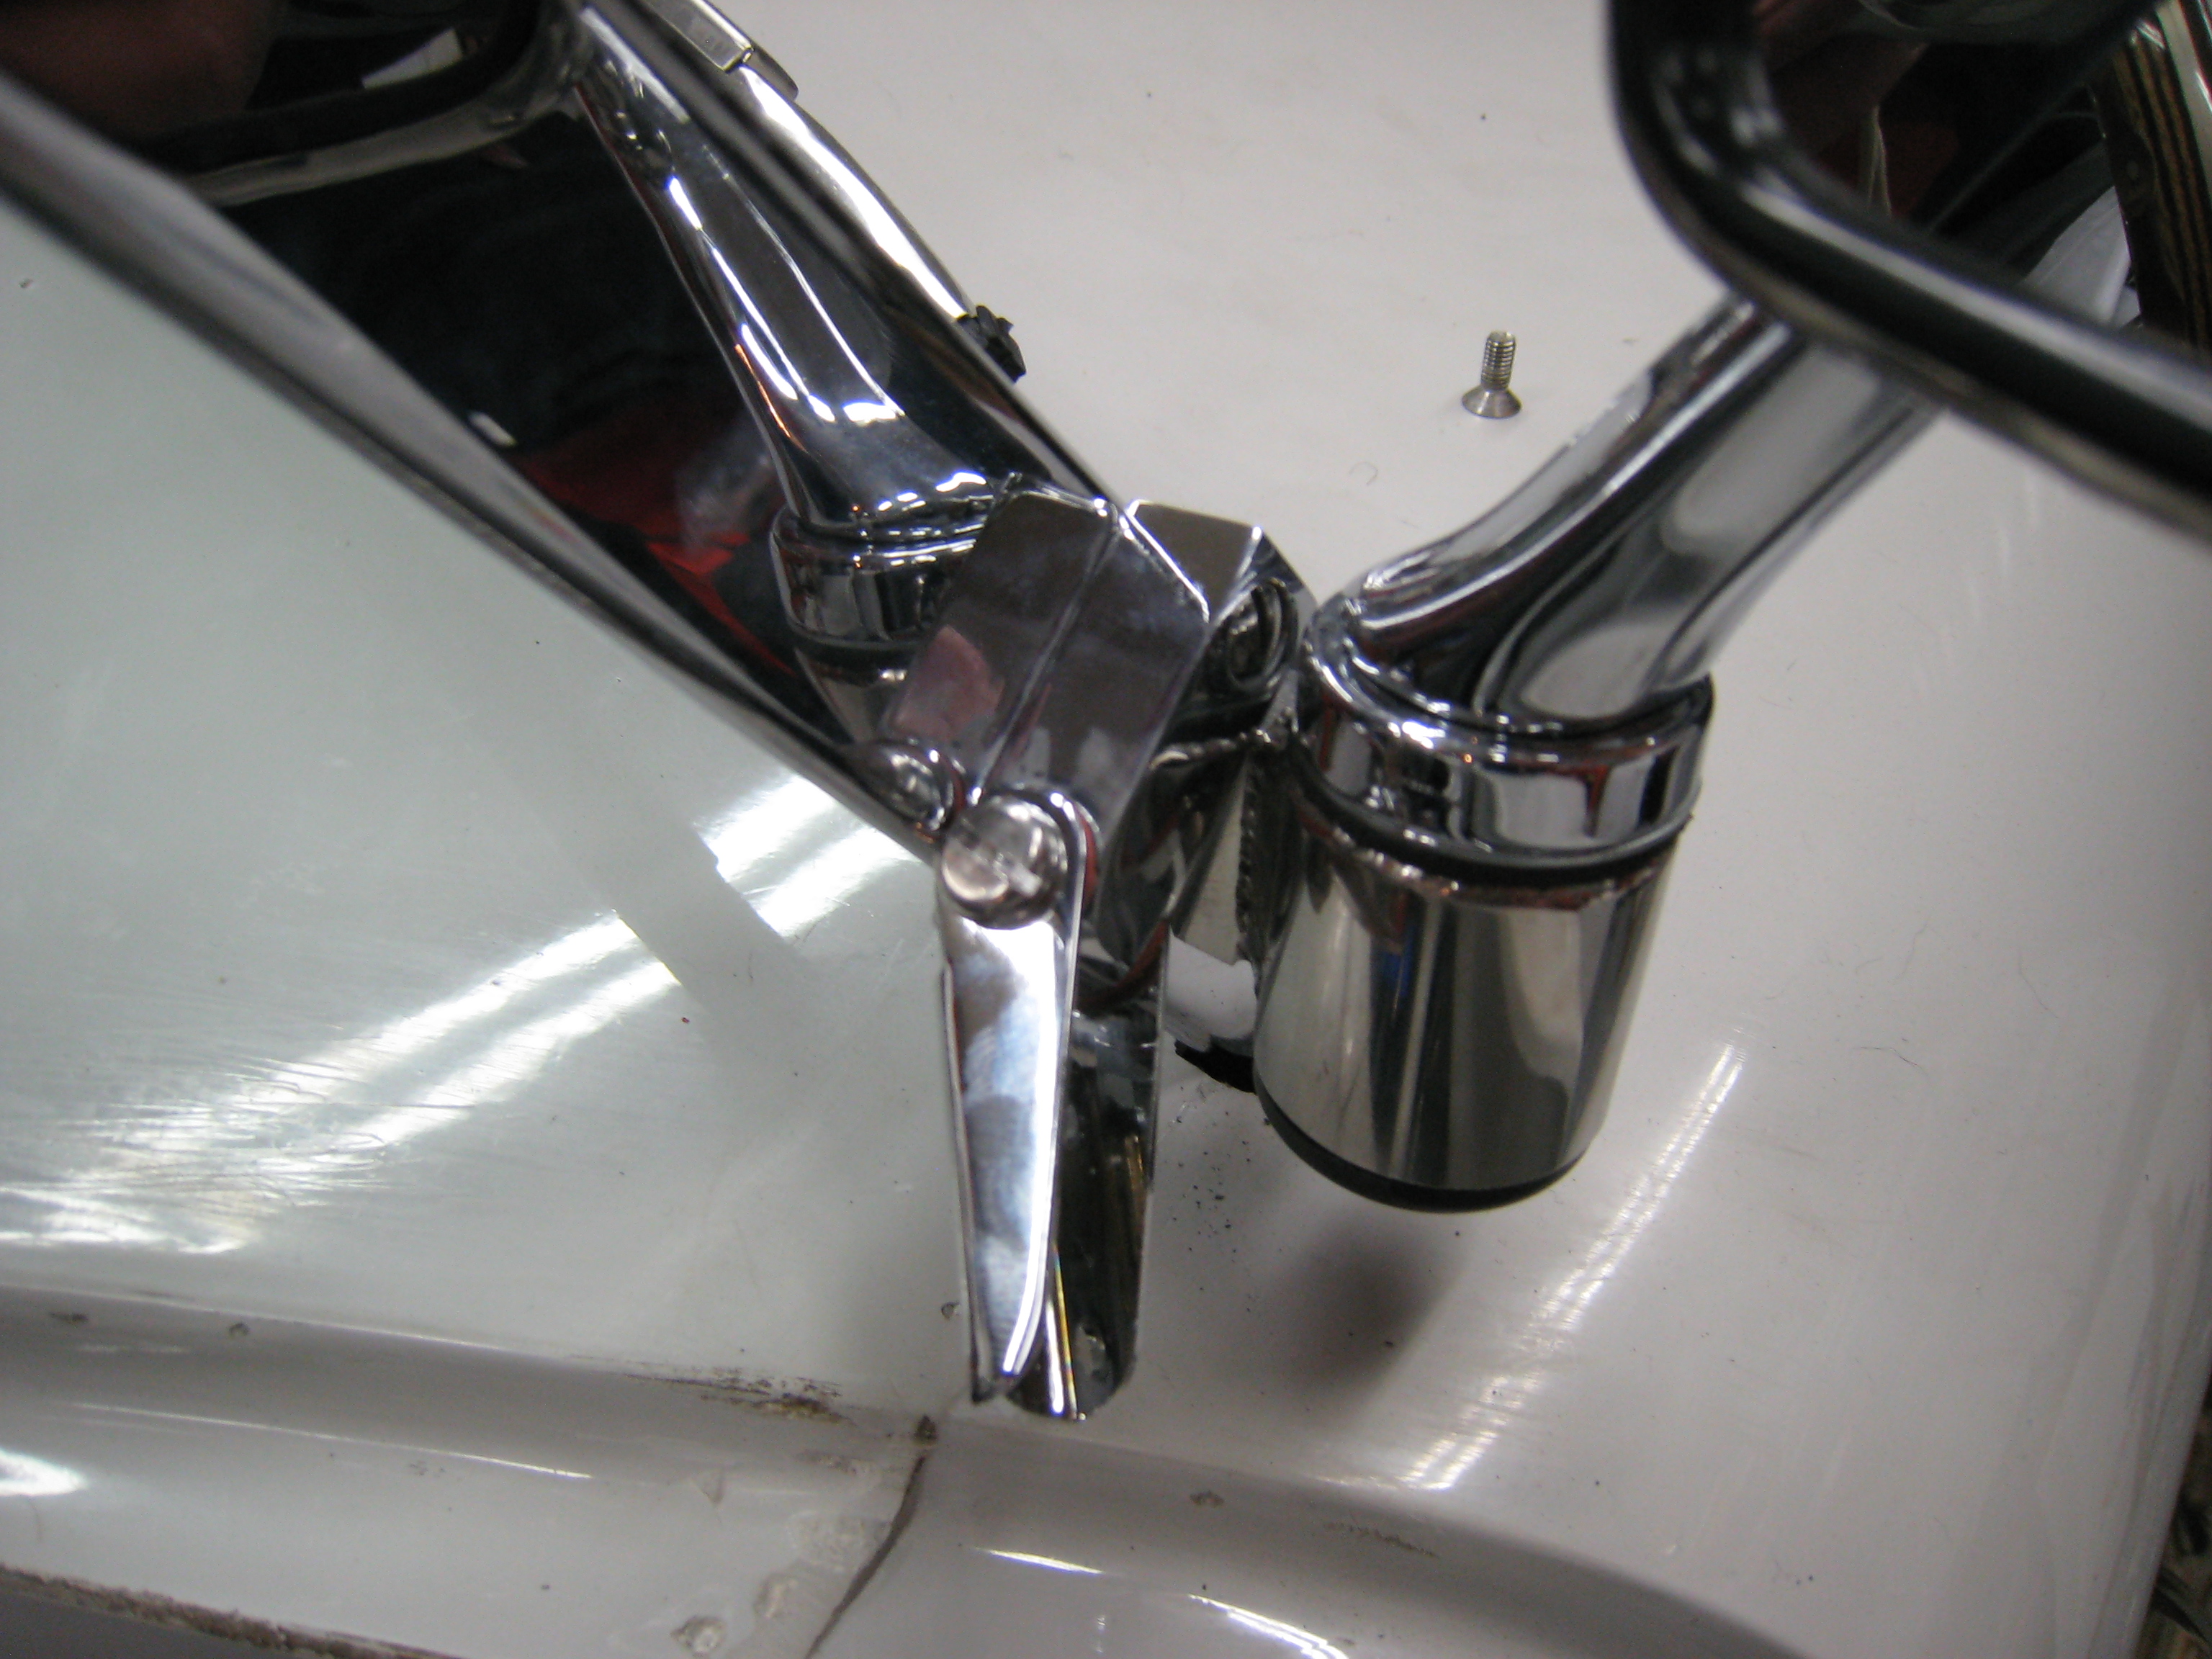
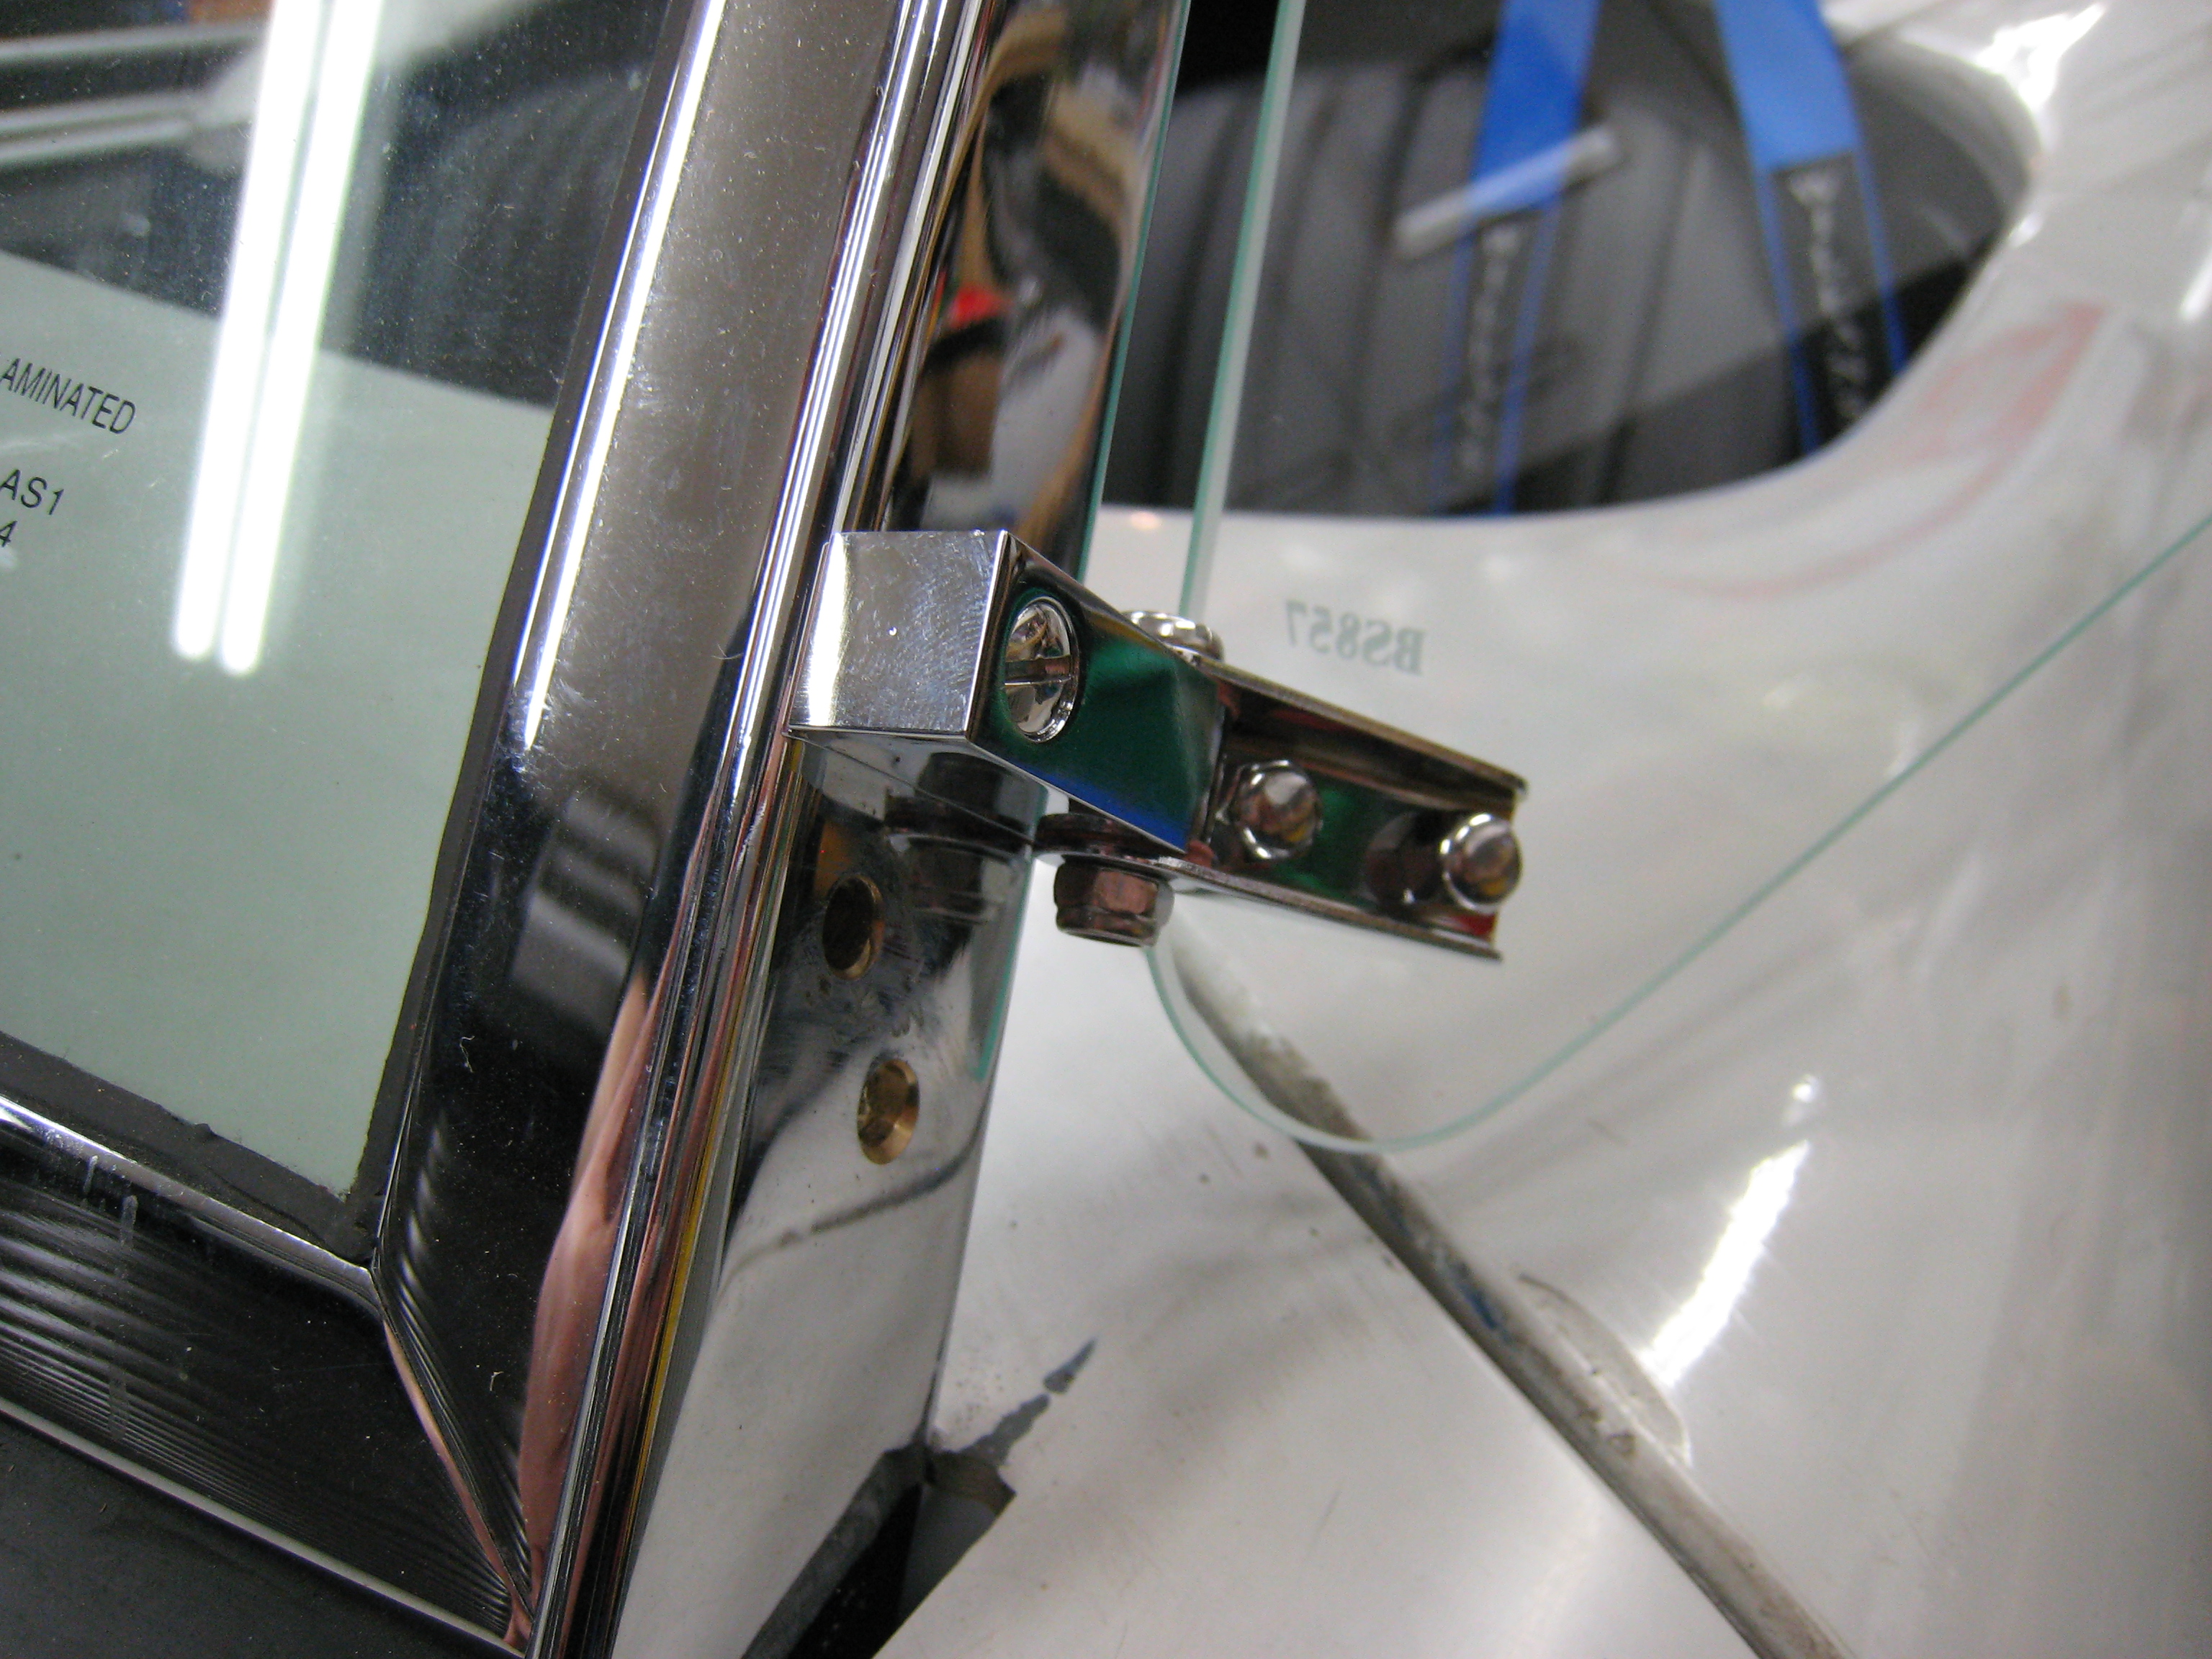
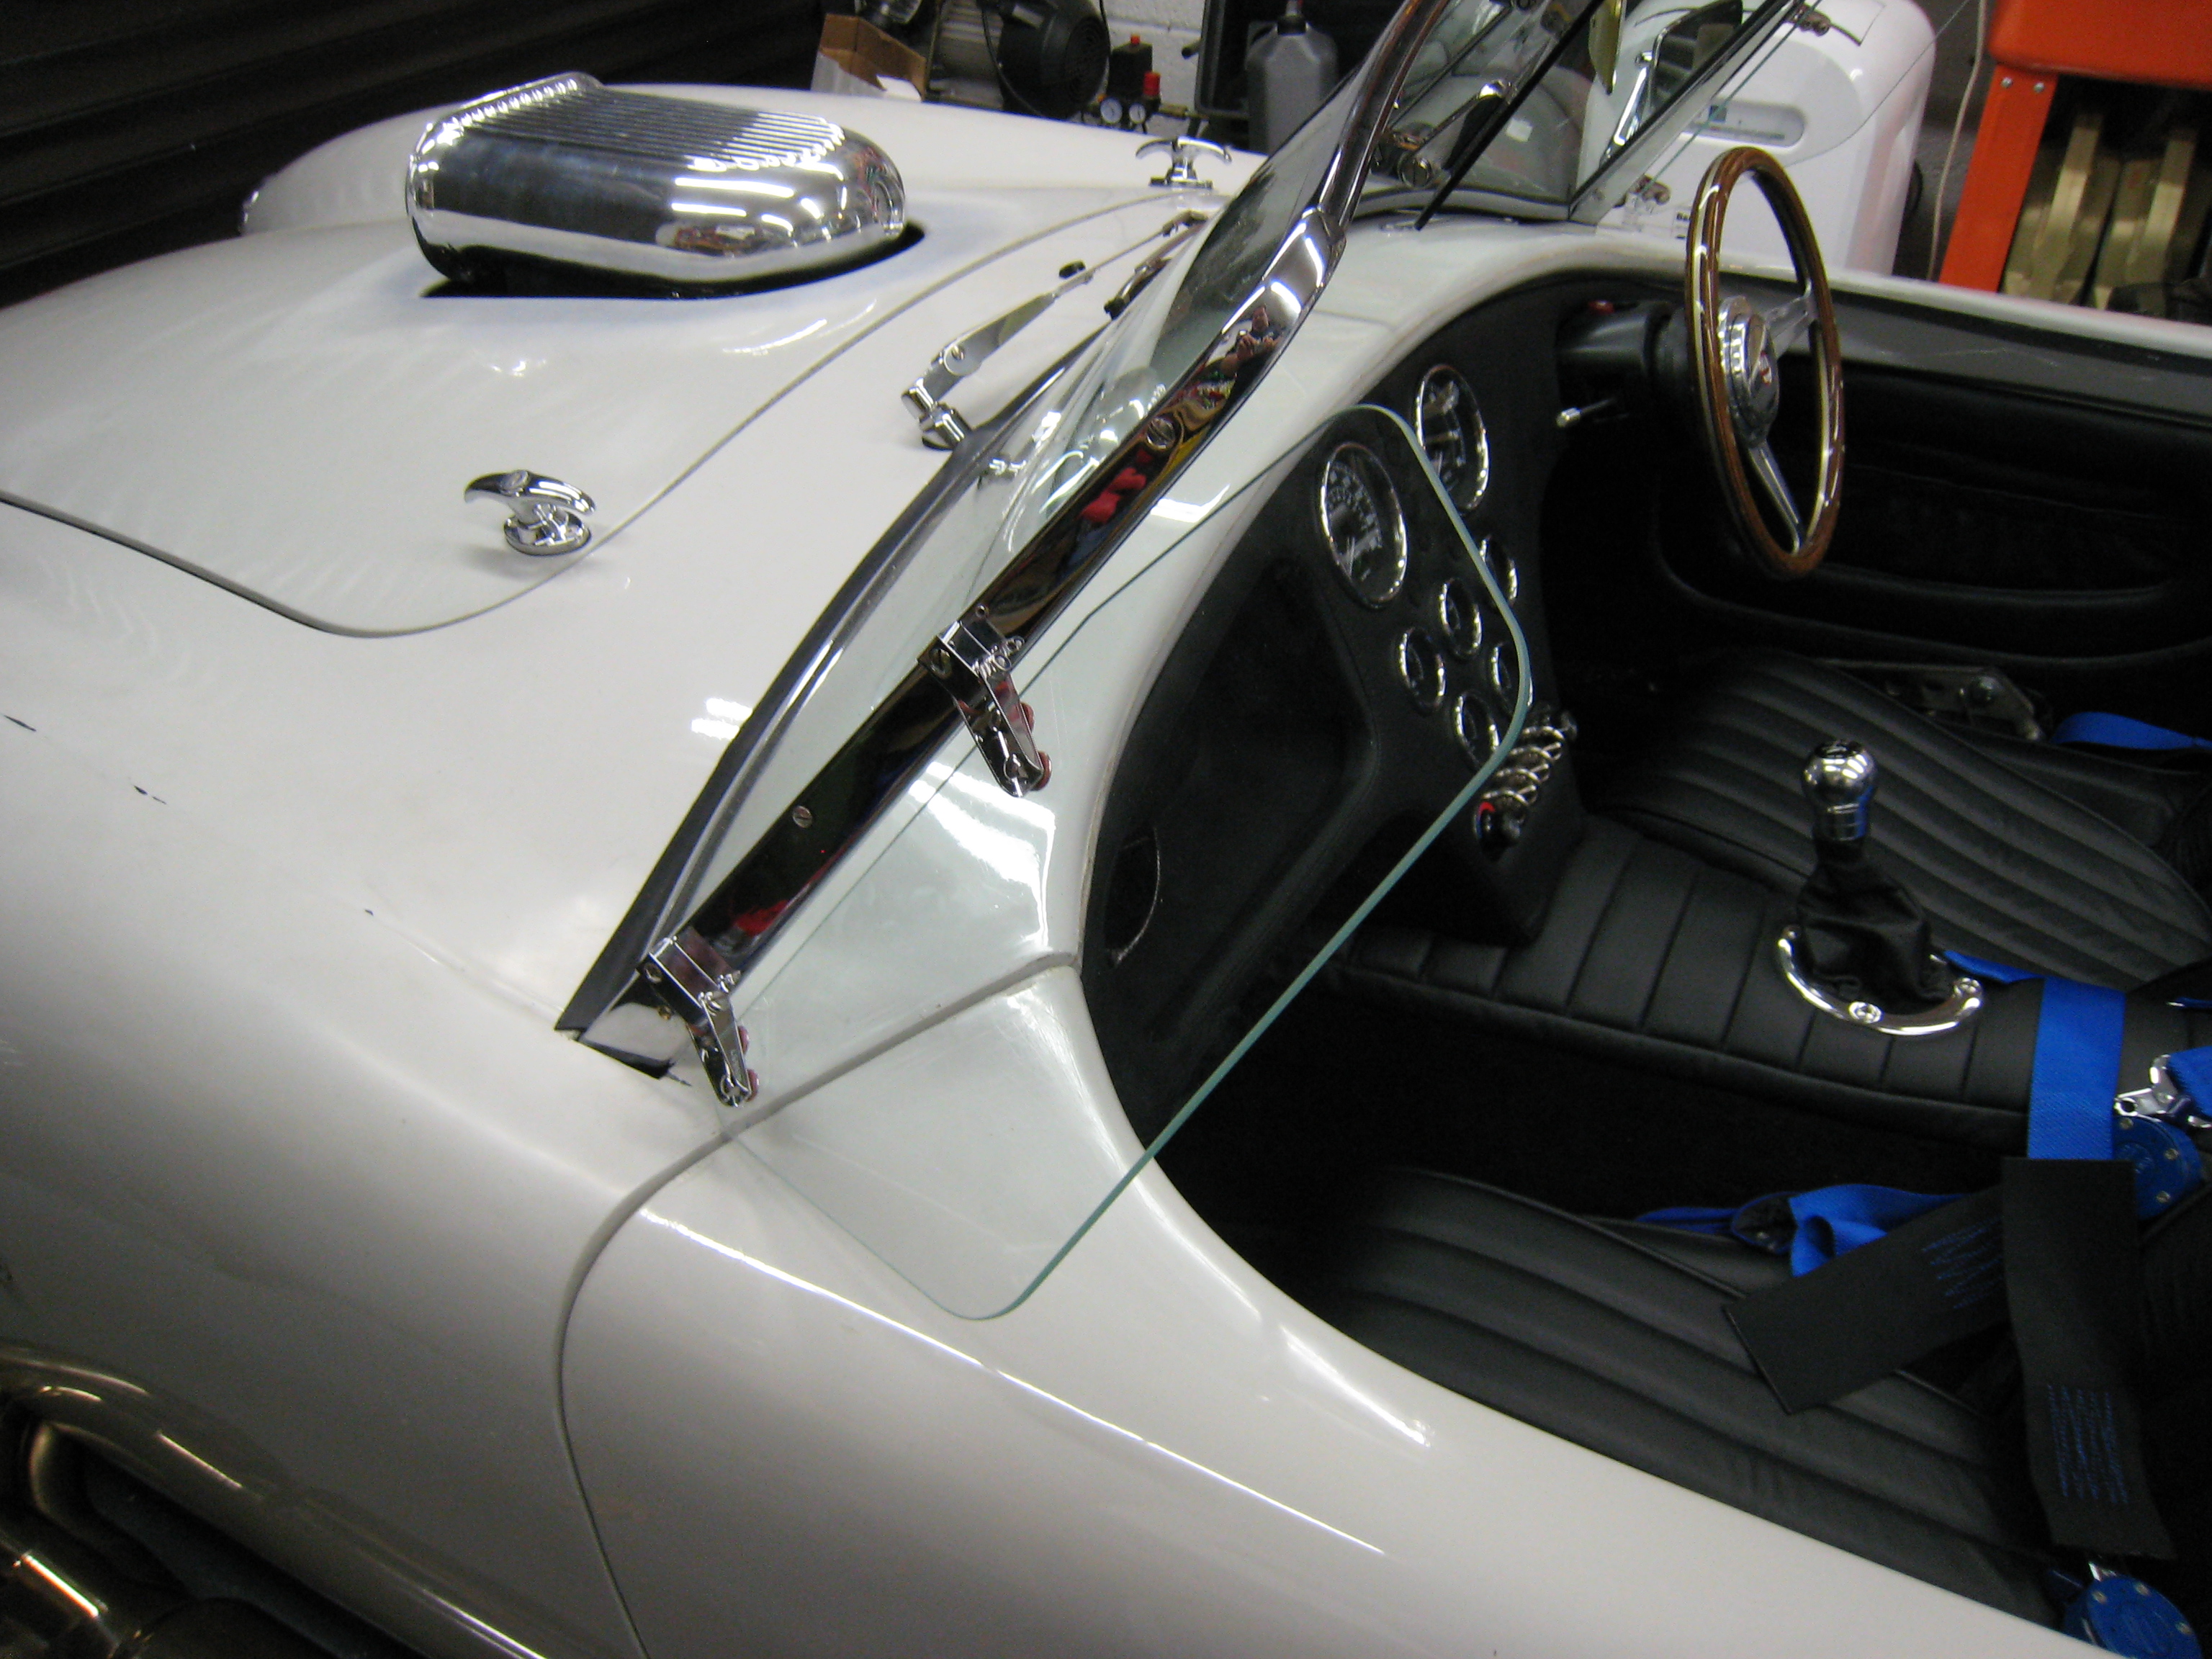
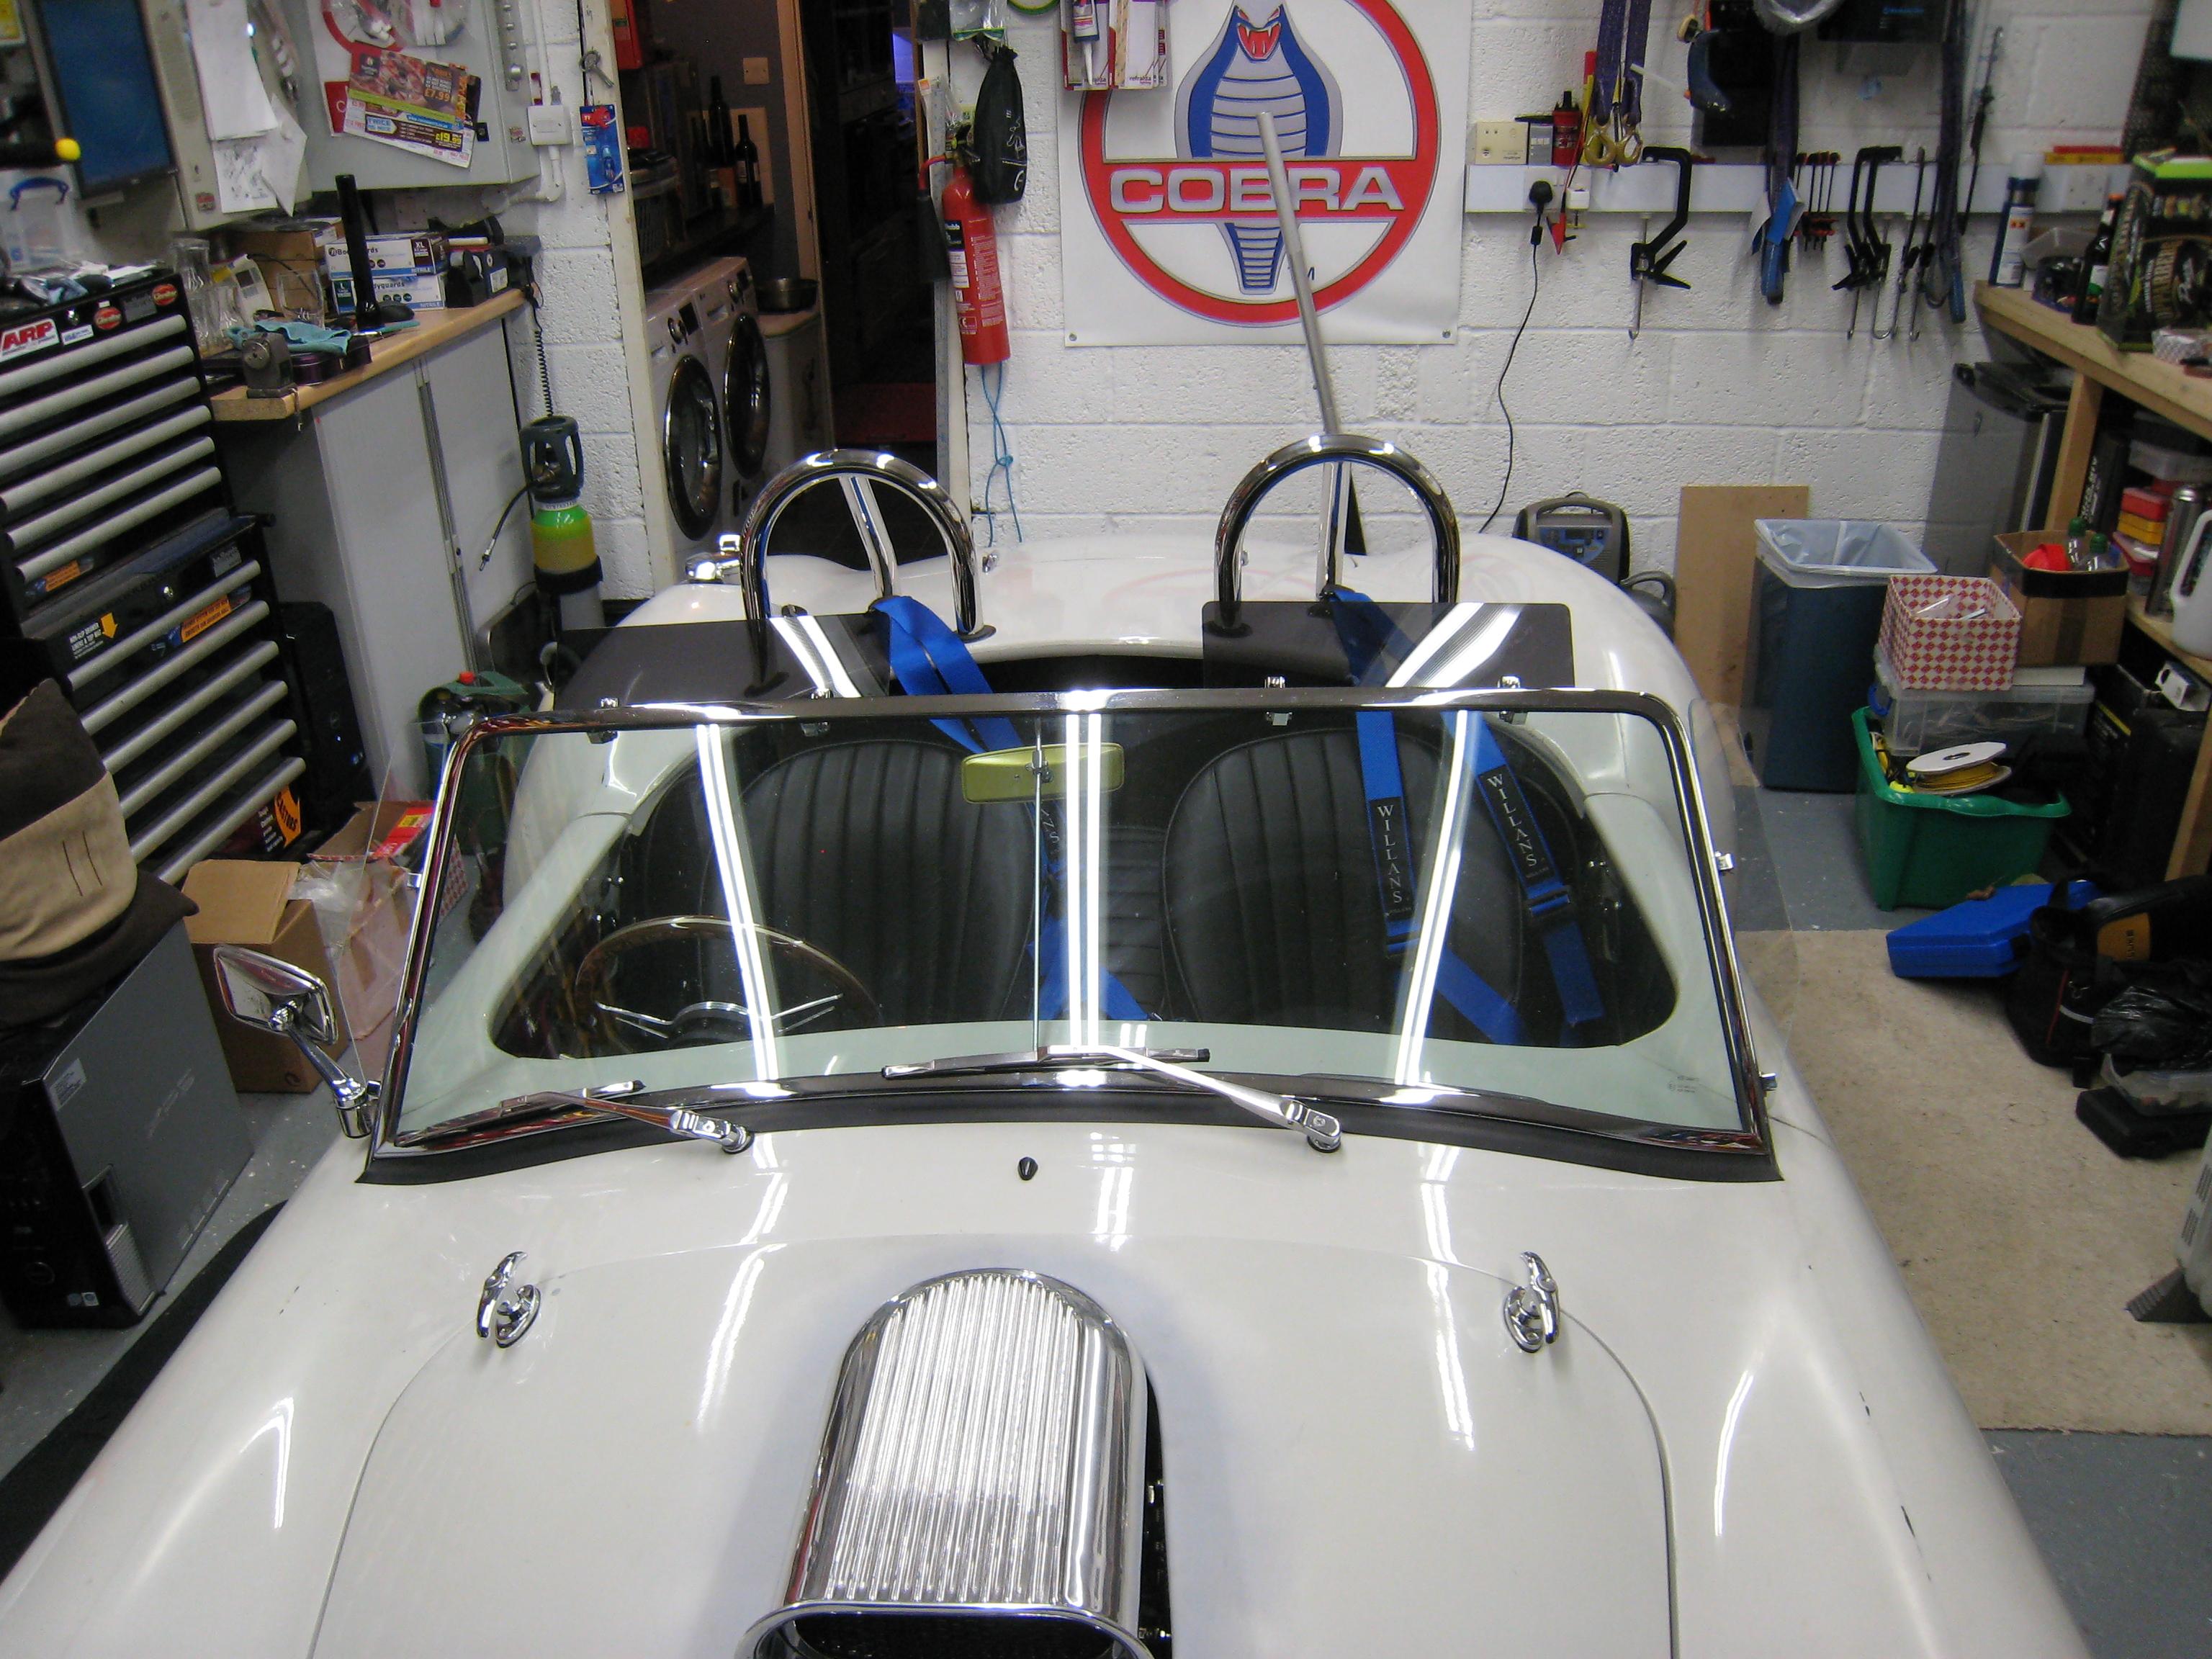
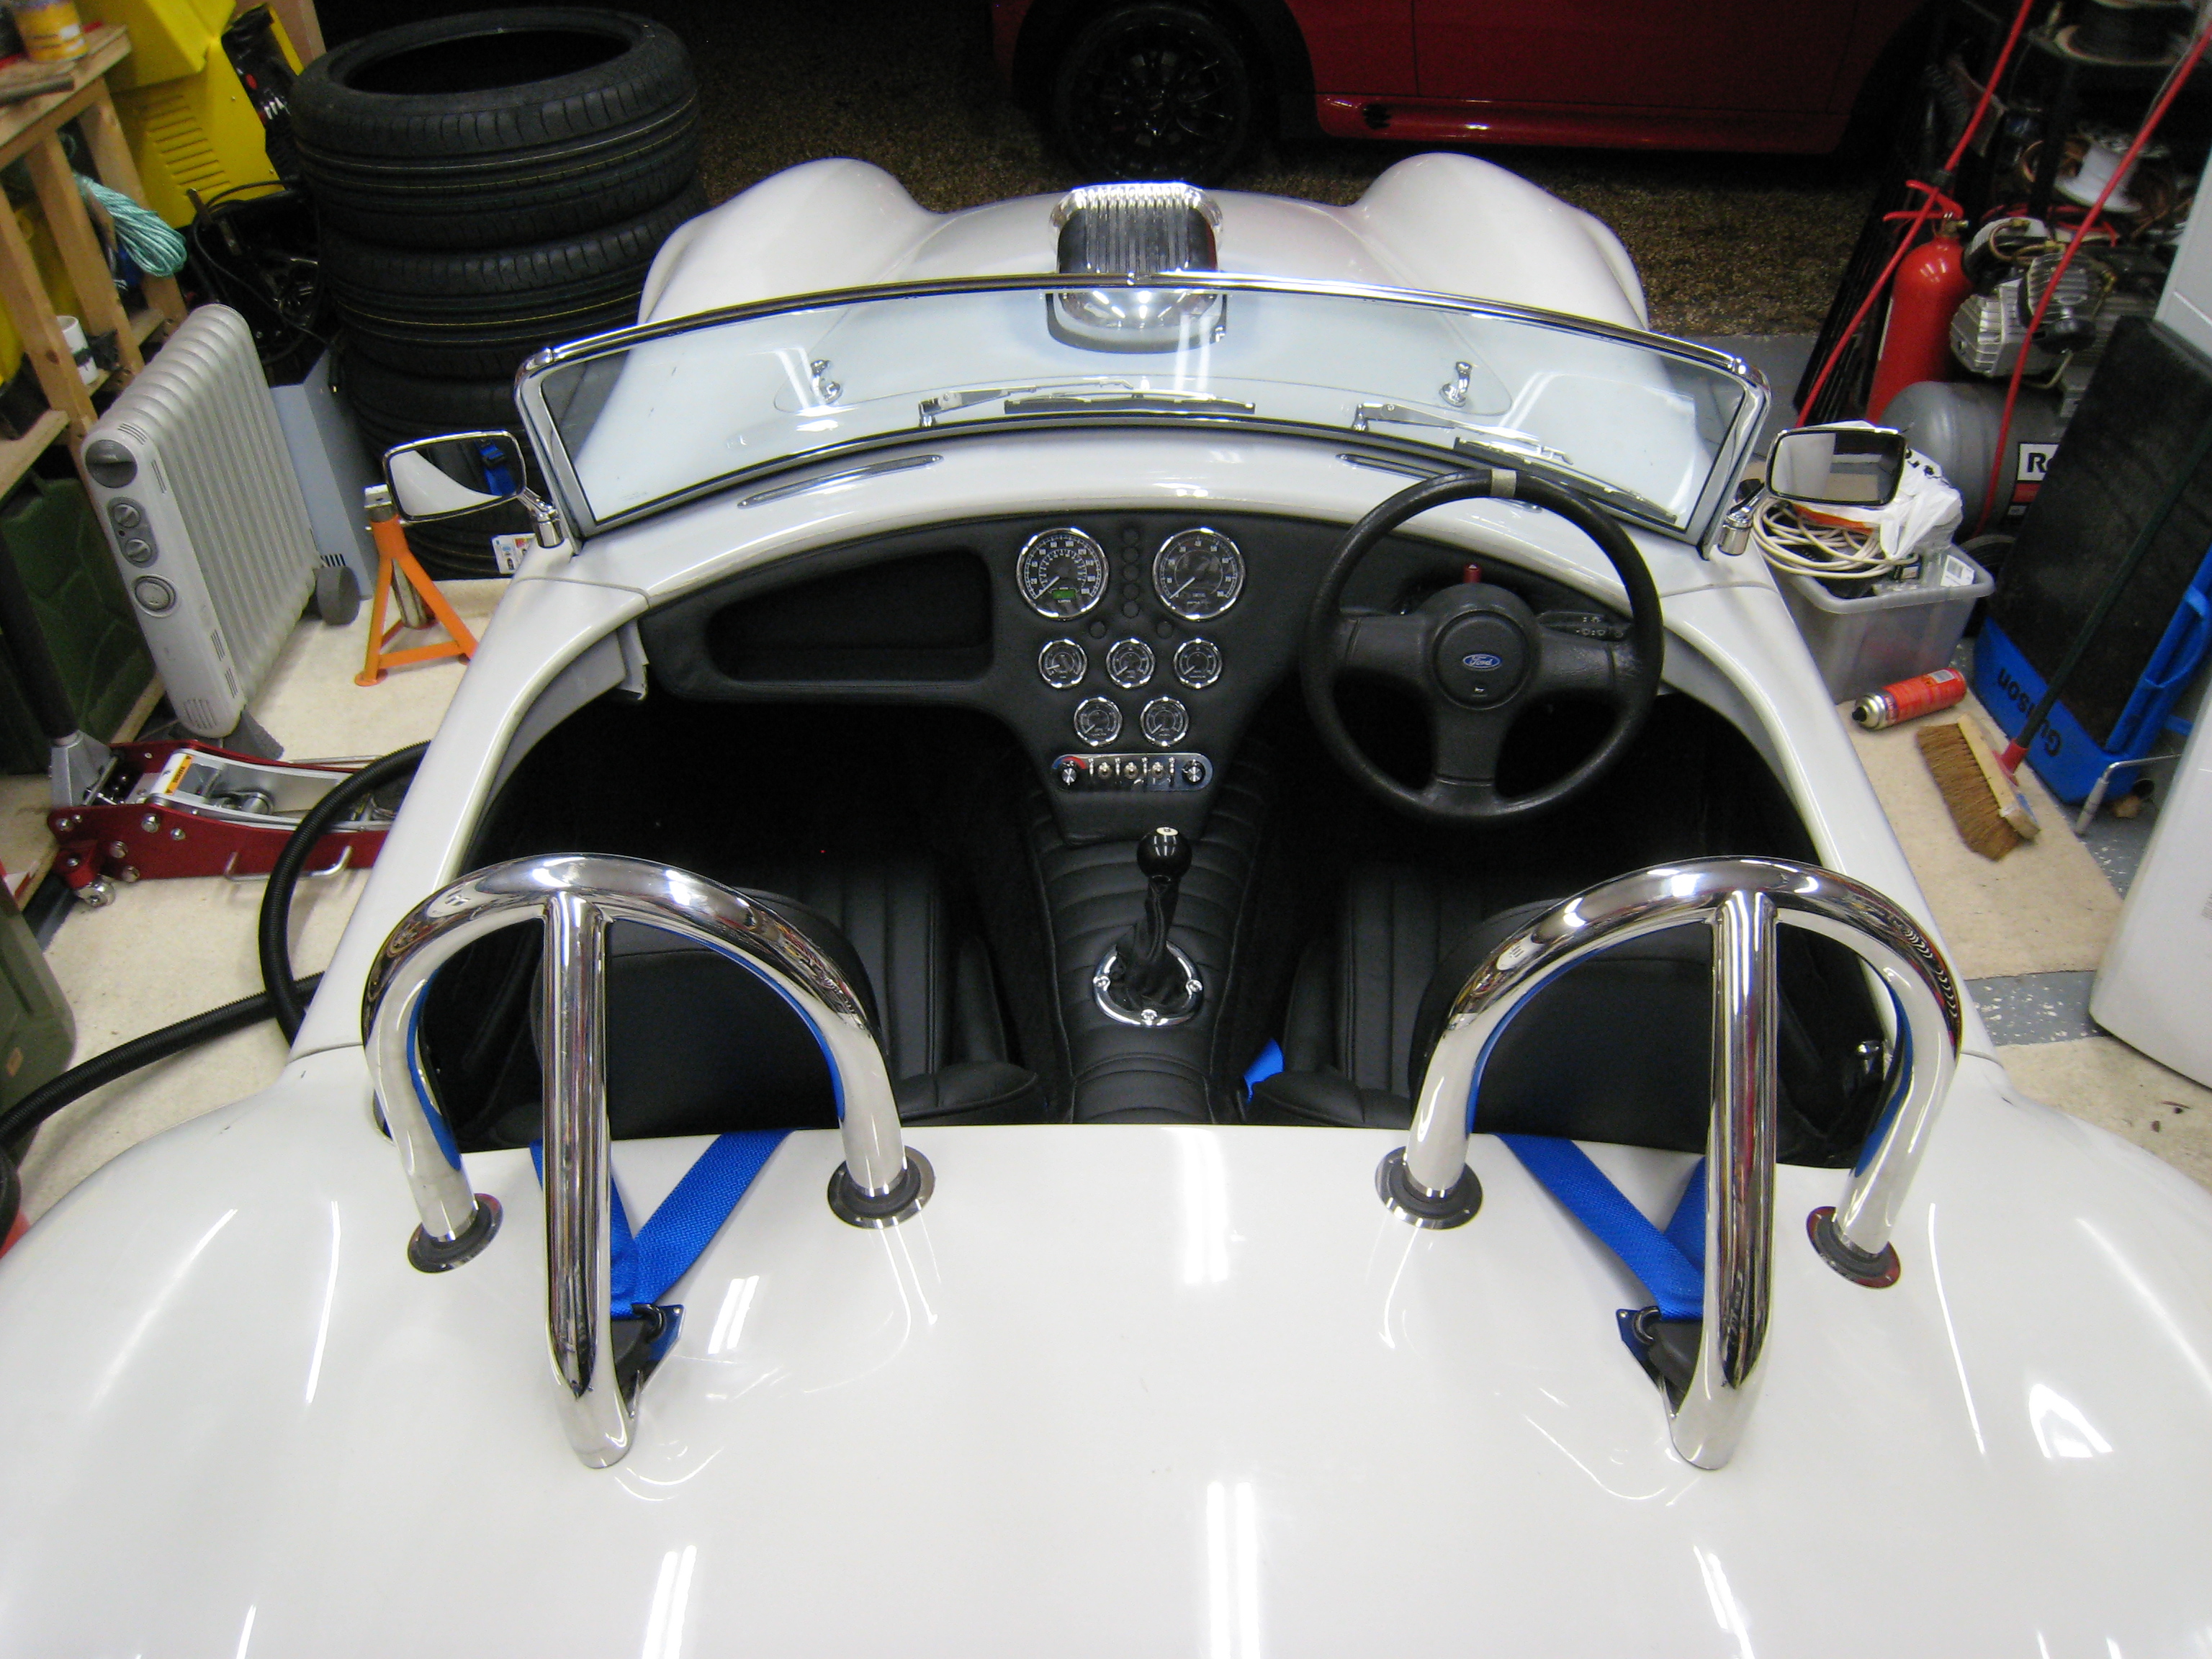
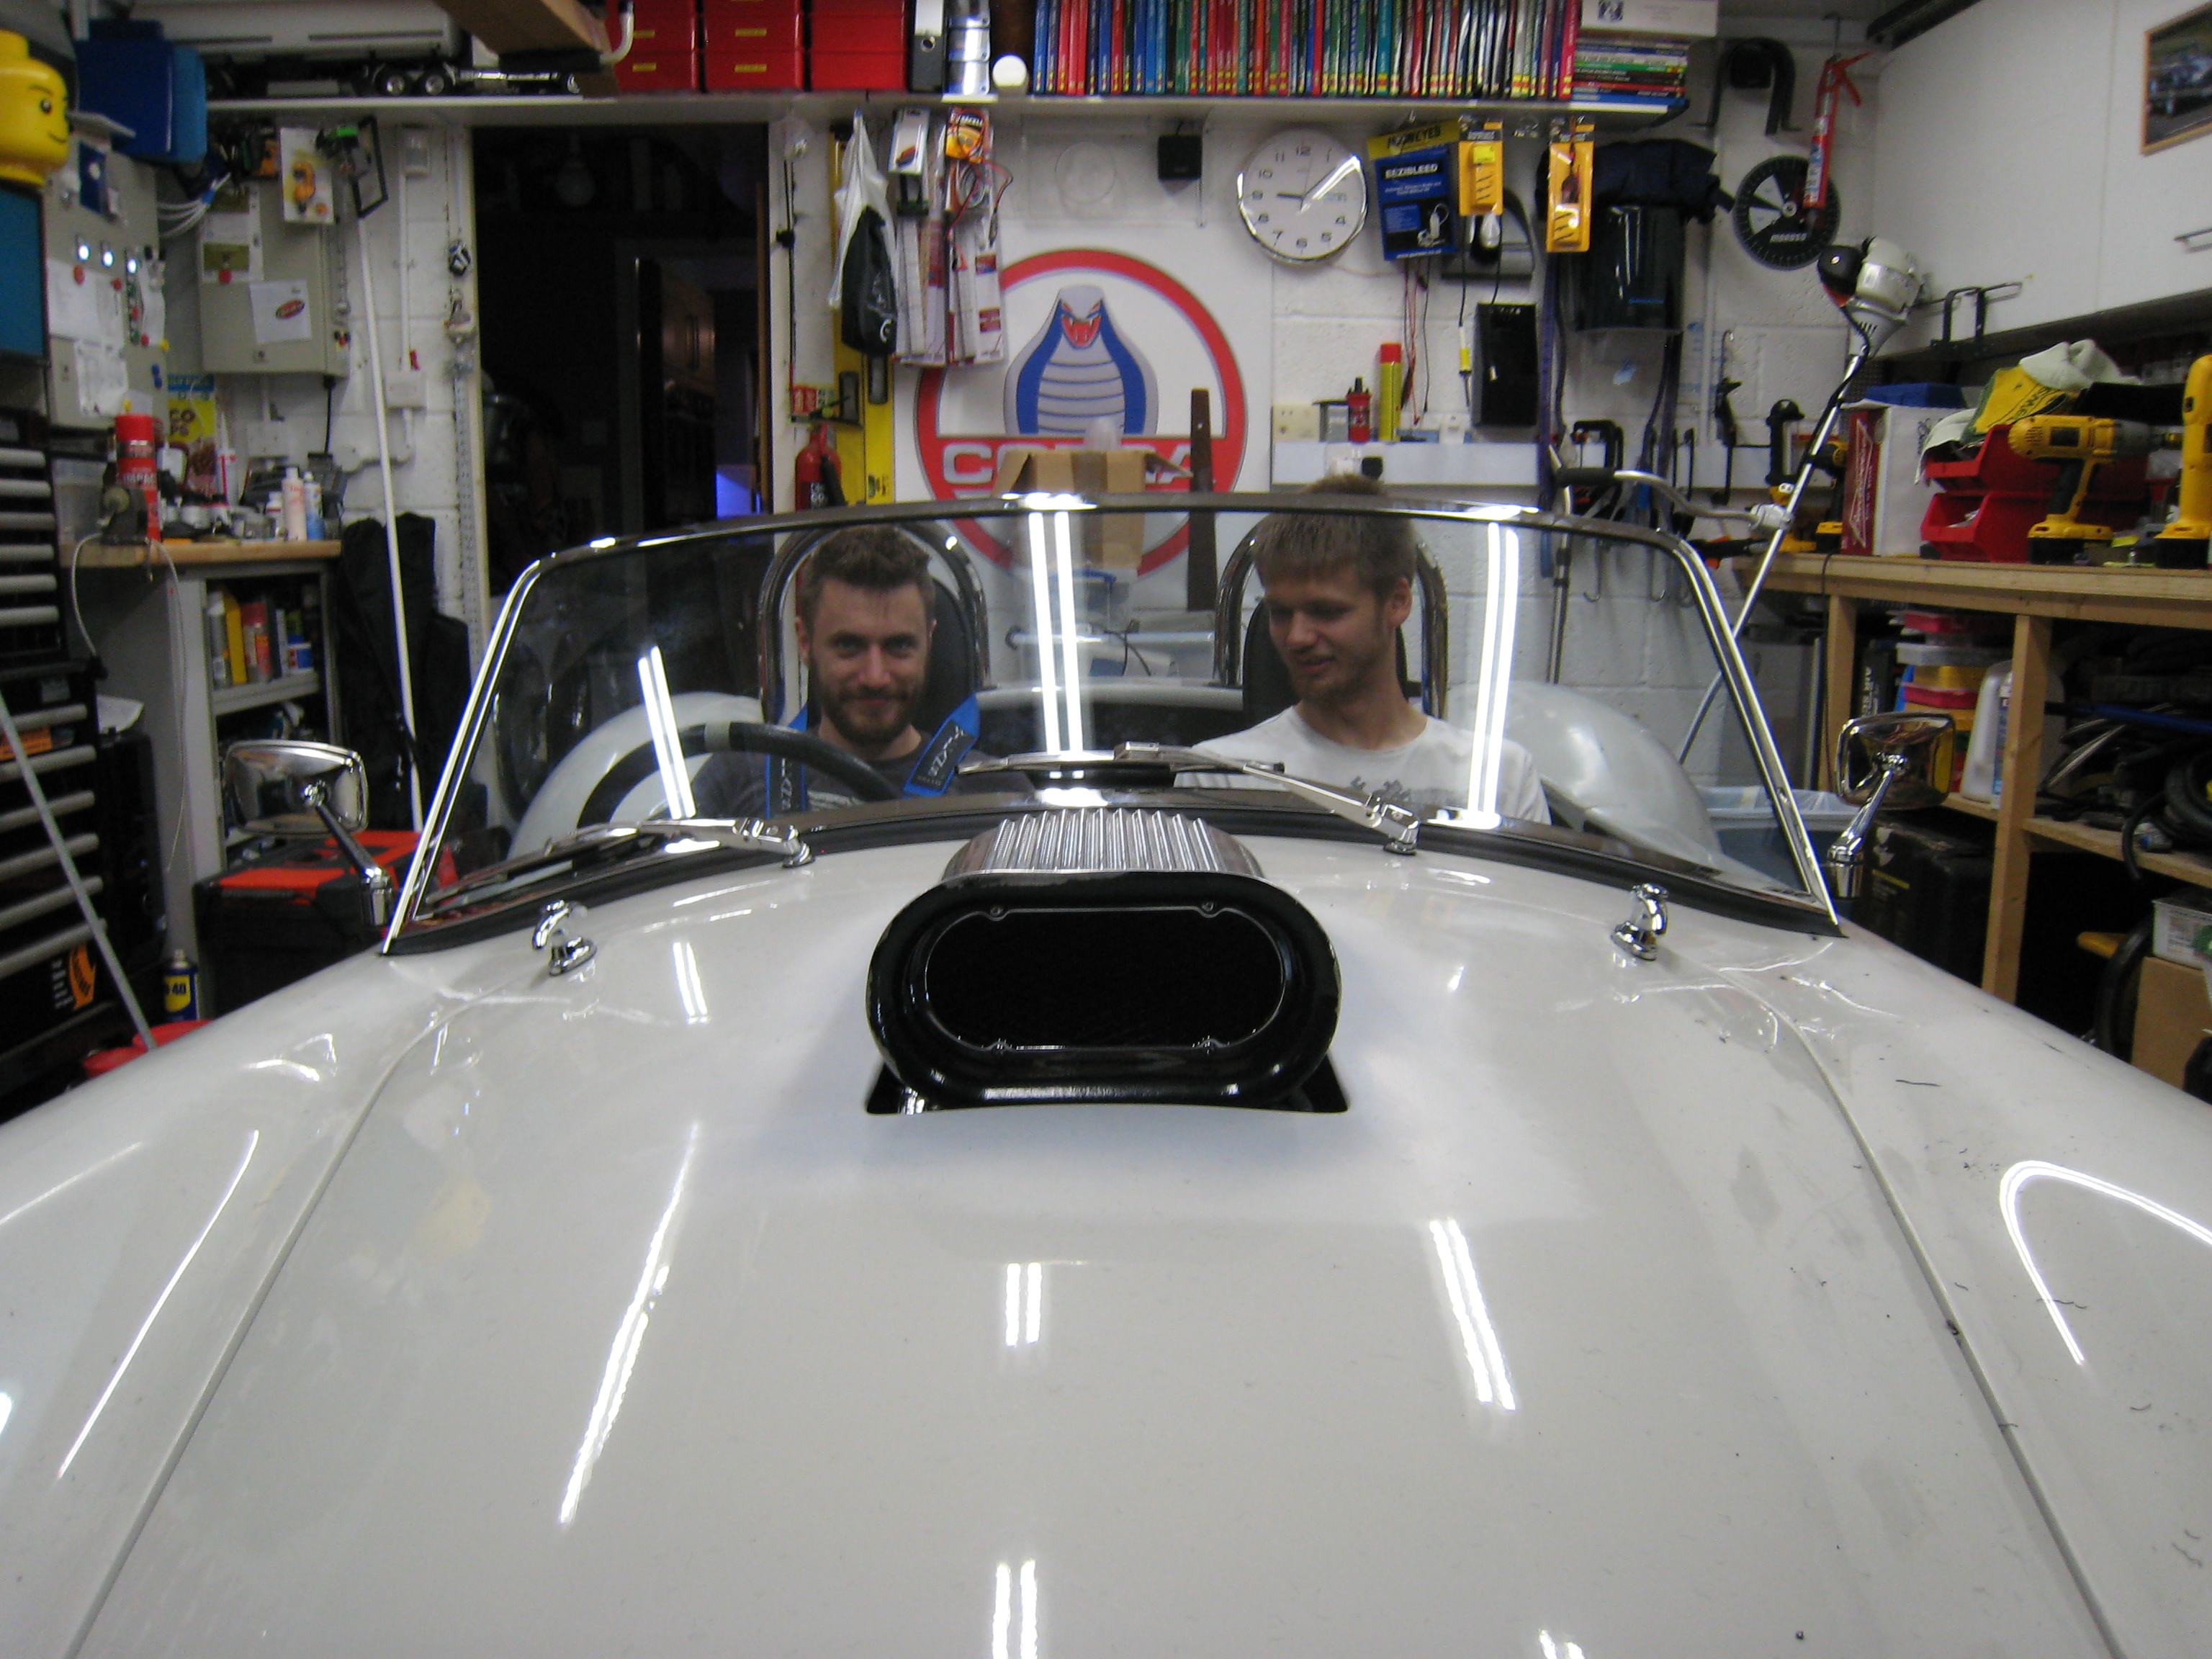
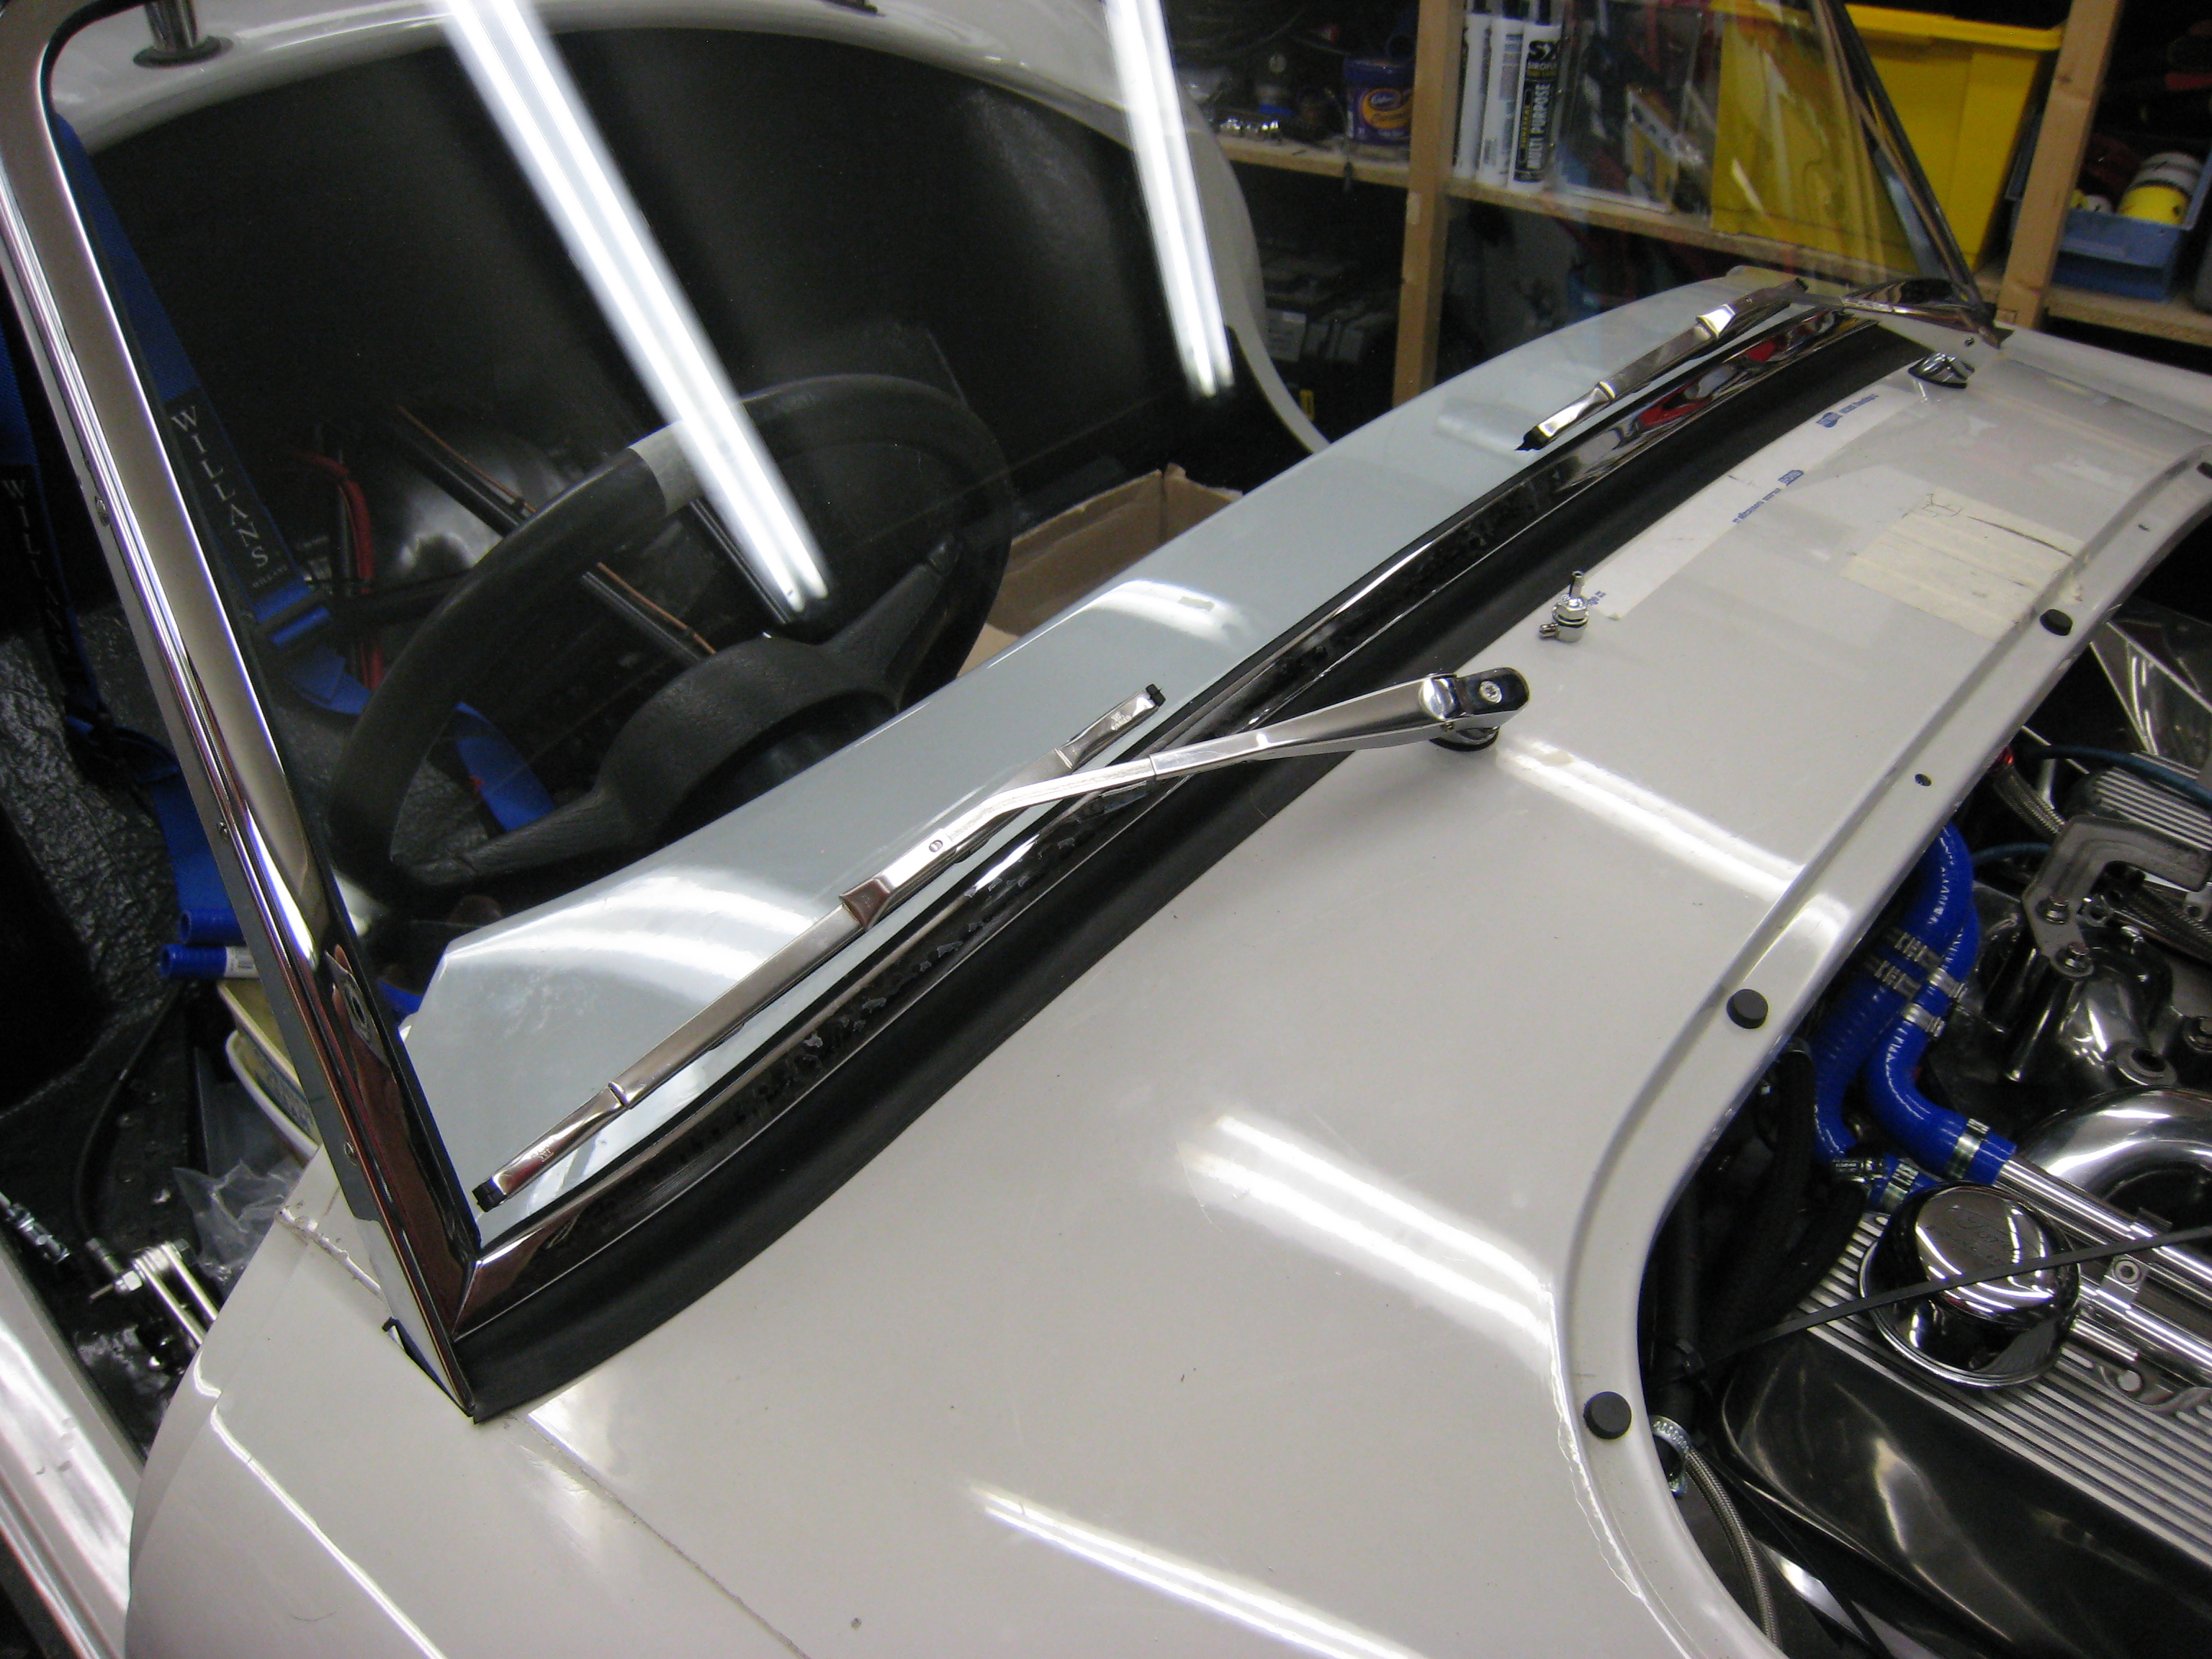
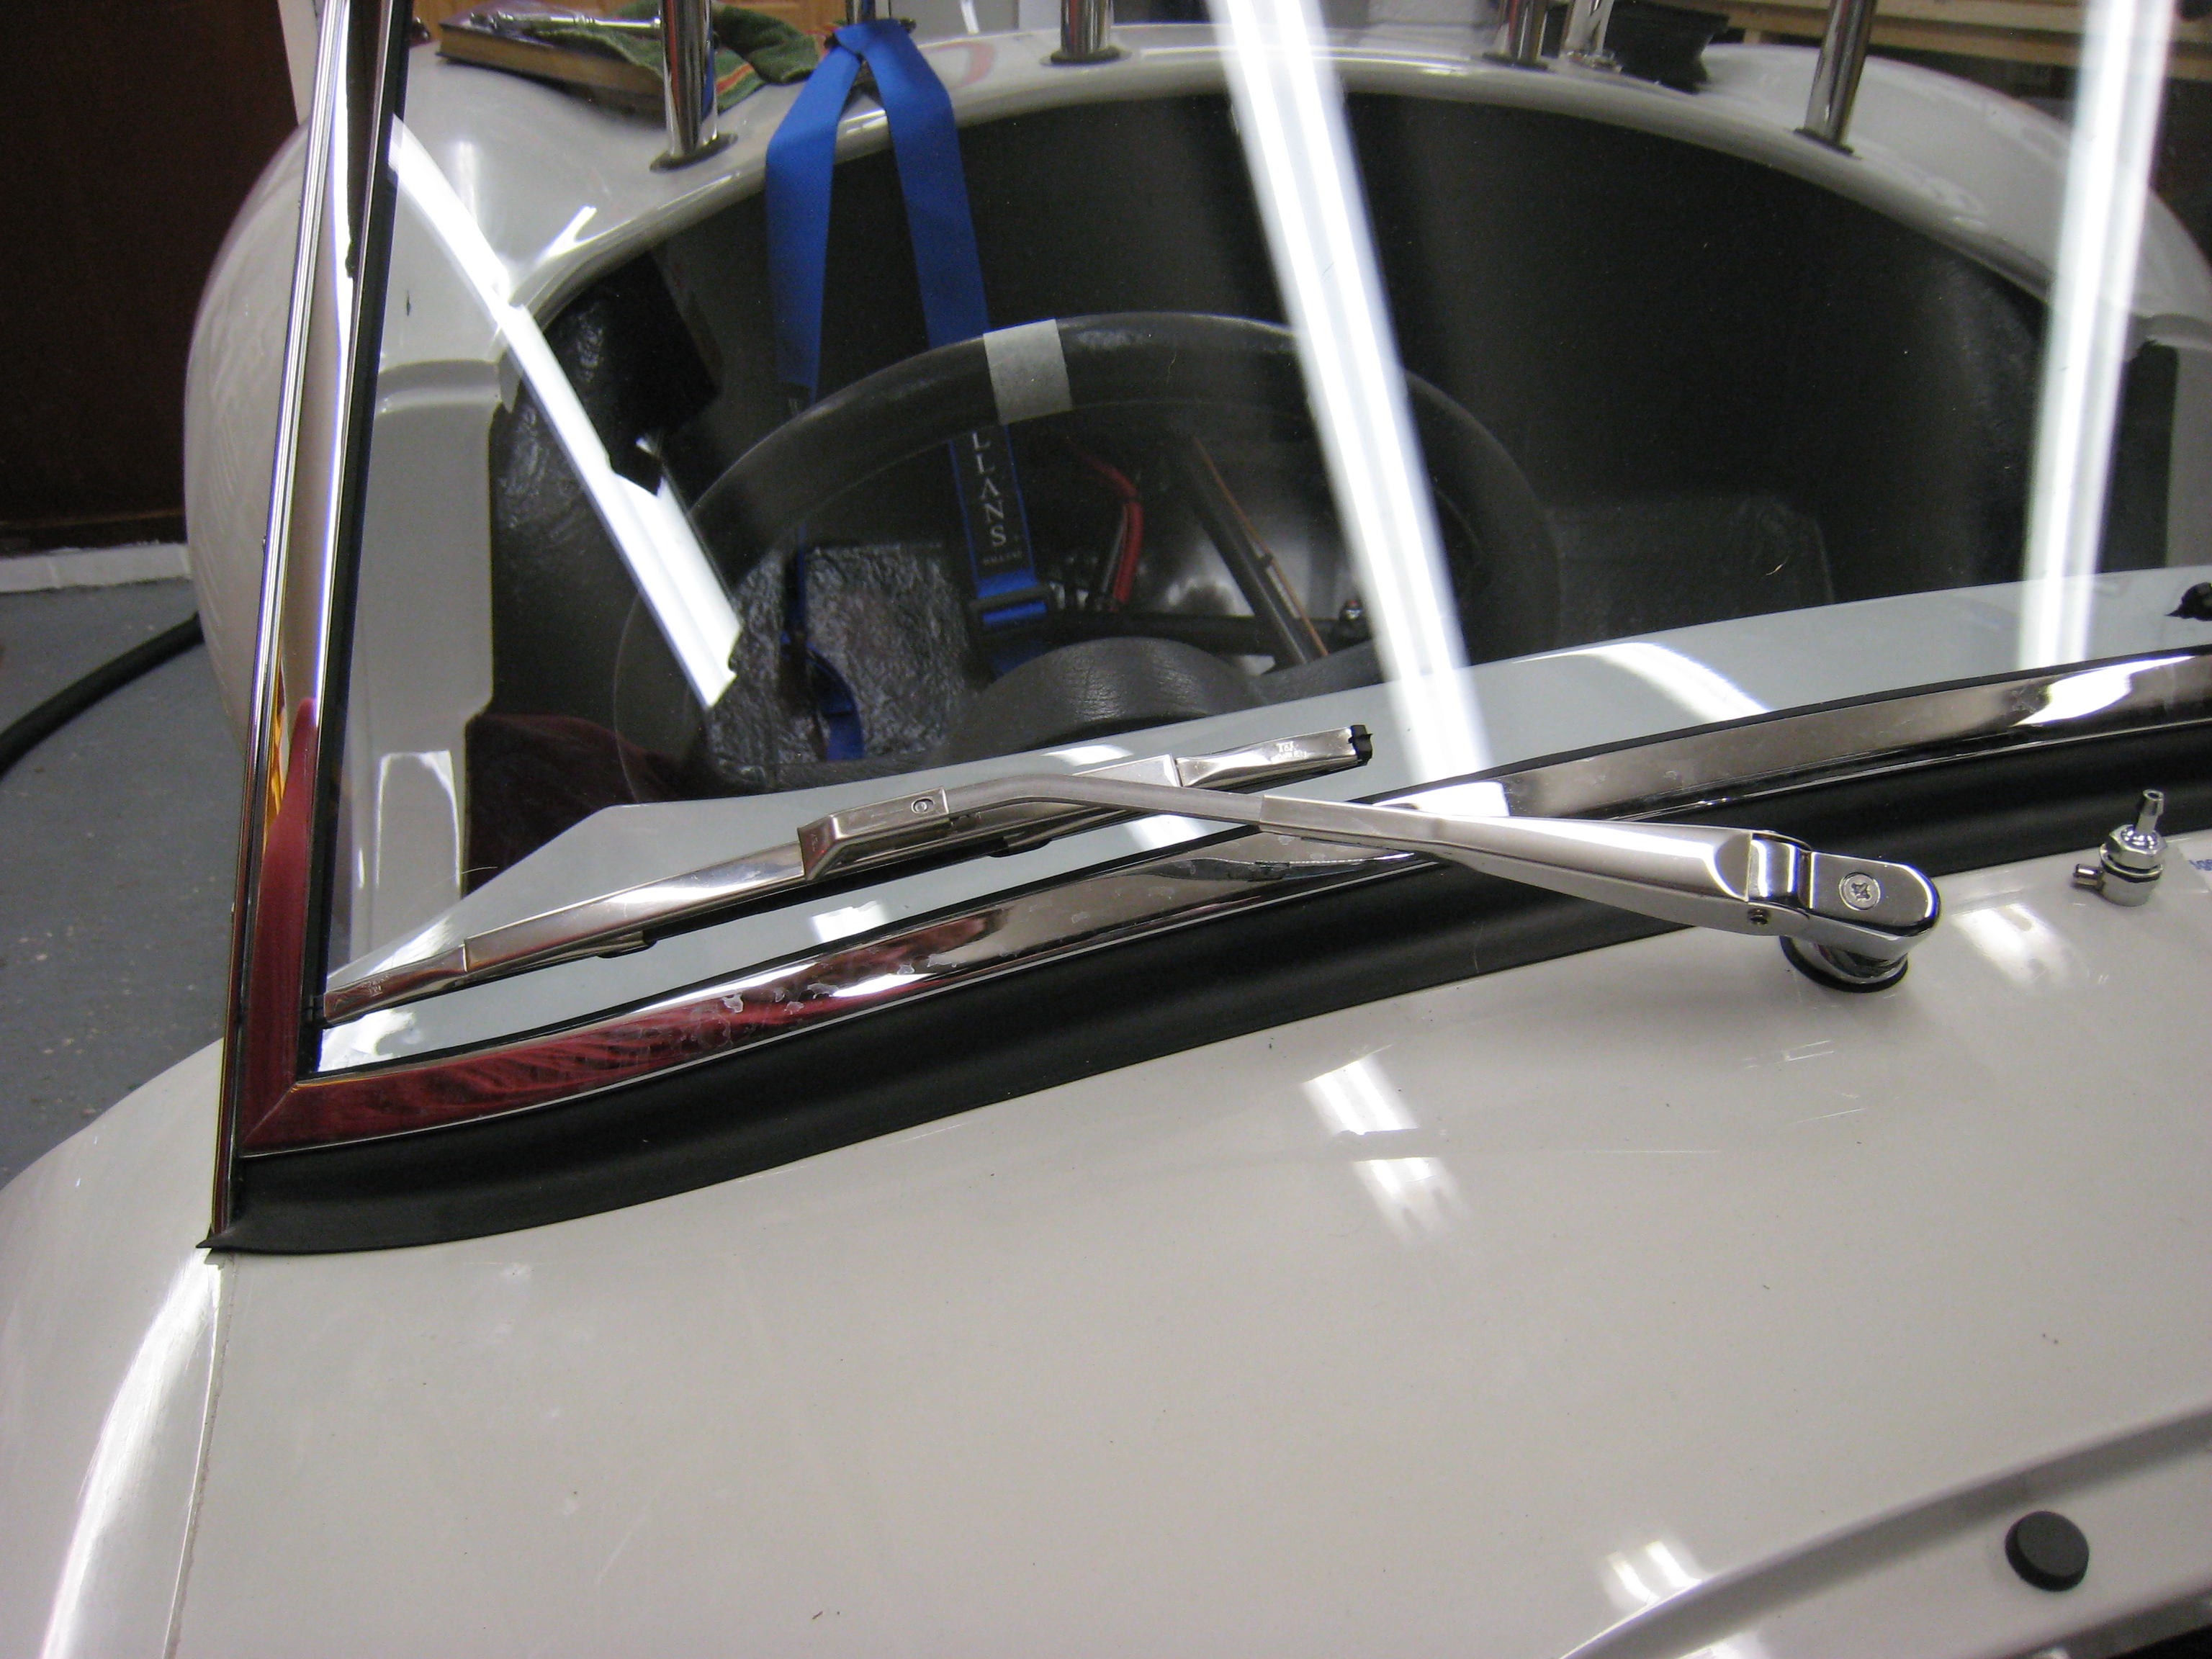
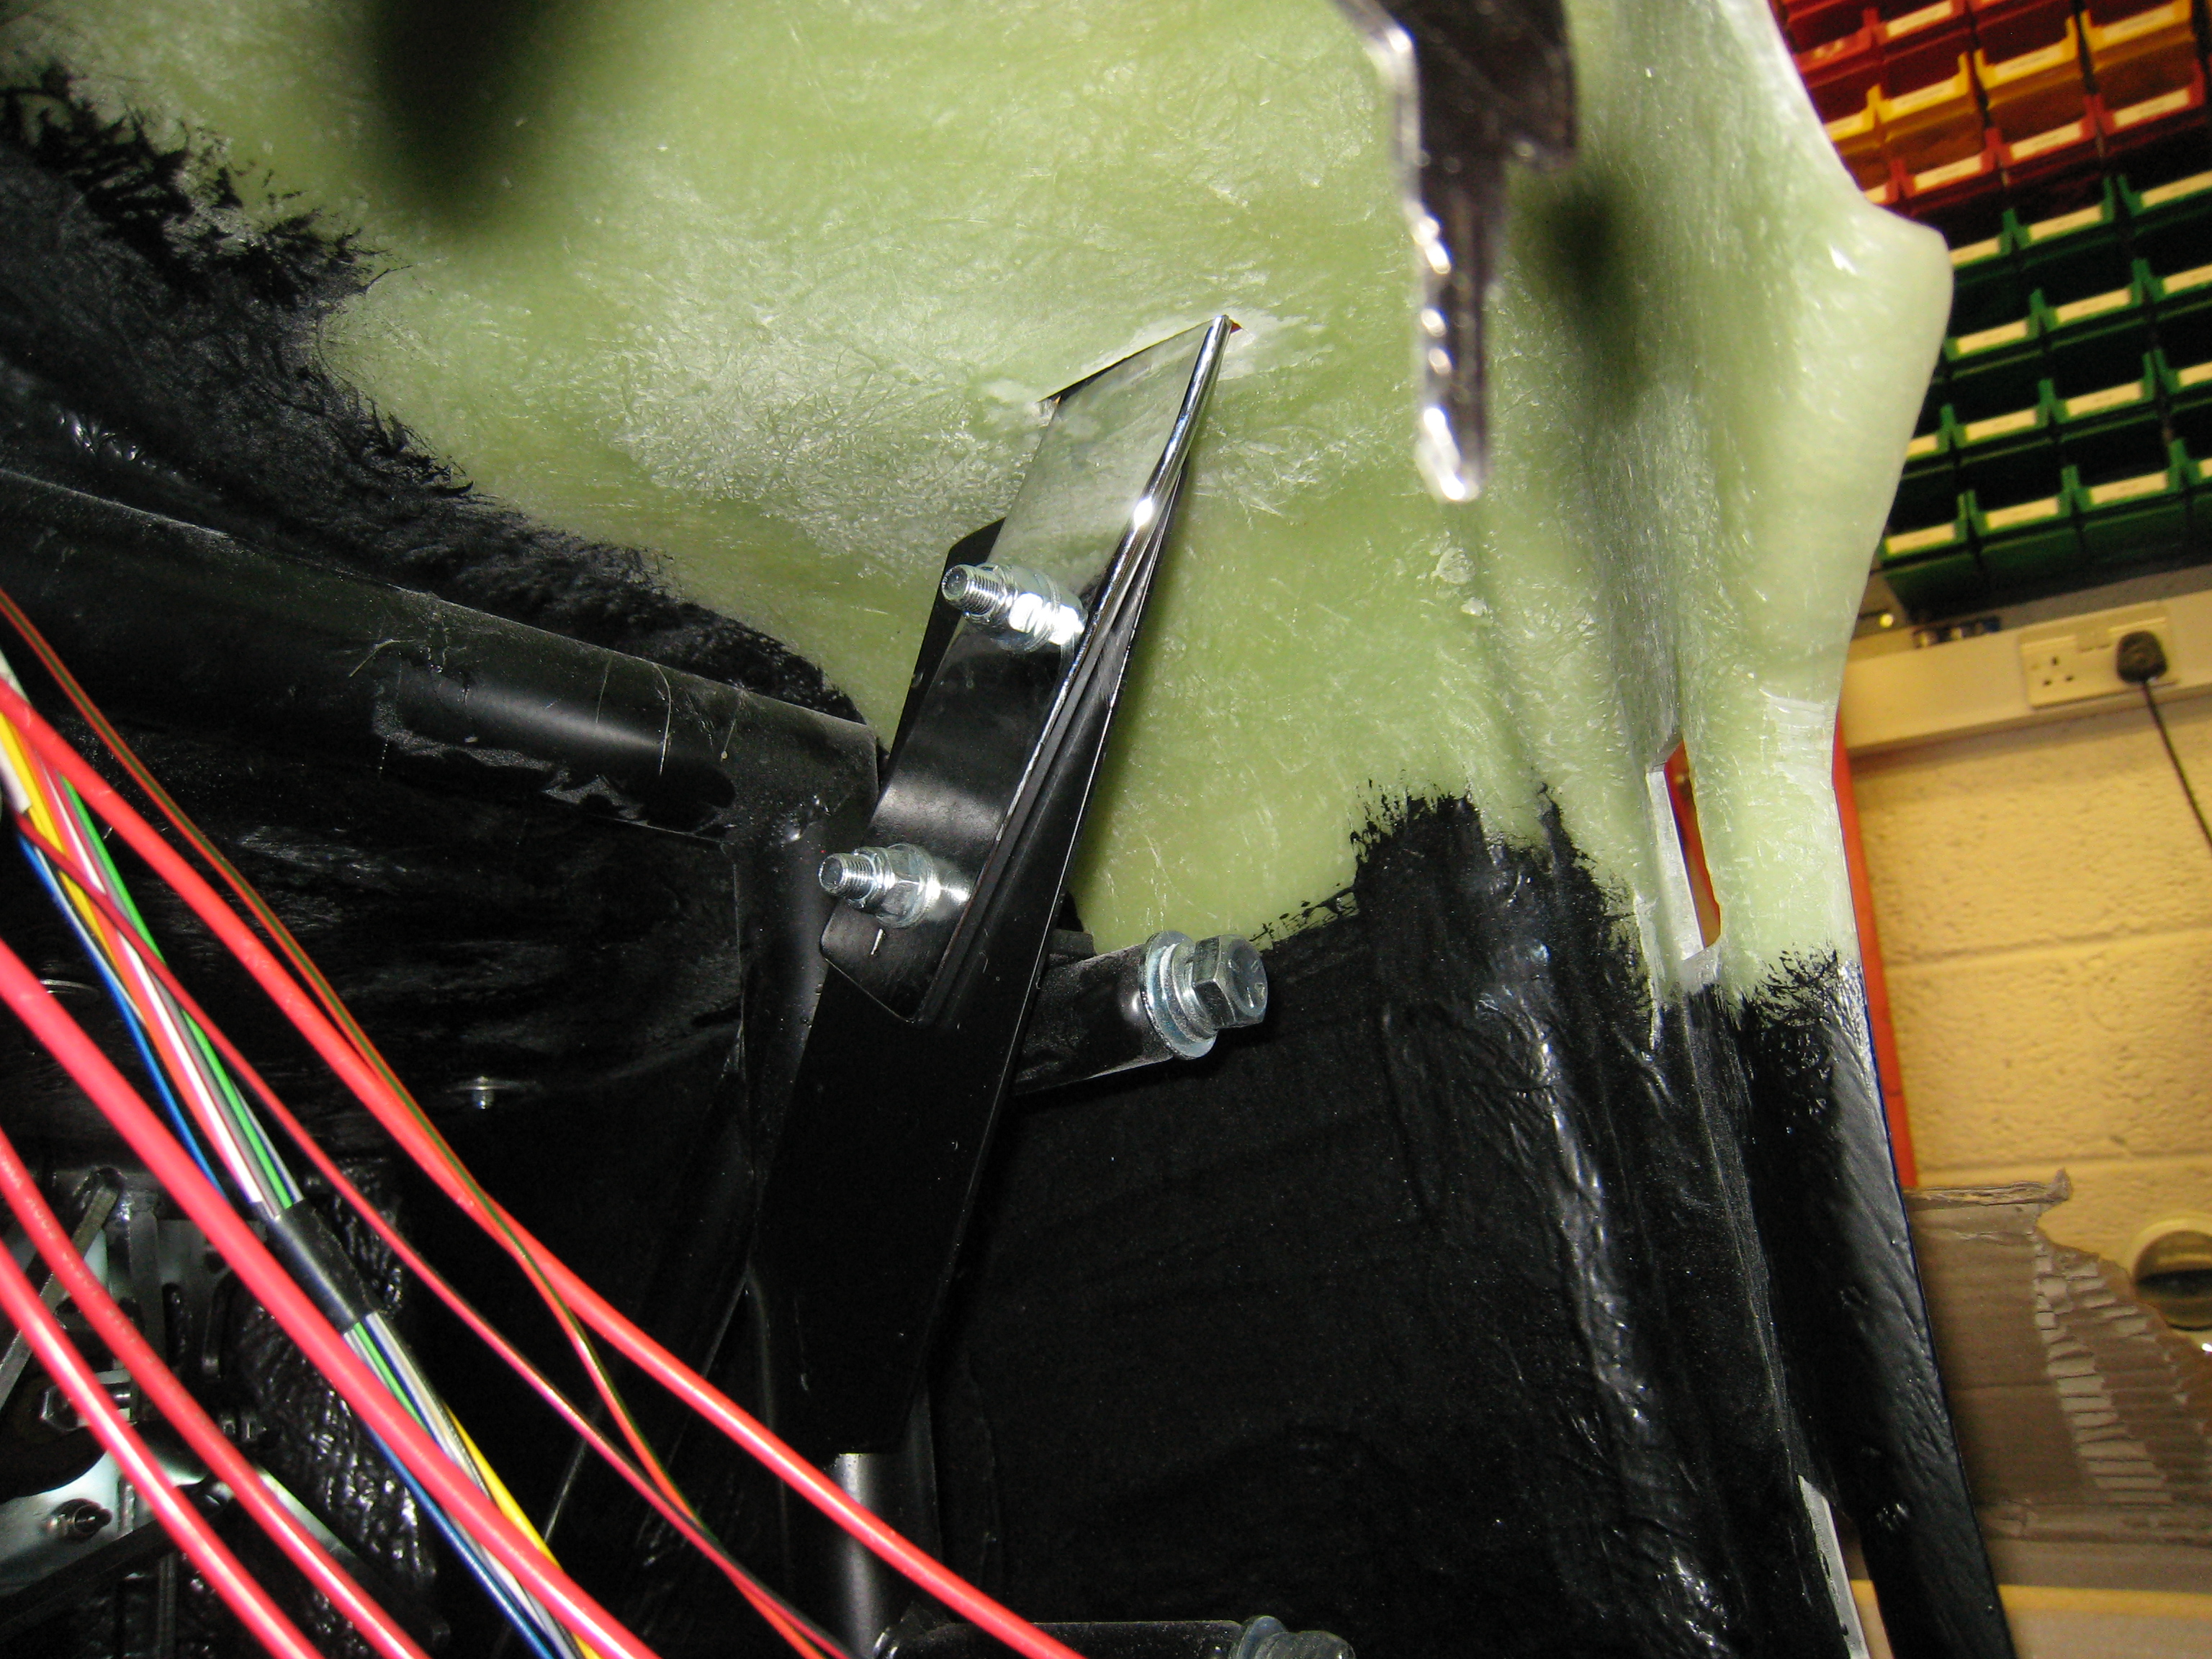
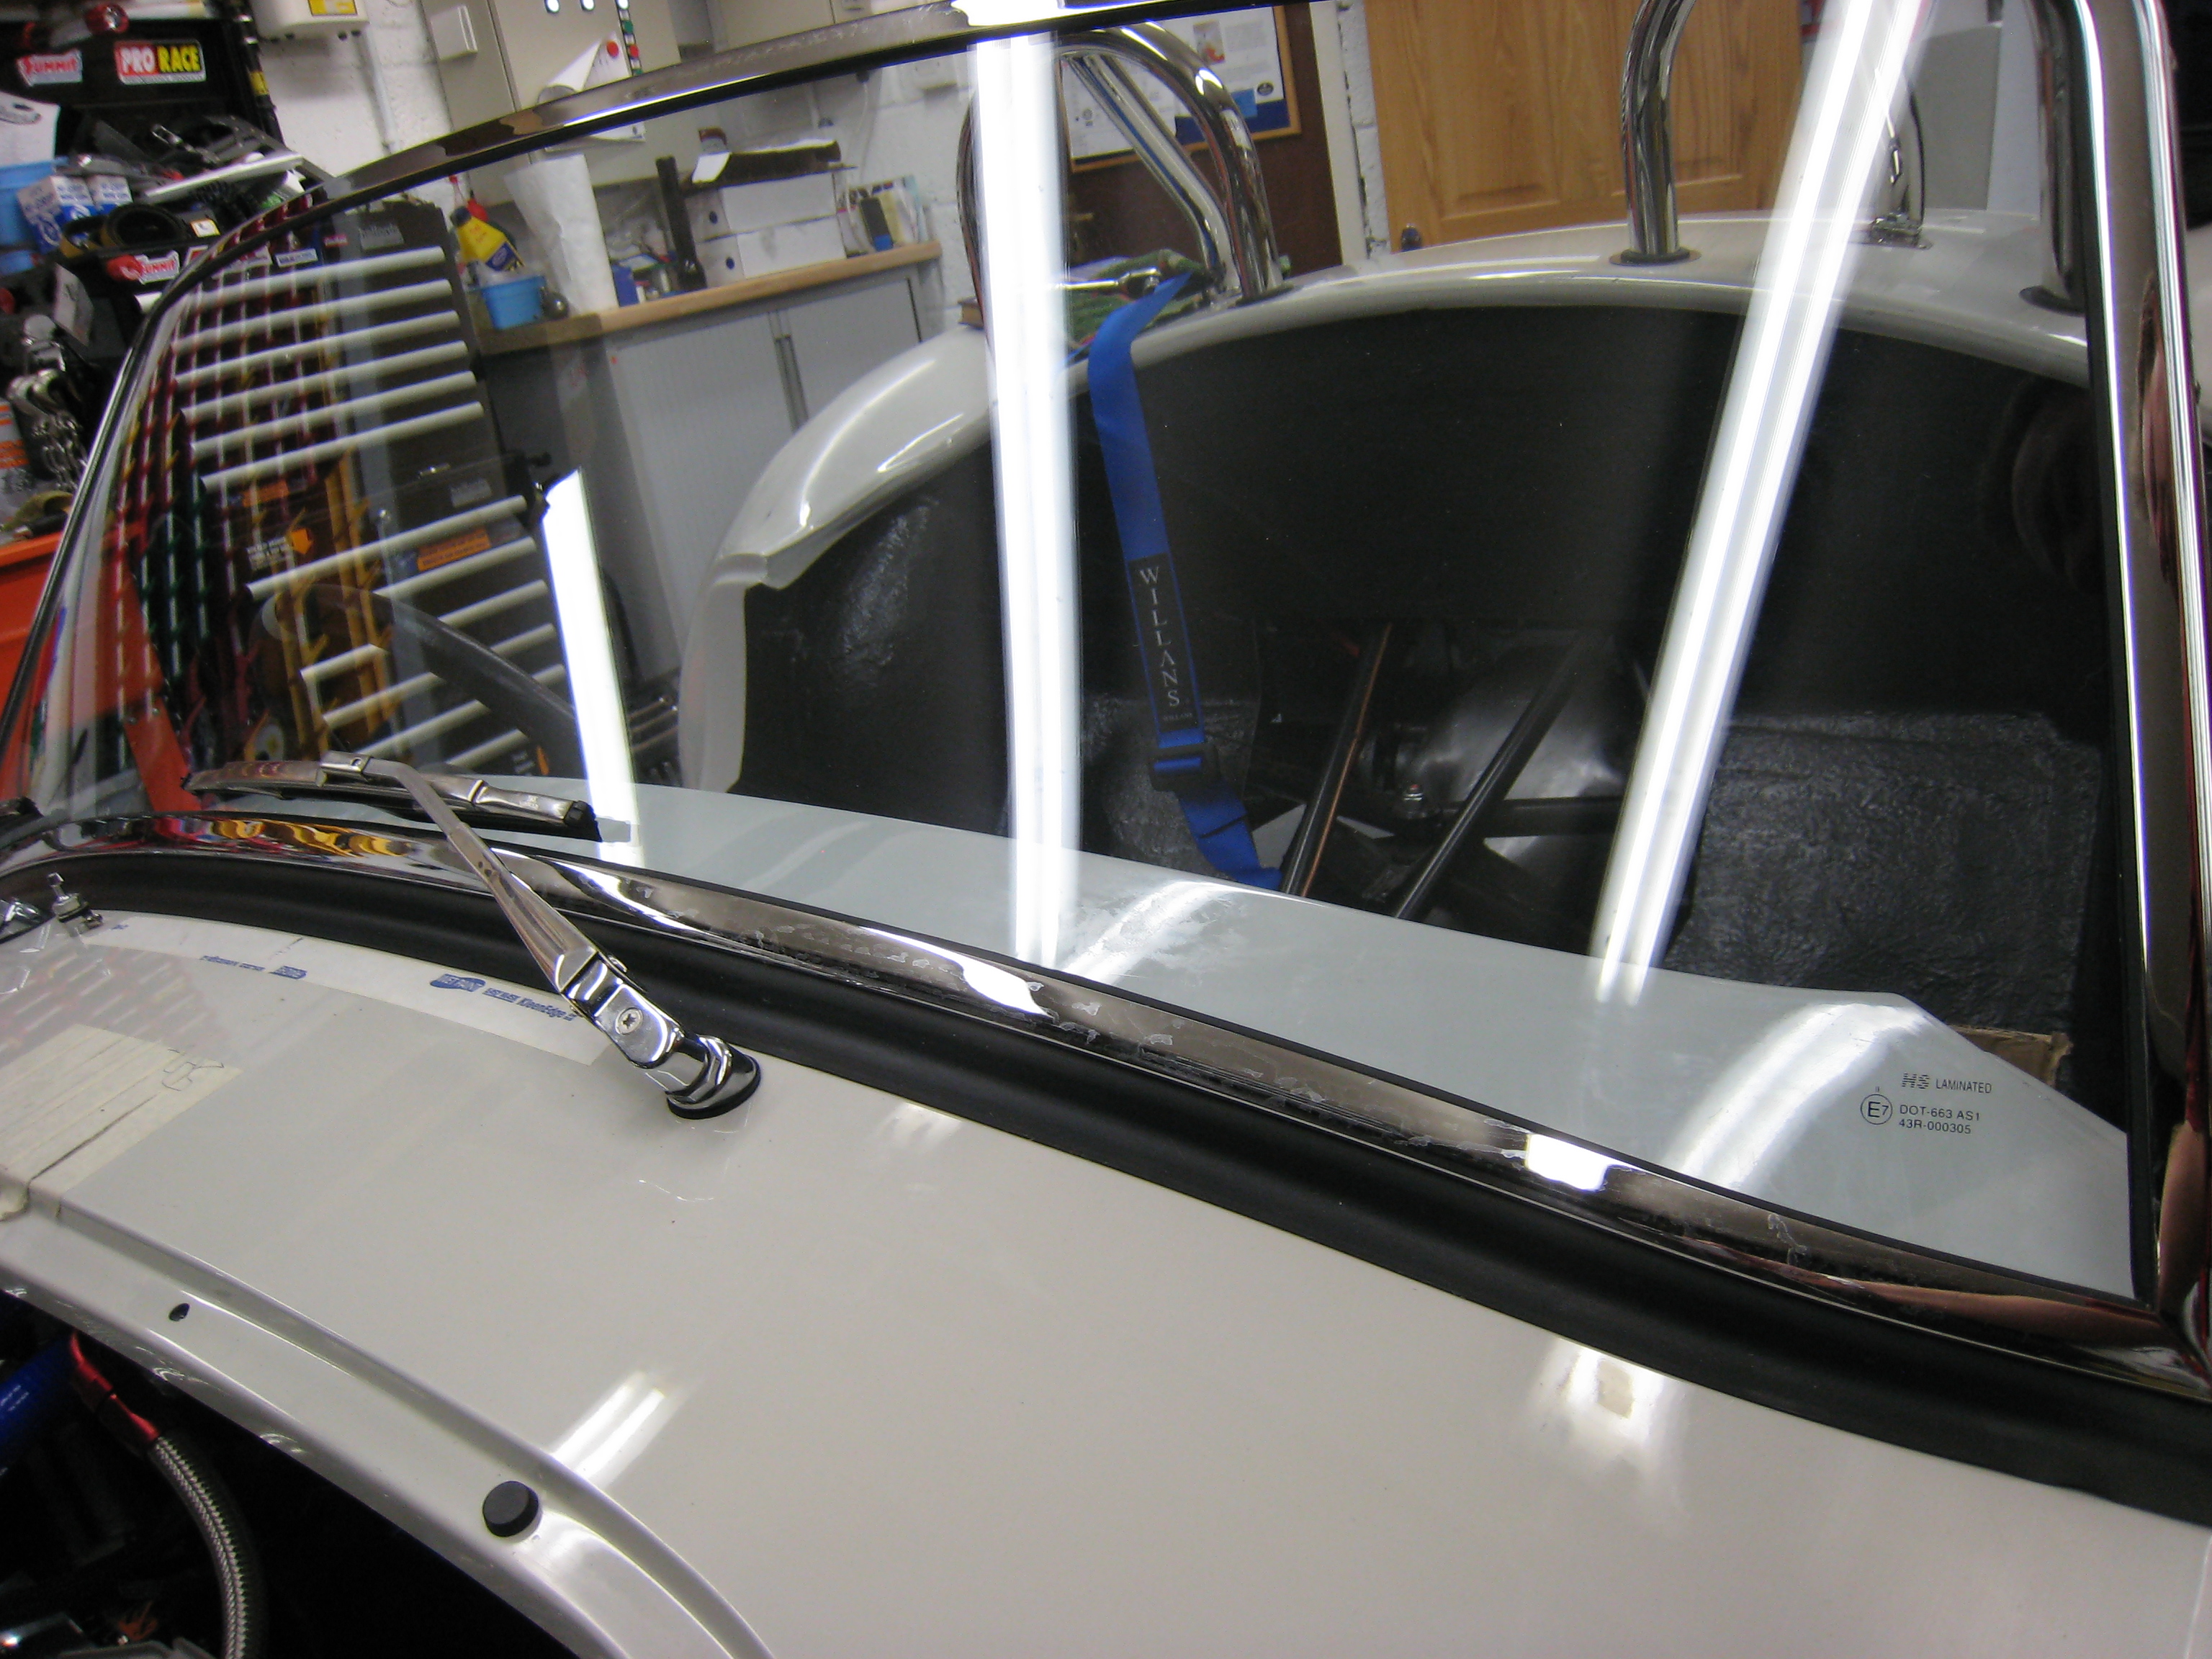
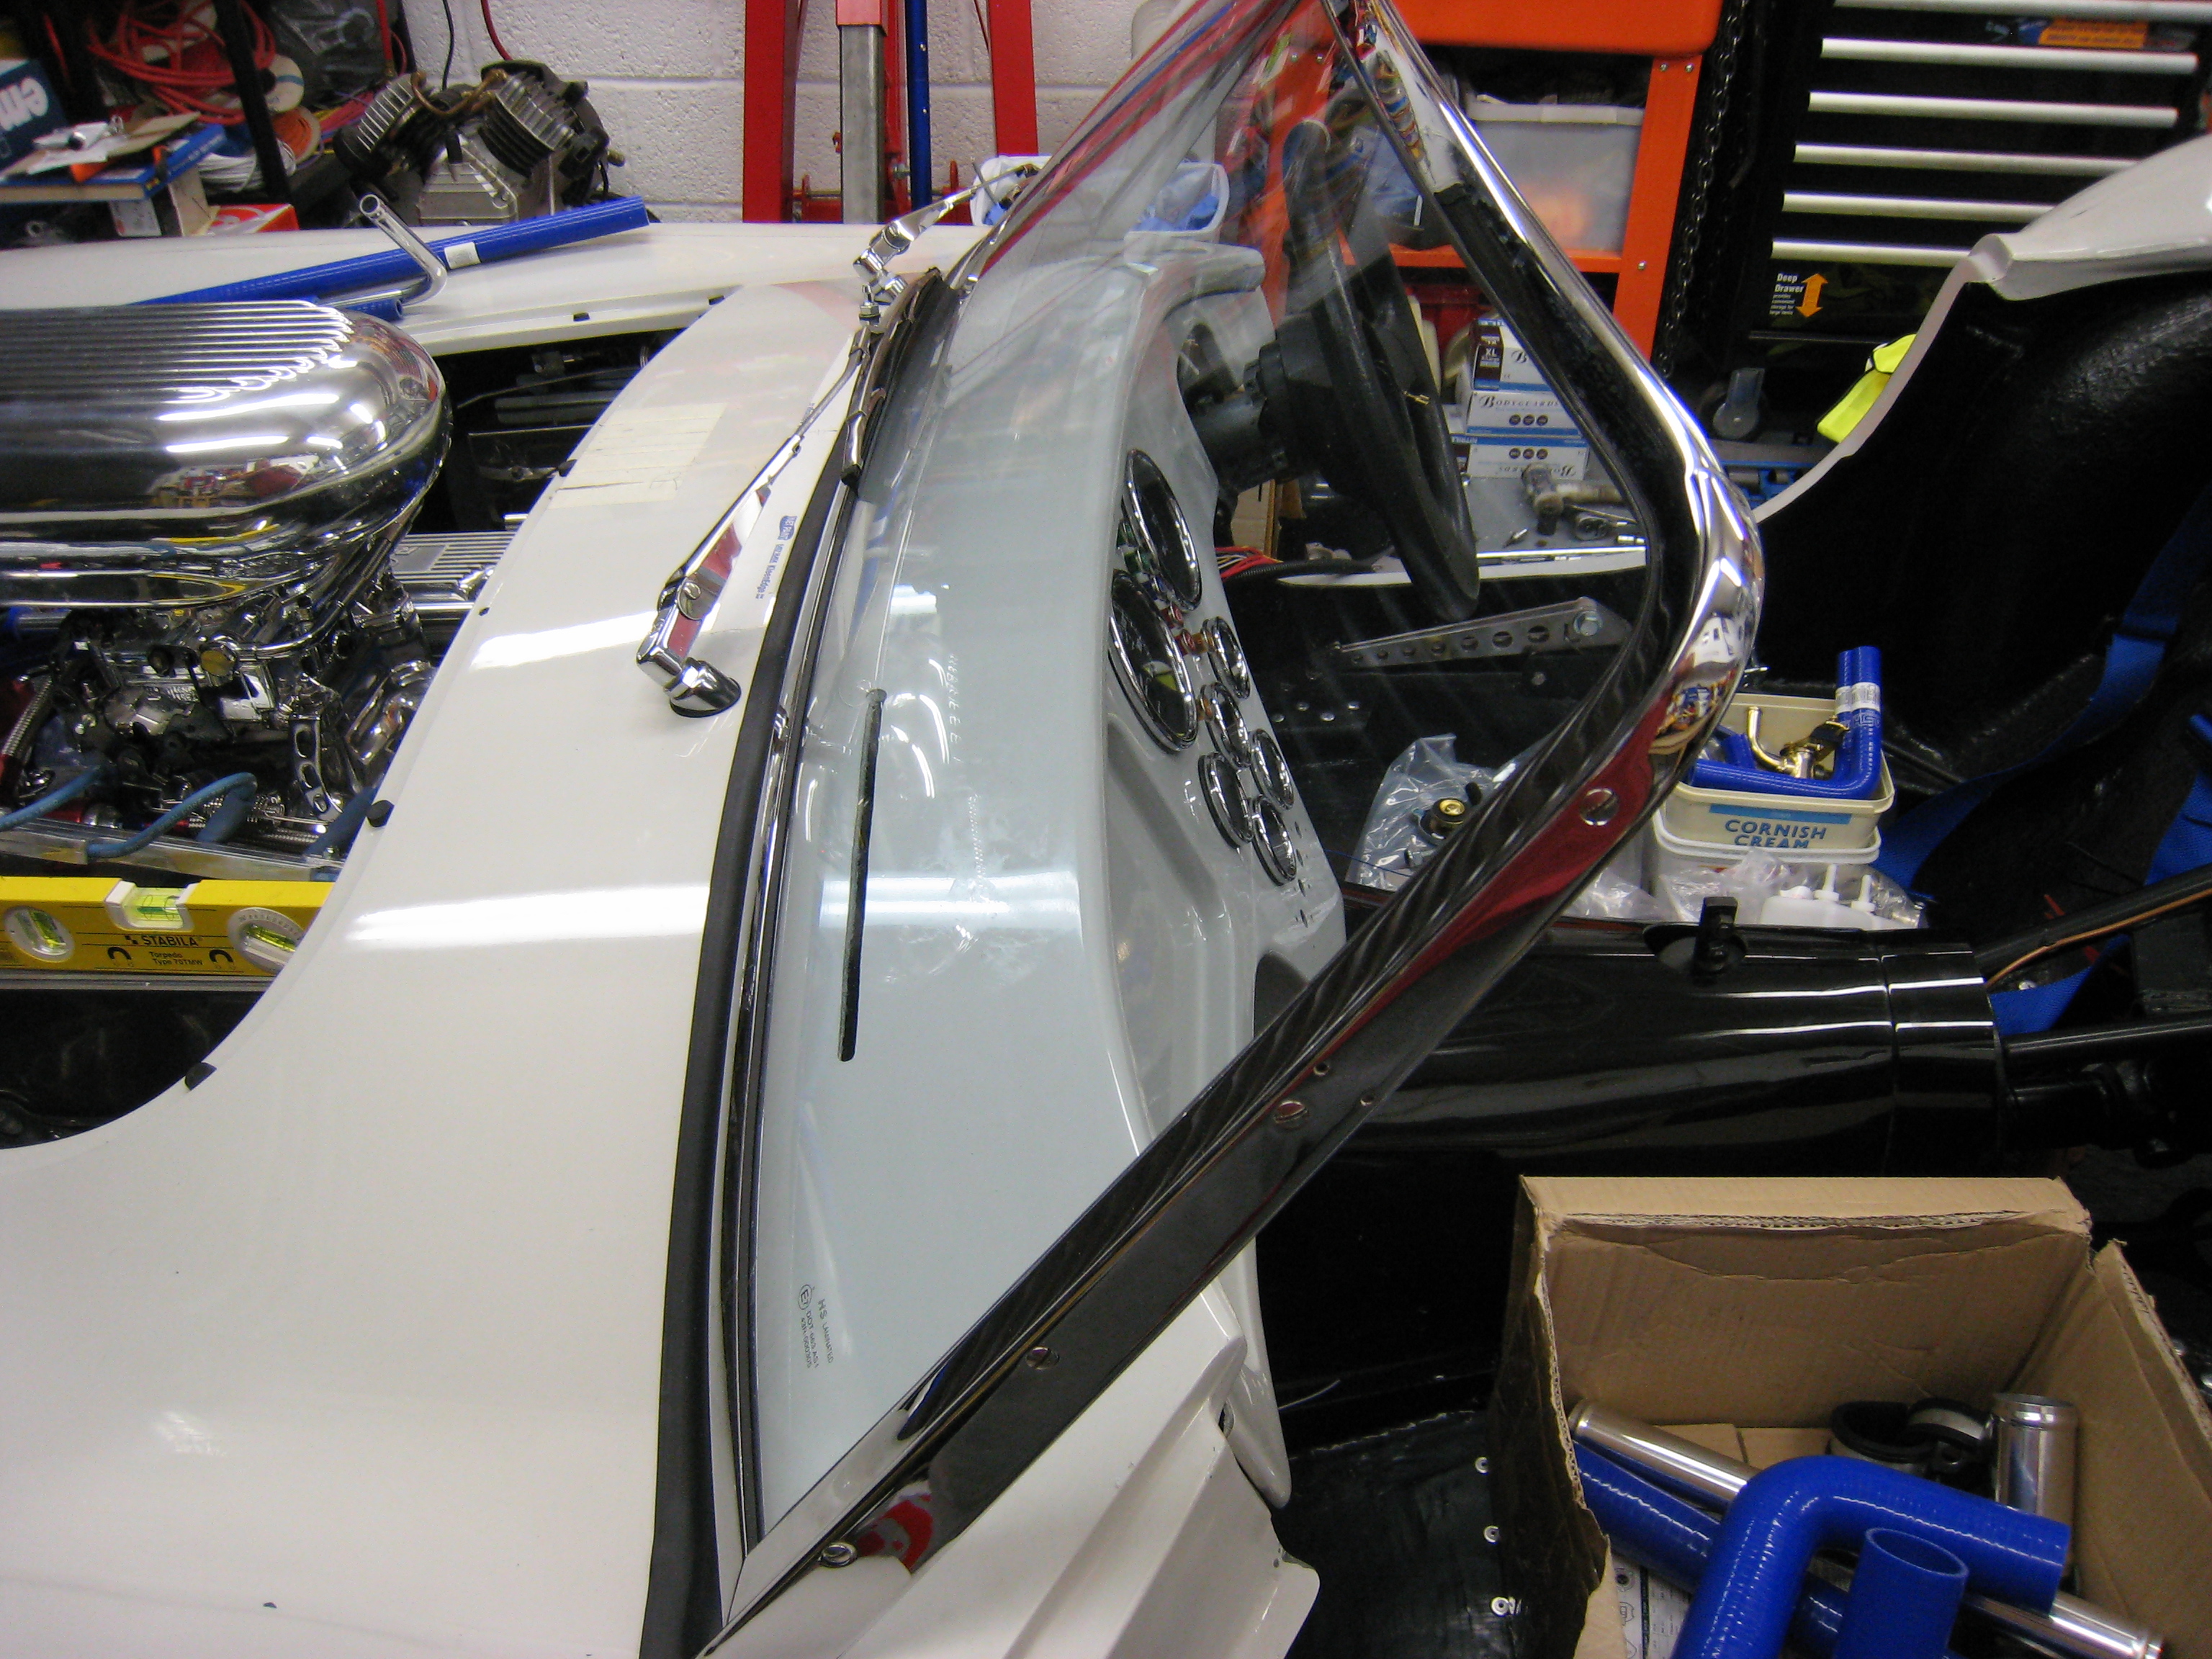
Windscreen & Wipers
Frustrated with the lack of progress on the kit I decided to do something positive and fit the windscreen so that I
can place the wheel boxes and vents under the dash before I tackle the wiring. The windscreen itself is fairly straight
forward as other then getting the rake right it fits in the pre cut holes. The wipers were also pretty easy, the arms
needed shortening and bending to a better angle to align with the windscreen.


Still Waiting...
The prop shaft saga continues, I finally received a replacement only to find that this was now supplied
too short !!. It seems the drawing I gave to Simon (dax) when I returned the original supplied one which showed
the exact dimensions I needed never made it as far as the prop shaft company.
So I am now waiting yet again for the correct sized prop shaft, currently I am at week 5 (as of 25/08/2012) and as
you can imagine not very impressed, although to be fair to Dax its their supplier who is holding things up, but
Dax's customer service could be a bit better as they don't seem to want to return calls.
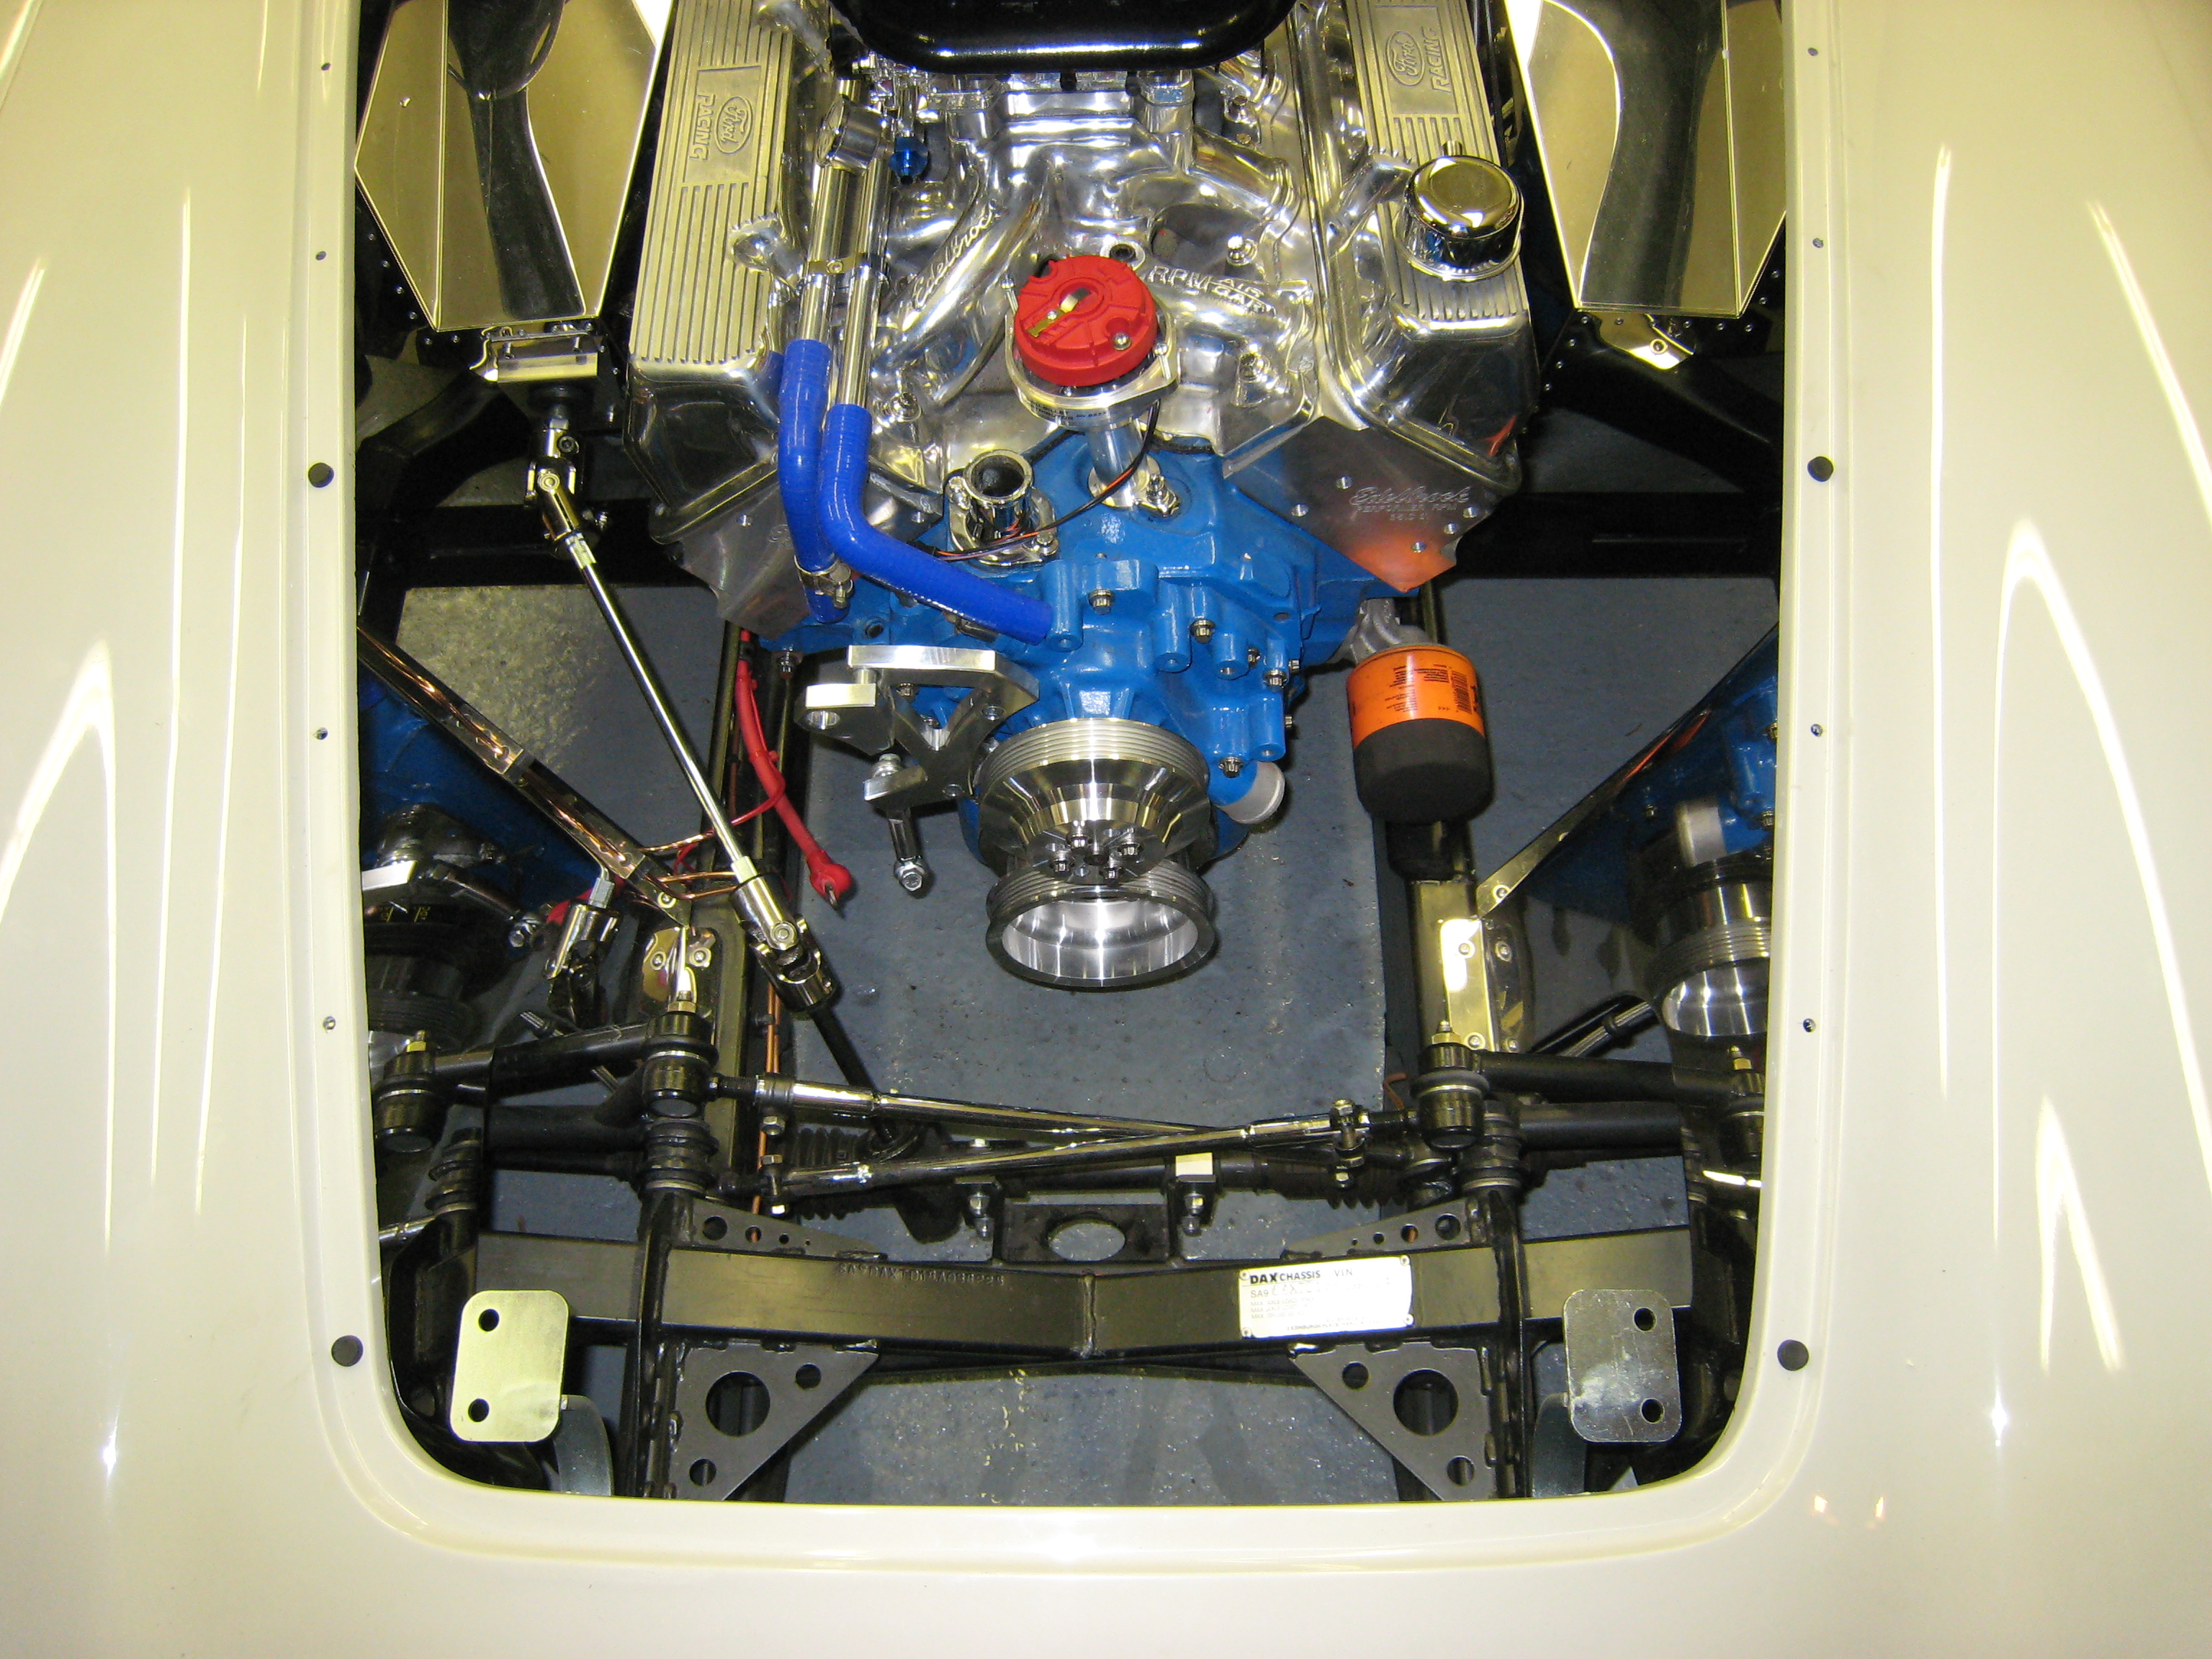
Engine In
Now the brake lines are finished the engine can go in. There are no pictures of the engine installation as
tension was high enough in the garage without us trying to stop a photograph it. Suffice to say that you need
an engine crane with a long reach even if you fit the engine from the side as we did.
Another top tip would be not to support the engine from each end of the head as when you try to position the
engine at the rear the heads sit under the lip of the bonnet. We ended up with a trolley jack under the gearbox
and the hoist on the front of the engine only (once the engine was in the well).
Here are a few pics of the engine in its home, not sure yet if it’s for the last time as the supplied prop shaft was
50mm too long so I am waiting on Dax to supply a replacement, this hopefully fits without having to pull the engine
out.
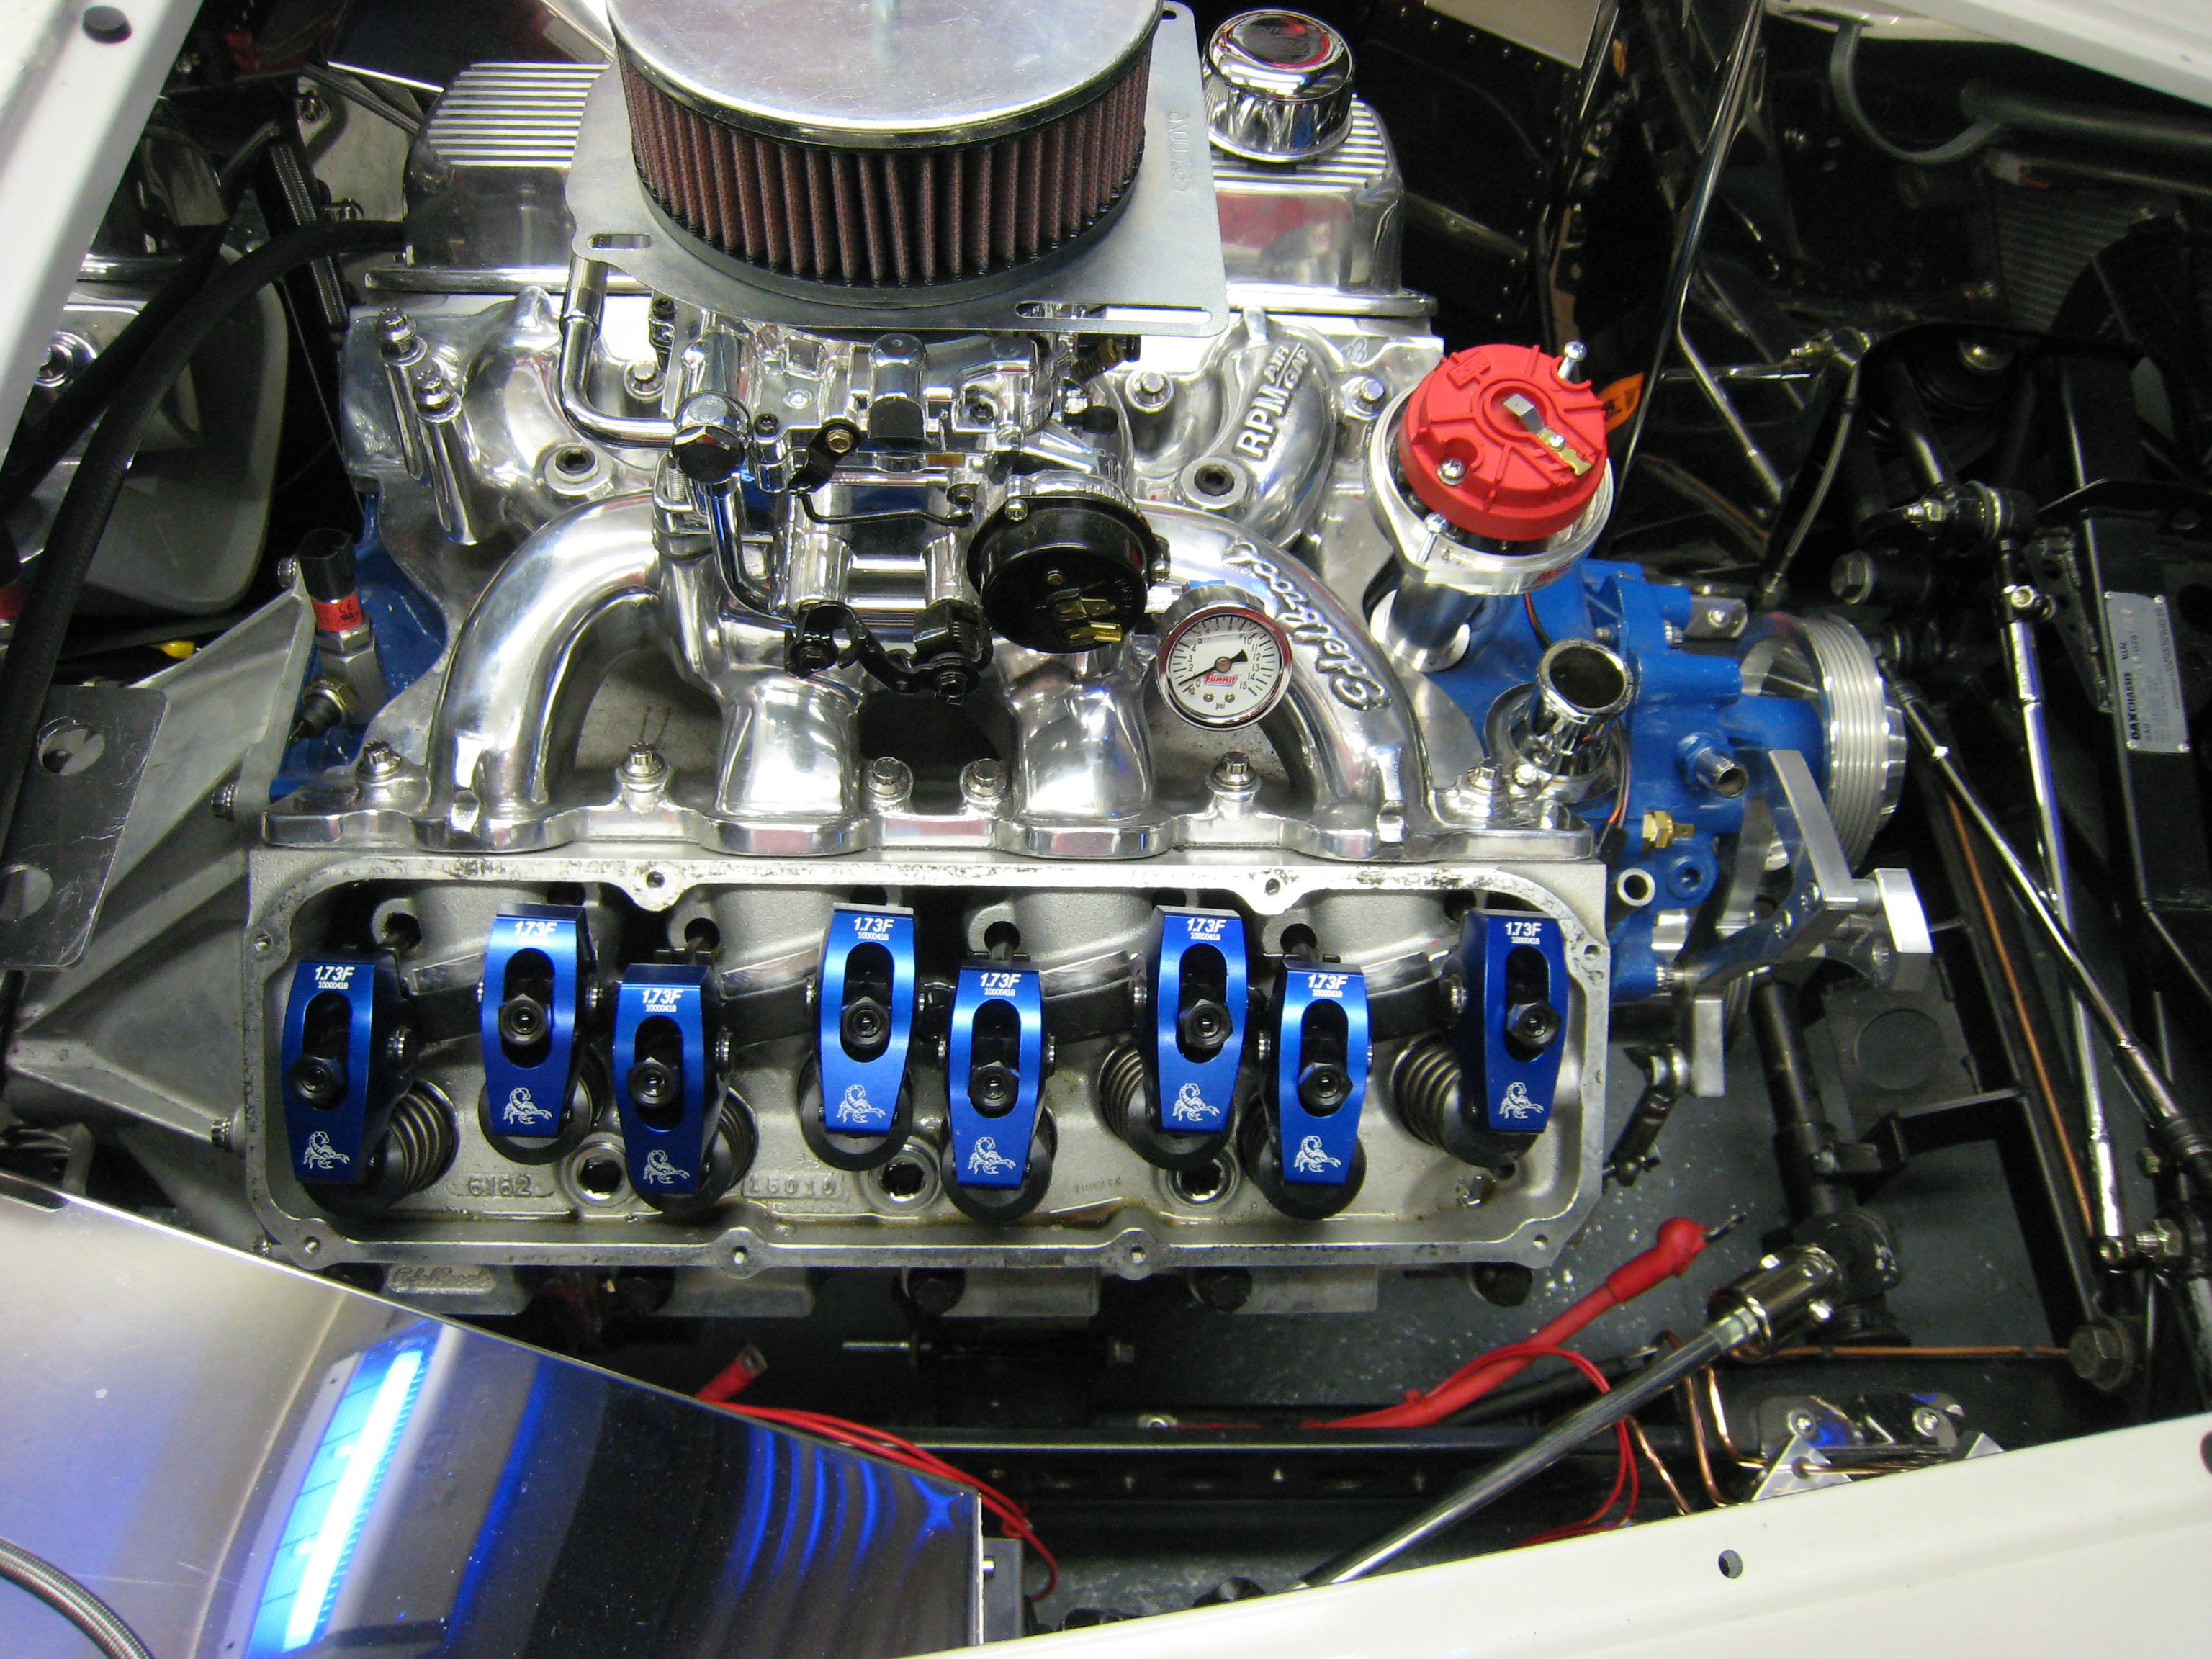
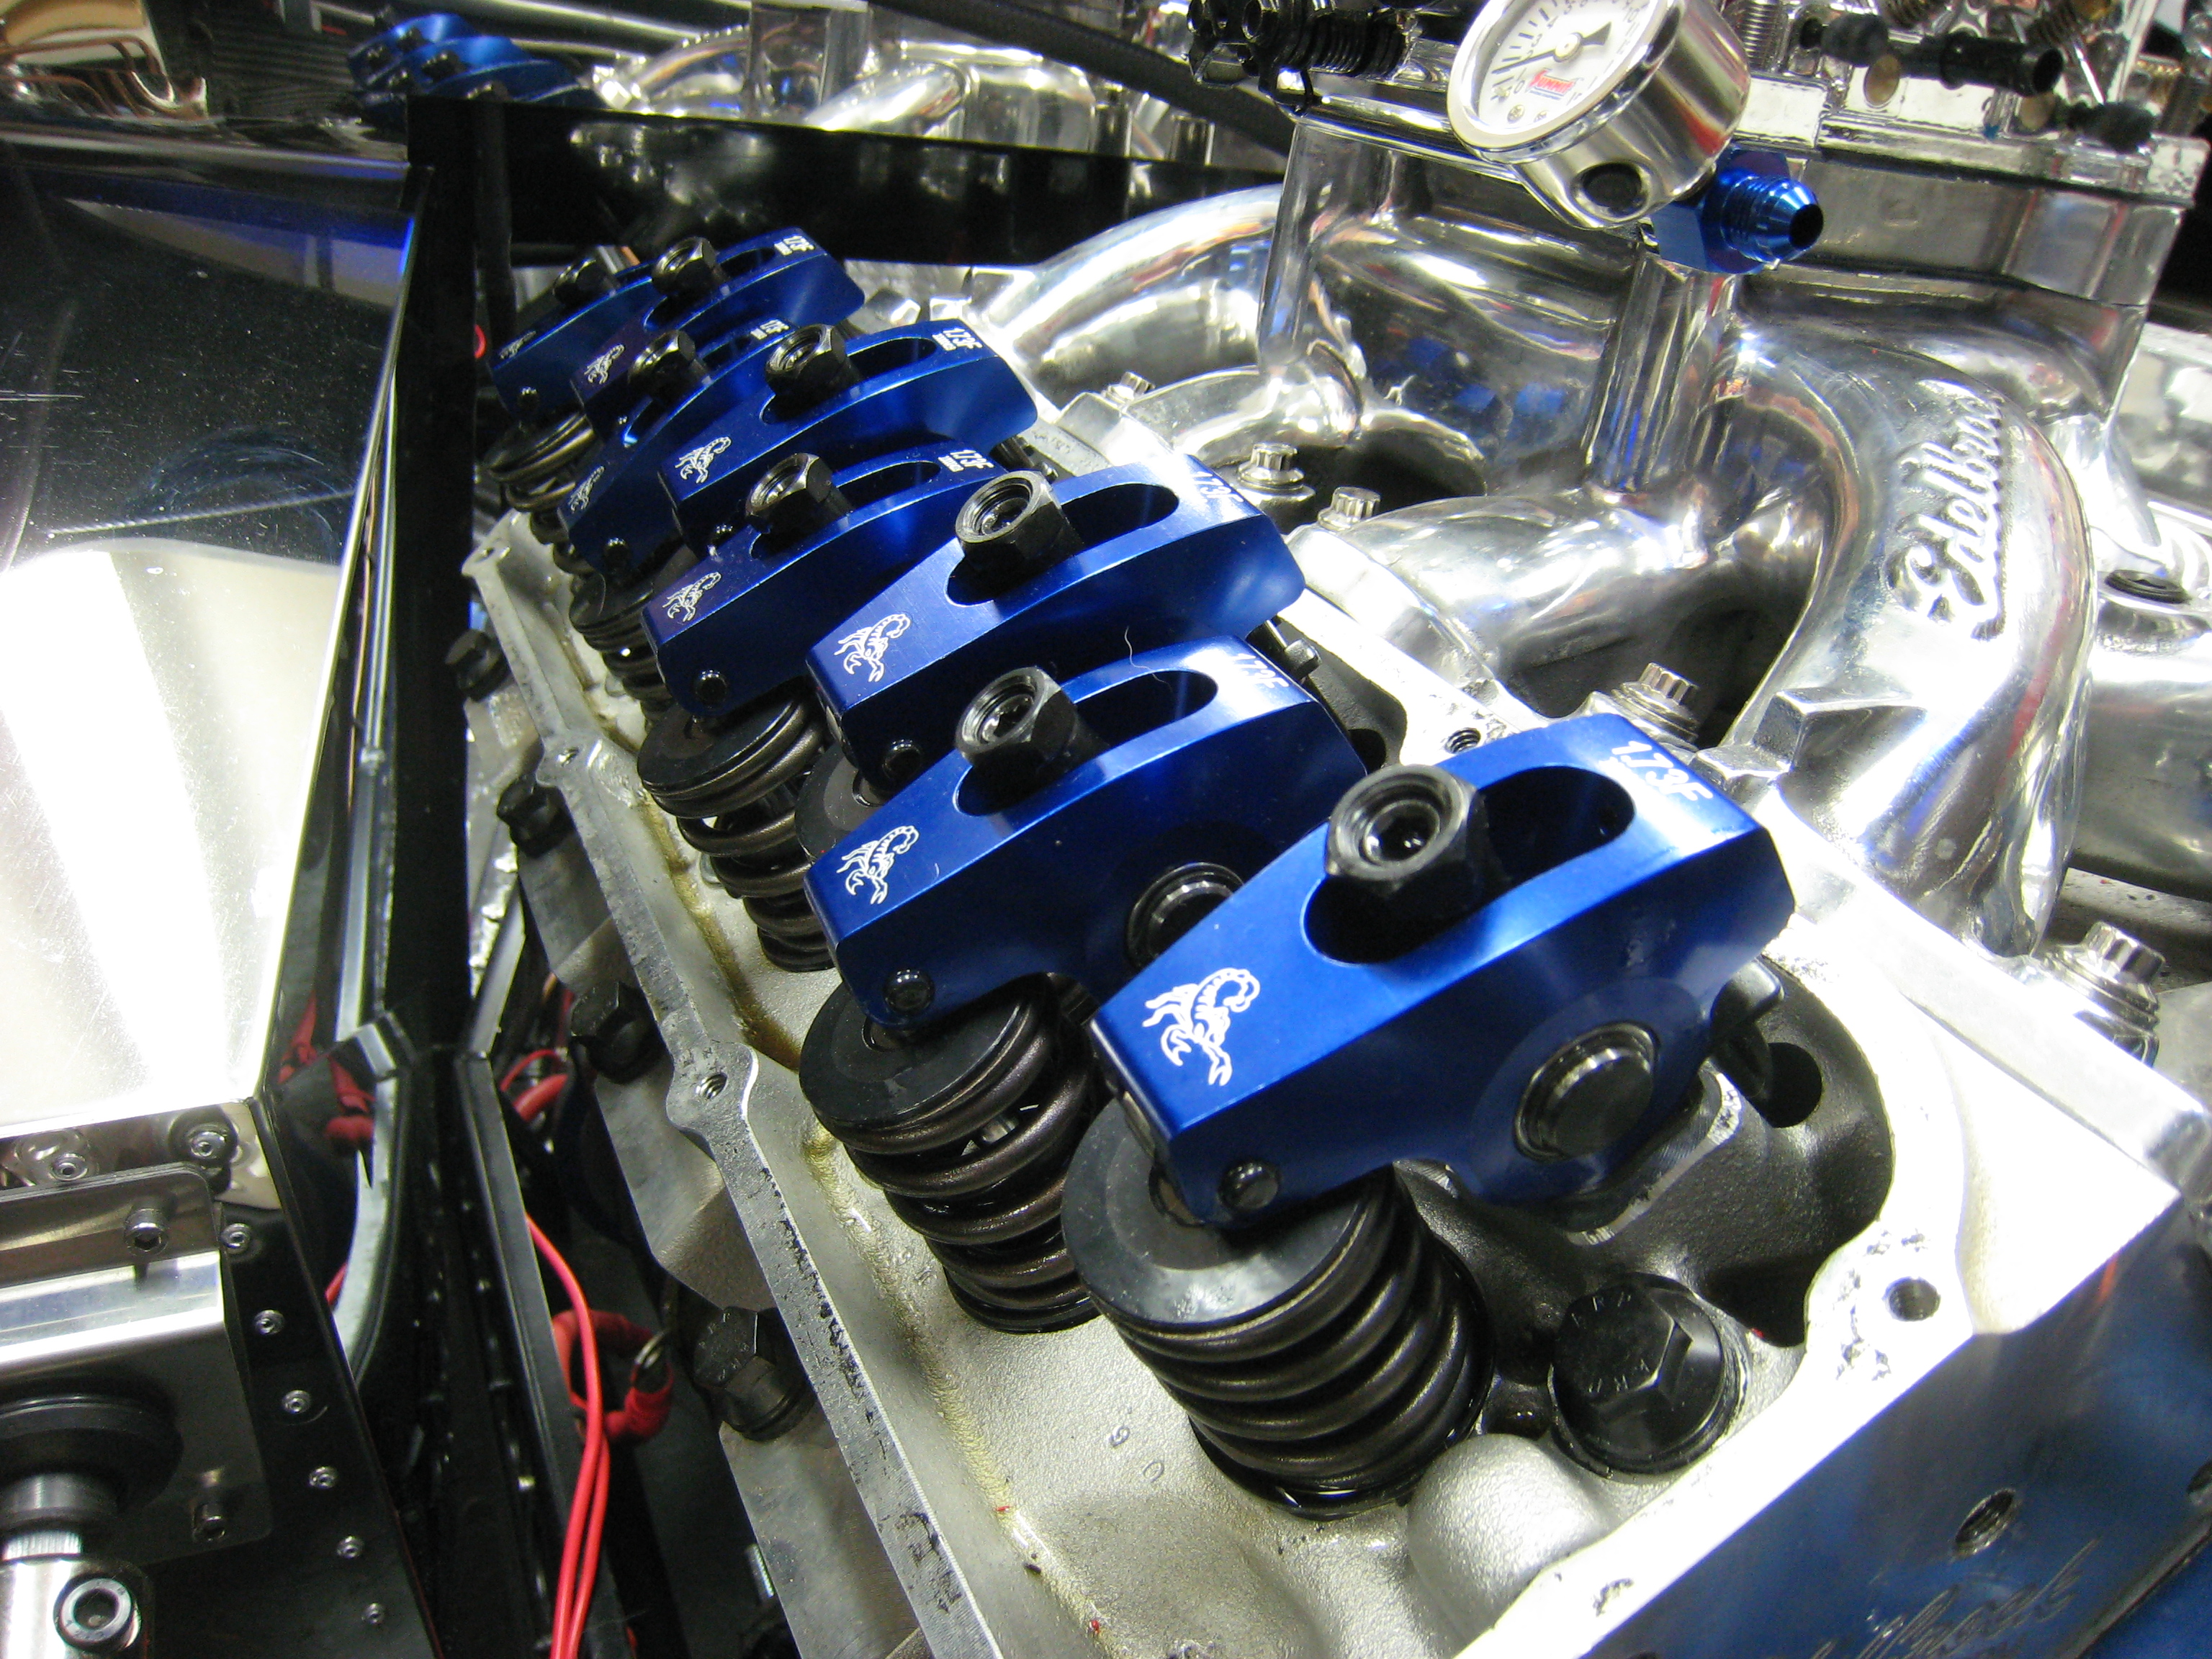
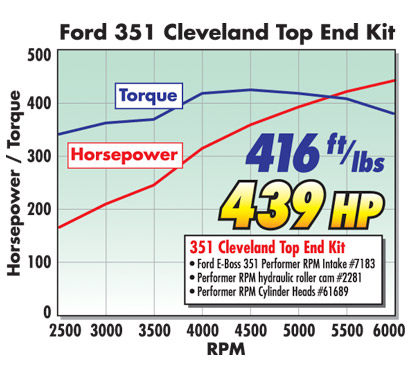
Found a graph on the Edlebrock website showing what they managed with components the same/very similar to mine, should
be very interesting to see if I get near these figures, not sure I'll be pushing the engine to 6000 rpm though.
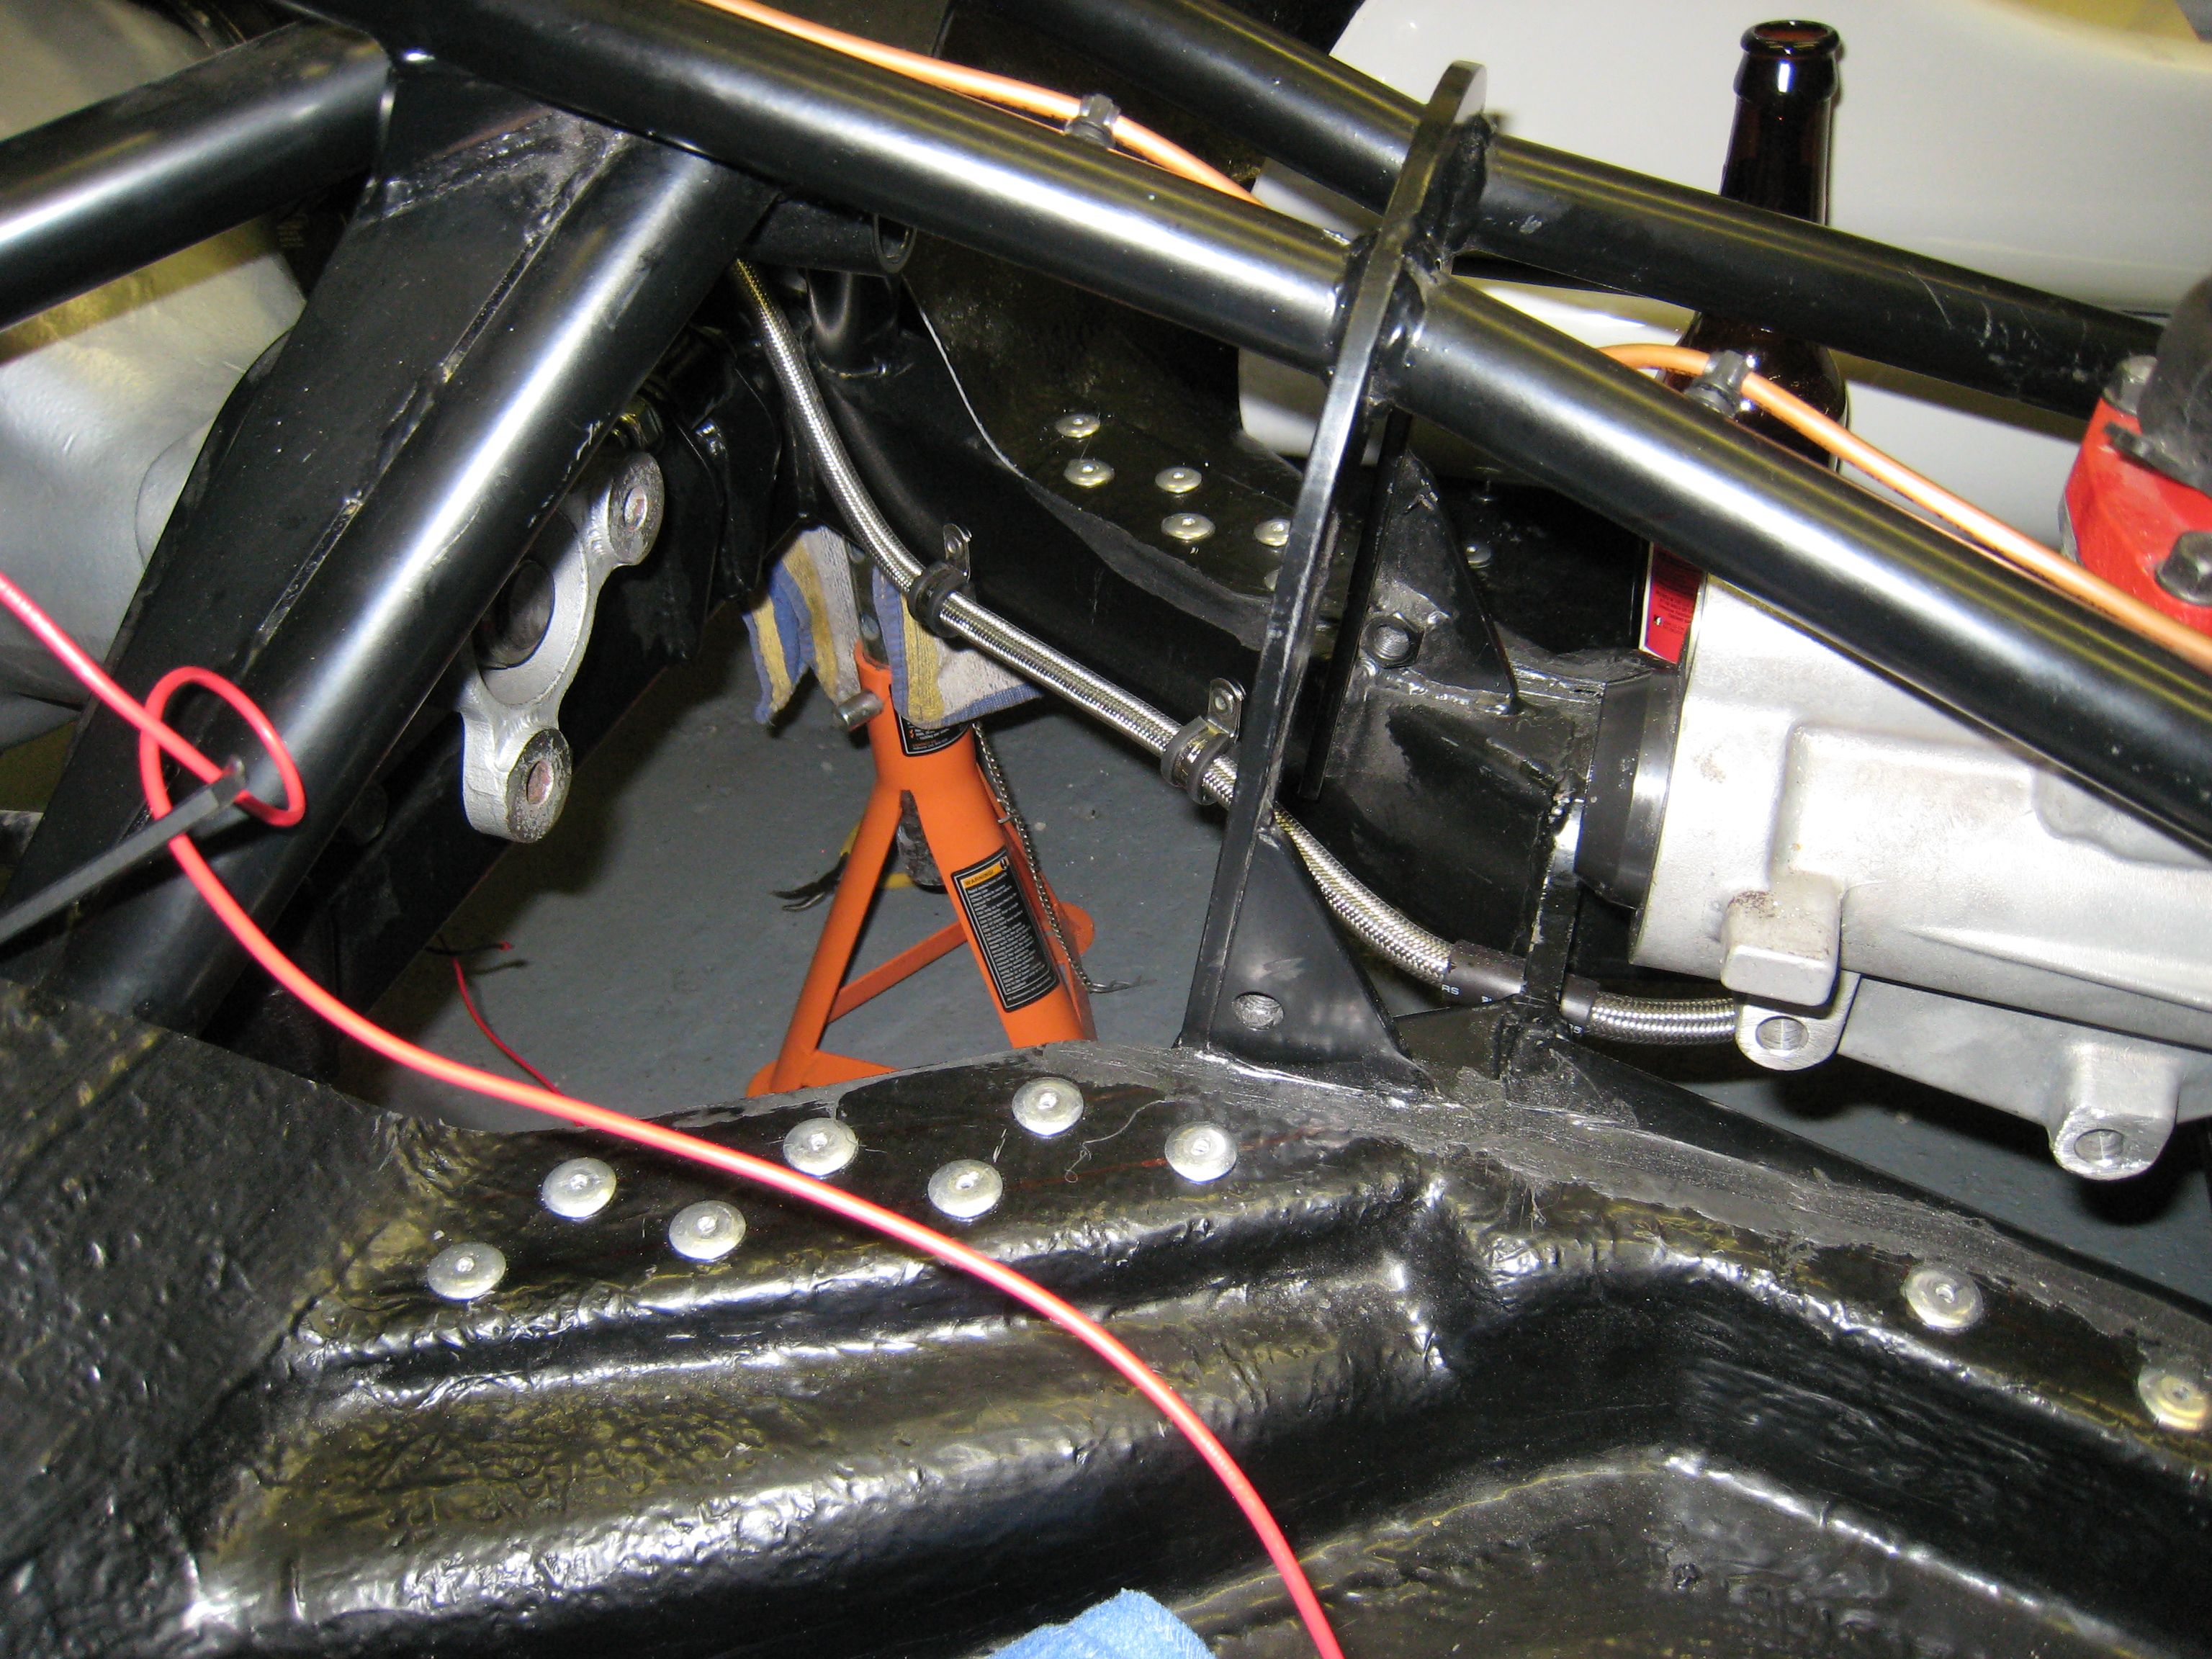
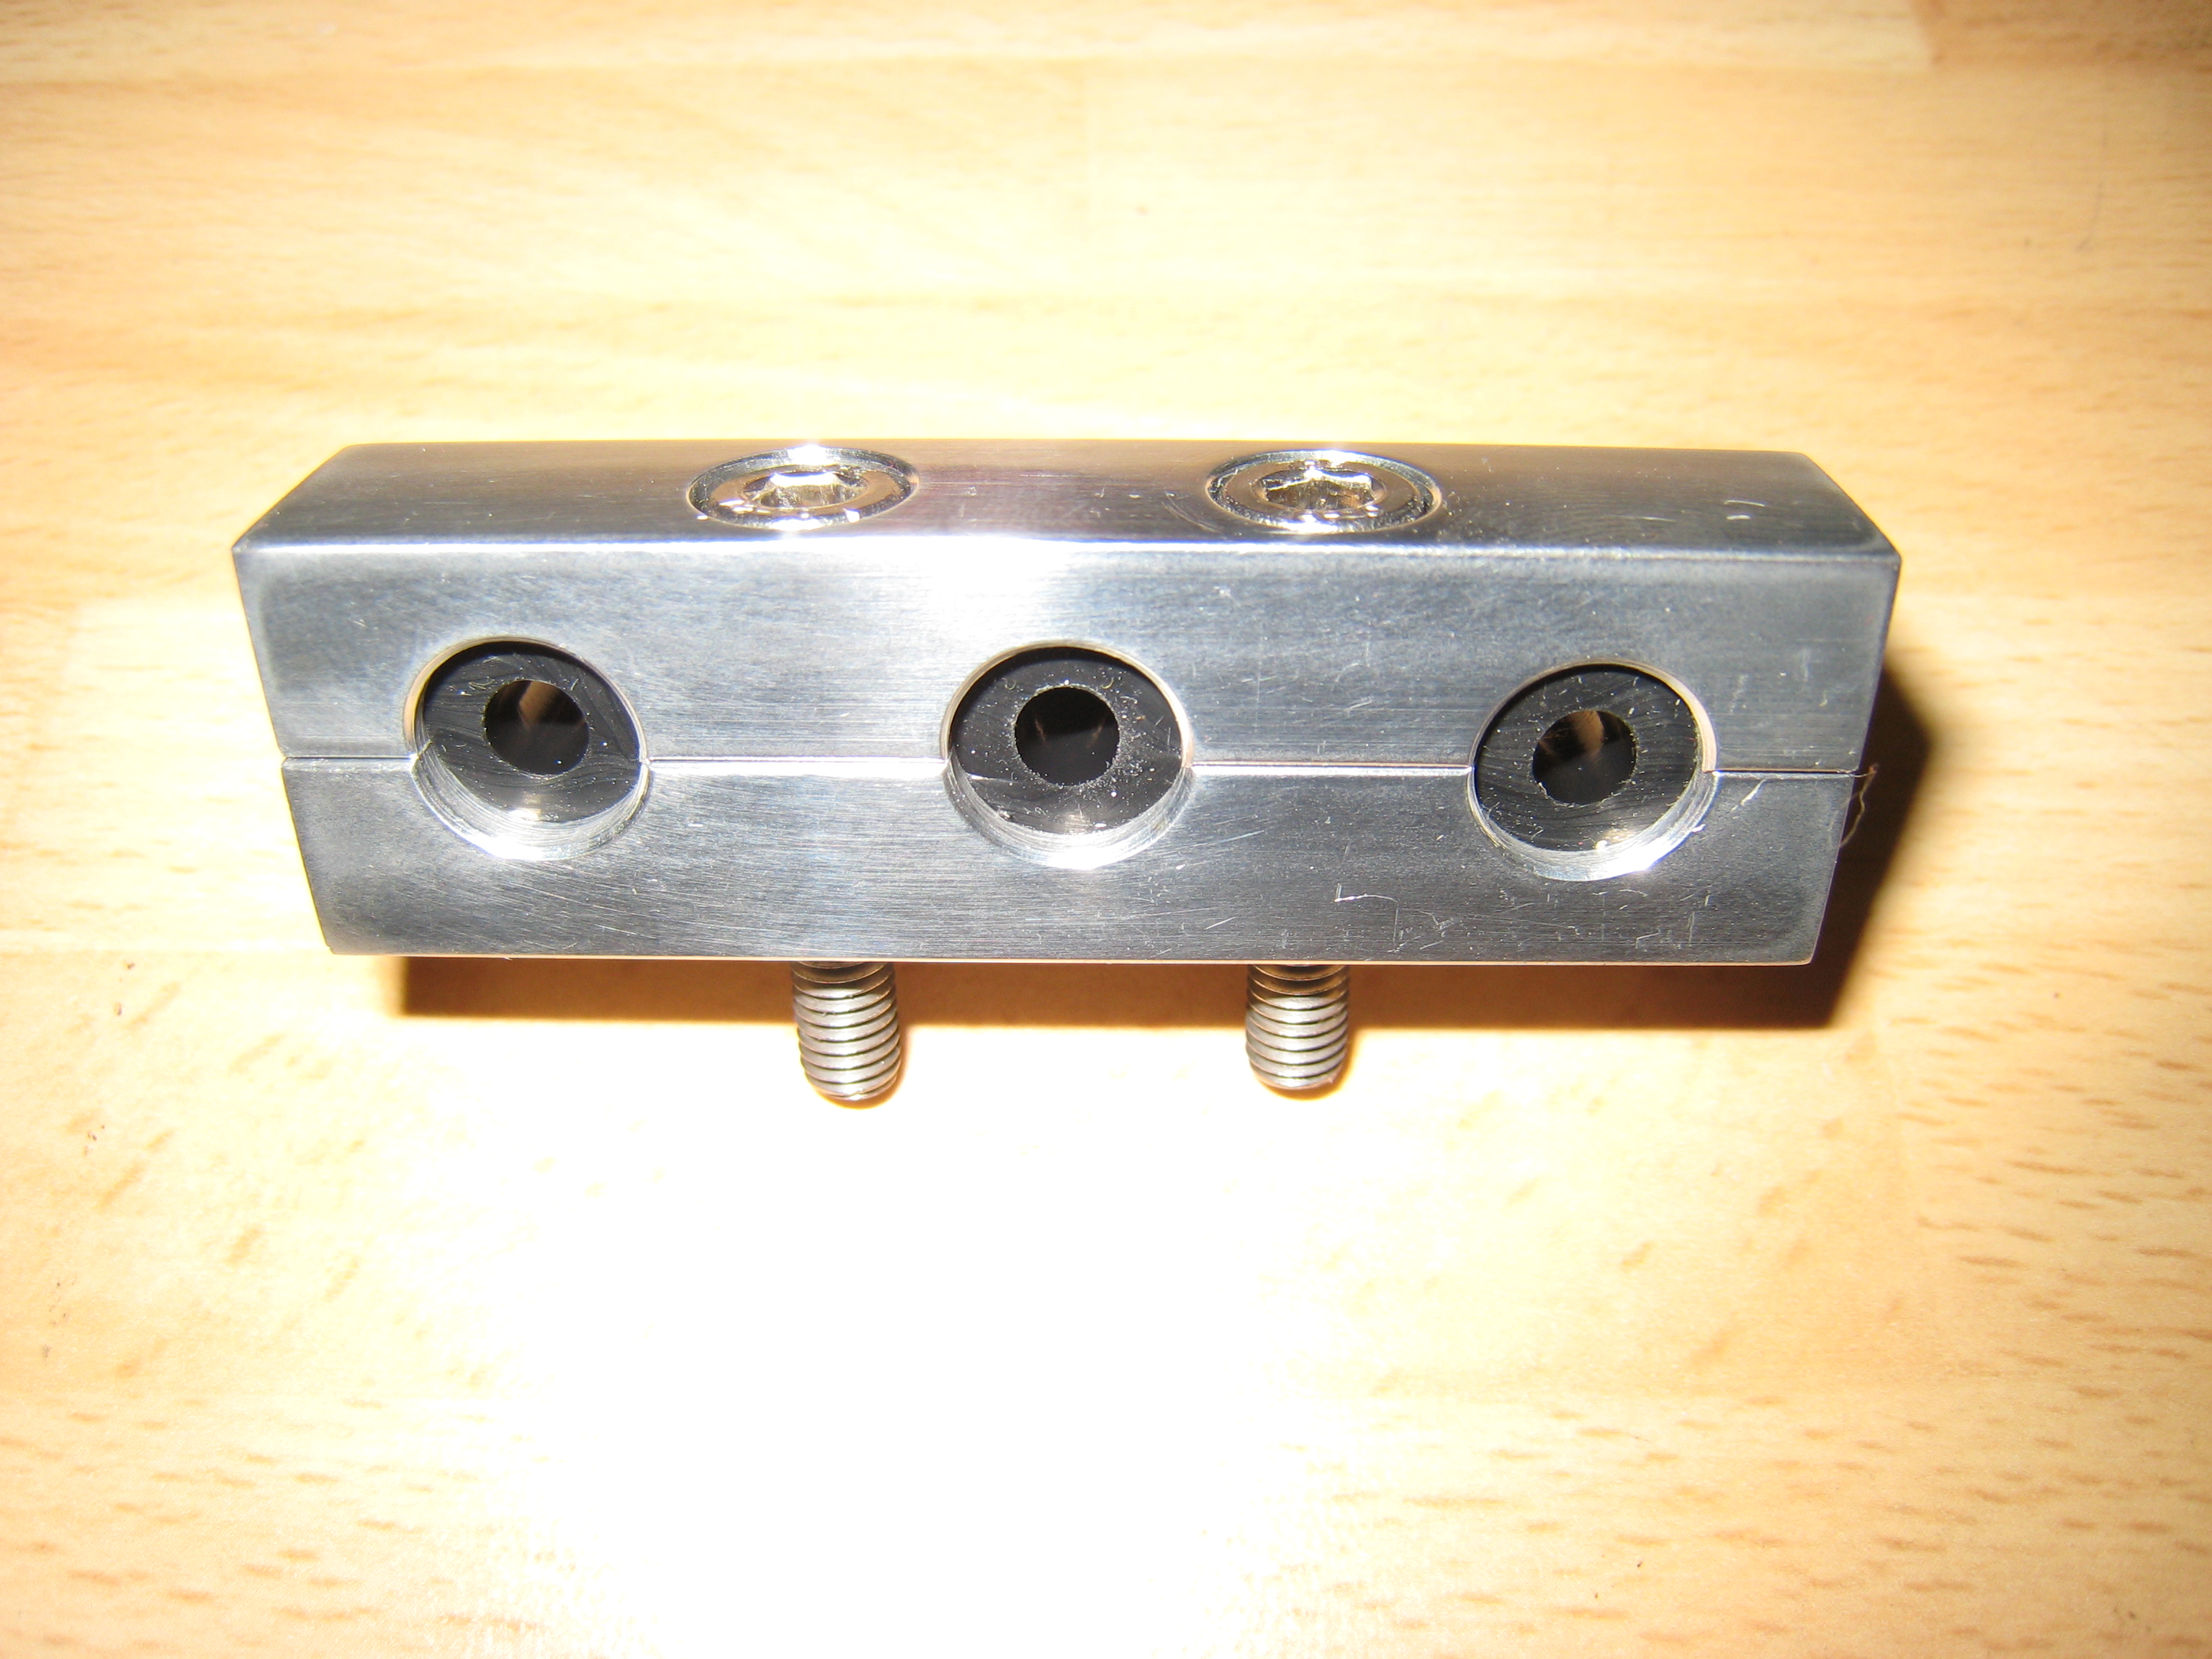
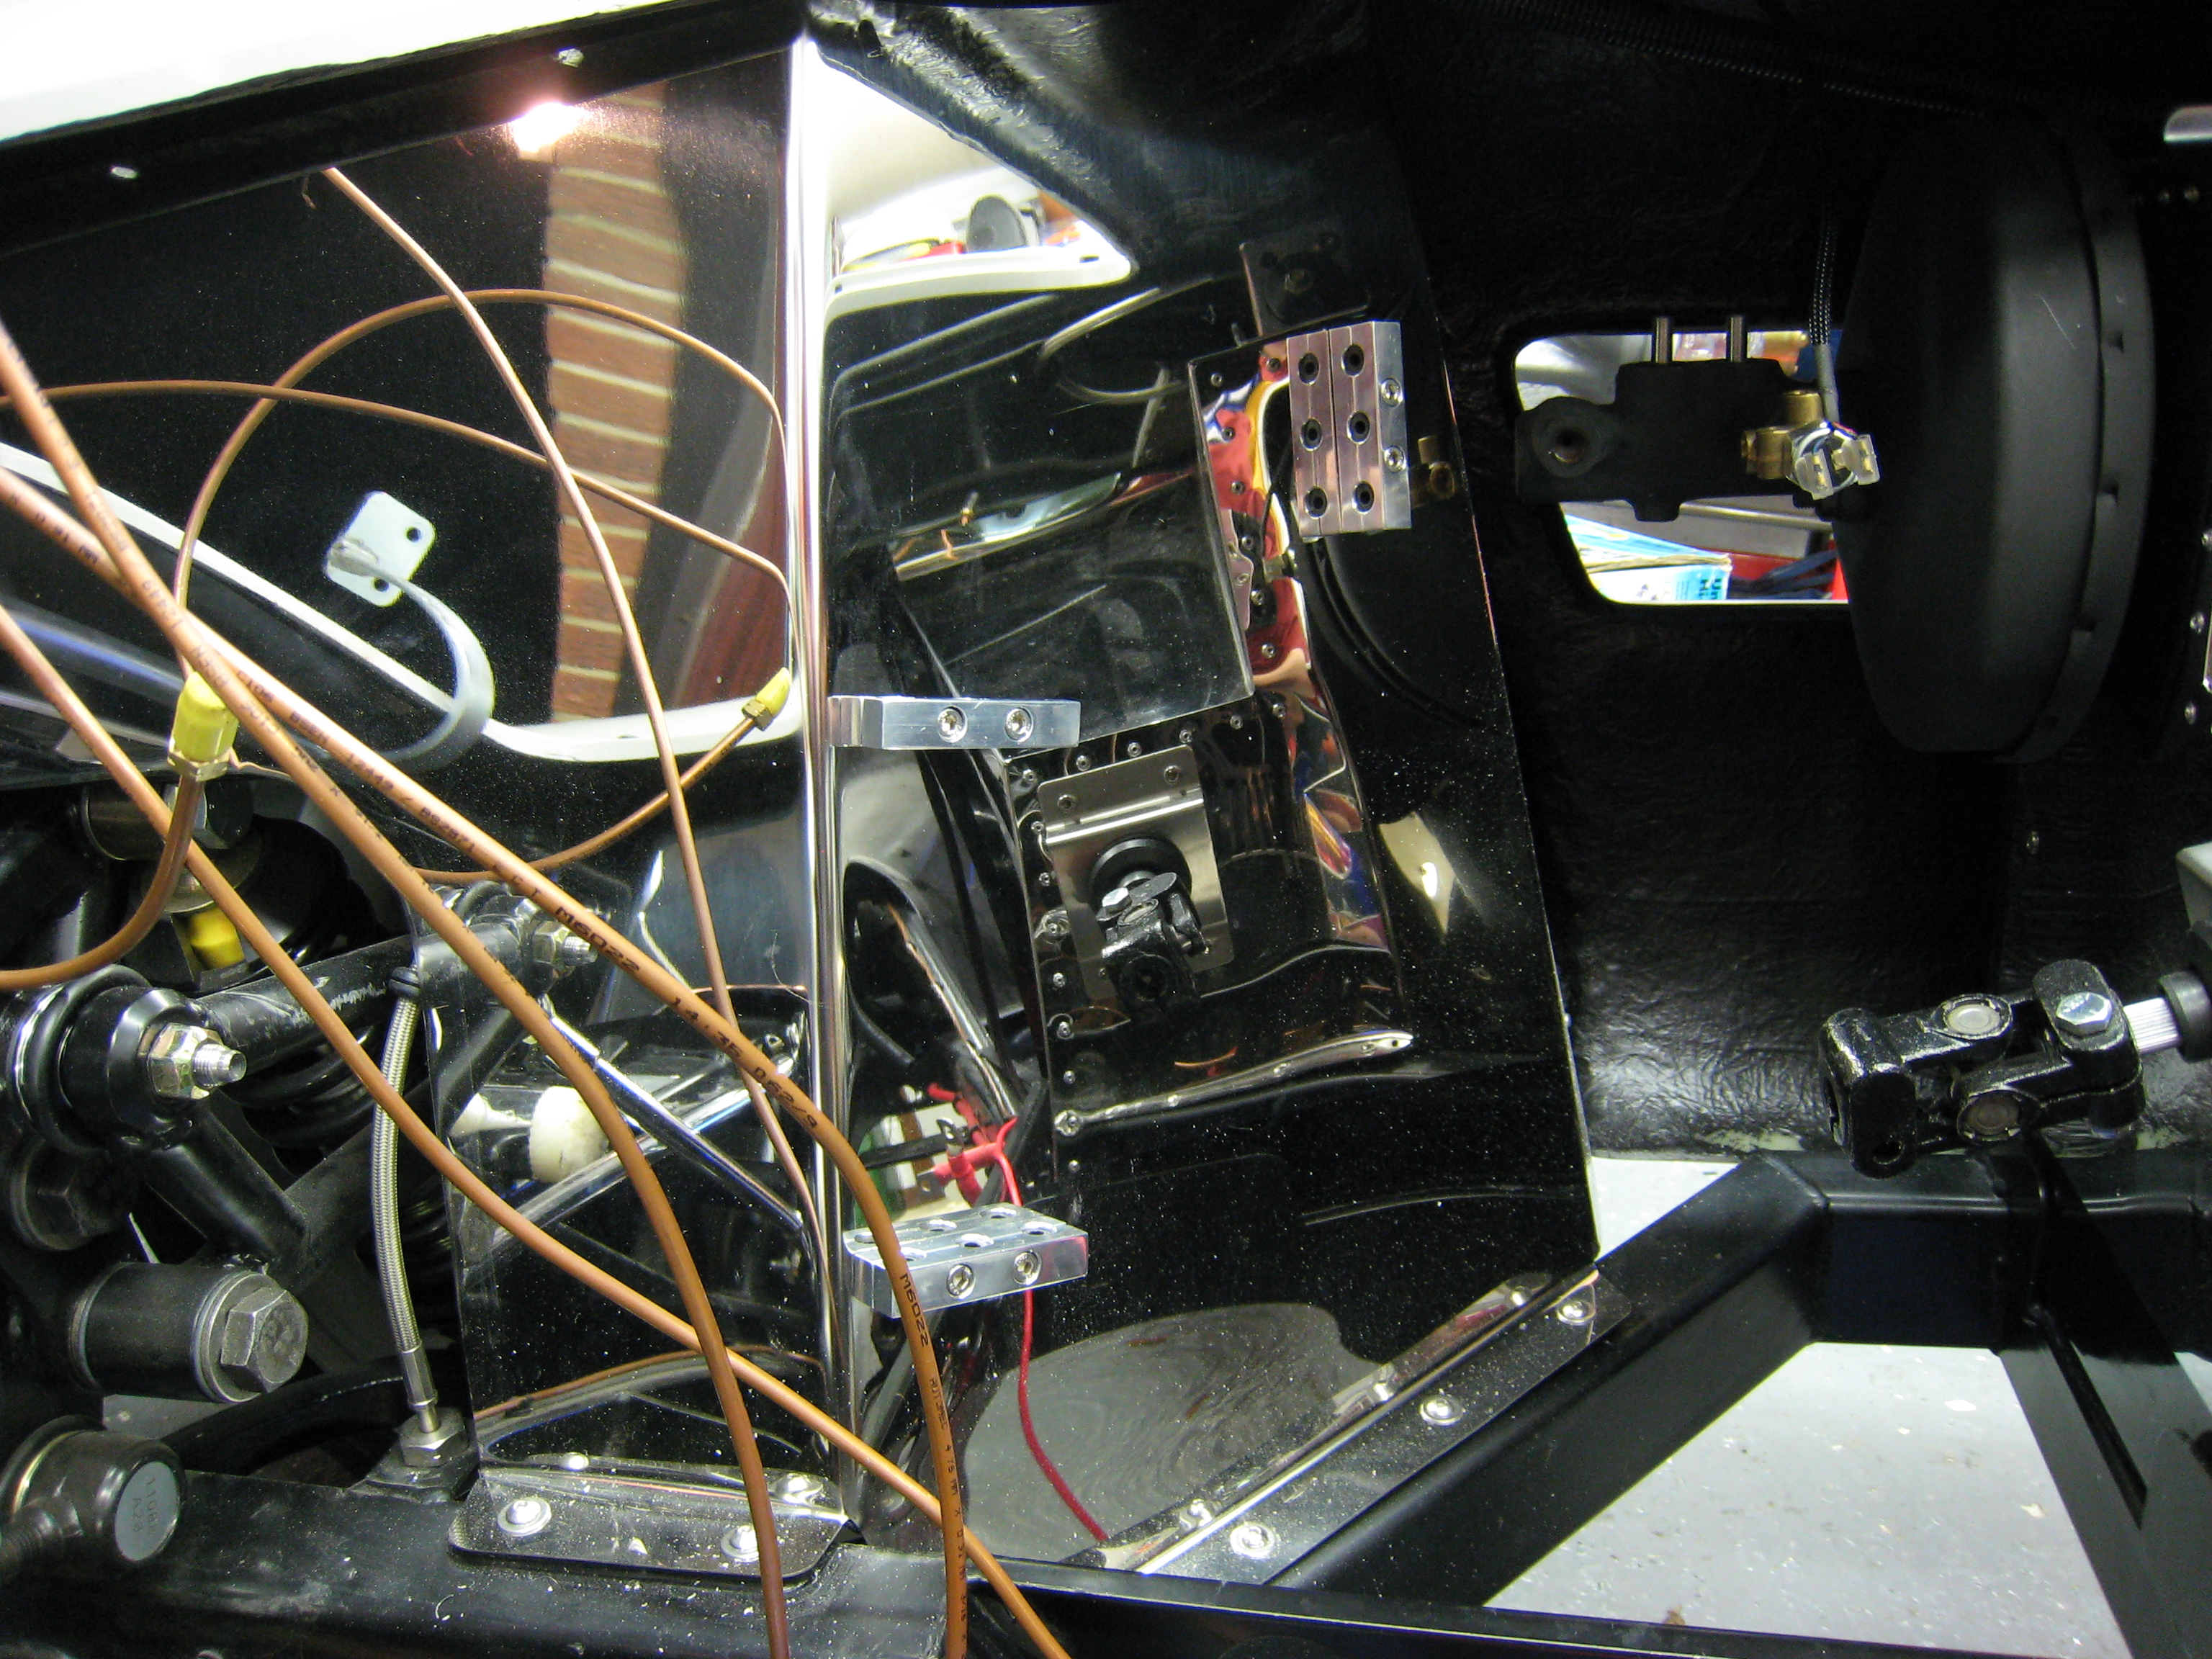
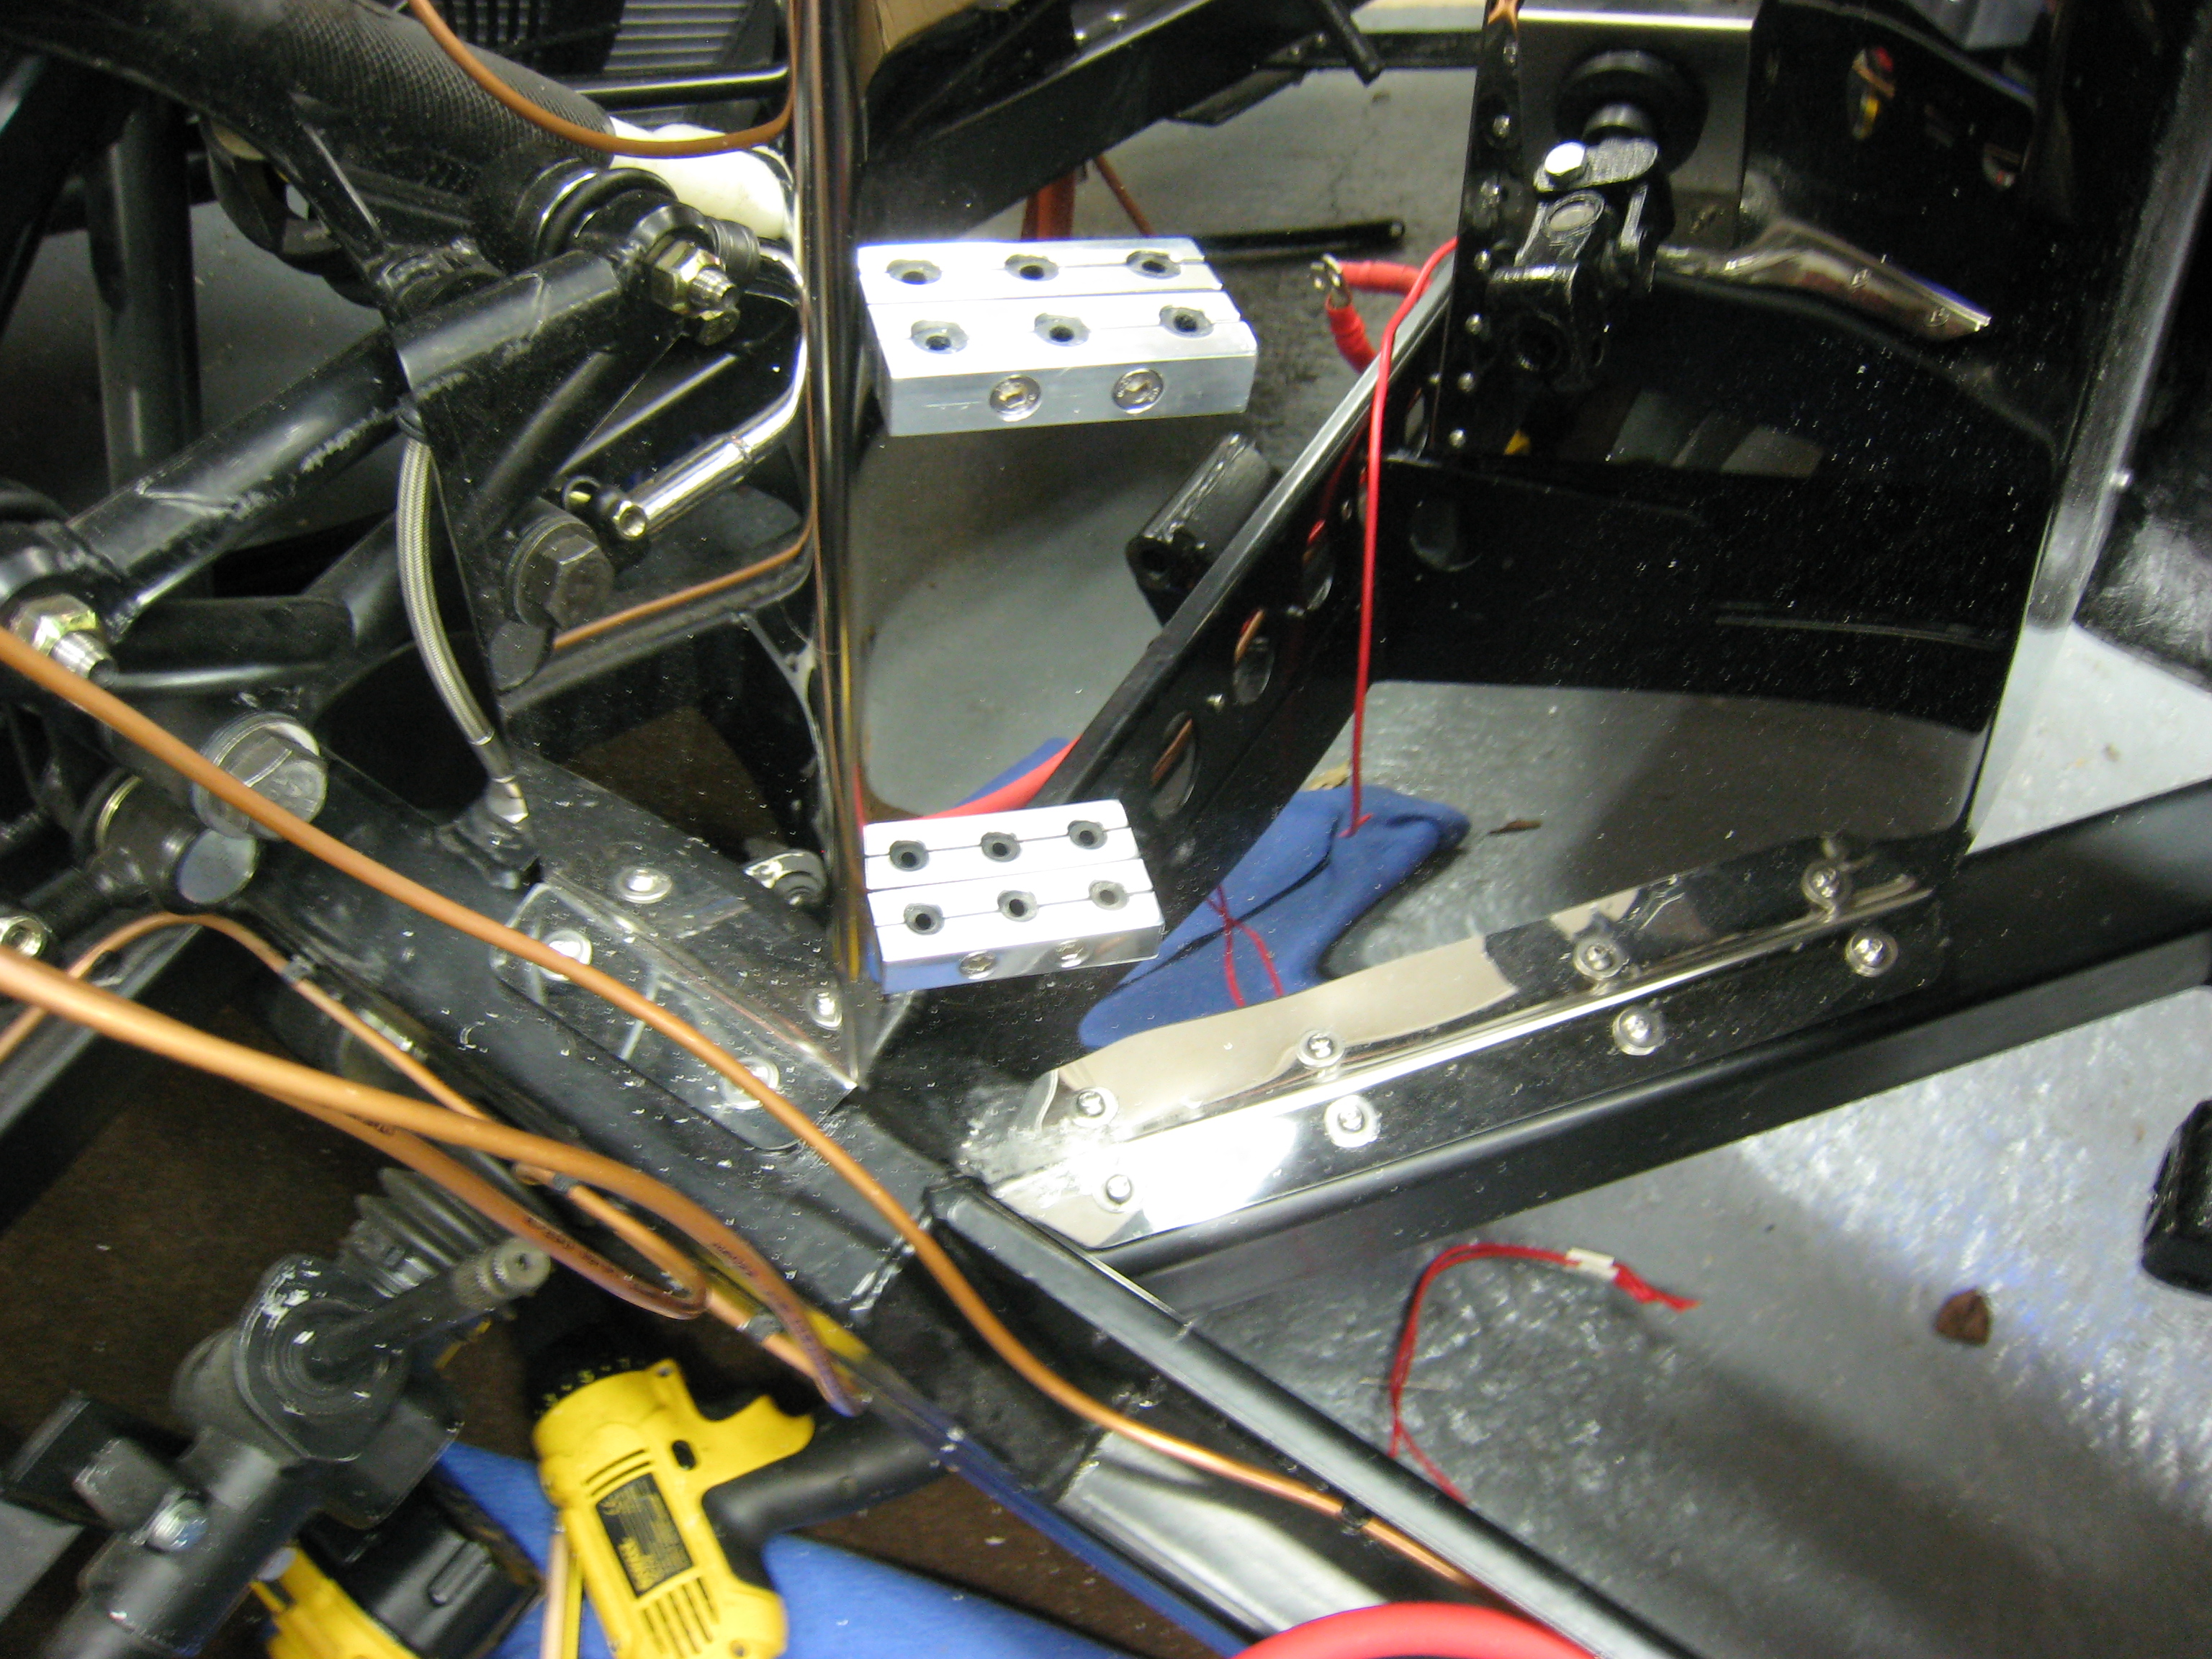
Once the brackets were finished and polished, the lines were straightened as best I could and run into the
servo, it ending up being quite a neat job in the end.
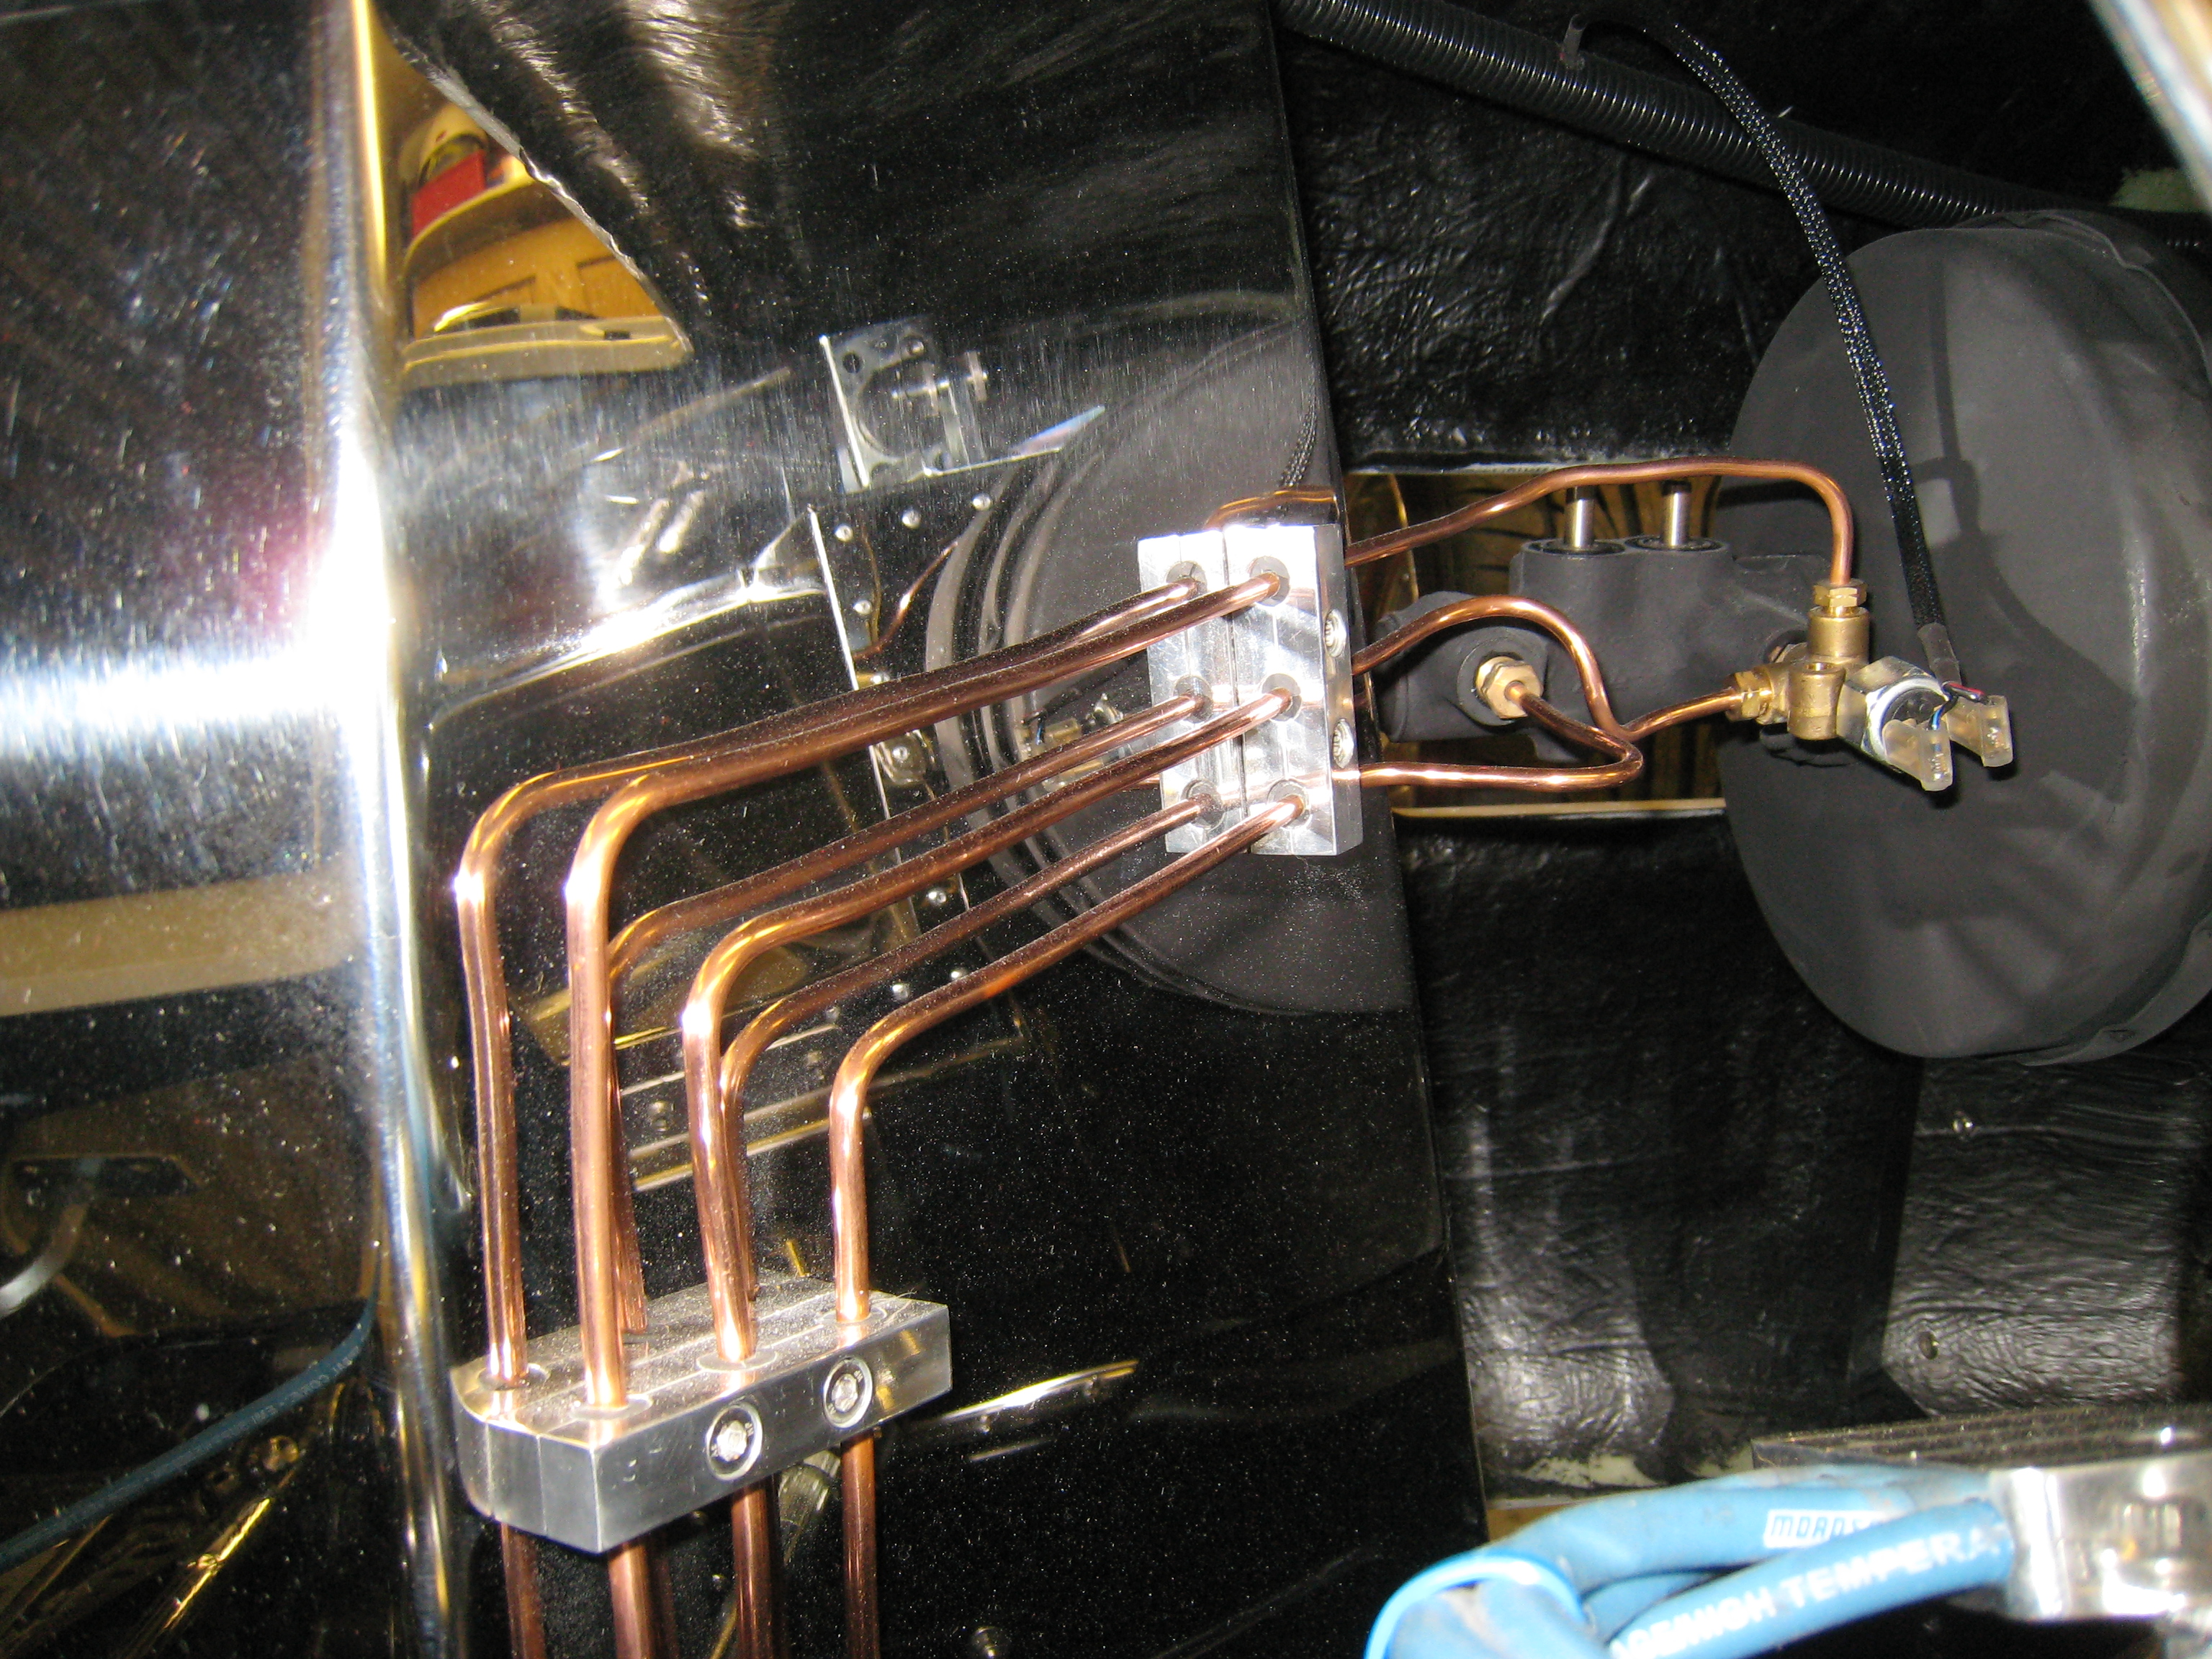
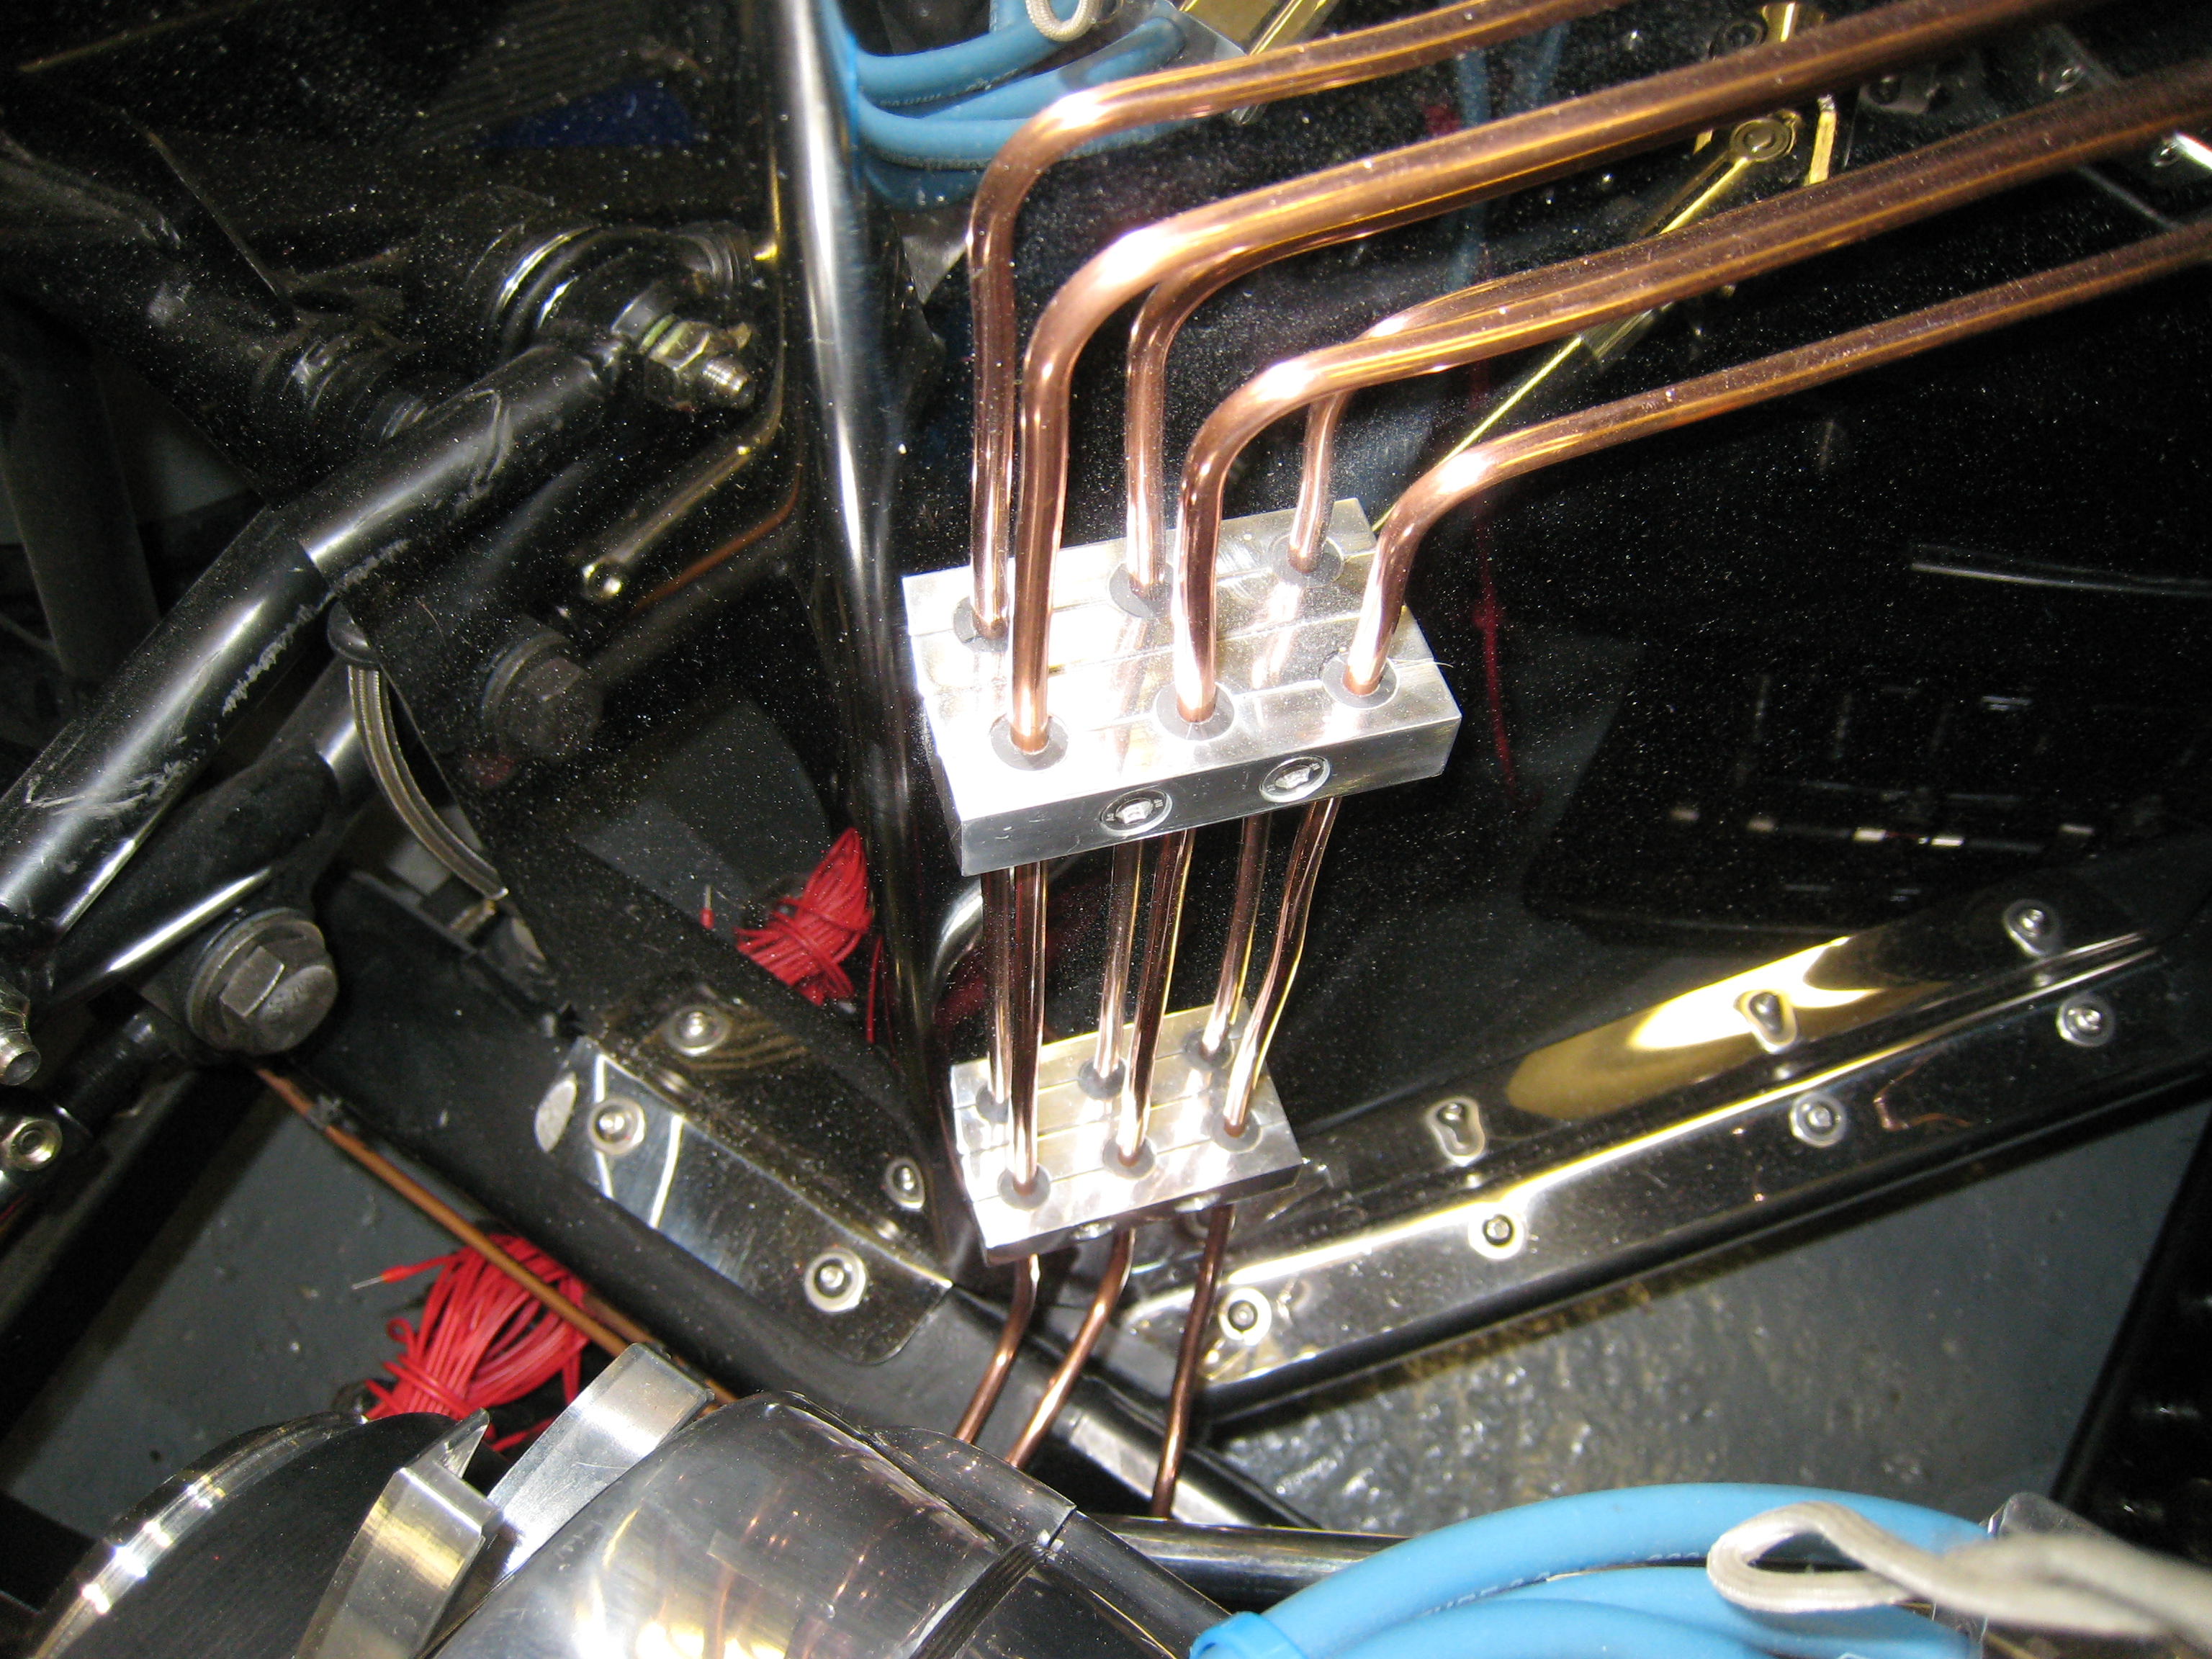
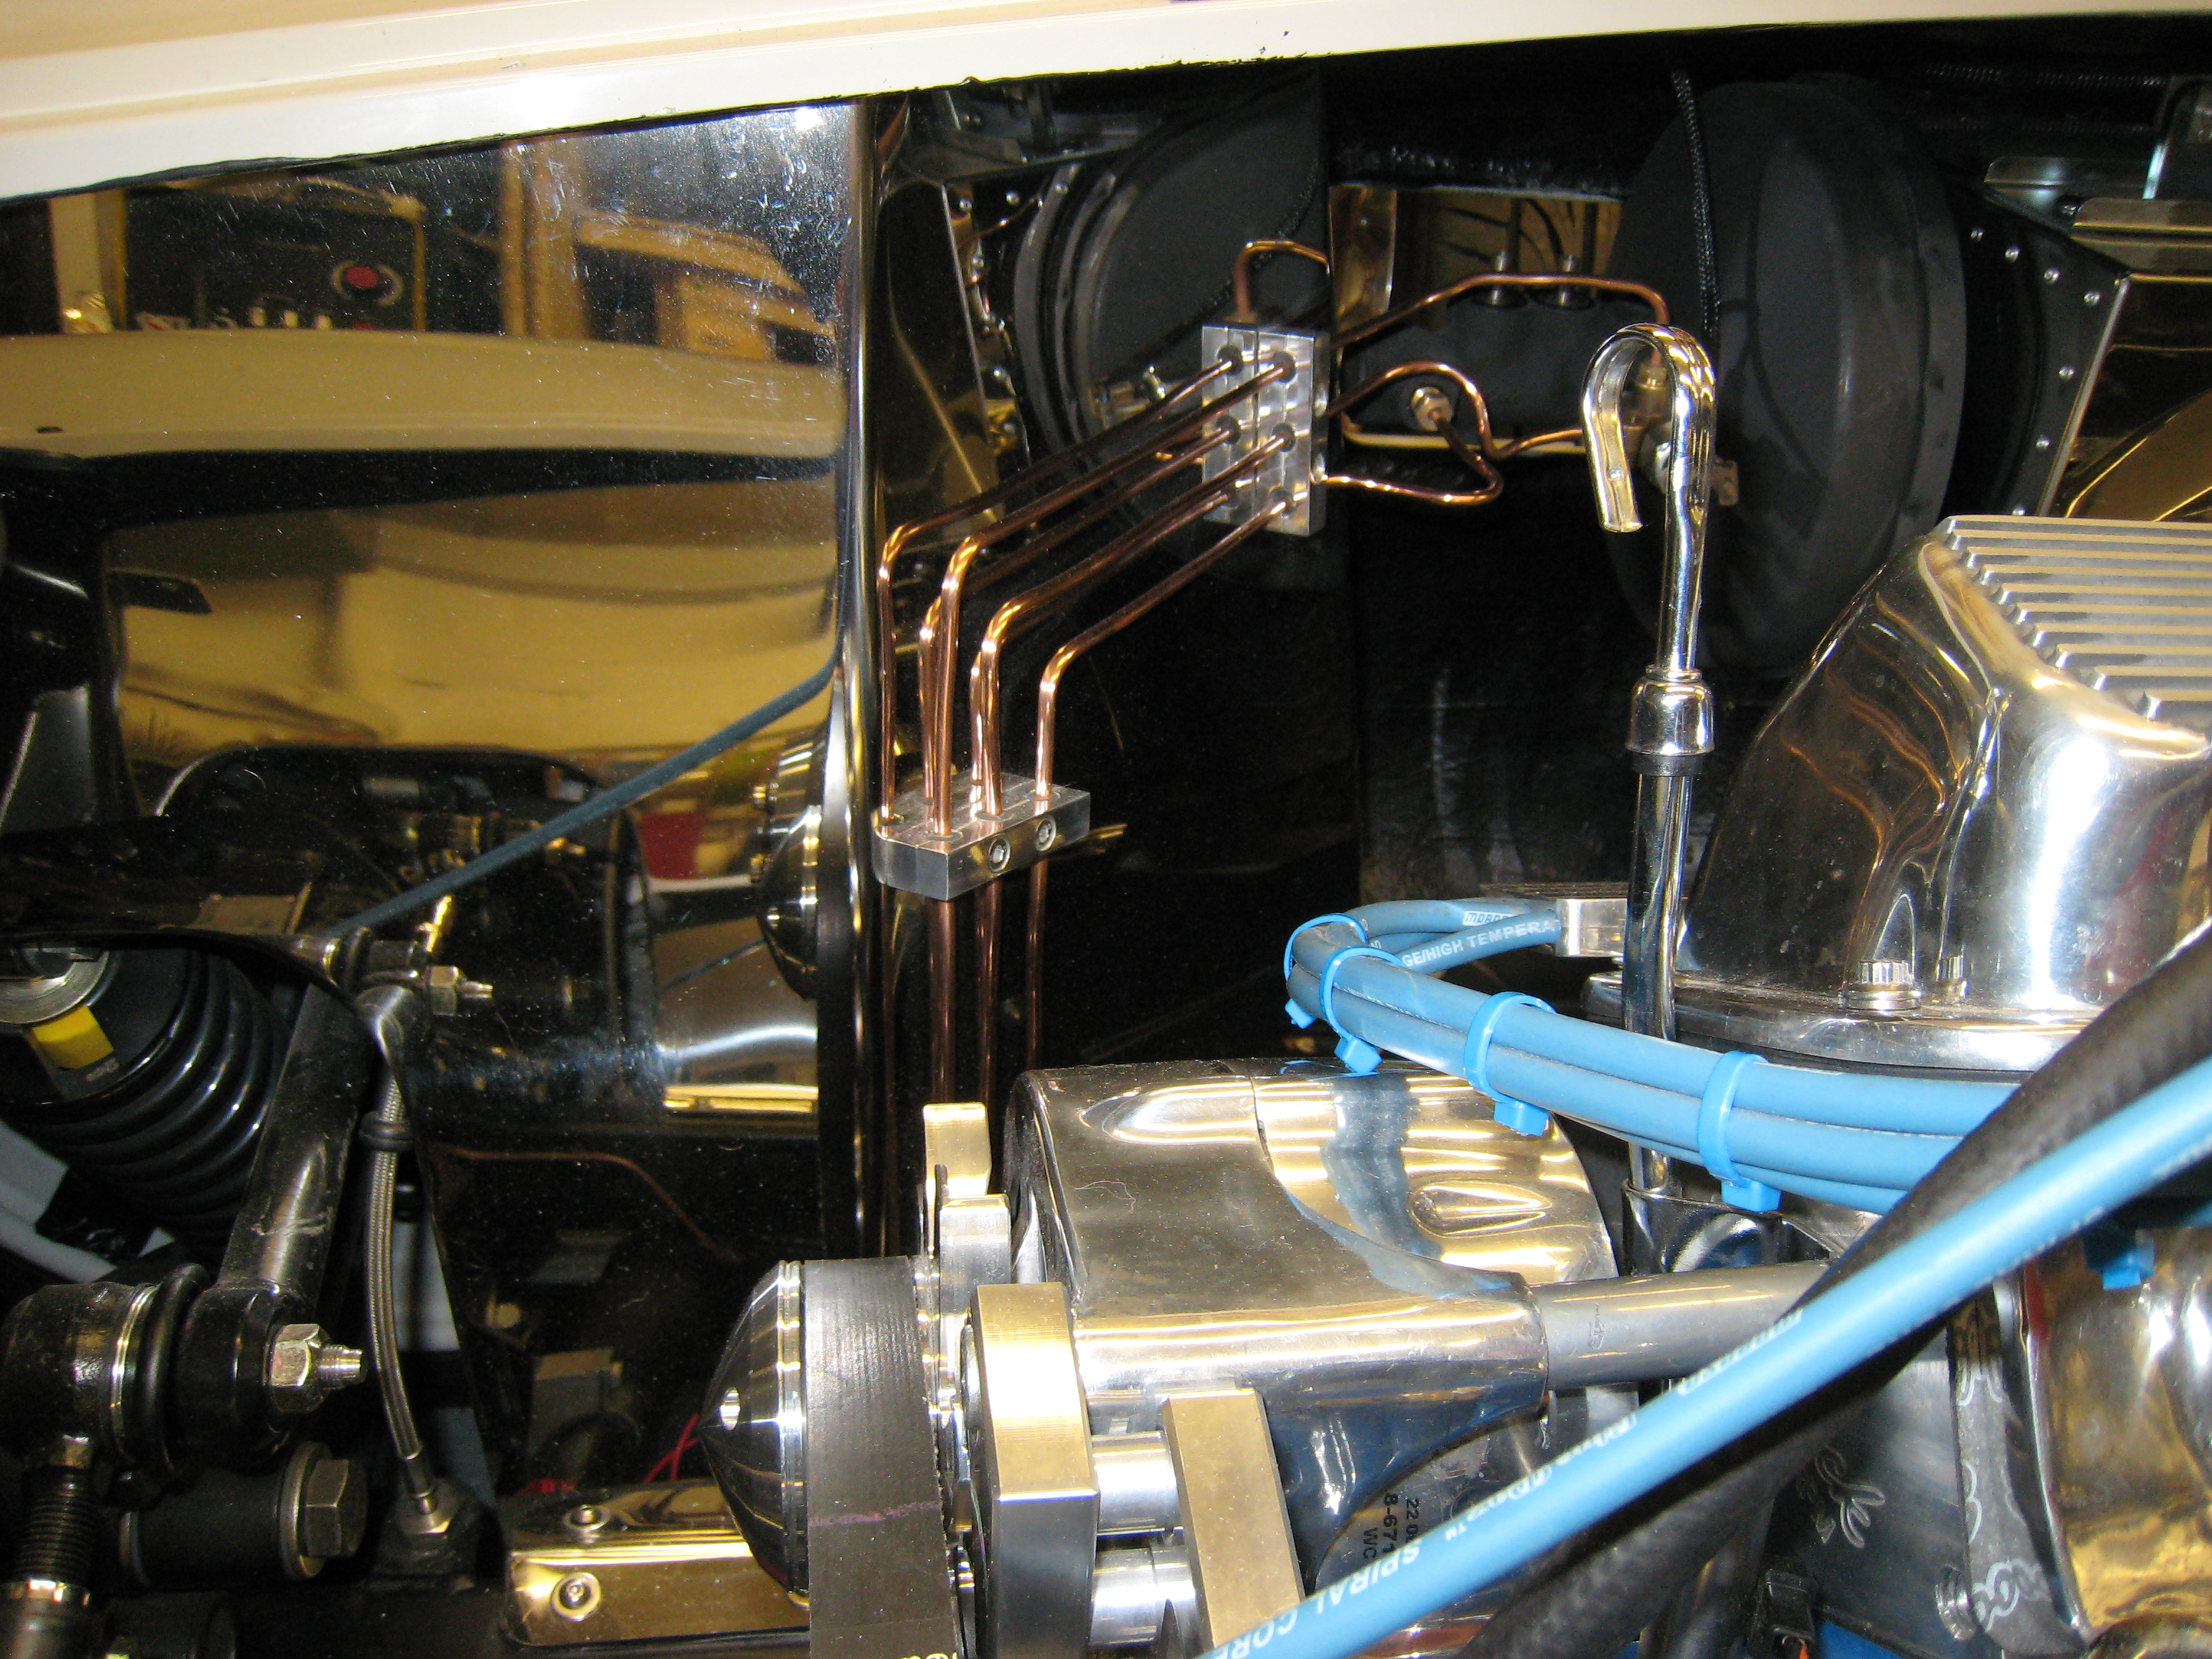
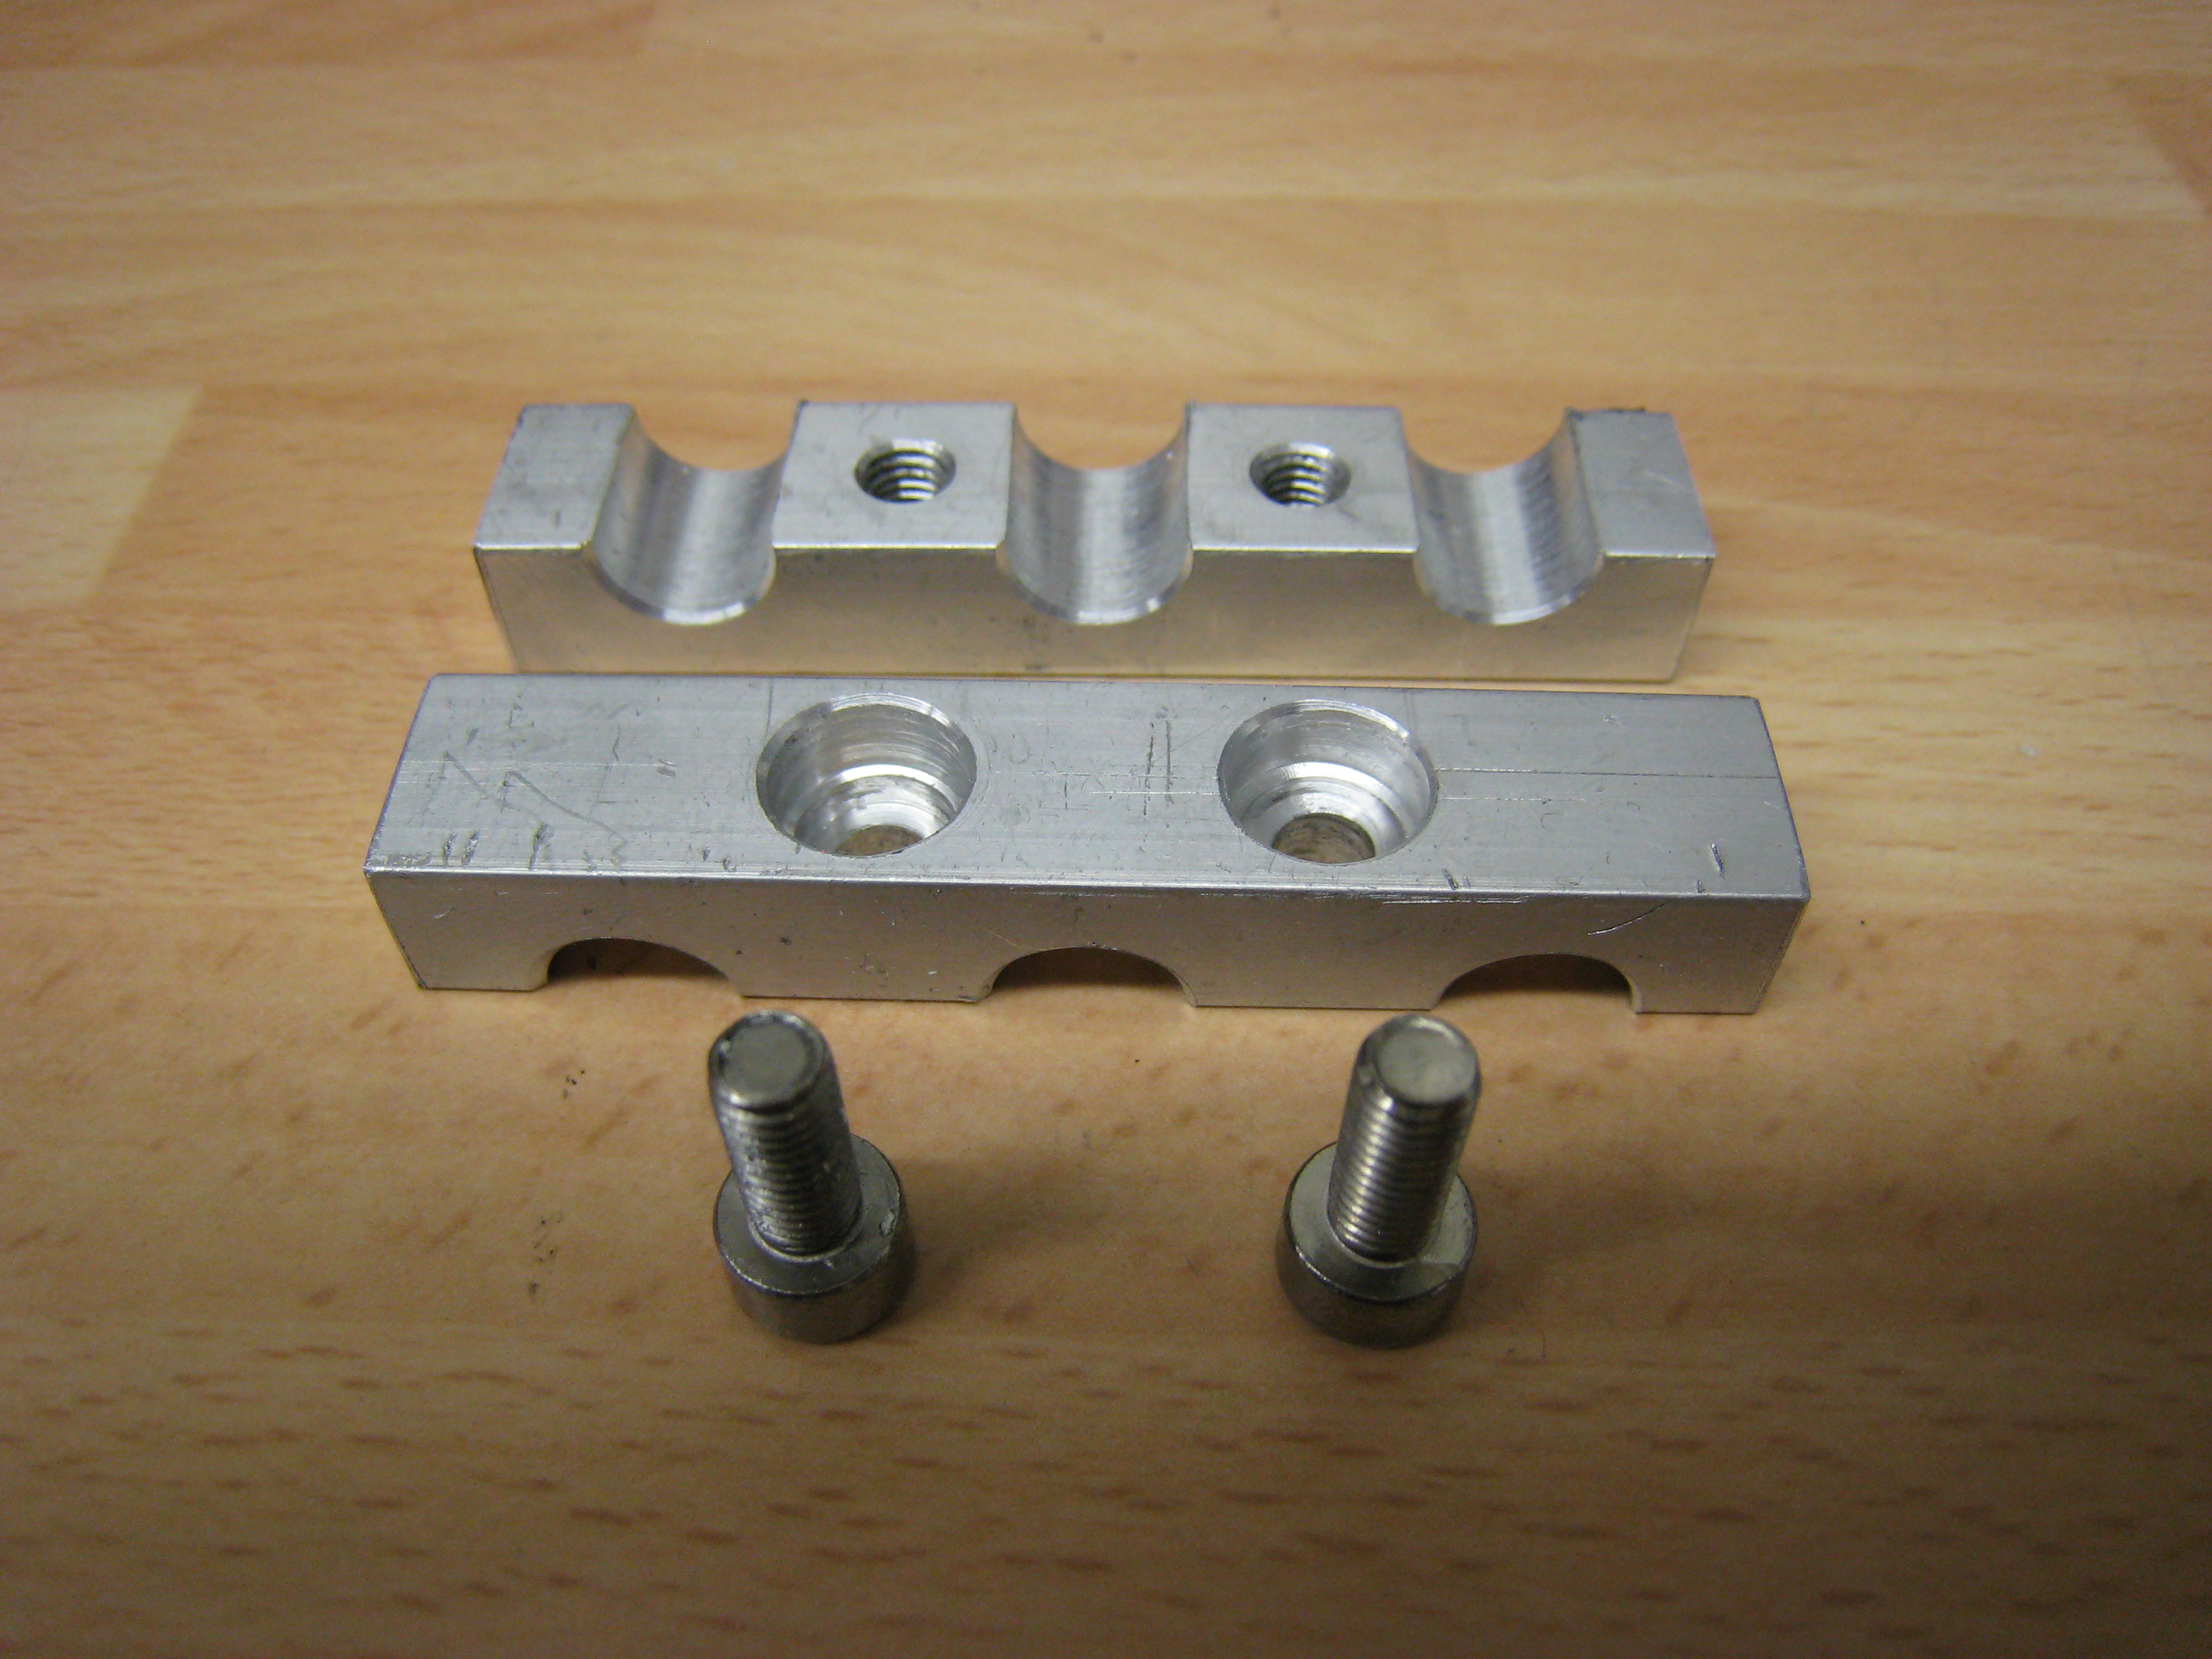
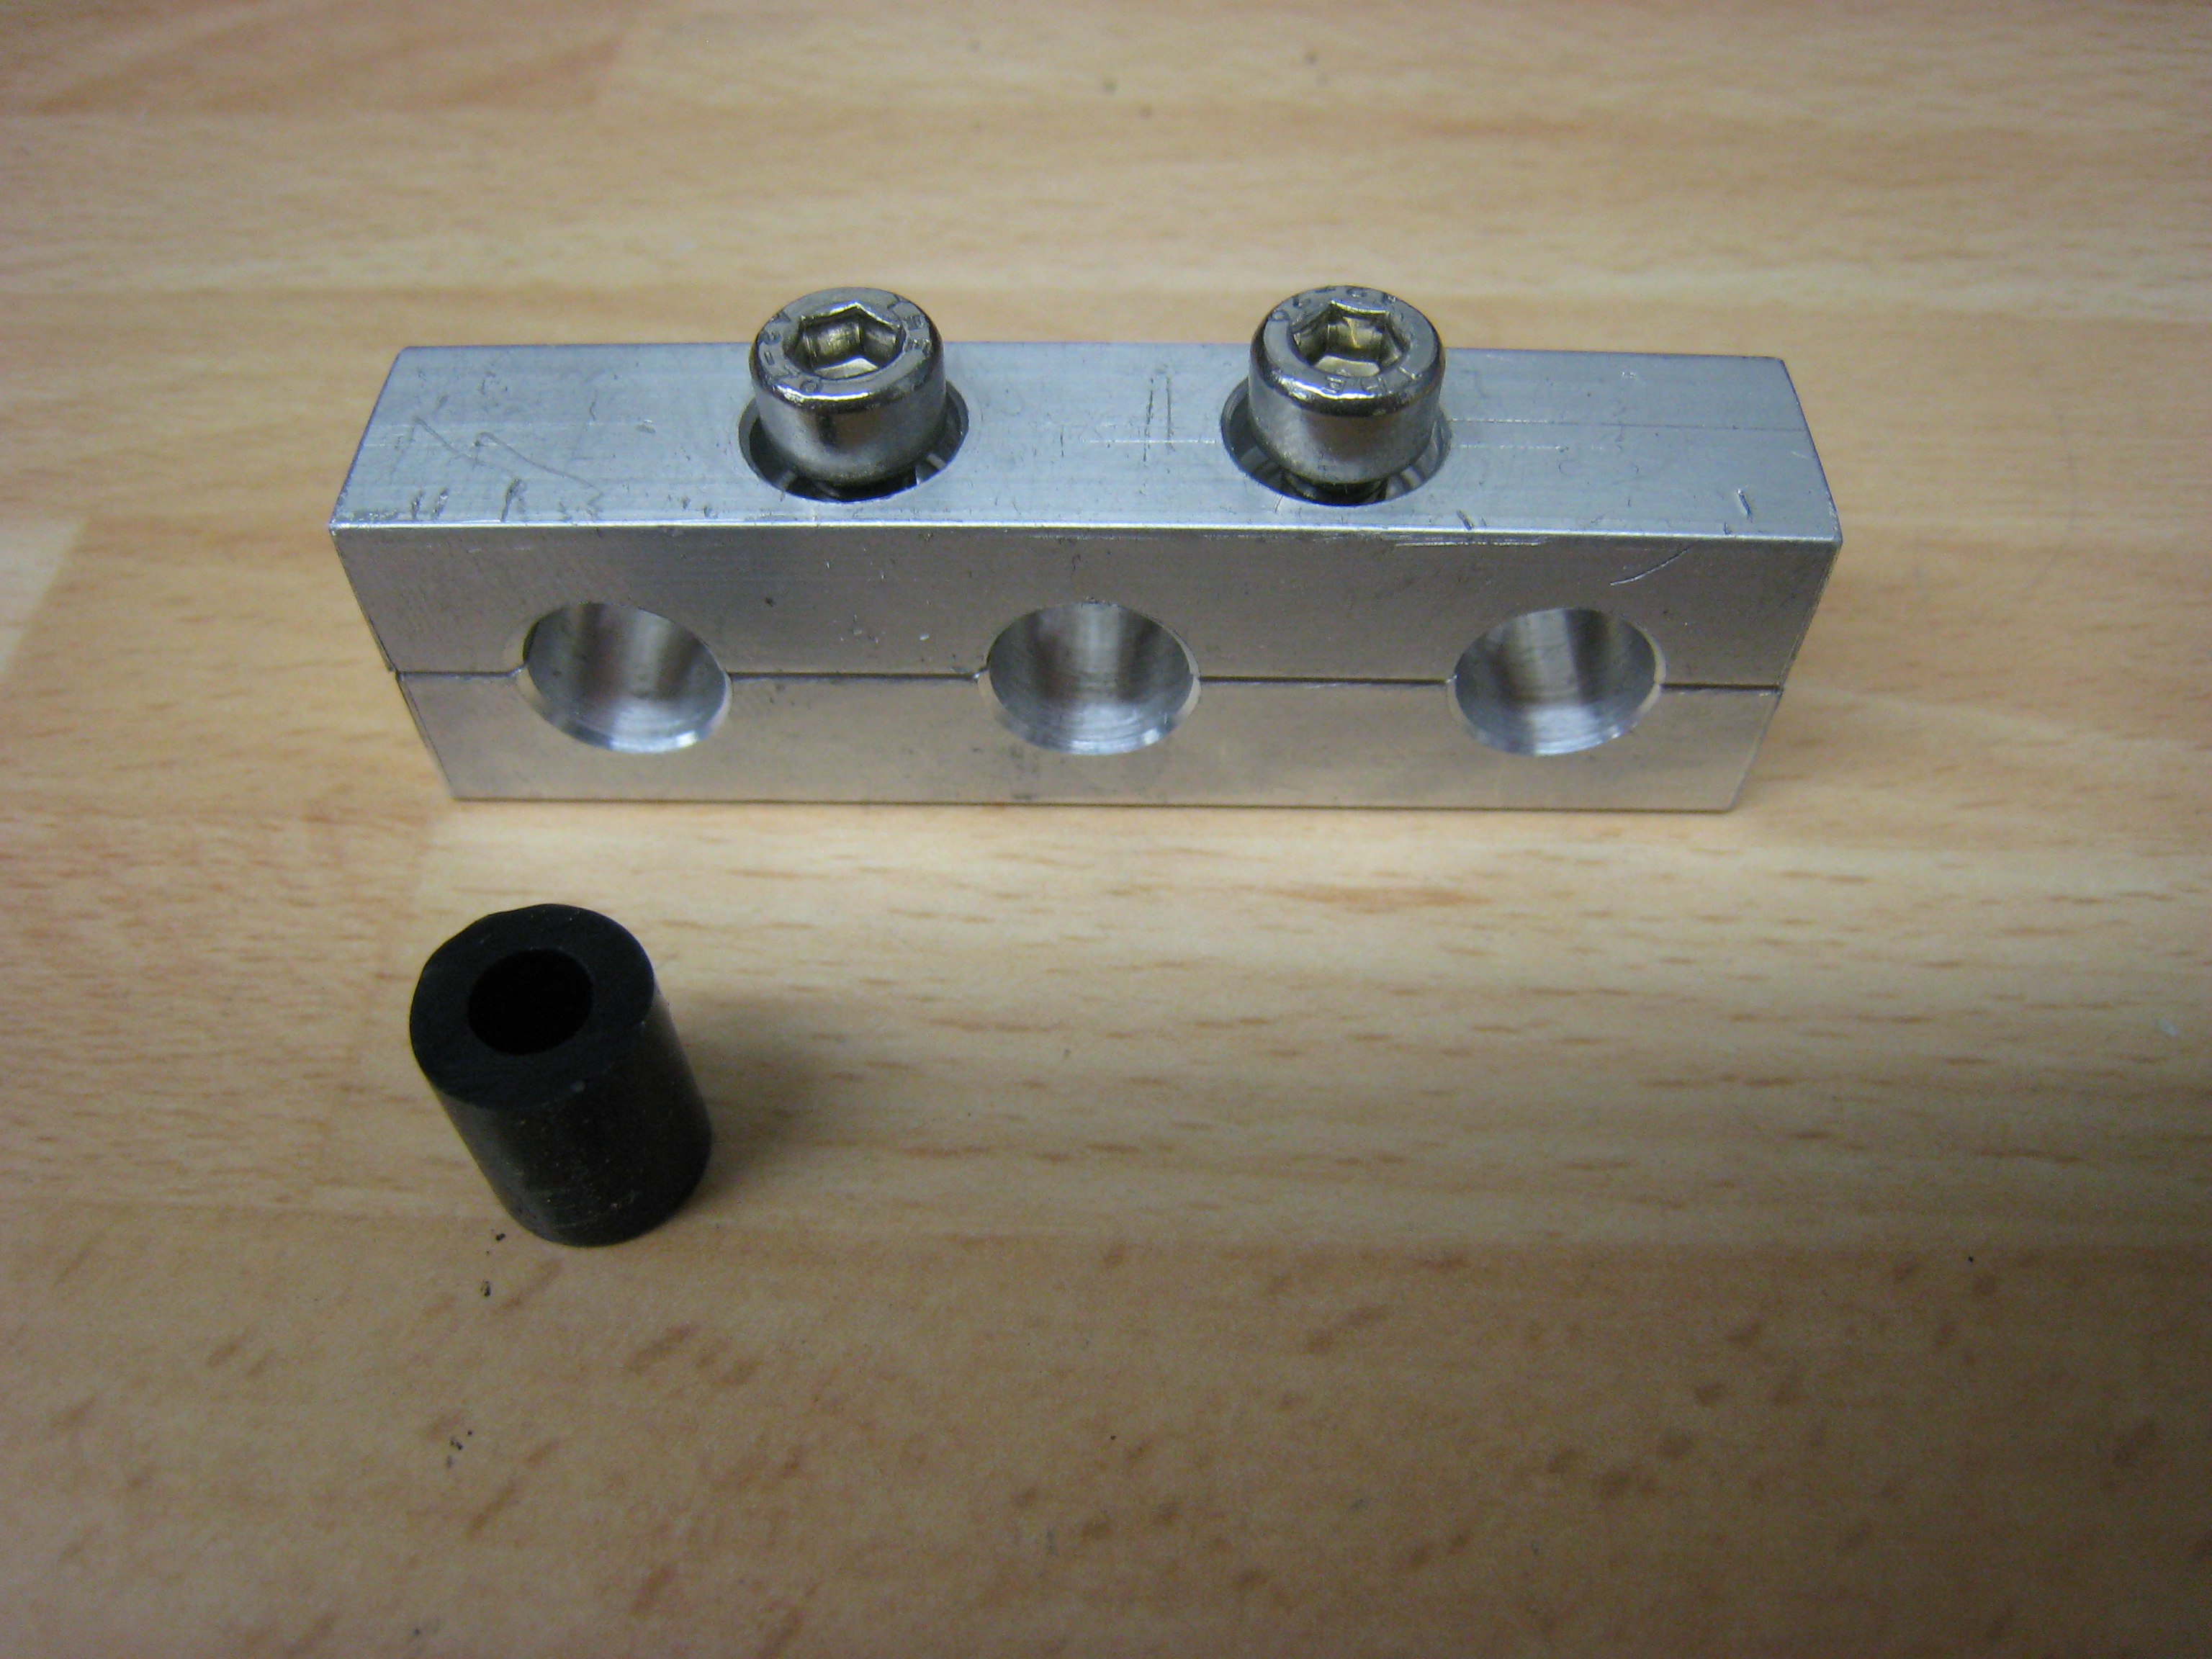
Brake Lines
One of the outstanding jobs in the engine bay has been the Brake Lines, I know what I wanted to do but
was unable to find the brackets I wanted to buy, initially I contacted some local engineering companies
who quoted silly prices for 3 simple brackets, so I decided to make them myself. I ordered some aluminium
bar from eBay and with a bit of drilling and milling I'm very pleased with the result. I have to acknowledge
that the design is not original as I've seen it on another website off the cobra club forum.
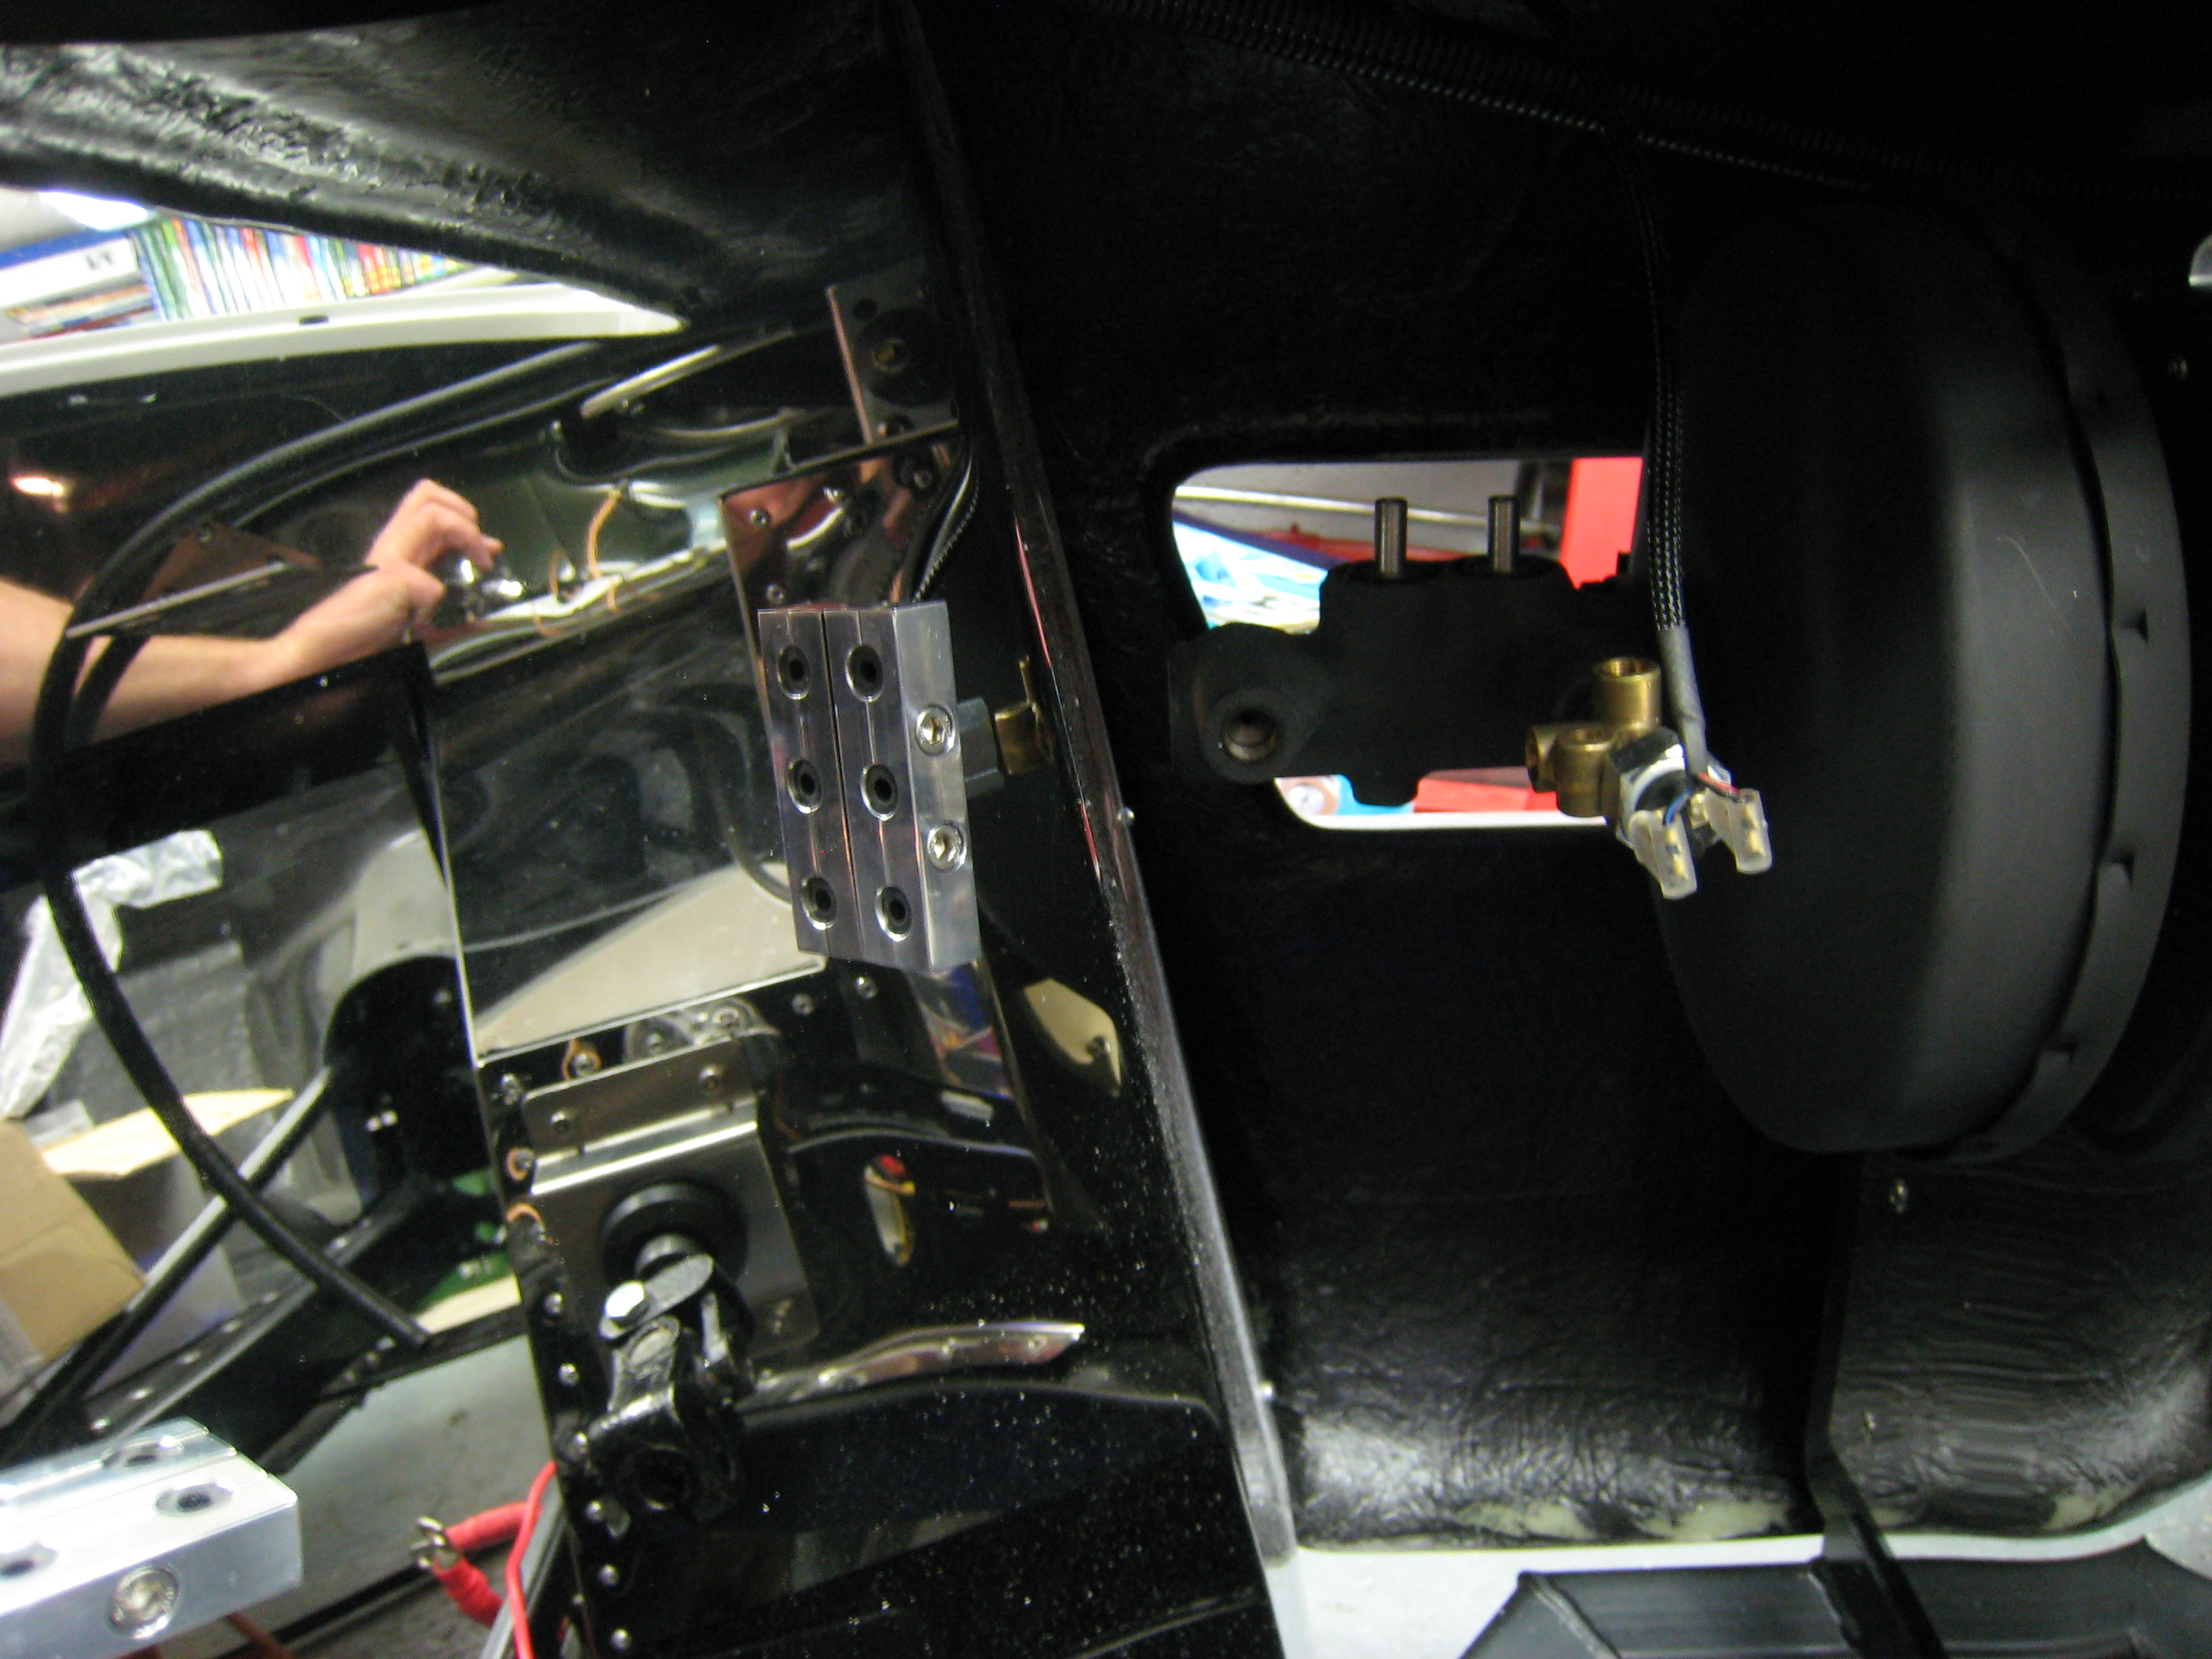
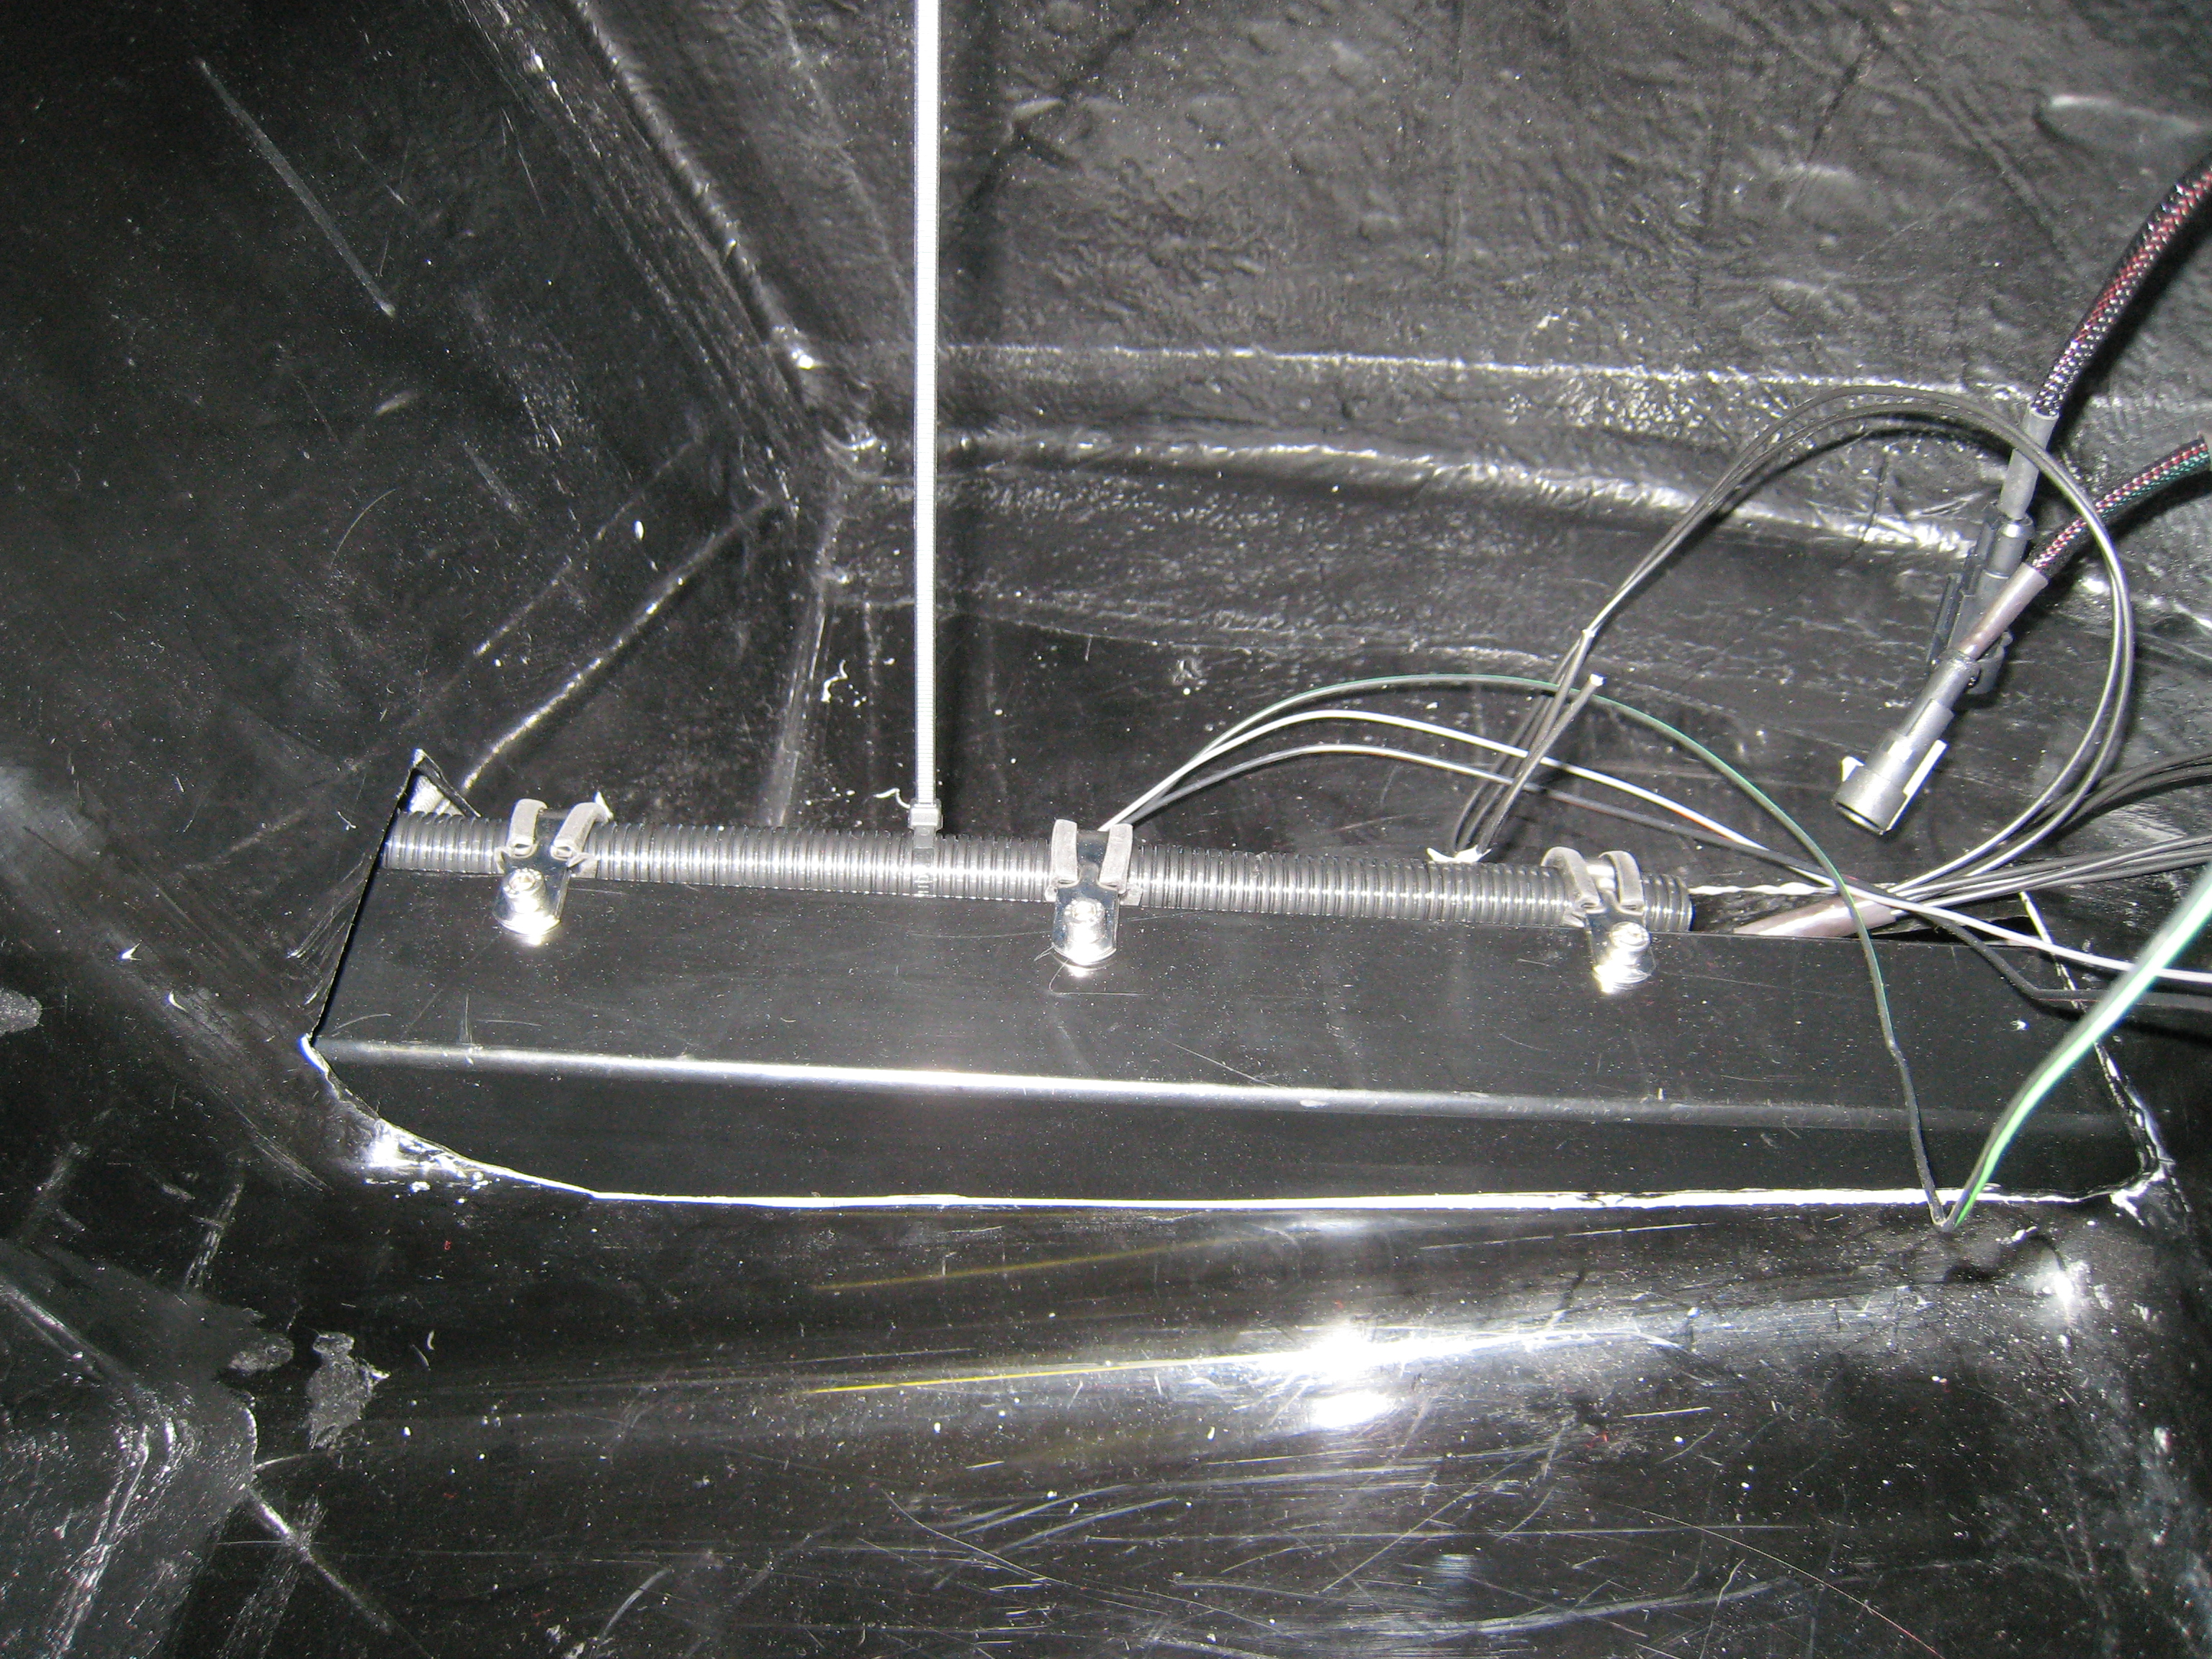
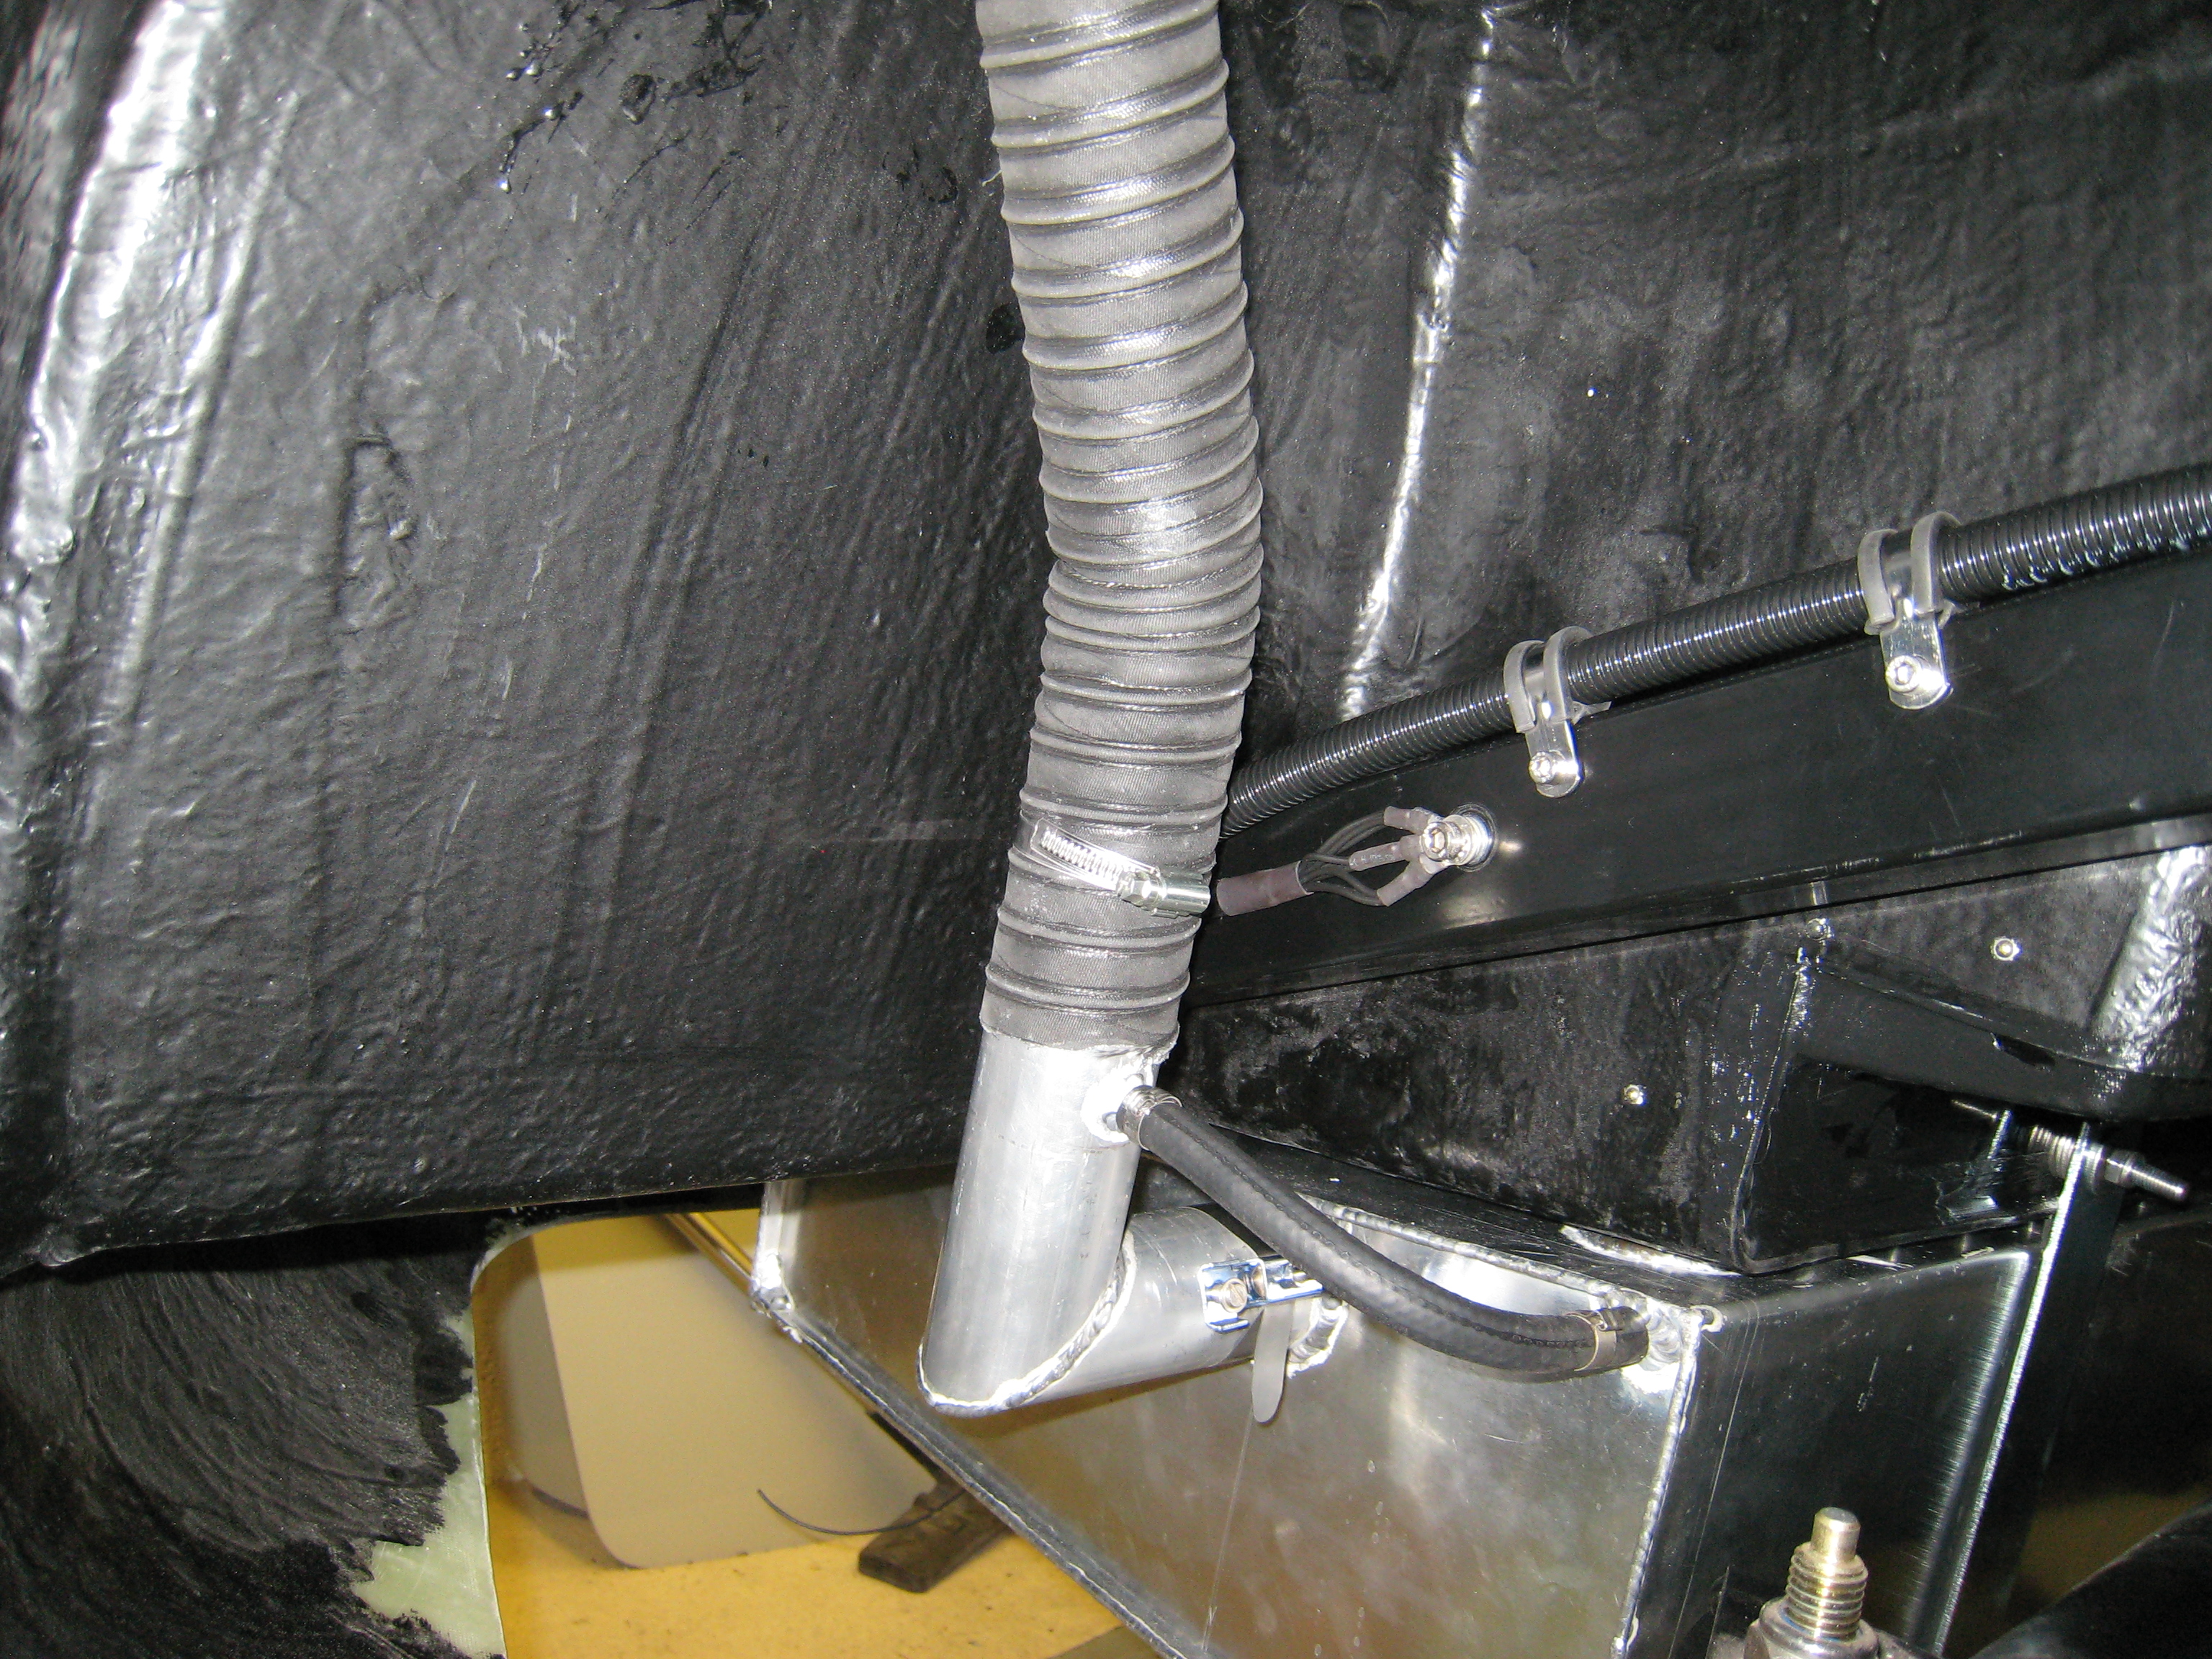
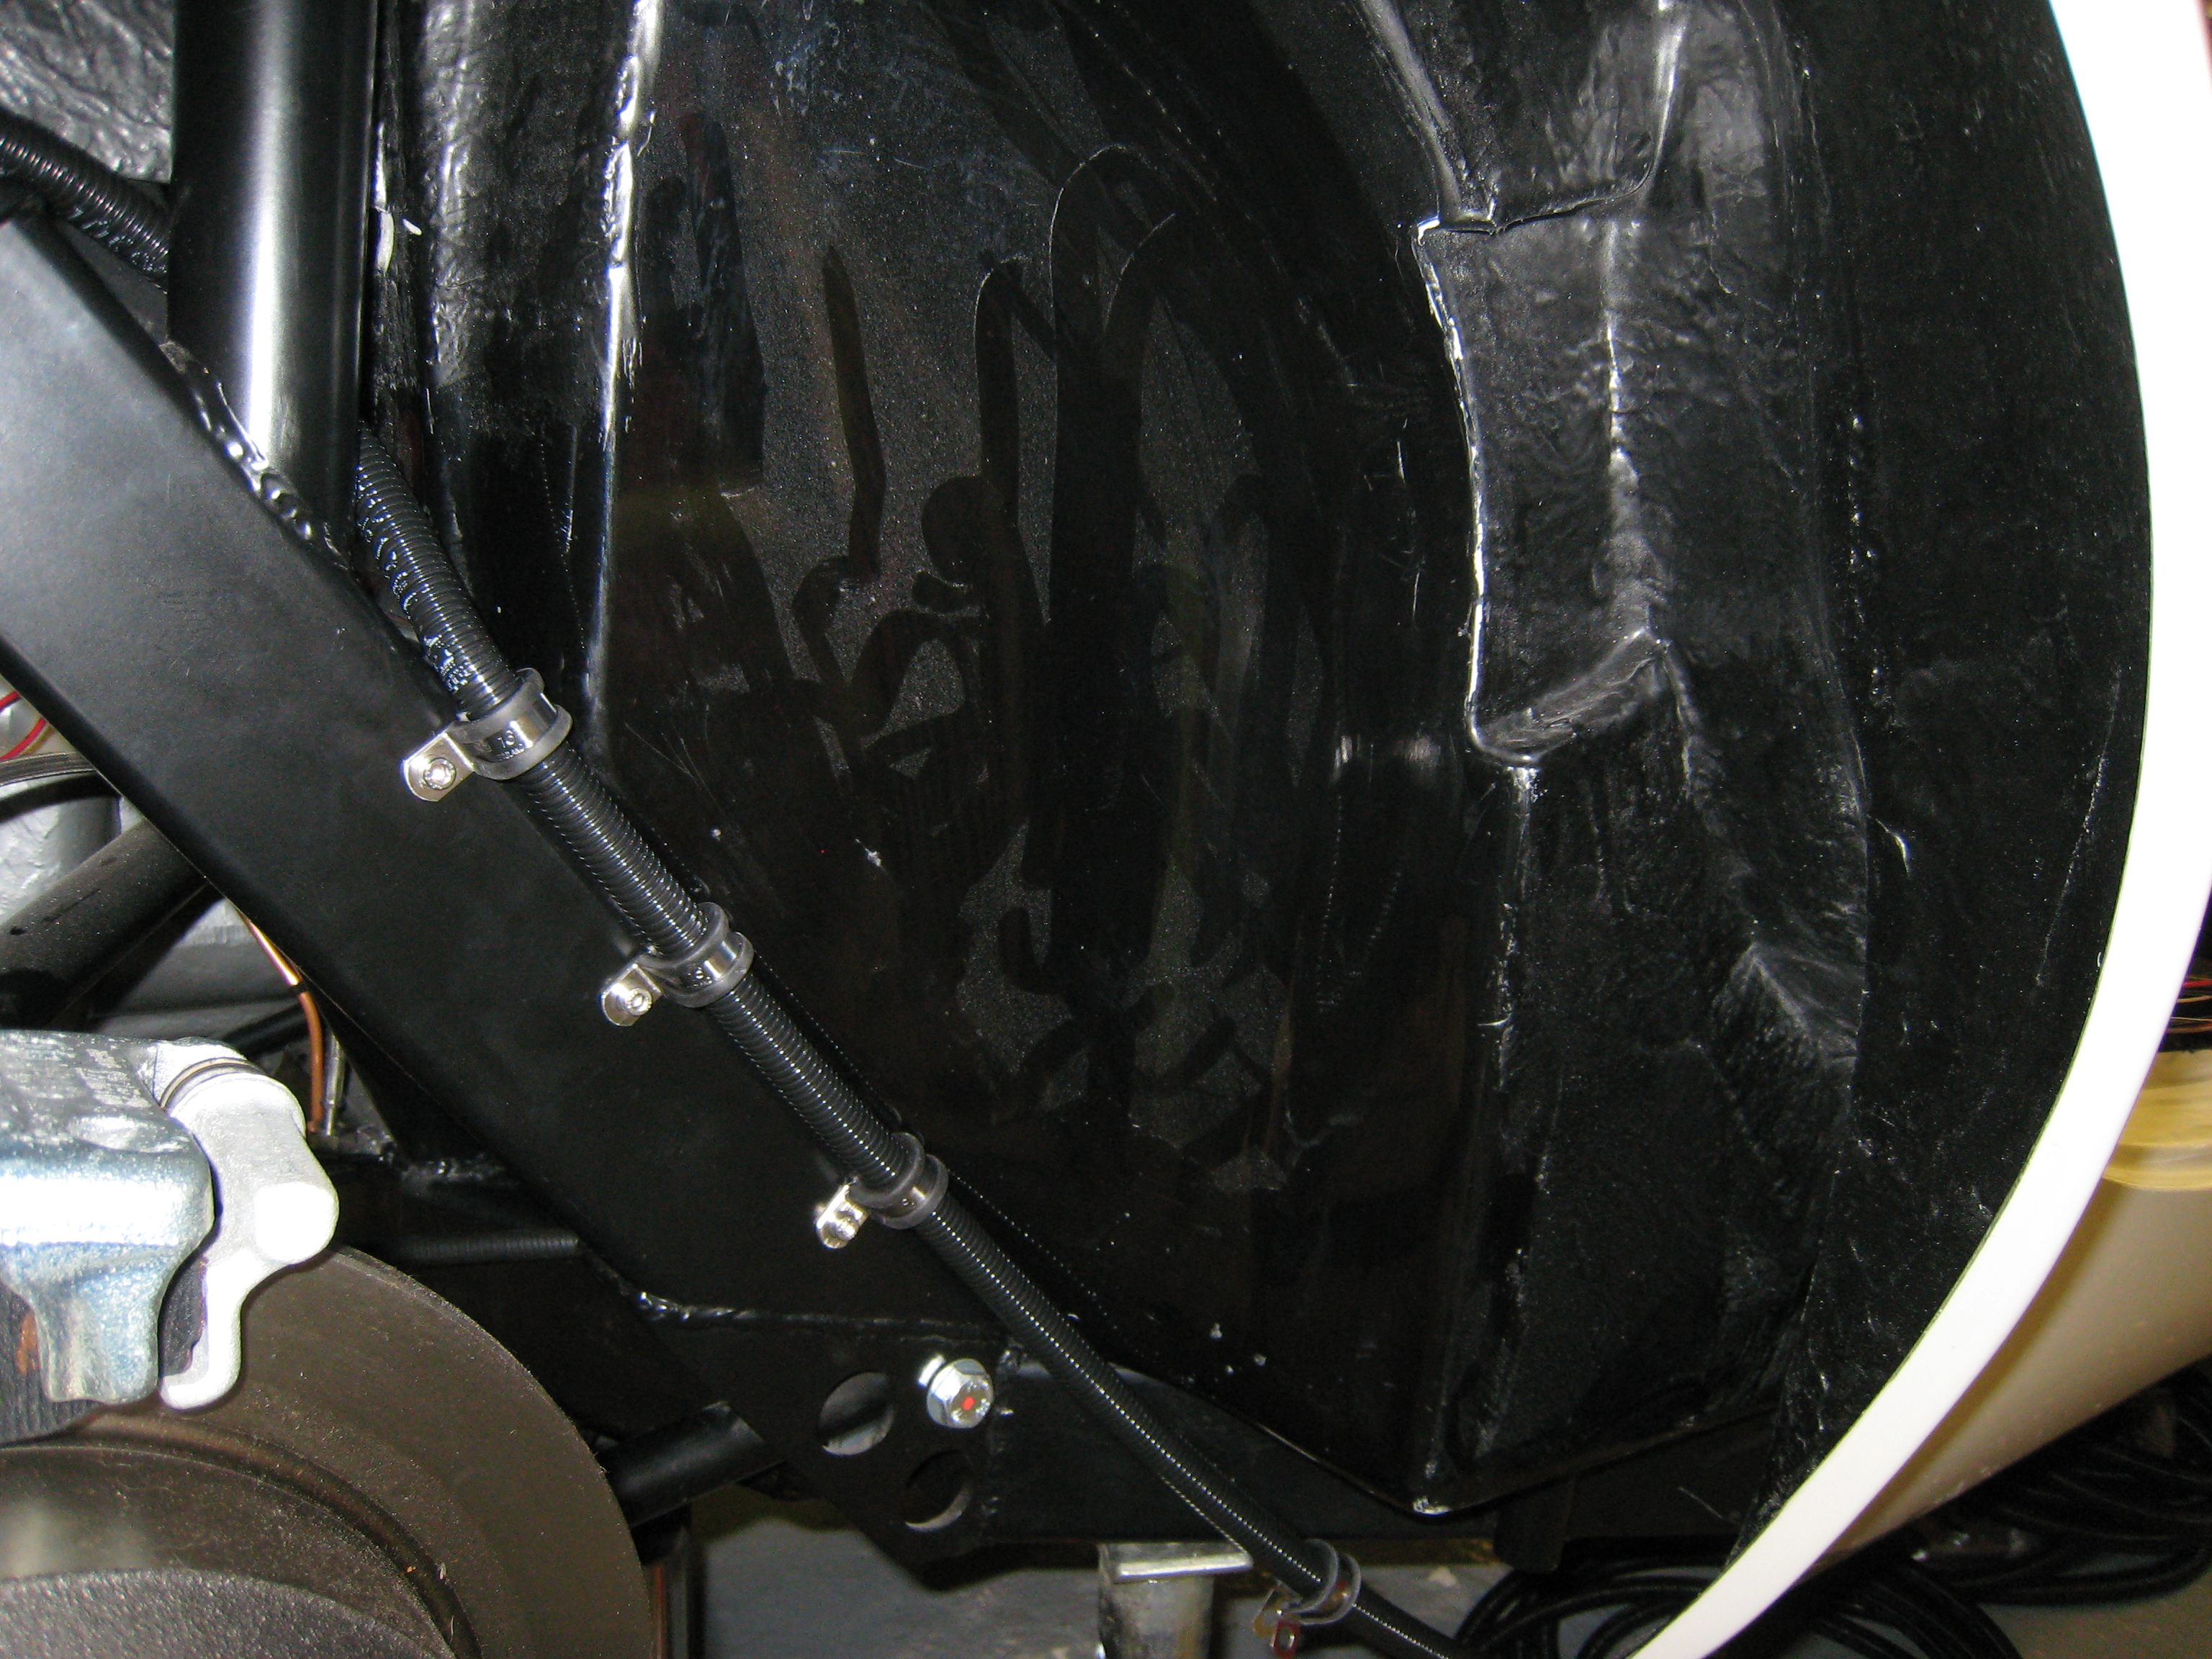
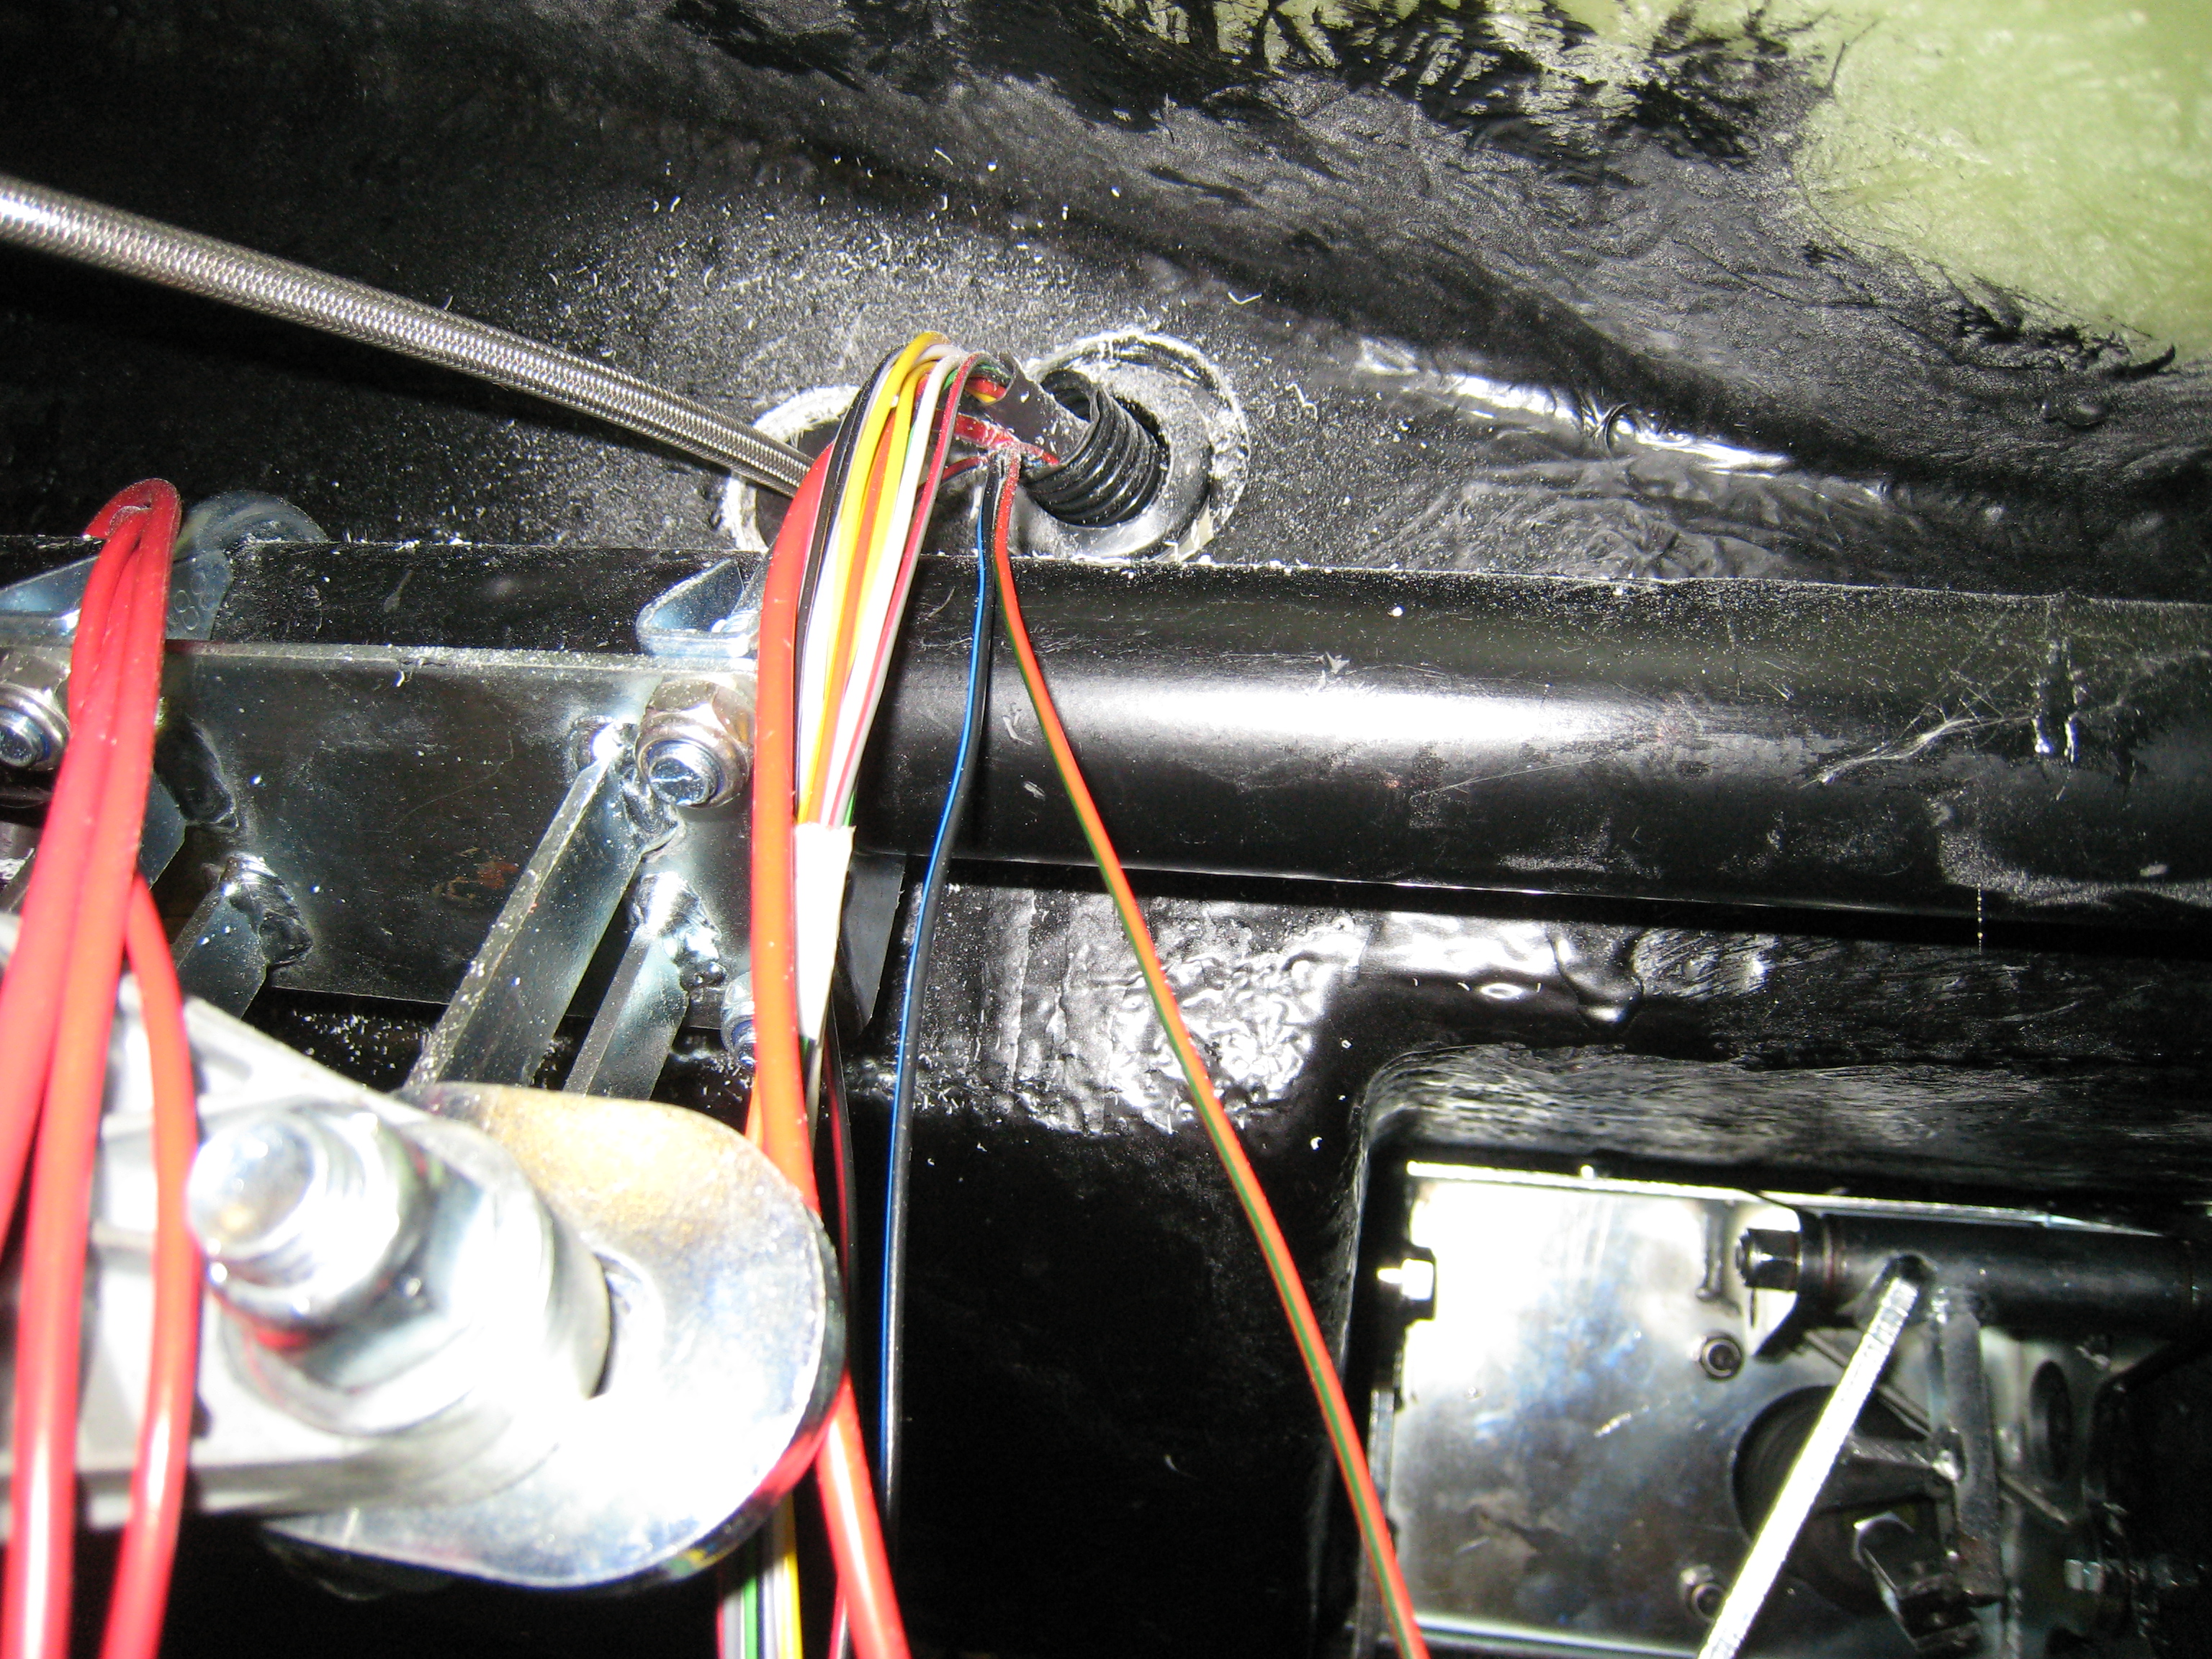
Rear Wiring
Once the front wiring was done it was time to move to the rear, again I used the premier wiring loom
as a guide. Each leg of the loom was identified and covered in sleeving. As with the front lights the
rears have connectors on them to aid removial at paint time. Again to help with the hidden wires the
loom has been run on the chassis rail outside the cockpit and comes in just by the windscreen/door pillar.

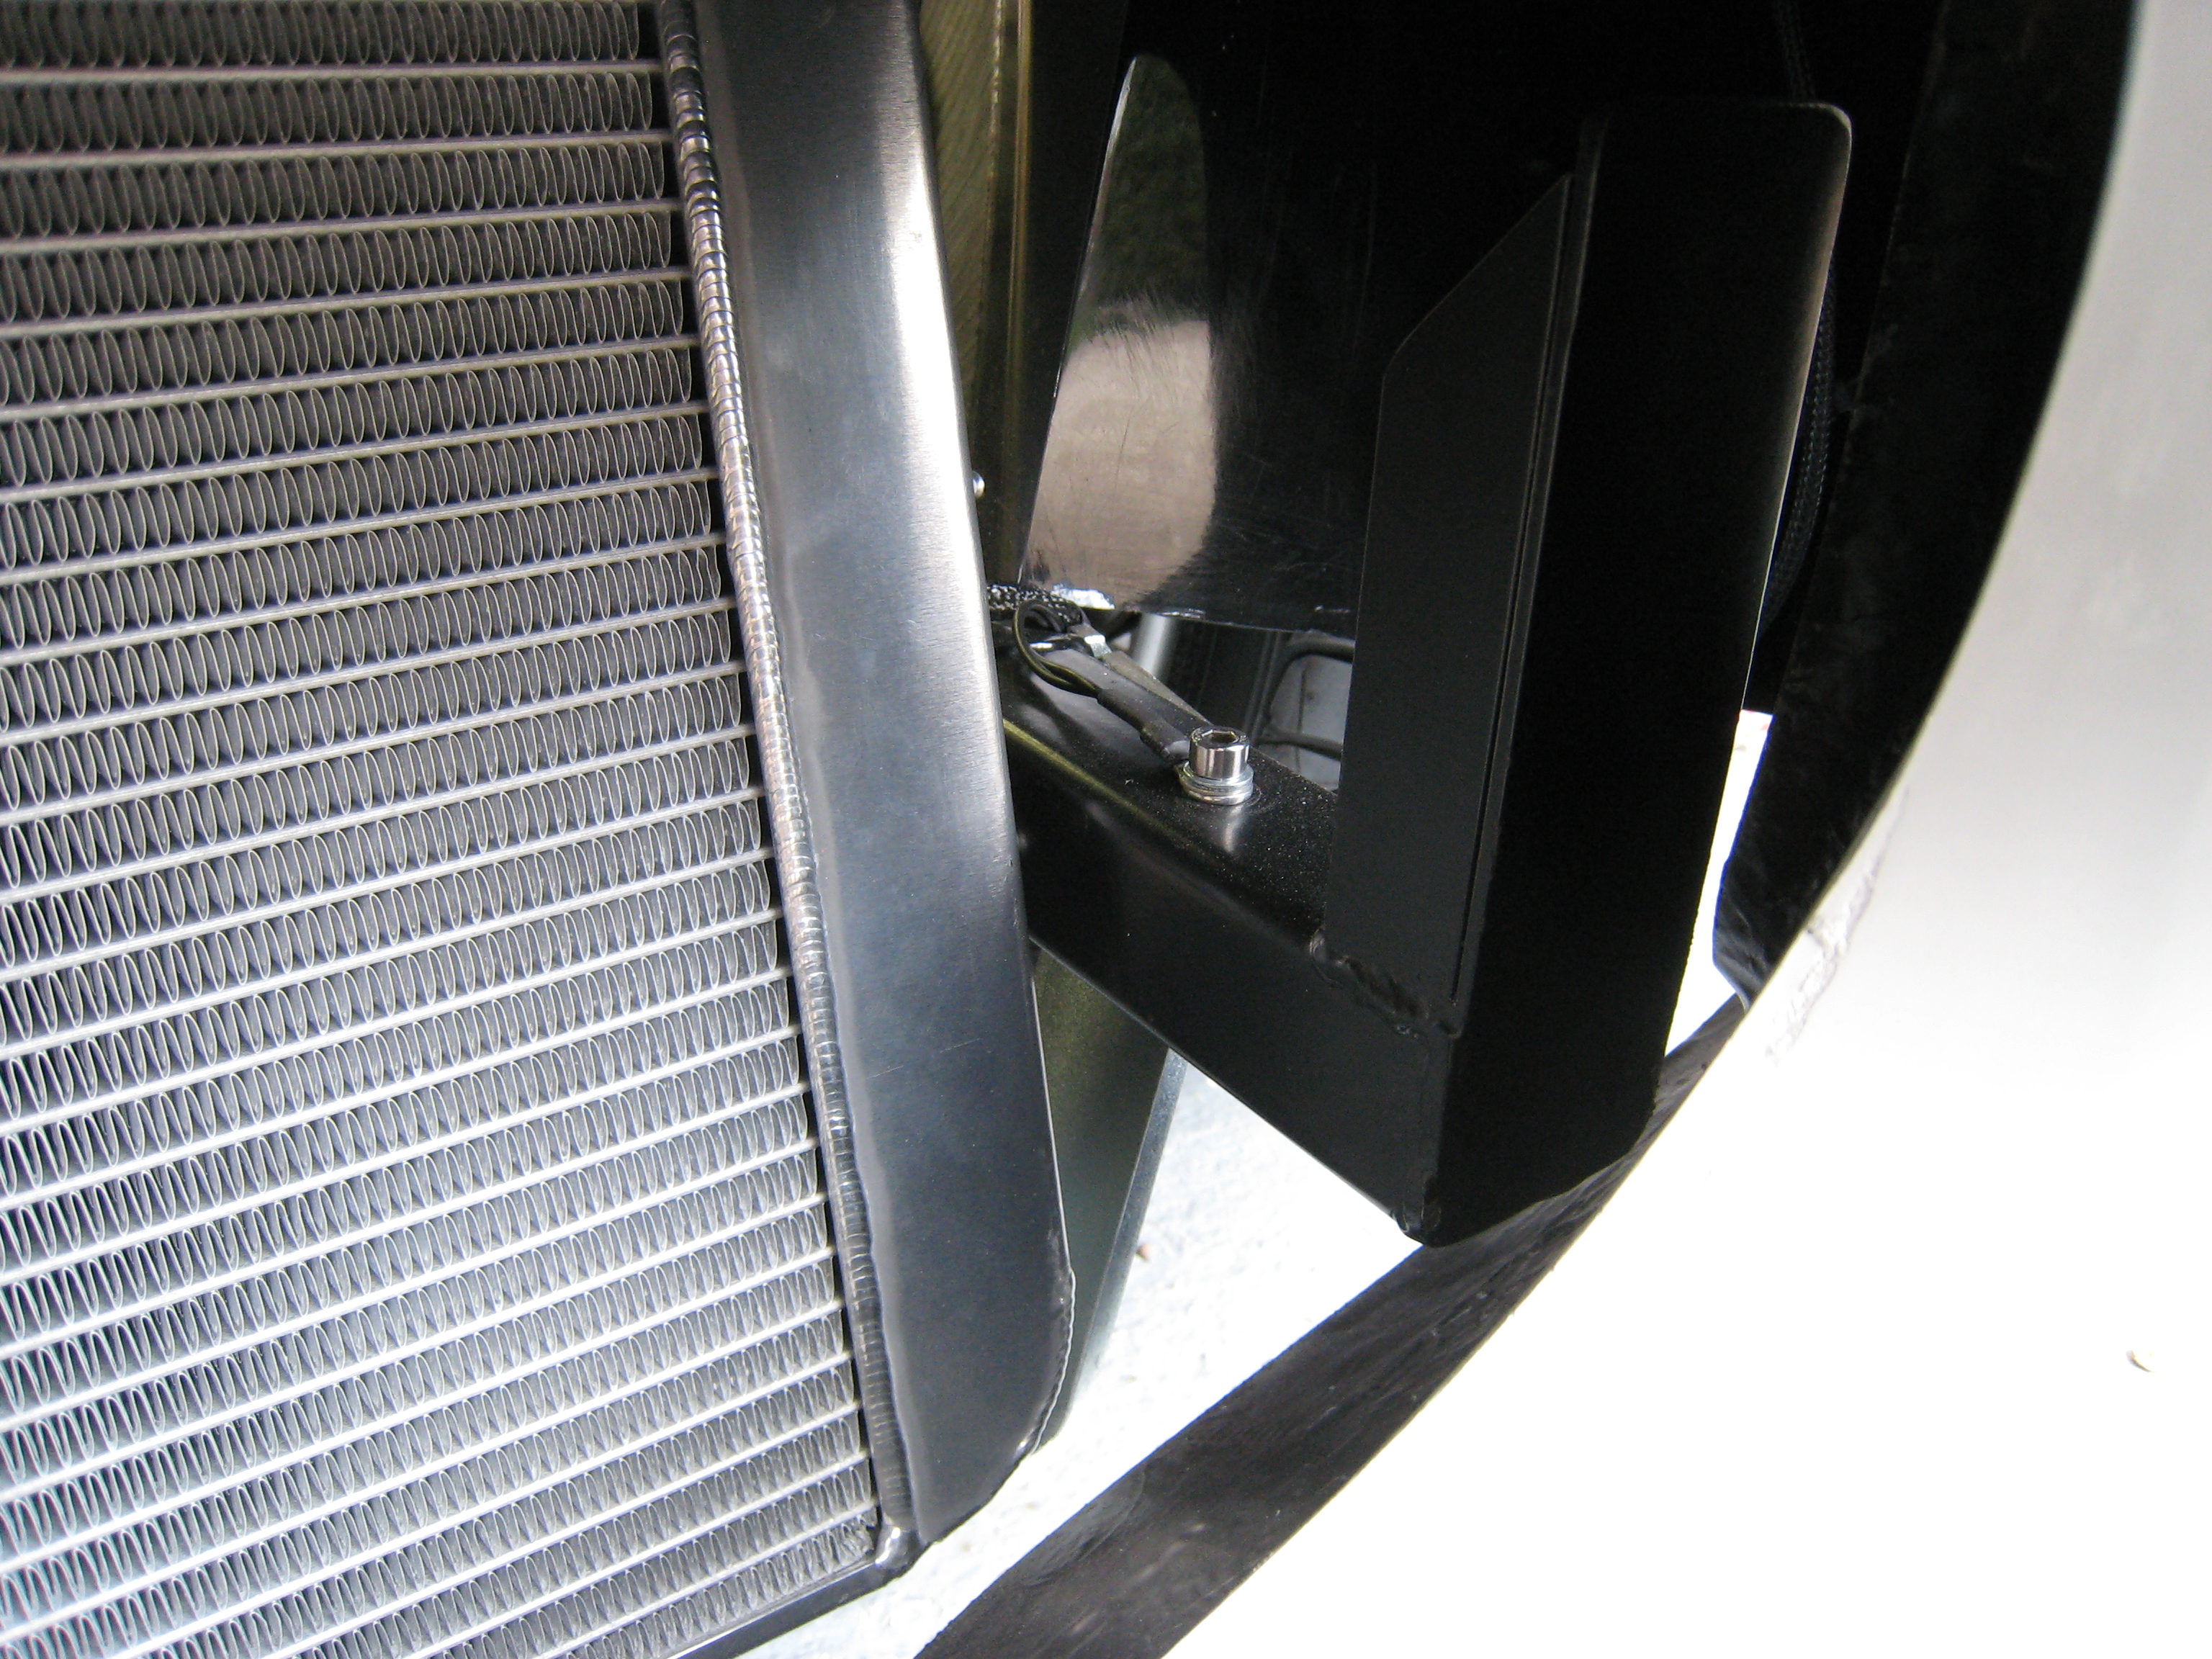
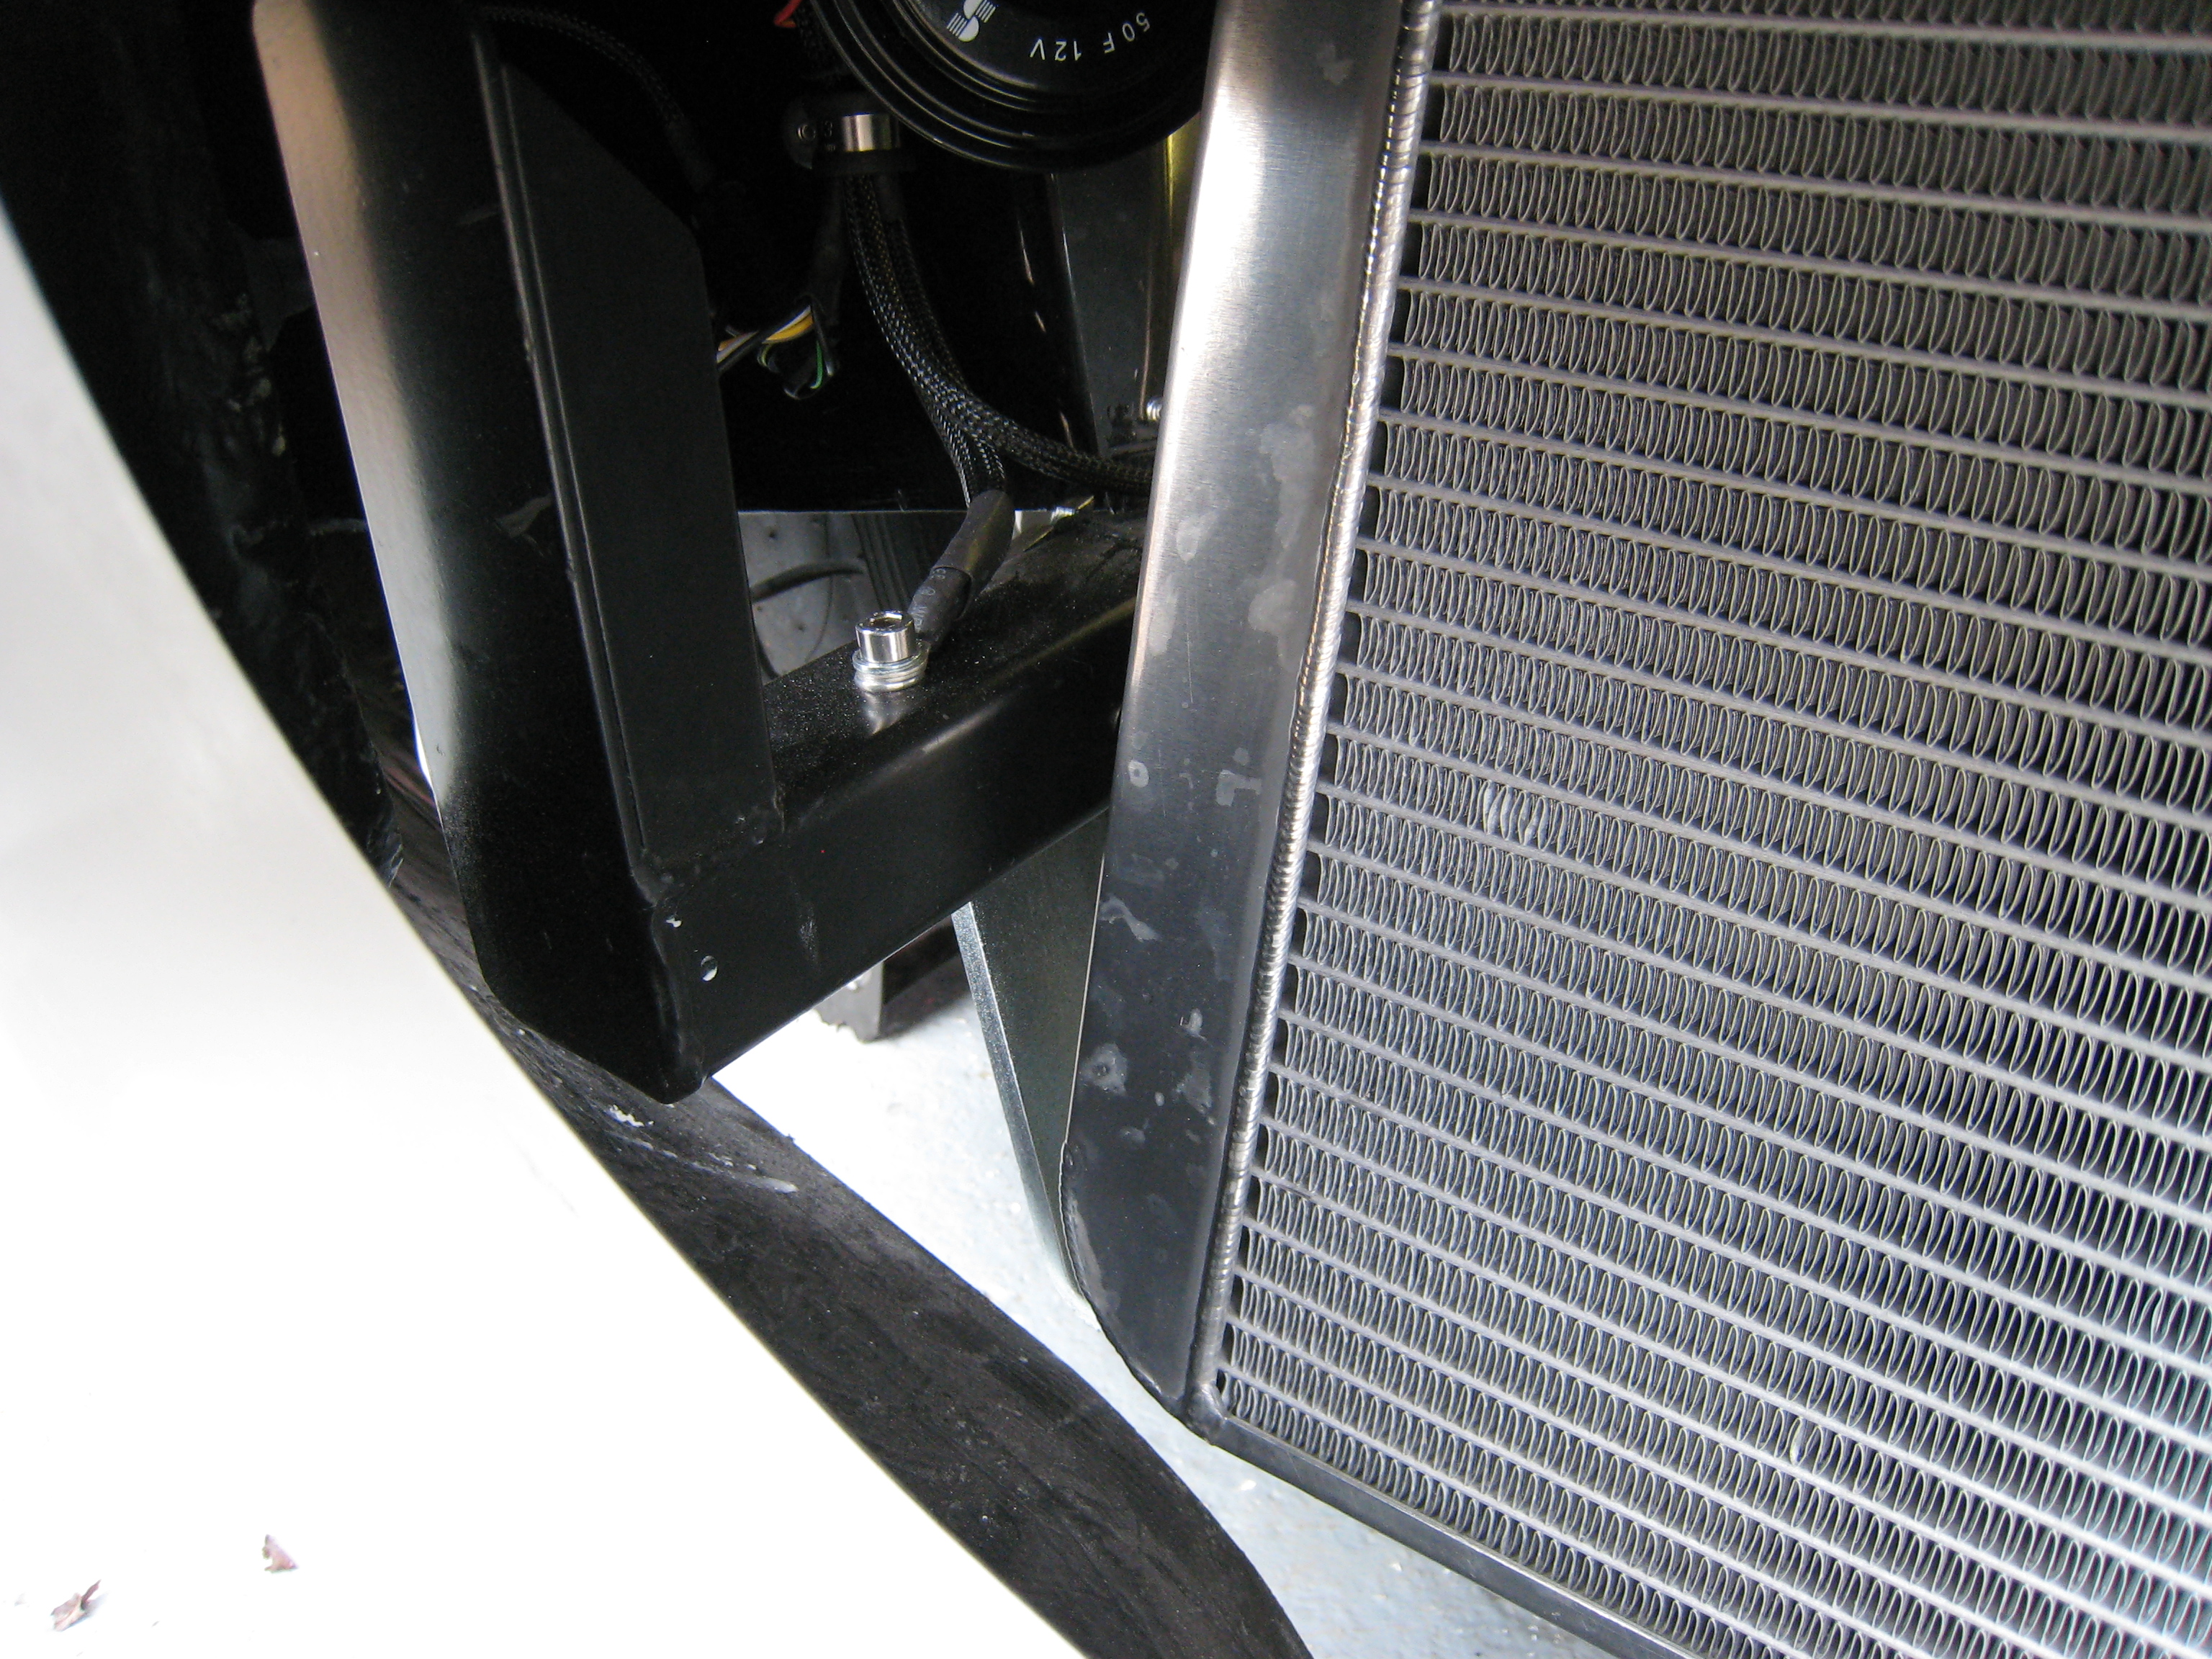
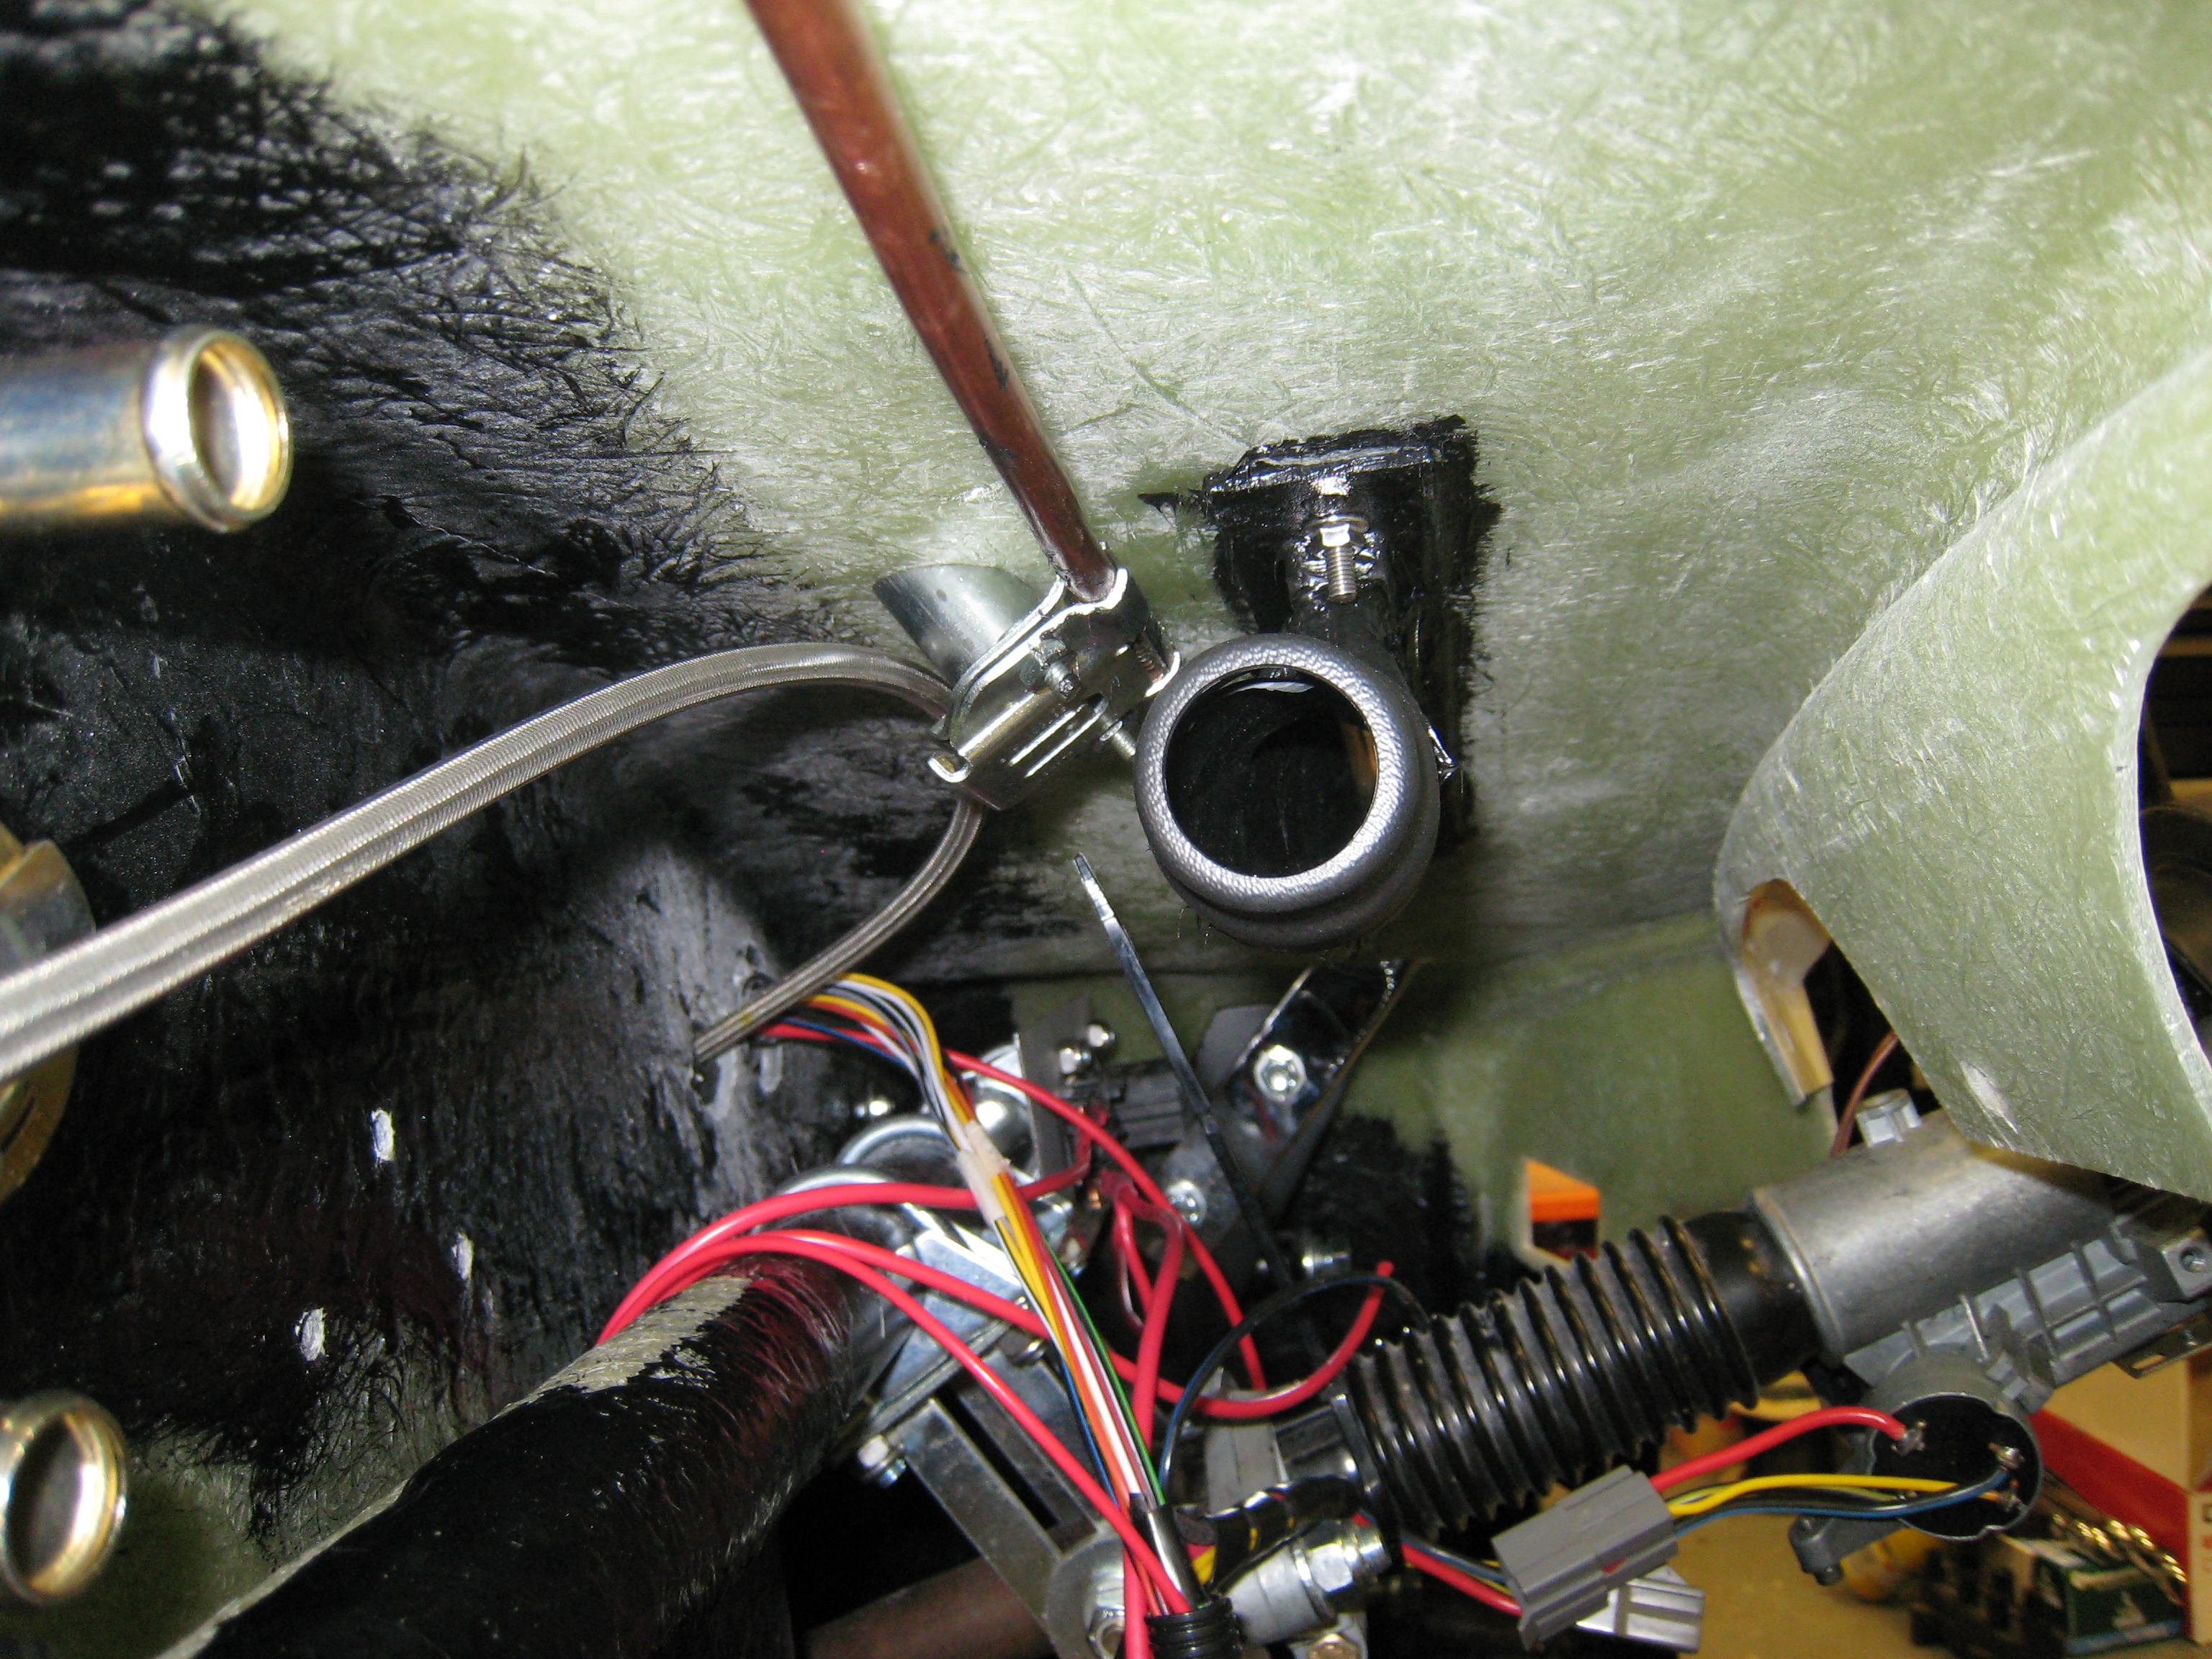
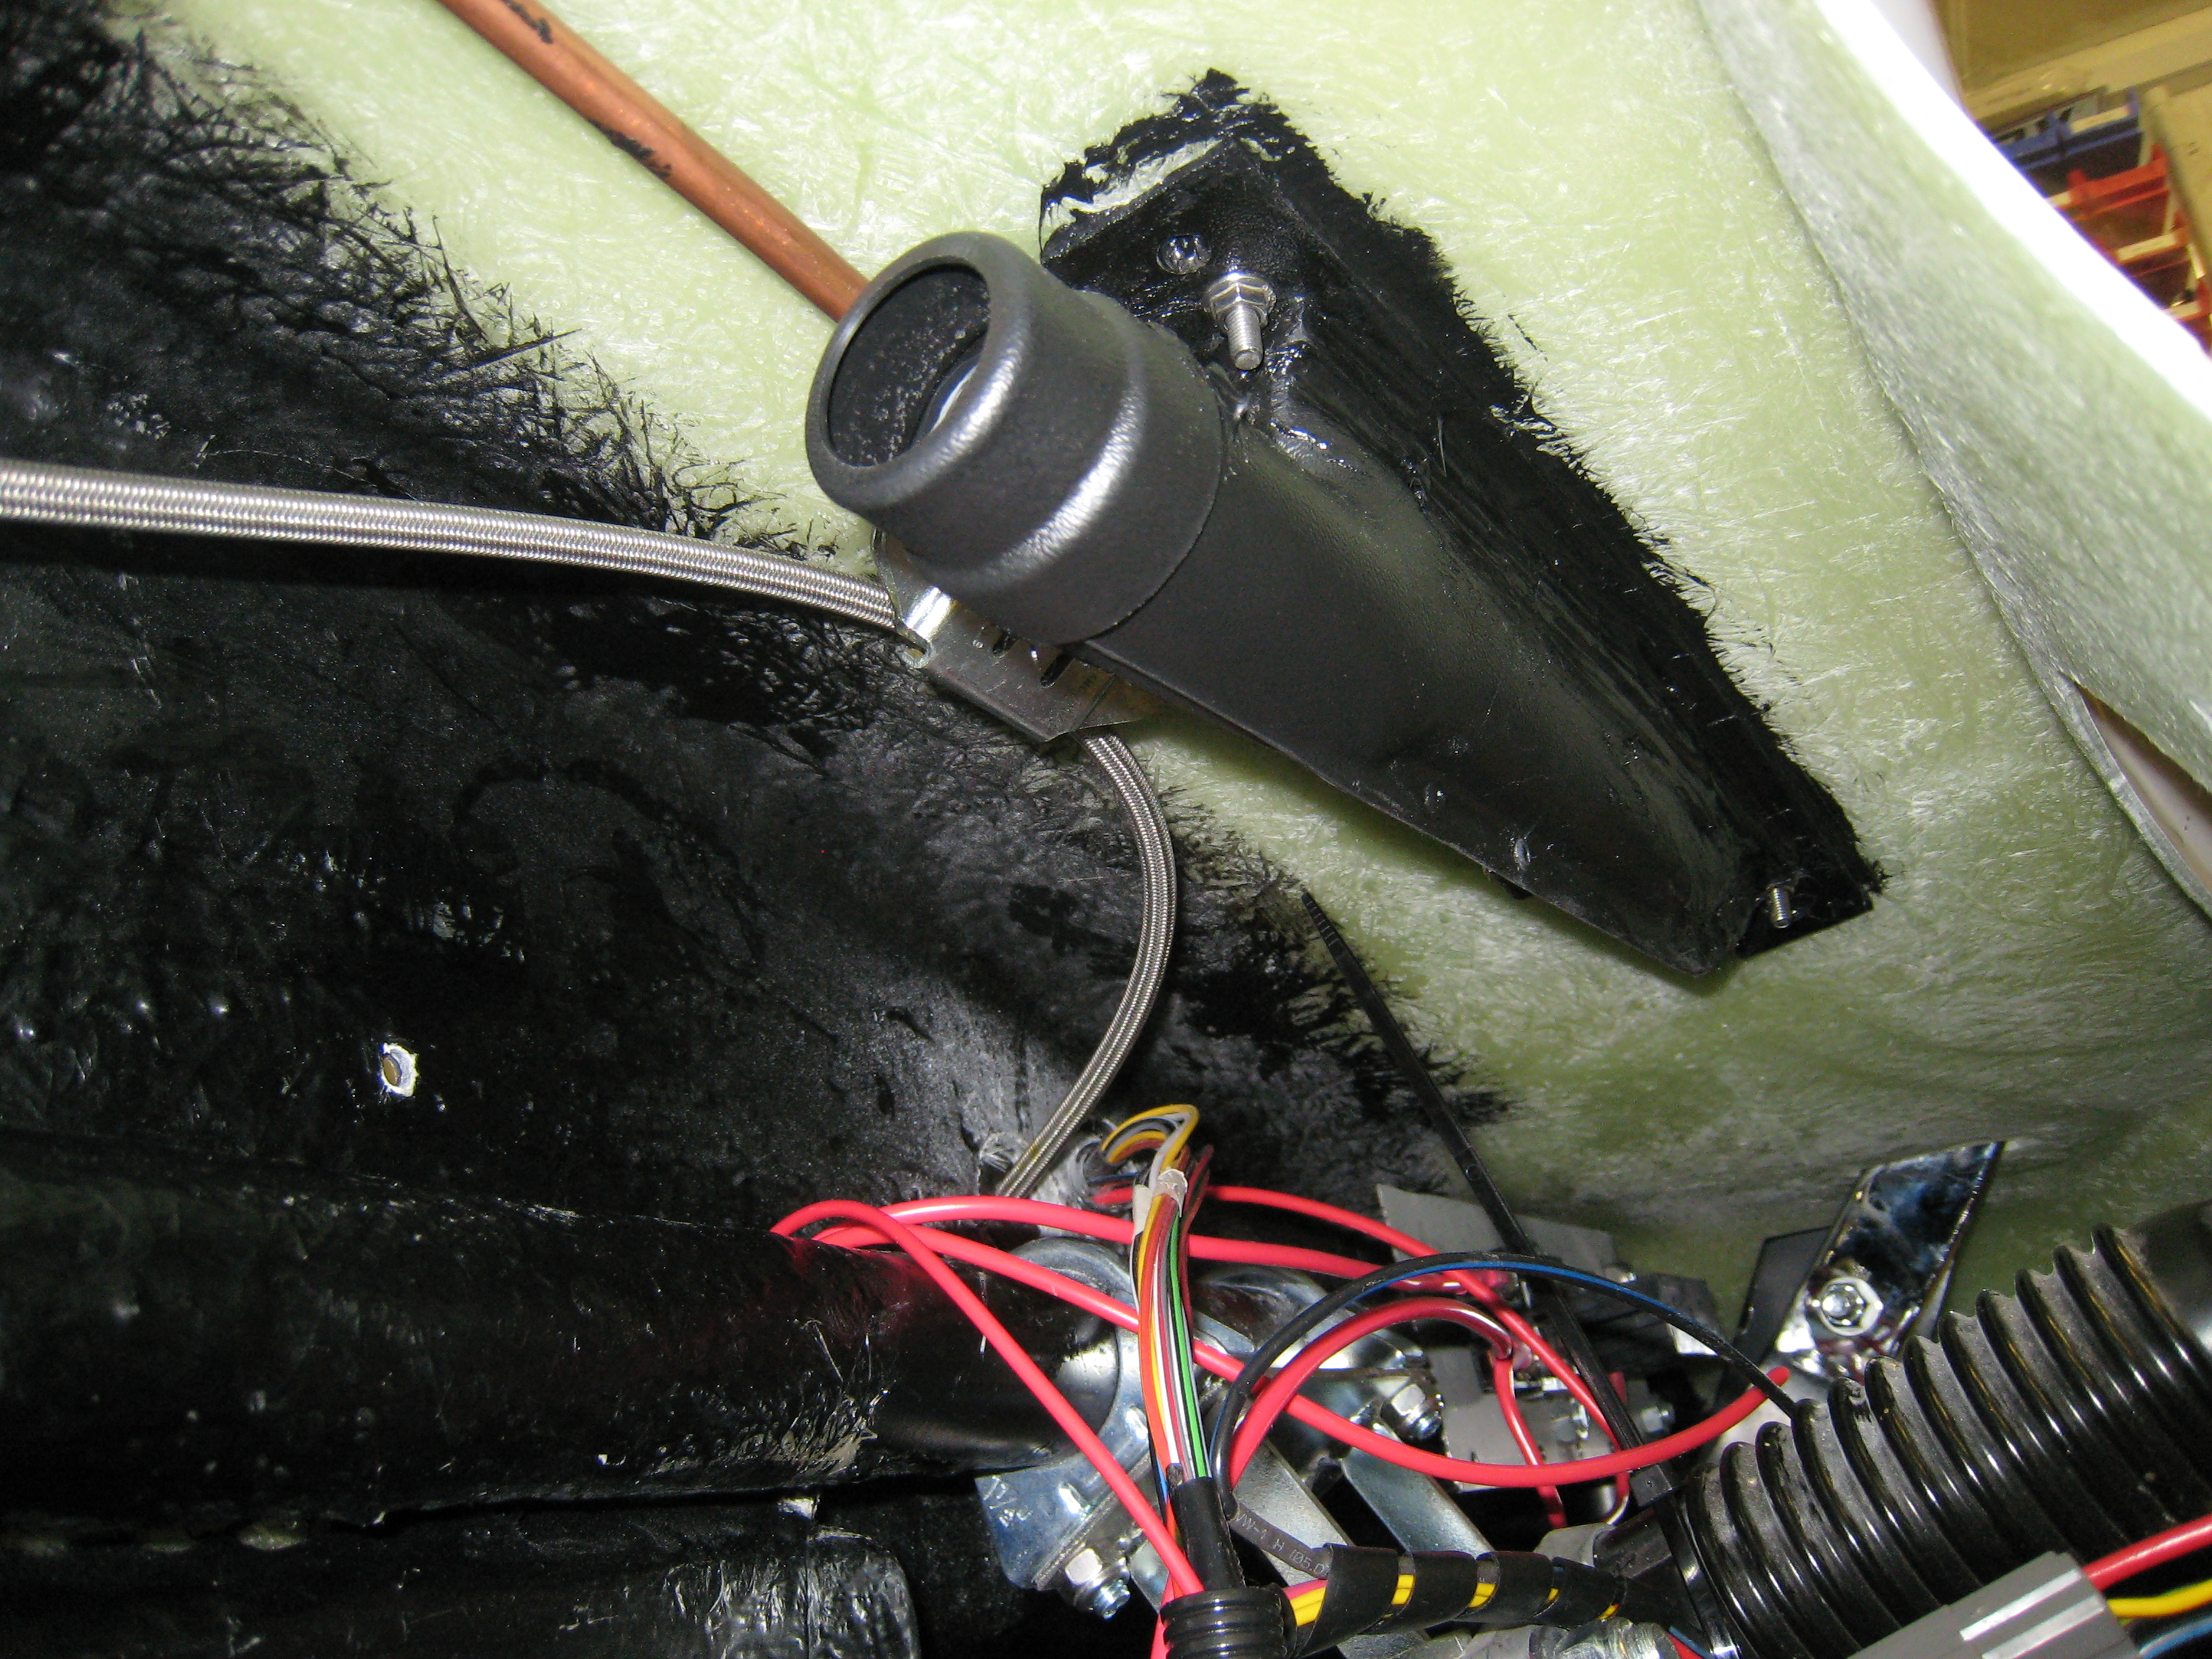
Radiator
Fitting the radiator is quite easy, although it does need 2 people as its heavy when trying to line
things up. One of the small details I notice when looking at other peoples Dax builds is that the
radiator sticks out below the nose, this is just a personal thing but I don’t like it. So I have
mounded my radiator with it canted back so as to bring the bottom up inside the body line.
I have also had my radiator made with the inlet and outlet opposite to the normal Dax build as this
better fits my engine layout, and as mentioned above I've had a M22 boss welded in to take a standard
cooling fan thermostat. The radiator is also fitted with a drain plug which the Dax ones aren’t.
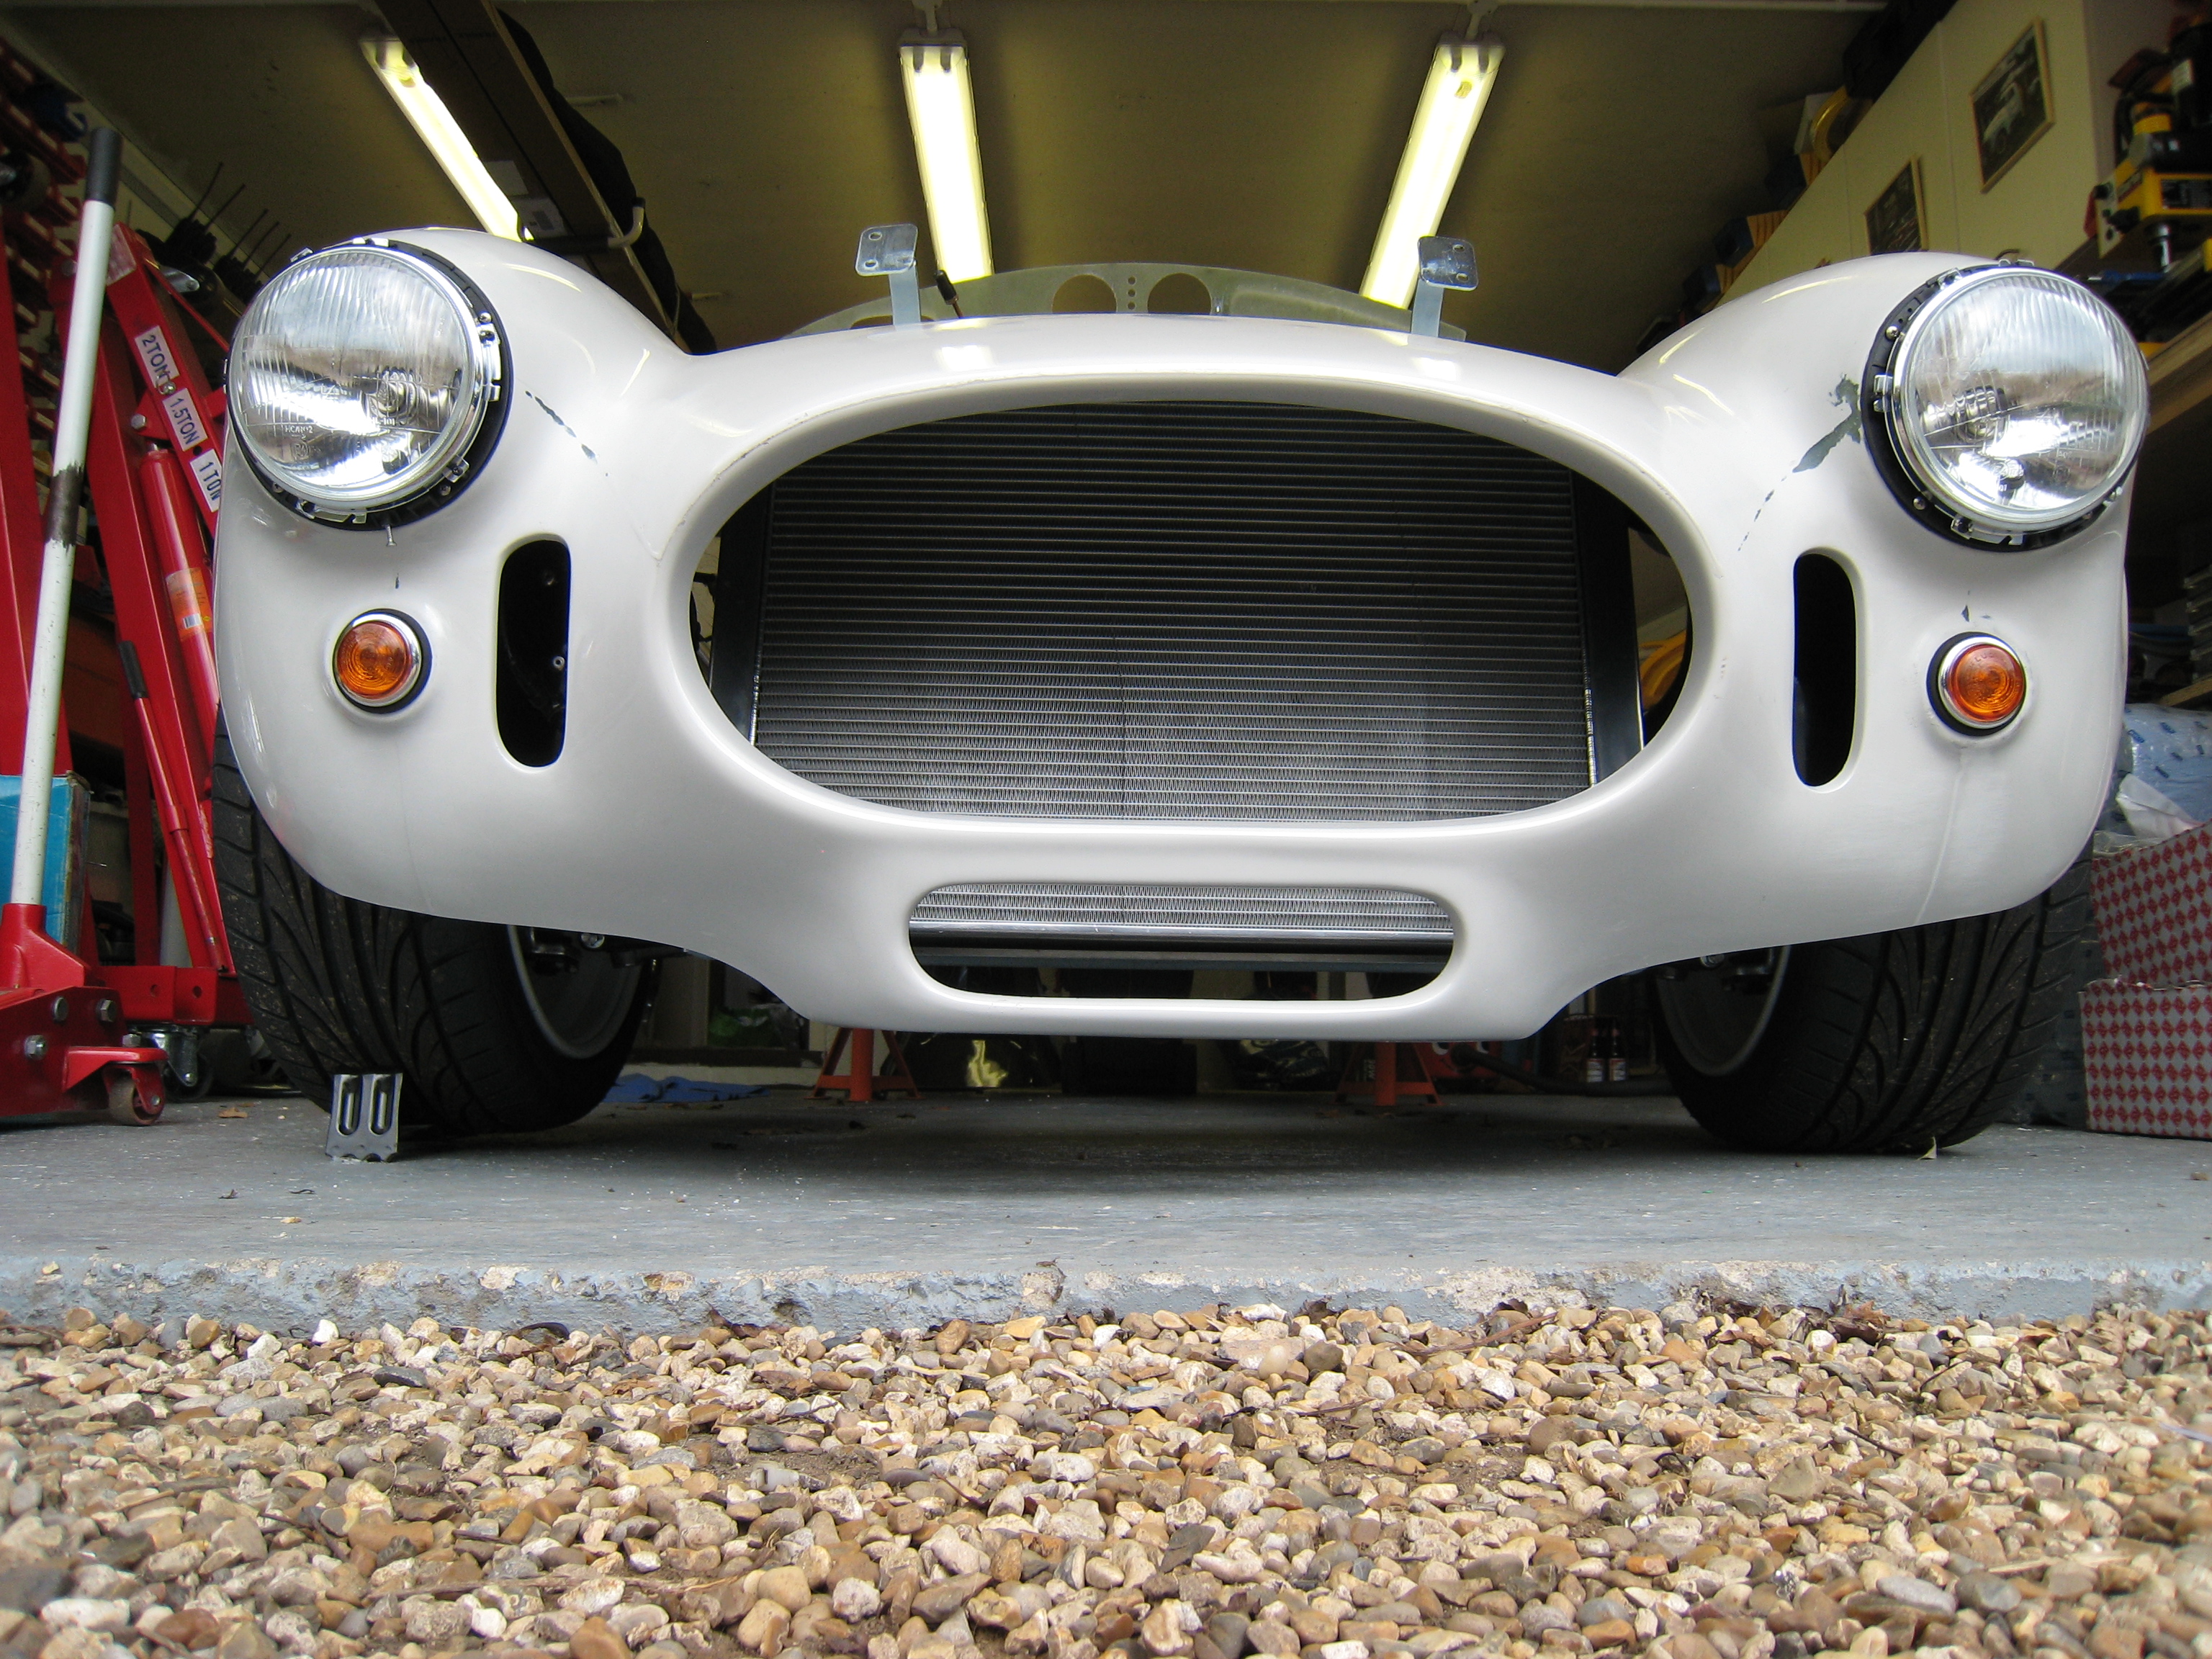
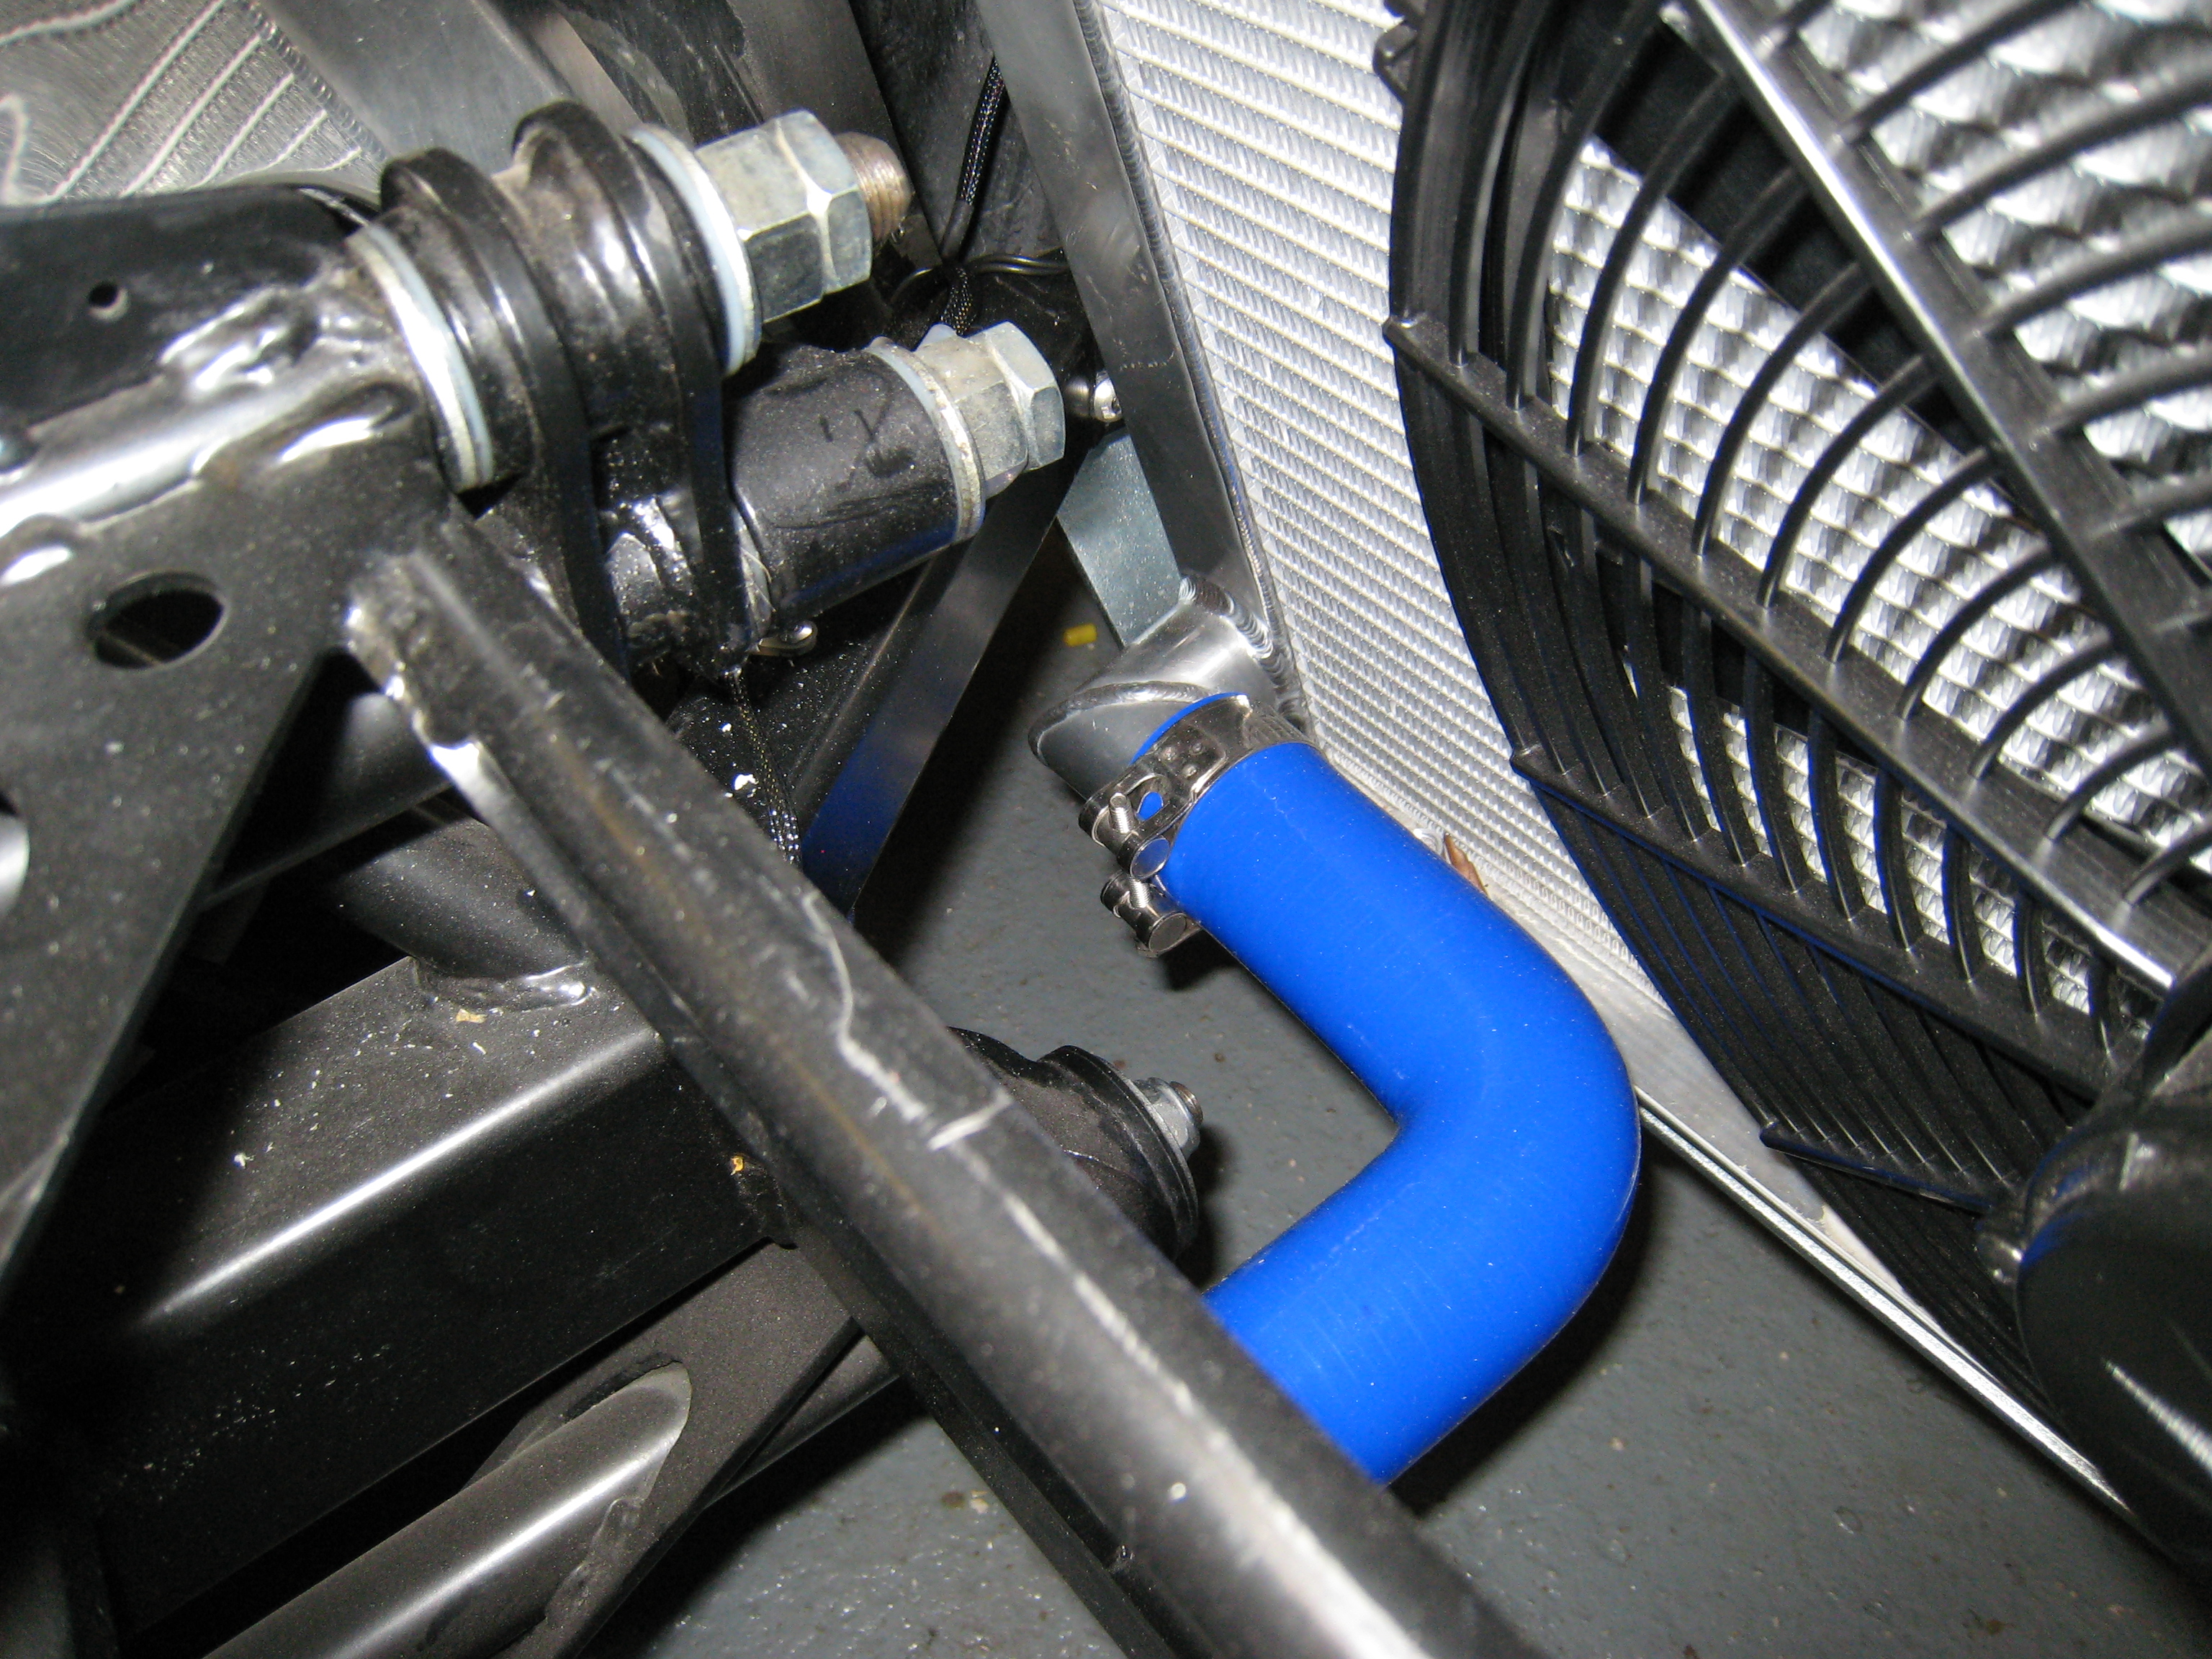
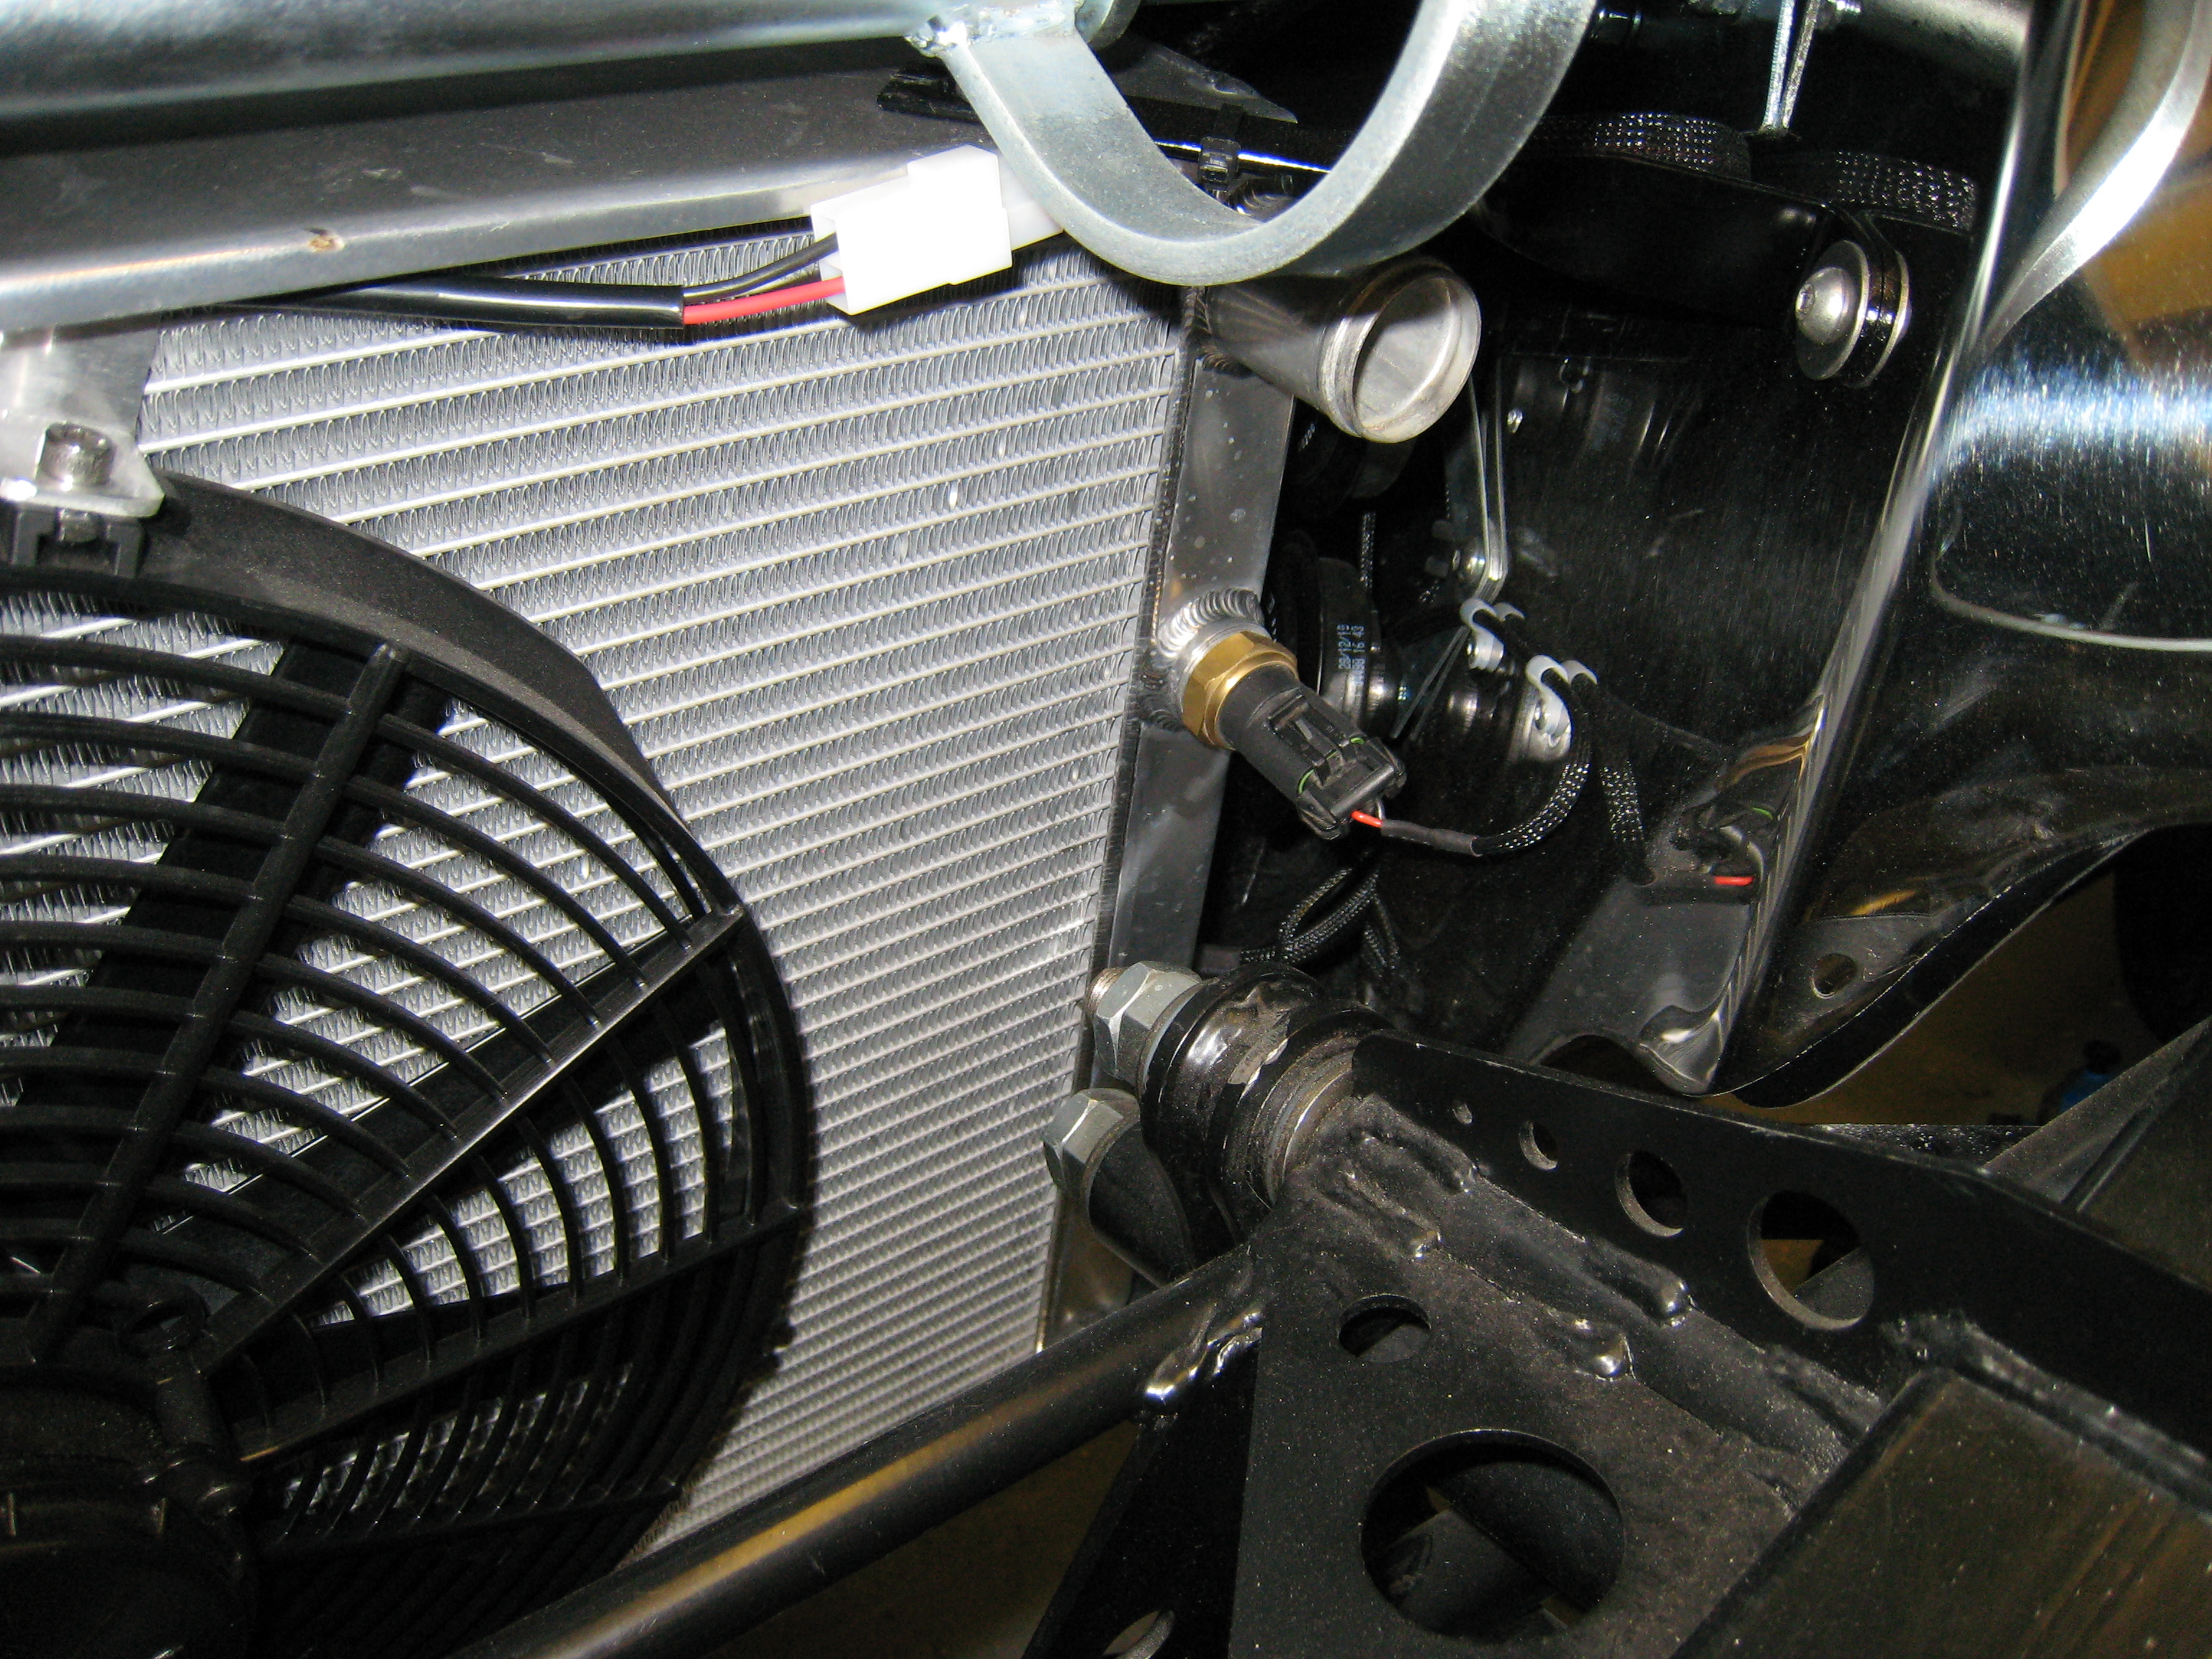
Also of note are the radiator top moiunts as supplied by Dax, I've cut these down so I can
place them under the front wing more, simply to hide them away.
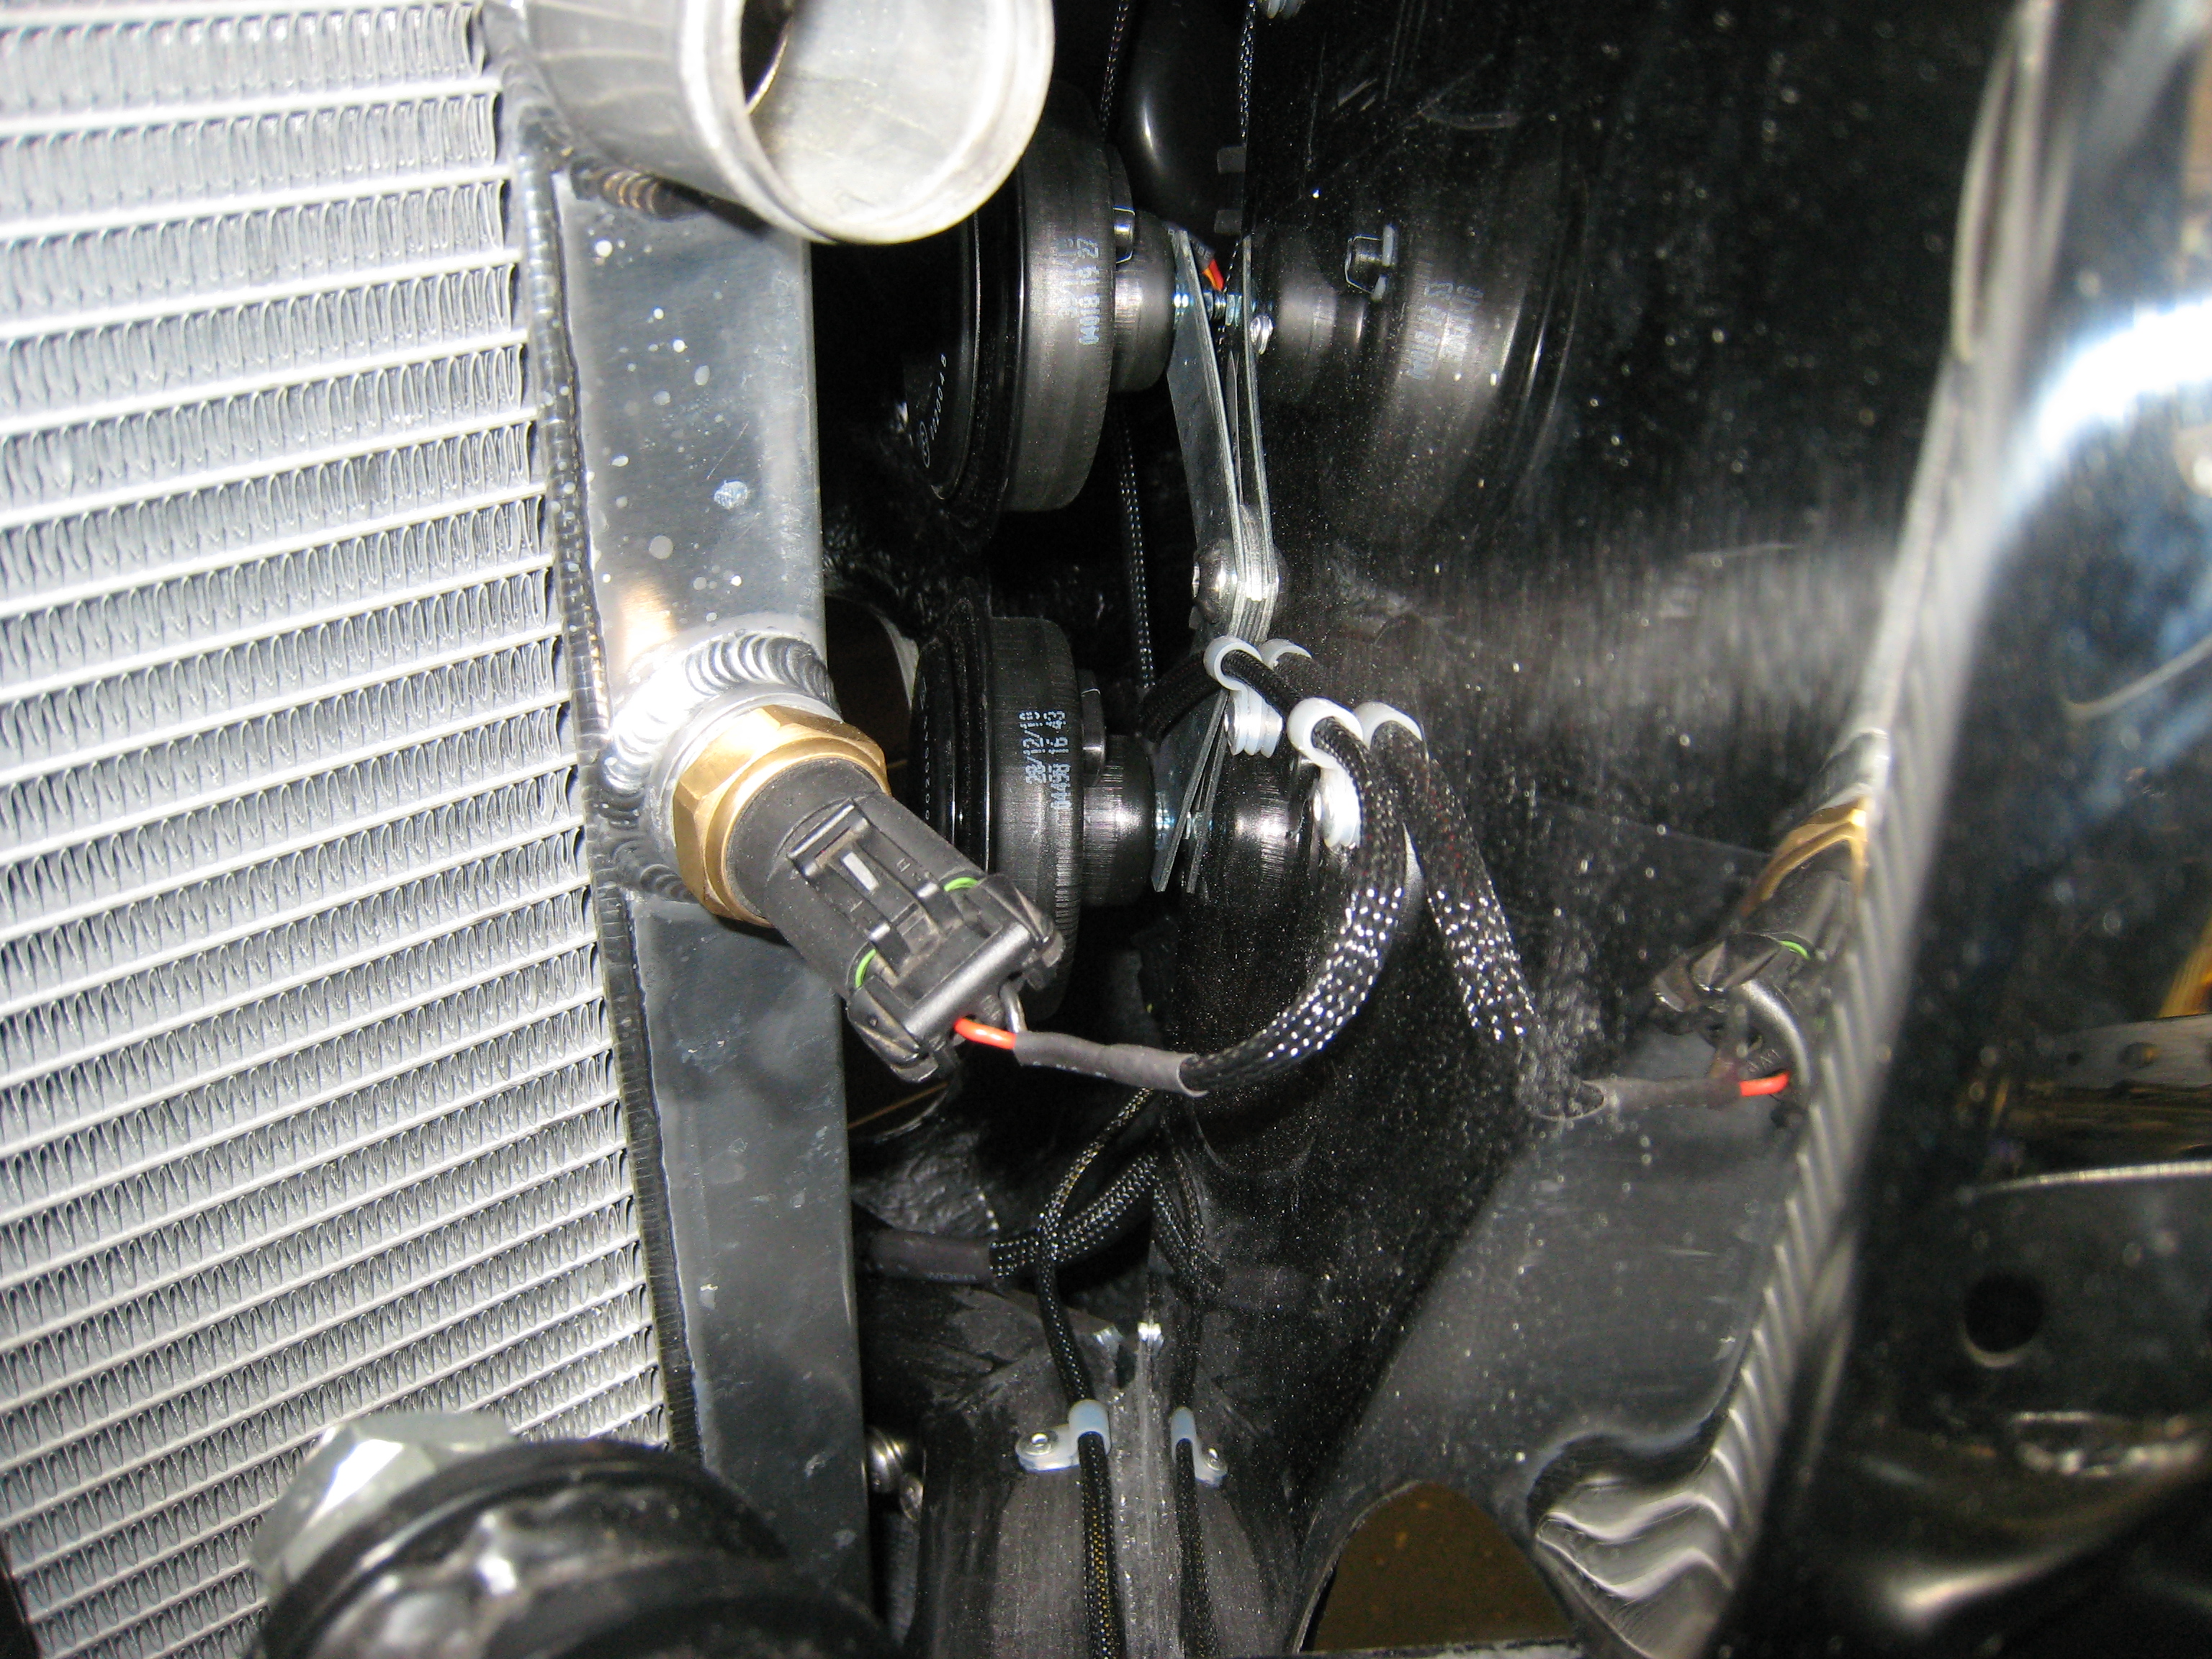
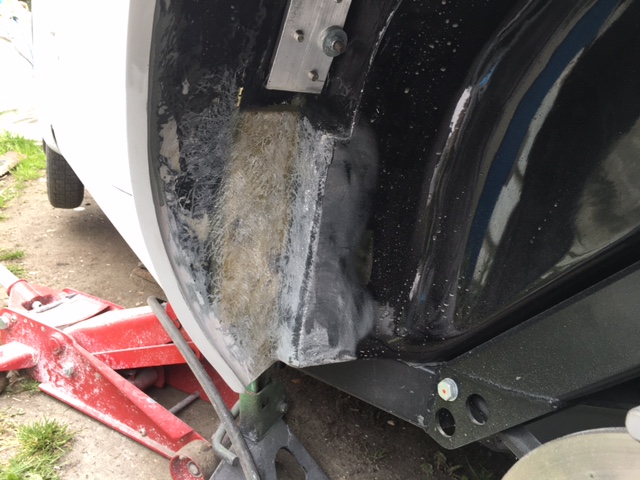
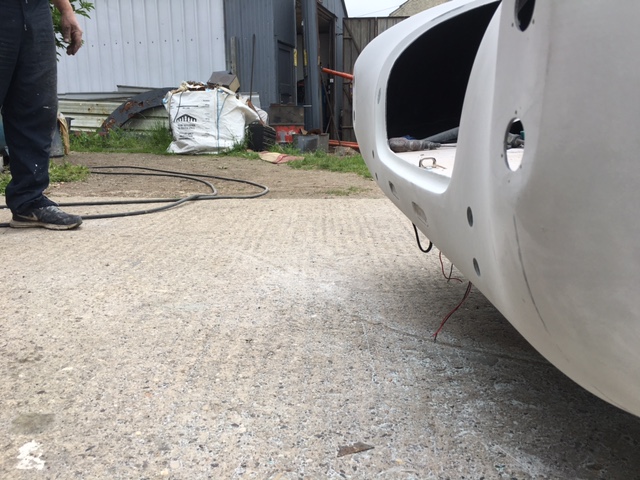
Front Wiring
One of the first jobs I decided to do on the completed body was to run the wiring to the front end,
now I'm someone who can’t stand visible wiring so I've gone to some lengths to hide as much of the
wiring as I possibly can. Below you can see the front loom which is brought to the front via the
off side wheel arch, this removes the wiring from the engine bay. As you can see its held in place
with a good amount of Wurth.


Once the front wiring is in place, this then allows for the fitment of the radiator, horns, oil cooler
and front lamps. One addition i have made to the loom is to include wiring for the radiator thermostat
switch, I have also had the boss added to the rad.