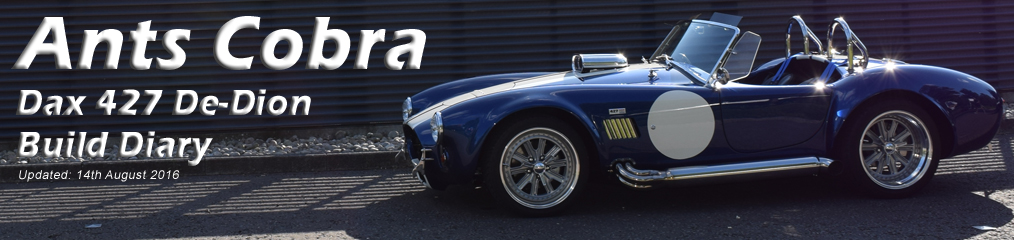
Chassis
The build up of the chassis is documented below, prior to delivery the majority of donor parts
had been removed from the Jaguar I purchased, all these parts were degreased, cleaned and painted and/or
powder coated. The one stroke of luck I had was to purchase a car with a 3.58 LSD diff, this I removed the upper lugs
from and was then powder coated silver, I know no one will see it but I know its done !
The chassis arrived from Dax on Saturday 24th October 2009 strapped to the Dax pickup truck along with lots of metal
parts and boxes of bits and bolts.
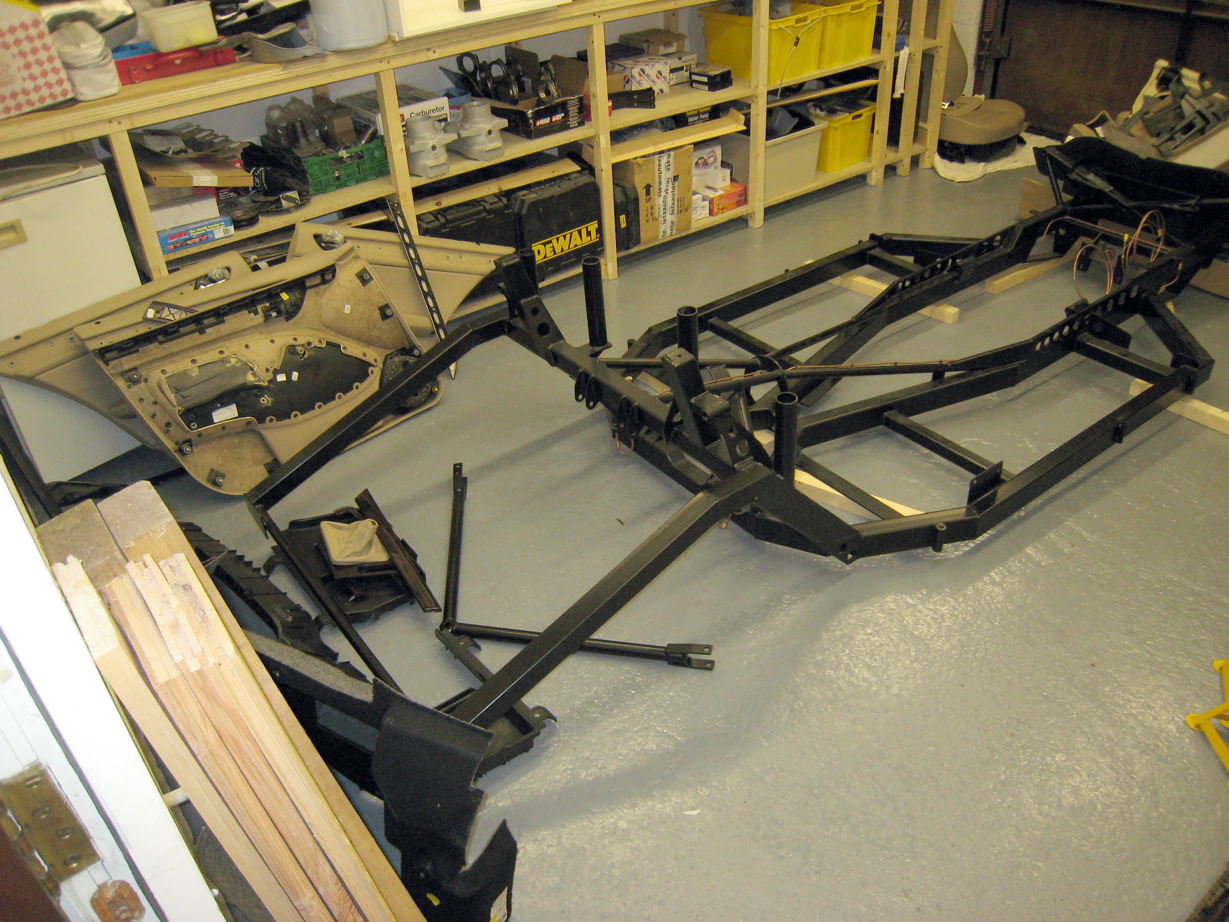
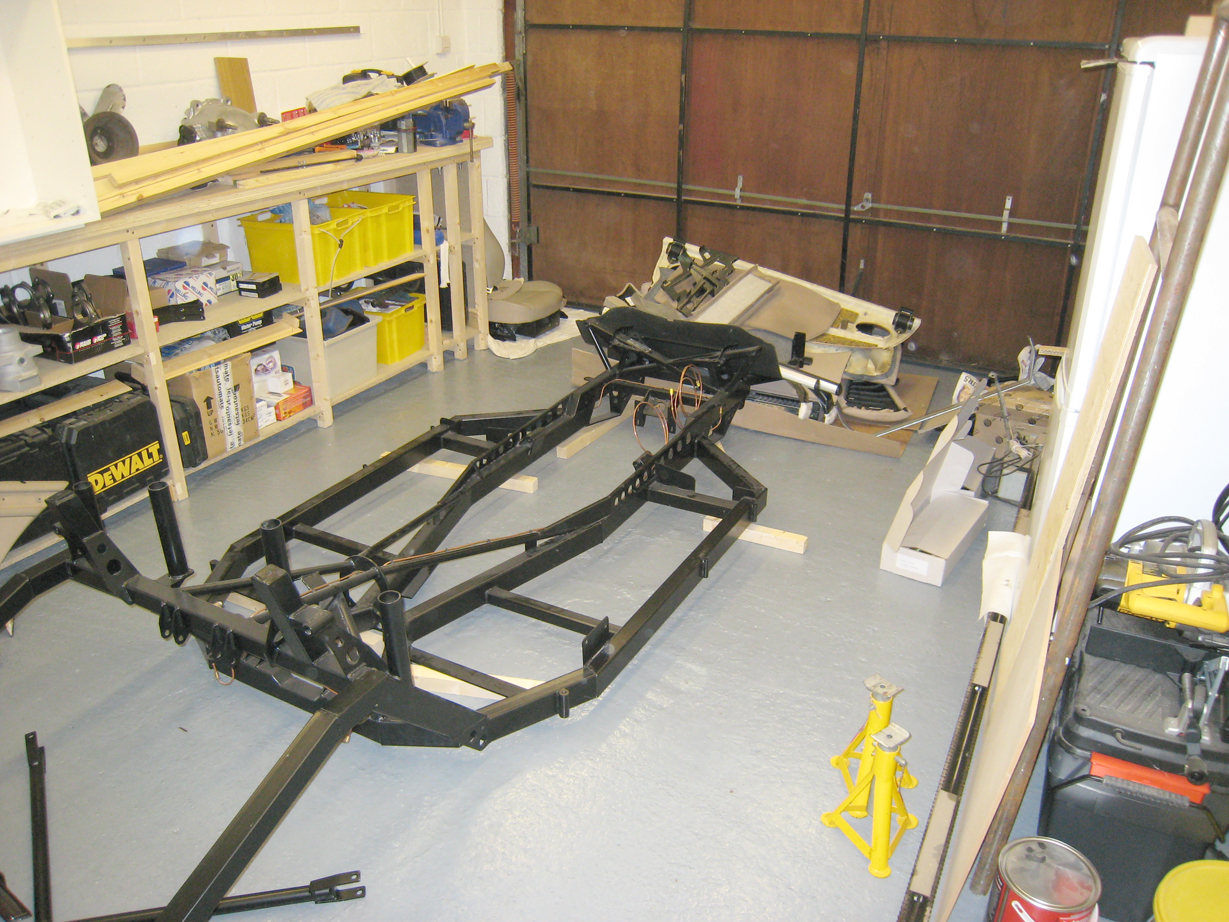
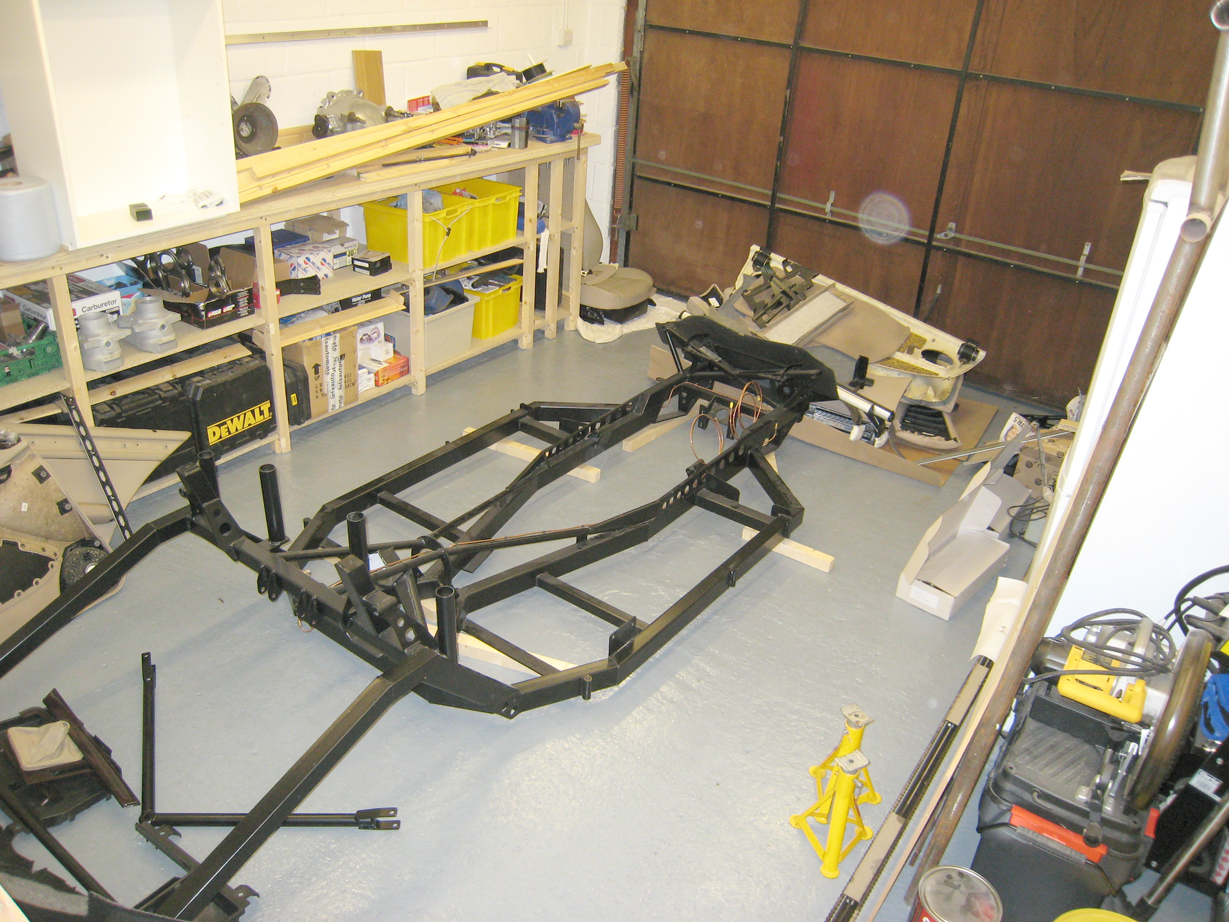
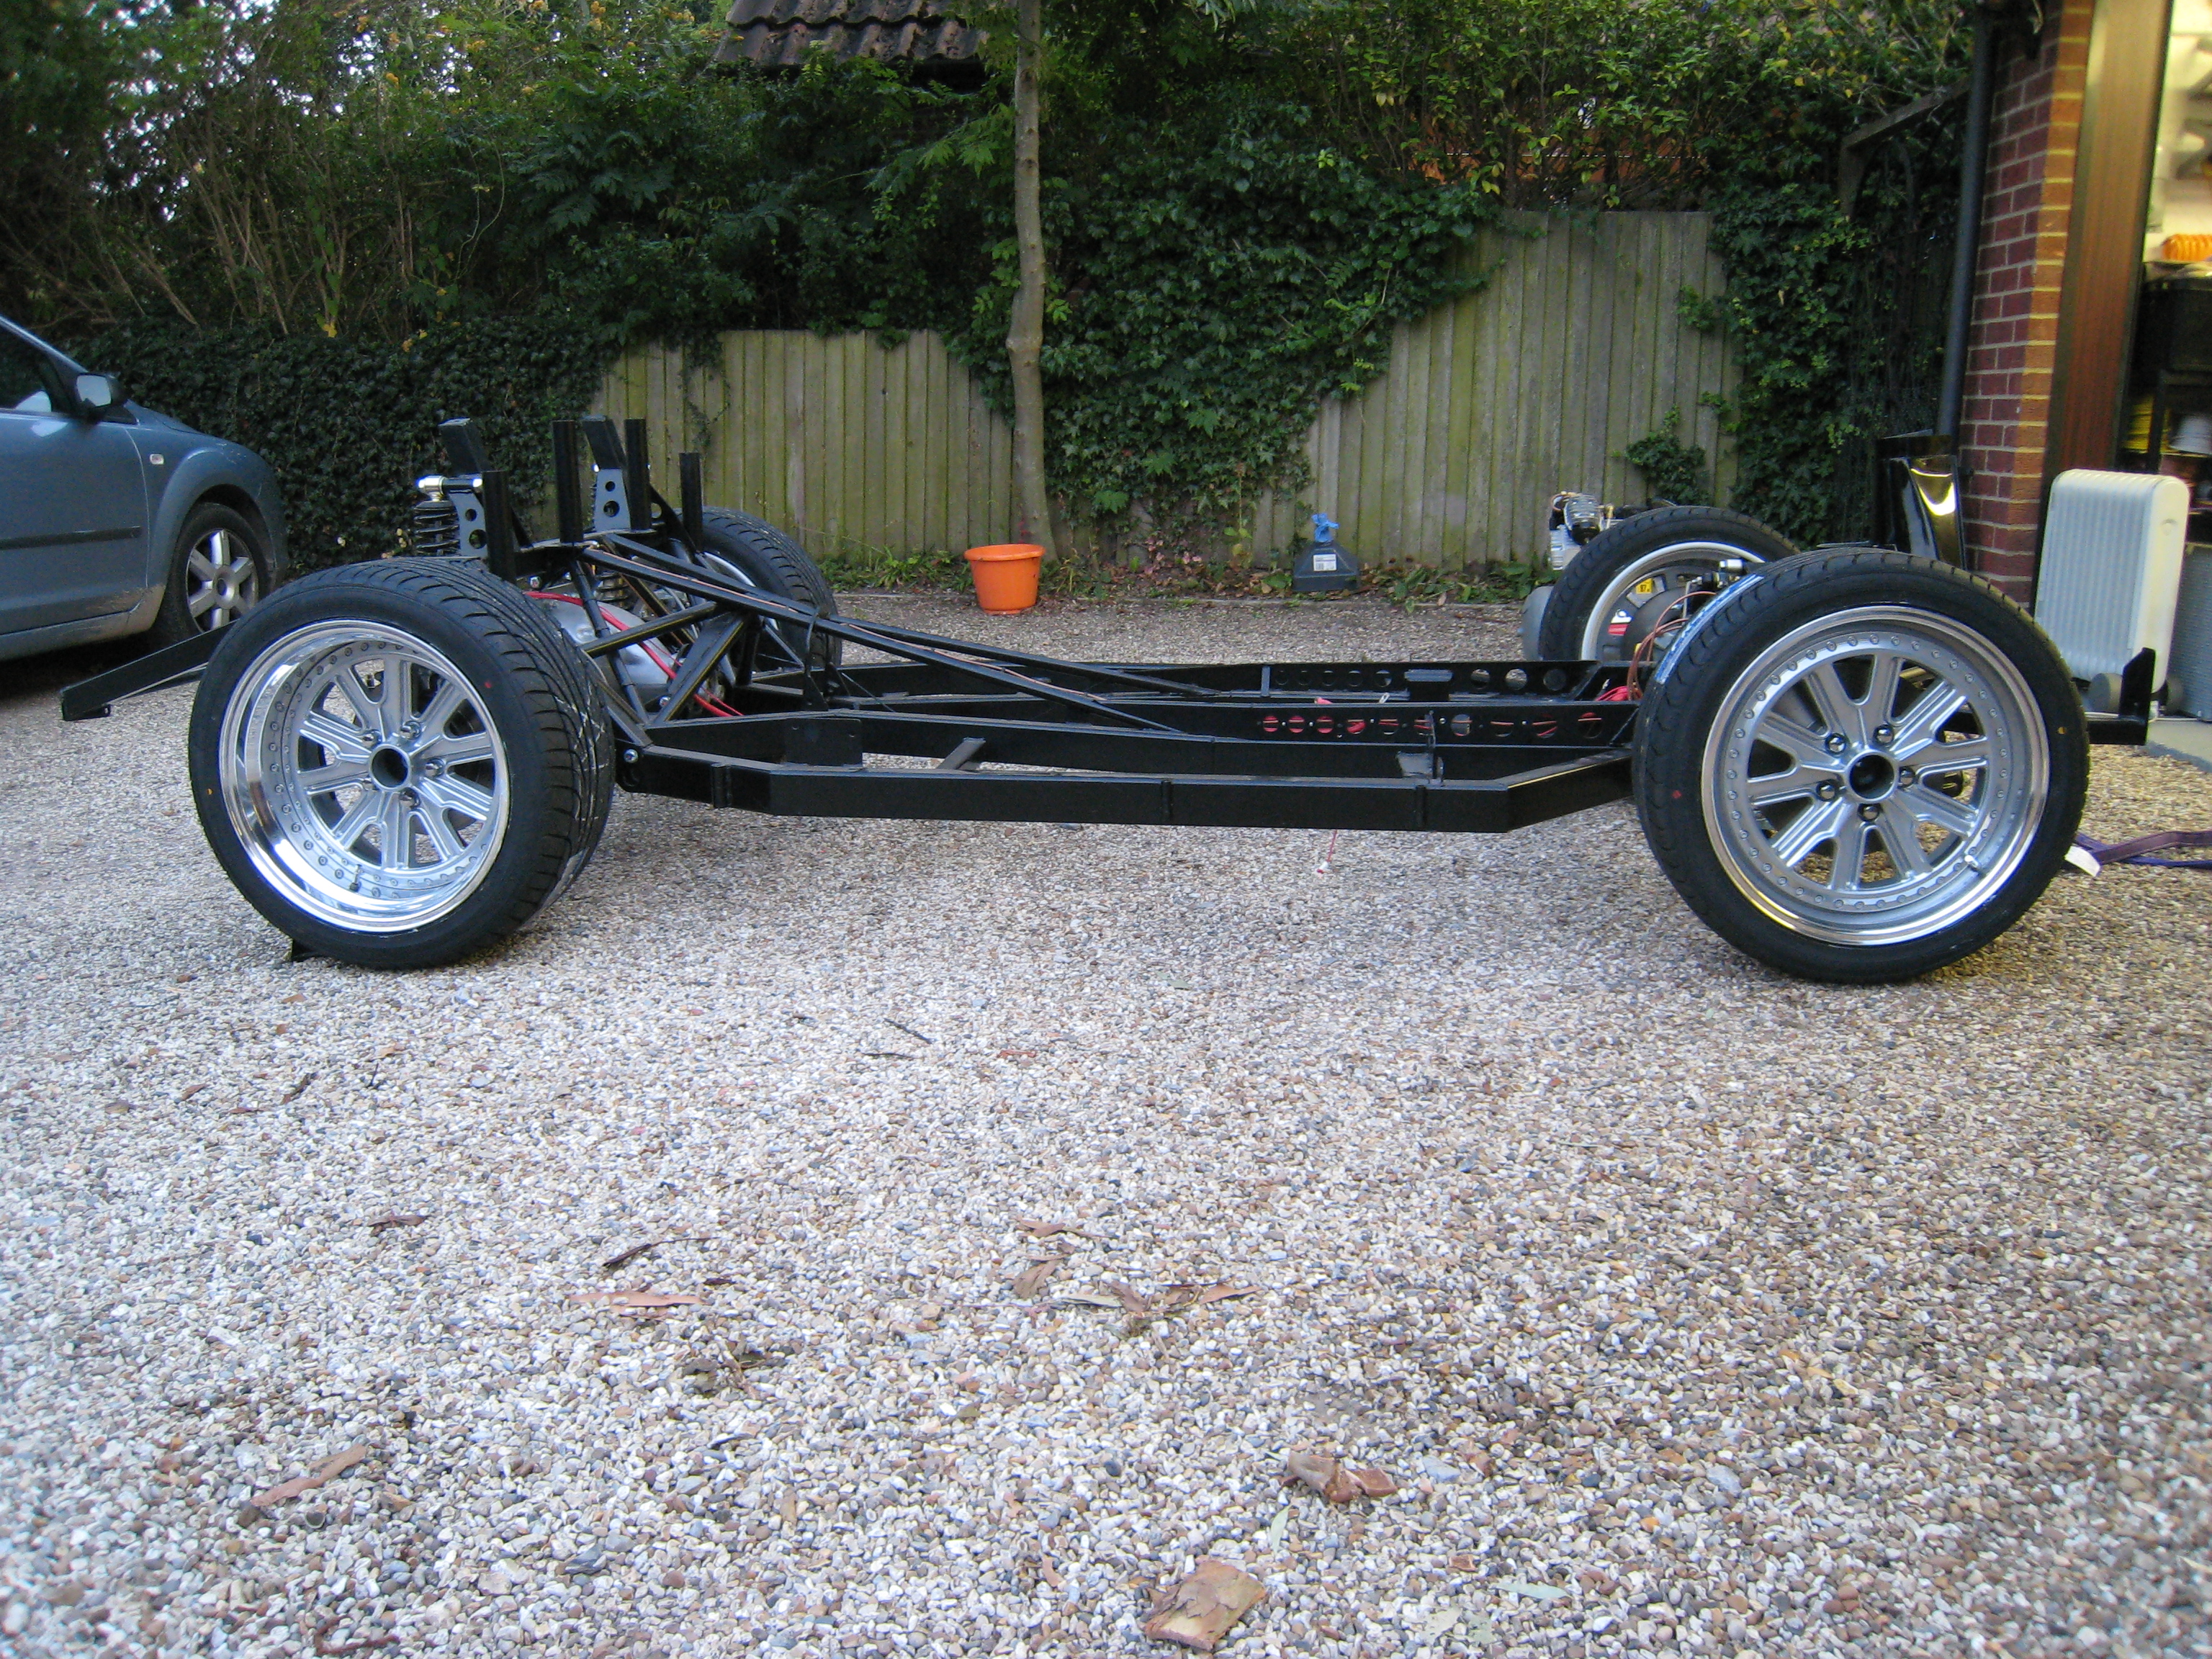
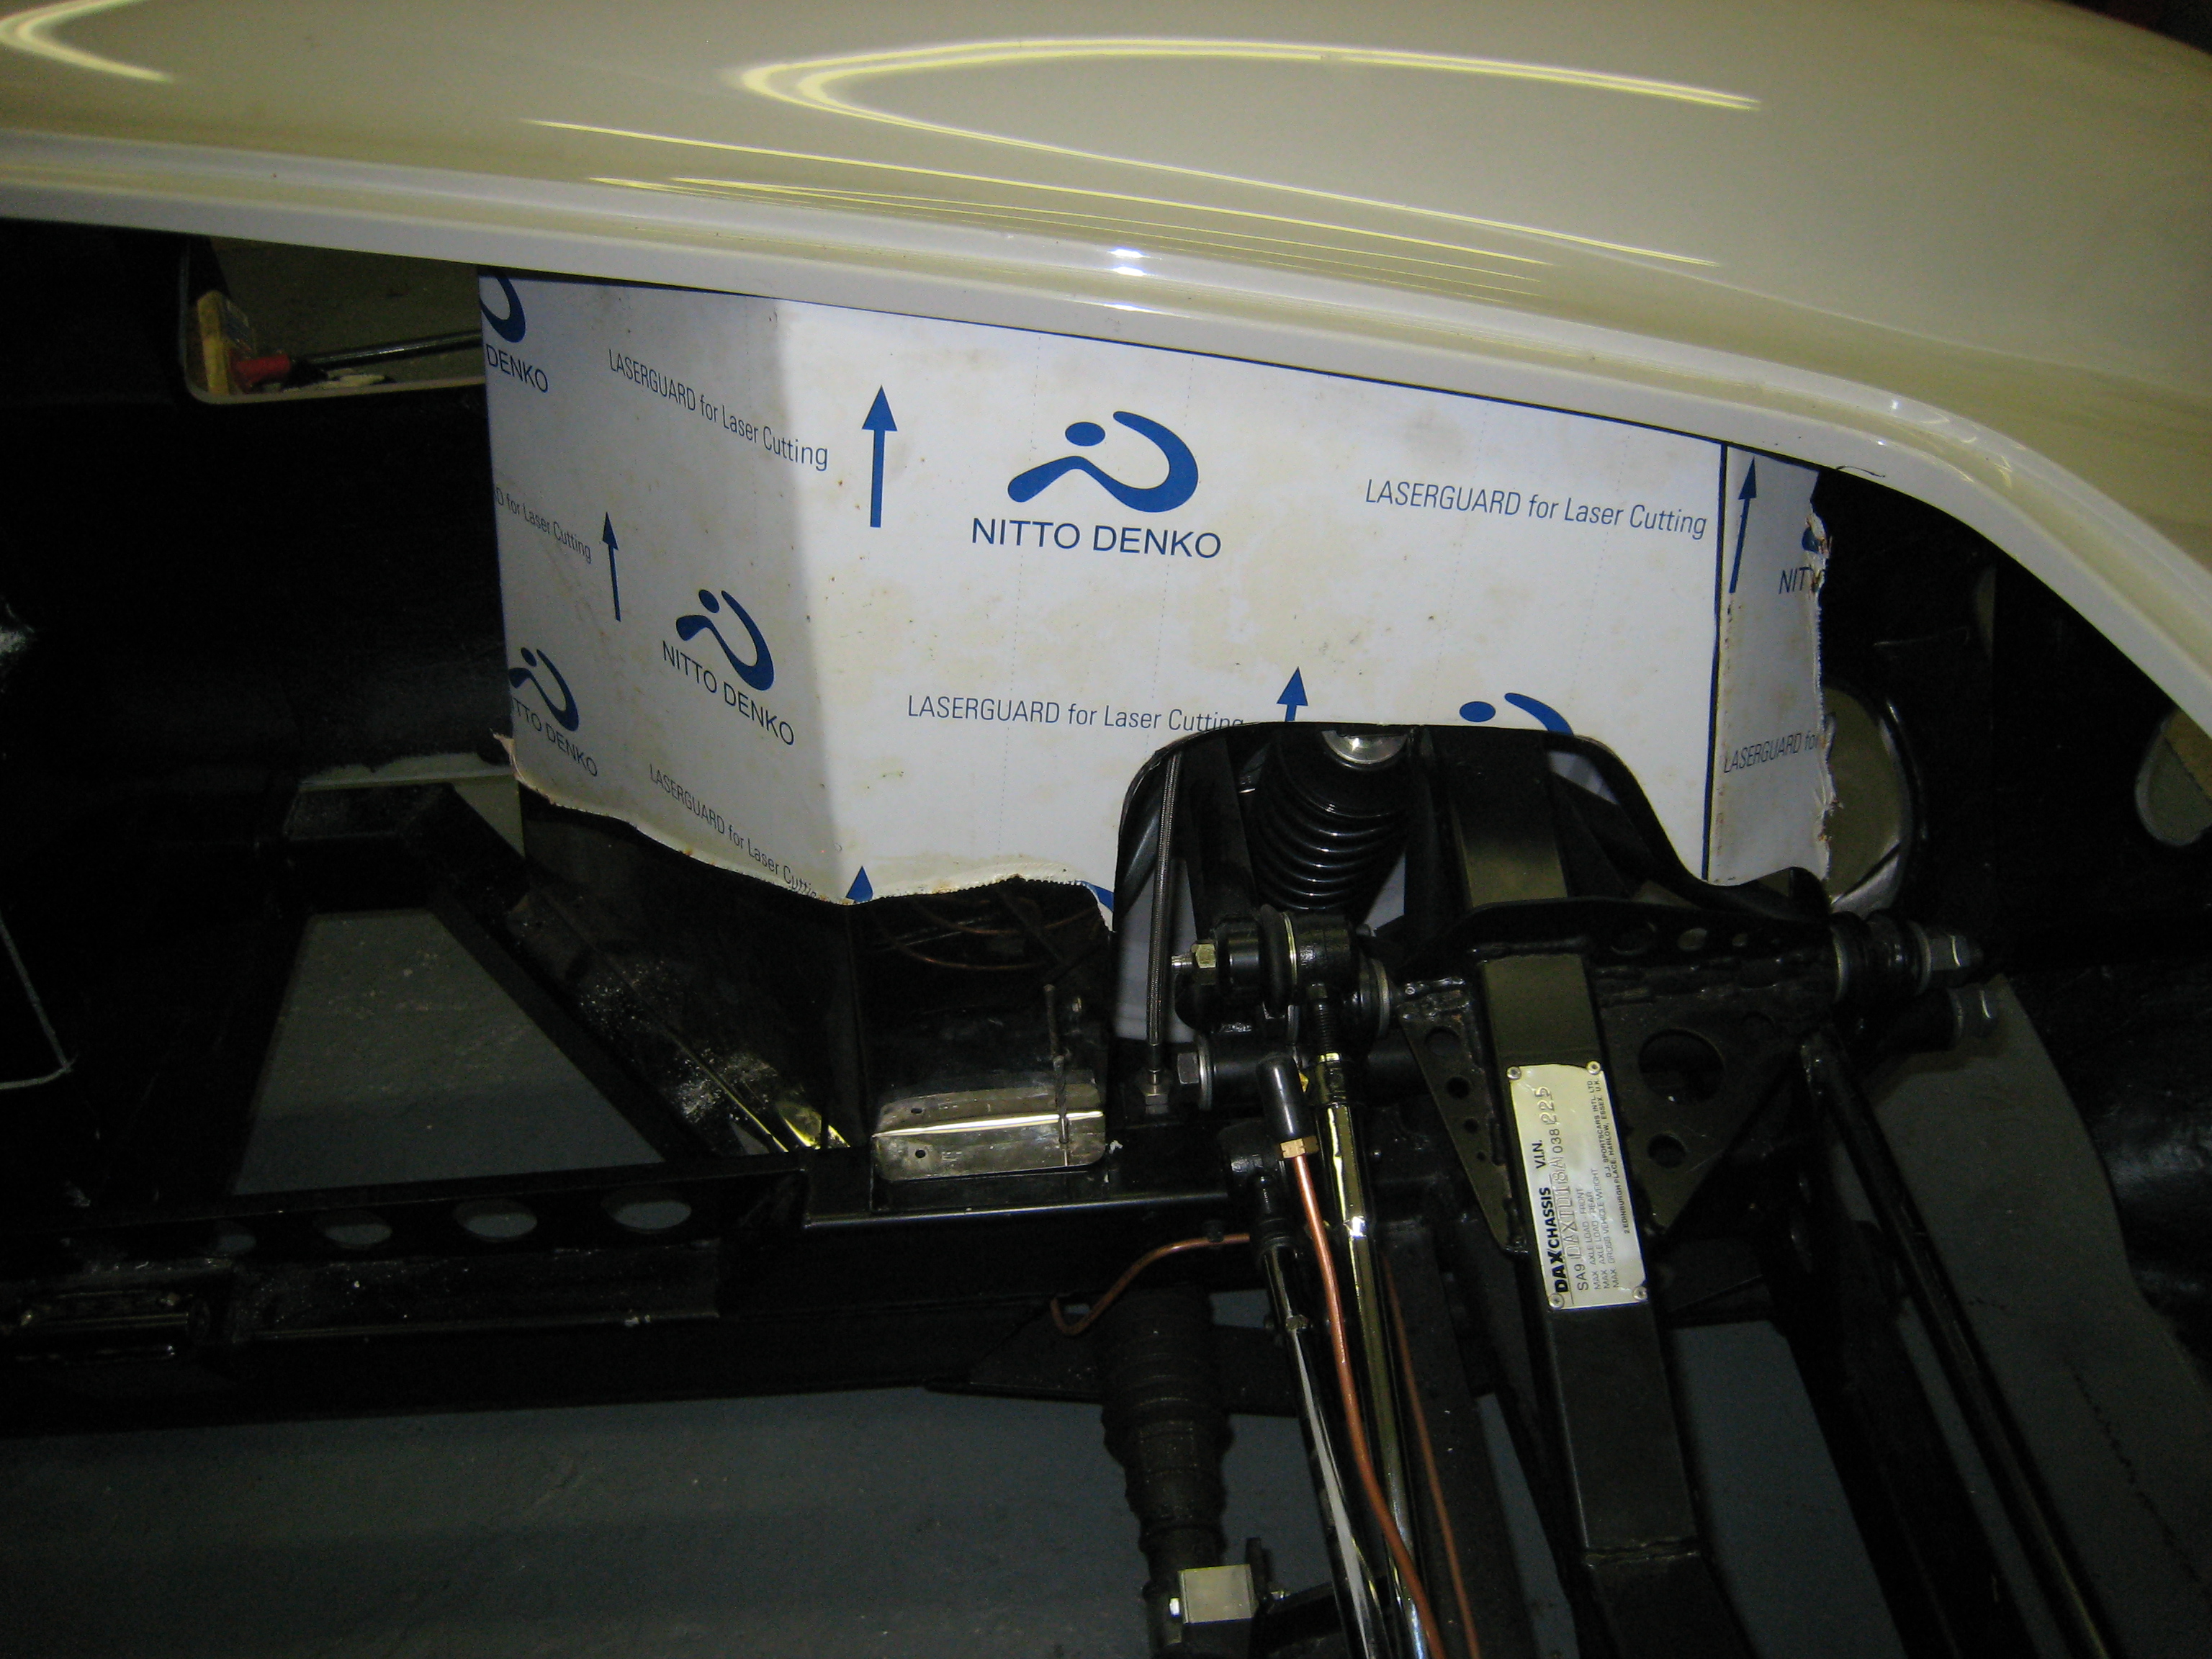
Assembly very straight forward, Dax manual very good on this and the exploded diagrams are excellent for anyone who
has ever assembled mechano or a tamiya kit. As you can see the rolling chassis comes togther quite fast, which is
good as this makes the whole thing a lot easier to move arround.
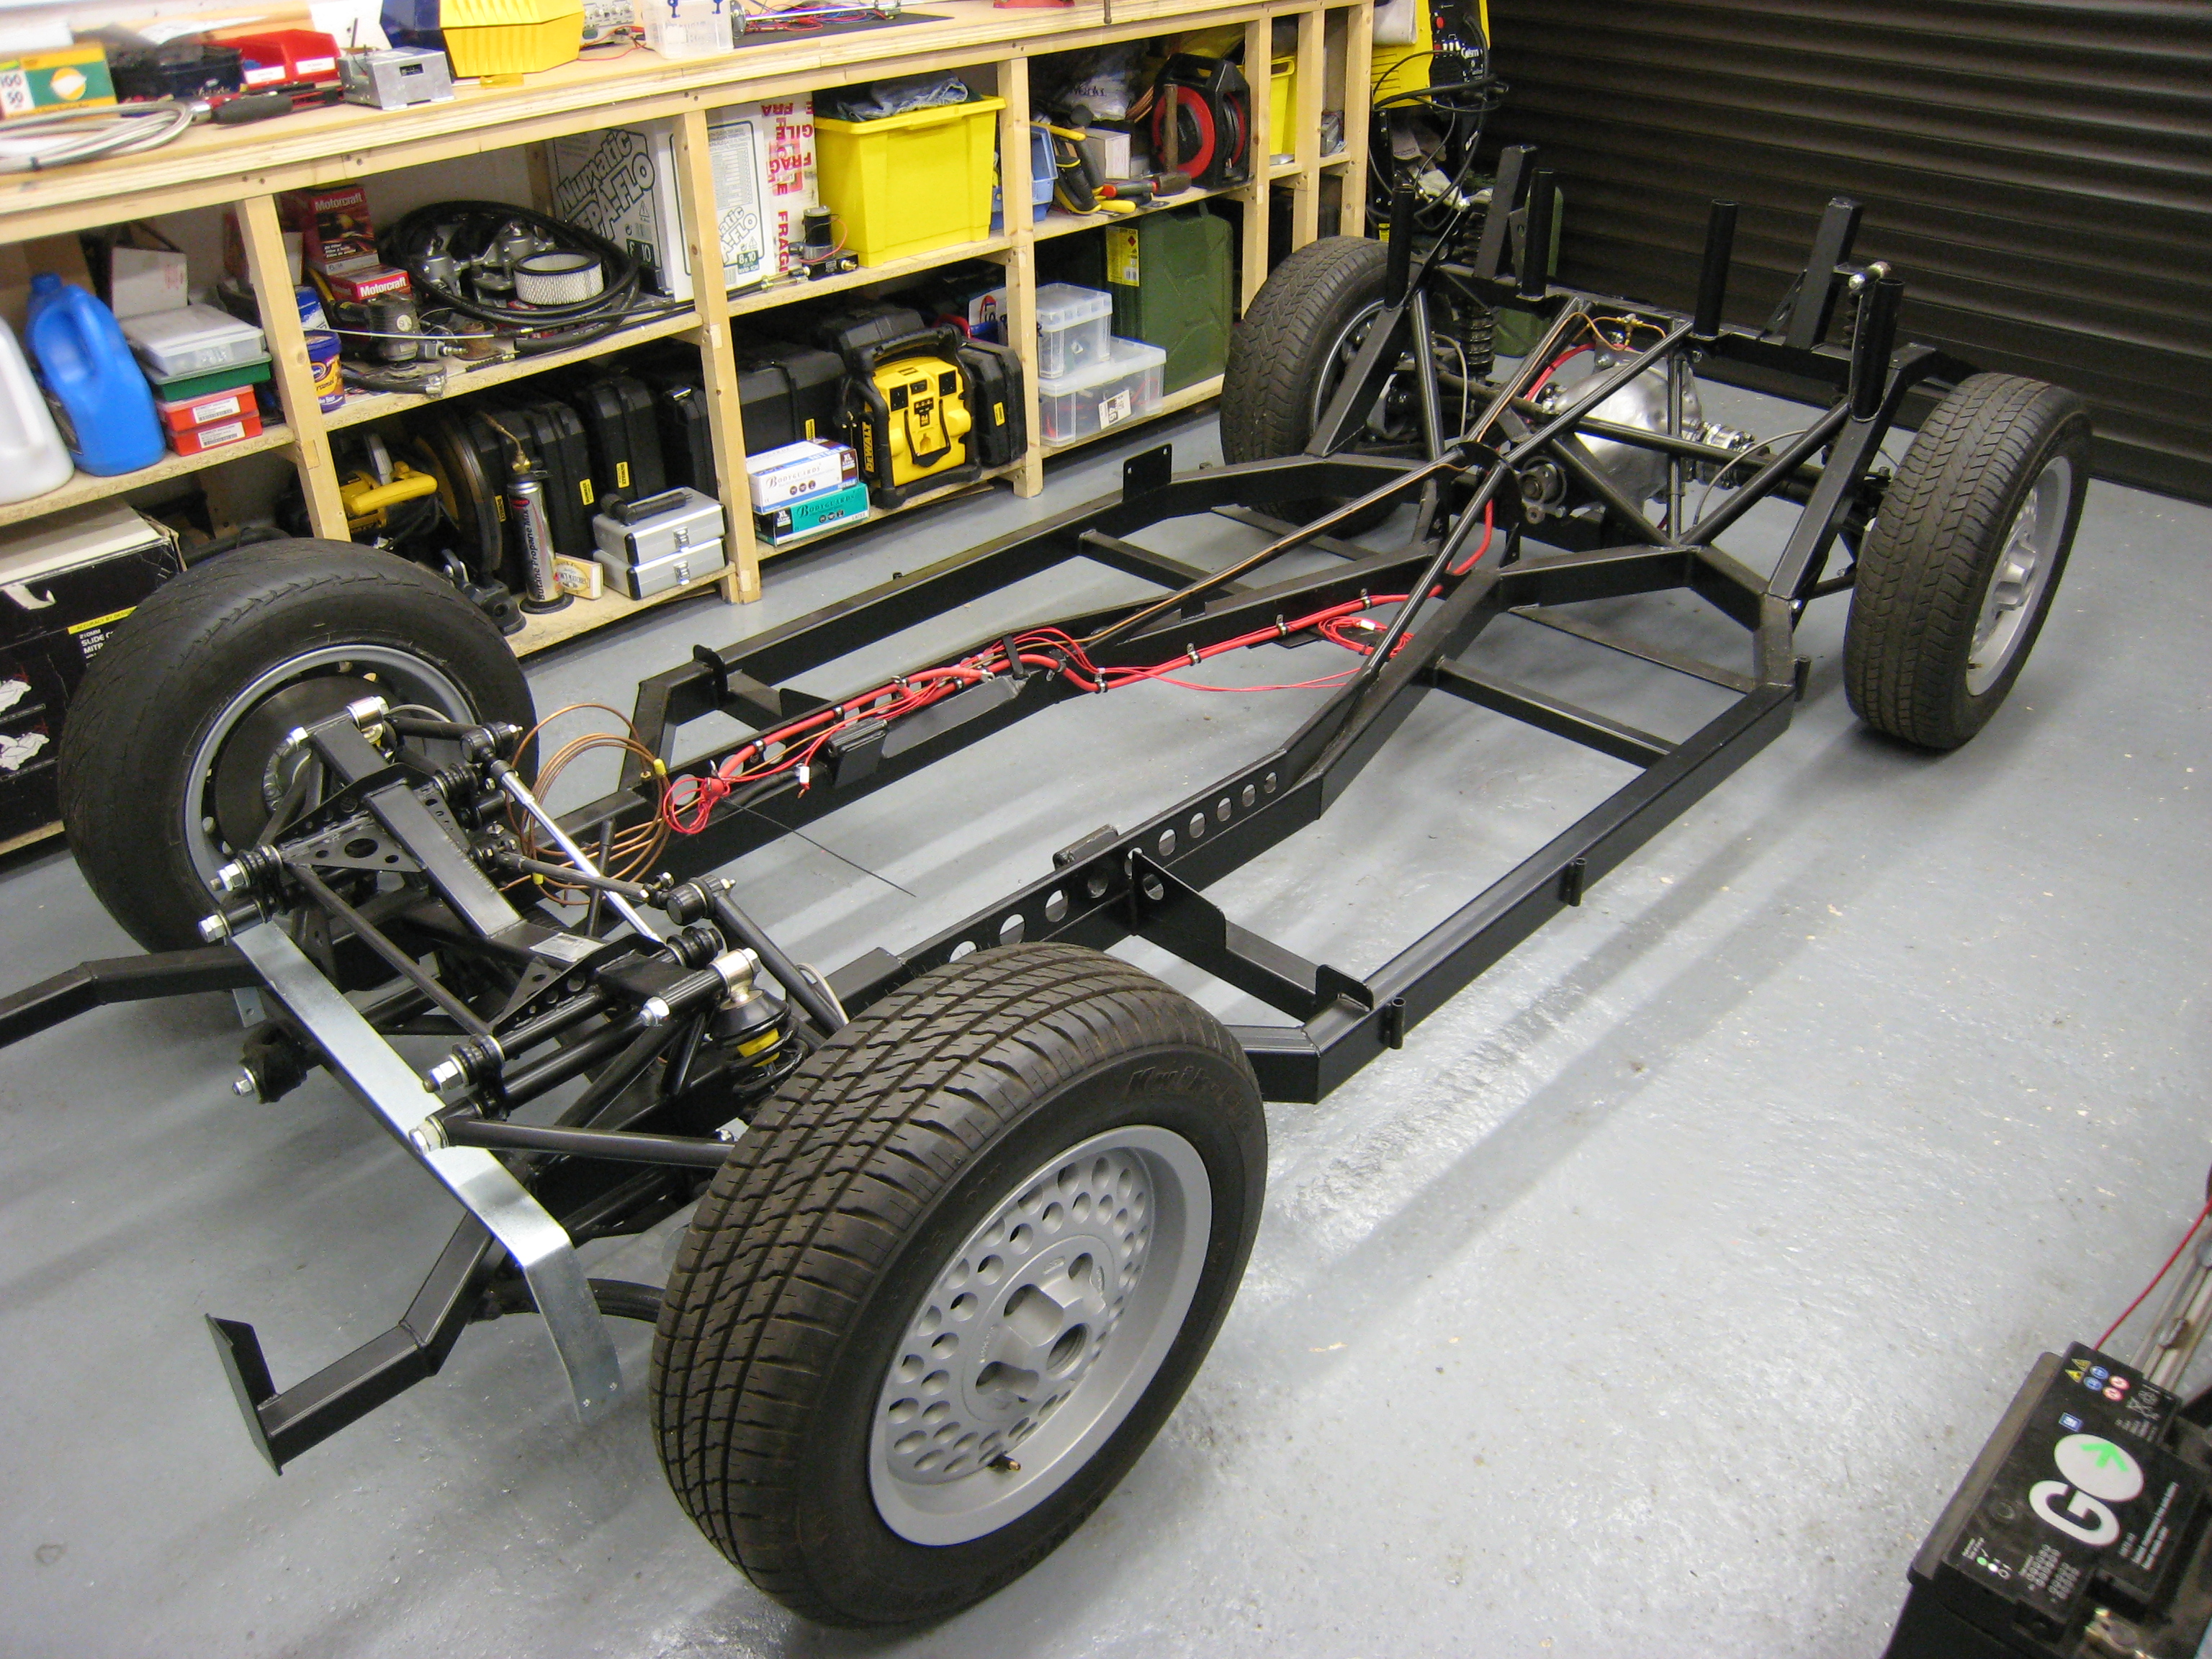
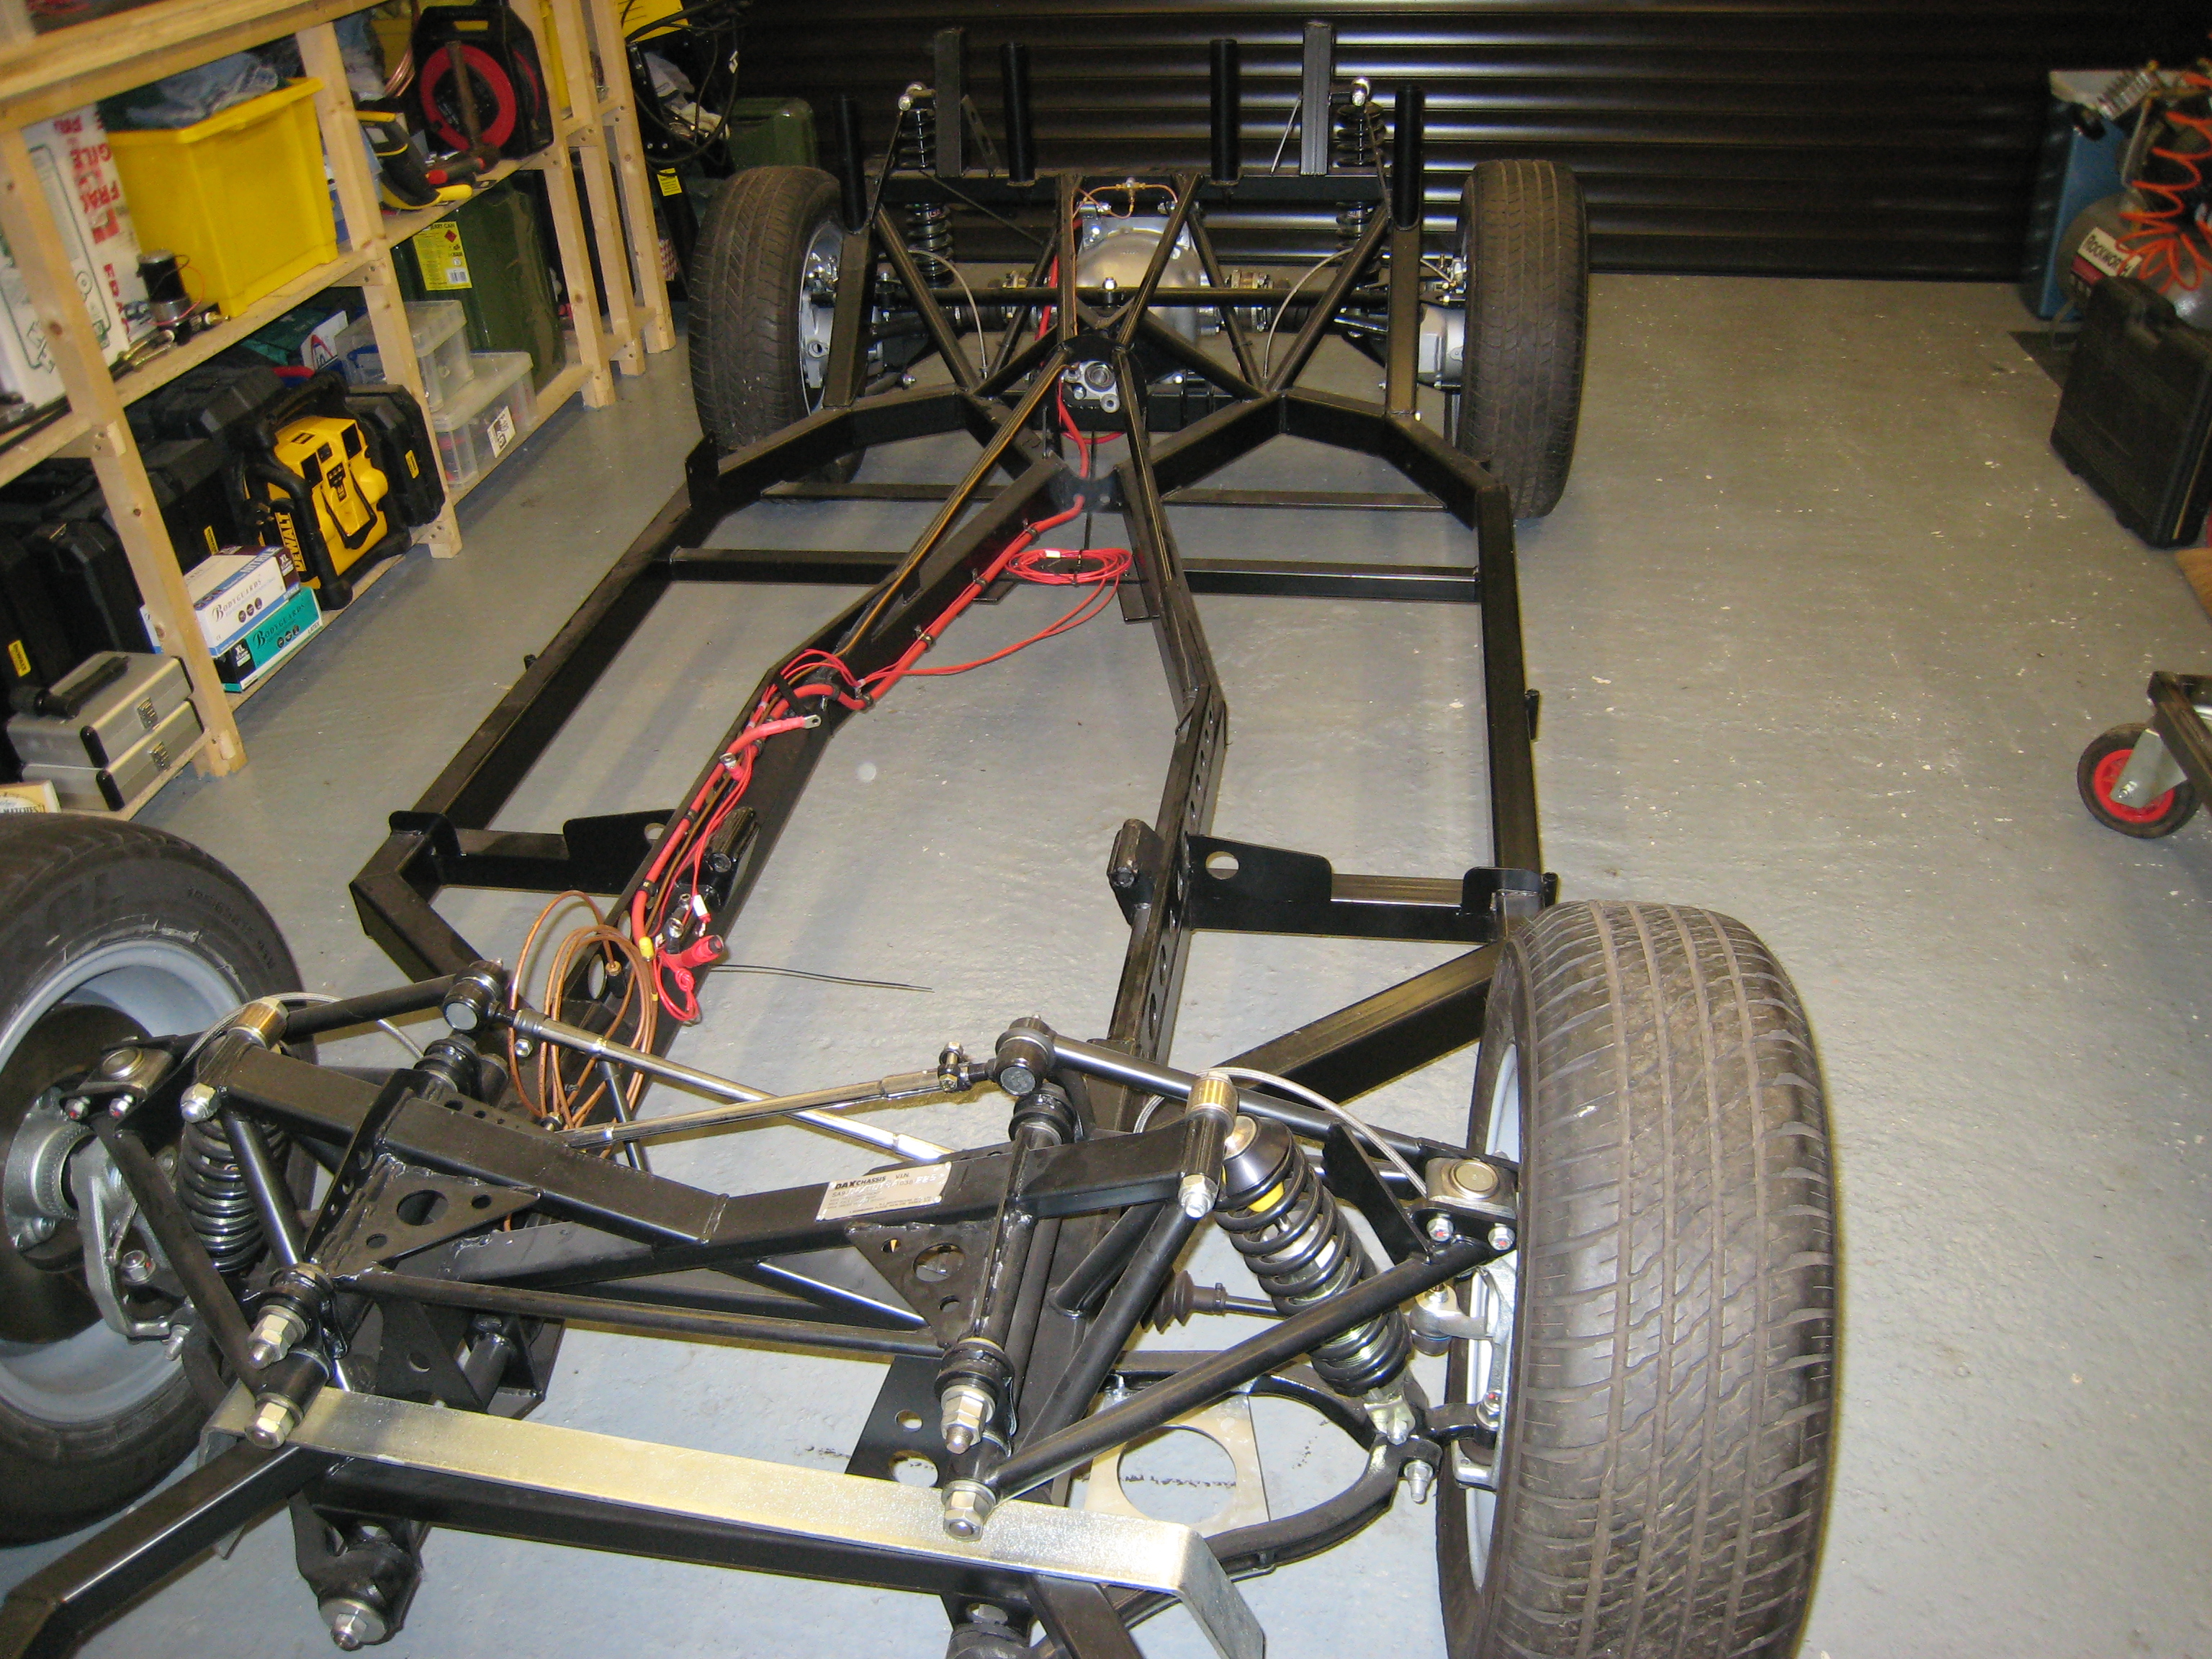
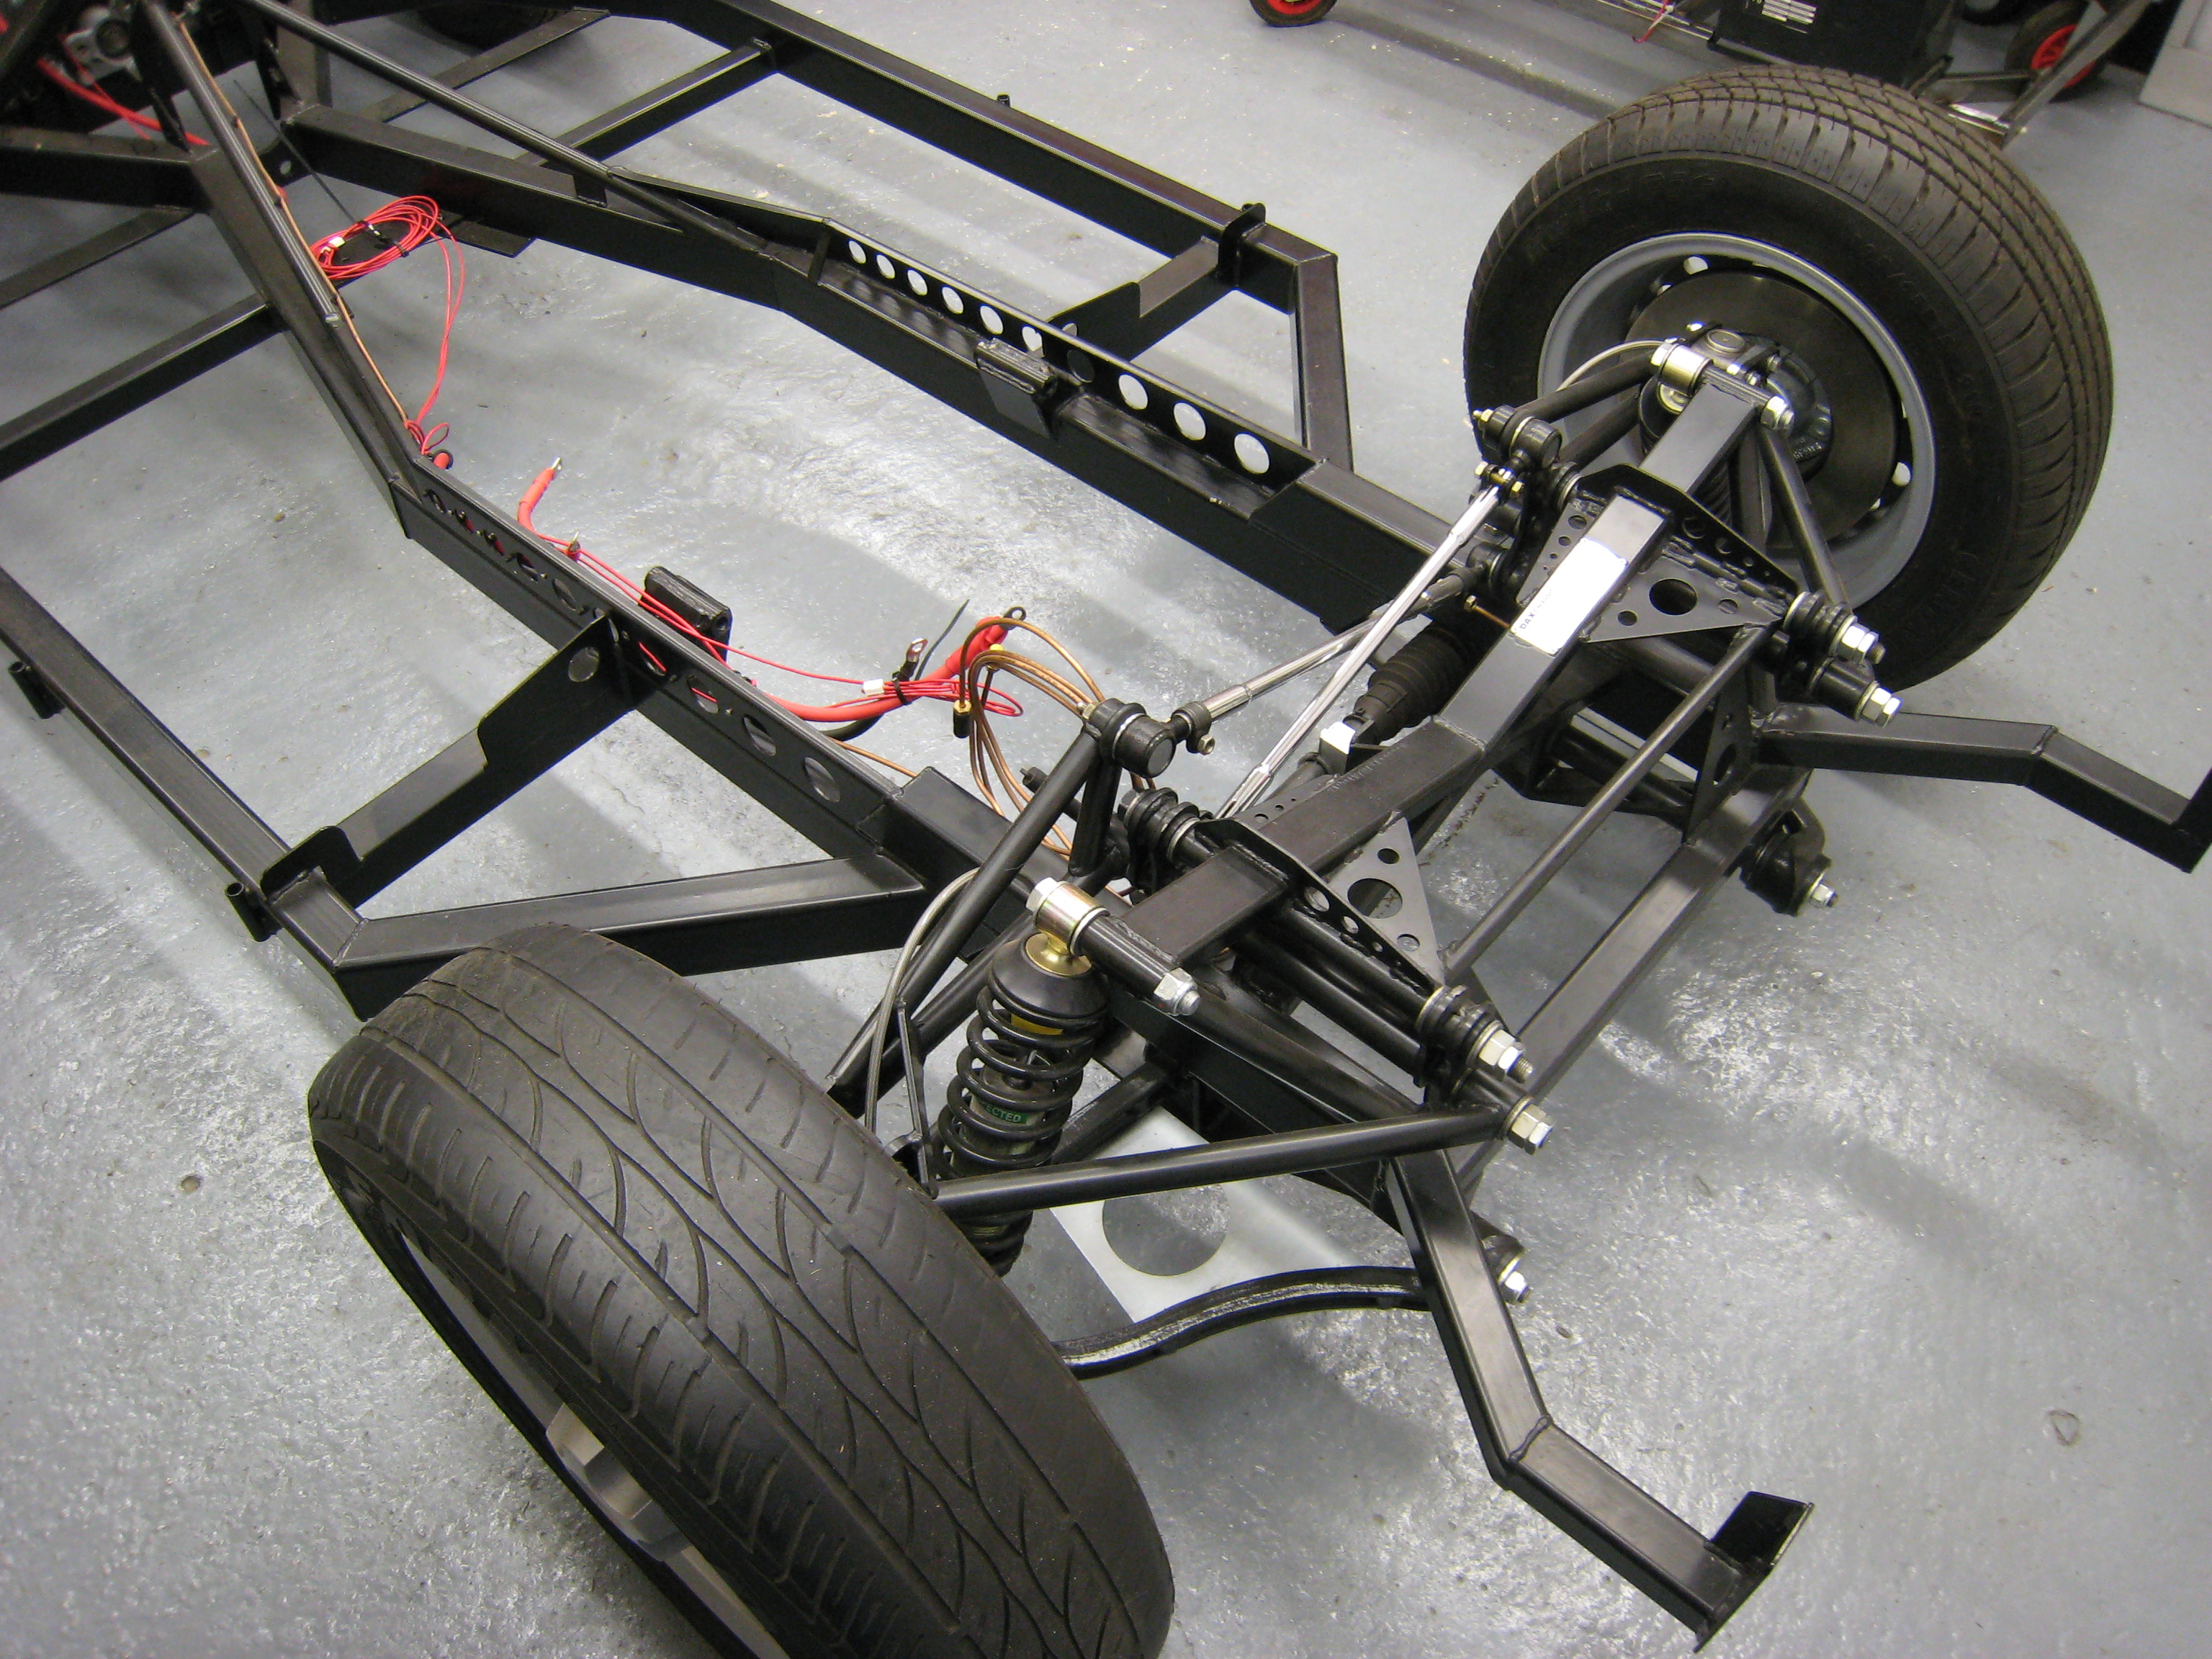
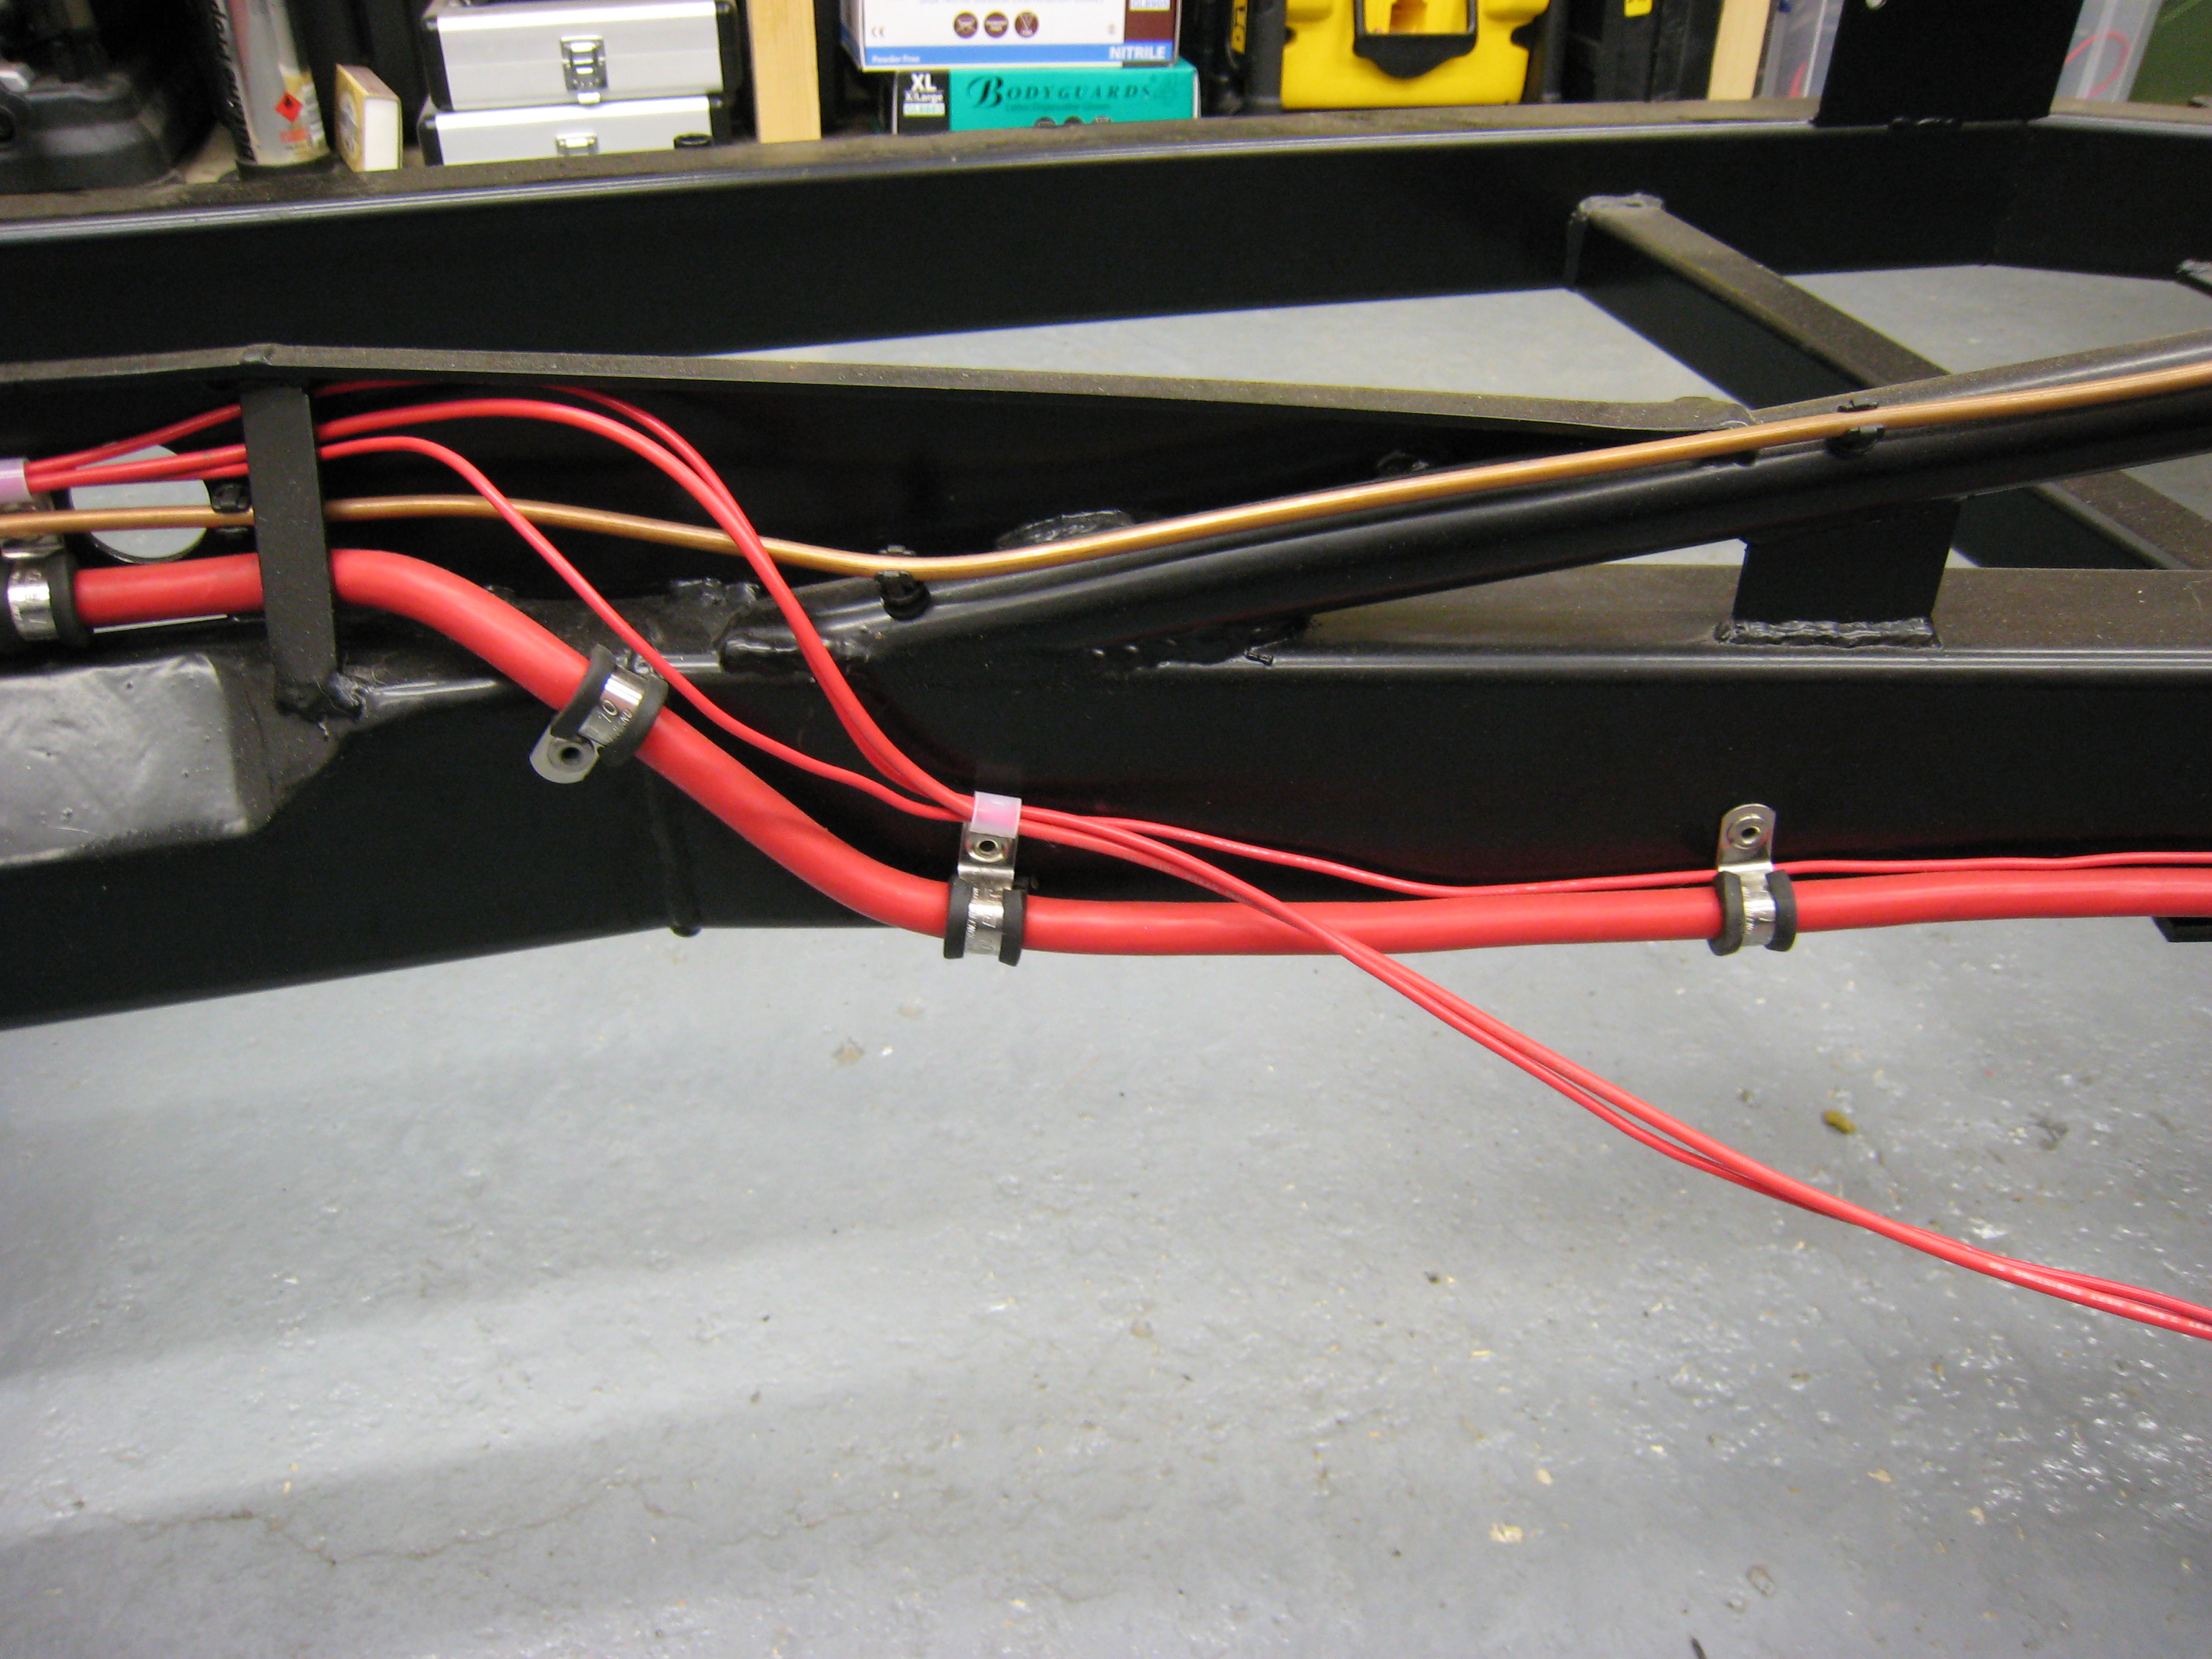
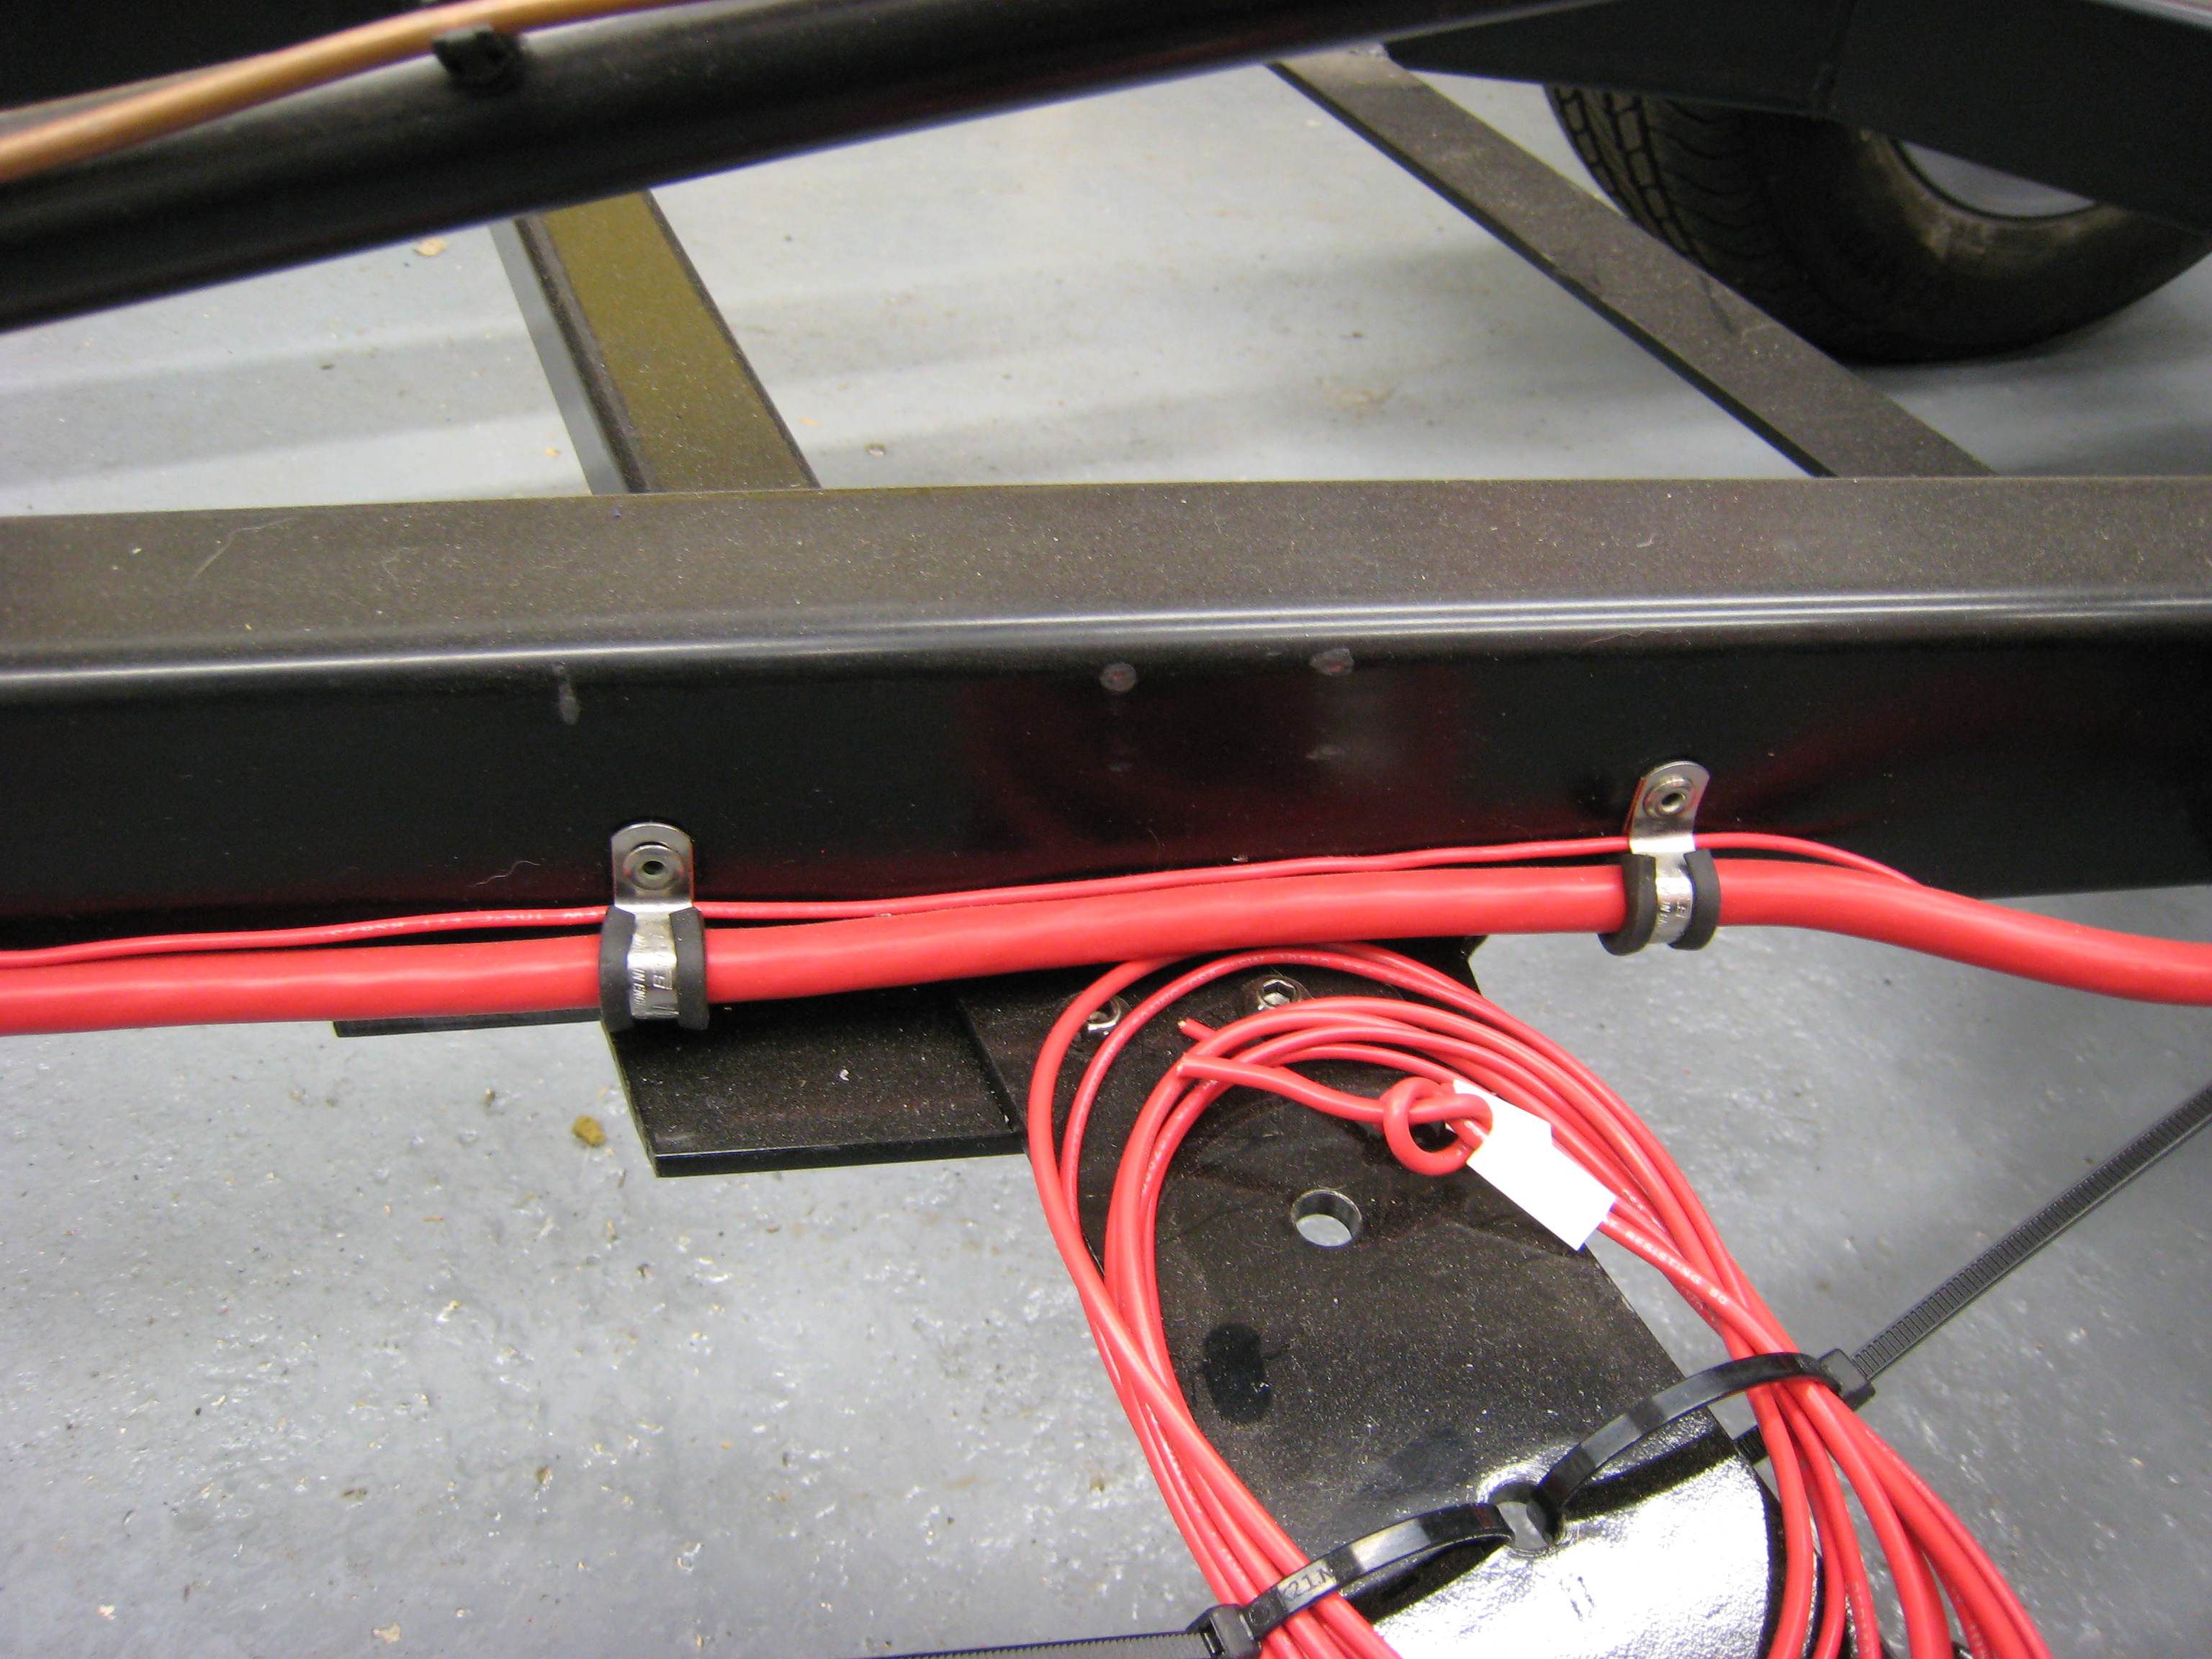
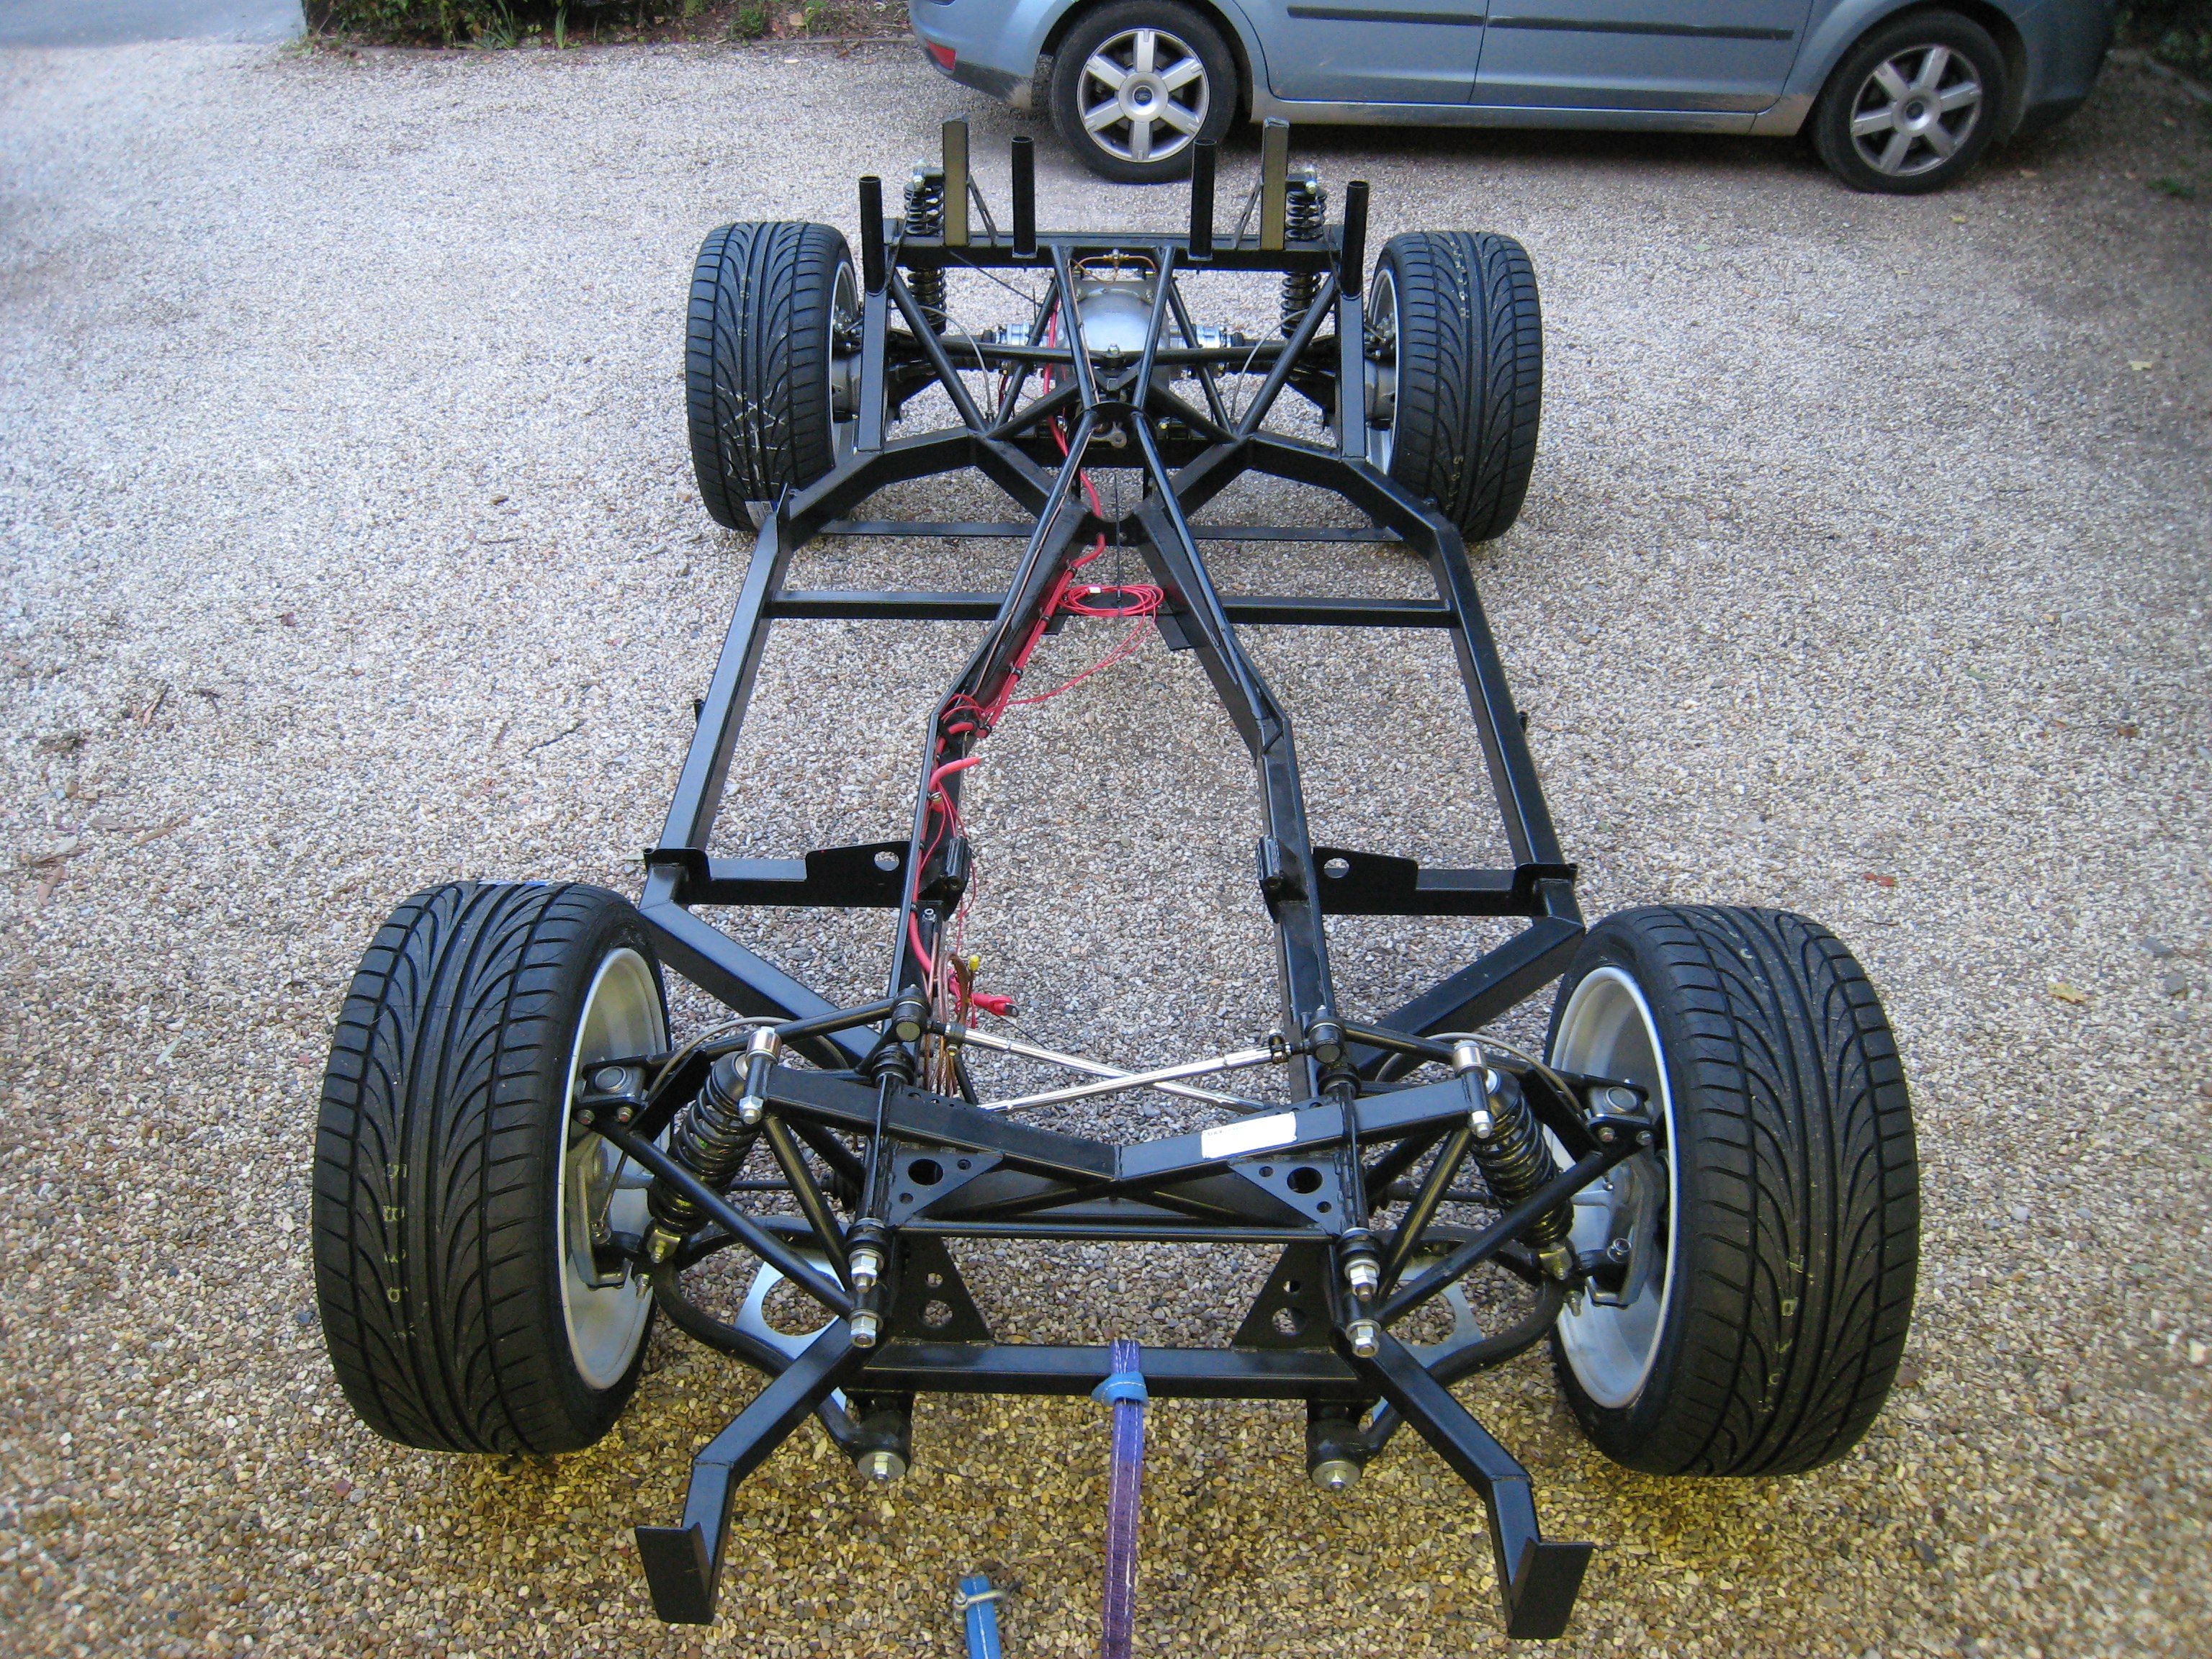
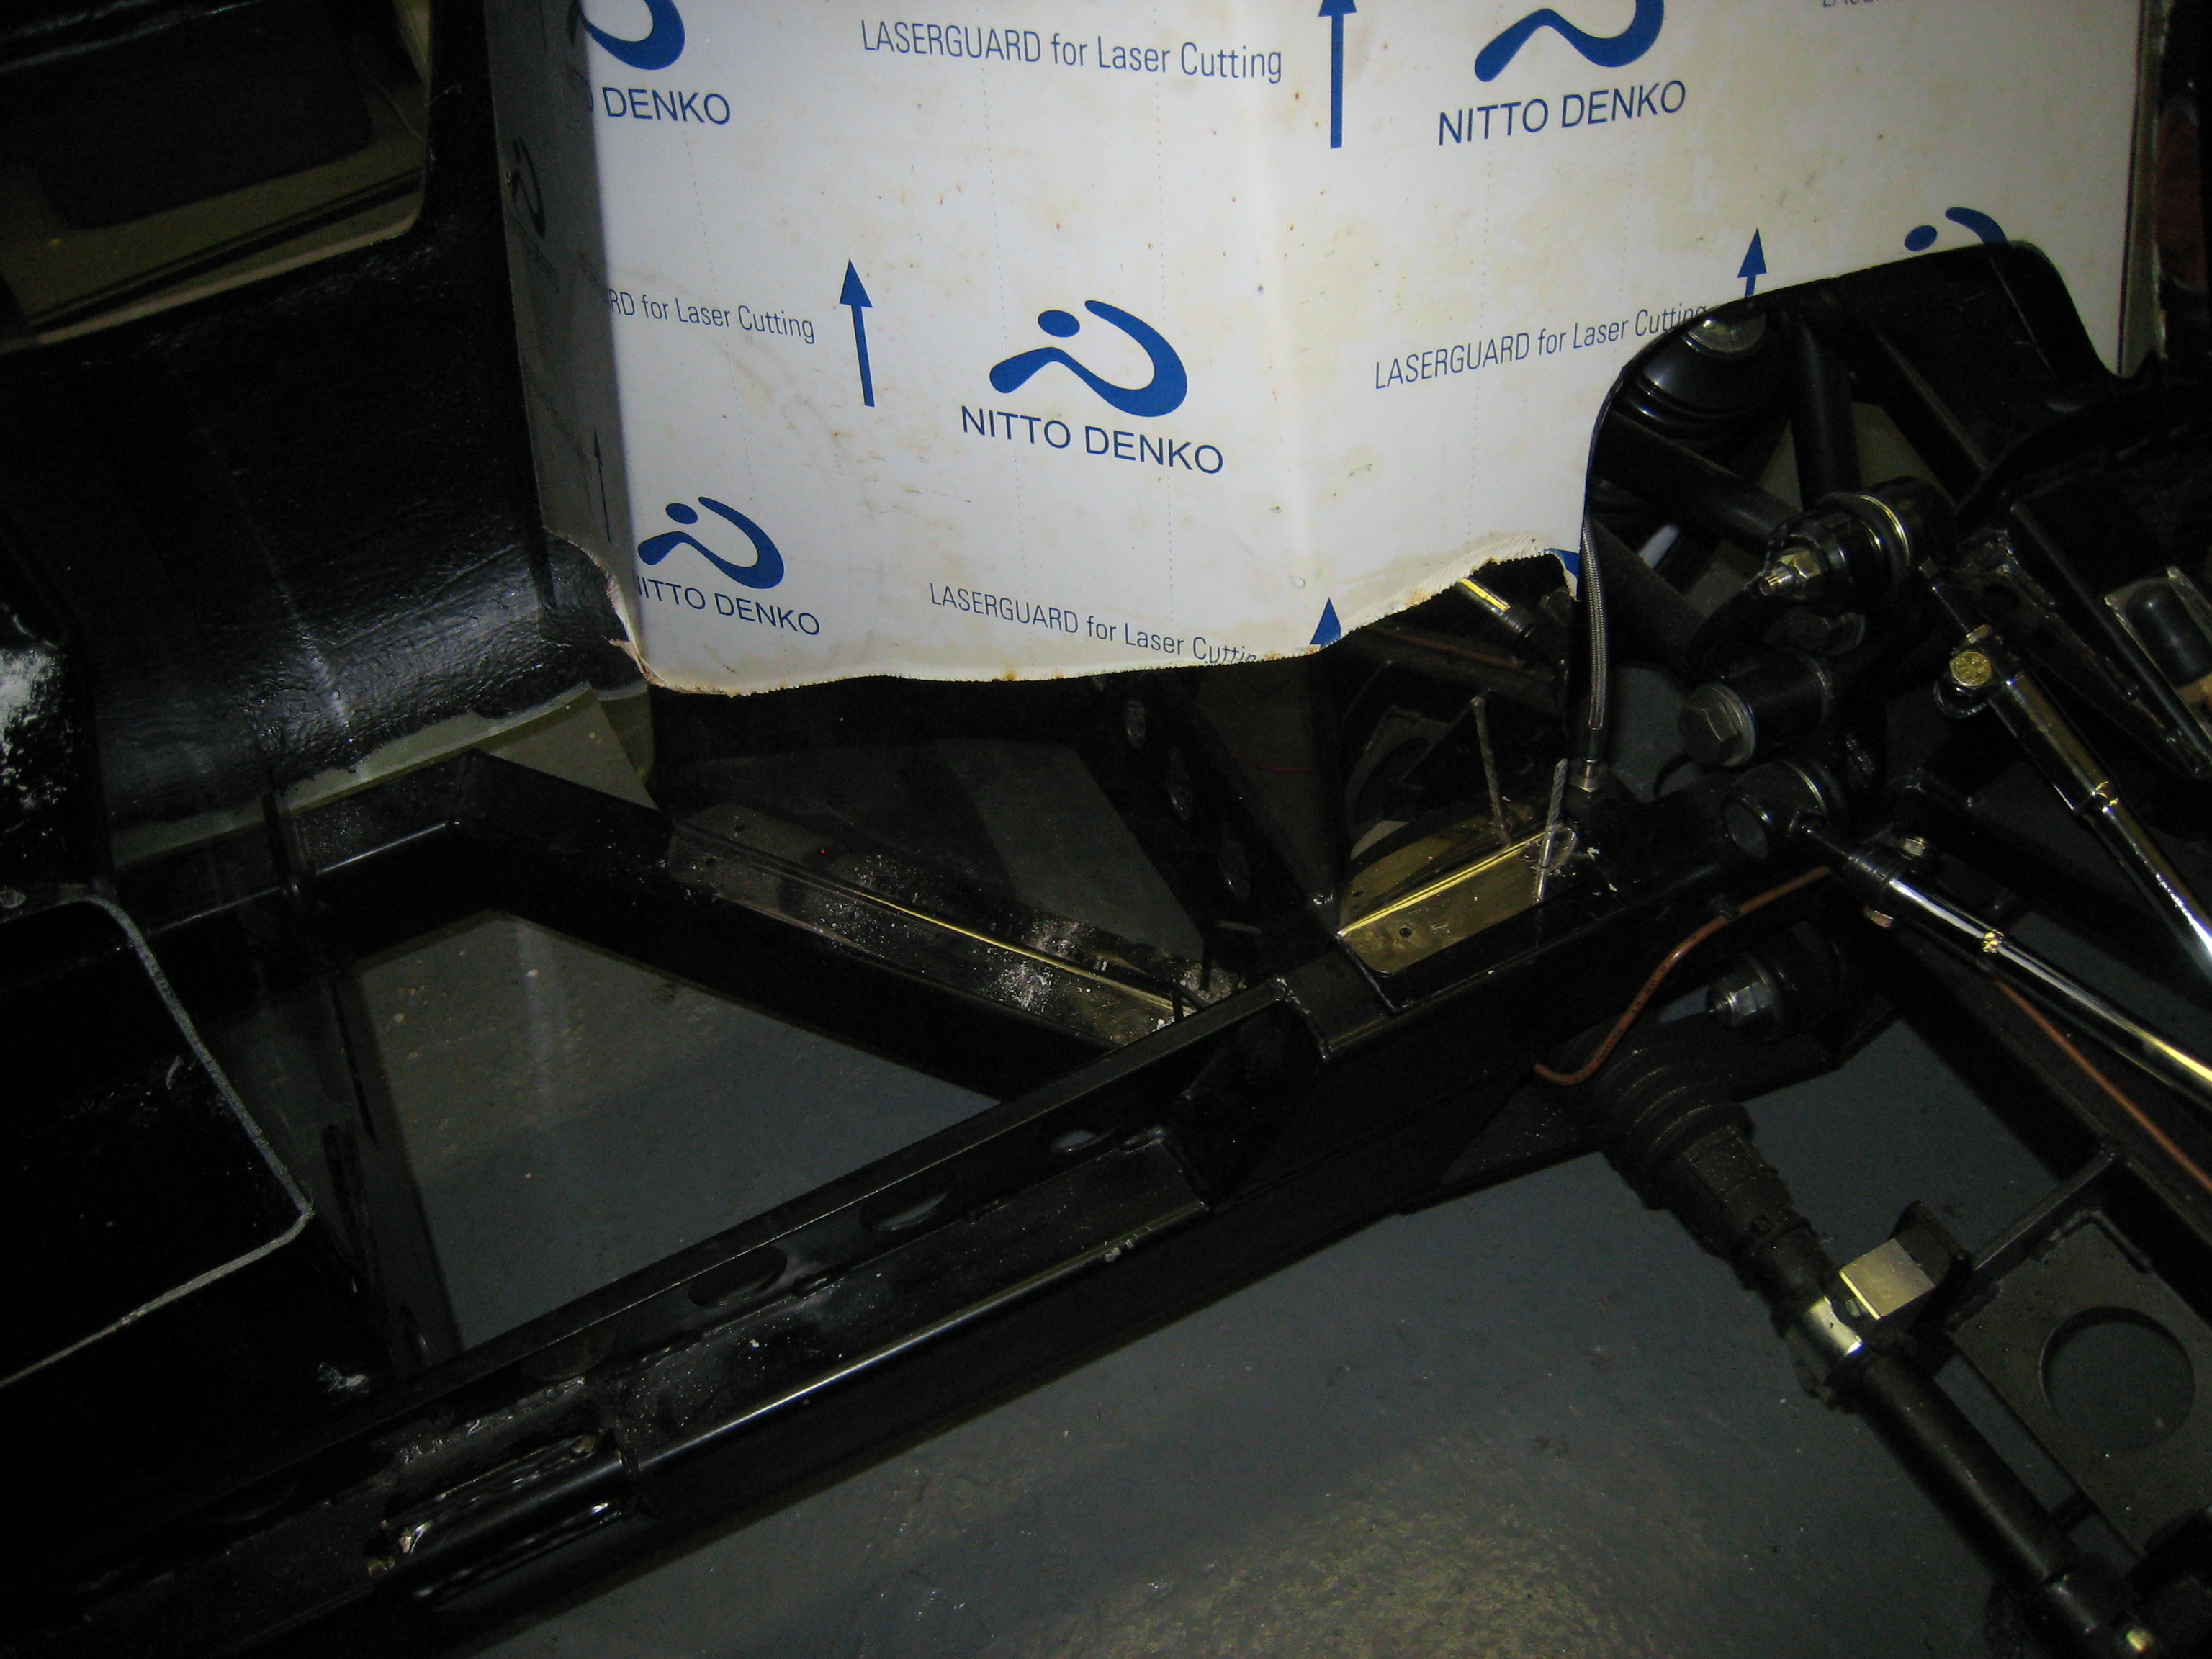
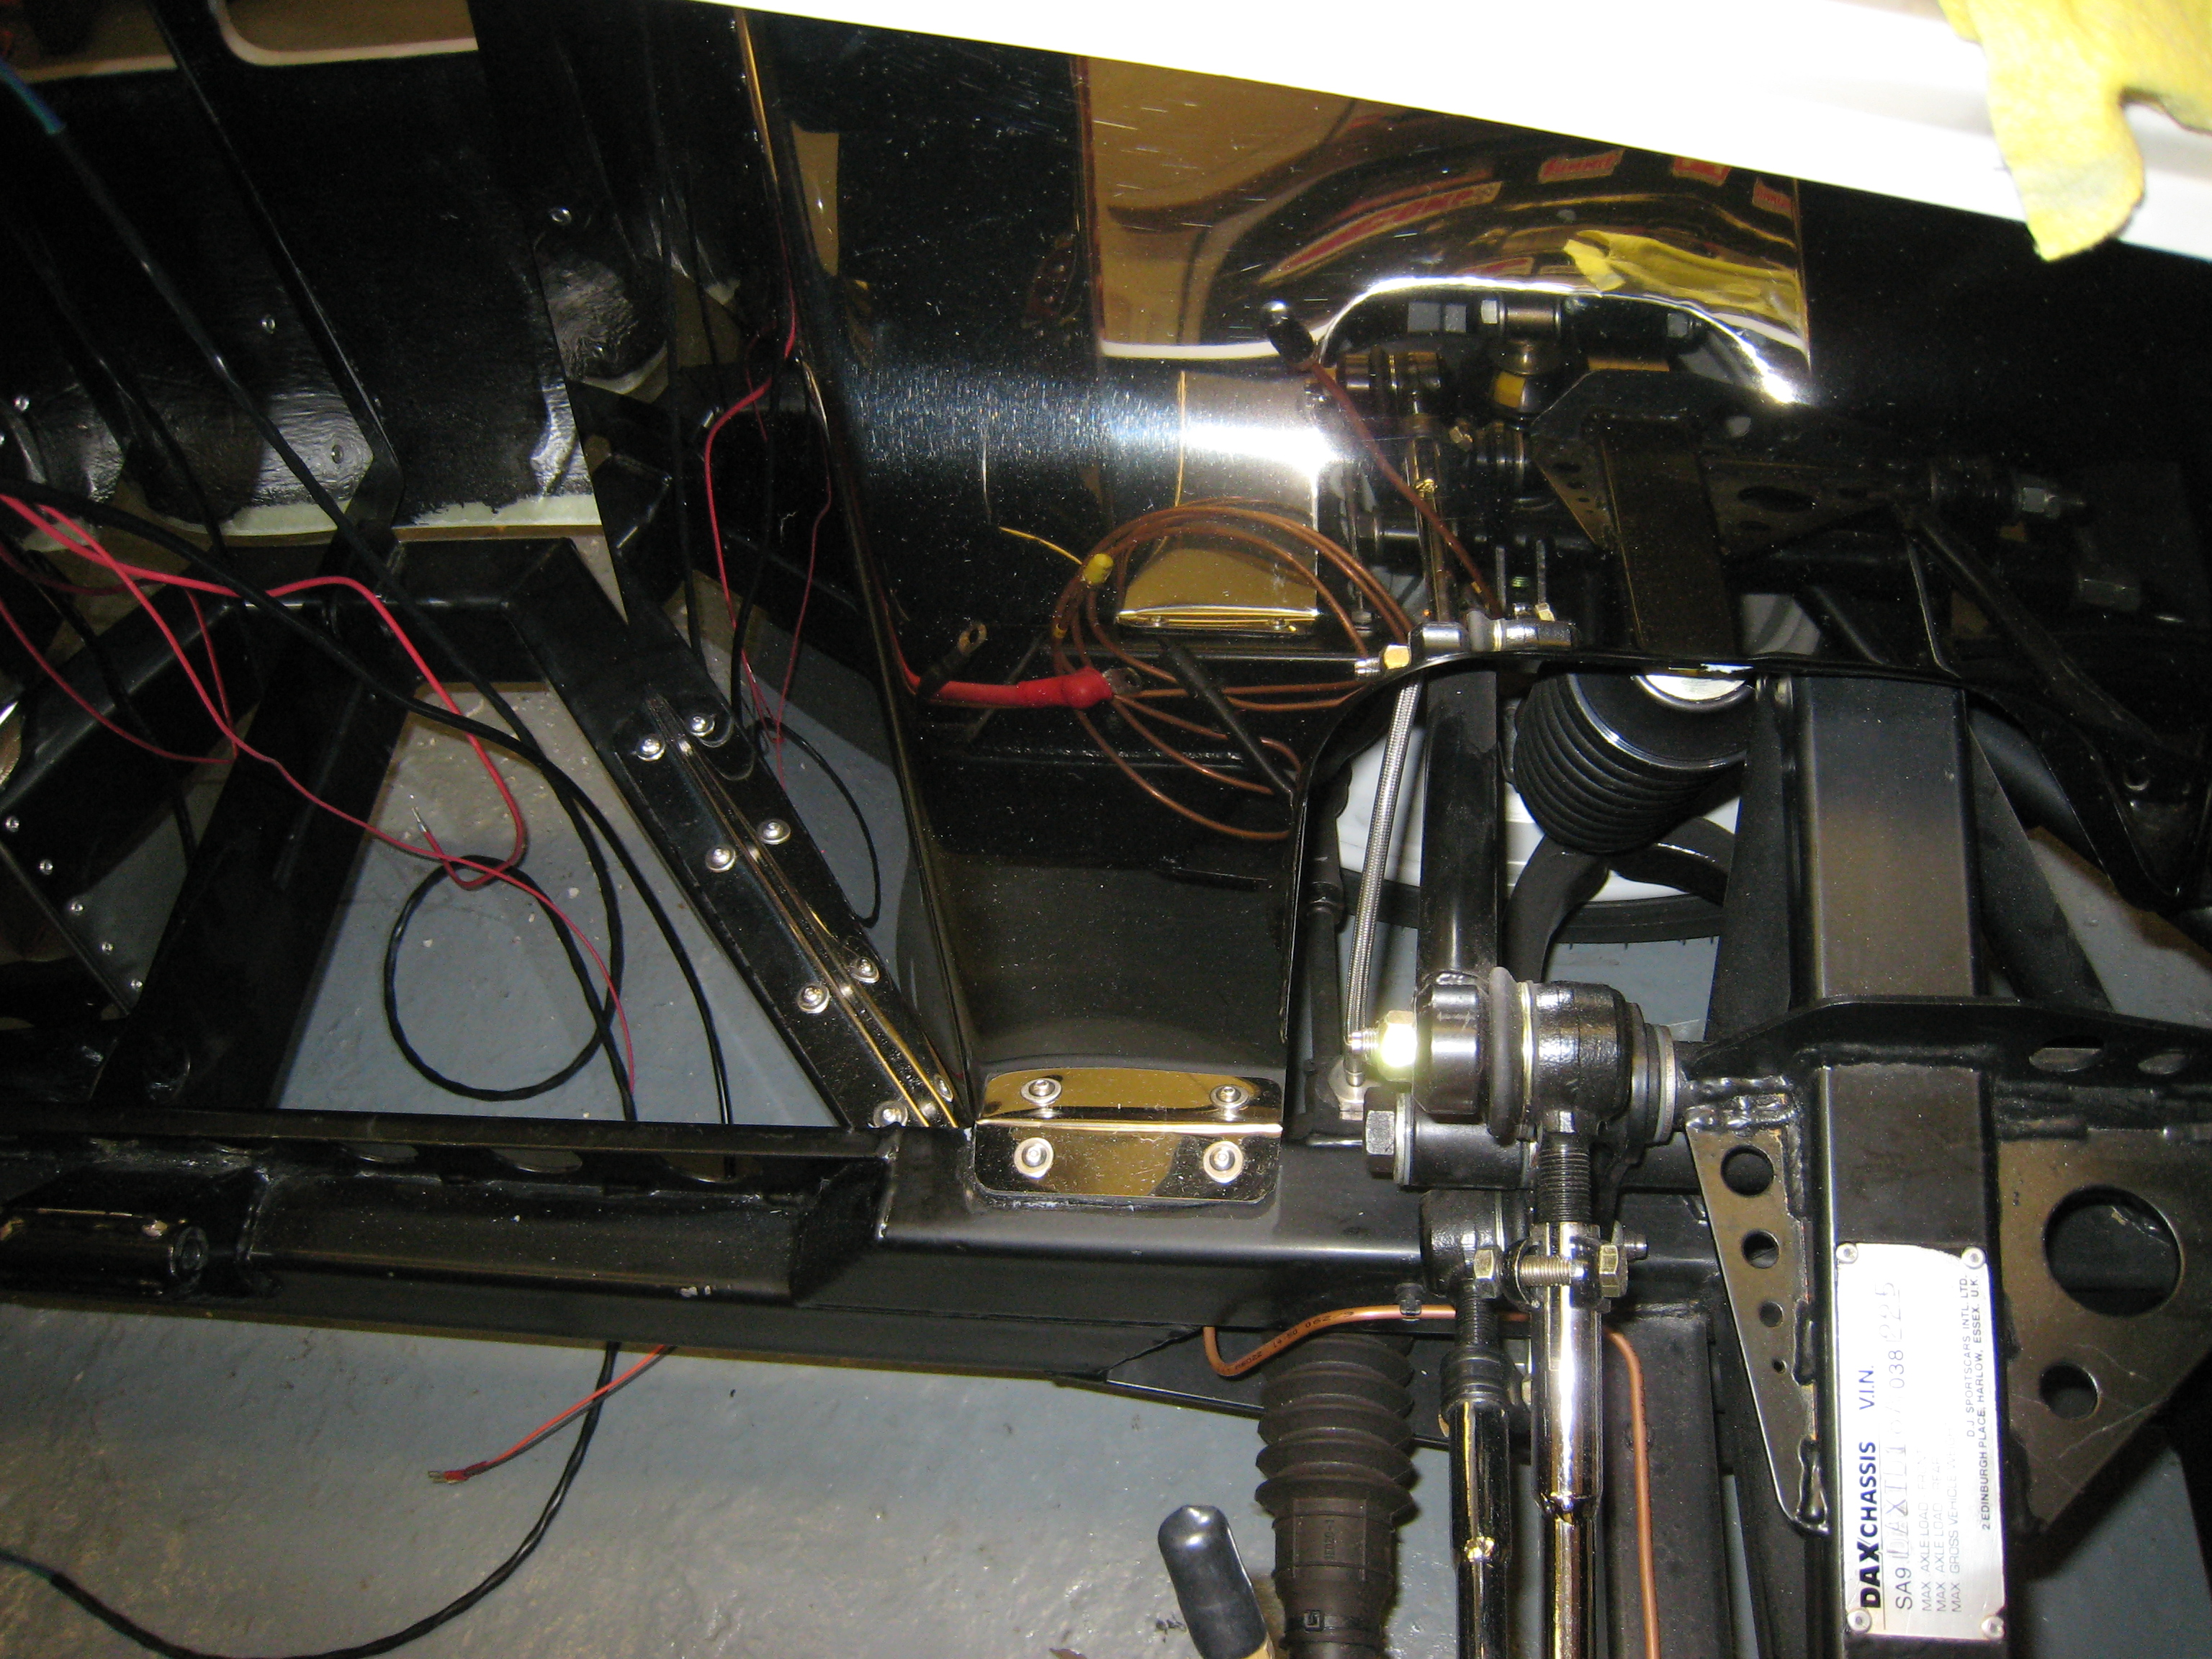
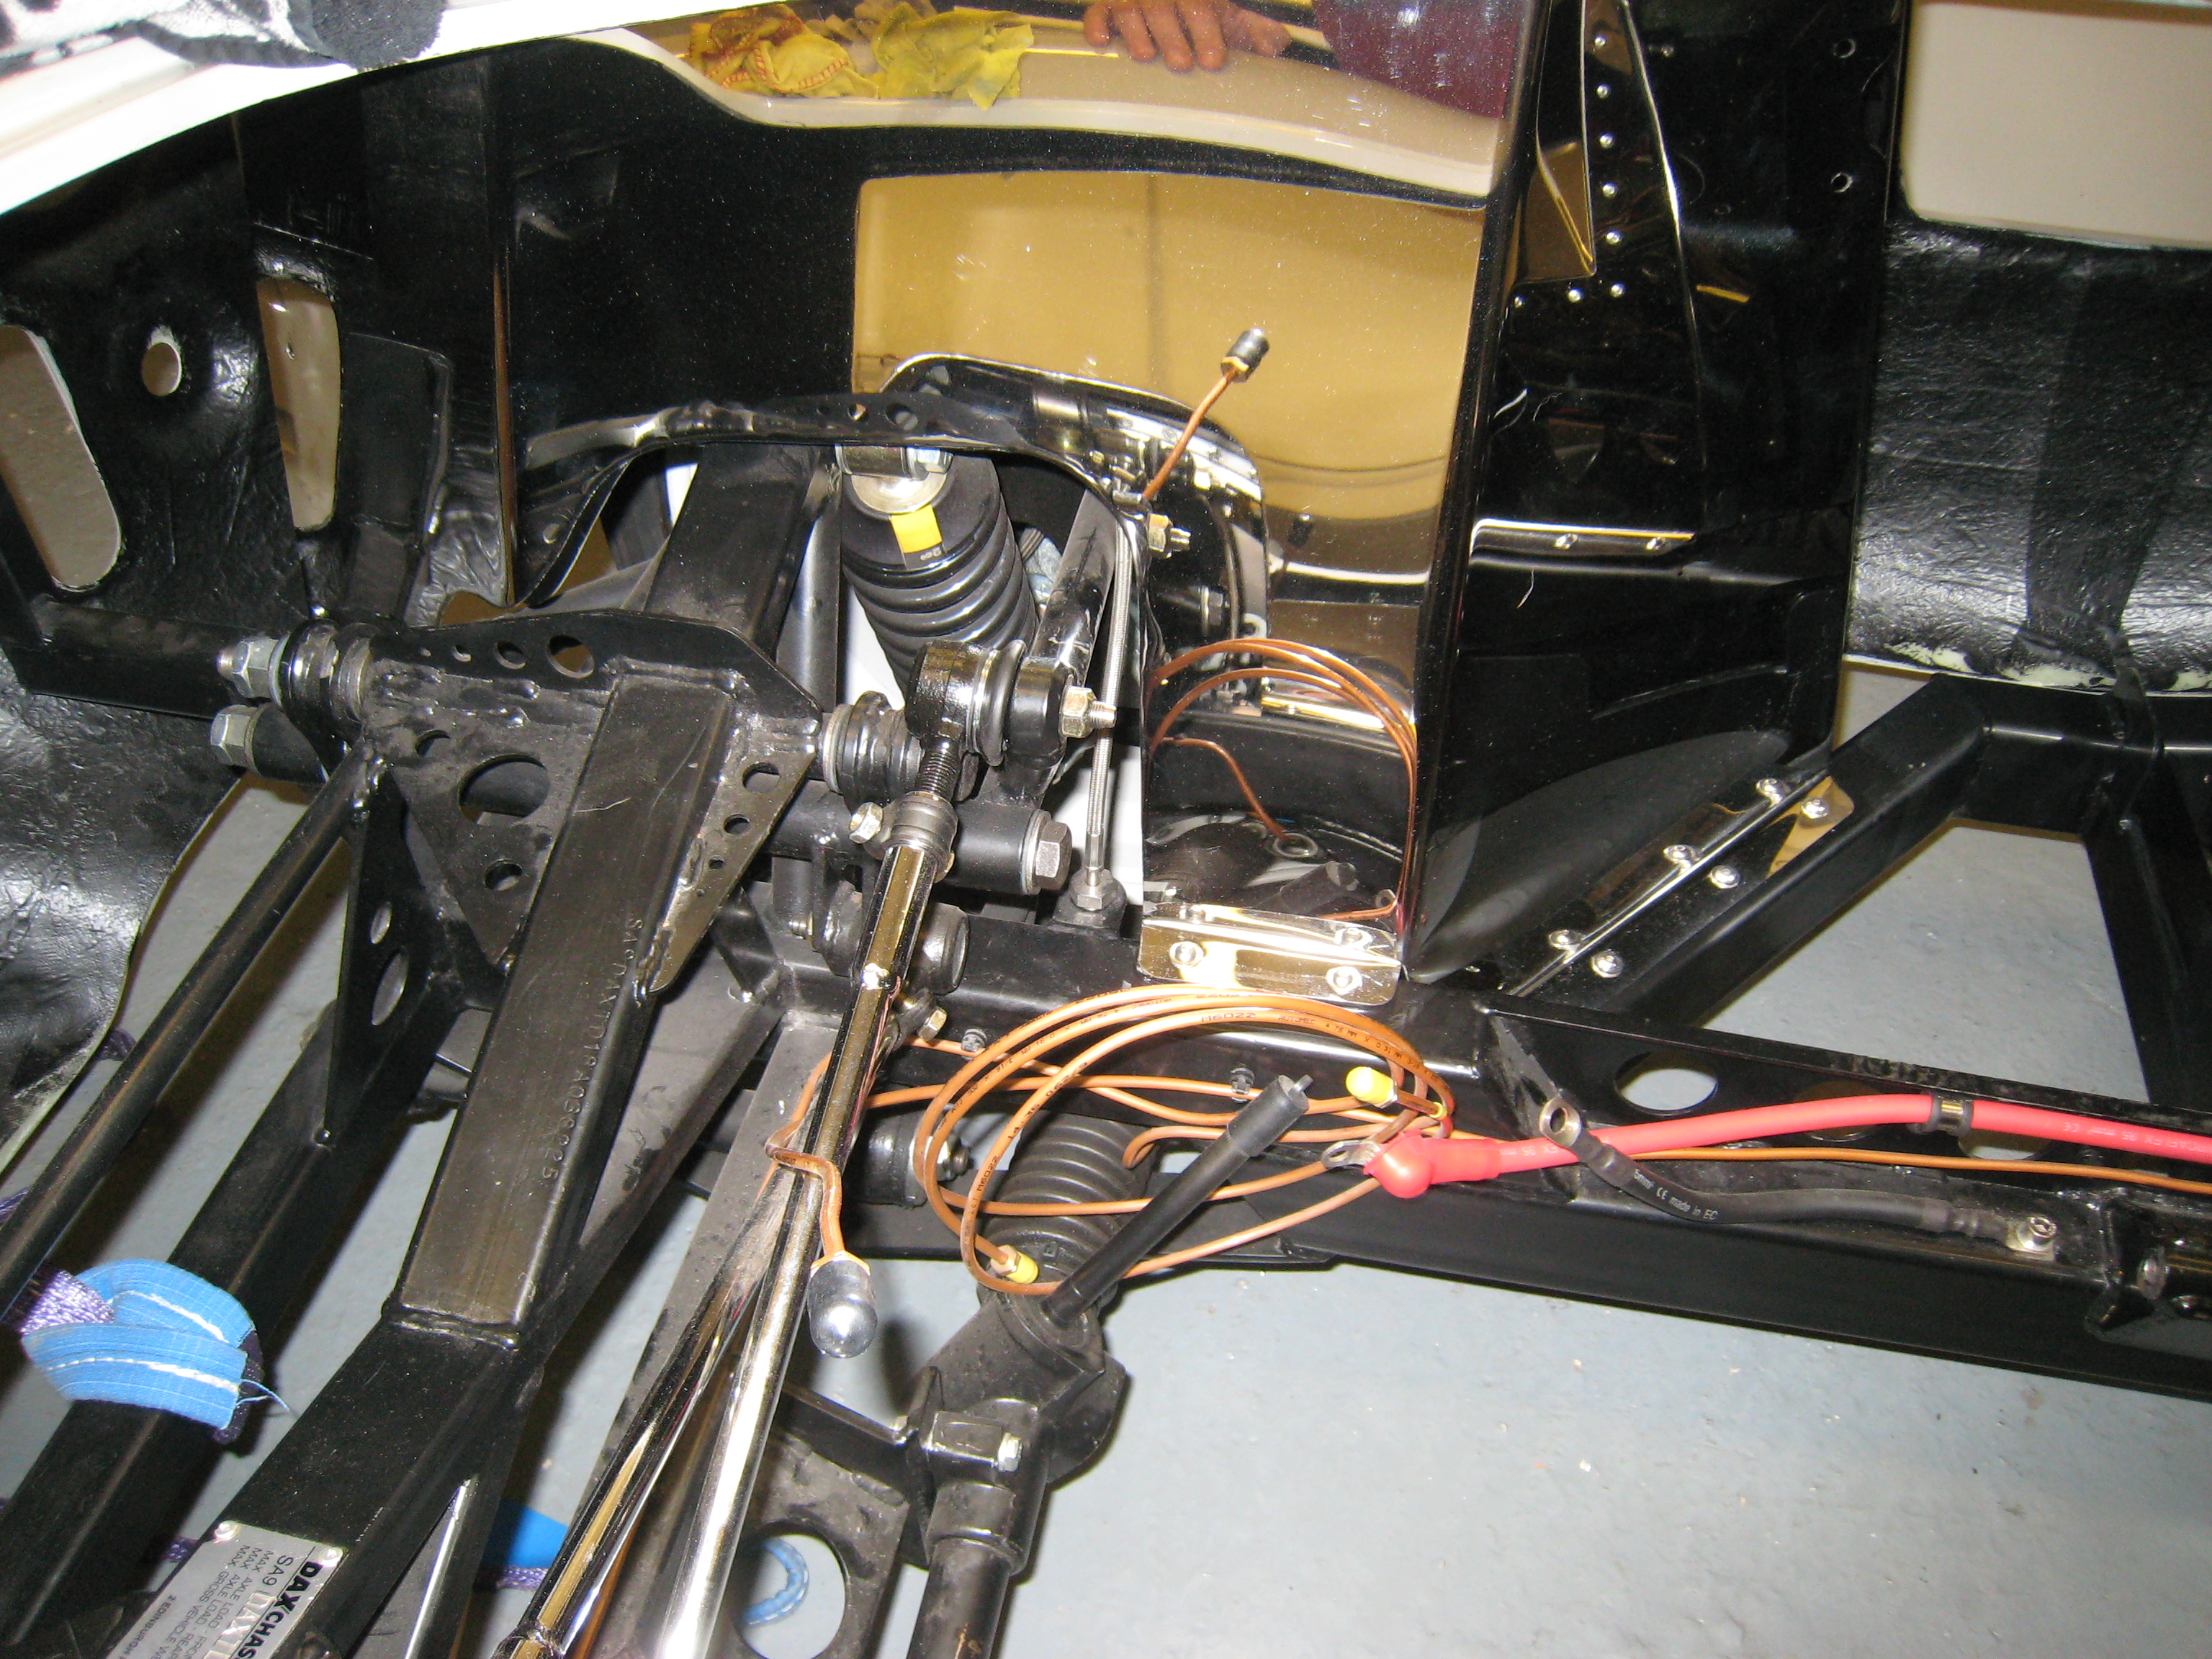
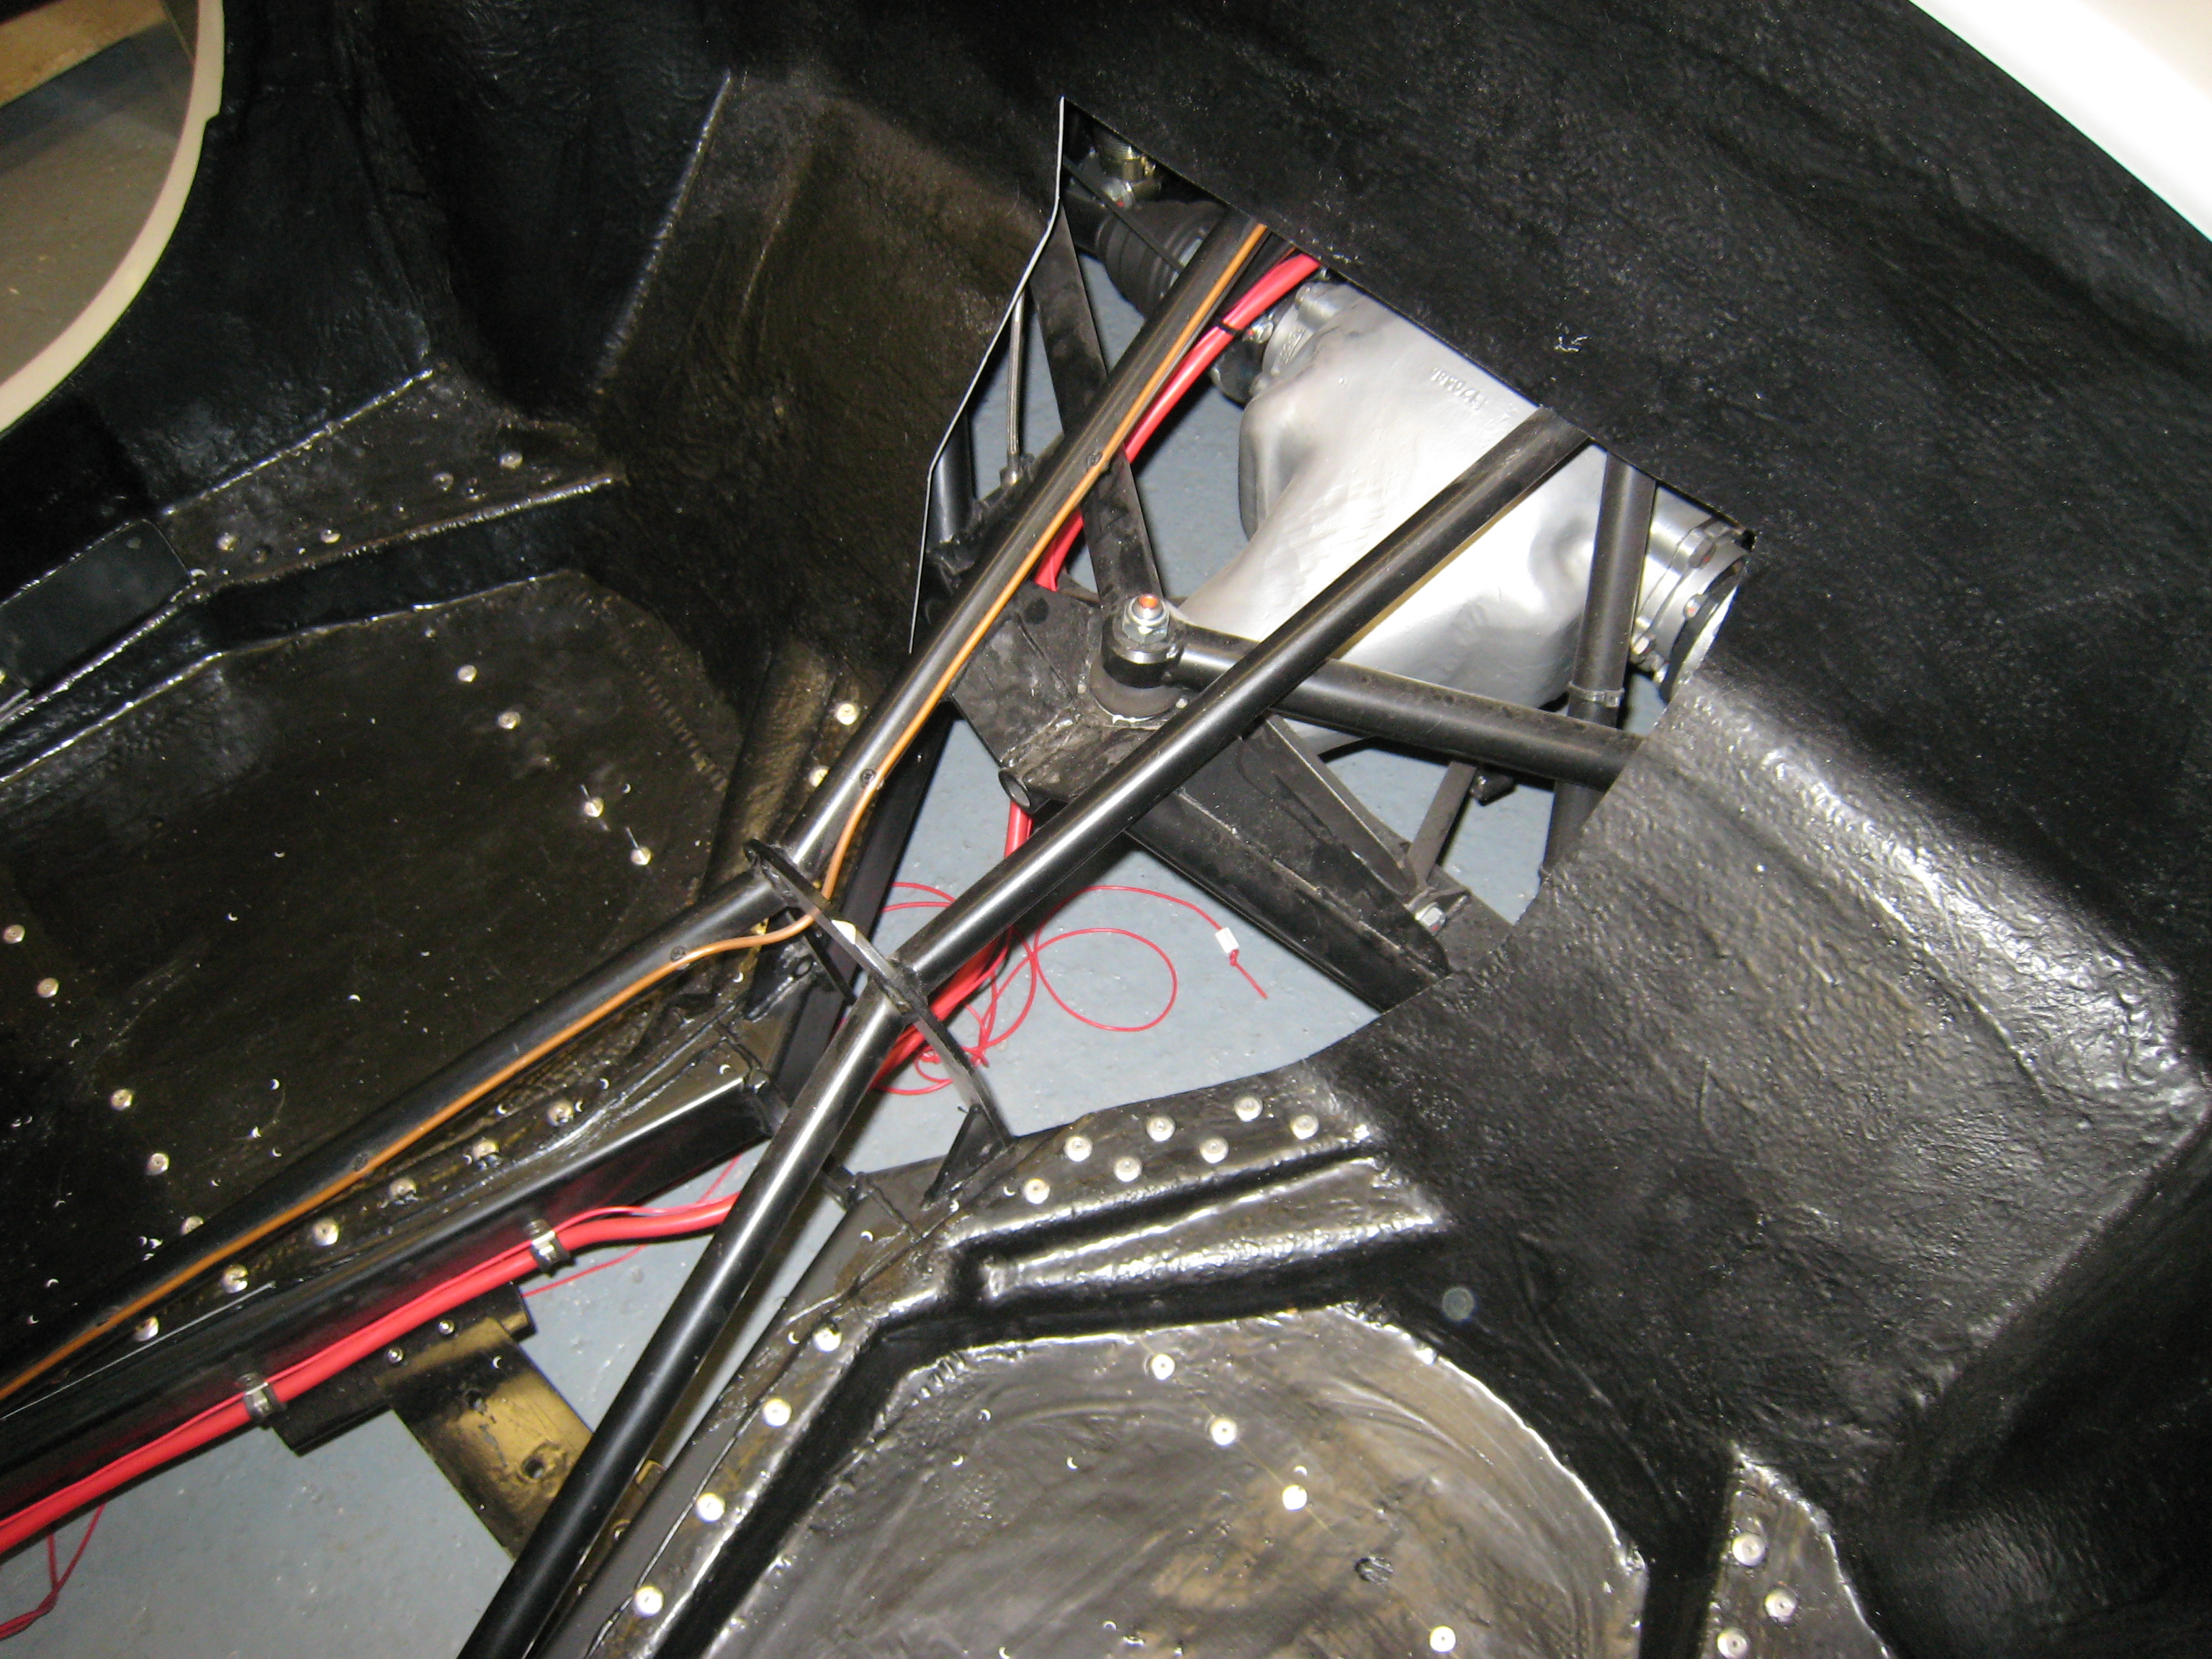
Fortunately for me a slight mistake had been made by Dax and the brake lines on my chassis had already been run (they initially thought I had ordered a rolling chassis). So next up came the initial chassis wiring. The main feed from the battery to the starter motor also runs on to the alternator, so there are 2 connections to be made at the starter motor in heavy gauge (35mm2) cable.
The thick cable is also joined by 3 other red cables, 1 is for the starter solenoid, and 2 from the alternator. The alternator wiring is a battery sense for the regulator that runs back to the battery positive terminal and the other is for the charge warning light on the dash.
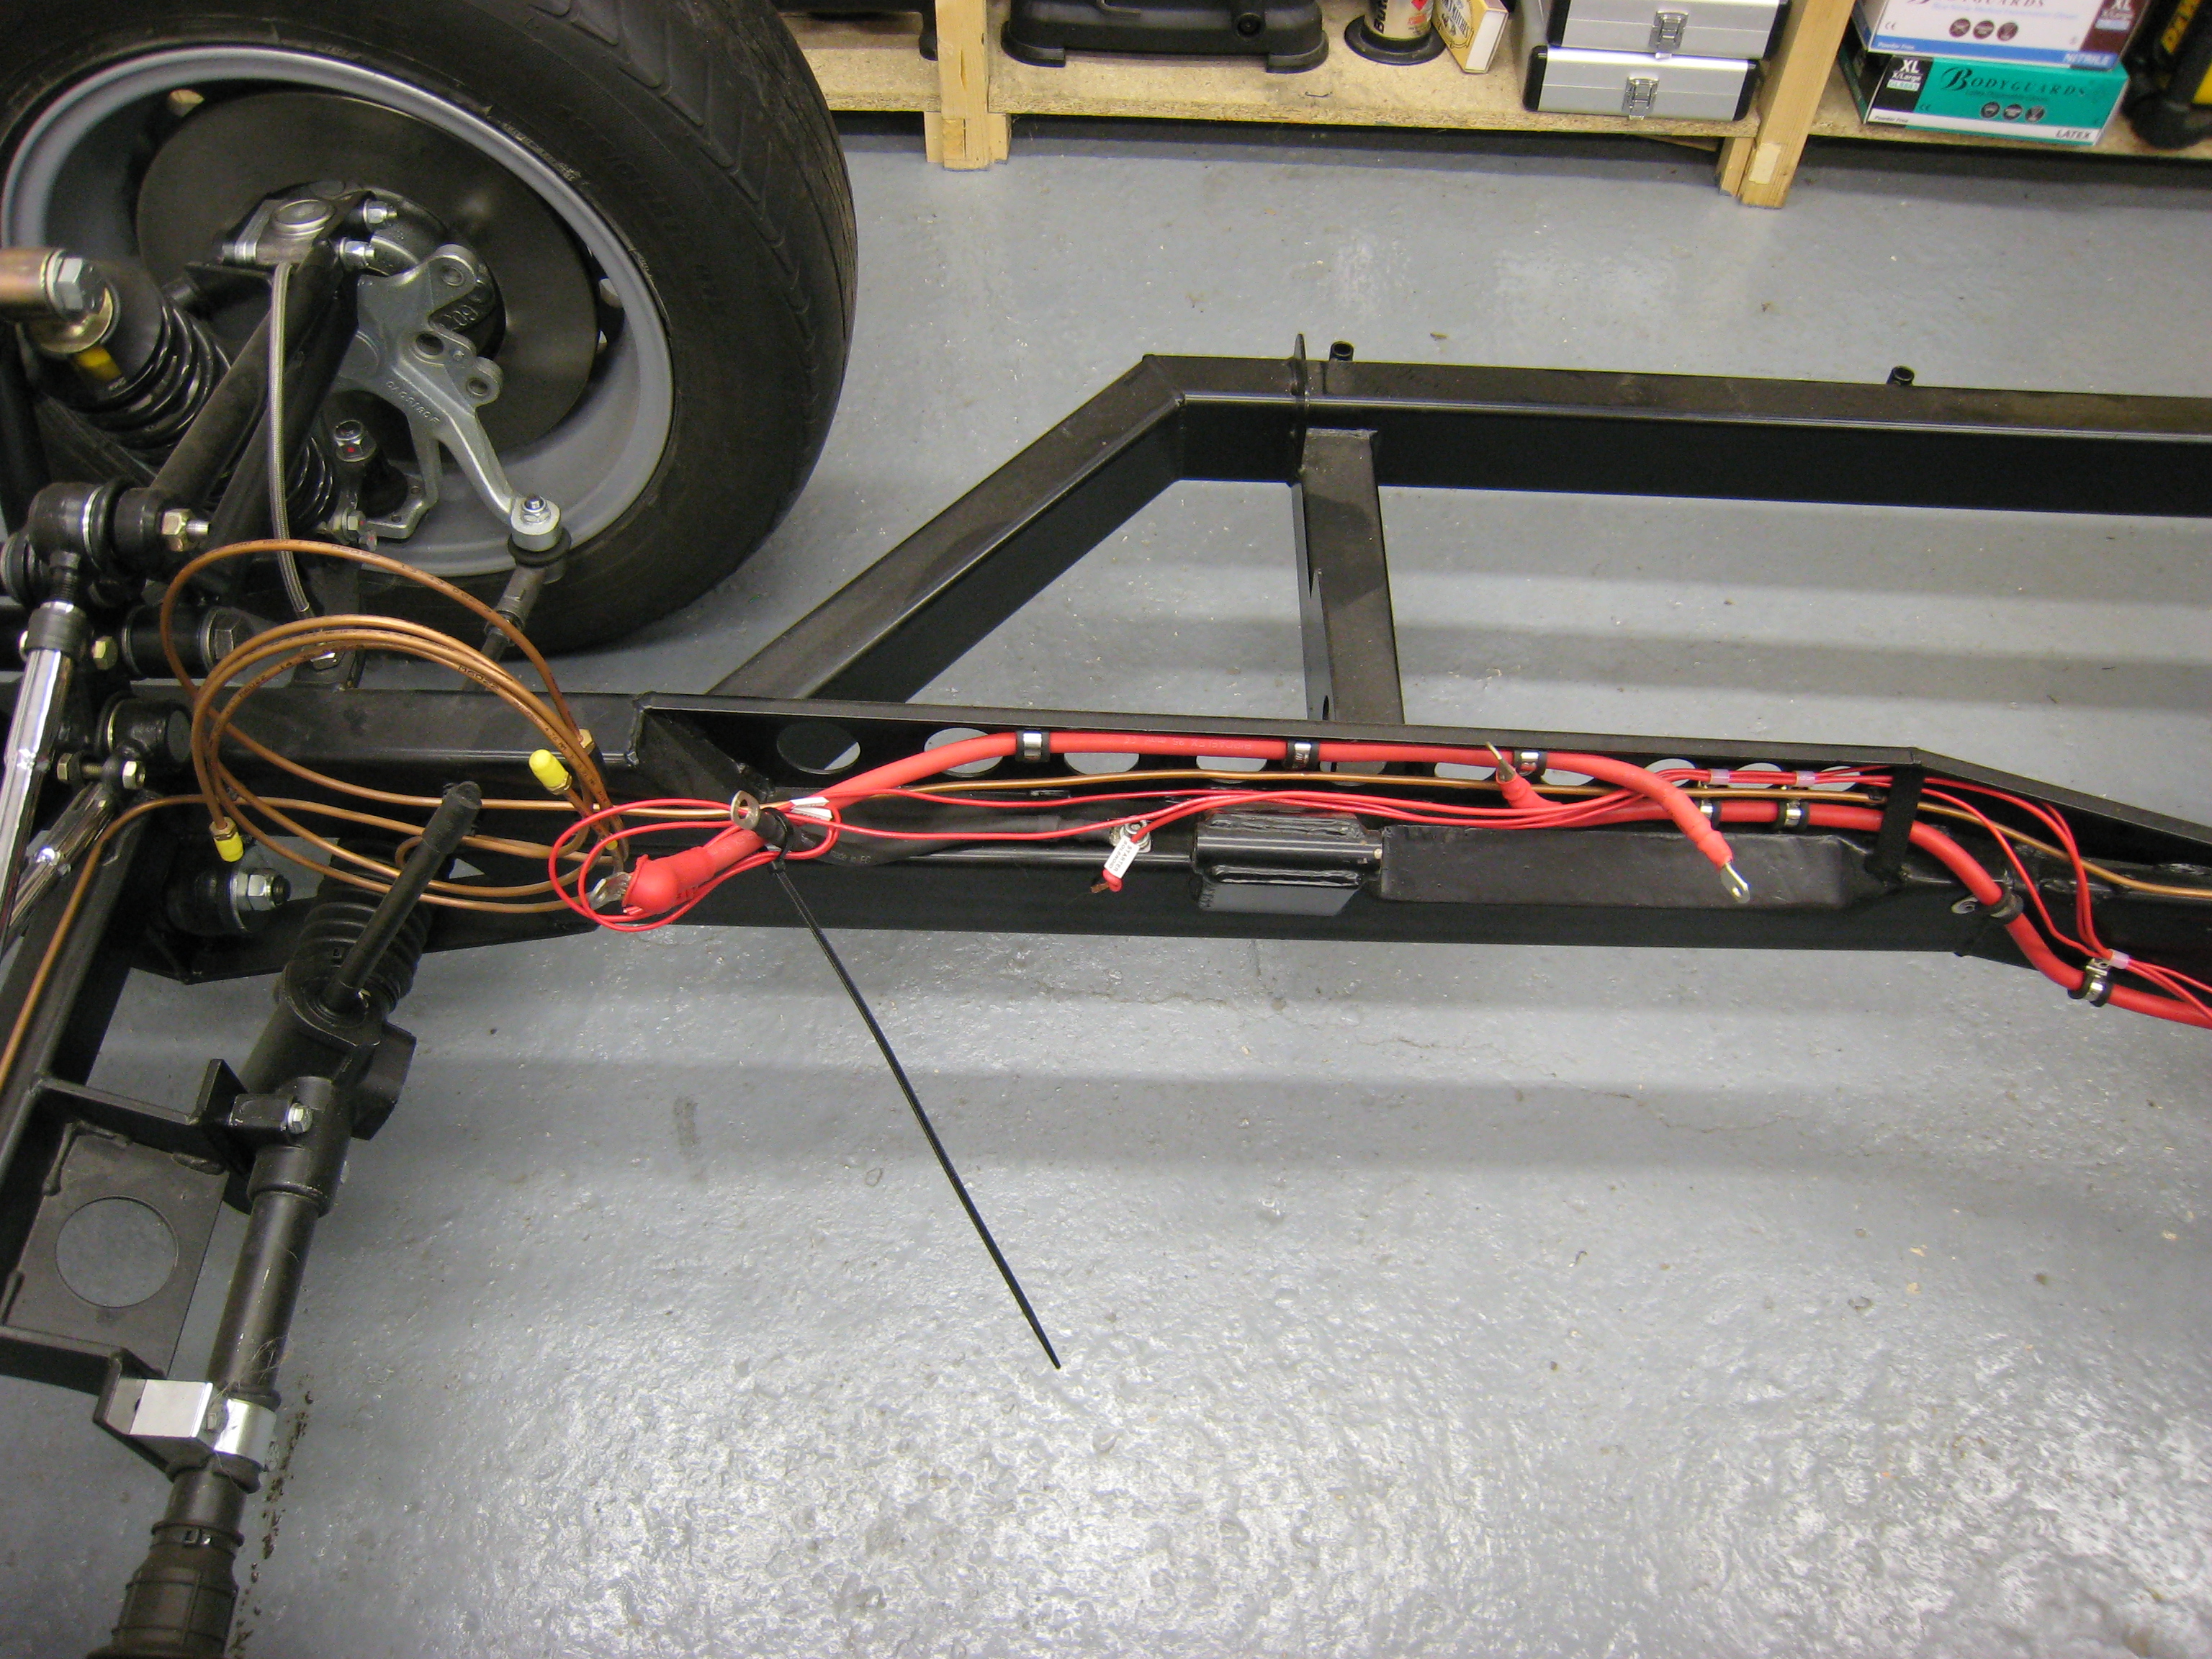
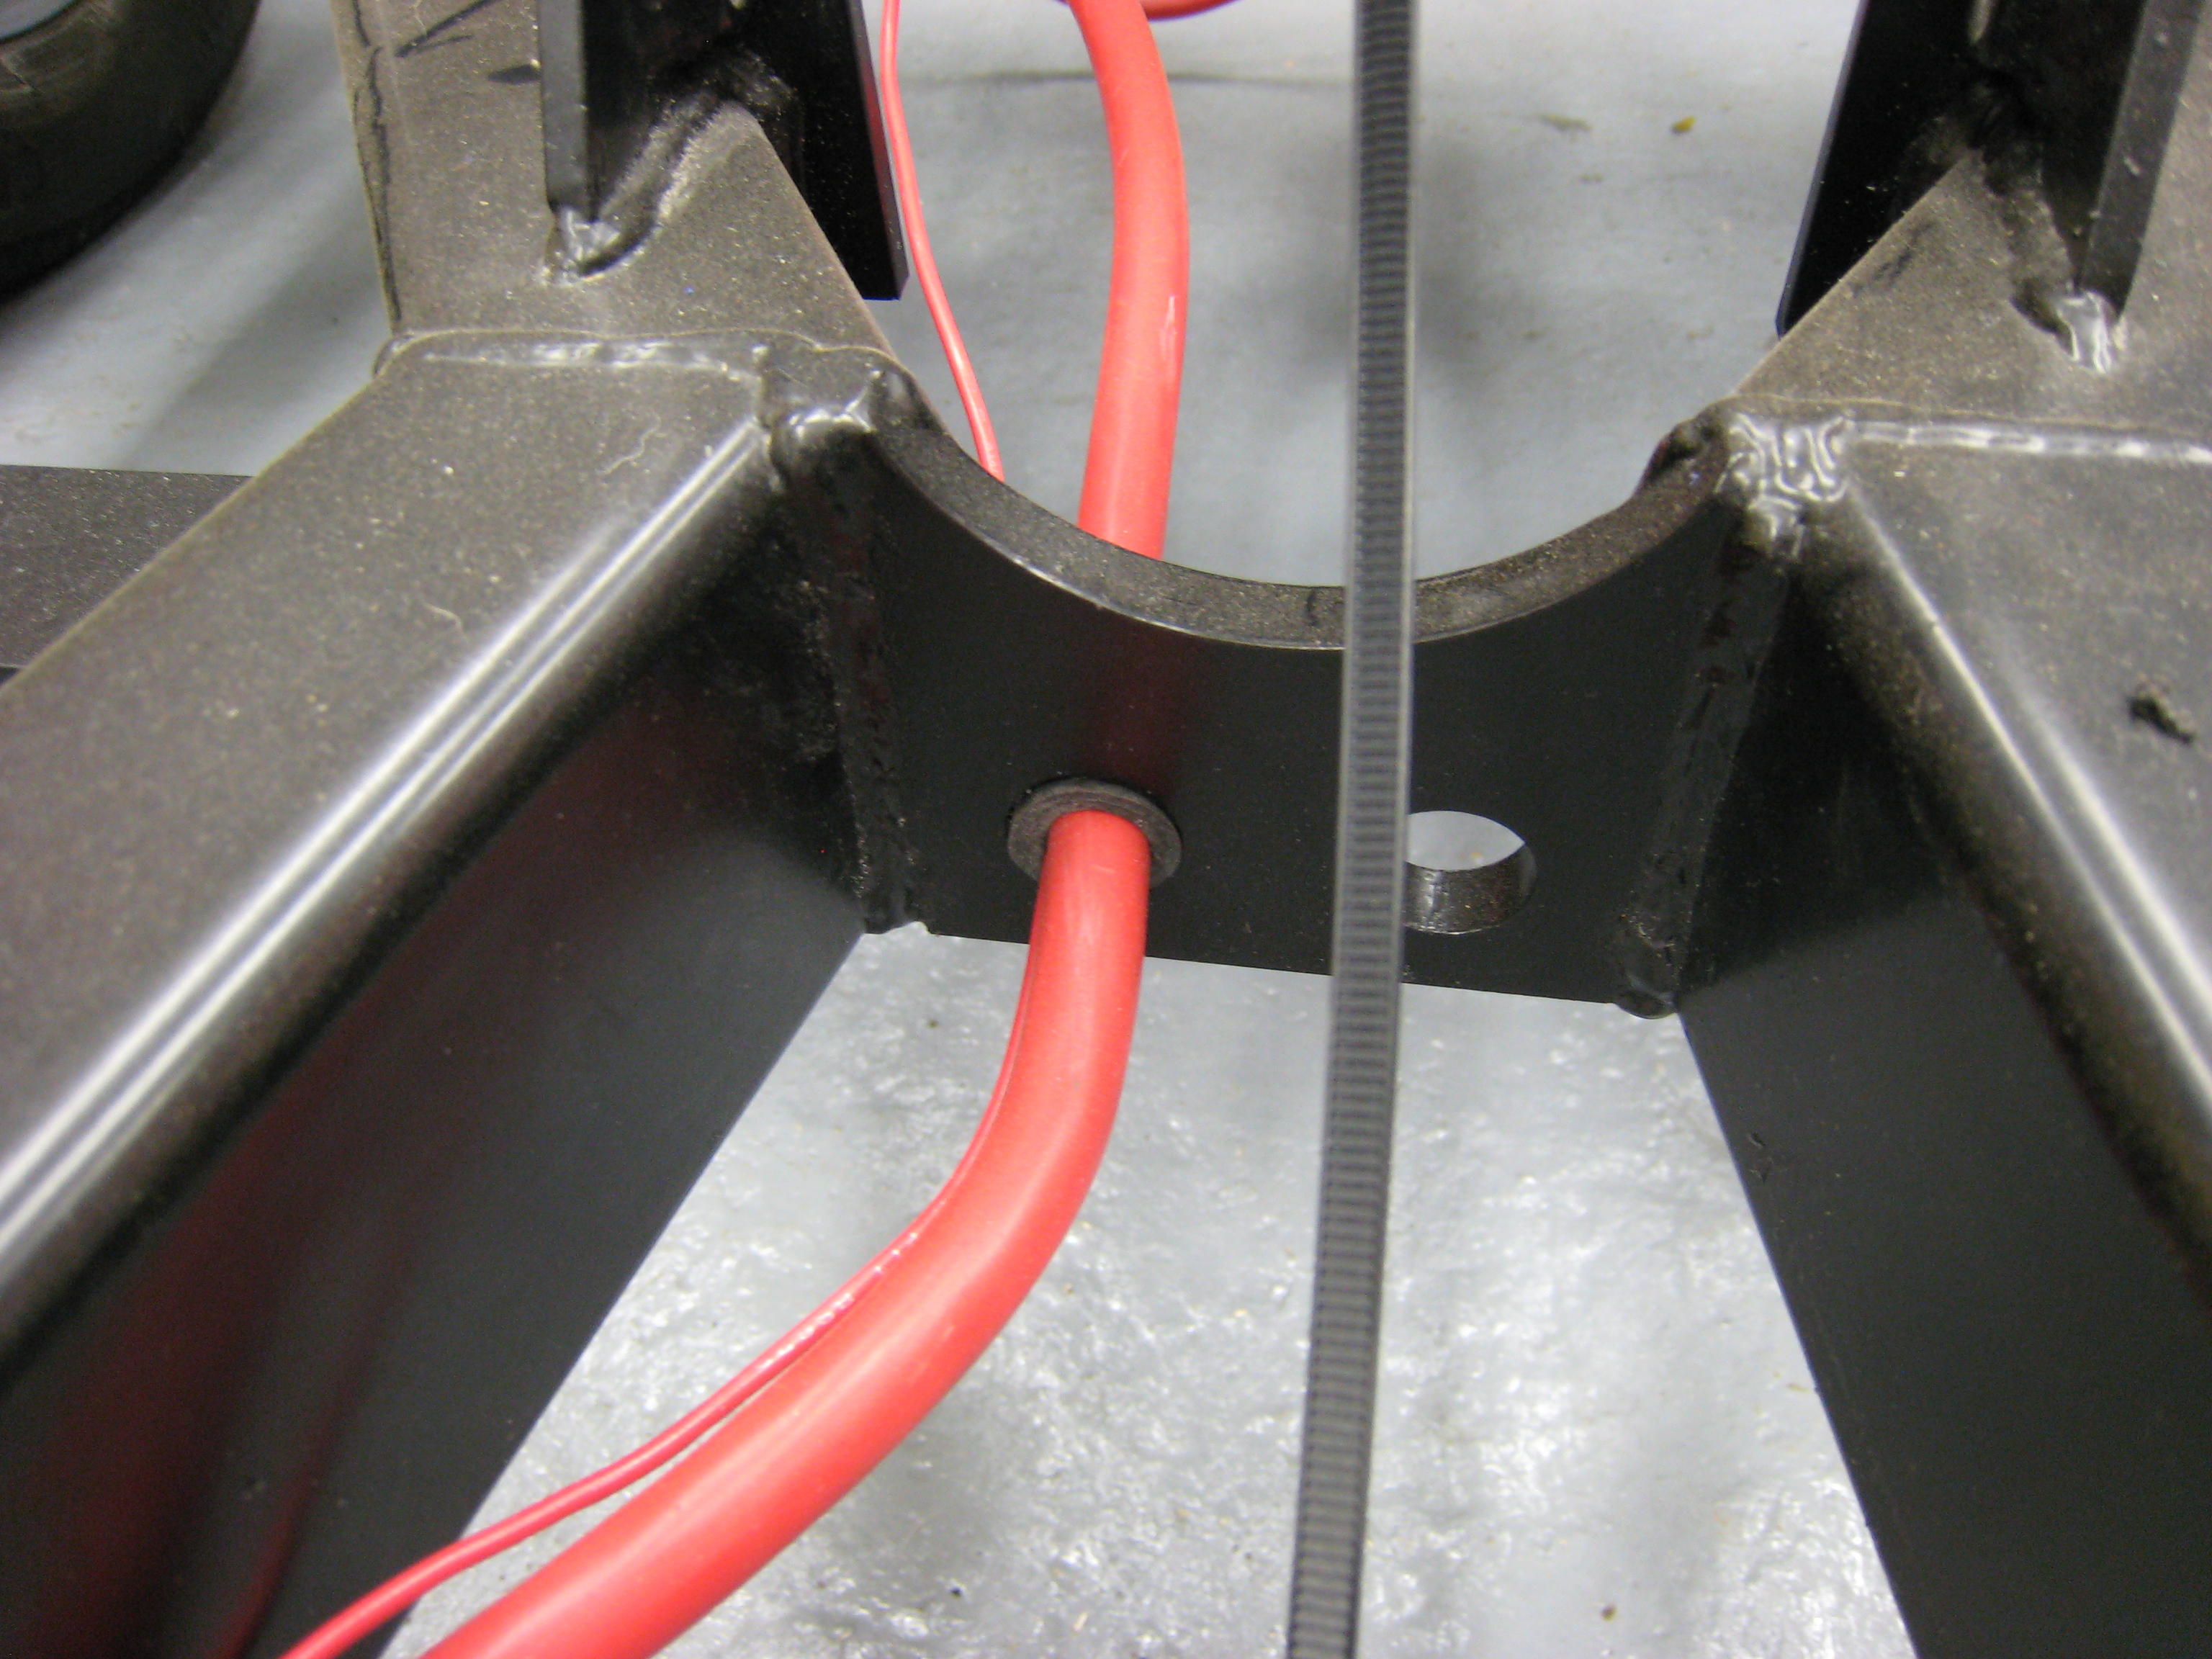
The other heavy duty cable is the engine earth, details of how this is mounted to the chassis can be seen in the pictures.

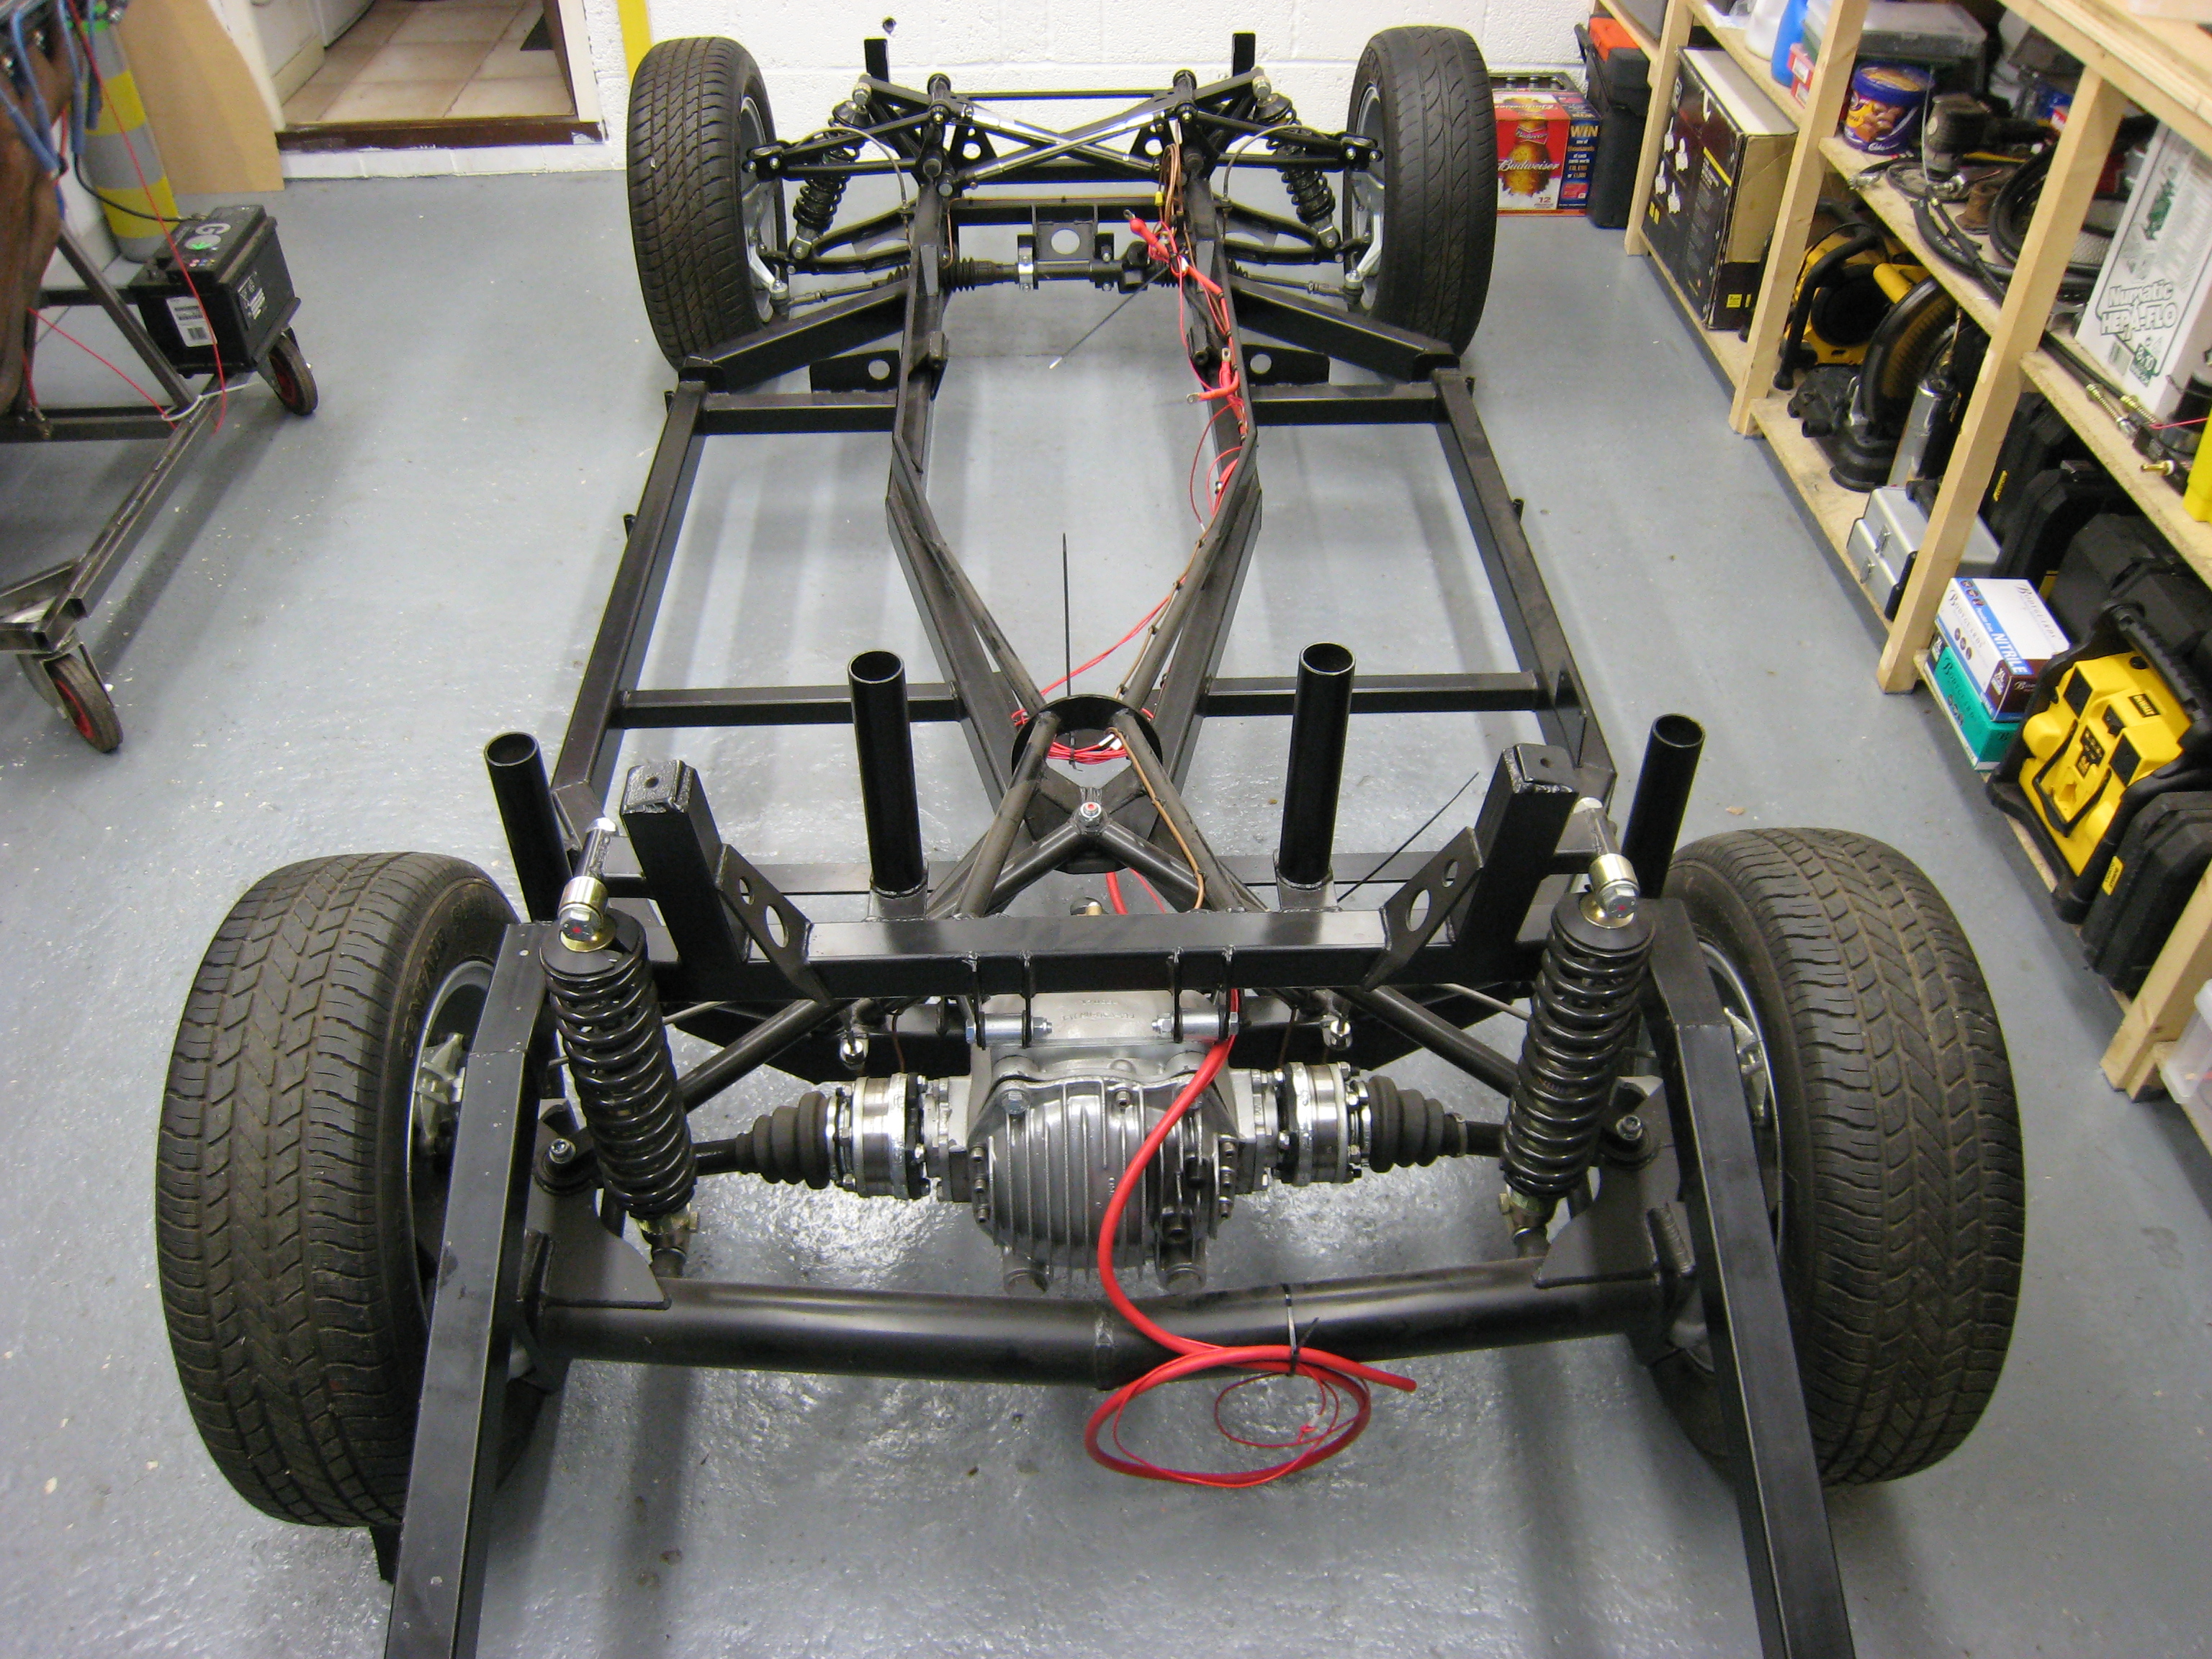
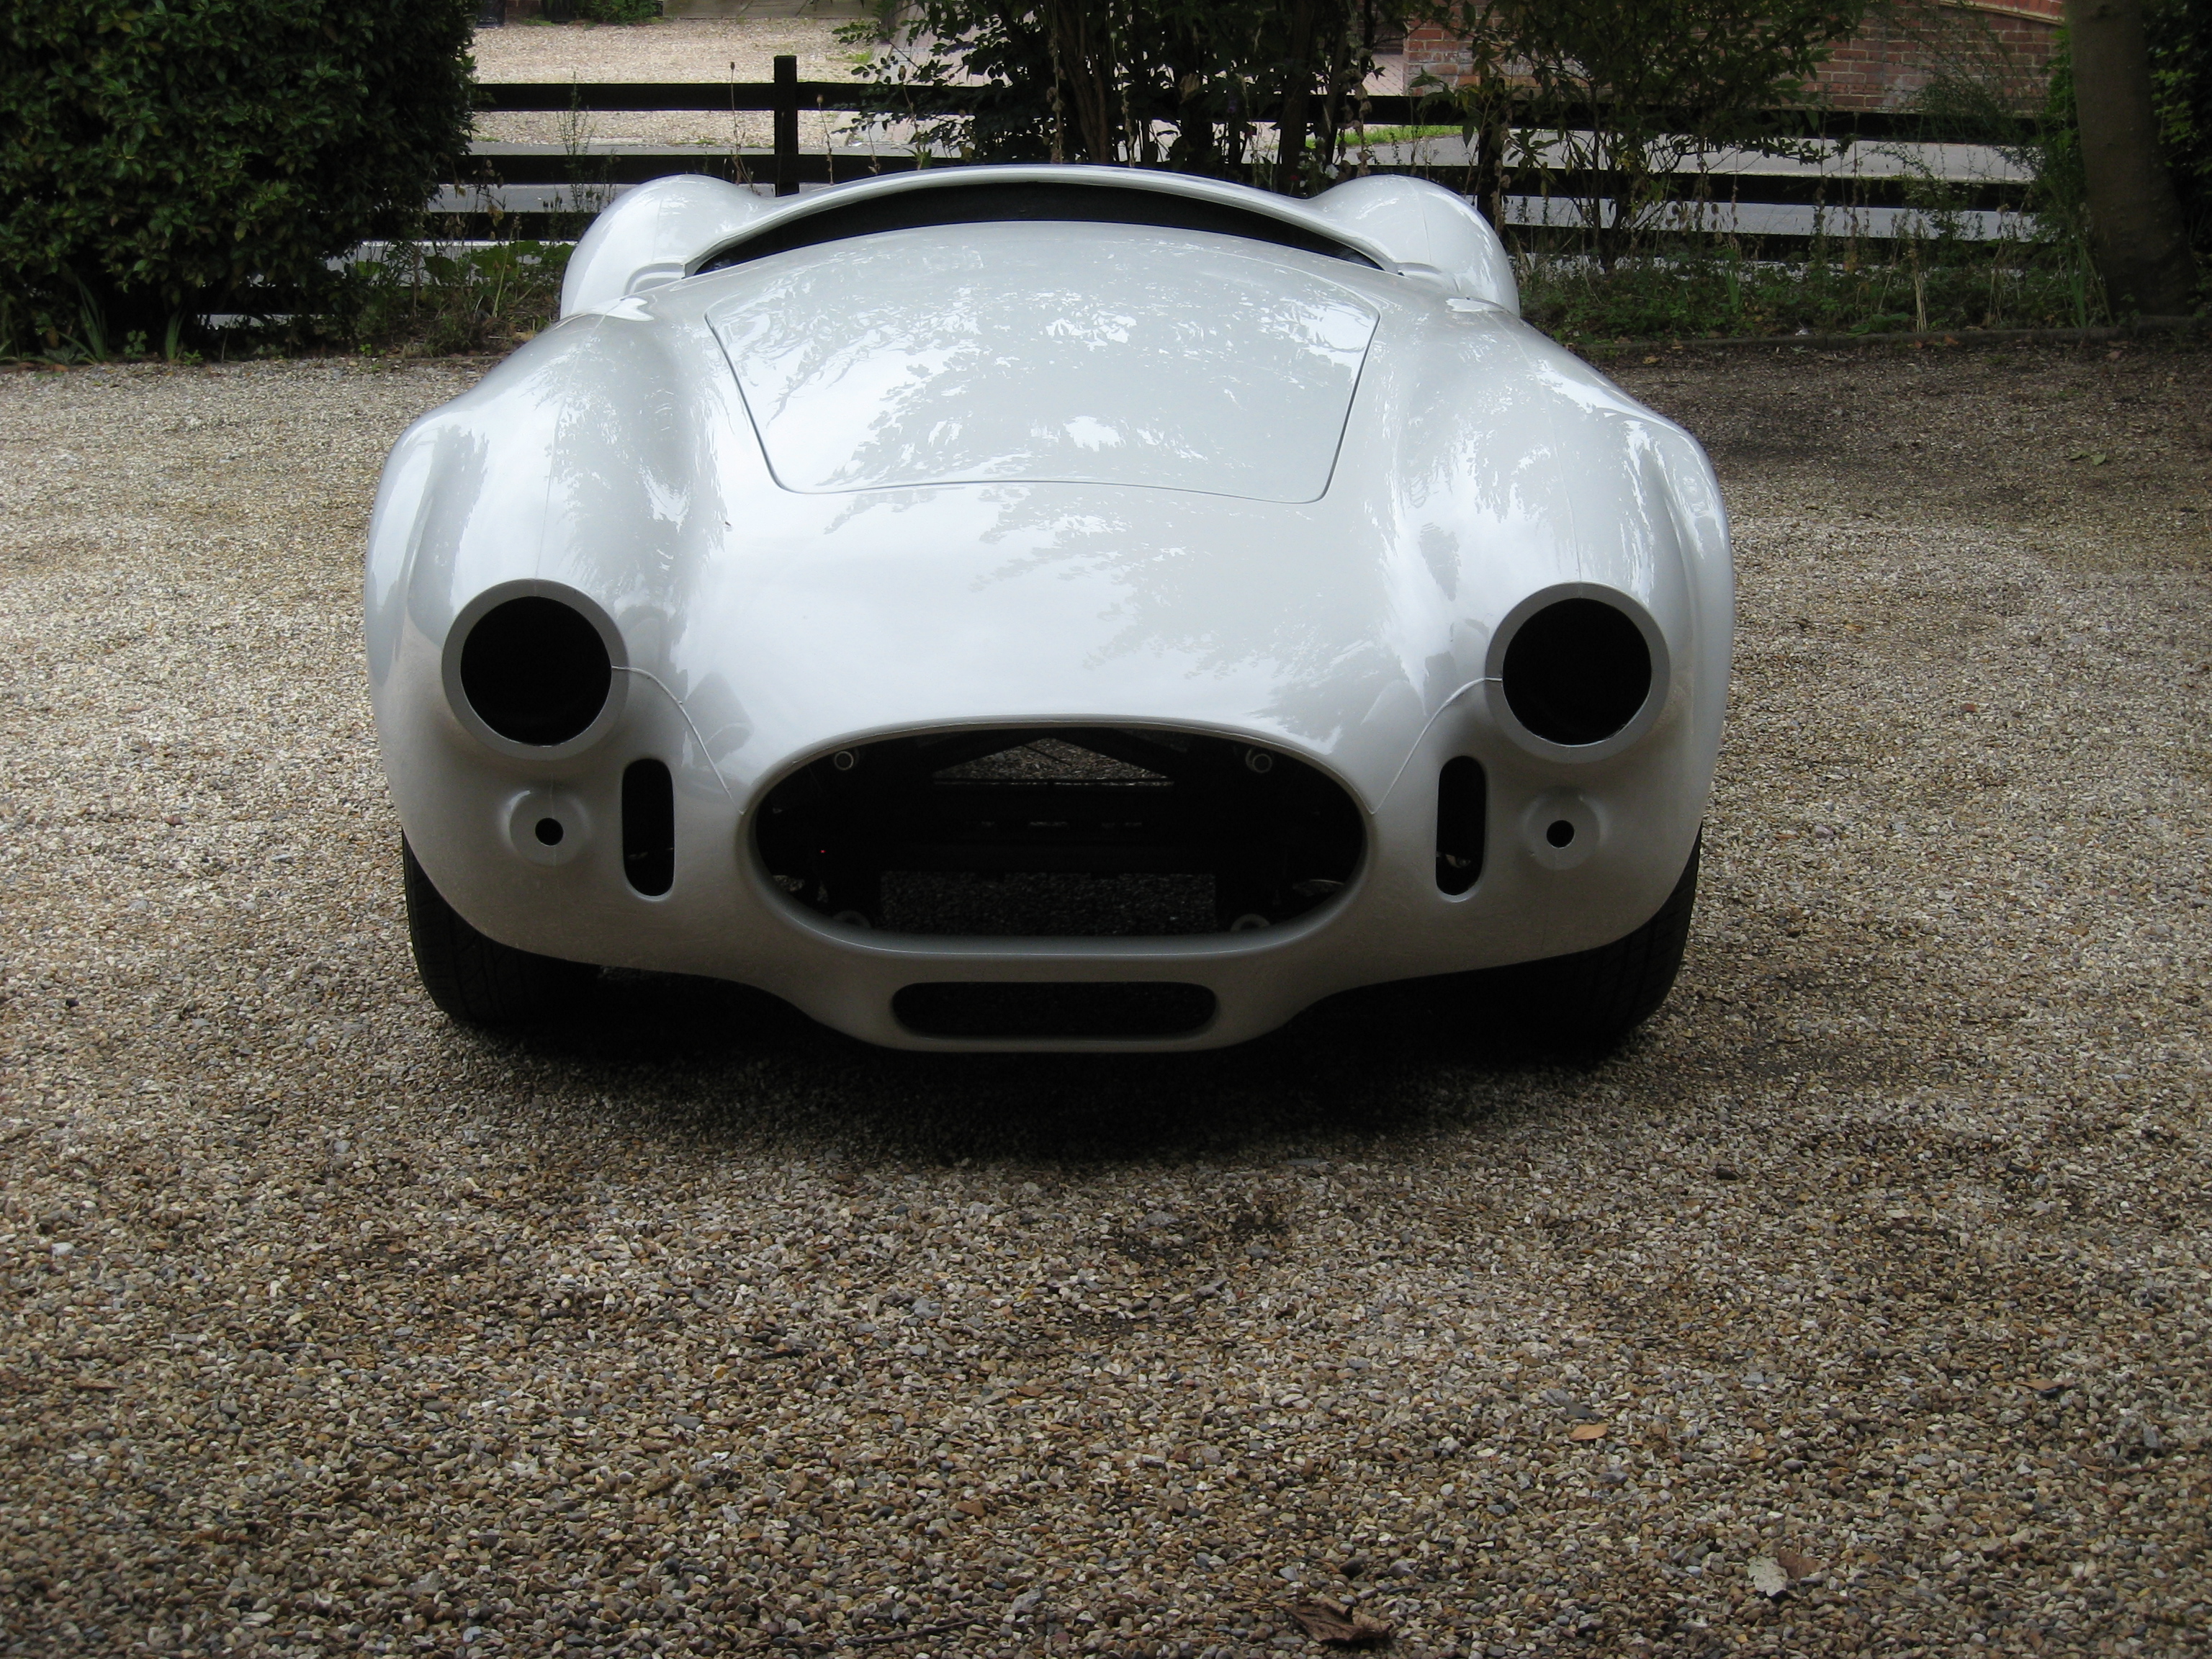
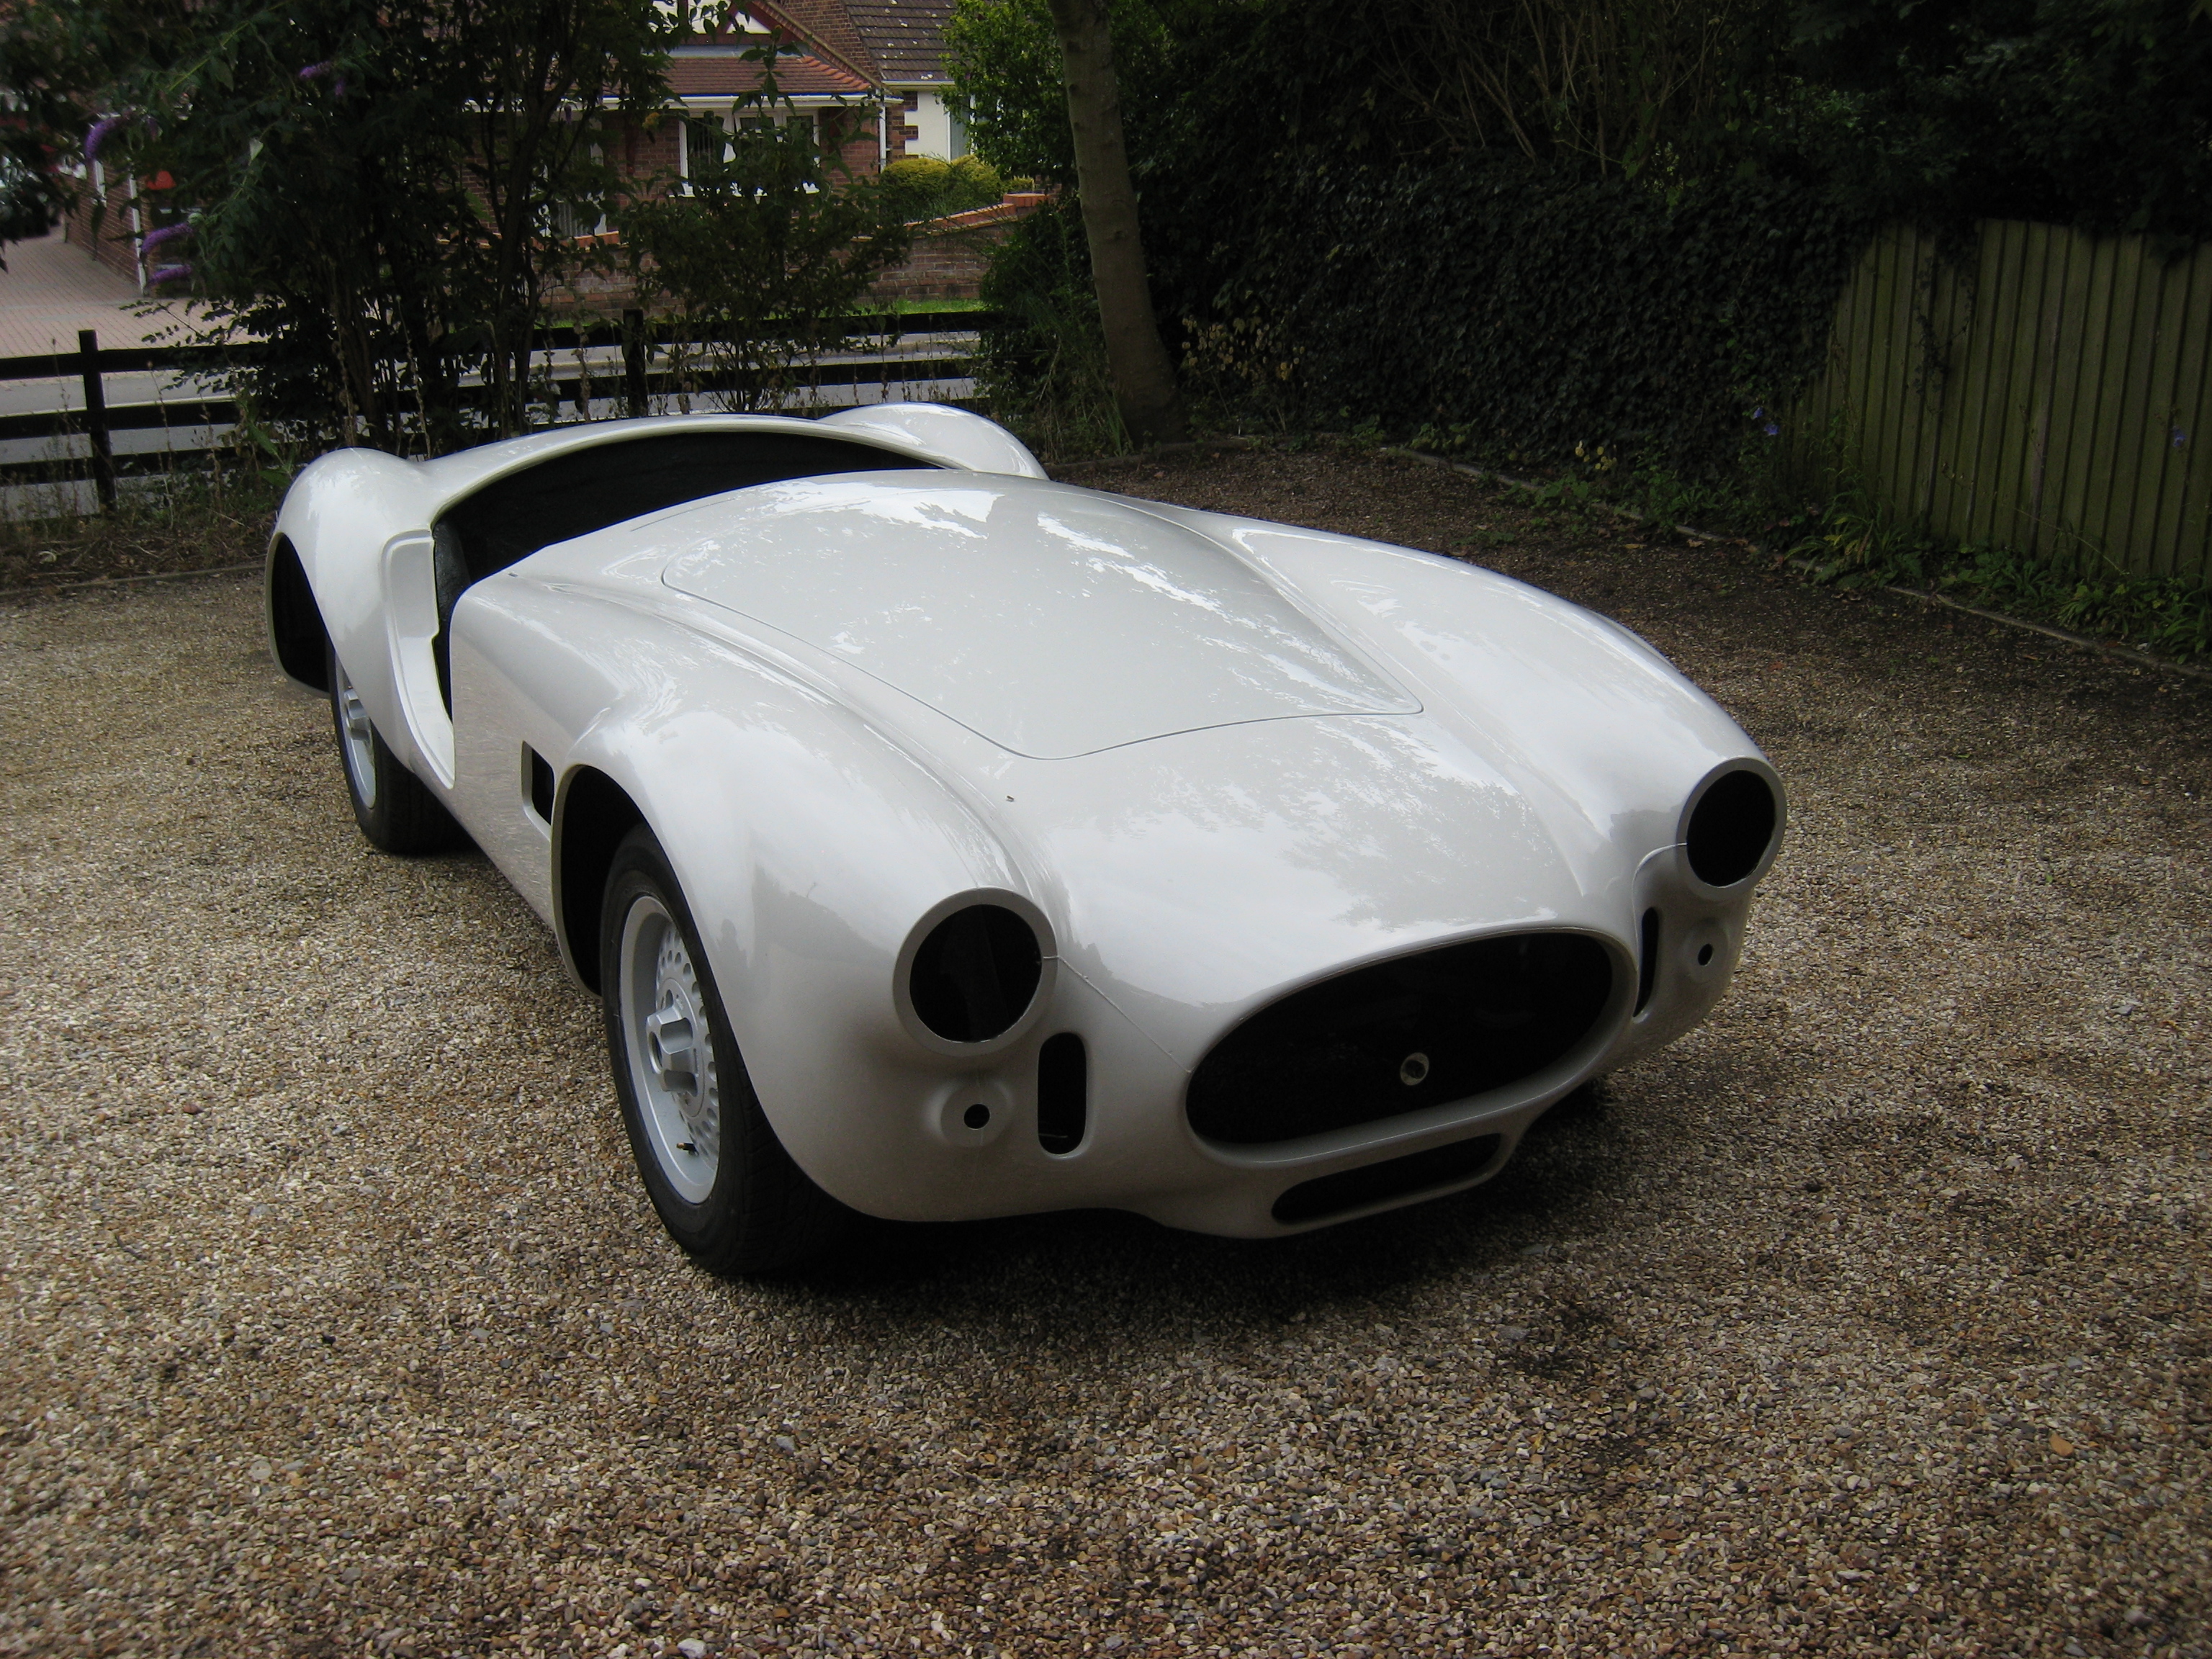
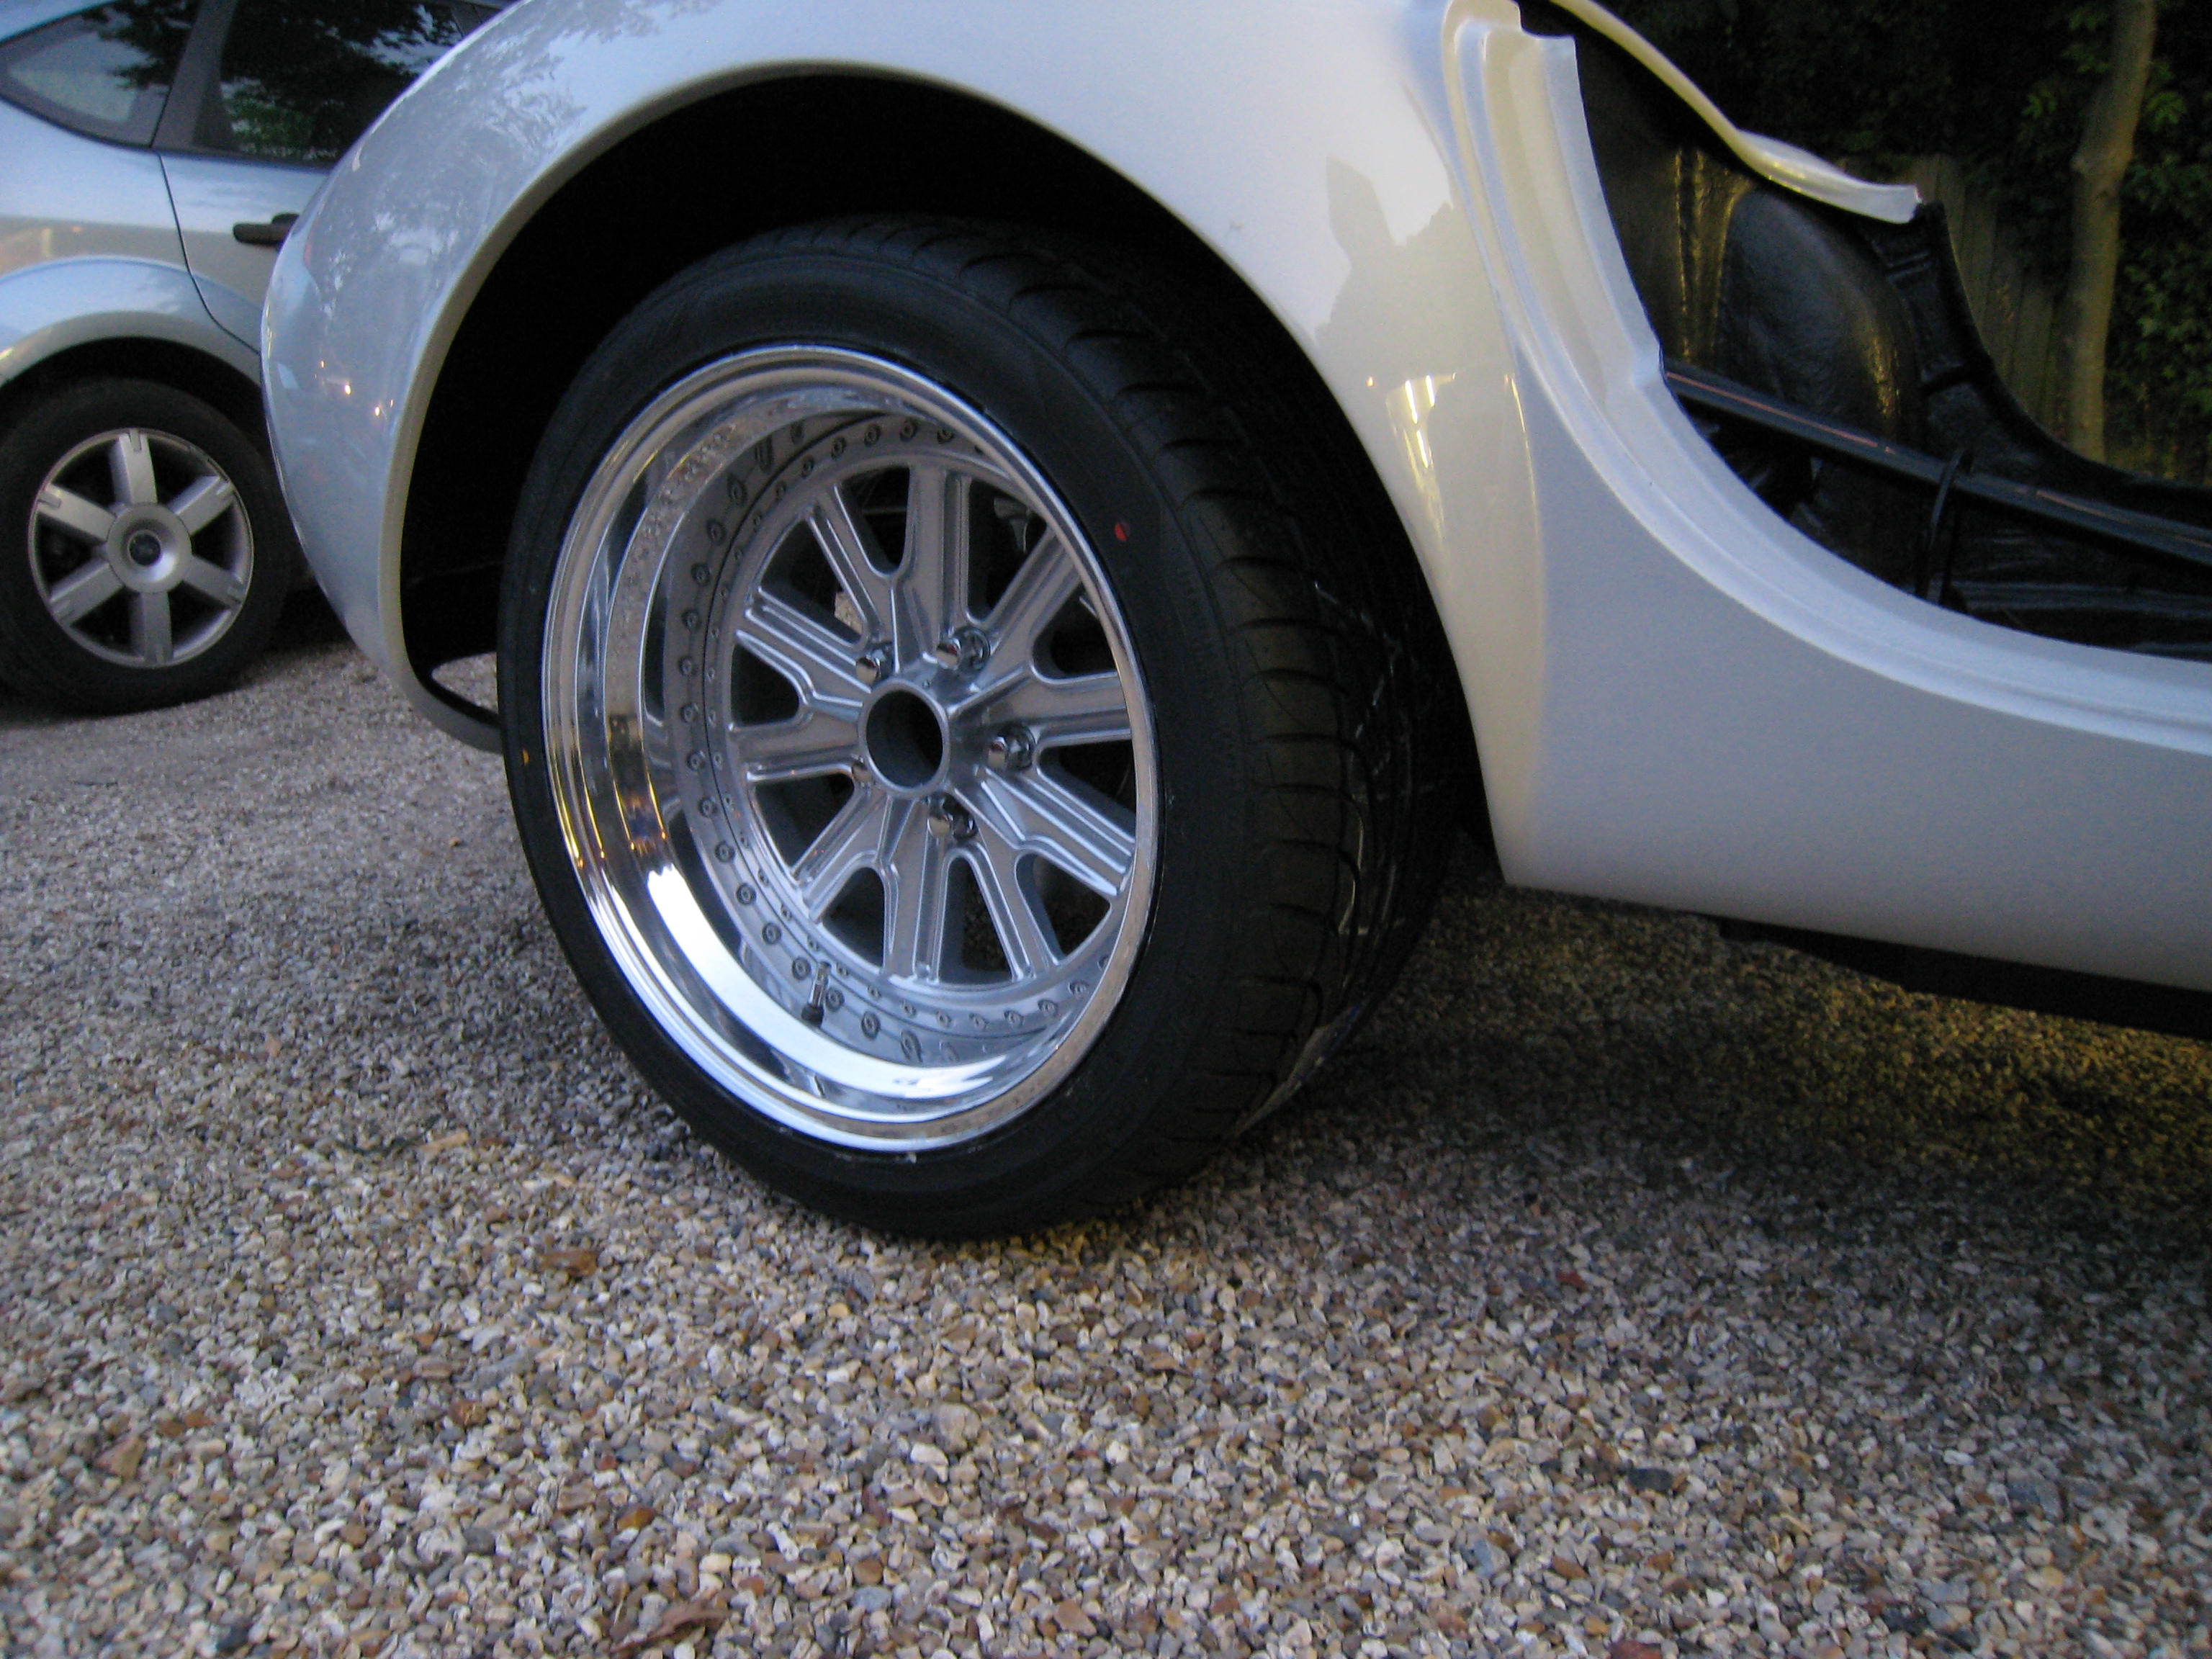
The wheels turned up from Image, shod in nice wide tyres. Fronts 235/40ZR18 and Read 285/35ZR18
The wheels now really make the chassis look the part, this also now allows me to fit the front calipers as the jaguar build
wheels were too small to get them under. The only remaining thing to fit is the fuel line, this will be done when the body trial
fit is complete, as I need to make sure it runs up the inside of the bulkhead.
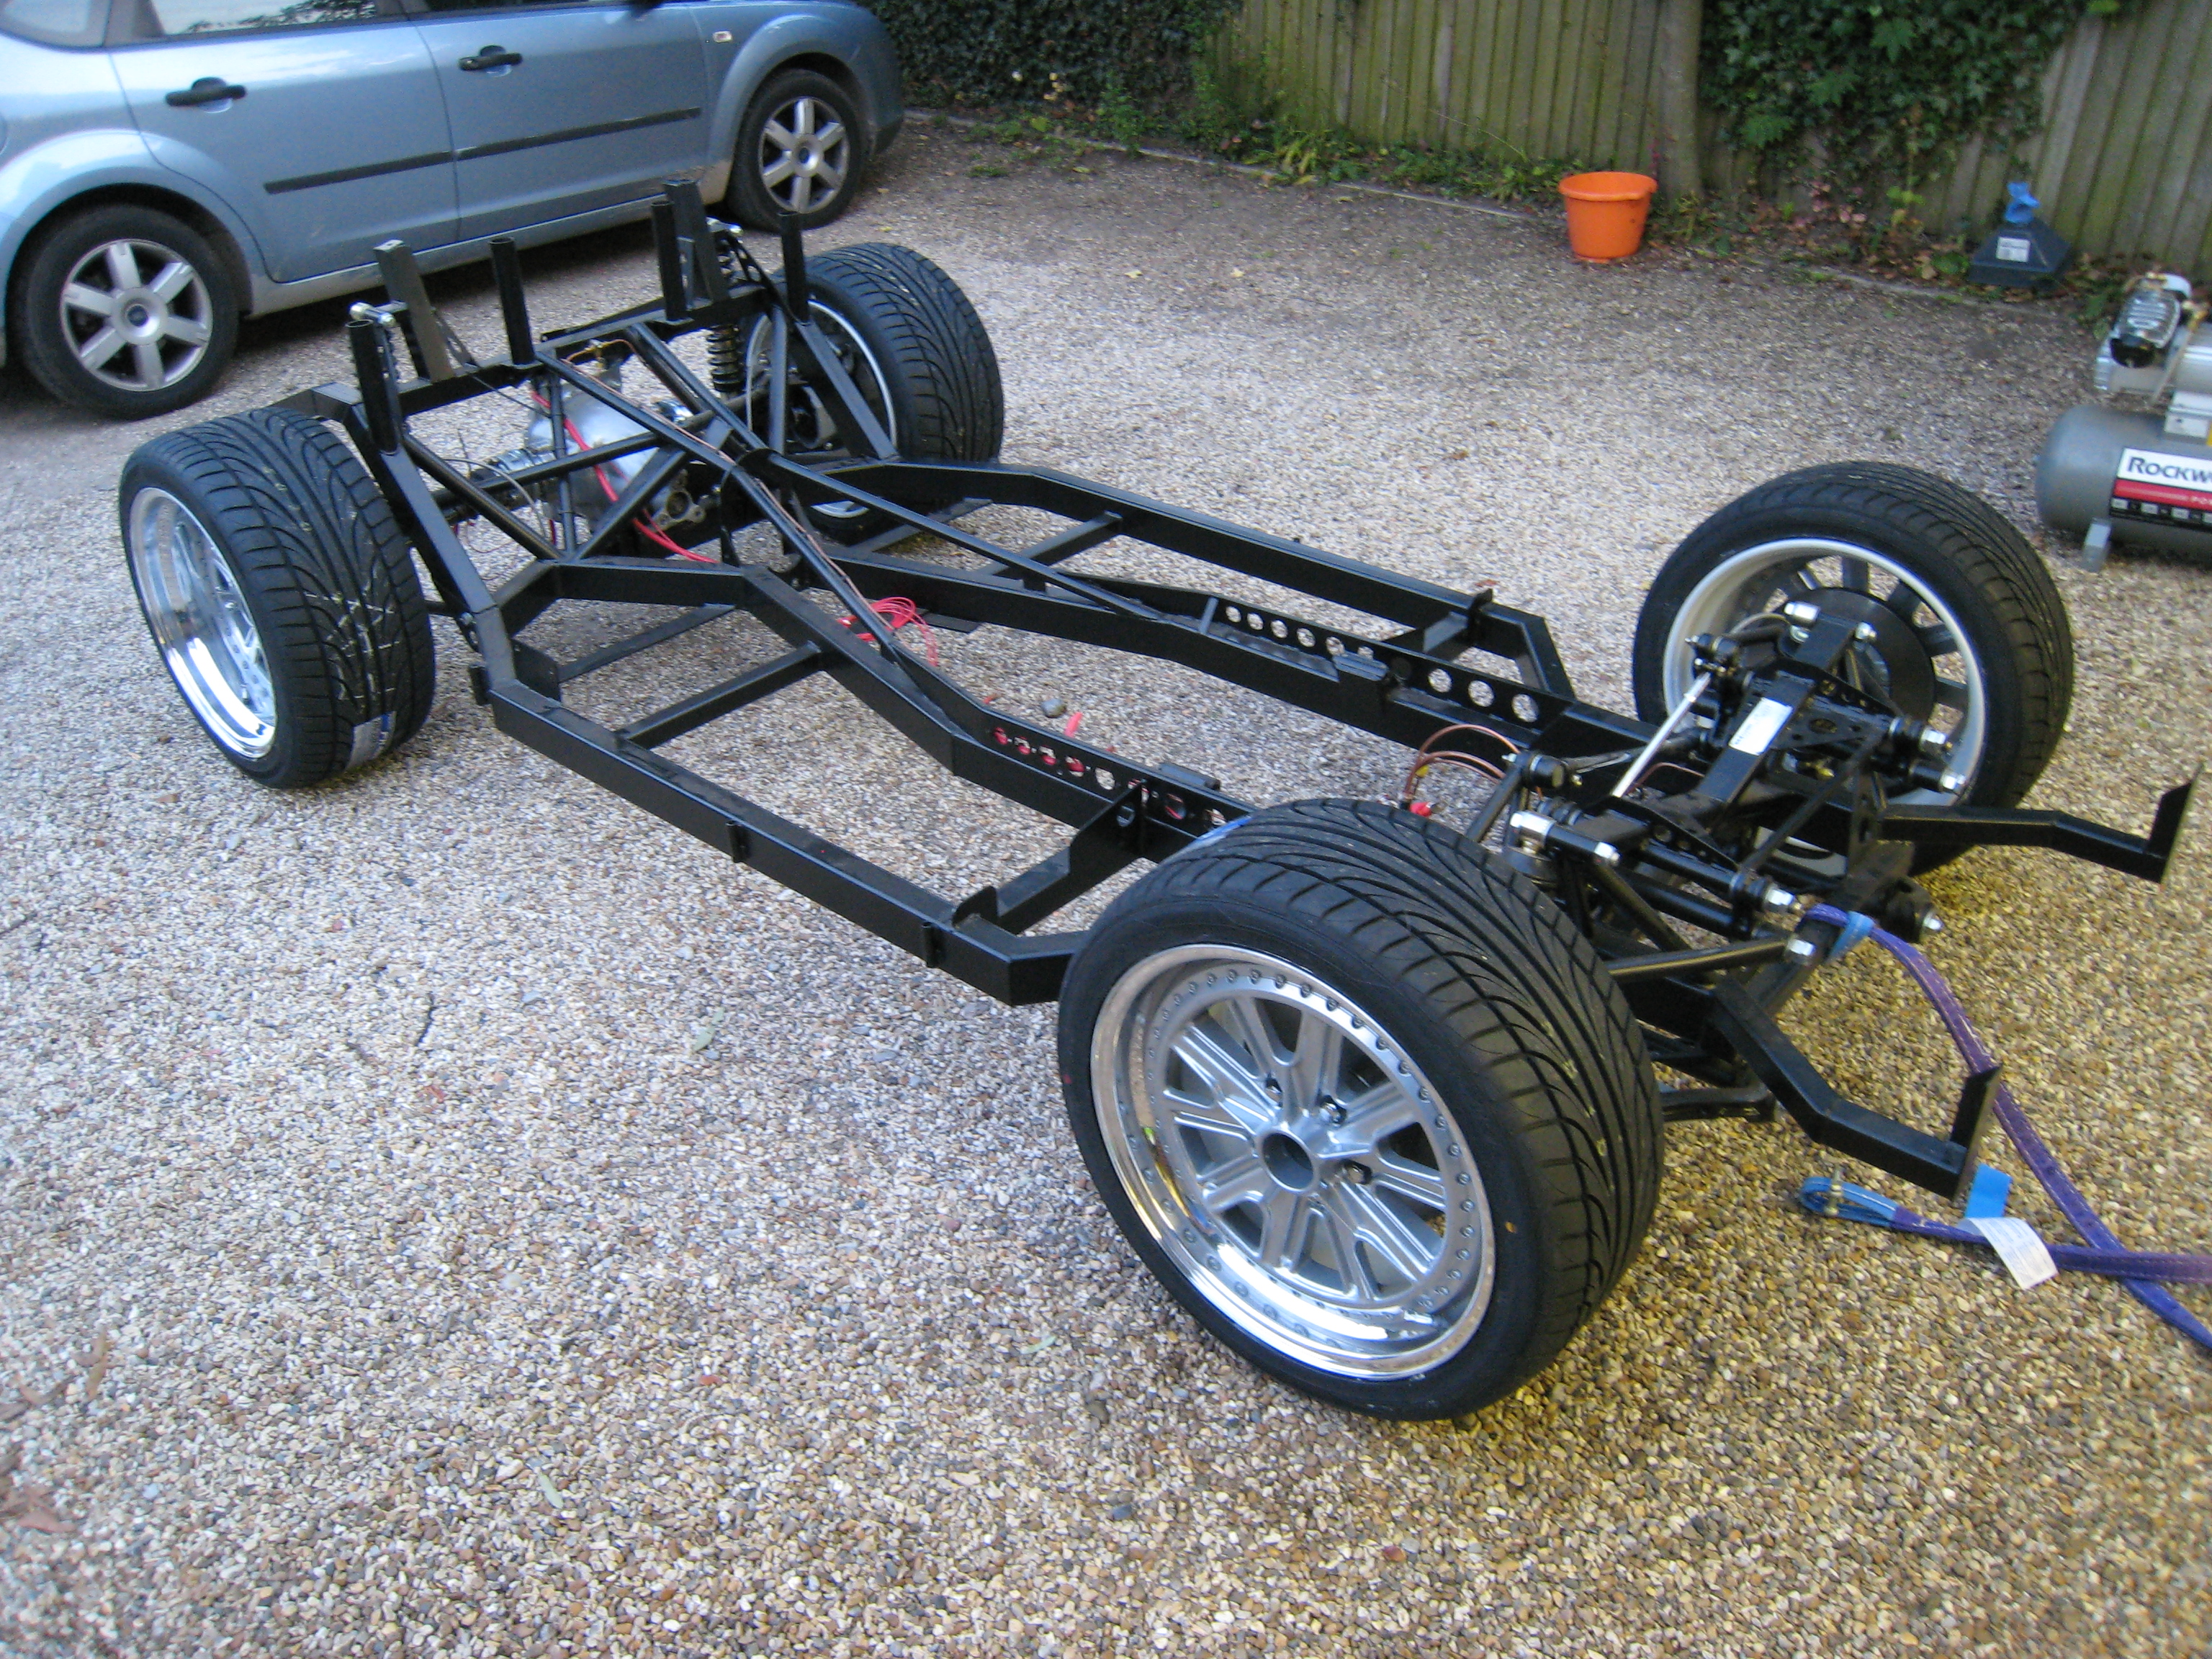
Chassis is now preped and ready to meet the body.
Body
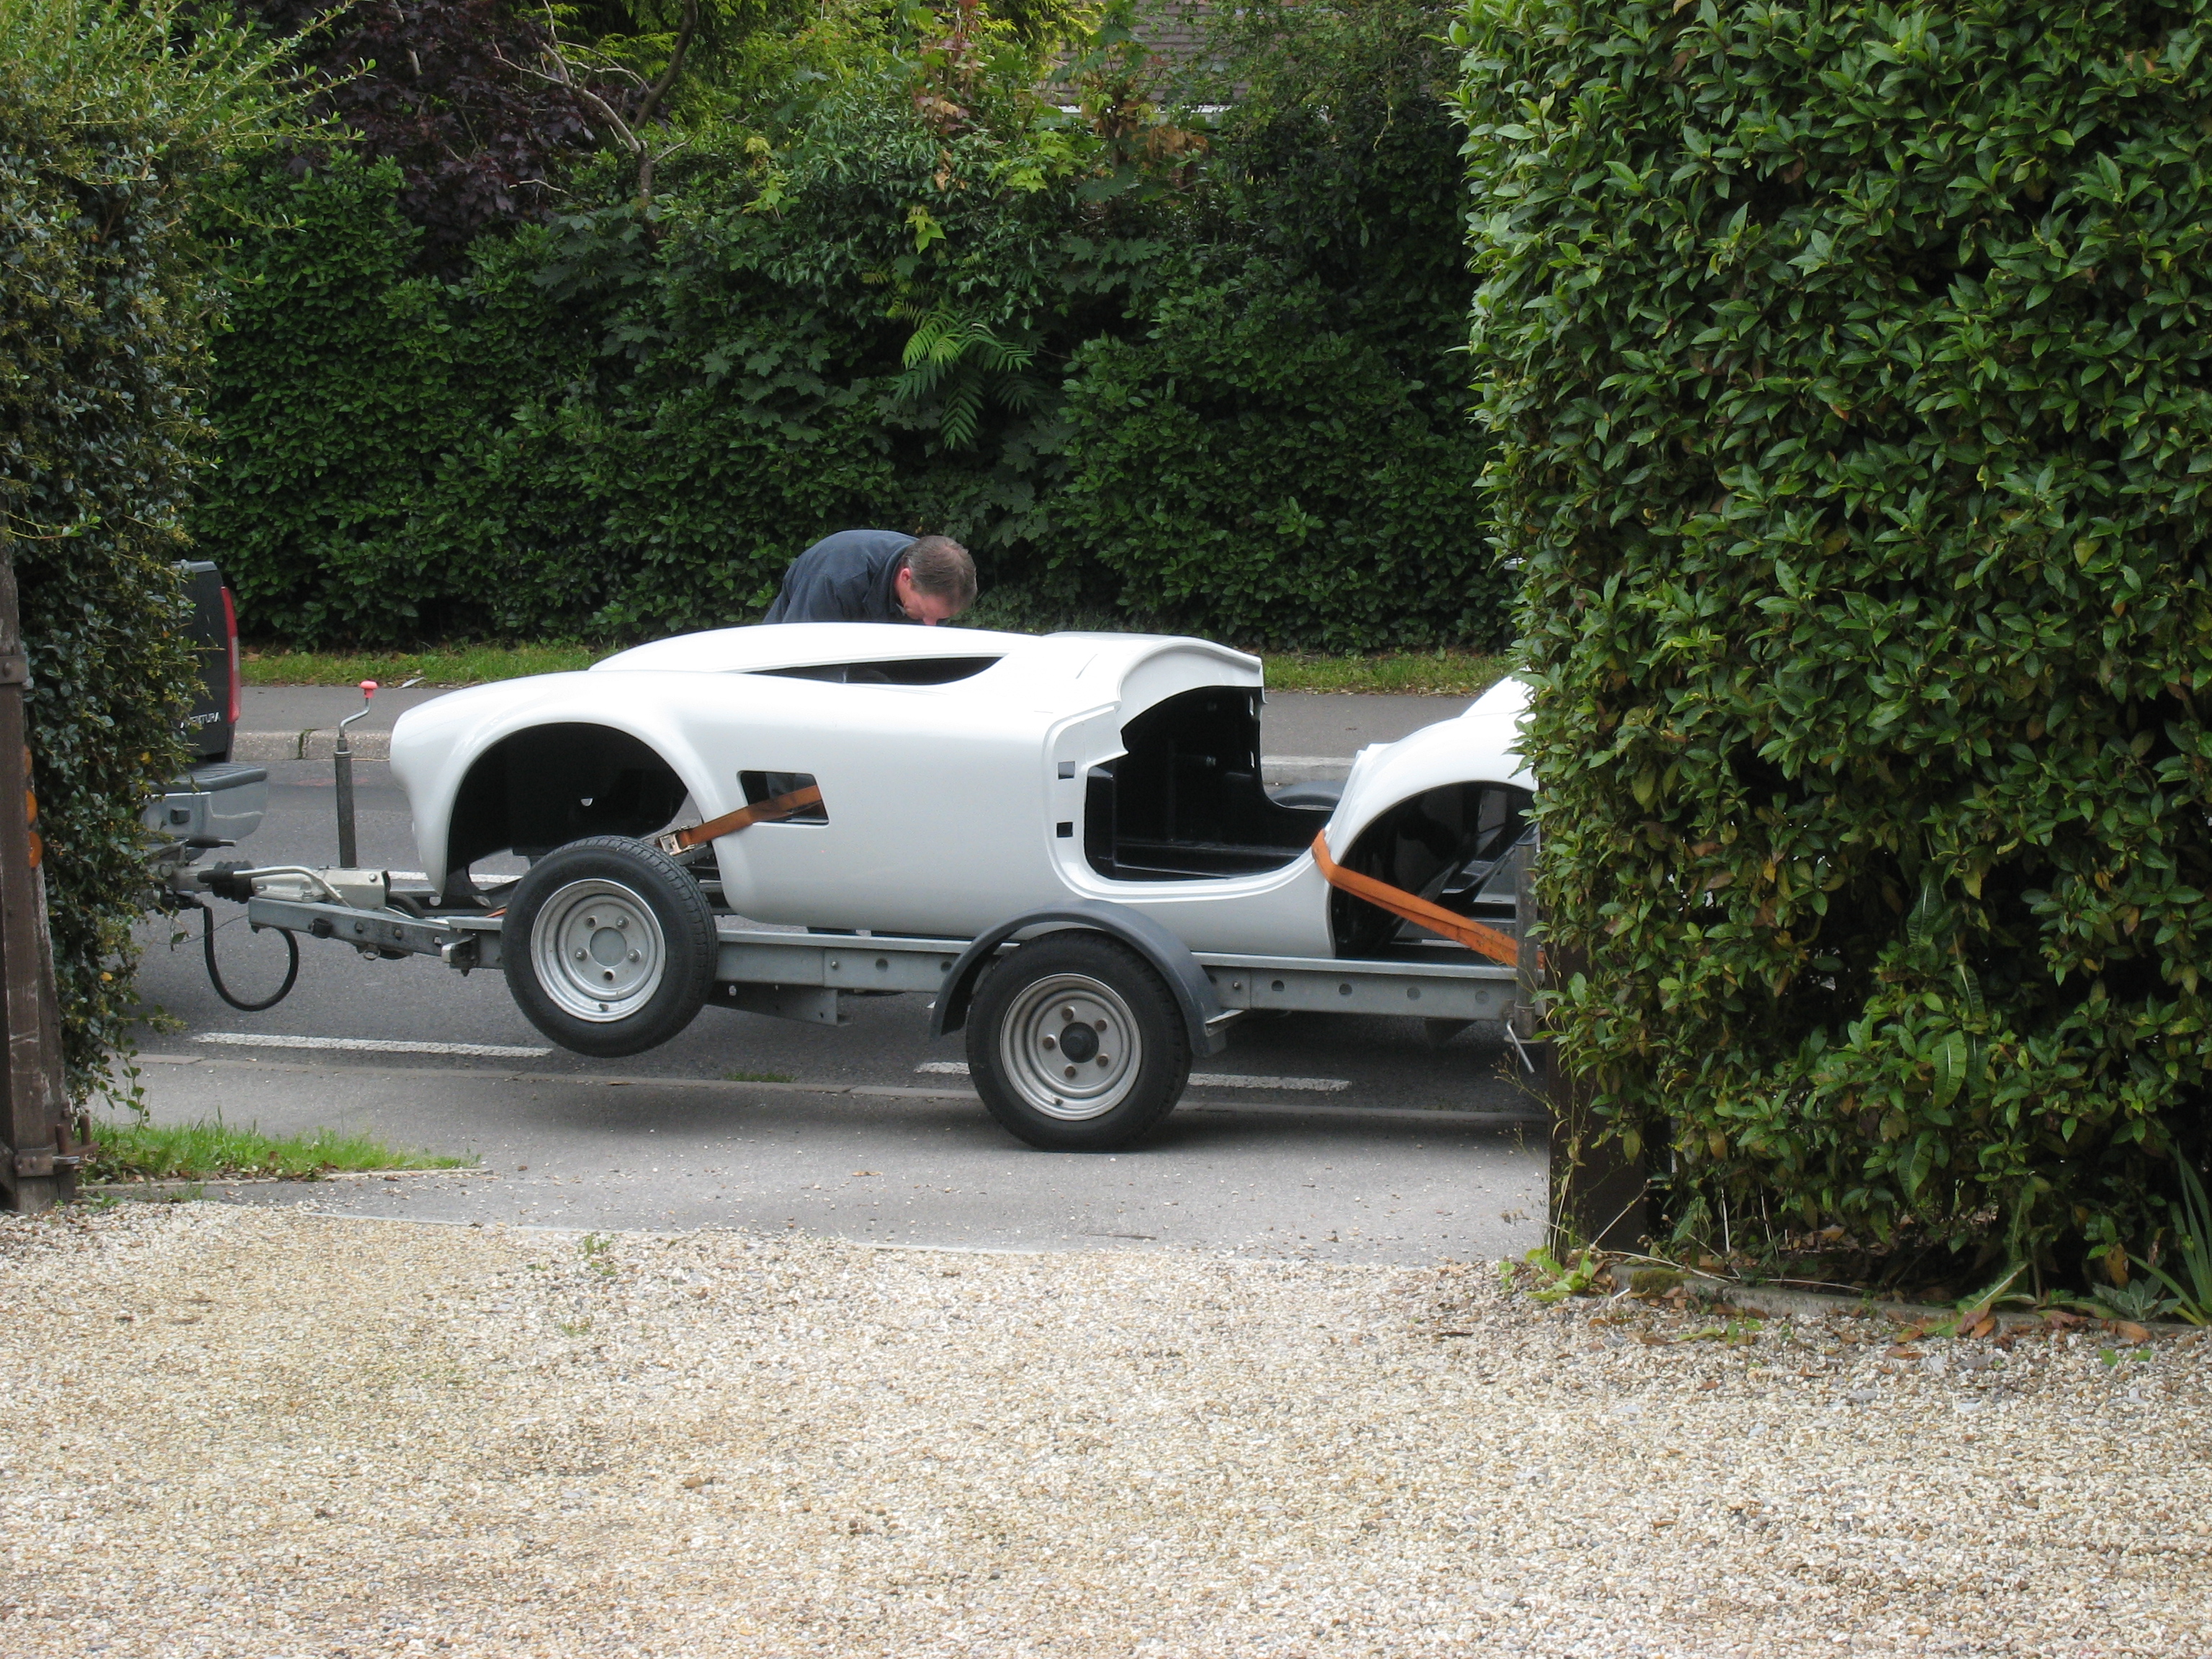
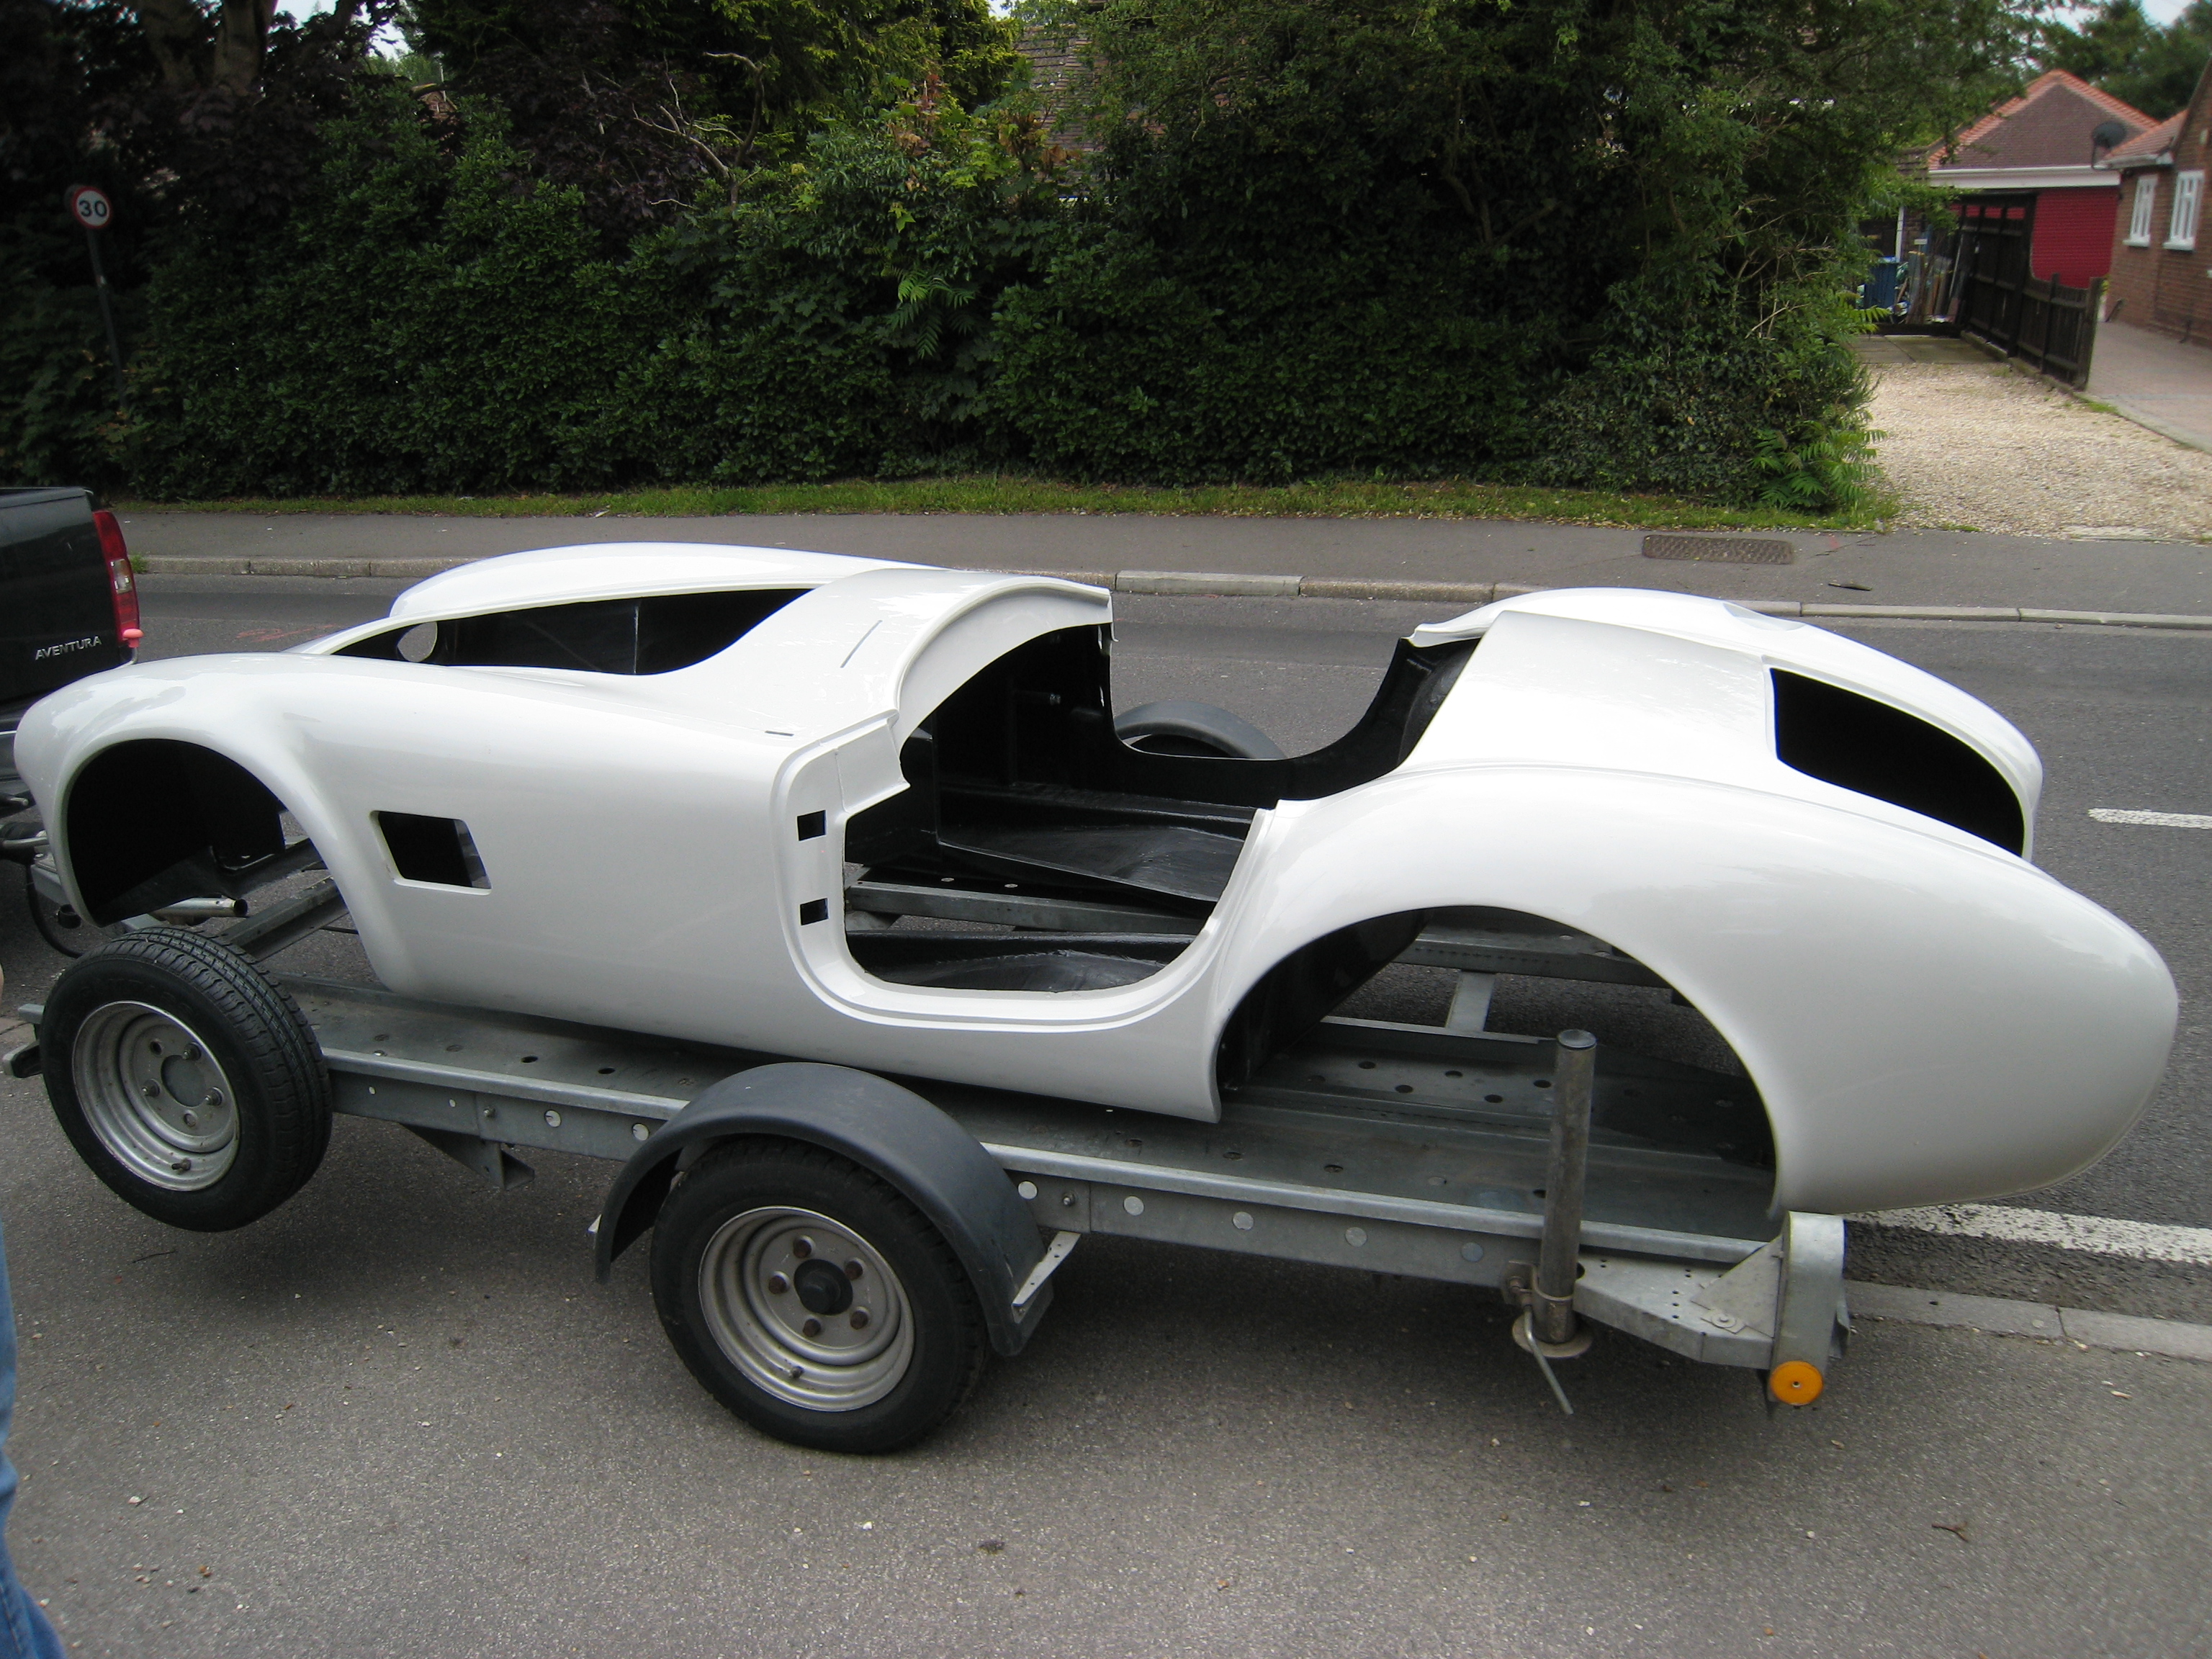
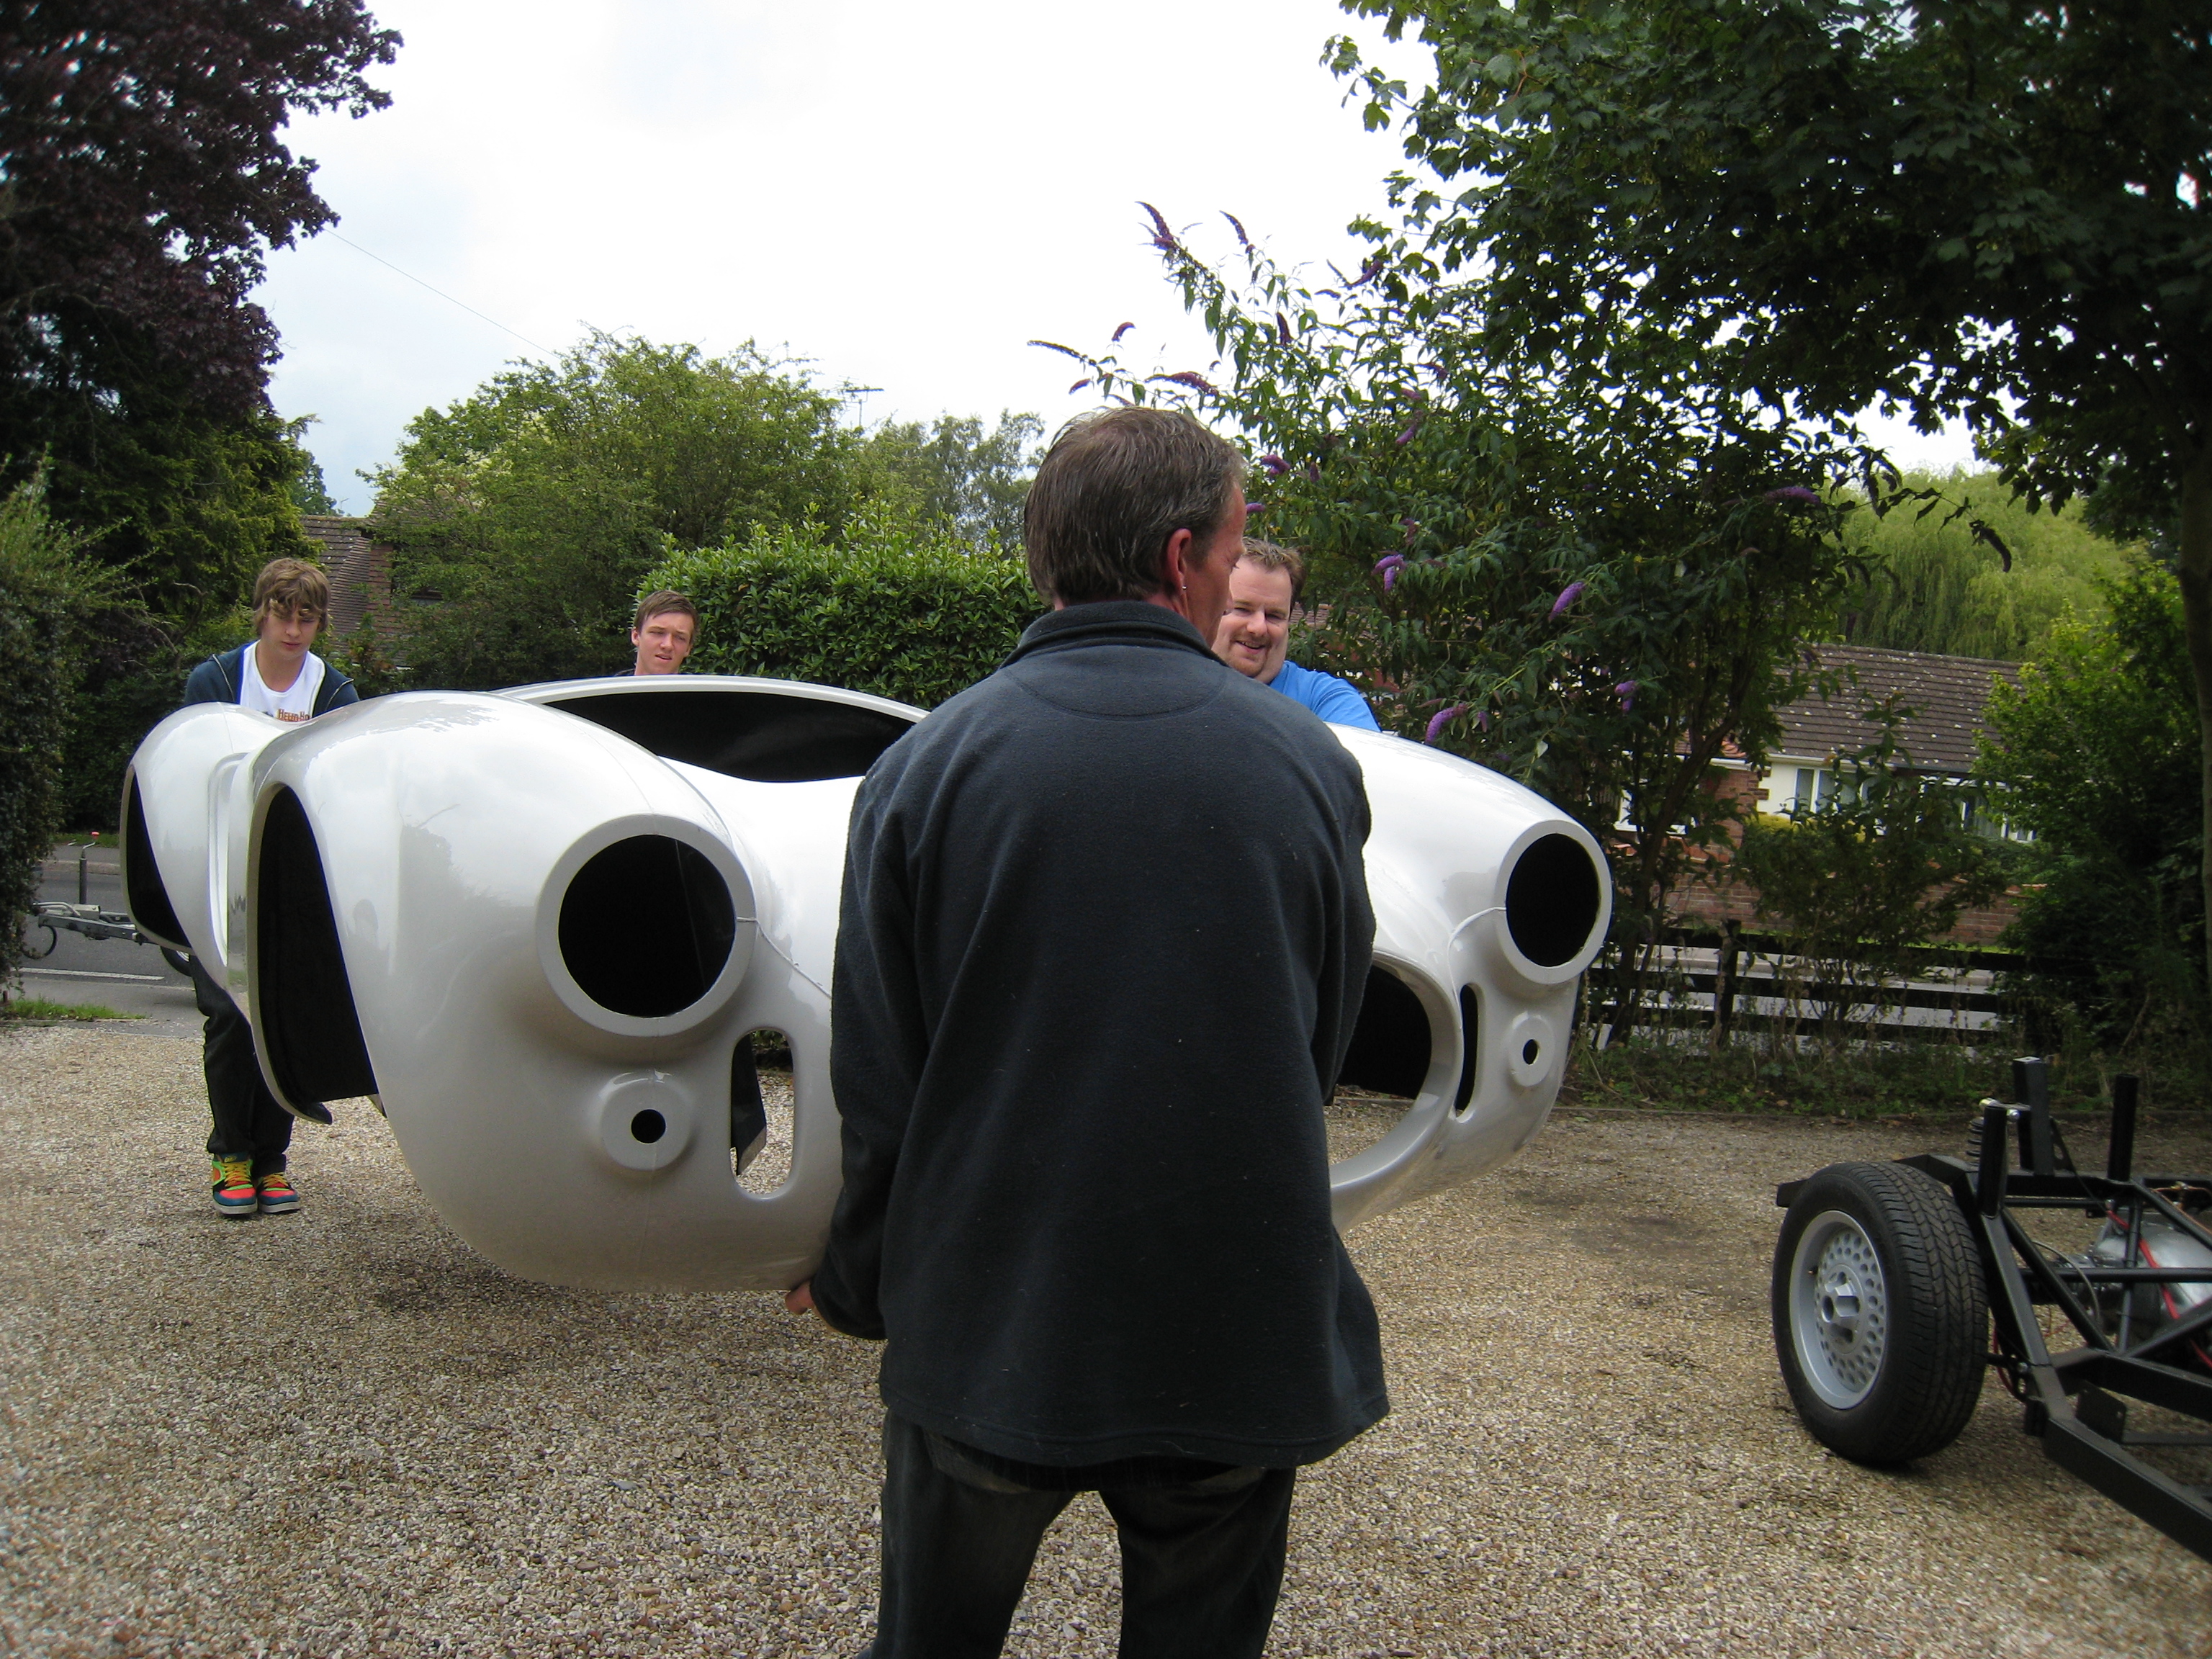
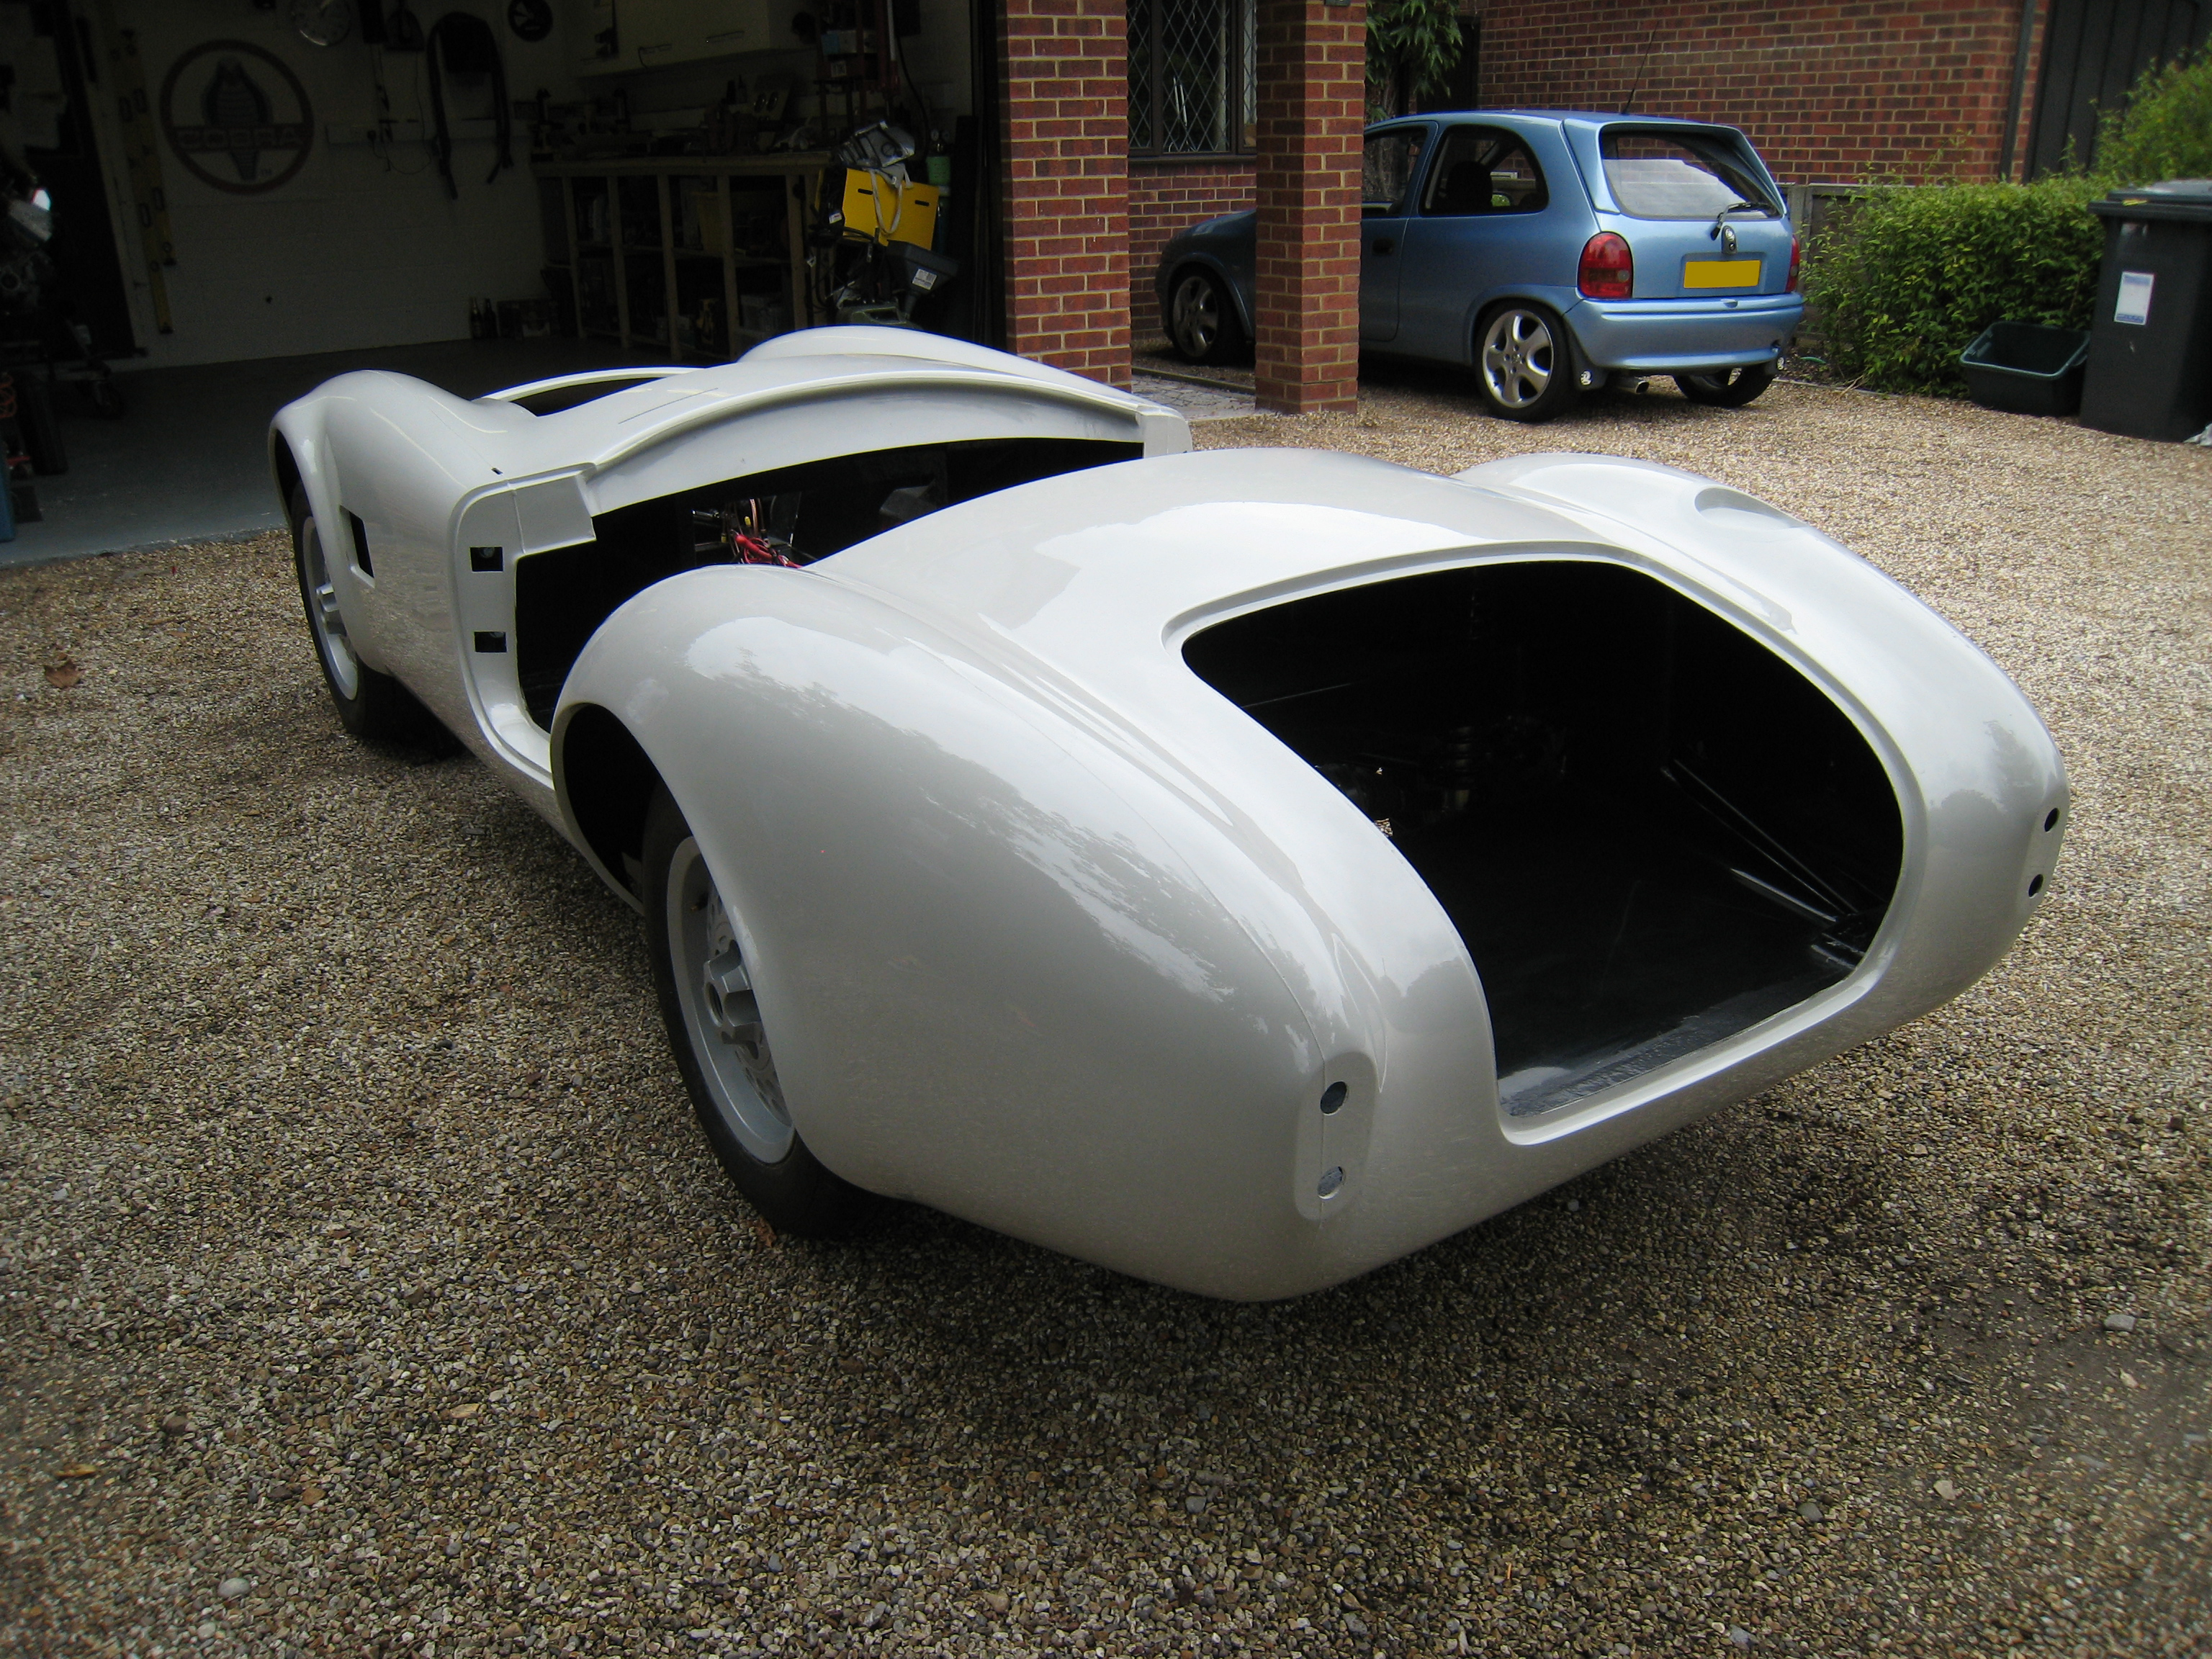
The body arrived from Dax on Thursday 21st July 2011. As can be seen from the pictures below the unloaded process took 4 of us to unload and place straight onto the chassis, as this is the best place to store the body.
Craig arrives with the body in tow.
A very careful procedure of hooking the noise over the chassis and lowering the back end down.
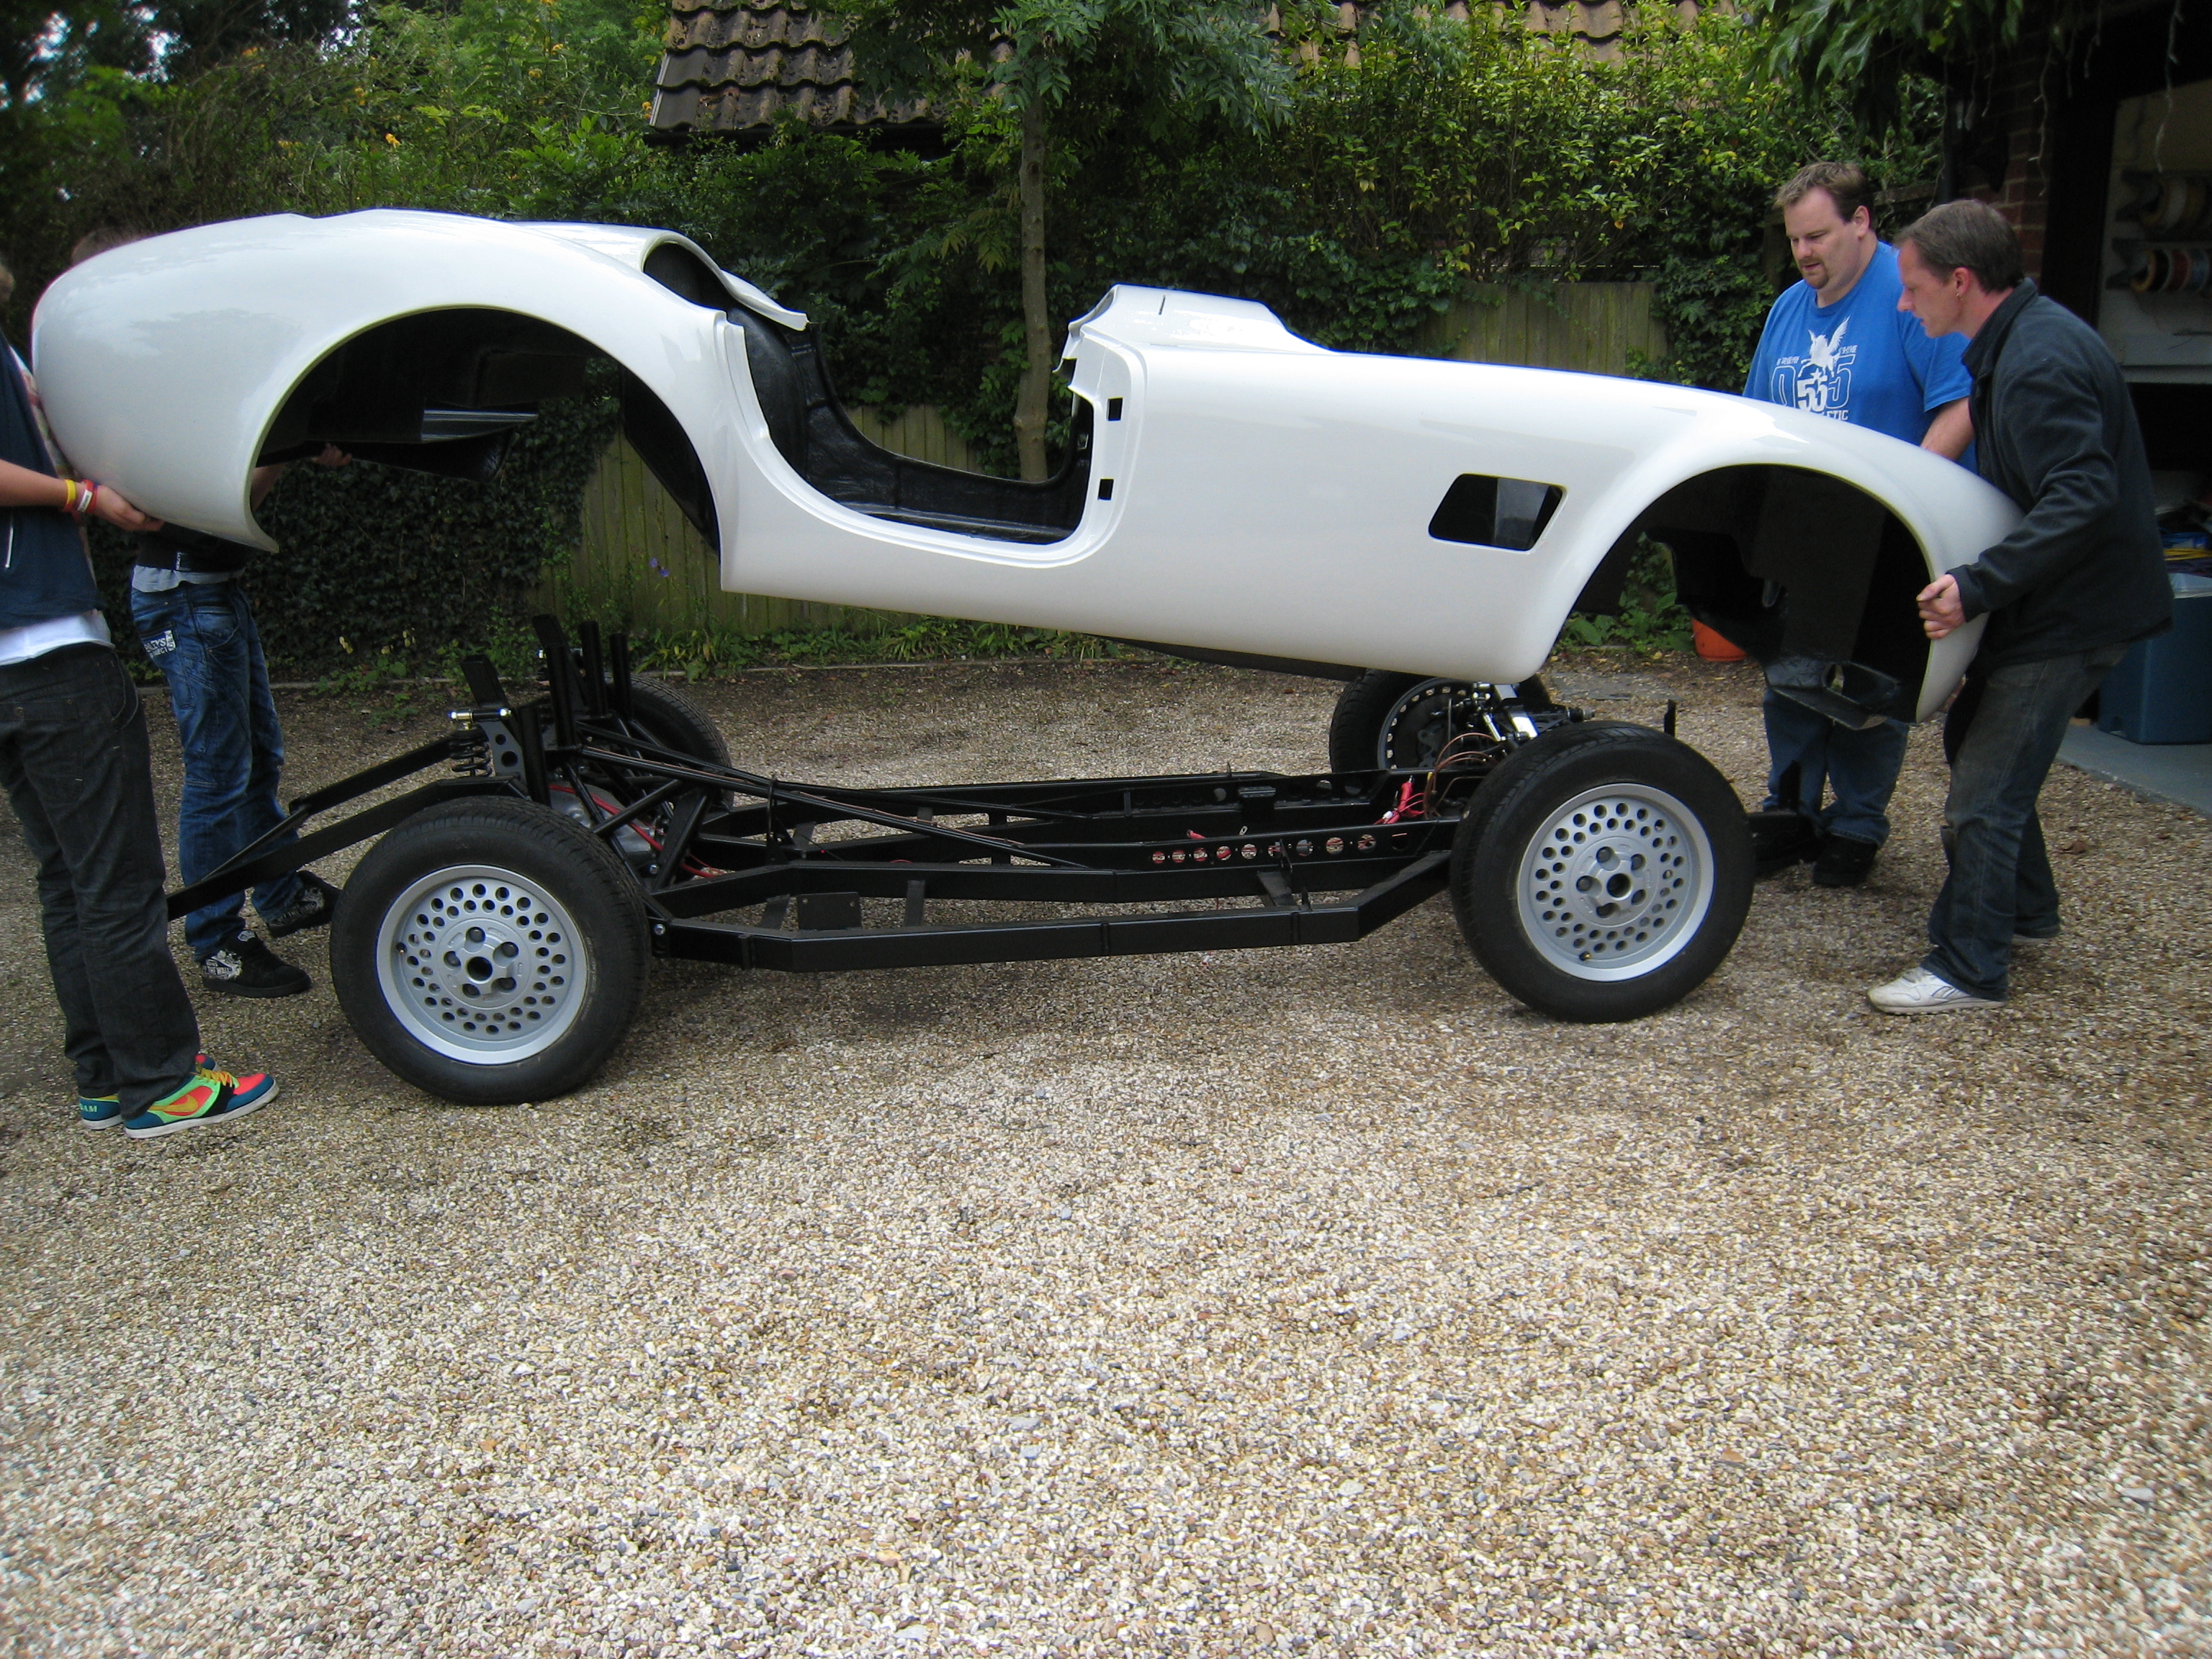

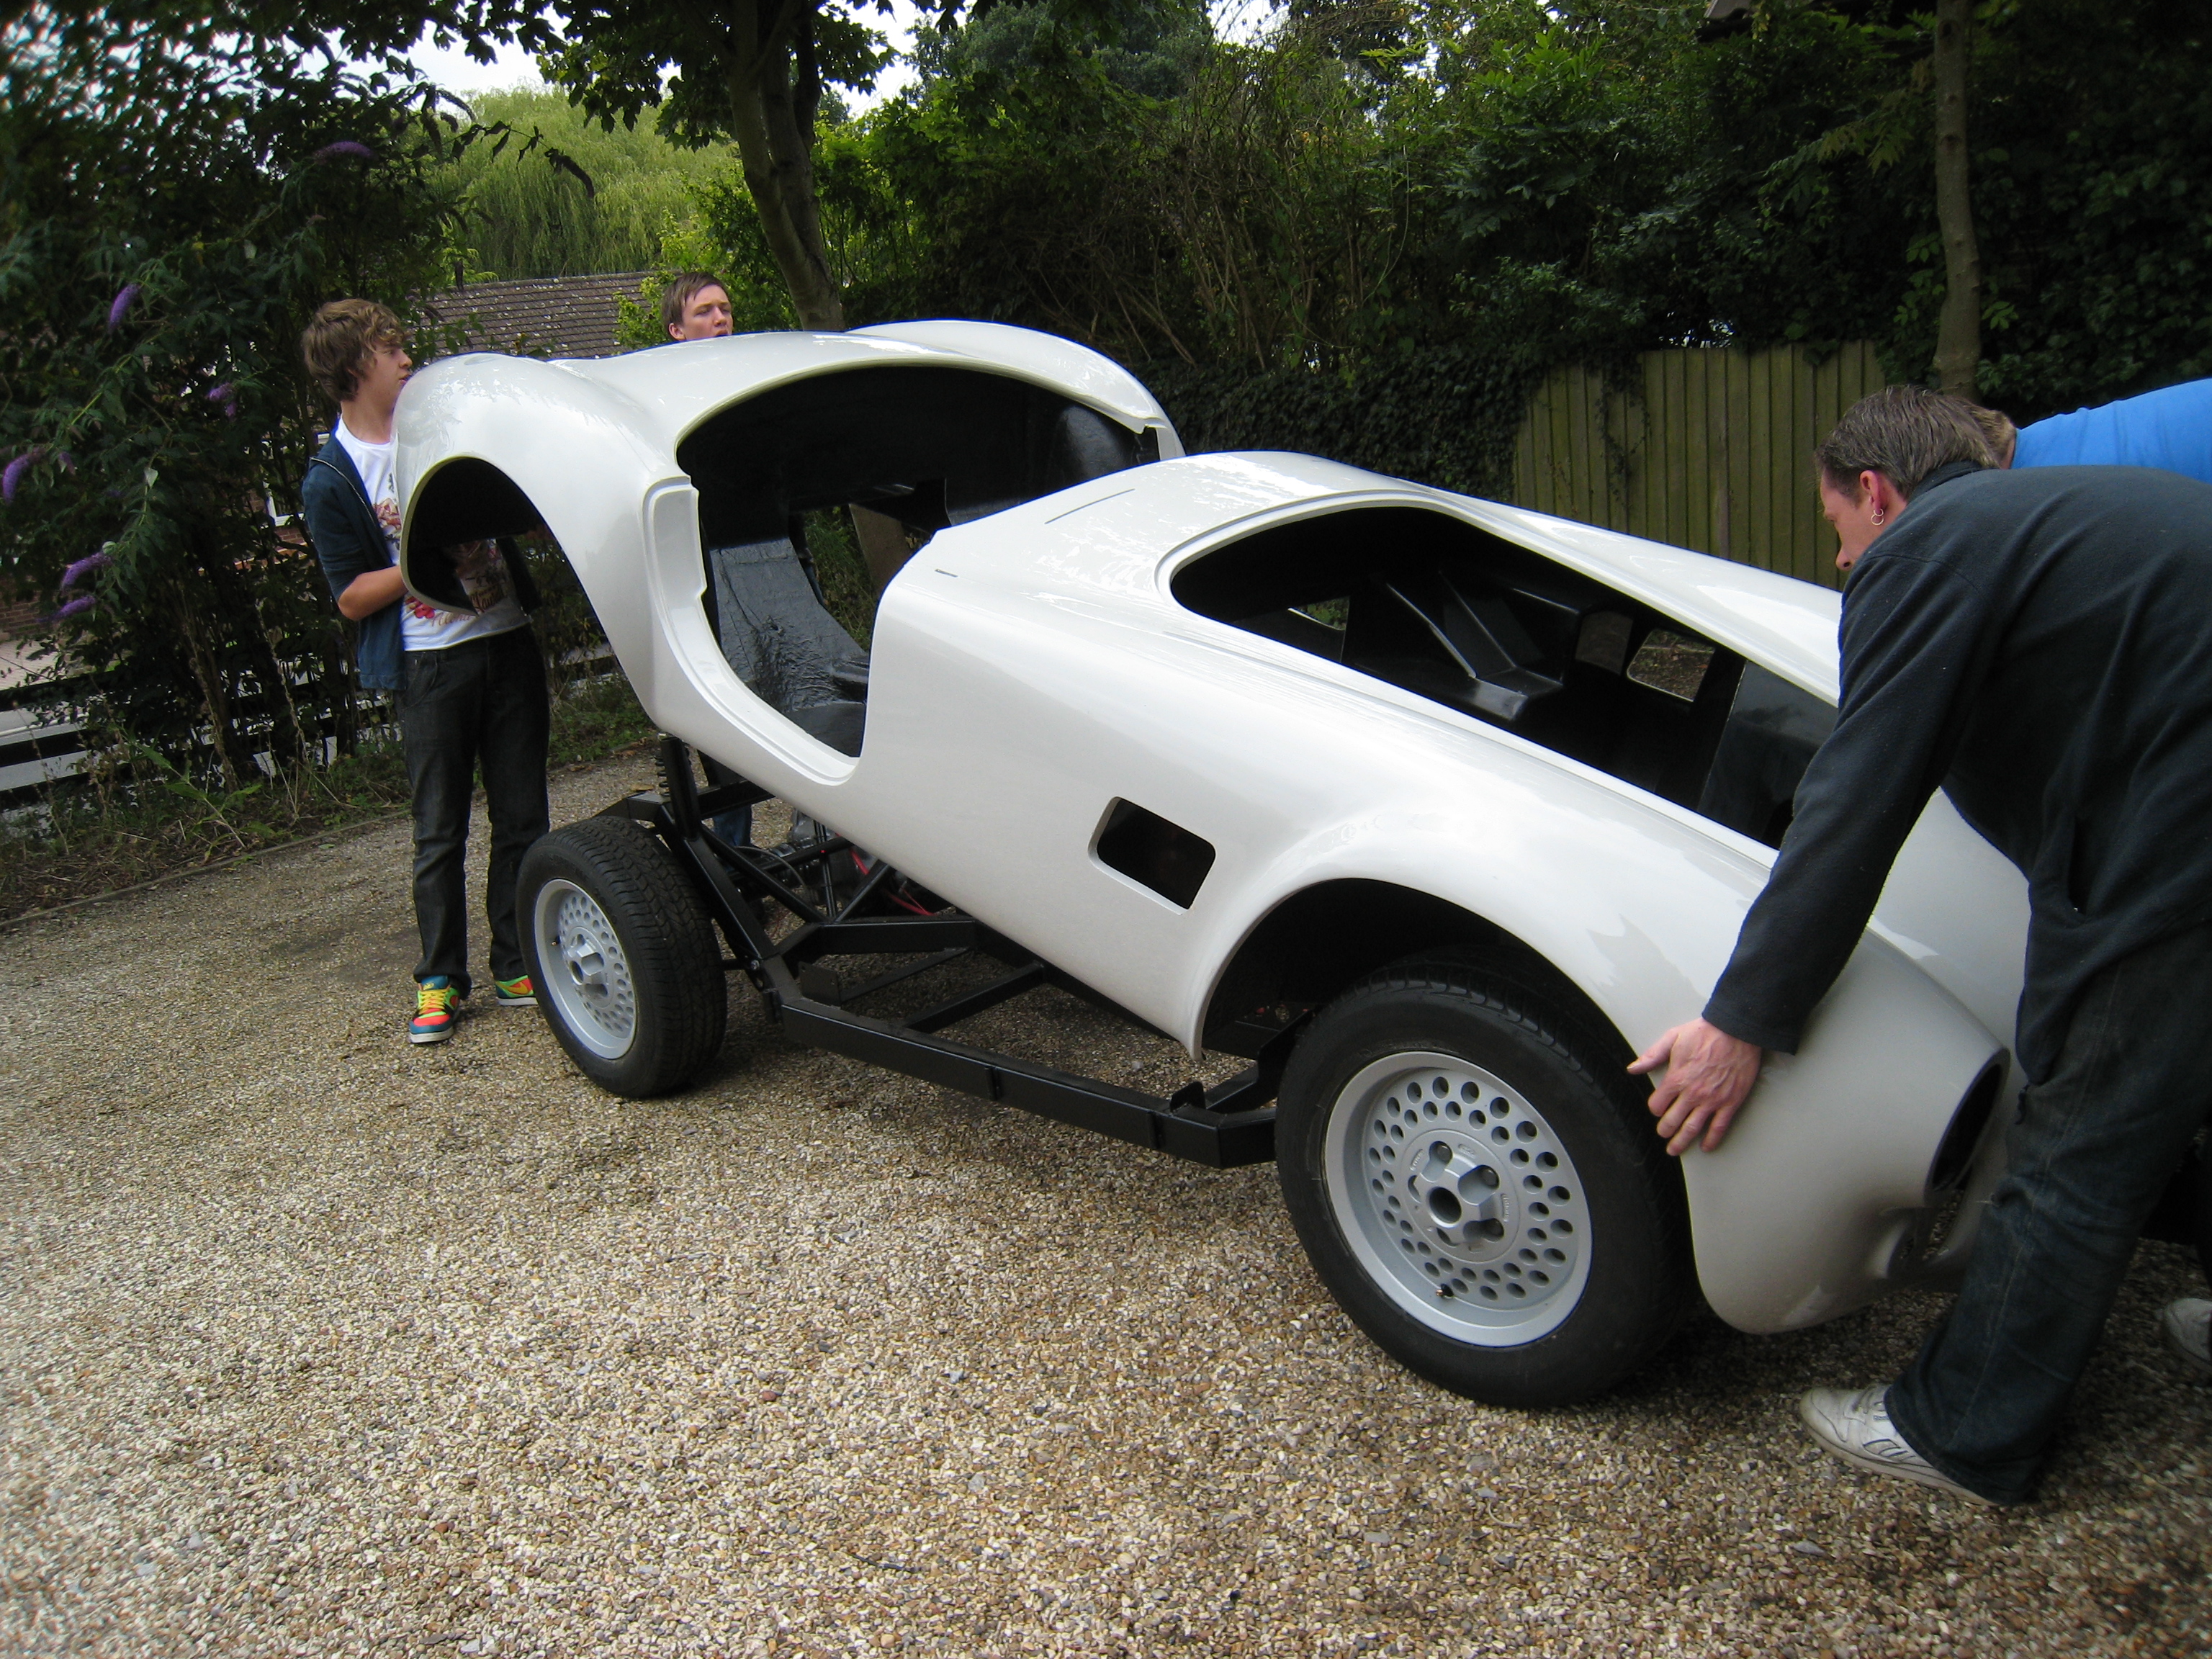
Bit of a wiggle side to side and down it sits on the chassis, starting to actually look like a car now, but I'm really not too
sure about those Jaguar wheels ;-)


Garage now starting to look and feel a little smaller than before !
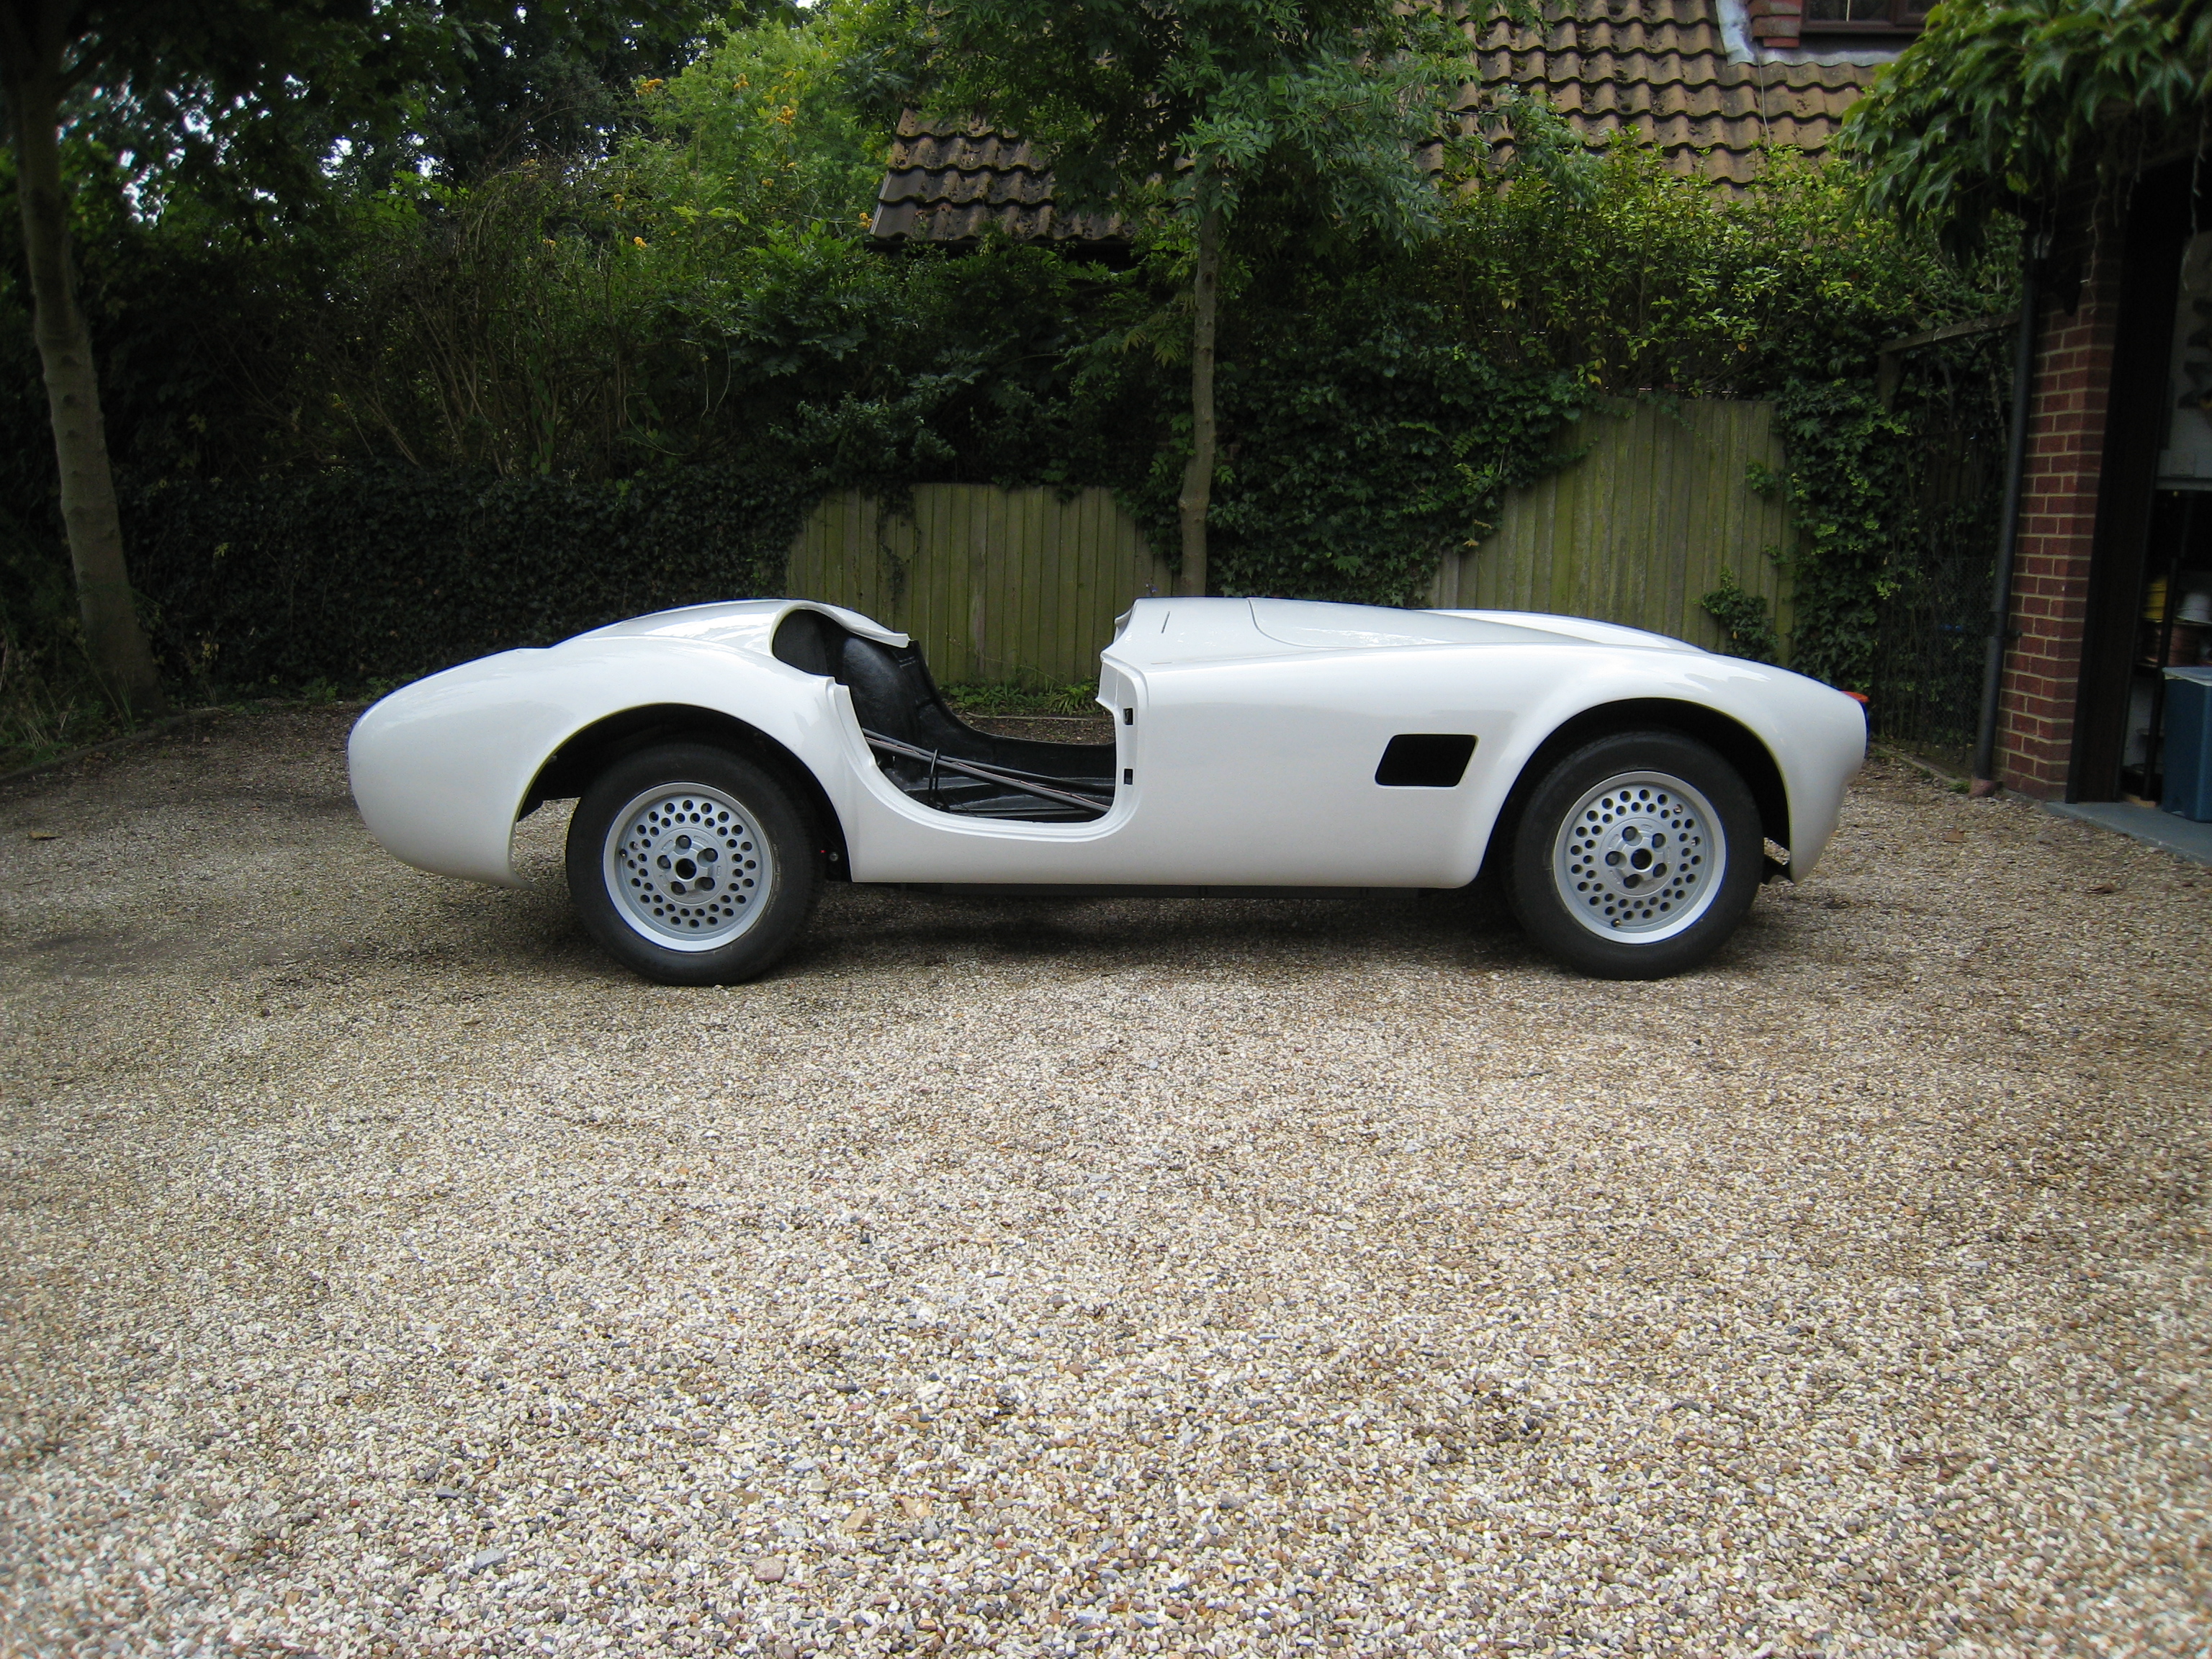
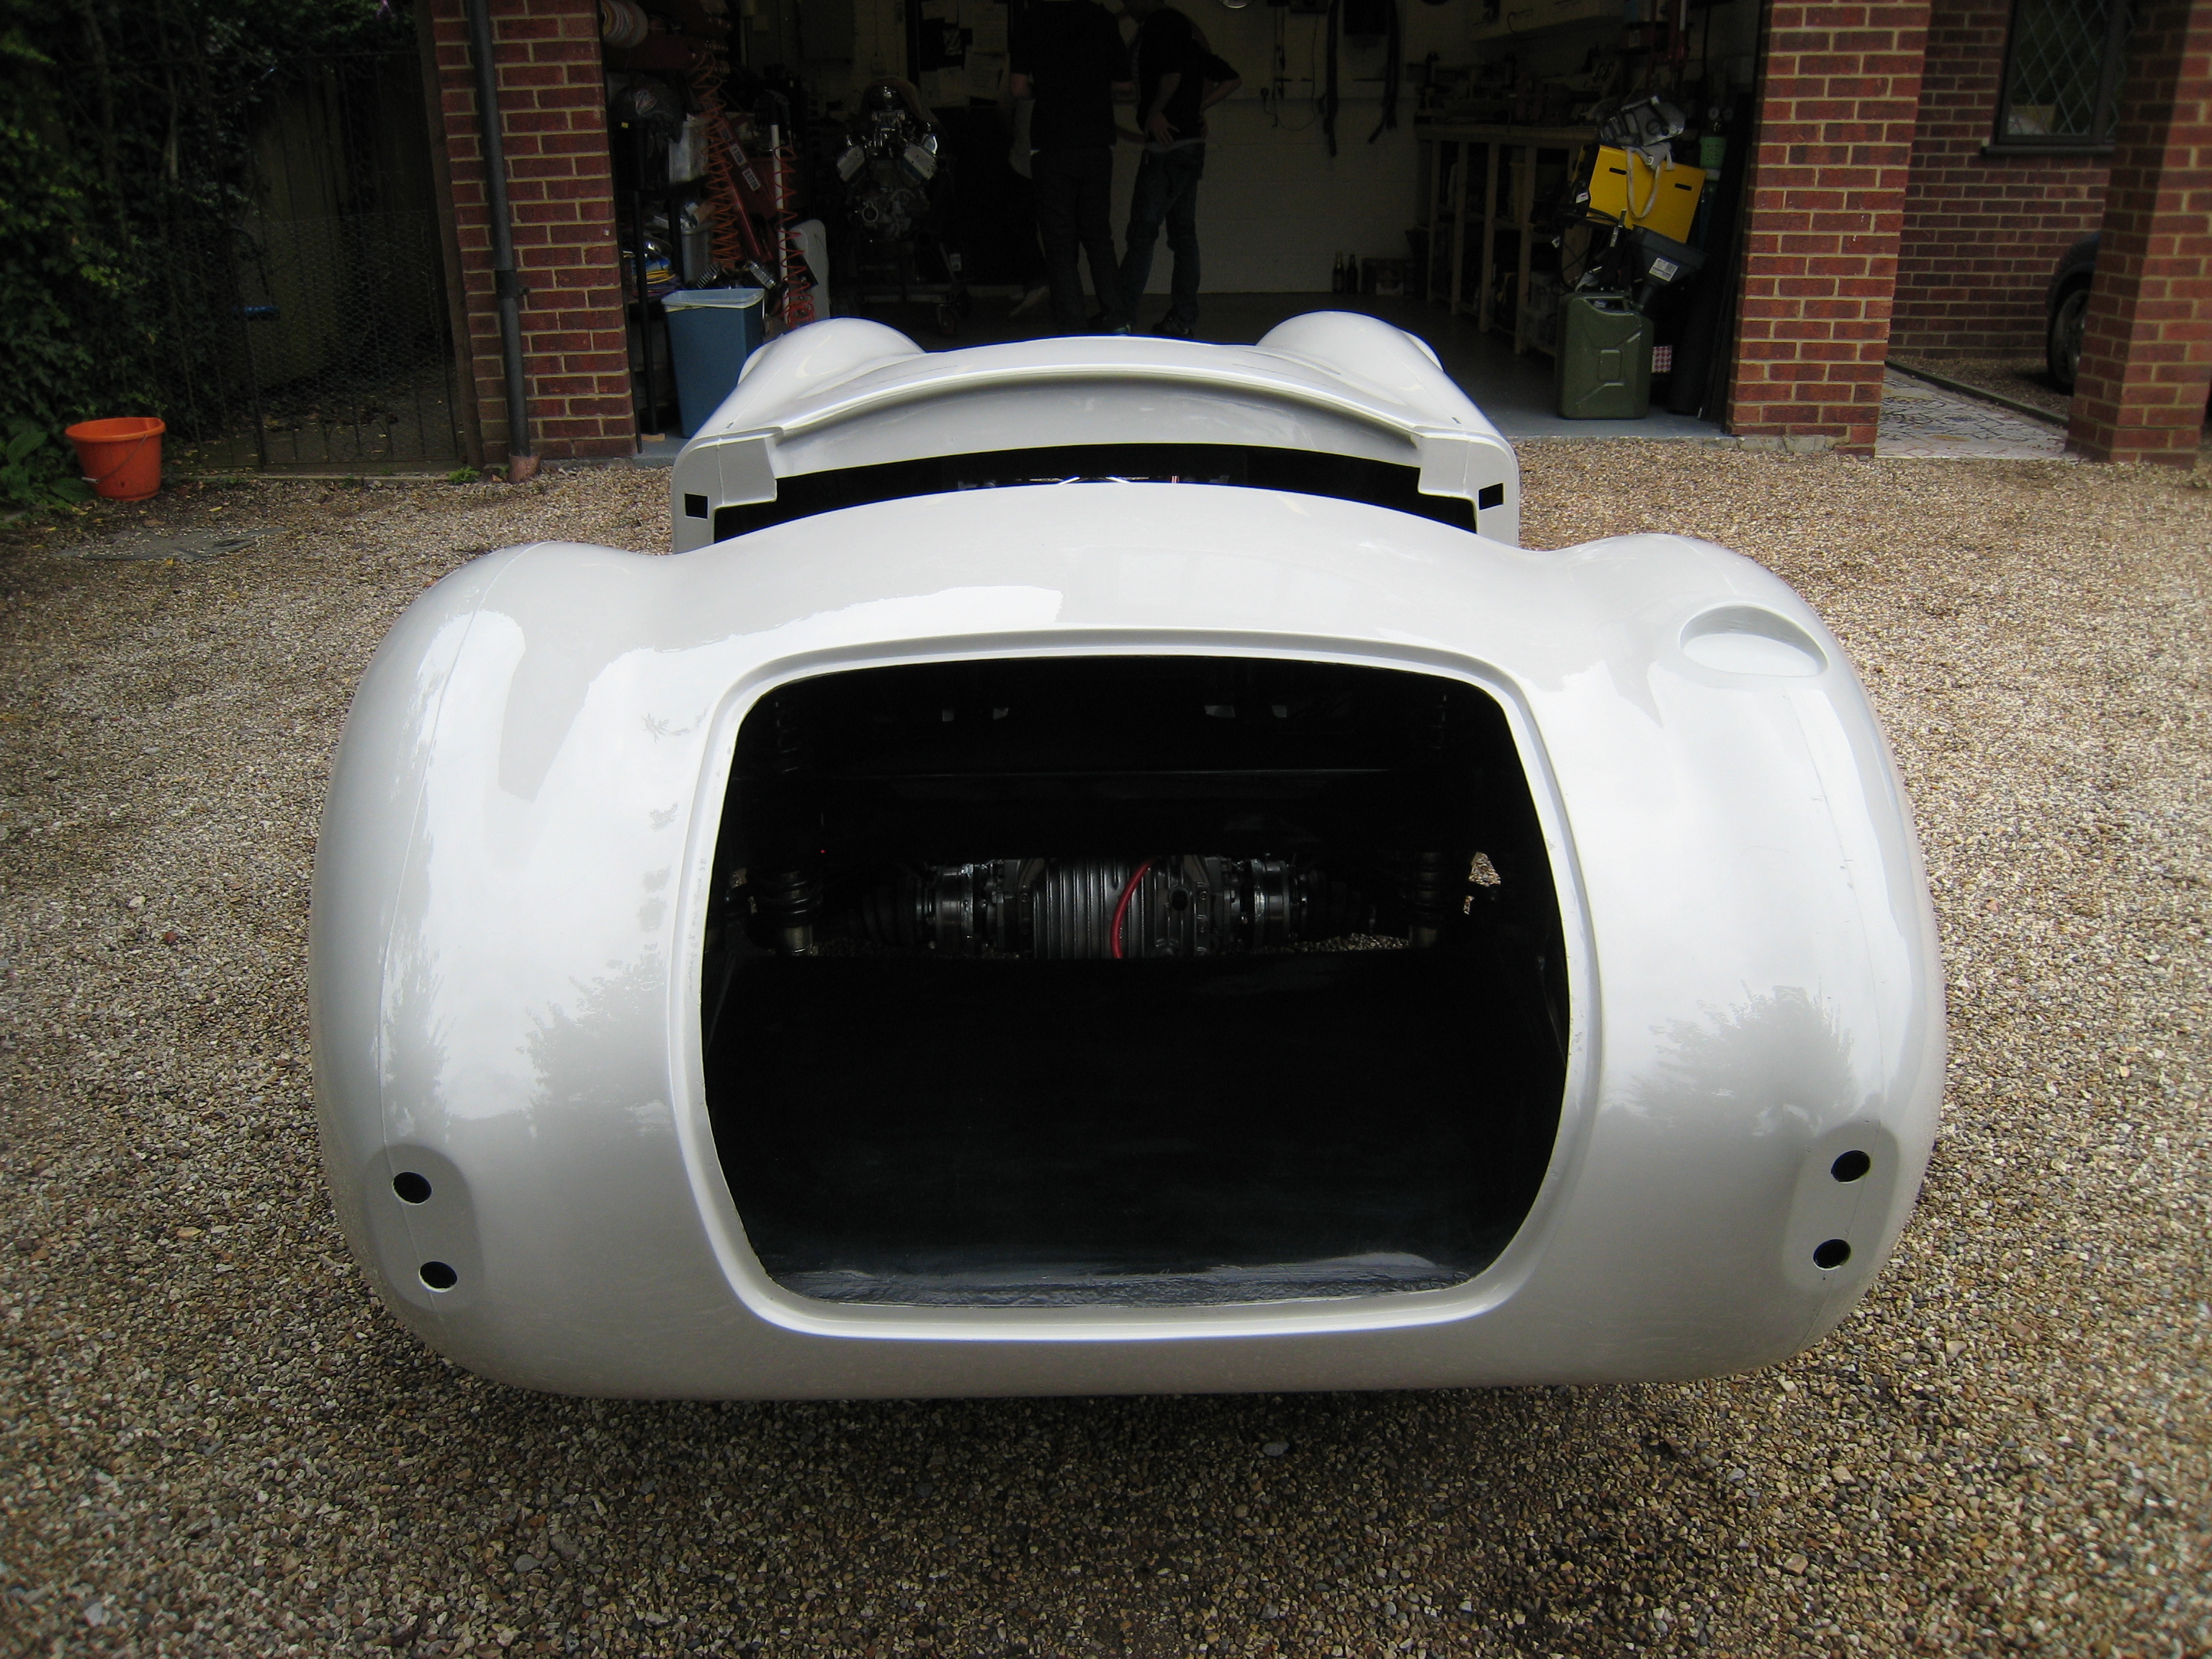
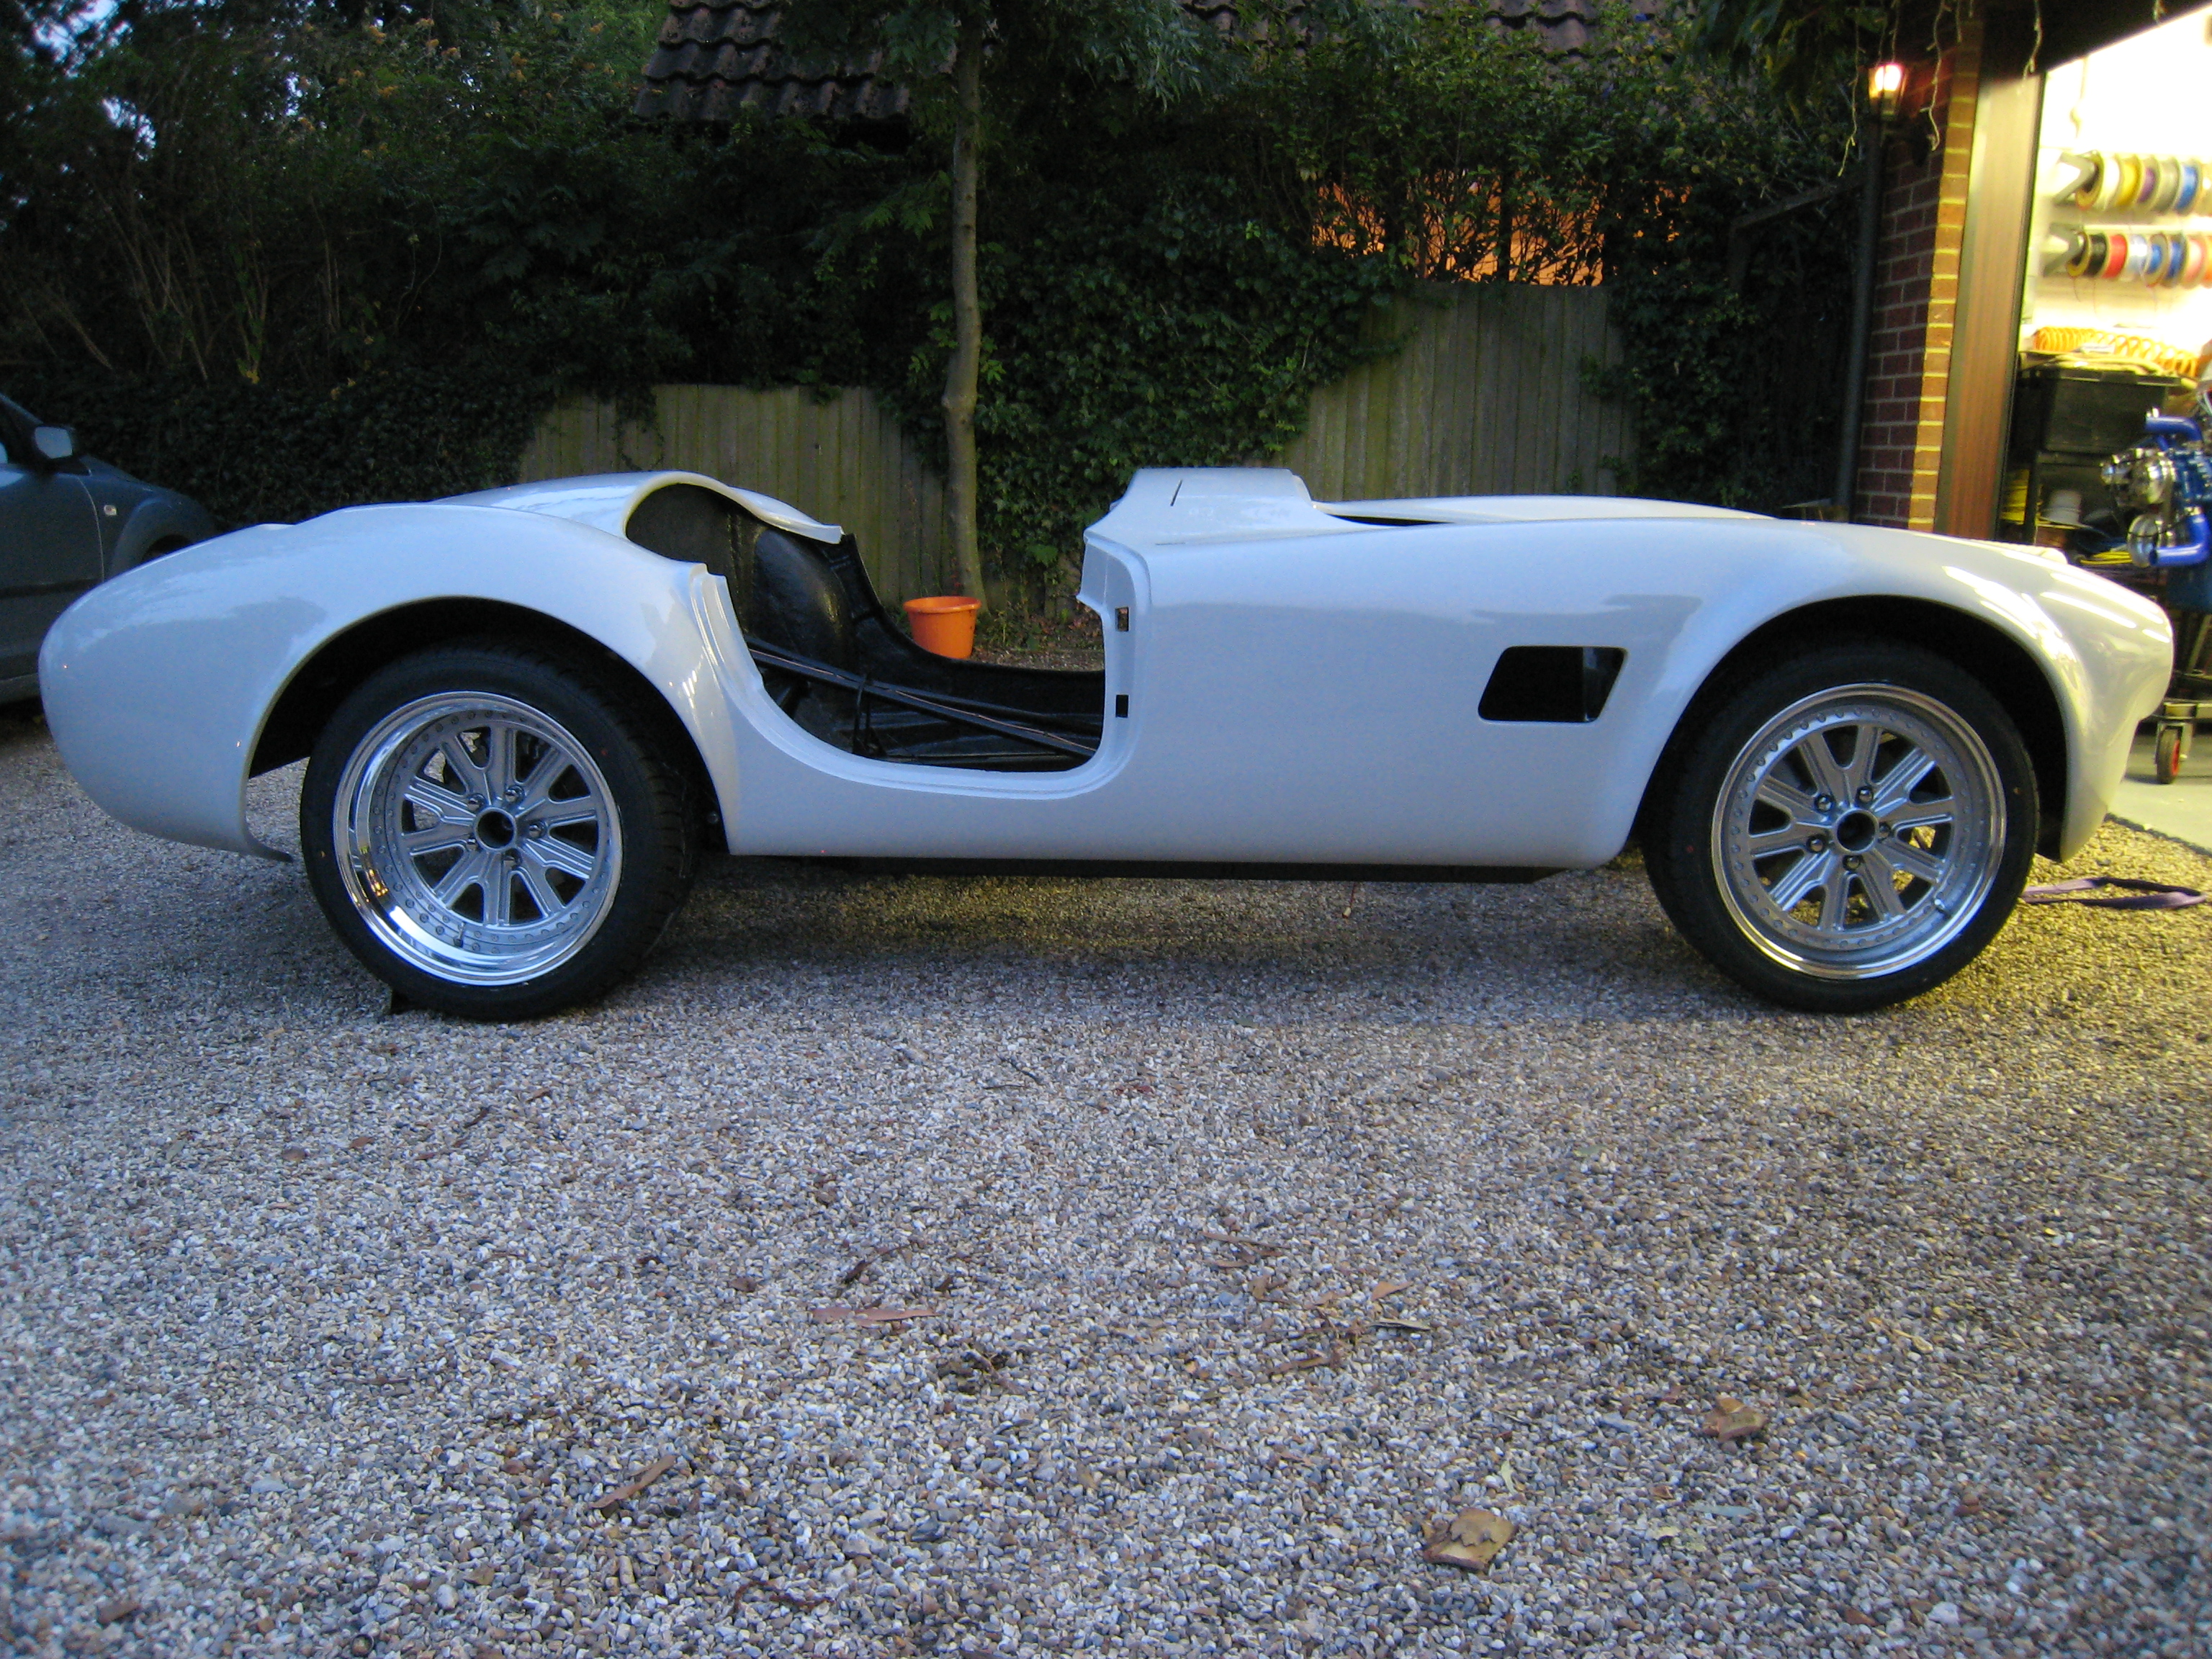
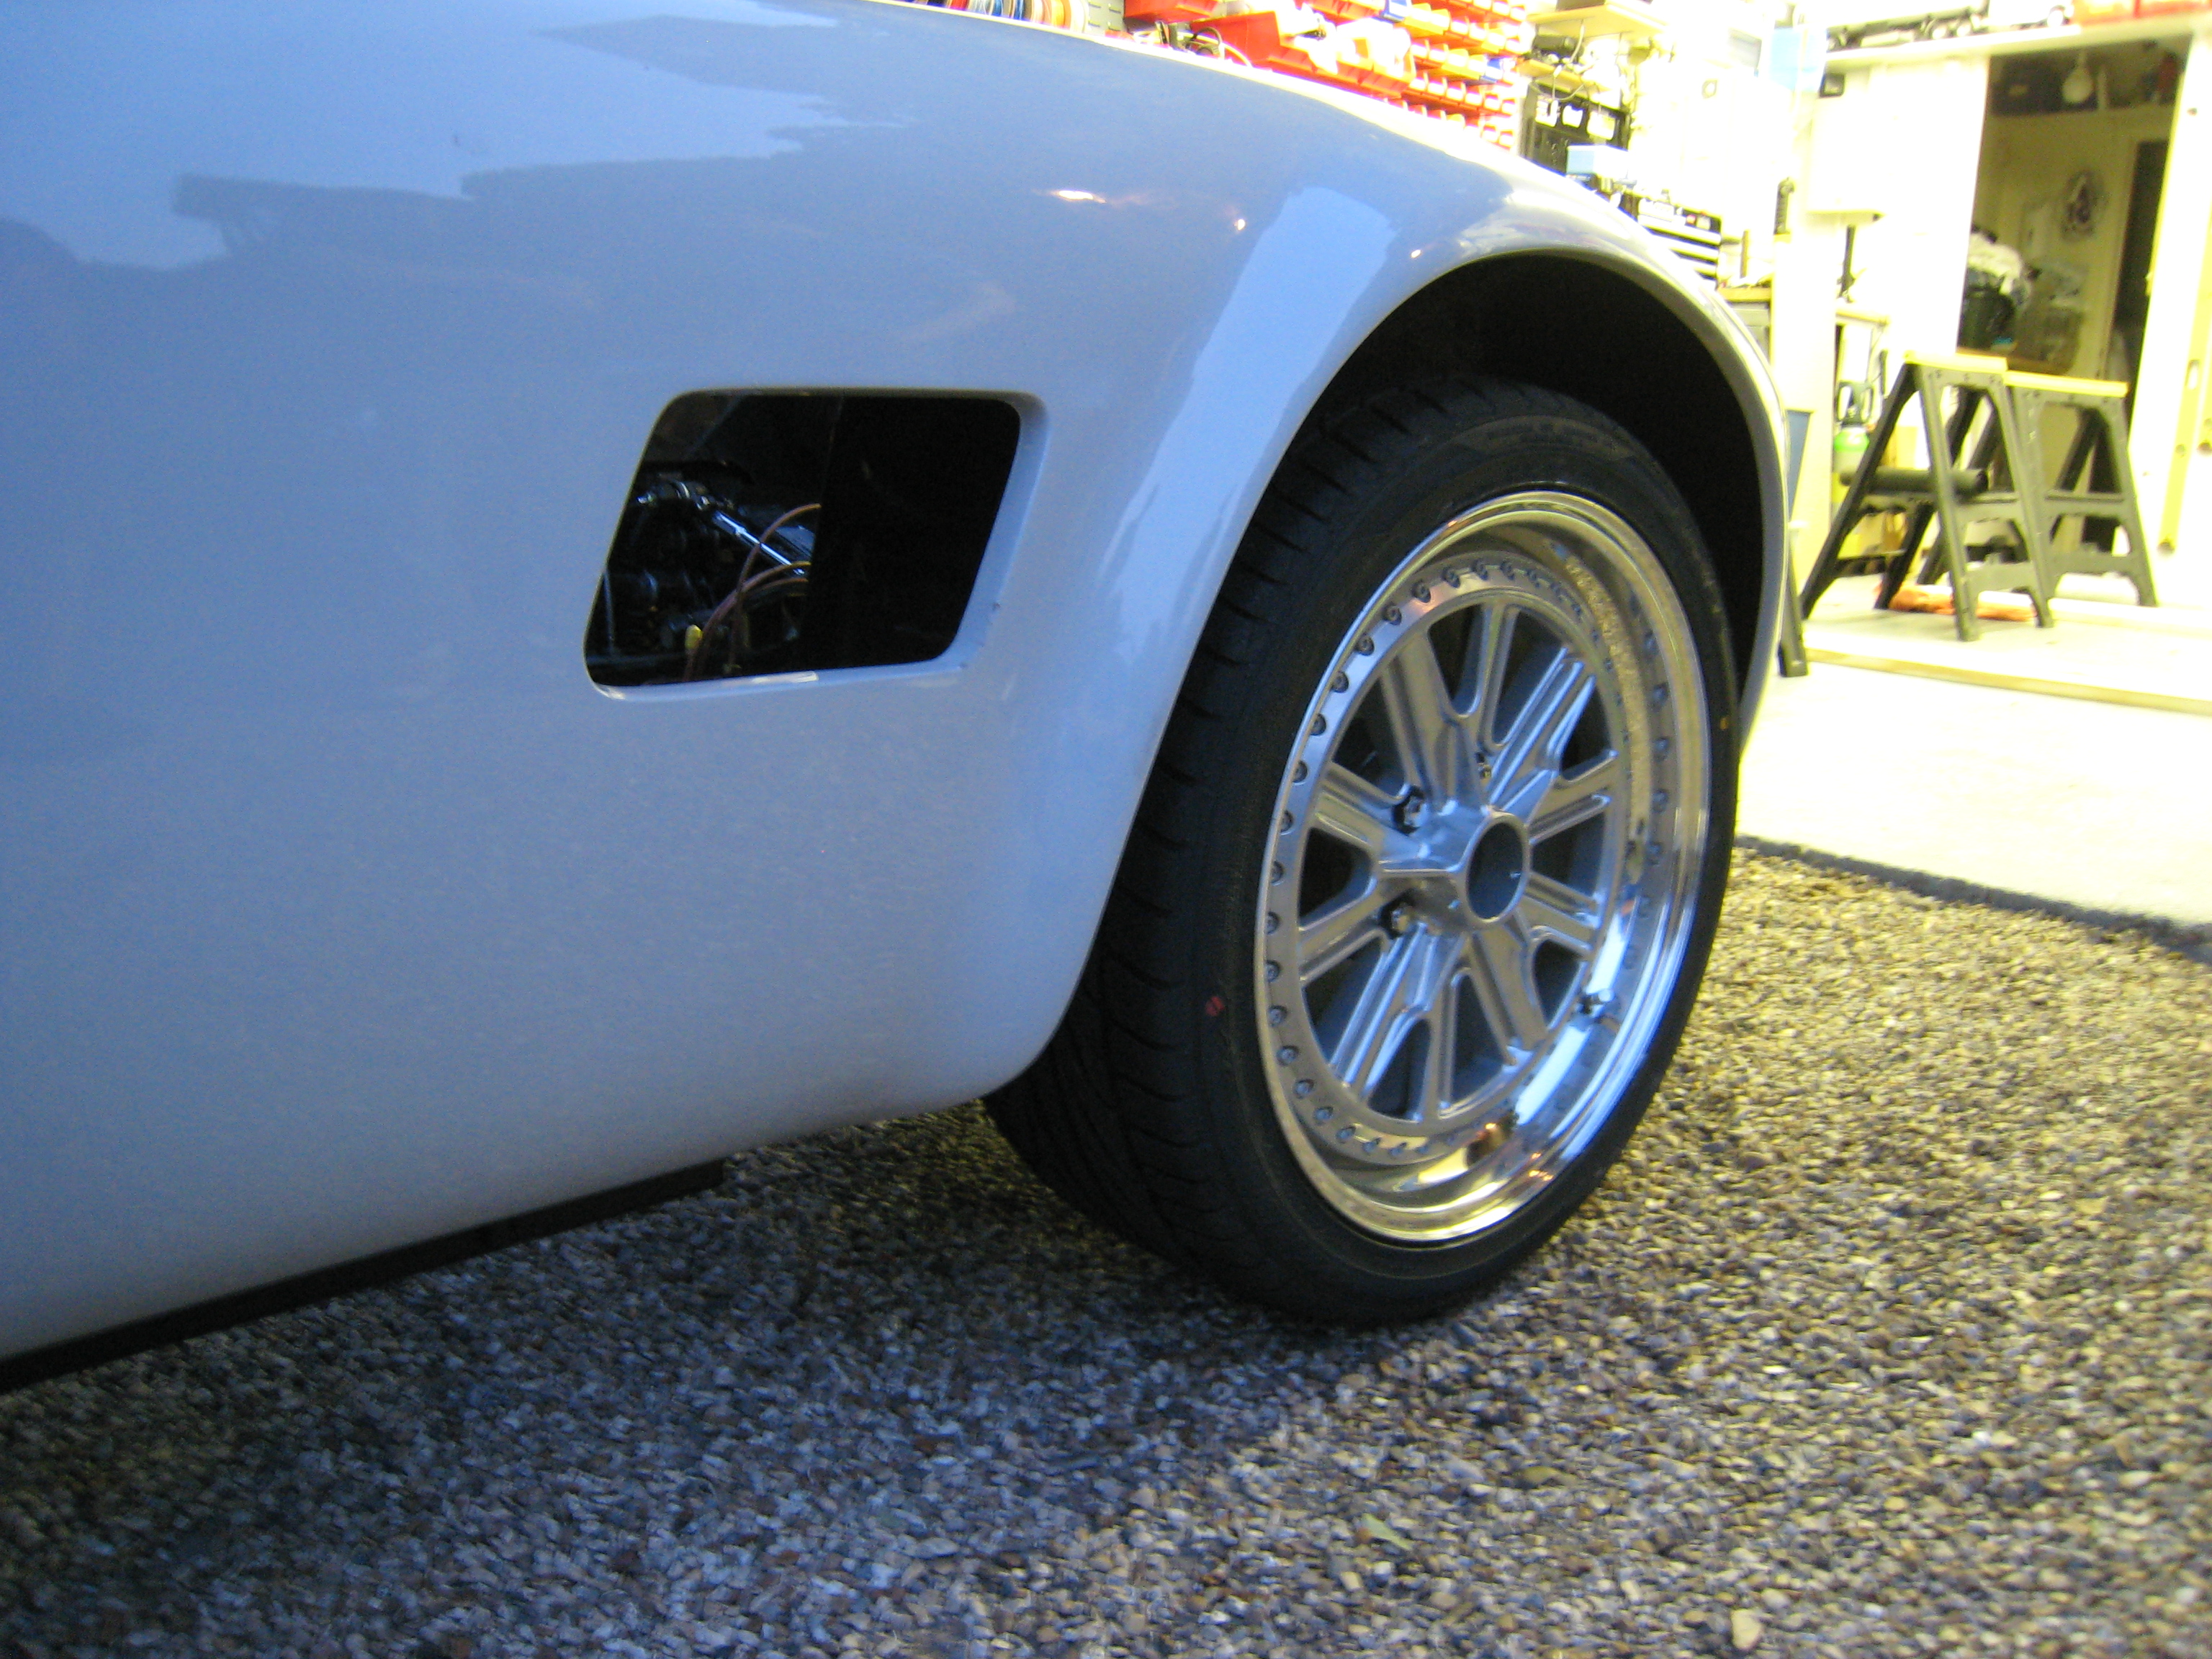
Wheels arrived from Image and instantly make the body look good. Its riding a little high but
then it is still missing the massive V8 up front.
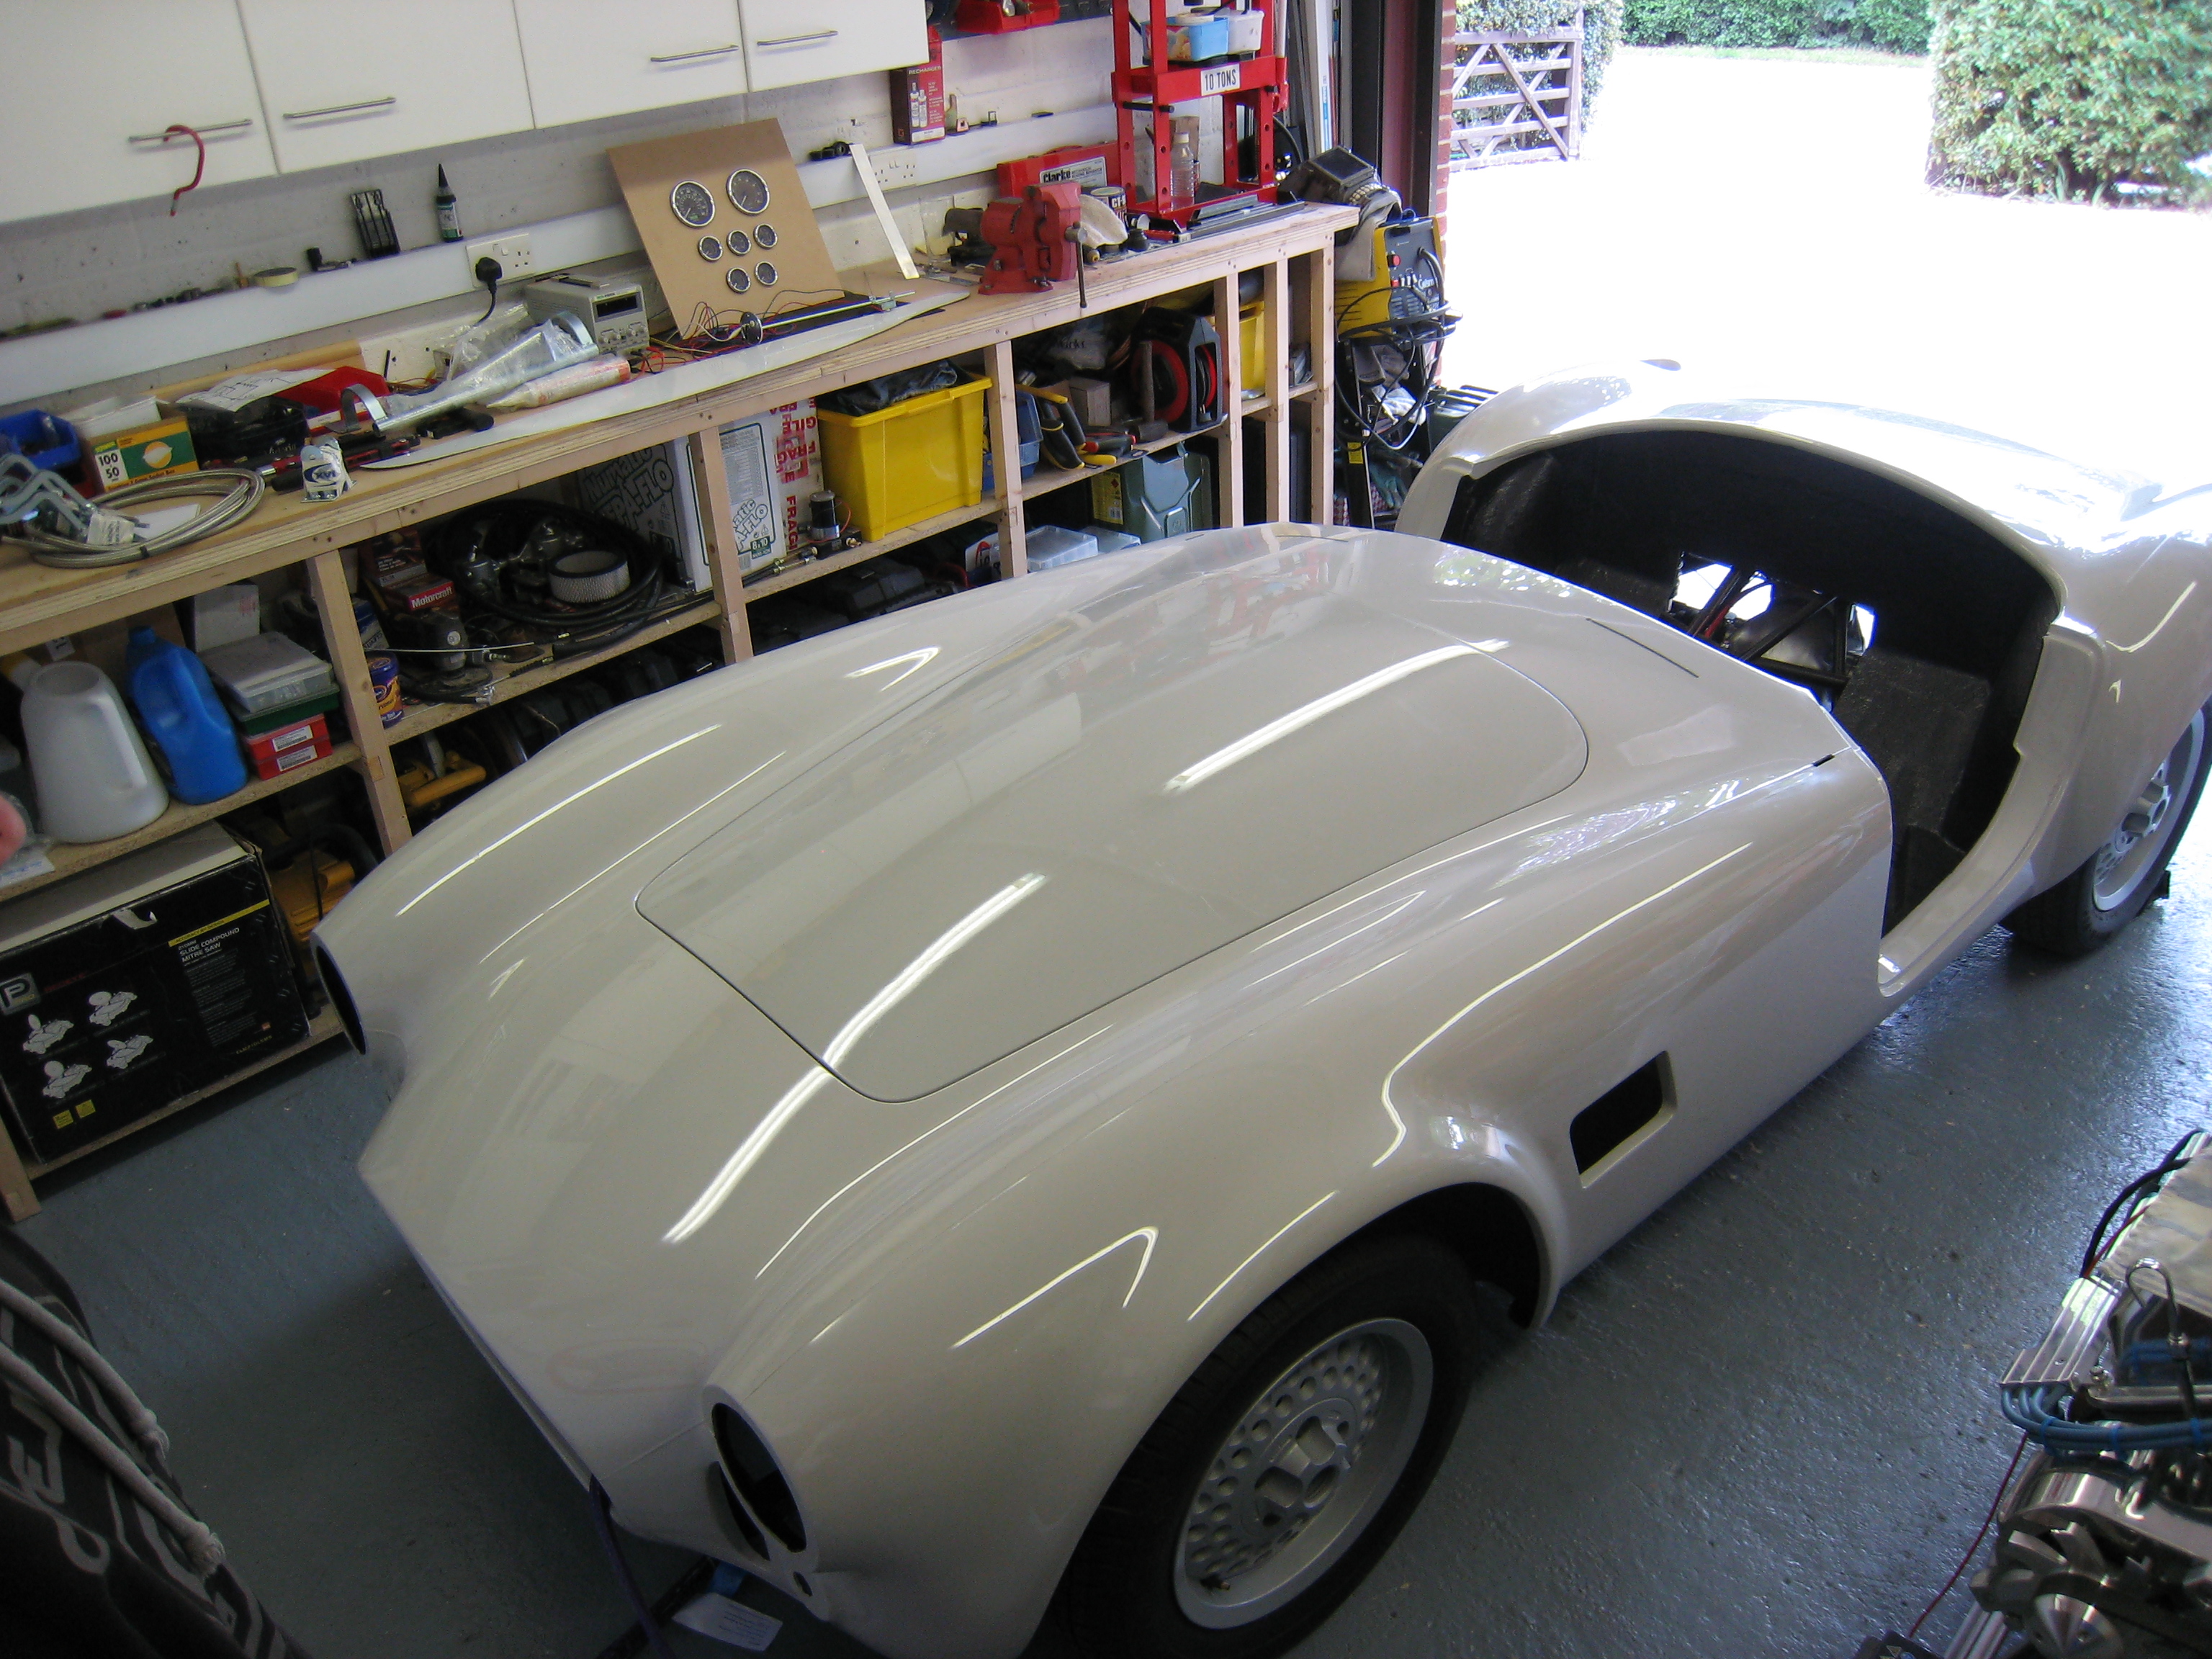
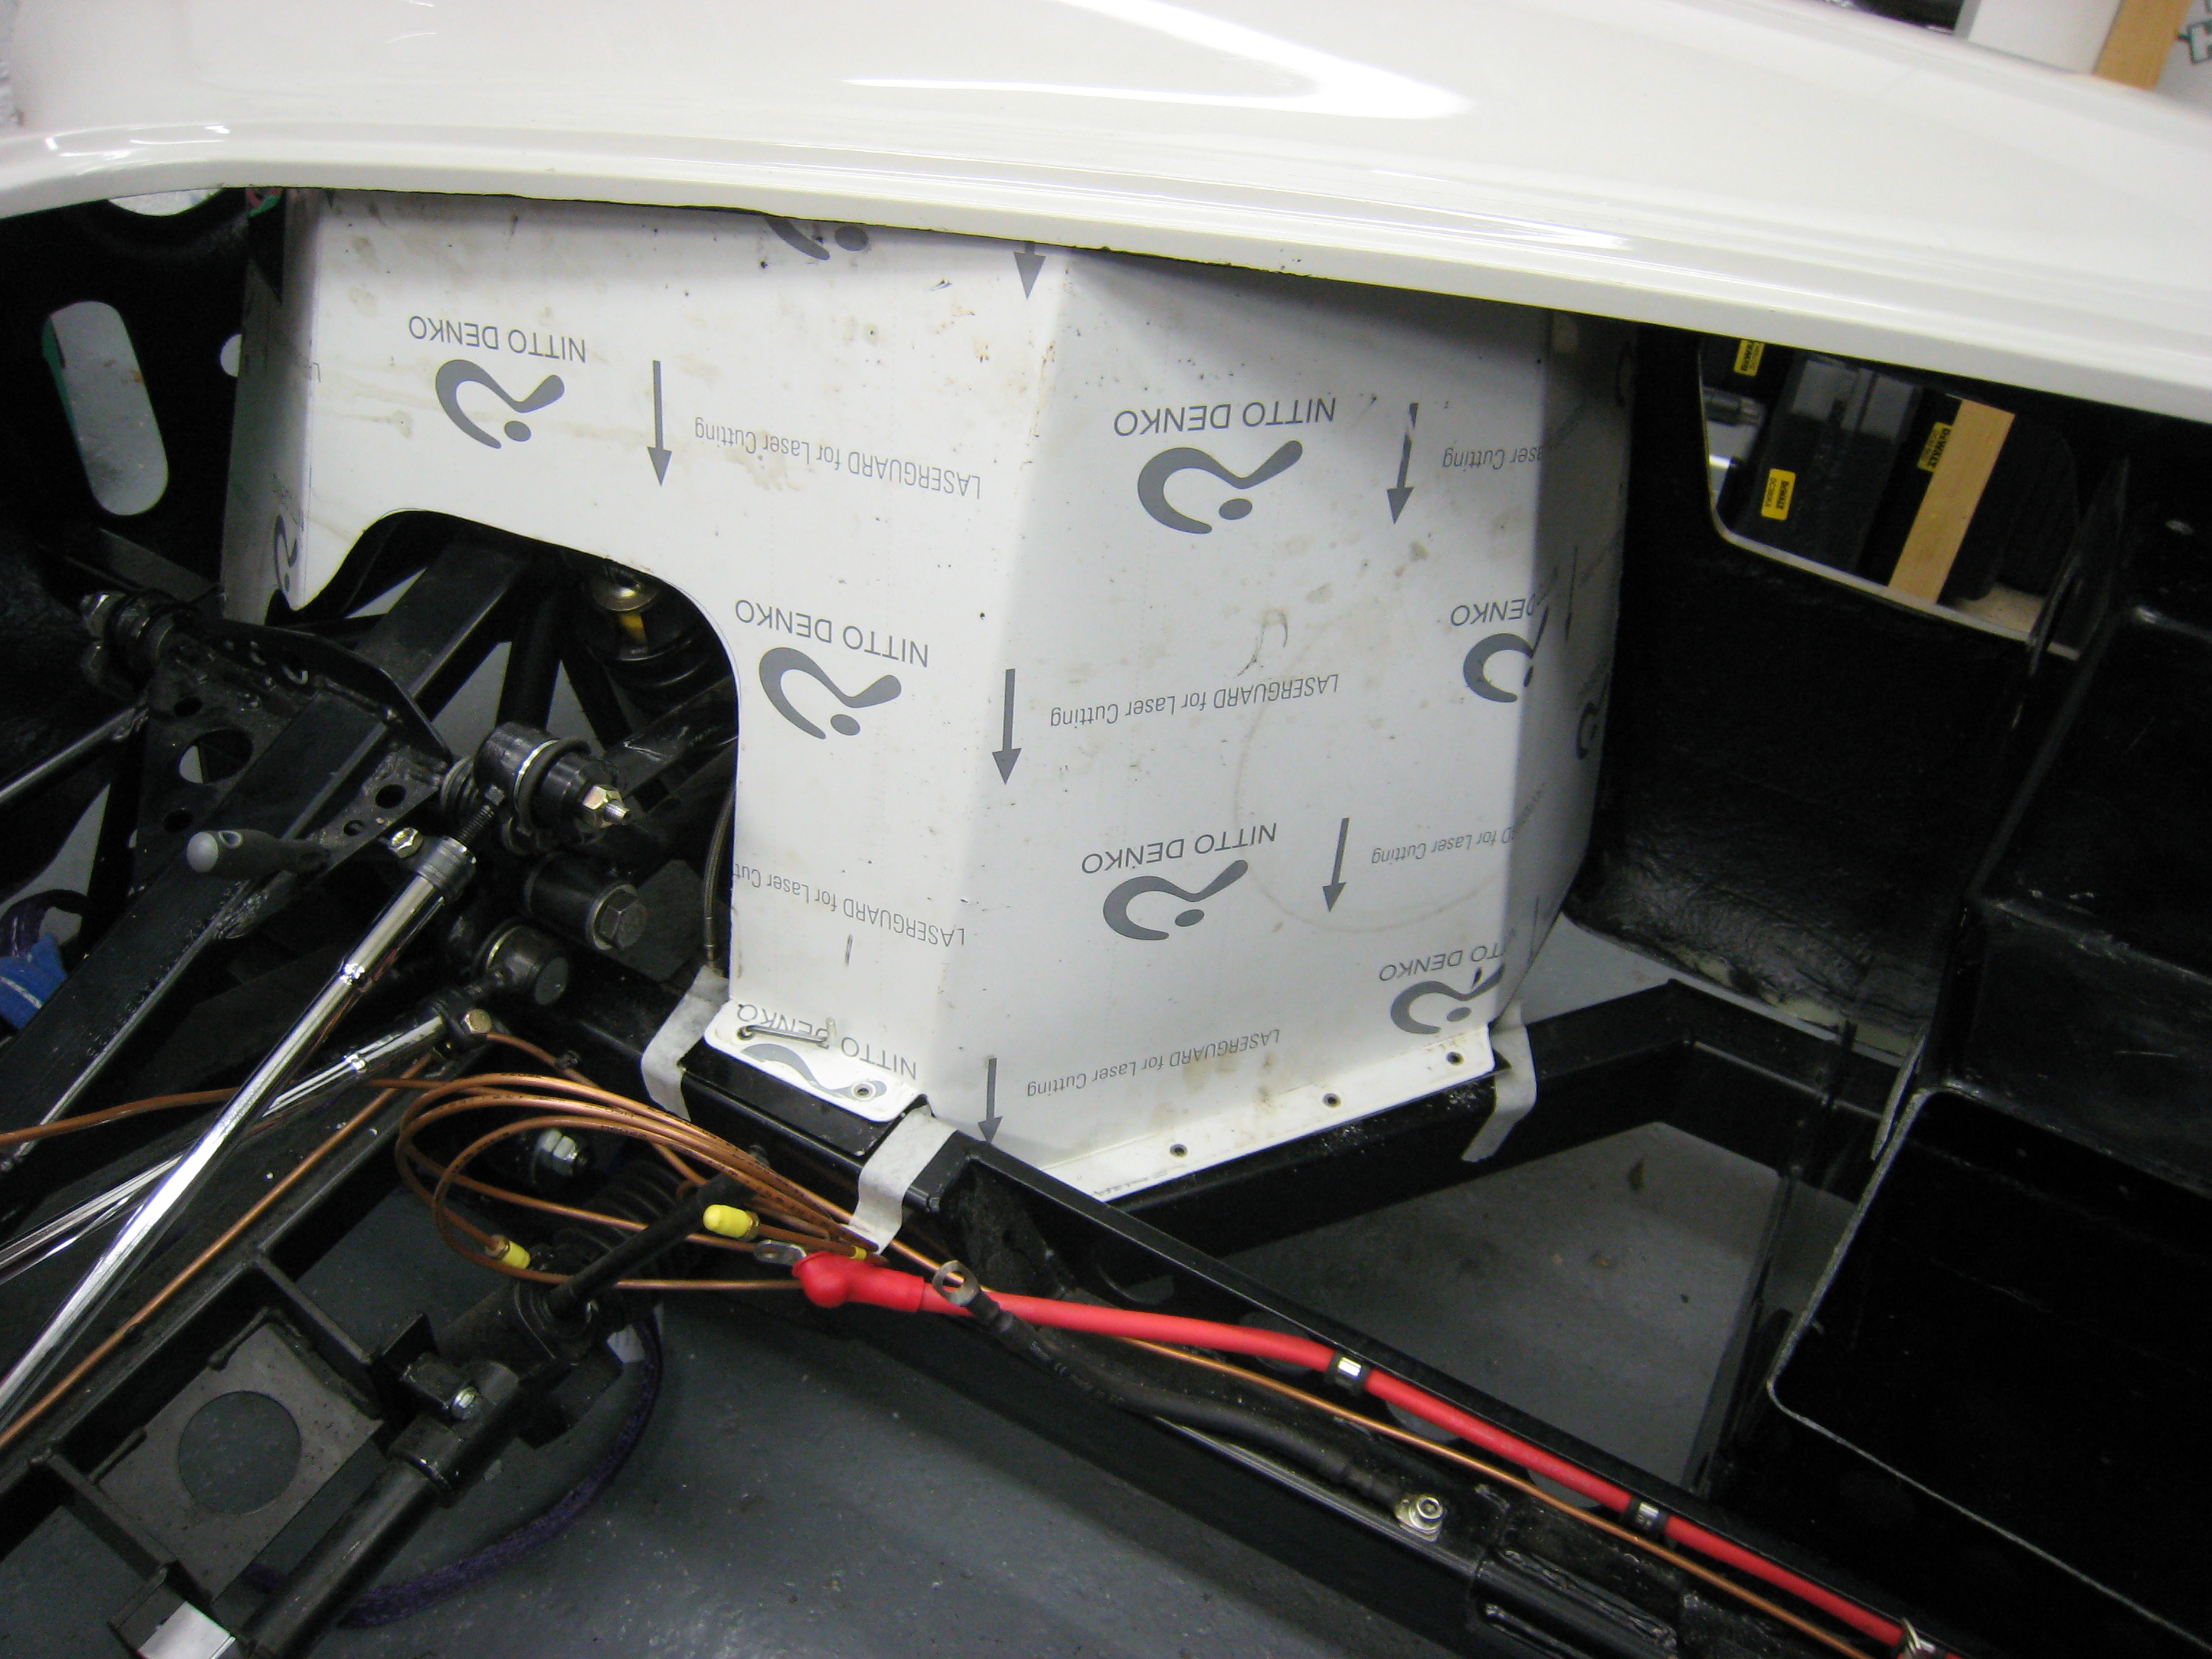
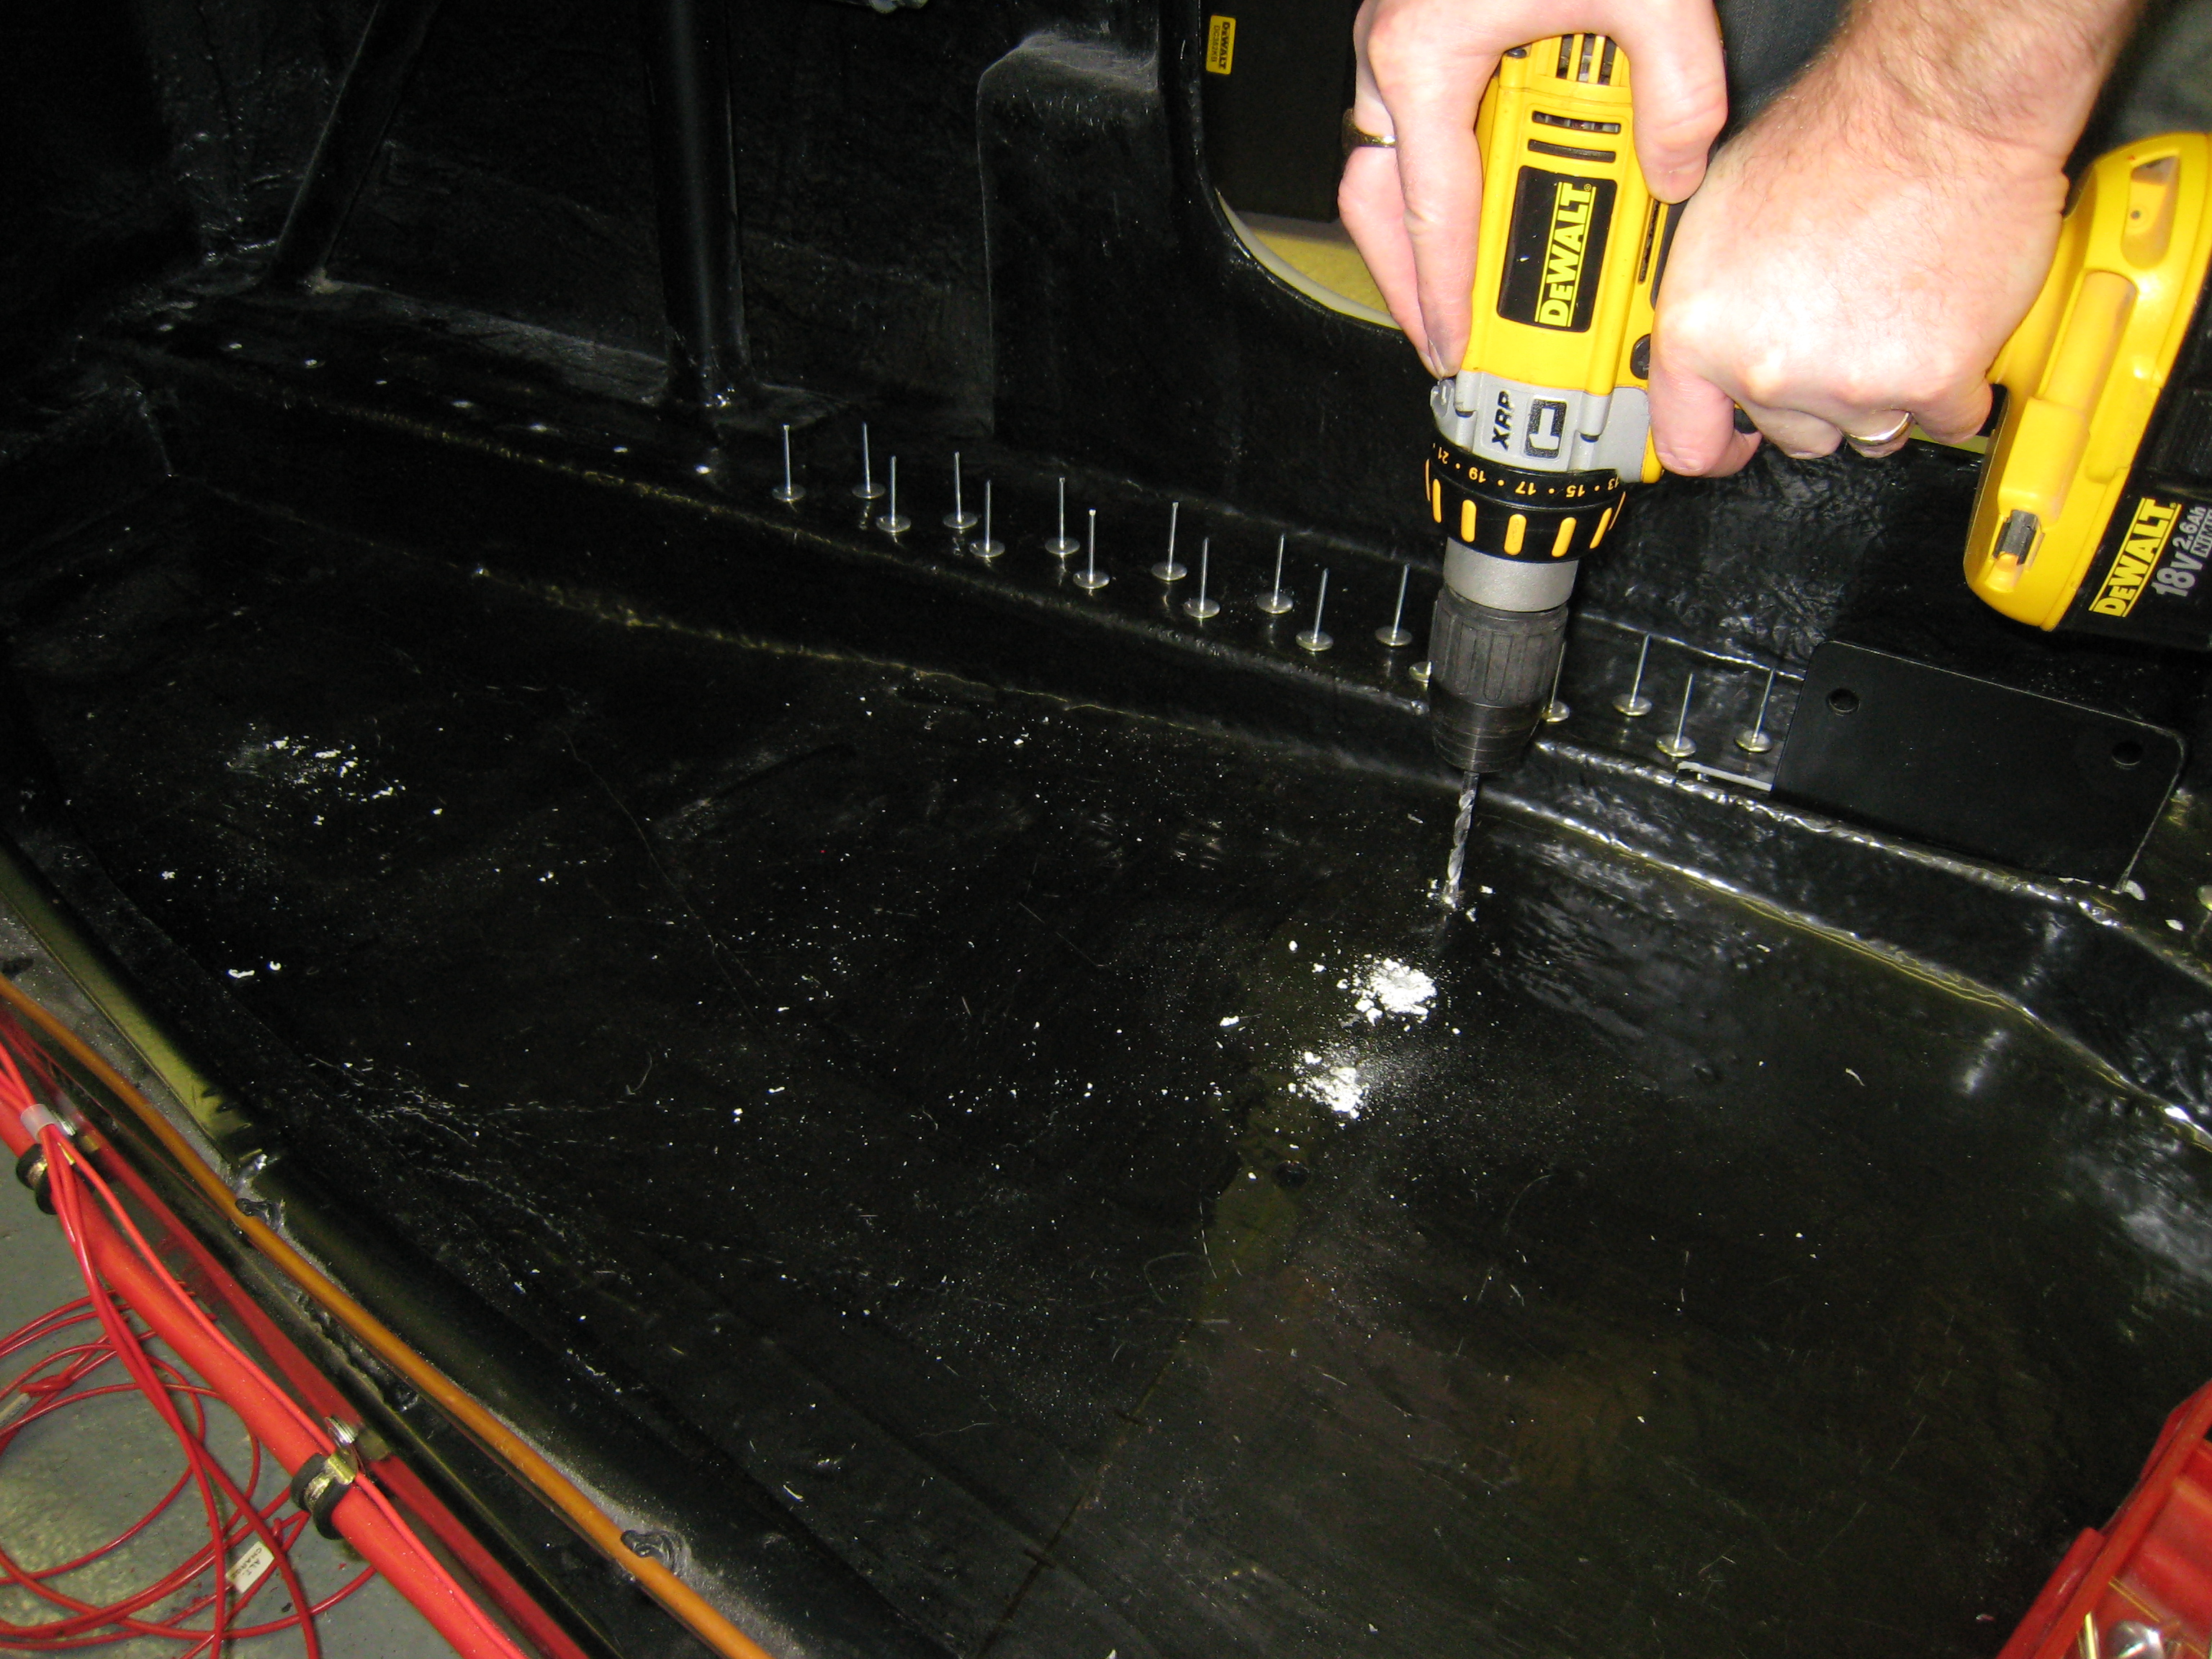
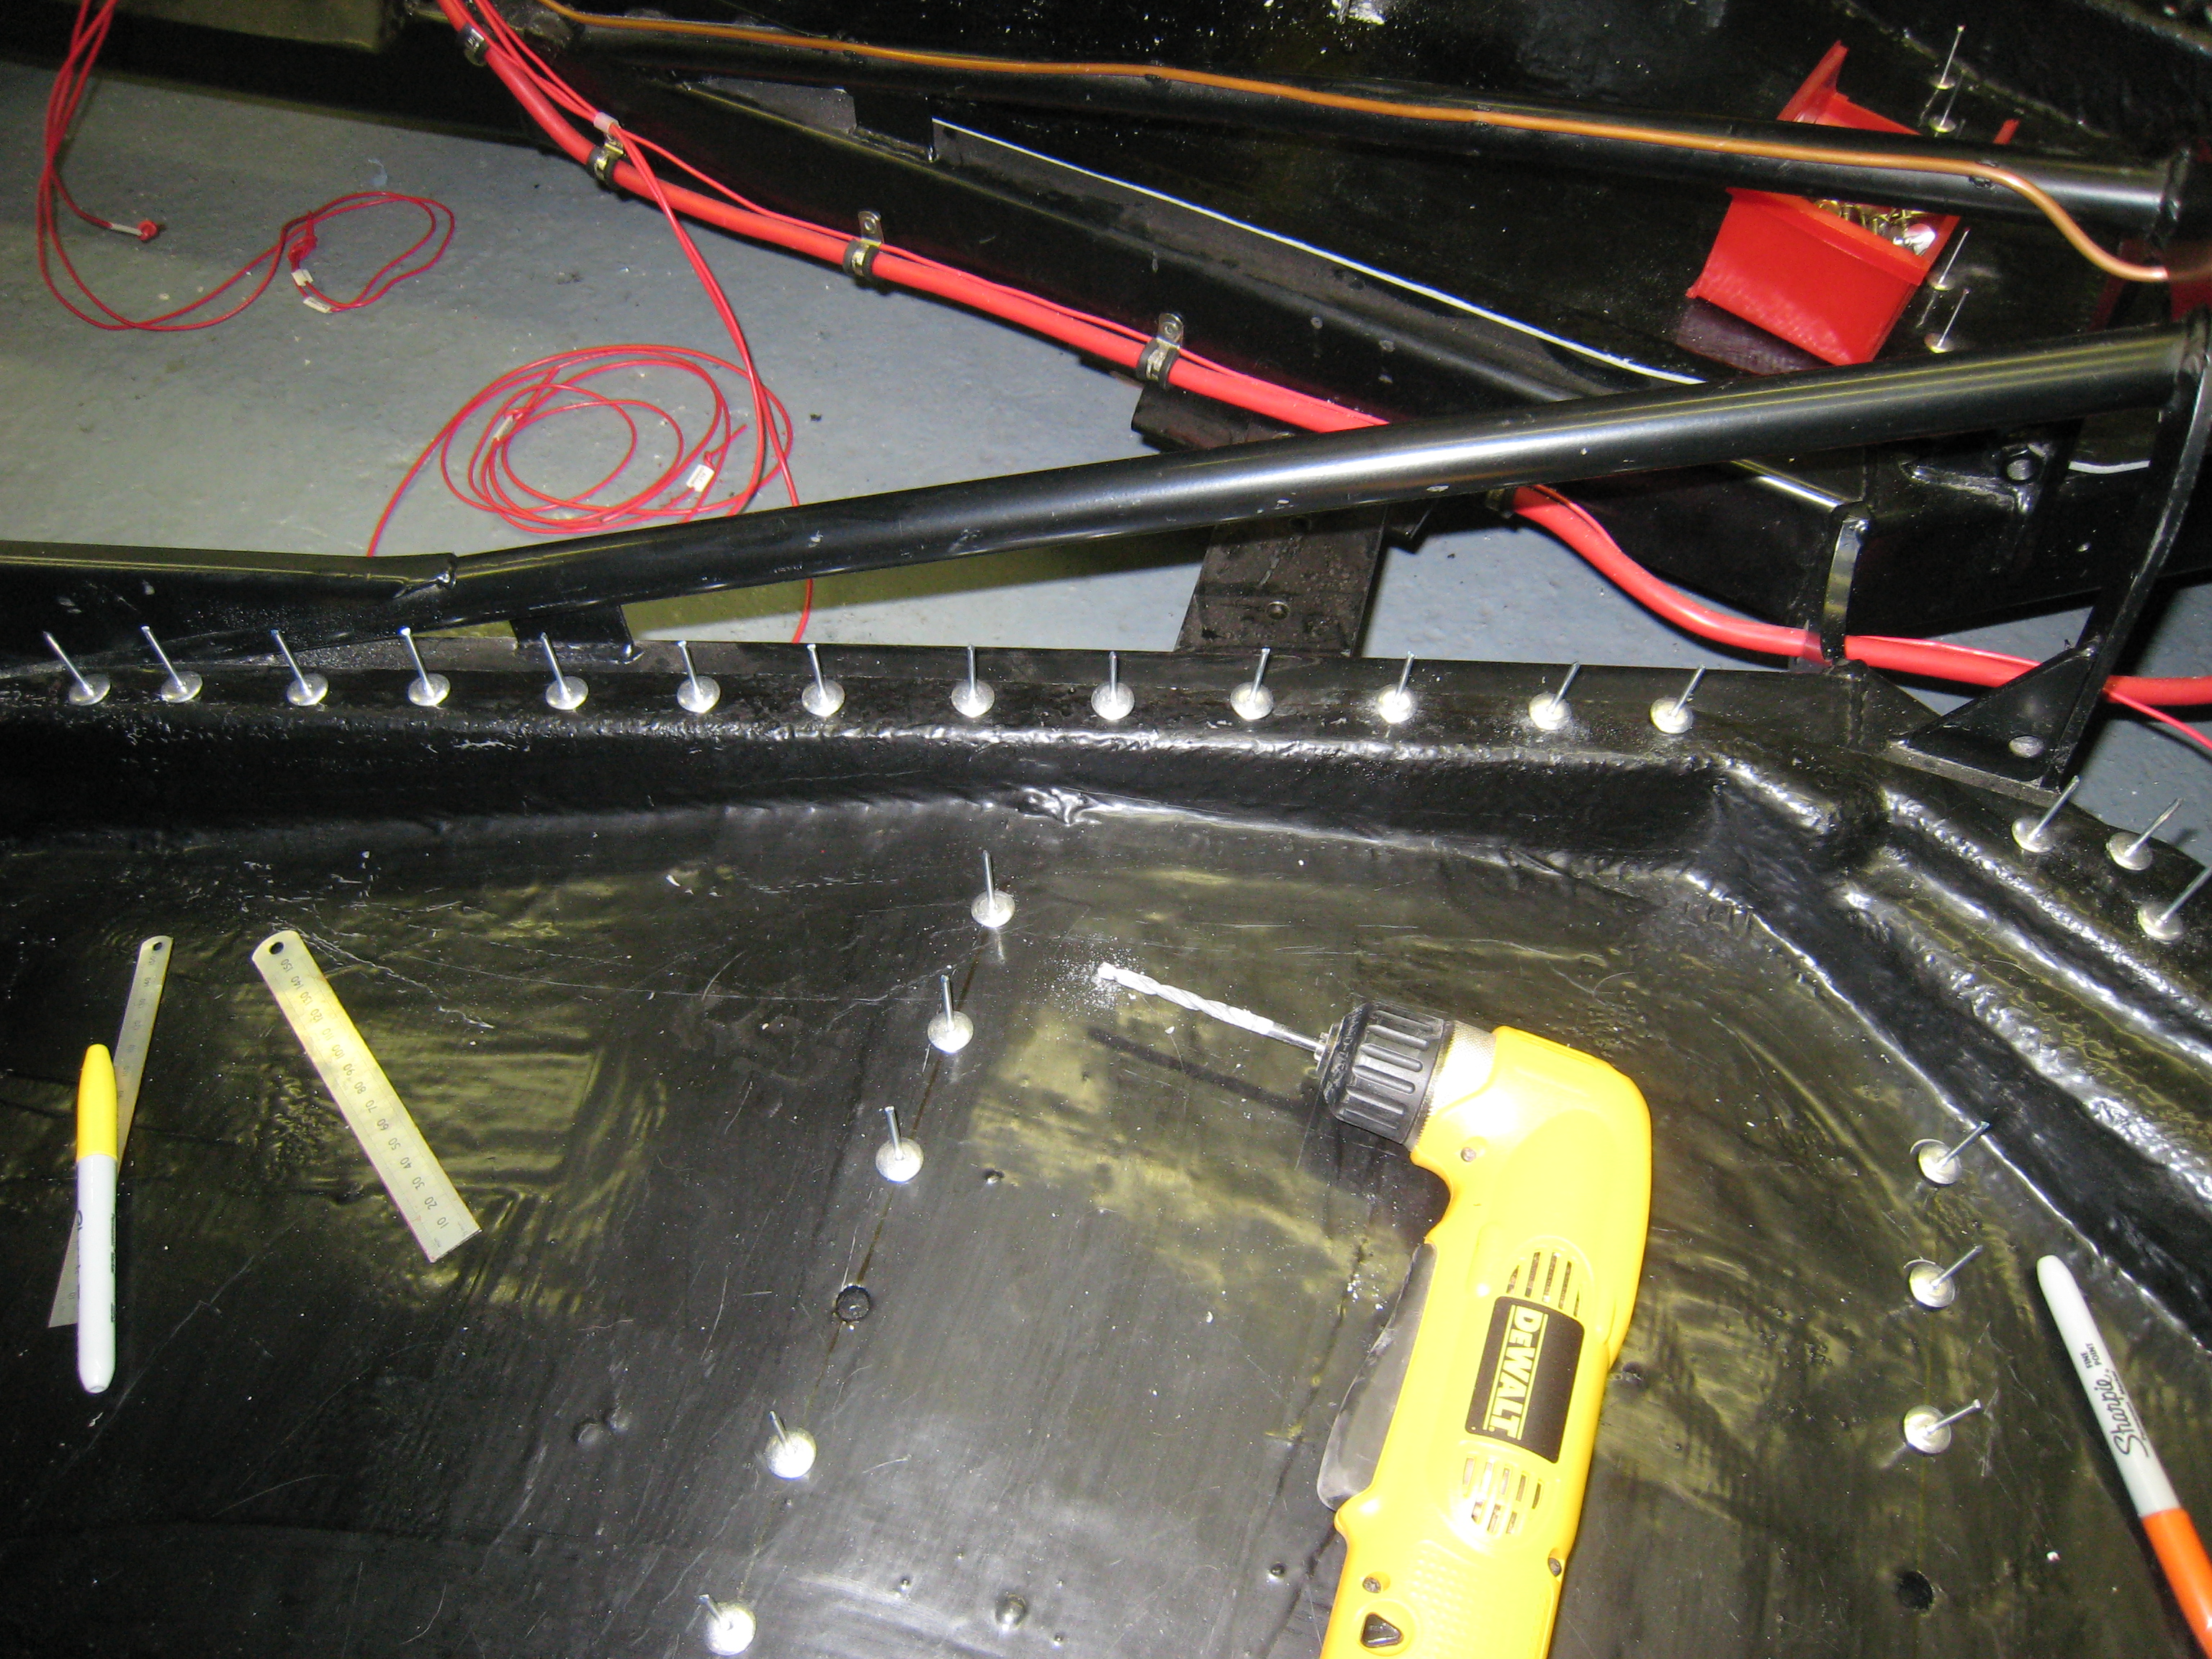
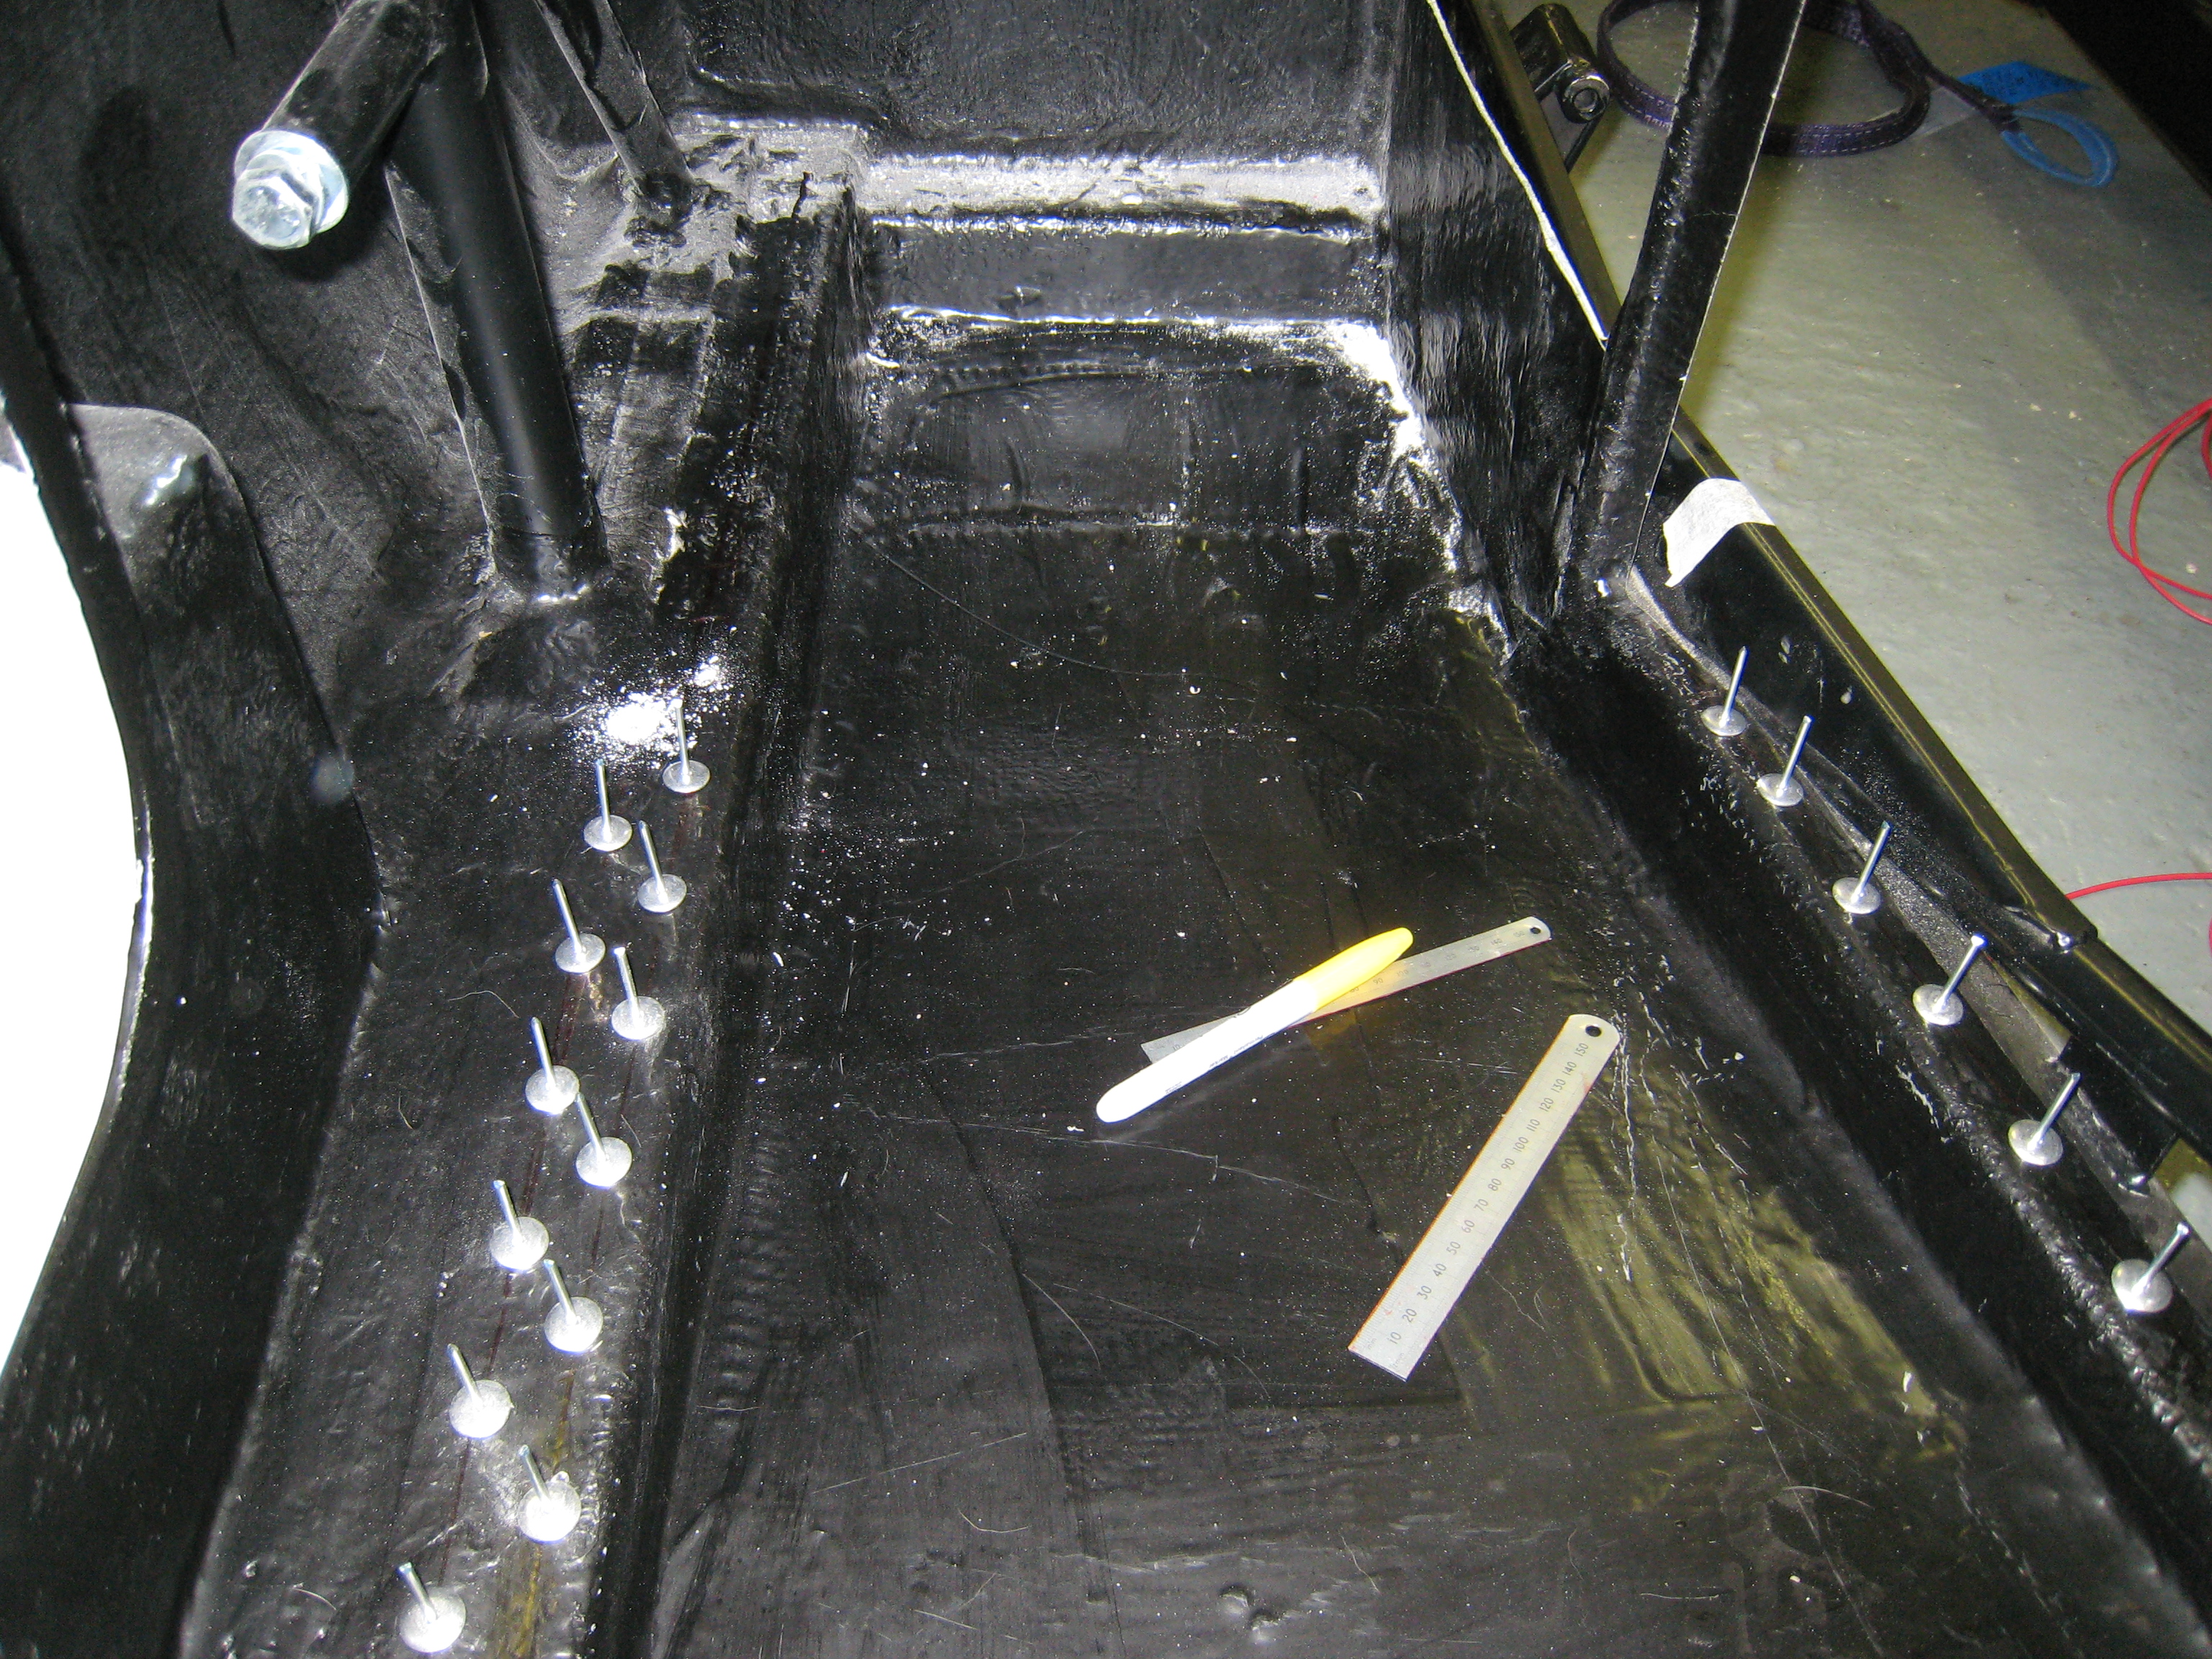
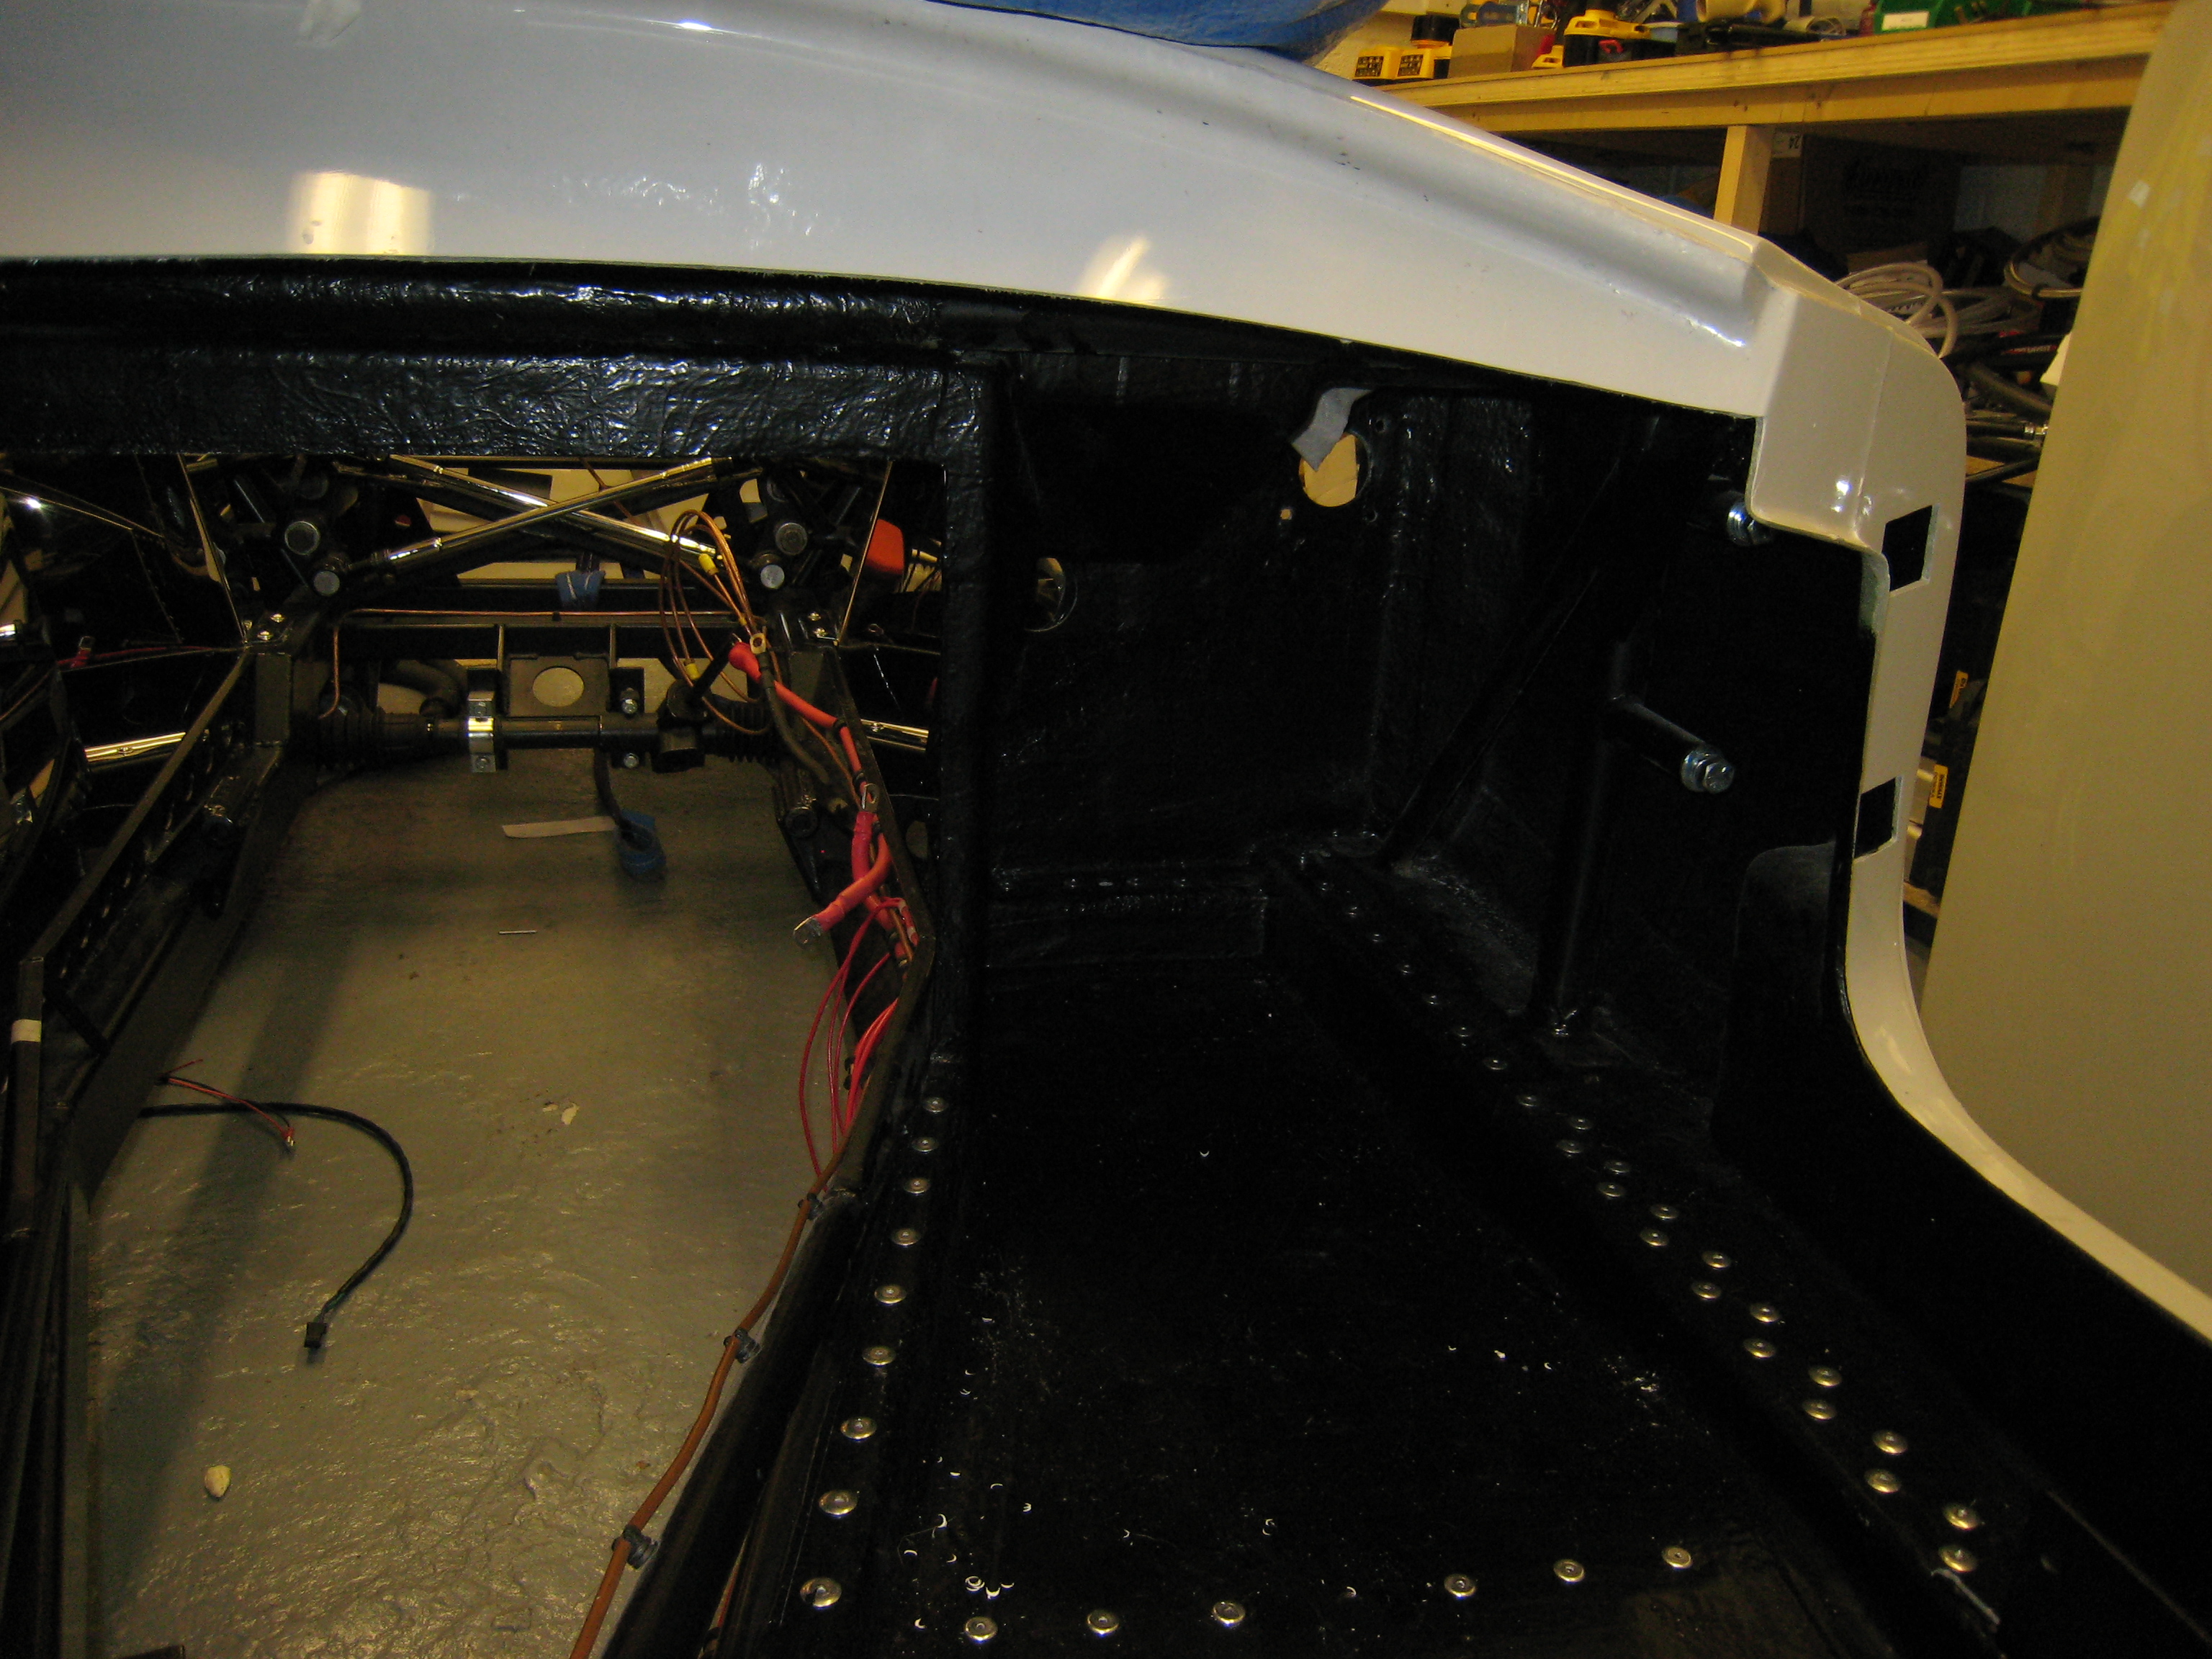
Fitting of the stainless steel engine bay linings.
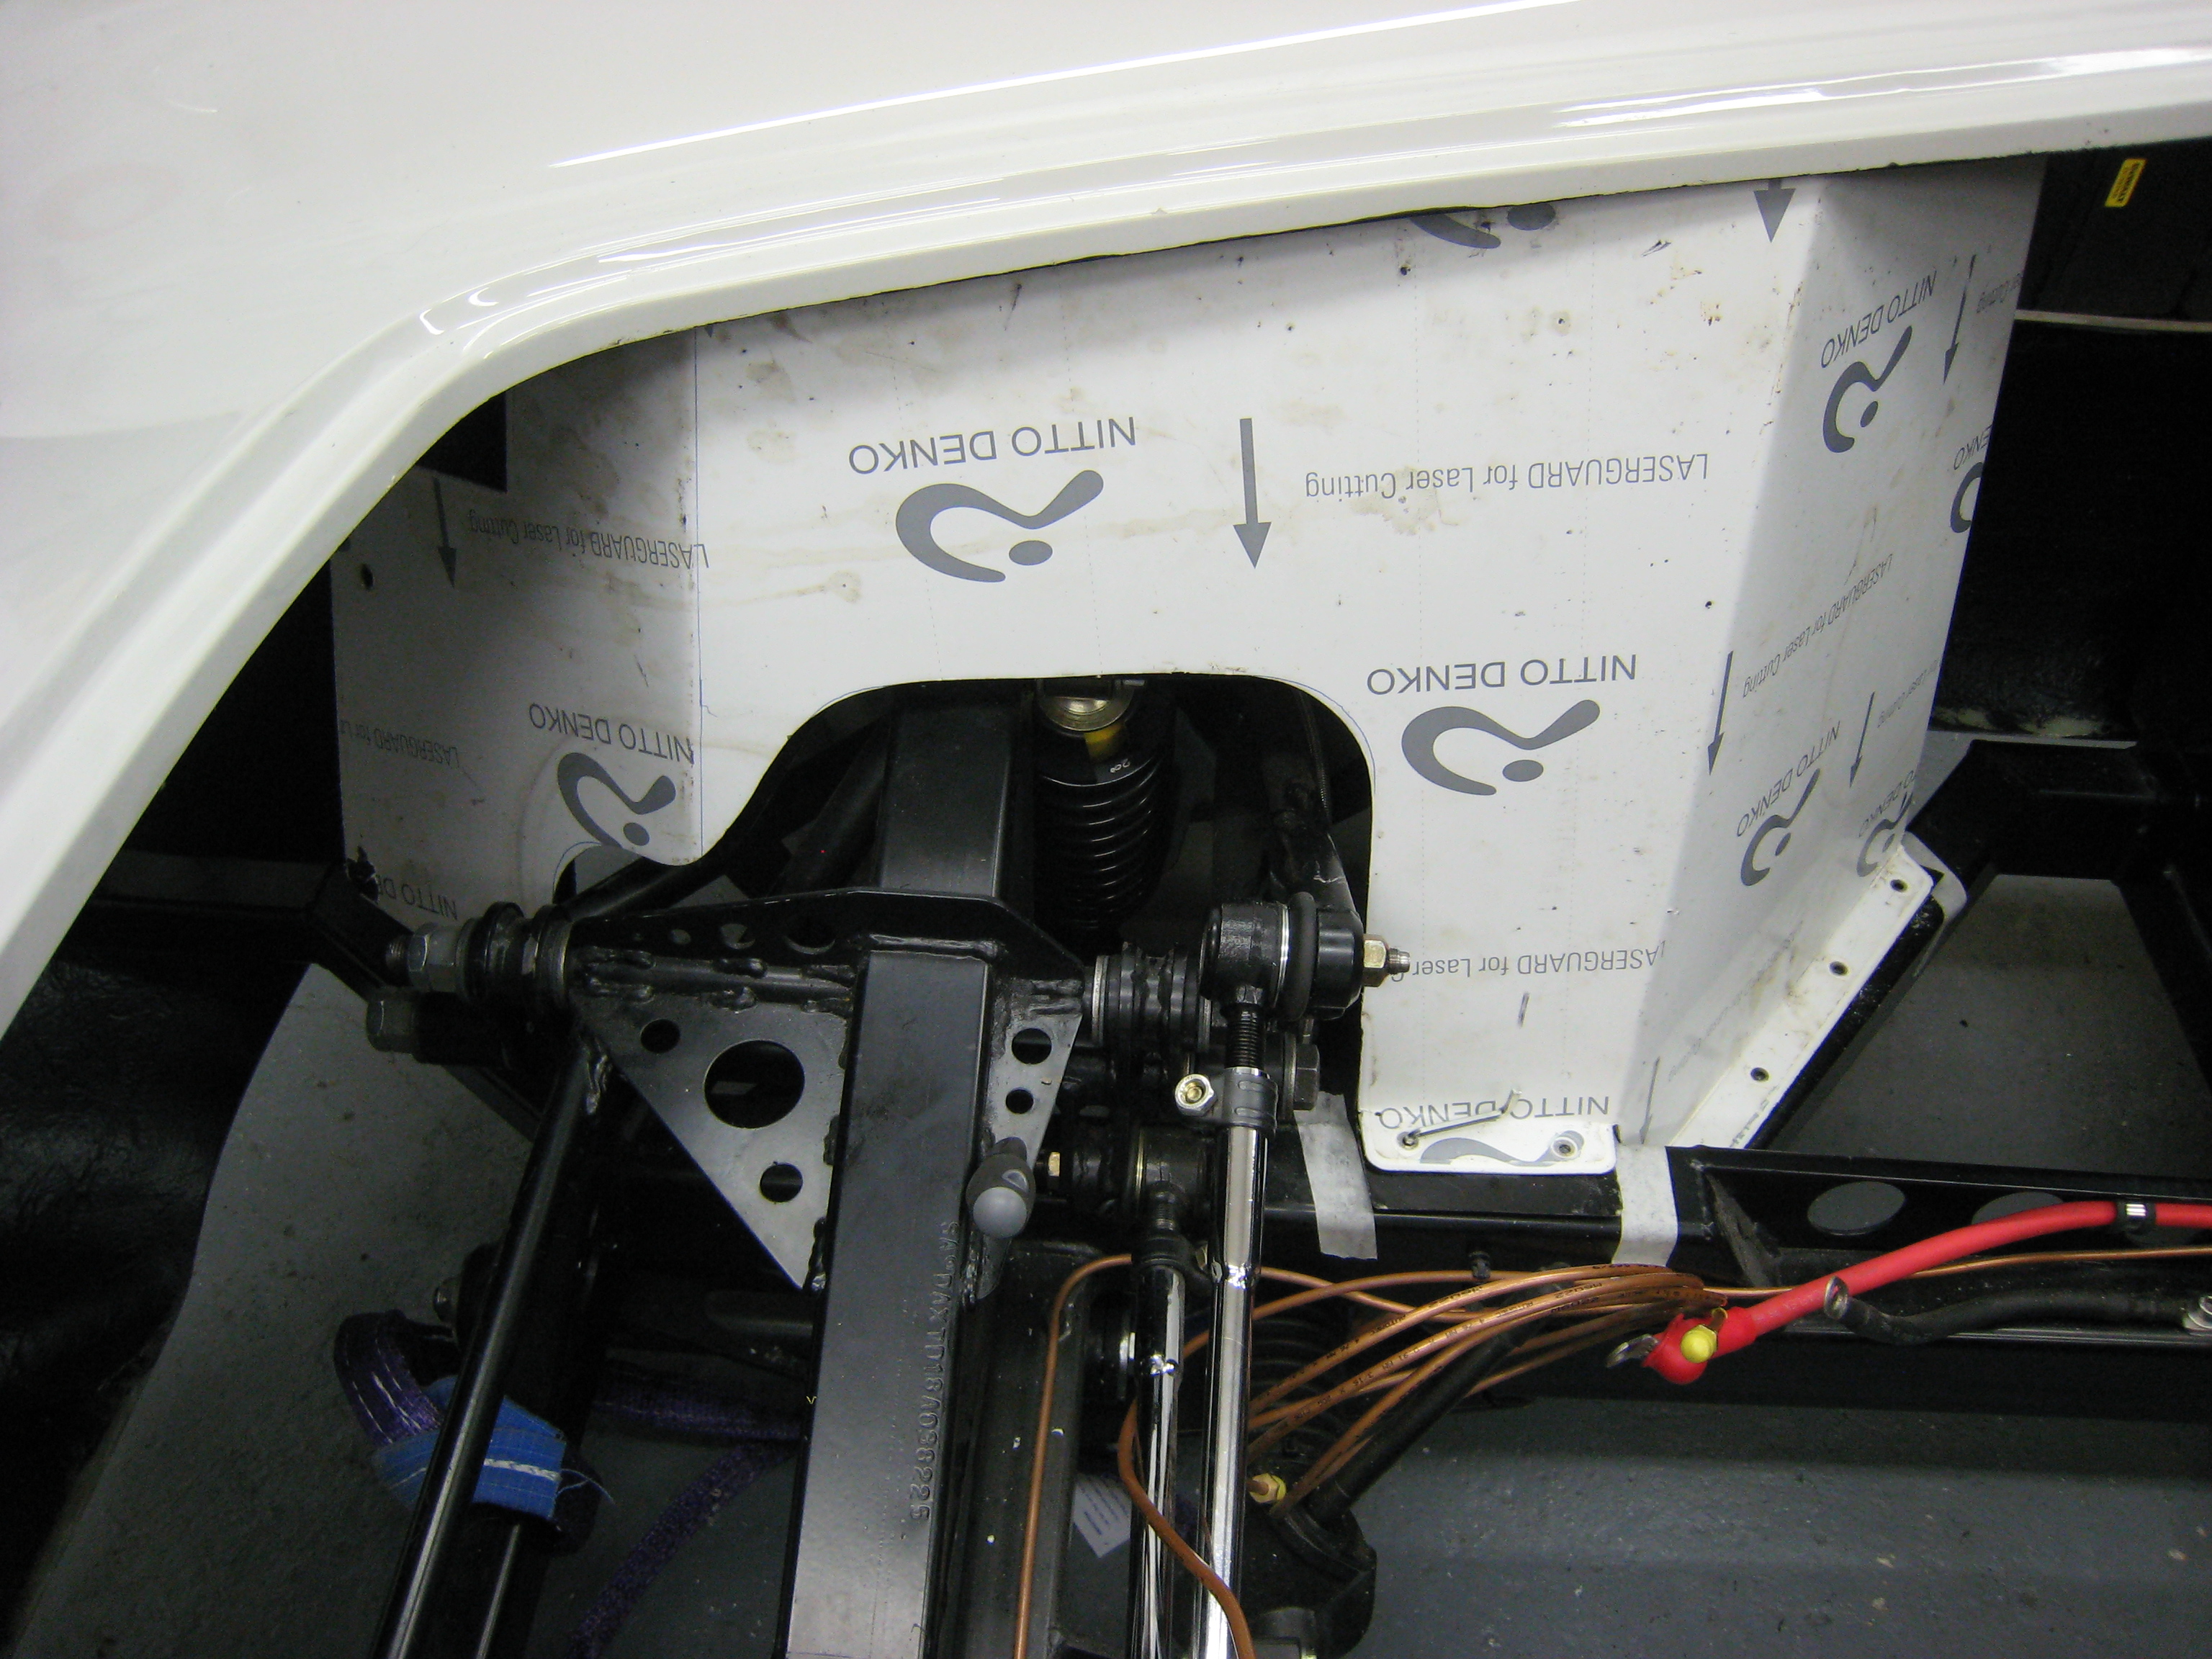
Once the stainless wing panels are fitted the body is now ready to be fixed perminatly
to the chassis. This means an awfull lot of drilling.

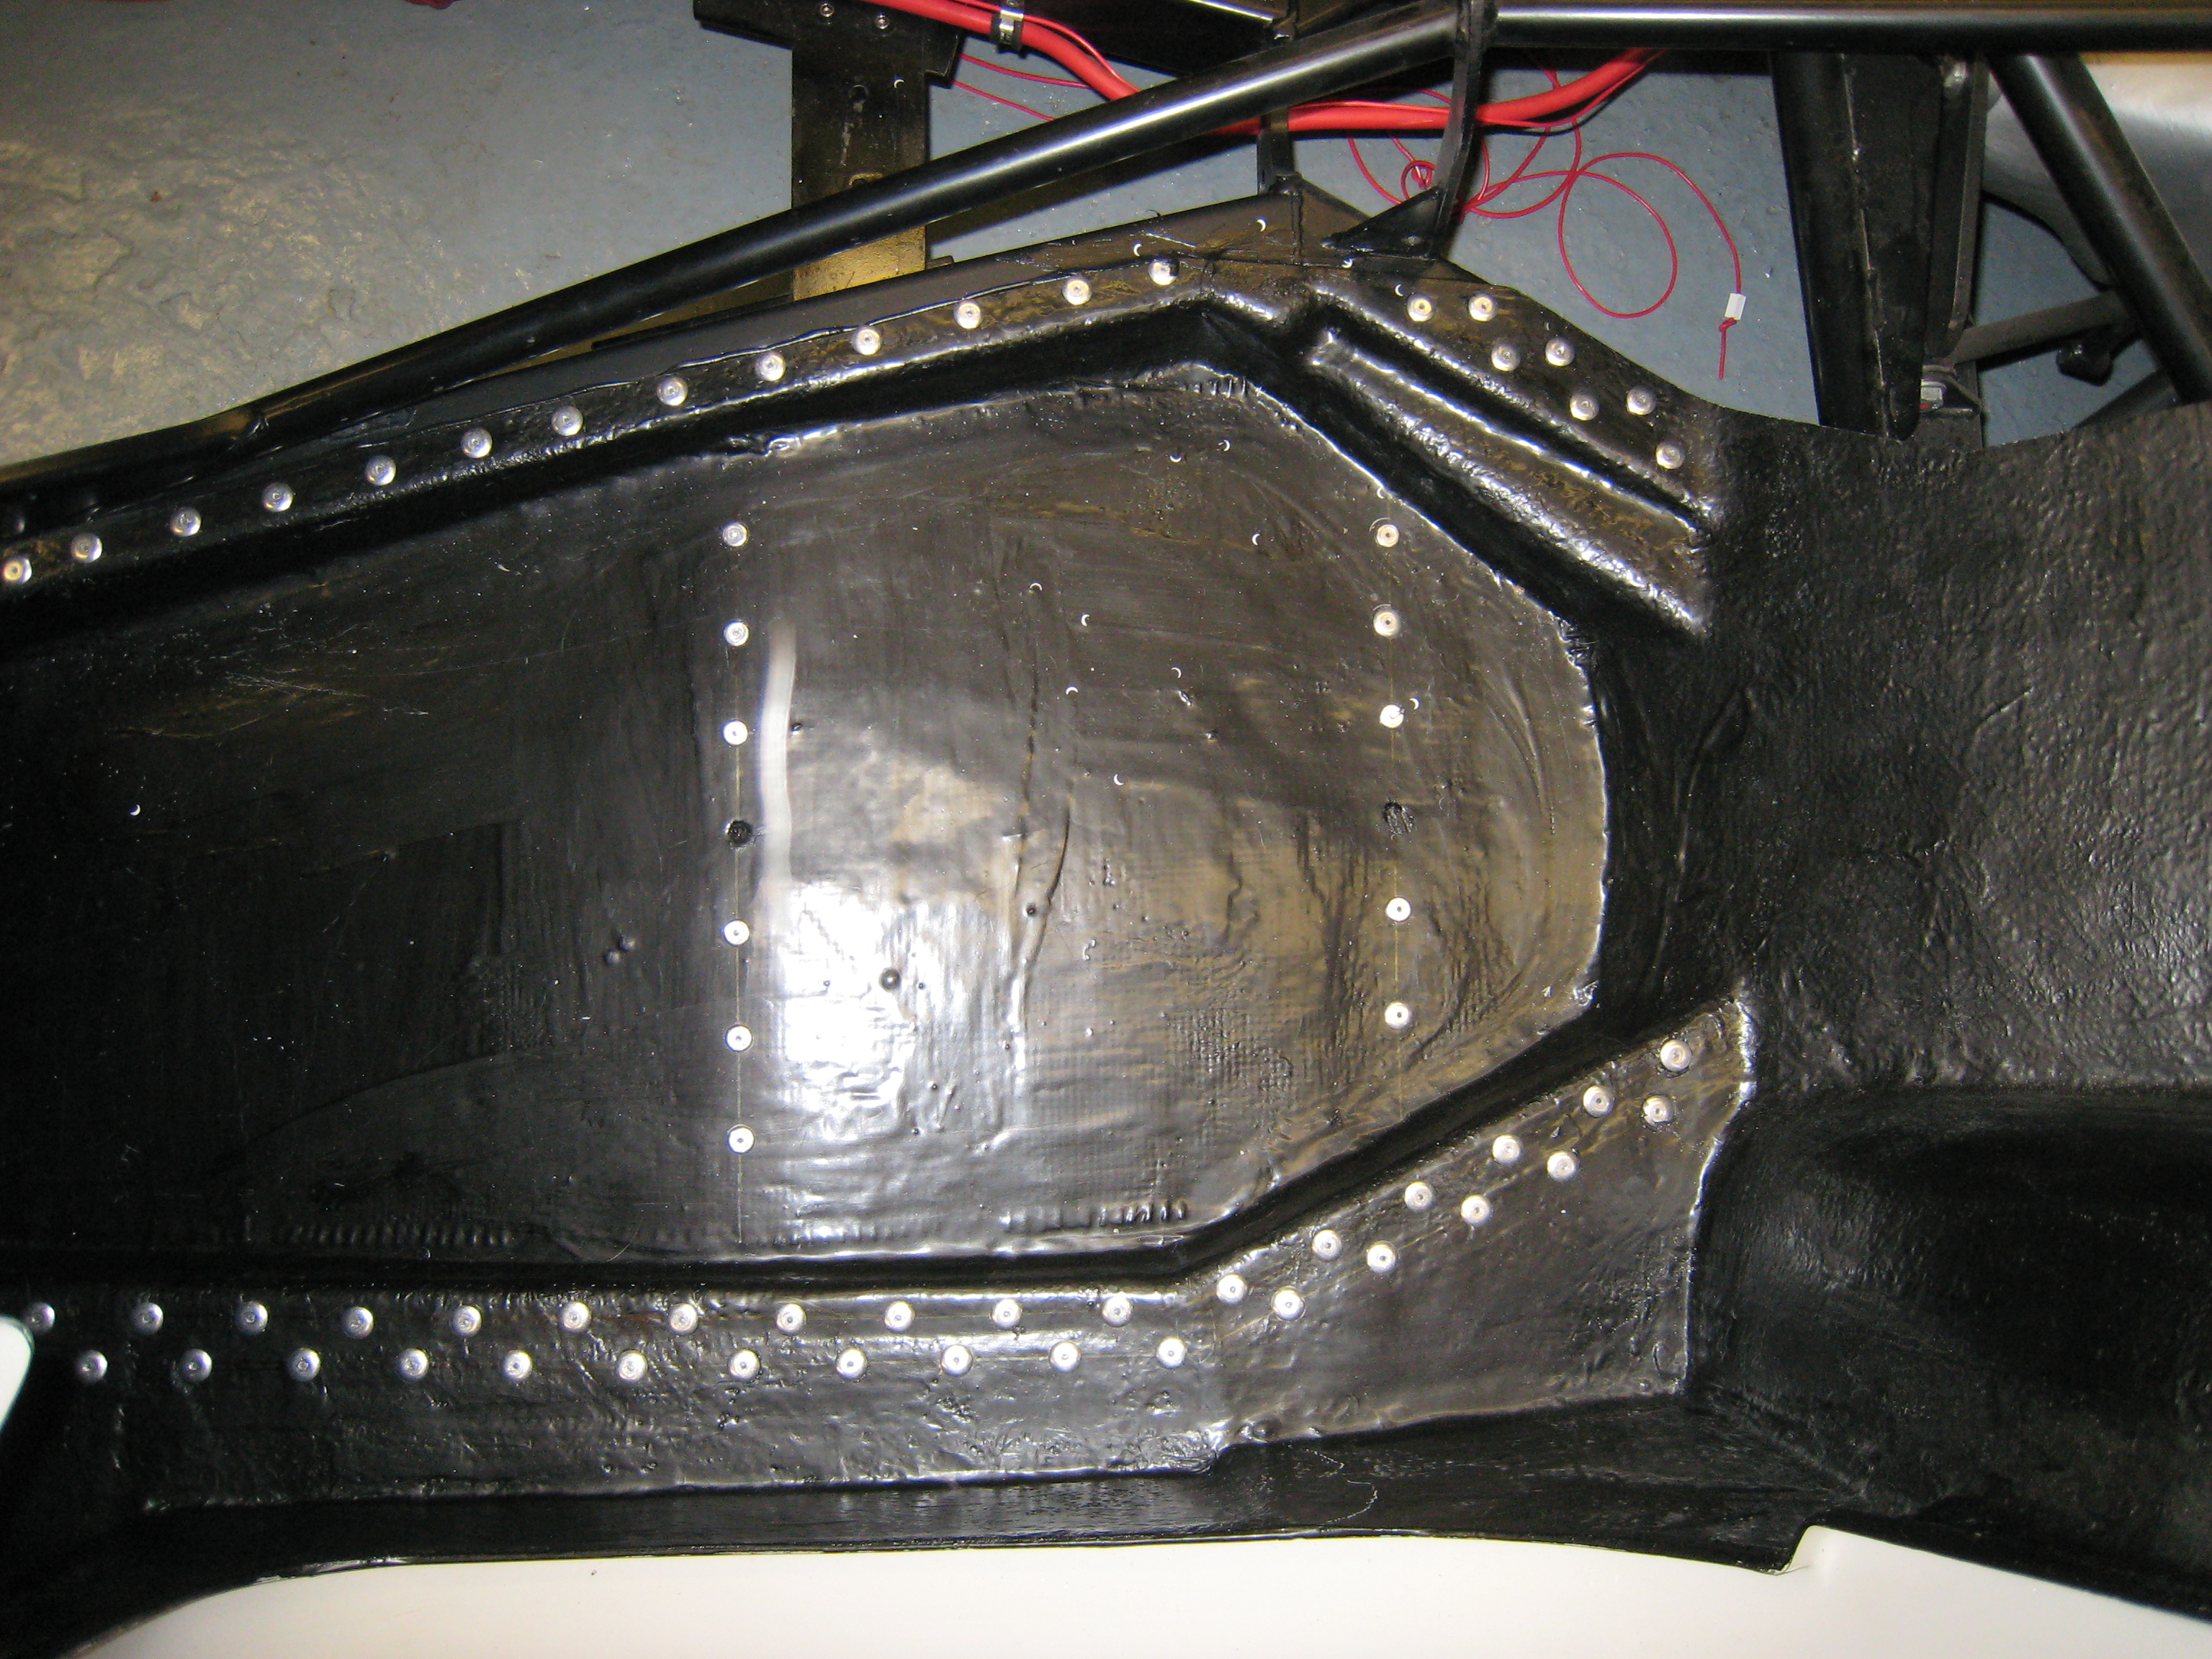
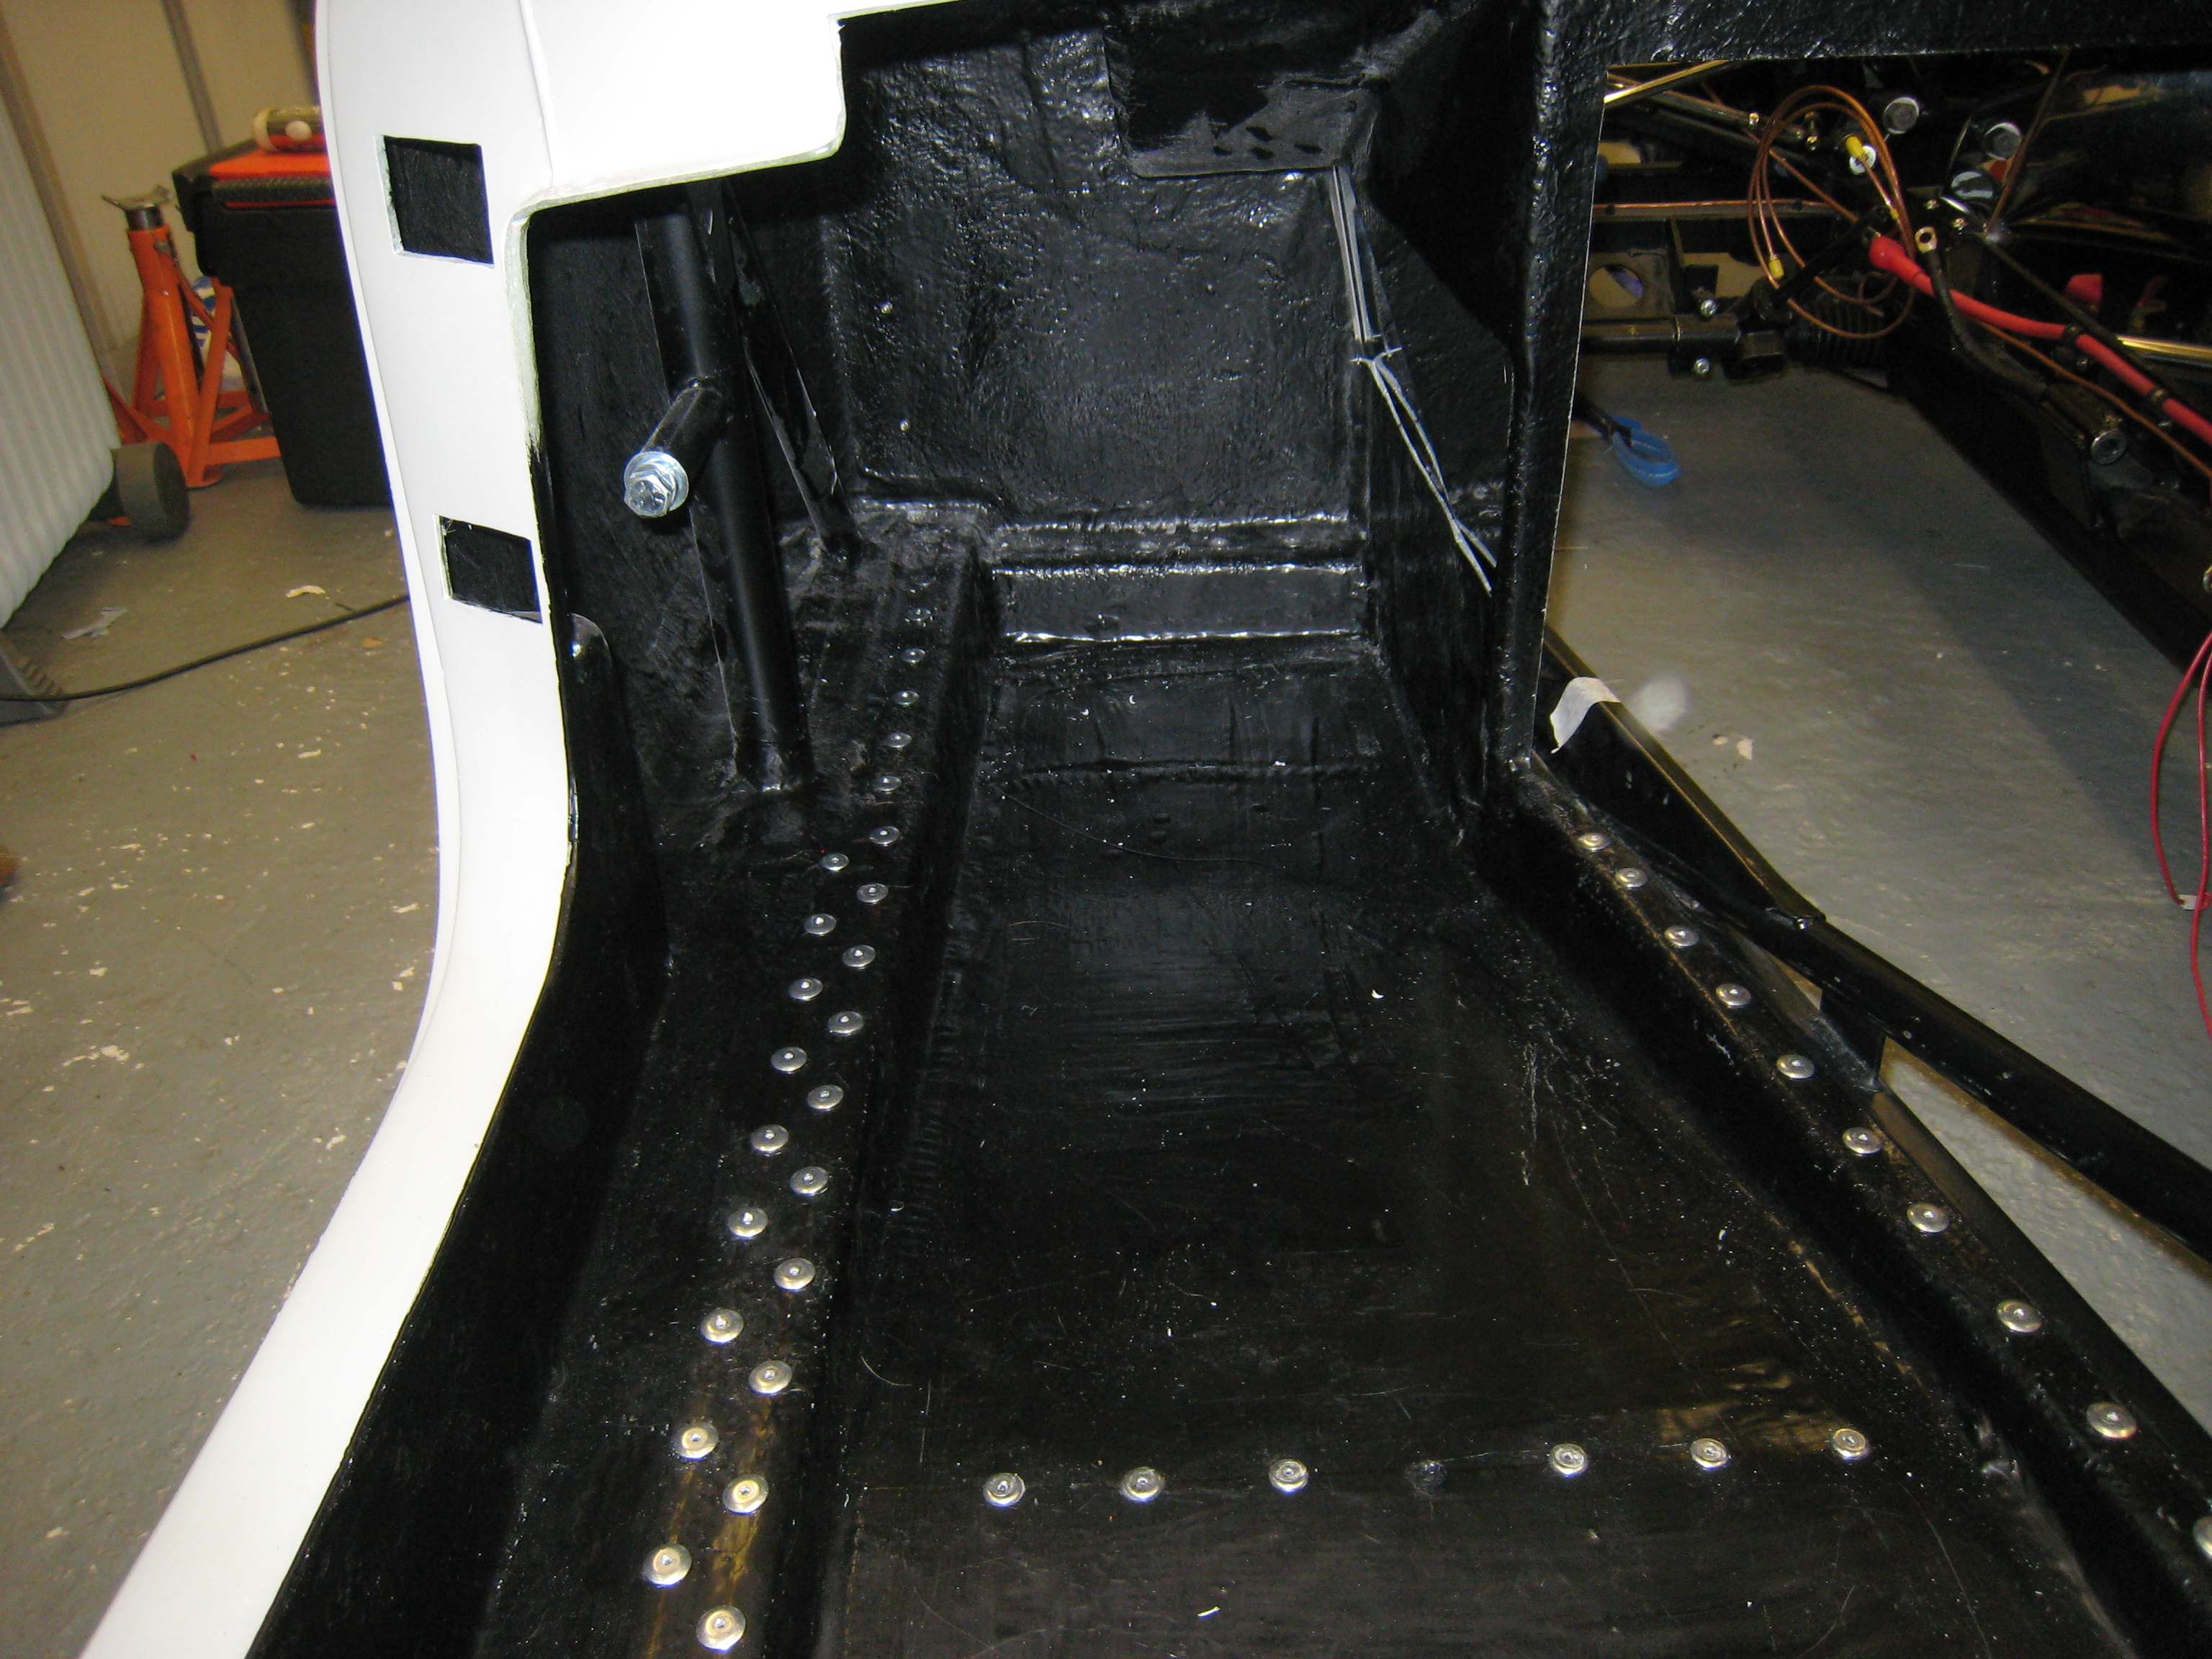
After a serious number of rivets the body is now perminatly fixed to the chassis.
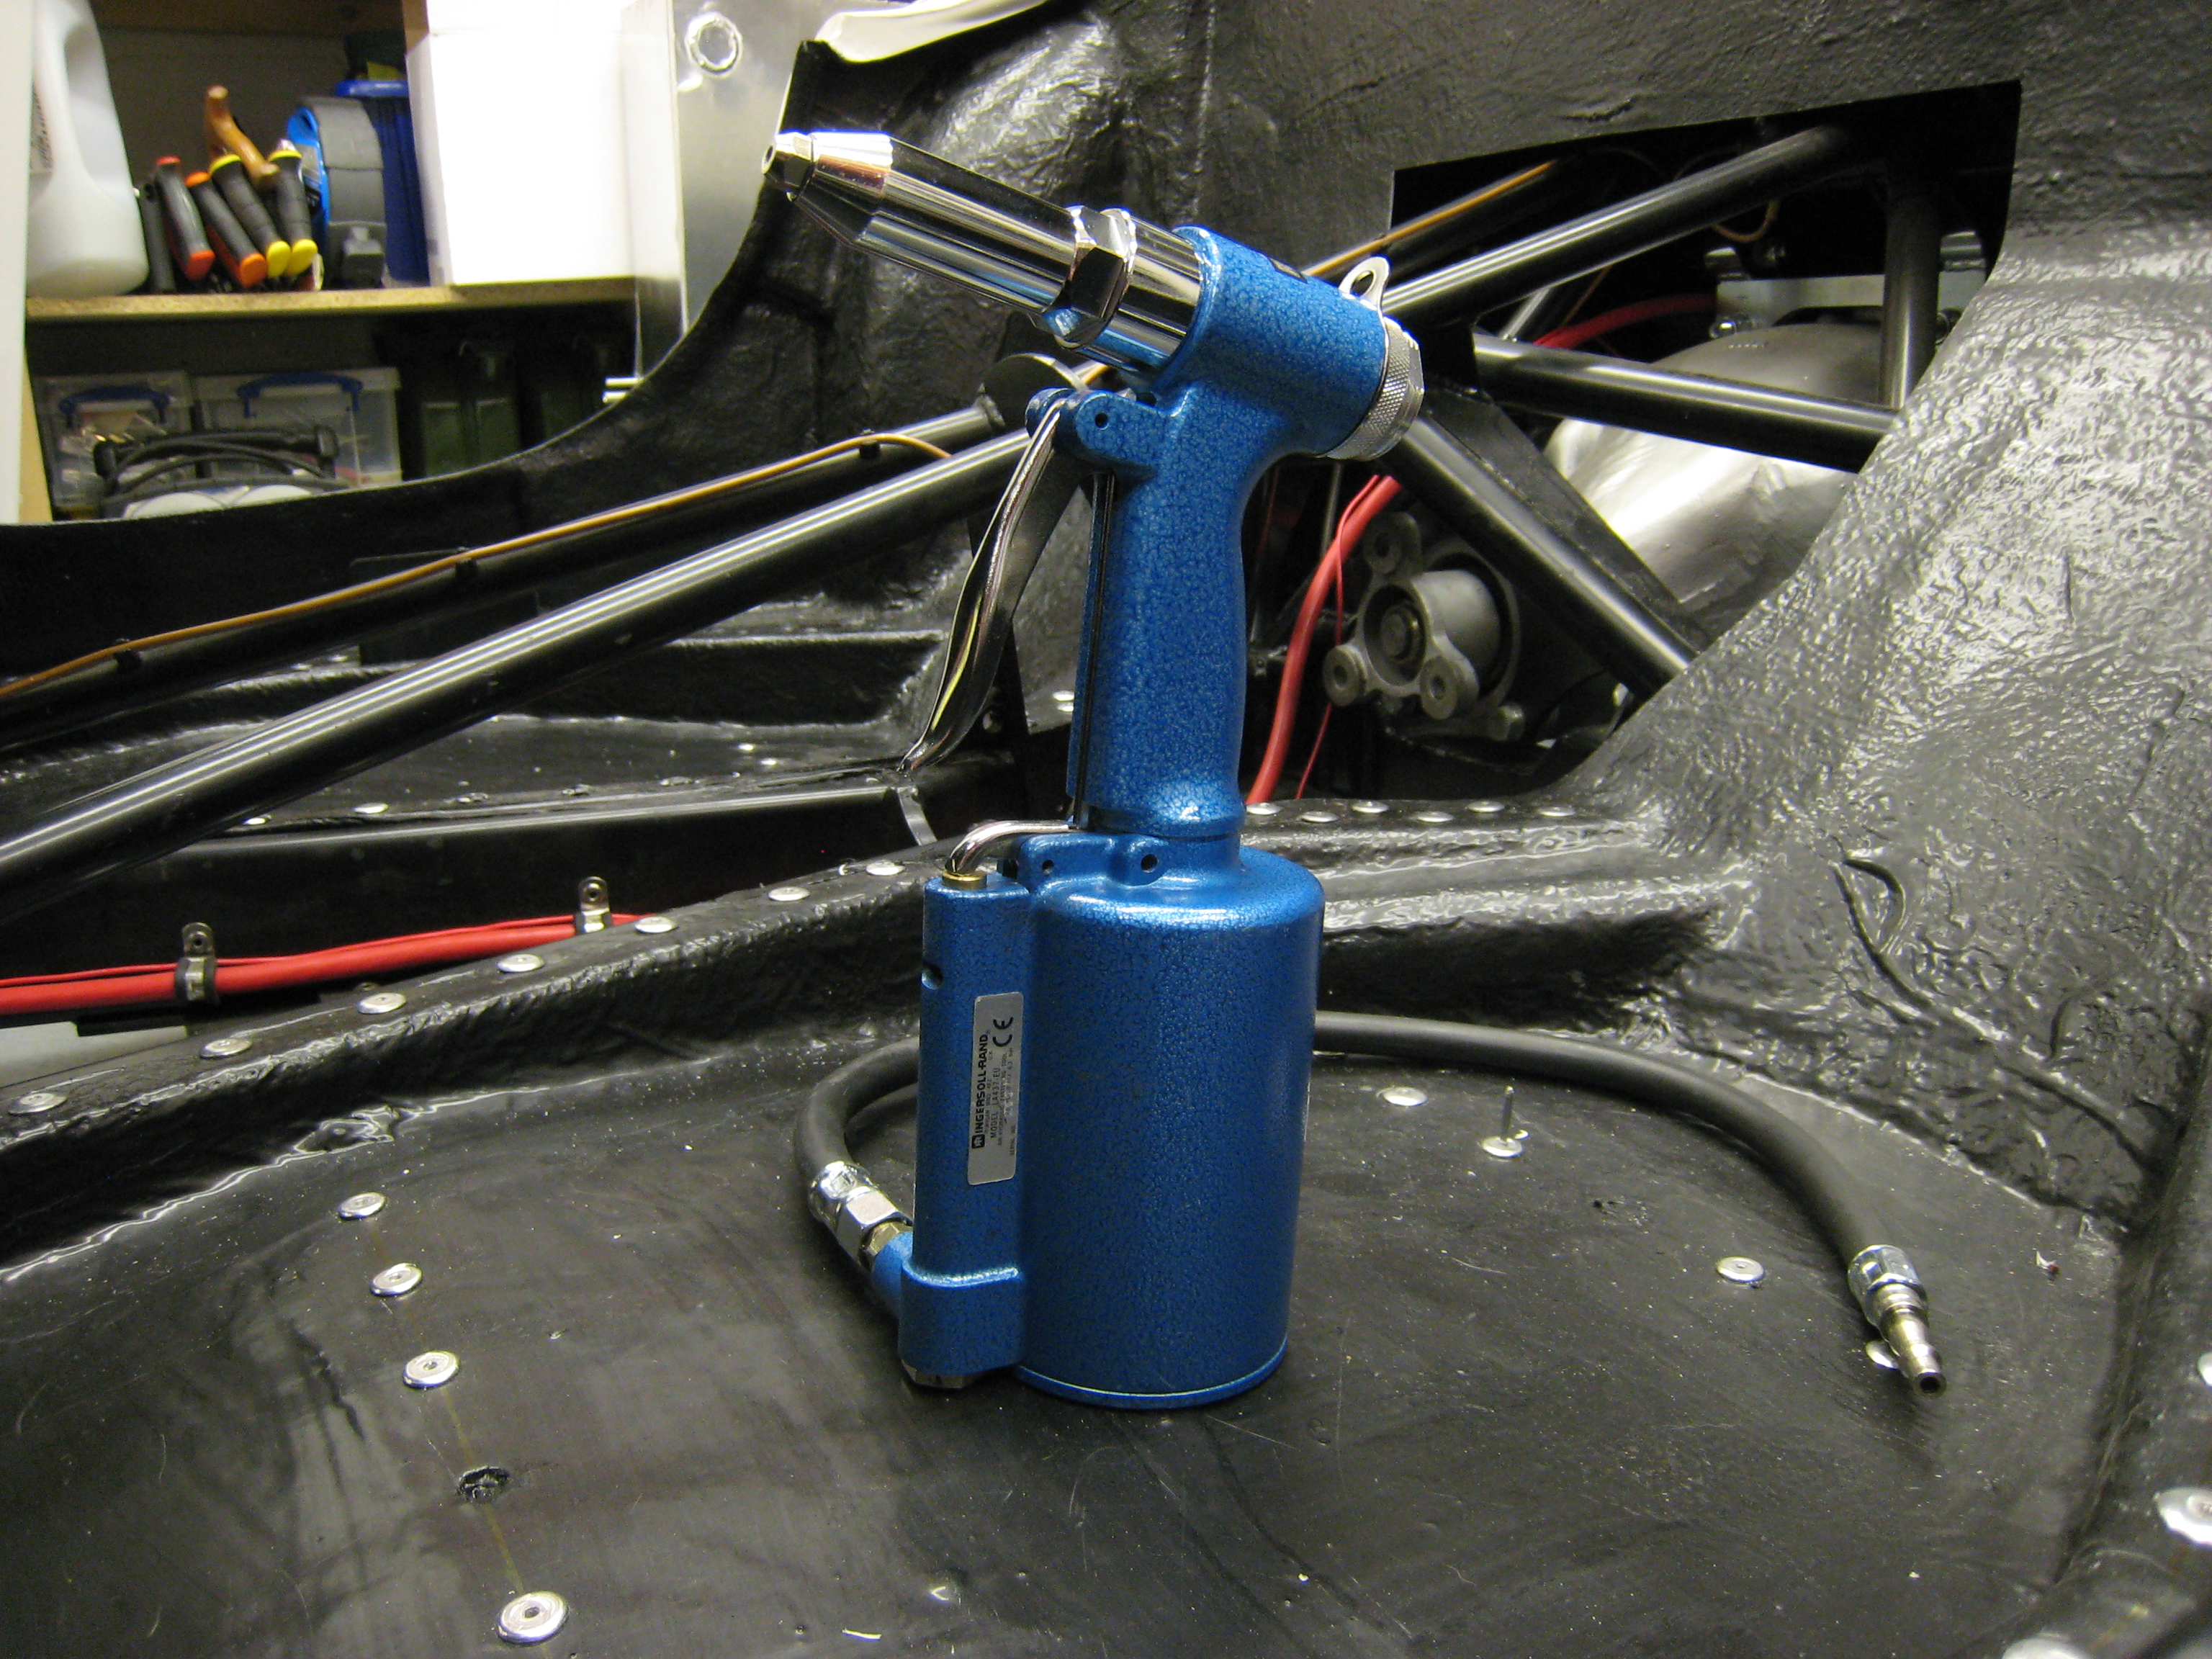
Best investment I've made so far on this build is the automatic rivet gun show below.
End of Body Section. Further updates will be on the Progress page.